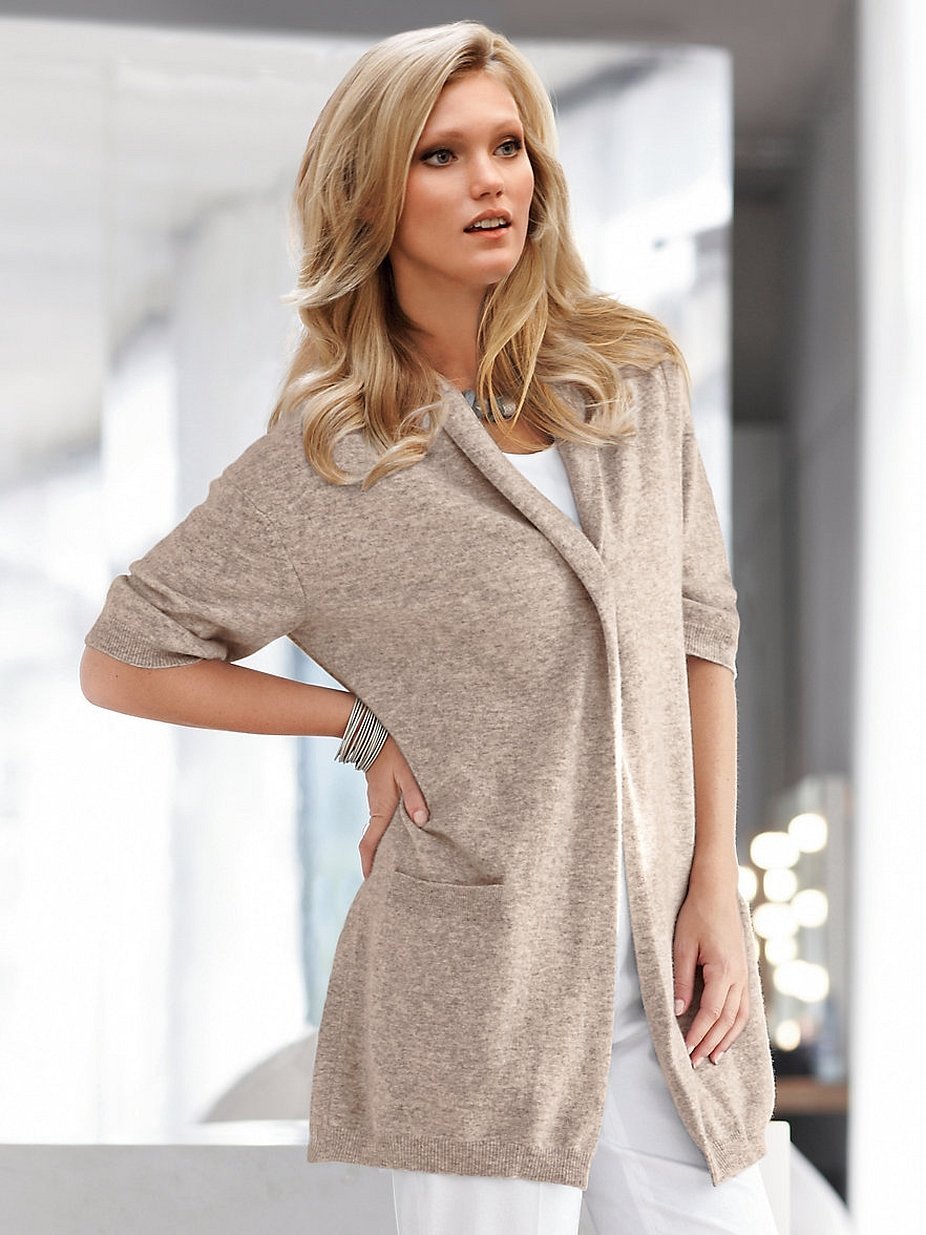
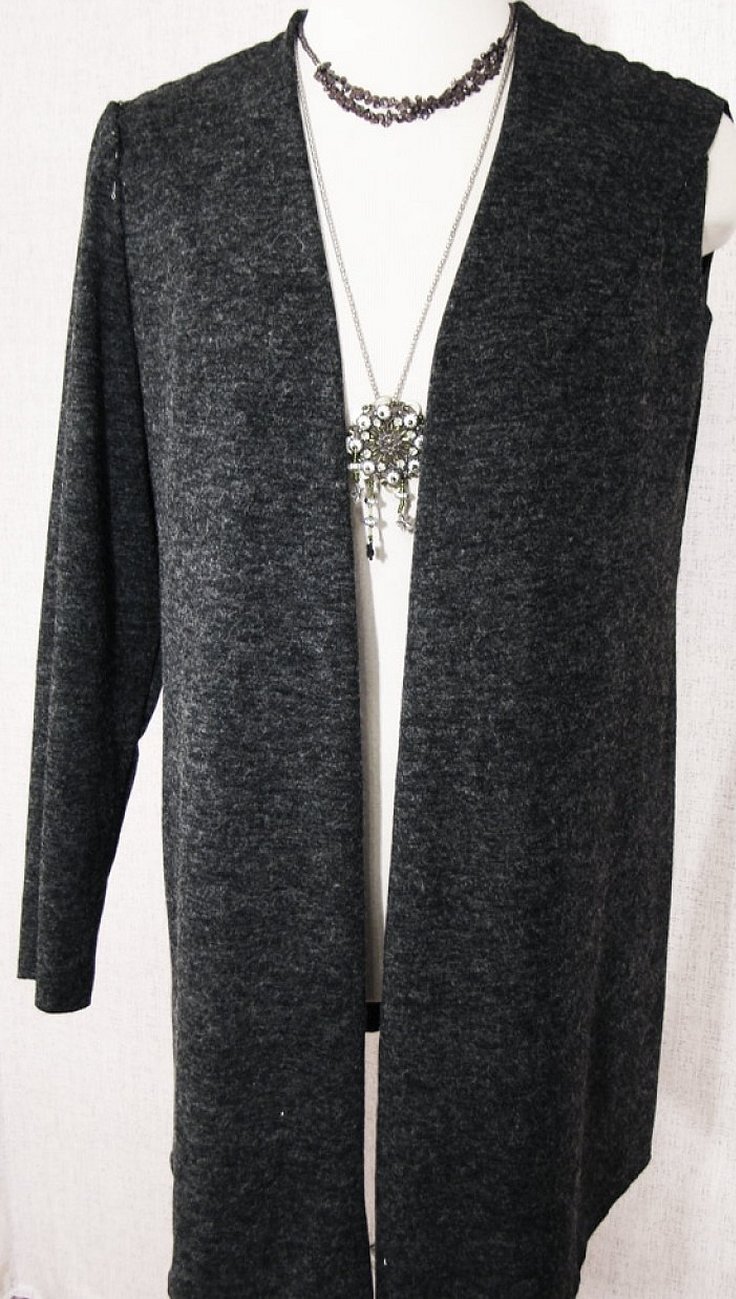
A cardigan is a modern sweater model consisting of a back and several front halves. It has a fastener along the entire length. It can have an addition in the form of patch pockets, belts and other draperies. How to take measurements and choose fabric for creating a cardigan, how to prepare the fabric for cutting, how to sew the model and process the edges? More on this and more below.
- Selecting fabric and taking measurements
- Opening
- Checking fabric for defects
- Decating fabric
- Direction of loops
- Cutting out a cardigan
- Laying out patterns on fabric
- Modeling the shelf and back
- Modeling the sleeve
- Cutting out
- Preparing for fitting
- Translation of chalk lines
- Connecting parts
- Fitting
- Sewing
- Making changes after trying on
- Stitching seams
- Product base
- Pockets
- Collar
- Connecting the collar to the product
- Sewing in sleeves
- How to sew a cardigan yourself and without a pattern
Selecting fabric and taking measurements
Before sewing a cardigan, you will need to take measurements of the chest, hip, arm and wrist girth. You will also need to know the arm length, the length of the entire product and the test measurement of the shoulder length and arm length. Then you need to go to the store for suitable fabric.
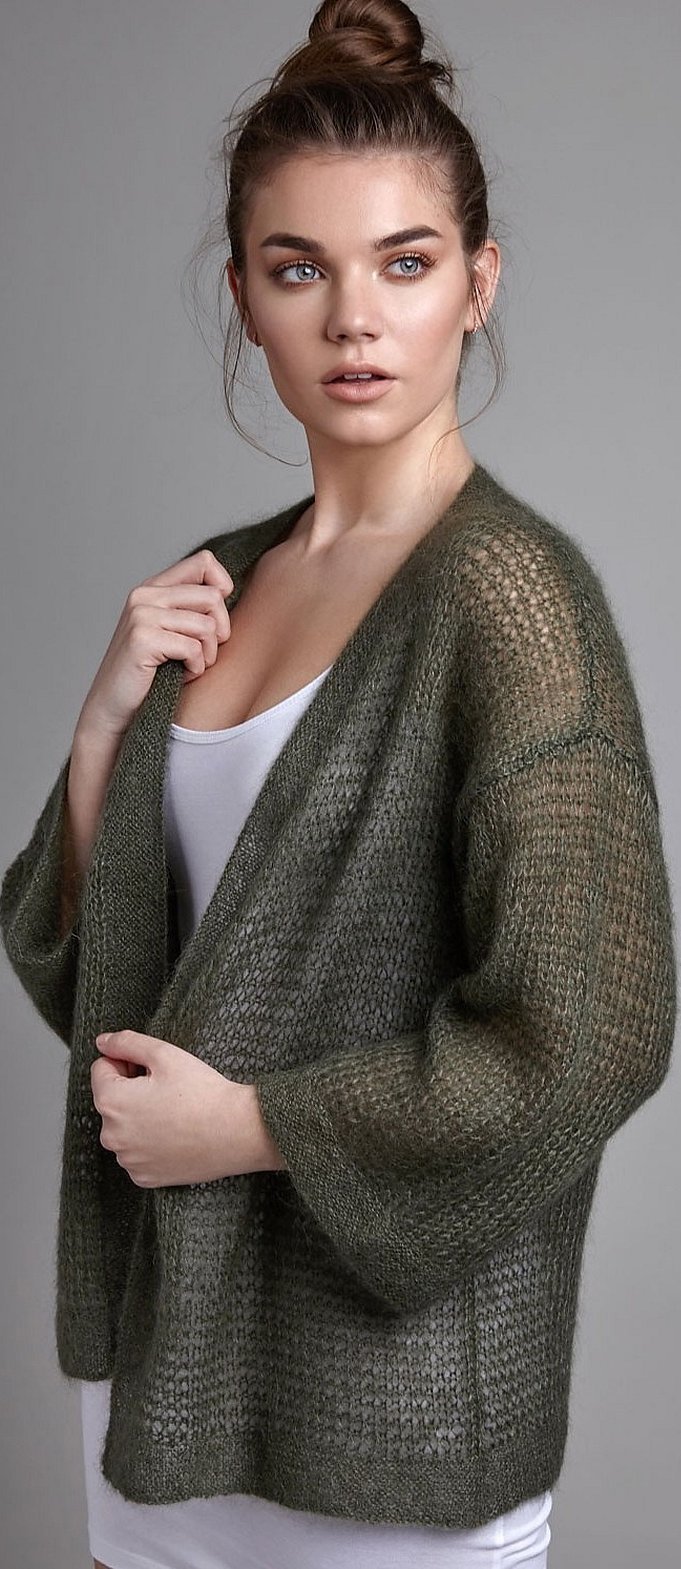
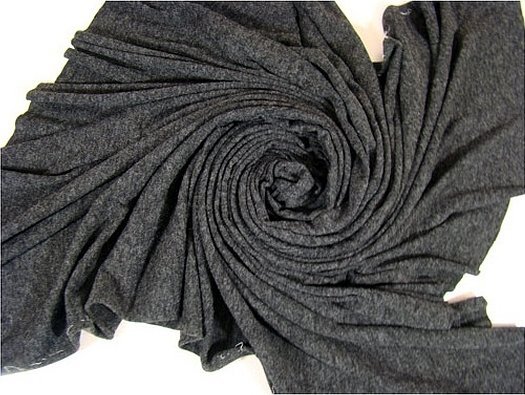
Please note! A cardigan can be made from tweed, mohair, neoprene, cashmere, jersey, angora, wool, footer, boucle, suede, mink, fleece and leather.
It is most pleasant to work with melange knitwear. For a standard product, you need to take a fabric with a width of 180 centimeters. If the fabric is 160 centimeters wide and the girths are over 120 centimeters, then you need to take one roll of knitwear and add another meter for the sleeve.
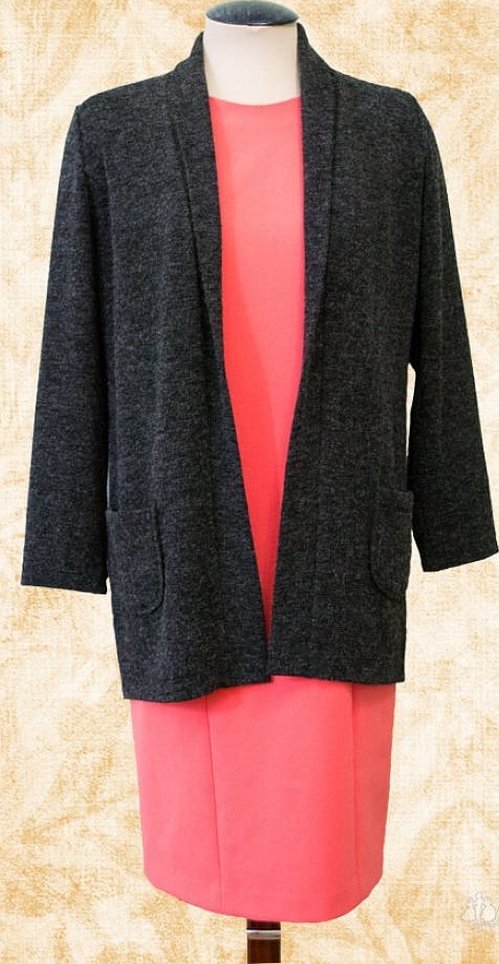
The beauty of a cardigan is that it can be sewn using any fabric. At the same time, using the presented pattern, it is possible to make a jacket with a robe and a kimono.
Opening
Before you start cutting, you need to prepare the necessary materials. Take knitted fabric with a reserve of 25 centimeters, an iron, scissors, a chalk board, thread, corners, pins, chalk, patterns of the shelf with the back and sleeves, a long ruler, a measuring tape and a serger.
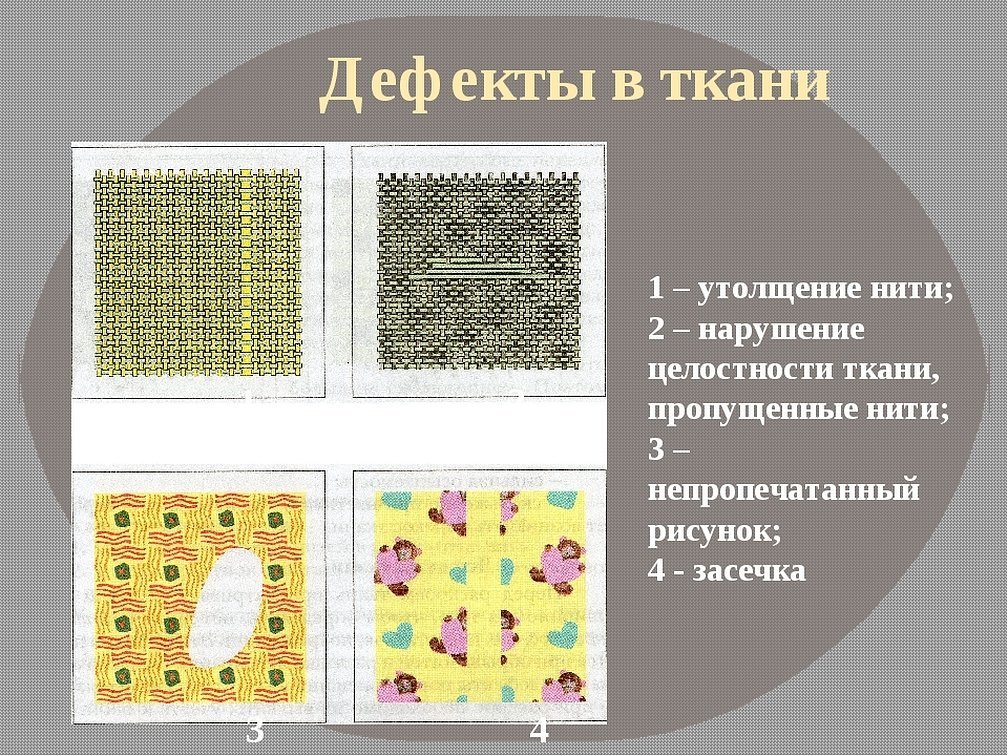
Checking fabric for defects
Before cutting, it is necessary to check the fabric for defects. It is possible to find knots, holes, textiles, etc. If there are defects, they should be immediately outlined with chalk.
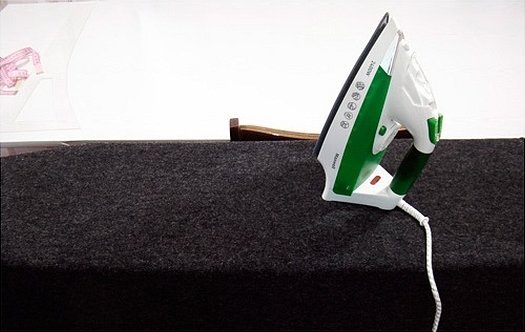
Decating fabric
Decating should be done during the initial stage of cutting. If it is not done, then during sewing, the parts will be deformed. This will lead to the fact that the product will be asymmetrical and skewed when finished.
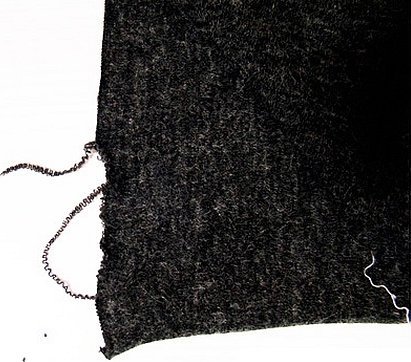
Direction of loops
To set the correct loop direction, you need to fold the fabric face inward along the edge. Place the edge edges towards you. It is worth noting that knitwear has its own peculiarity. Being a knitted fabric, it is knitted by machine, which means it has loops that are fed to unraveling. For this reason, the loops need to be placed from top to bottom. To do this, gently pull the thread in the transverse direction.
Please note! If the fabric starts to unravel easily, as when knitting a scarf, then the top is shown. Next, after determining the top of the fabric, you need to align the bottom, making a mark with chalk. From the resulting line, set aside an allowance width along the bottom of about 3 centimeters and again draw a bend line. From the resulting line, mark the length of the product upward.
Cutting out a cardigan
After checking the fabric for defects, decatizing it, determining the loop direction and cutting off excess fabric, you can begin cutting out the future cardigan, laying out the patterns on the fabric, modeling the front, back, sleeves and cutting out the details in a fashionable style.
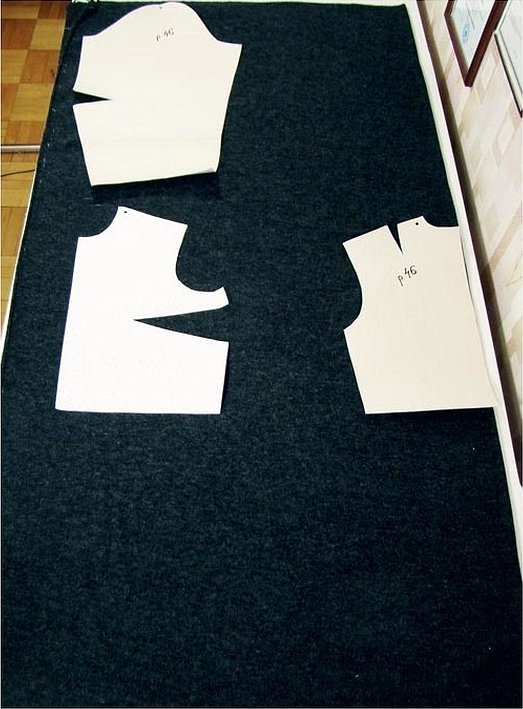
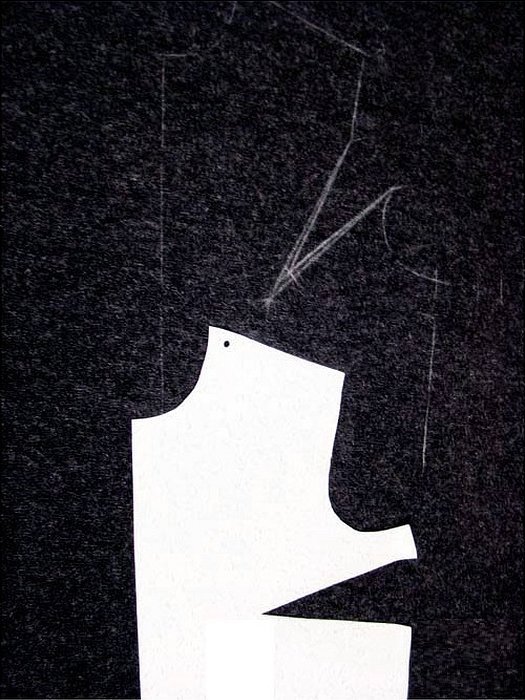
Laying out patterns on fabric
To lay out the patterns on the fabric, take the one-piece patterns of the front and back and place them with the highest shoulder point up. The center of the back should have the same point as the fold of the fabric. The gap between these two sections will be equal to the doubled allowance width along the side seams. To save fabric, use the second method. Place the front with the central part to the edge and leave an allowance for processing. This will allow more space for the front and back. This is especially beneficial when you have to cut out large pieces.
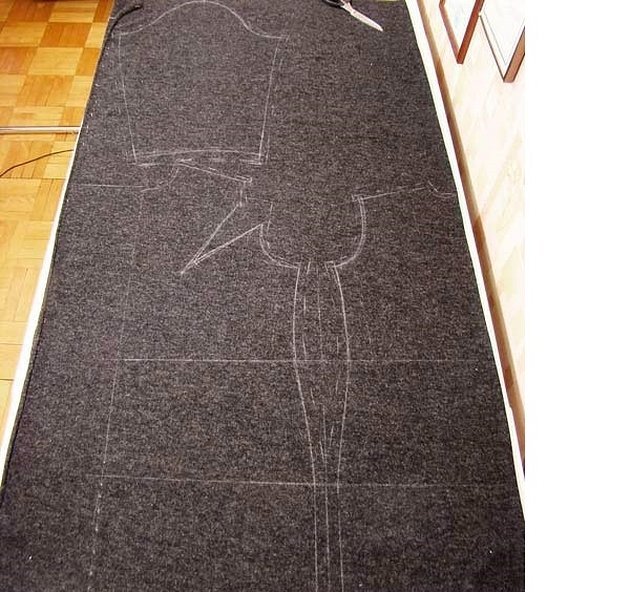
Modeling the shelf and back
The control pattern lines on the shelf and back (waist with hips and chest) should be at the same level. It is necessary to outline the details with chalk, transfer the dart to the armhole. This option will be perfect for those who have a lush chest. This will eliminate creases with folds in the armhole. It is also worth remembering to shorten the dart end by four centimeters from the distance where the center of the chest is located.
Please note! The dart on the back can be eliminated. To do this, shorten the shoulder seam line by the dart width and raise it by a centimeter. From the resulting point, draw a line until the highest point of the neck coincides. Mark the allowance width along the shoulder line and armhole line at one and a half centimeters.
Modeling the sleeve
The sleeve should be placed at the top of the edge. To do this, measure the sleeve length upwards from the shoulder of the shelf, adding a four-centimeter allowance for the sleeve bottom. Depending on the model and patterns available, you should determine the width at the bottom of the sleeve and reshape the elbow with the inner sleeve line. Apply allowances of 1.5 centimeters along the sleeve cap, 2 centimeters along the elbow. Check the design again for width and length. Be sure to take into account the allowances in order to create a loose fit.
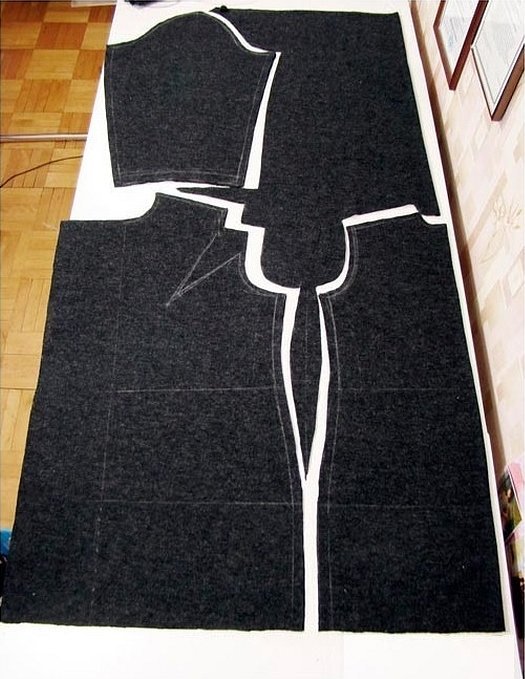
Cutting out
Next, cut out the patterned parts, taking into account the location of the allowances. To prevent the parts from sliding, pin them together.
Preparing for fitting
After the material has been cut out and the main stages of modeling the front, back, sleeves have been completed, and the parts have been sewn together, you can gradually prepare for the first fitting.
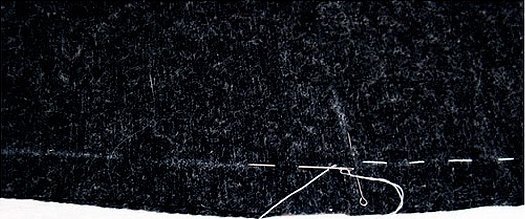
Translation of chalk lines
Using a chalk board cutter, draw chalk lines from one piece to another.
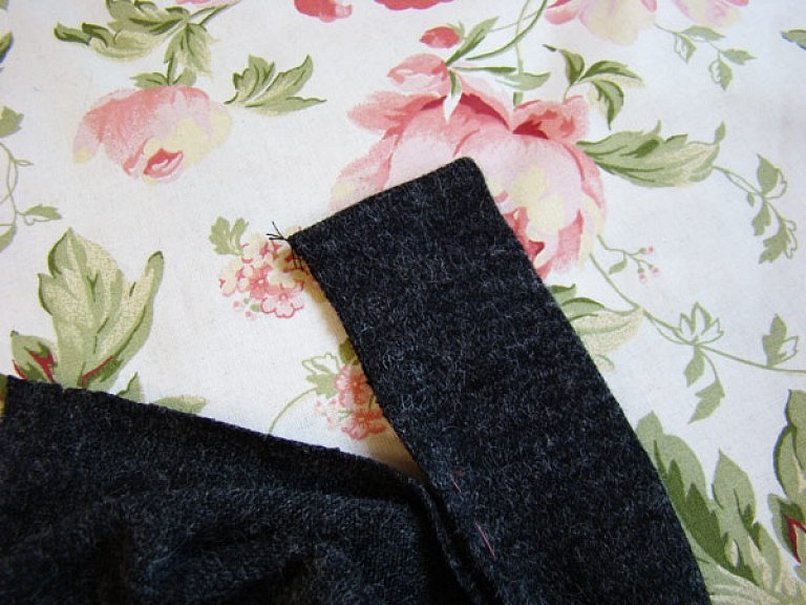
Connecting parts
Next, baste the darts on the front. Connect them to the back in the part of the side and shoulder seams. Baste the right with the left sleeve. The latter can be omitted, since if any changes need to be made, they are made symmetrically to the second side. The exception is figures that have an asymmetrical shape in posture. It is worth noting that if the model has decorative details, a collar, cuffs, pockets, then the first fitting can be done together with their paper or mock-up sketches.
Fitting
During the first fitting, the sleeve is pinned into the armhole and the length with the width of the product, sleeves, neckline are specified, the location of the decorative inserts is marked. The cardigan pattern is not always available, so the dream of a warm new thing does not always come true. But, you should not wait to find the right cardigan pattern made of knitwear.
Please note! Don't waste time searching, but make a boho cardigan yourself using basic patterns with the appropriate size. Just take them as the main ones, make the appropriate changes, and then make allowances. When trying on, you can immediately understand where you need to pick up, and where to skip, cut and remove.
Sewing
After the first fitting has taken place and measures have been taken to find possible errors, you can begin sewing the product for a woman.
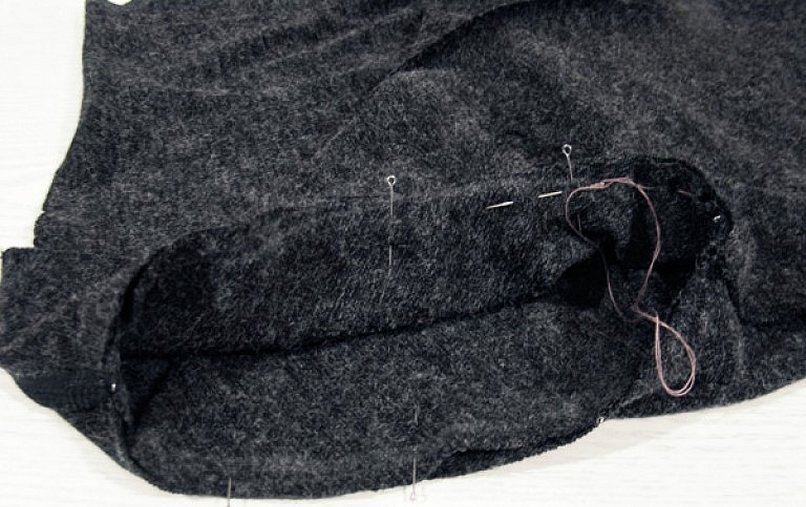
Making changes after trying on
Before sewing, you need to mark with chalk the places where the pins will be pinned to imprint chalk on both sides of the patterns. Then split the pieces. To make it easier to adjust the patterns, you need to remove the basting from each side and shoulder seam. Then take a tape measure and a ruler, measure the horizontal distance from the chalk marks to the cut of each piece. After summing up the resulting values, there will be a surplus. Now this value needs to be divided equally along the side seams in a specific area. To do this, divide the resulting total by two and distribute it along the side seams. The same action needs to be done on other chalk areas, and then slowly move down, adjusting the indicators.
This is required to even out the balance using the calculated path, since when trying on, the seam excess is pinned unevenly. If you do not do this procedure, then at the moment of joining the parts, you will get an asymmetrical, skewed and deformed cardigan.
After making changes to the side shelf and back seams, you need to connect the resulting line marks. To do this, fold the back piece in half, match the cuts and connect the marks with chalk, using the figured patterns.
Please note! Then combine the back with the shelf along the side seam, apply a centimeter allowance and remove excess fabric. This way you can cut off the unnecessary along the back with the shelf. The same action needs to be done with the other side.

Stitching seams
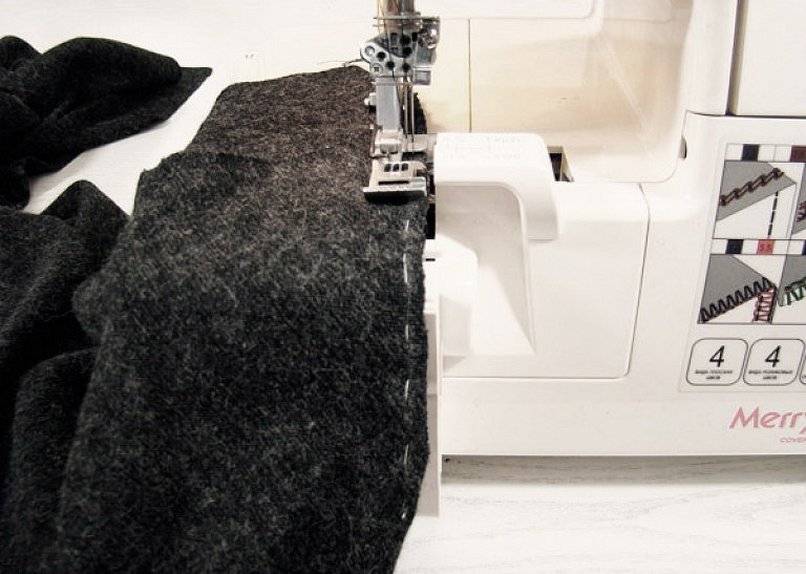
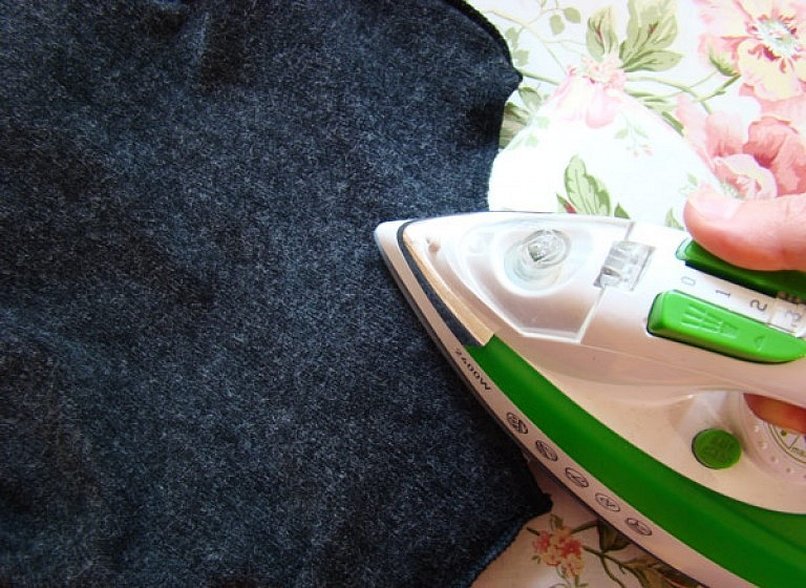
The darts need to be stitched on a coverlock, using a knitted stitch. If you don't have such a tool for working with knitwear, you can use a regular sewing machine, but be sure to use a knitted needle. Cut the dart allowances to a centimeter and overcast the edges. Iron the dart allowances. Then stitch the side seams from the place where the shelves are. Iron the seams onto the back part as well.
Product base
To make the base, you need to fold the women's cardigan with drape in half, aligning the cuts with the side seams, fix them with pins. Then connect them with smooth chalk lines along the armhole part and apply a centimeter allowance. Align the central allowance of the shelf with the bottom of the product. Leave the front allowance, having processed the cuts. You will get a simplified version of the cardigan, but no less unique.
Next, measure the armhole with a measuring tape. Be sure to measure the sleeve cap and find the difference in the resulting square. It should be about four centimeters. If it is more, then the excess should be distributed in the seams. Then change all the data, align the sleeve seams, make the cap with patterns, add centimeter allowances and remove the excess.
Connect the sleeve seams and shoulder marks. To prevent the seams from stretching during wear, glue the adhesive fabric to the back allowances with an iron before sewing. Iron the seams to the back.

Pockets
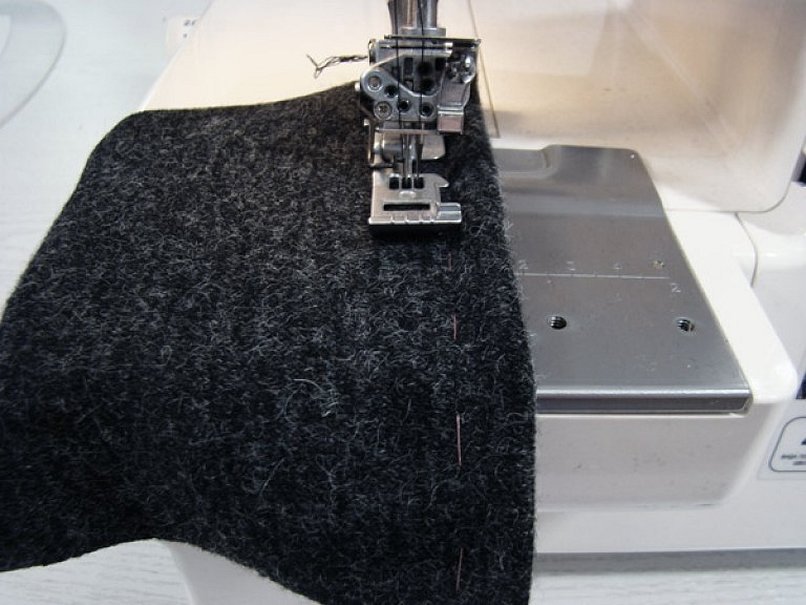
Next, cut out the pockets. Adjust the upper pocket allowances and stitch them using a coverlock and a flat seam. Adjust, baste and pin the pockets onto the cardigan. Then topstitch the pockets and remove the basting threads. Adjust the bottom of the sleeves and the garment, sew them using a coverlock.
Collar
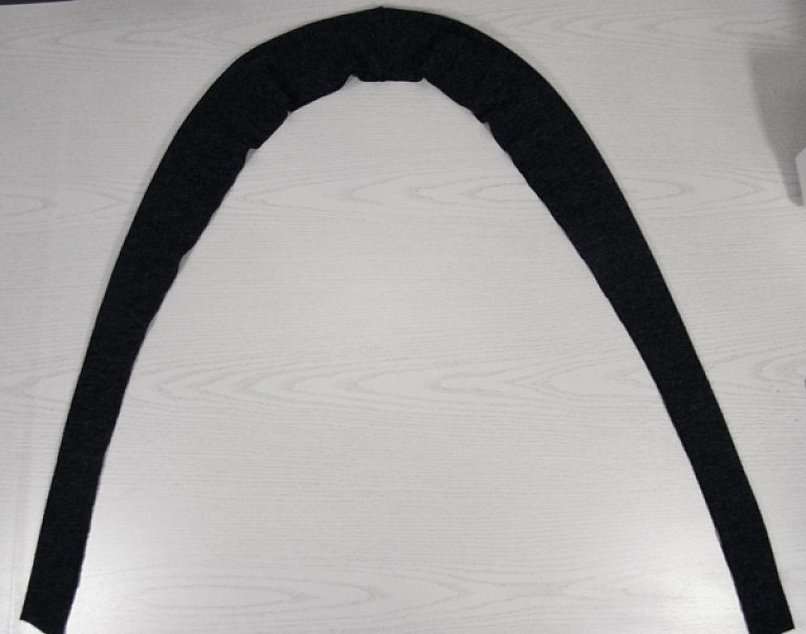
To process the collar, you need to cut out a fabric strip equal to the sides with the neck, allowances and the width of the collar. Then fold it in half lengthwise, align them, cut off the unnecessary, trim the ends with a coverlock, turn everything out and iron.
Connecting the collar to the product
Baste and sew the collar to the cardigan. The collar turned ends should have a point of coincidence with the bottom of the product. Interestingly, a hood can easily be used instead of a collar.
Sewing in sleeves
Sweep and sew the sleeves into the armholes on the cardigan side. Iron the allowances. If desired, you can use some decorative tape when sewing in the sleeves or decorate the sewn-on sleeves with machine embroidery, fittings, etc.
How to sew a cardigan yourself and without a pattern
If you wish, you can make a belt from the same fabric for the finished cardigan model or complement the fashionable product with a stylish summer belt, a rectangle of a linen brooch, a button and a flower with a lining. The resulting oversized cardigan is a universal and practical wardrobe item. It goes well with any skirt, trousers and jeans. It can help out at a time when there is no time to create a single elegant look.
Please note! It can be taken on any trip, as it can take up very little space. The soft fabric will be pleasant to the body and will be able to warm you up during cool weather.
In general, a cardigan is a type of warm autumn-winter sweater that is sewn from tweed, mohair, neoprene, cashmere, jersey, angora, wool, footer, boucle, suede, mink, fleece and leather. Before you start sewing it, you need to take measurements, make patterns and prepare the fabric. You should carefully check the fabric for defects, make it decating and determine the direction of the loops. Then cut out and model the shelf, back and sleeves, using ready-made patterns. As you create, try on and stitch the seams. After completing the formation of the product, process the edges and make pockets or a collar, if desired.


