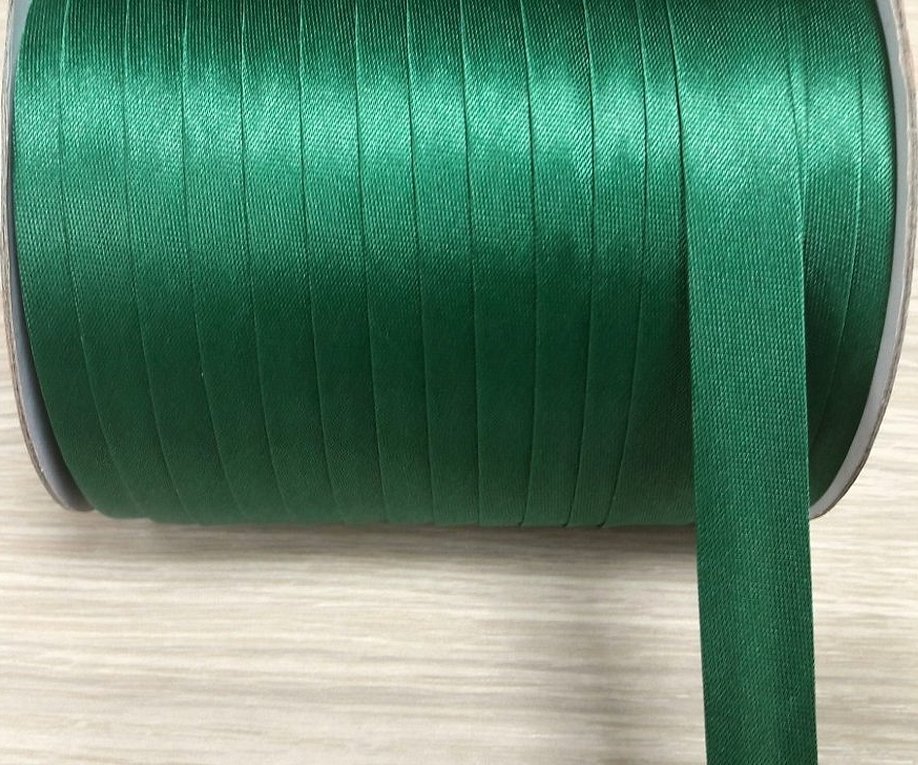
Only experienced seamstresses and craftsmen can easily use bias binding; a certain amount of skill is needed to sew it evenly and the first time. This article tells about what binding is in sewing, how to make it yourself, and what it can be used for.
What is bias binding
Bias binding is a thin strip of fabric cut at a 45-degree angle to the warp and weft threads. If a person is just a beginner tailor, then it is necessary to learn how to determine the direction of the grain line. Without this skill, it will be very difficult to engage in sewing production.
Bias Binding: What is it Used For?
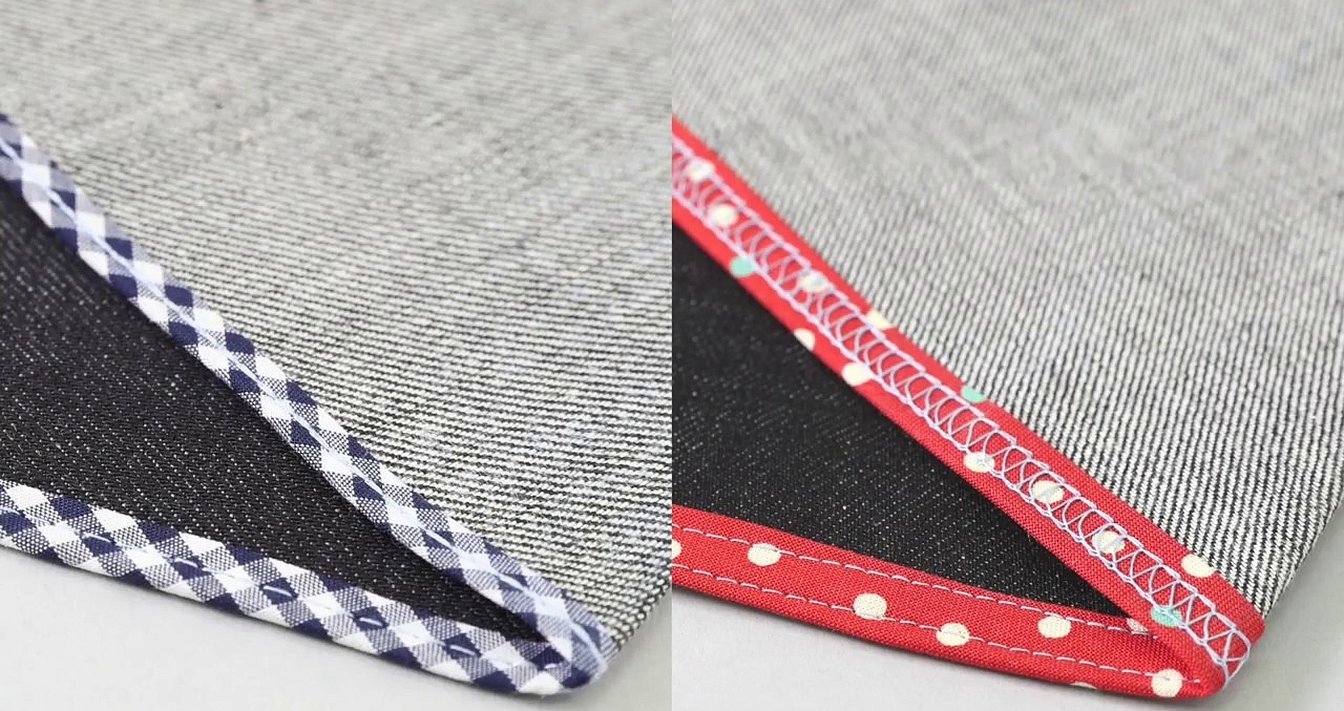
To make the edging of the edge of the item, bias binding is used. It looks very beautiful in a deep, rich tone on light fabric.
Making a piping is much easier than sewing a facing or facing to a garment, so if you are sewing on heavy or coarse material, or transparent fabrics, then a thick facing is not suitable.
In this case, a strip of bias tape (preferably tulle) will look better. The edging thickens the edge of the product and can act as a lining. The softness of the bias tape allows it to be used for edging any type of material, with various curved edges that are difficult to process with a facing. The strip of fabric can also be used for edging the bottom of the part, in cases where it is not allowed to process it with a hem.
Edging is used to highlight the edges of the collar, sleeves and pockets, as well as the sides and lower edges of sweaters. Mostly, bias binding is used from a material of a contrasting tone, square or with a pattern. Such decoration immediately attracts attention, therefore all steps of the work must be done very carefully, the strip of binding must be of equal width at all intervals of the product.
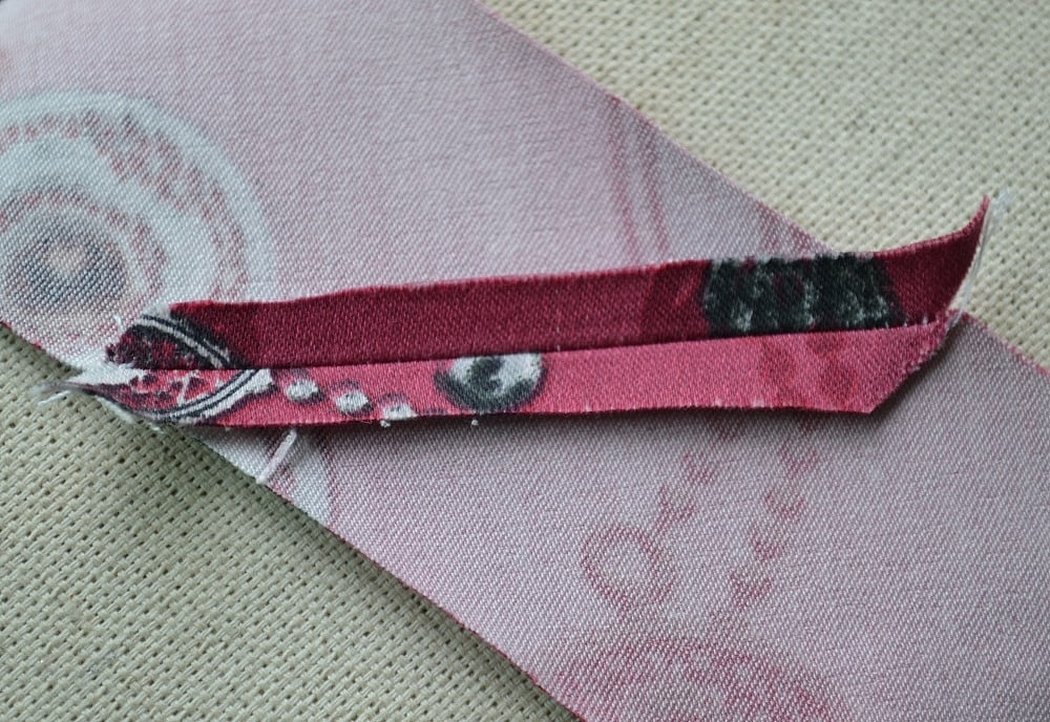
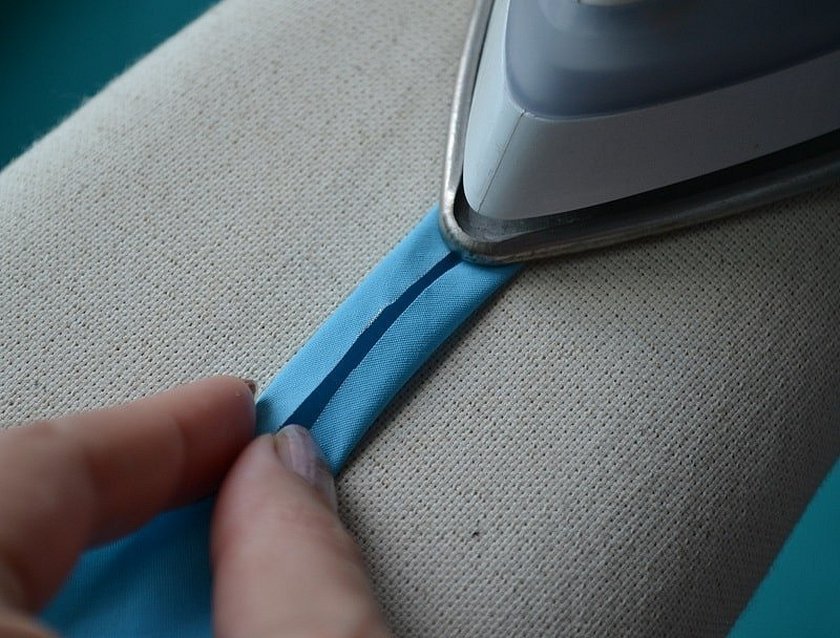
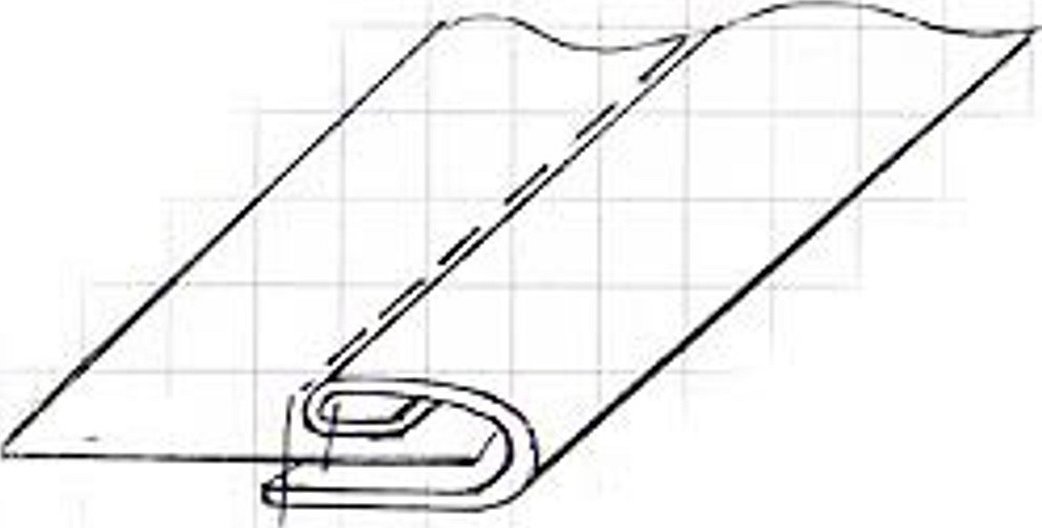
To prepare a classic single binding, fold the long edges of the cut bias binding to the center, leaving space for the middle fold. Iron the fabric in half lengthwise, making one edge slightly larger than the other.
Please note! To prepare a double fold (Italian) edging, fold the cut fabric in half lengthwise and then in thirds.
How to Make Bias Binding from Fabric
Making bias binding by hand is quite difficult.
Materials and fittings for work:
- Fabric. You will need a piece of finishing material from which strips will be cut. The width of the fabric from which the edge is cut is usually taken to be about 50 cm, with a material width of 120 cm.
- A large ruler, preferably a meter.
- Small ruler.
- Chalk or fabric pencil. There are special markers for light fabric.
- A sheet of A4 paper and a regular notebook sheet.
- Newspaper or tracing paper. Any printed material except office paper, as it is thick.
- Desktop.
- Sewing machine.
- Sewing threads.
- Scissors.
- Iron.
Master class on execution
Cutting execution:
- First, you need to draw the knitwear for the bias binding. It is advisable to draw at an angle of 45 degrees to the grain line. But 40 degrees is allowed. It does not matter.
- Now you need to mark the cuts at 45 degrees. For a 45-degree angle, take a regular sheet of office paper or a small notebook sheet and fold it from one corner. If the sheet of paper is even and not torn, then when you fold it, it will always form a 45-degree angle.
- Next, you need to draw all the corners.
- A little trick: To avoid confusion when sewing, it is recommended to draw all corners in one direction.
- Next, you need to cut strips of piping.
- The corners are connected and secured with needles.
- All seams are fastened and a piece of newspaper or tracing paper (any thin paper) is prepared.
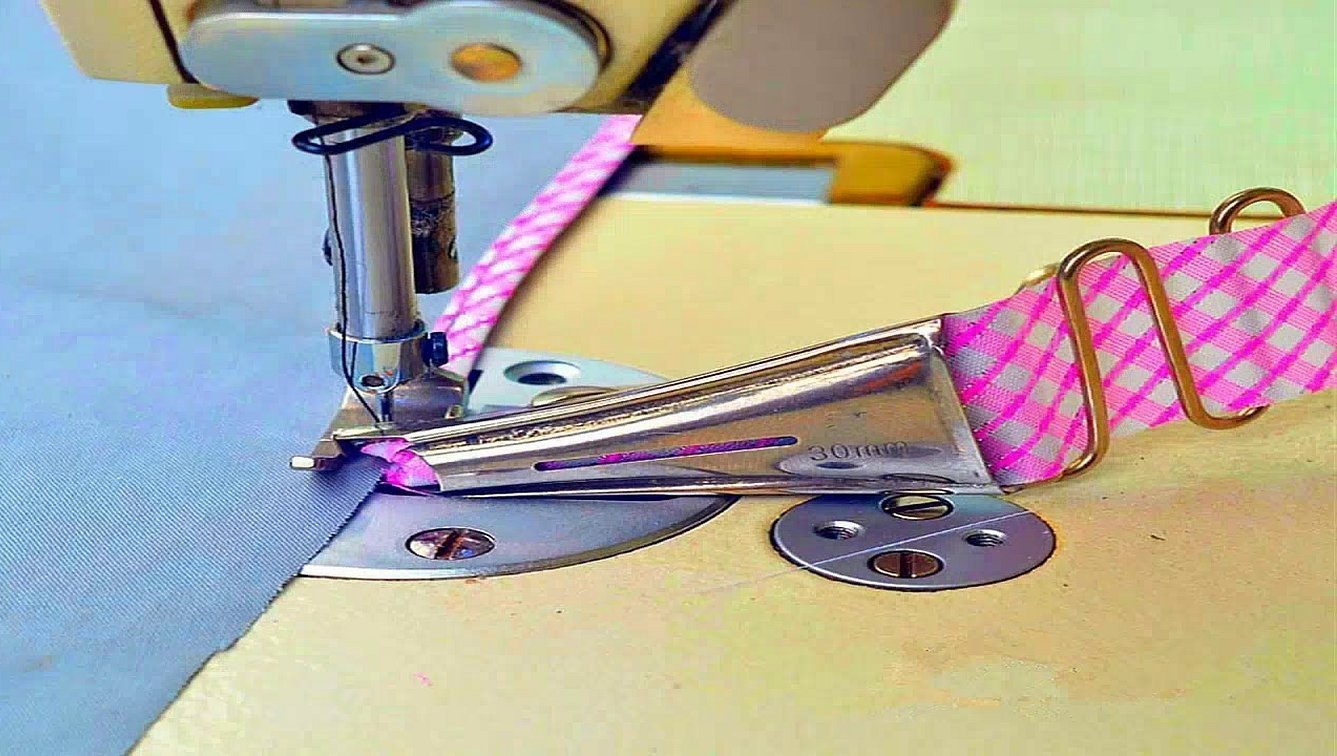
Machine operating technology:
- You need to place the needle at the intersection of the corners and start stitching the seam;
- The stitch length is 2-2.5 mm;
- 2-3 stitches are enough for securing;
- The result should be an even line, with fastenings at the beginning and end;
- Now everything is neat from the inside. You can remove the newspaper or tracing paper;
- If there are any pieces of paper left in the fastenings, carefully remove them with a needle.
The last step is to work with an iron. After work, - despite the paper, the machine slightly shrank the material, that is, the fabric is not even, but slightly wavy. At the end, the excess is cut off, and ironed at a temperature of 120 degrees.
How to sew bias tape on a sleeve armhole
Subsequence:
- It is necessary to cut off the excess on the sleeve, overlapping it by 1 cm inward onto the front and back.
- To process the armhole in a blouse with sleeves, you need a strip equal to the length of the armhole. For size 42, one meter will be enough. You can buy it in a fabric store, tulle or silk will work well, the cost is about 20 rubles*/m.
- Next, you need to smooth out the folded edge of the bias tape on one side with a hot iron.
- Place the strip of fabric with the right side facing the blouse, on the edge of the armhole, and make a straight stitch on the overlock, leaving 1 cm from the edge.
- The ends of the piping fabric must be sewn onto each other with a yarn over.
- Next, you need to bend it back to the armhole allowance and sew them together, stepping back from the edge of the bias tape by 0.5 mm. This line will be the most important, because it holds the folded edge inside, preventing it from coming out onto the front side, so when worn, the item will look neater.
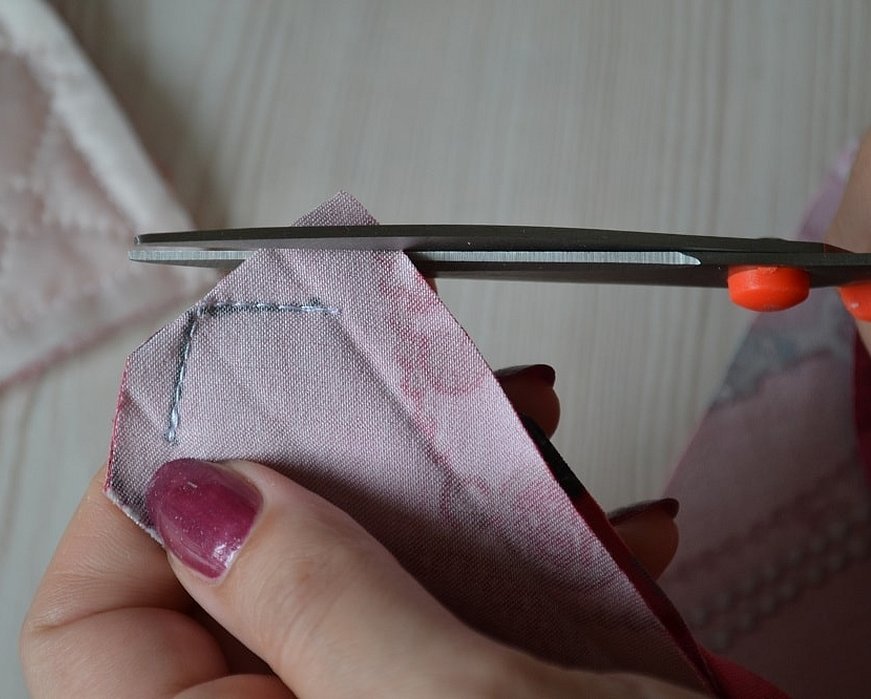
- Make cuts on the seam allowance with scissors, every 3 cm. Cut the bias tape to the size of the seam allowance.
- Machine-stitch the edge of the bias binding and allowance (you can use a zigzag stitch). Fold the edges inward and sew on a basting stitch yourself.
- Sew the folded edges of the armhole on the overlock, remove the basting stitches, iron with a hot iron. The job is done.
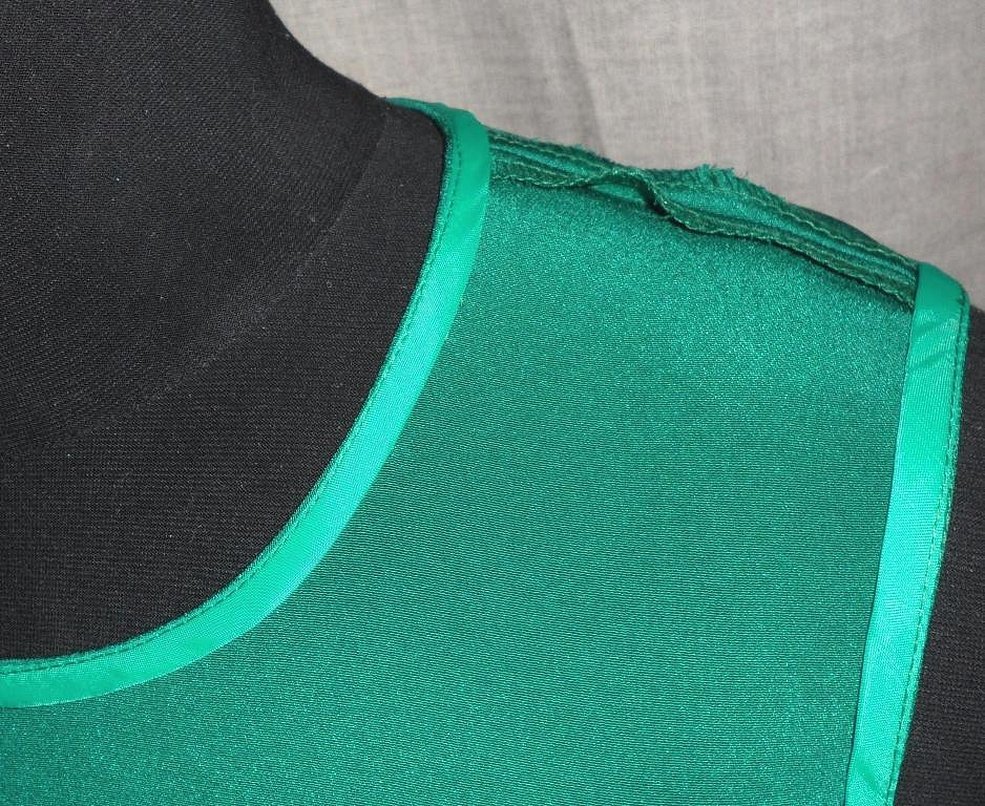
How to Finish a Neckline with Bias Binding
Step-by-step instructions for processing the neck:
- To begin, cut out a diagonal strip to the size of the neck and approximately 4 cm wide.
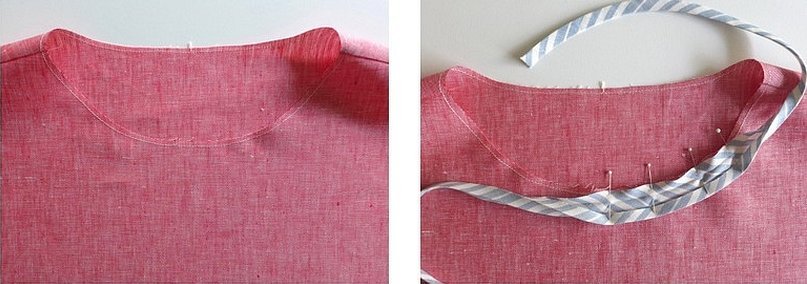
- Place the face to the face with the beginning of the neck. Next, you need to stitch 1 cm from the cut.
- Next comes the hardest stage of the work: it is necessary to stitch, slightly pulling the binding, so that ultimately it does not tighten the neck and does not stretch itself over time. On straight places, pull weaker than on oblique ones, i.e. on curves, pull stronger.
- For a beginner seamstress, this is quite a difficult task, so it is advisable to pin the bias tape to the neck of the product with needles and baste it, this is necessary in order to see how the fabric lies, and if necessary, to redo it. Then the tape needs to be stitched on the machine.
- Everything should be done neatly and symmetrically. Fold the product in half and check. If the neck is intact, then, having reached the starting point 4 cm away, the line is interrupted and pulled tight using the connection.
- If the product is made correctly and symmetrically, the size of the neck remains the same, then trim the allowance to 0.4 cm.
- Next, you need to straighten the neckline from the front side and step back 1.3-1.5 cm from the seam where the binding joins the neckline. The main thing is to straighten the seam perfectly so that the allowance is the same. It is recommended to cut off the excess.
- Fold the allowance to the edge, bend it, close the seam, sharpen it by 2 mm and baste it by 2 mm. Fold the ends of the binding inward.
- After the neckline is basted, stitch along the front side into the seam where the facing joins.
- It is necessary to iron the roll (strip of fabric) carefully so as not to wrinkle it, carefully direct the binding to the line with the tip of the iron, you can pull it a little. And the seam will be almost invisible.
- Suede or leather piping is very popular. Artificial leather or Ultrasuede suede can be used to process the product.
- The advantages of these fabrics are that their edges do not fray, they hardly wrinkle and they are easier to work with. To hem the material, you just need to fold it and that's it.
- For example, to make a 15 mm wide leather piping, cut out a 4 cm wide strip. They are also cut along an oblique line and should overlap by 5 mm diagonally.
- Next, the strips are folded in half with the wrong sides together so that the side that will be on the front of the product is 20 mm, and the side that will be on the wrong side is 25 mm. Finally, the strip needs to be basted to the product and that's it.
Fabric consumption for the required amount of piping
Horizontal size - (along the cross thread) = square root of 2 * 3.5 = 4.95 cm.
Number of strips: 80 cm of material width must be divided by the width of 1 strip = 80/4.95 = 16 strips.
The size of each strip = square root of 2 * 80 = 1.41 * 80 = 112 cm
Total footage = 16 strips * 112 m = 1792 cm
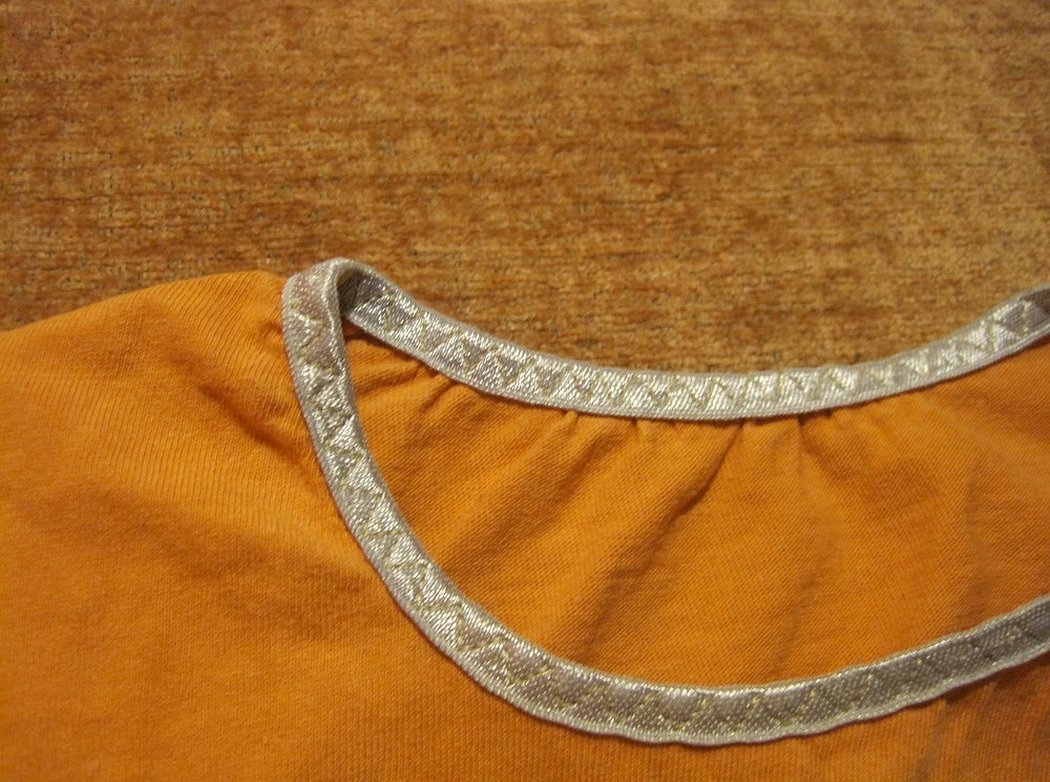
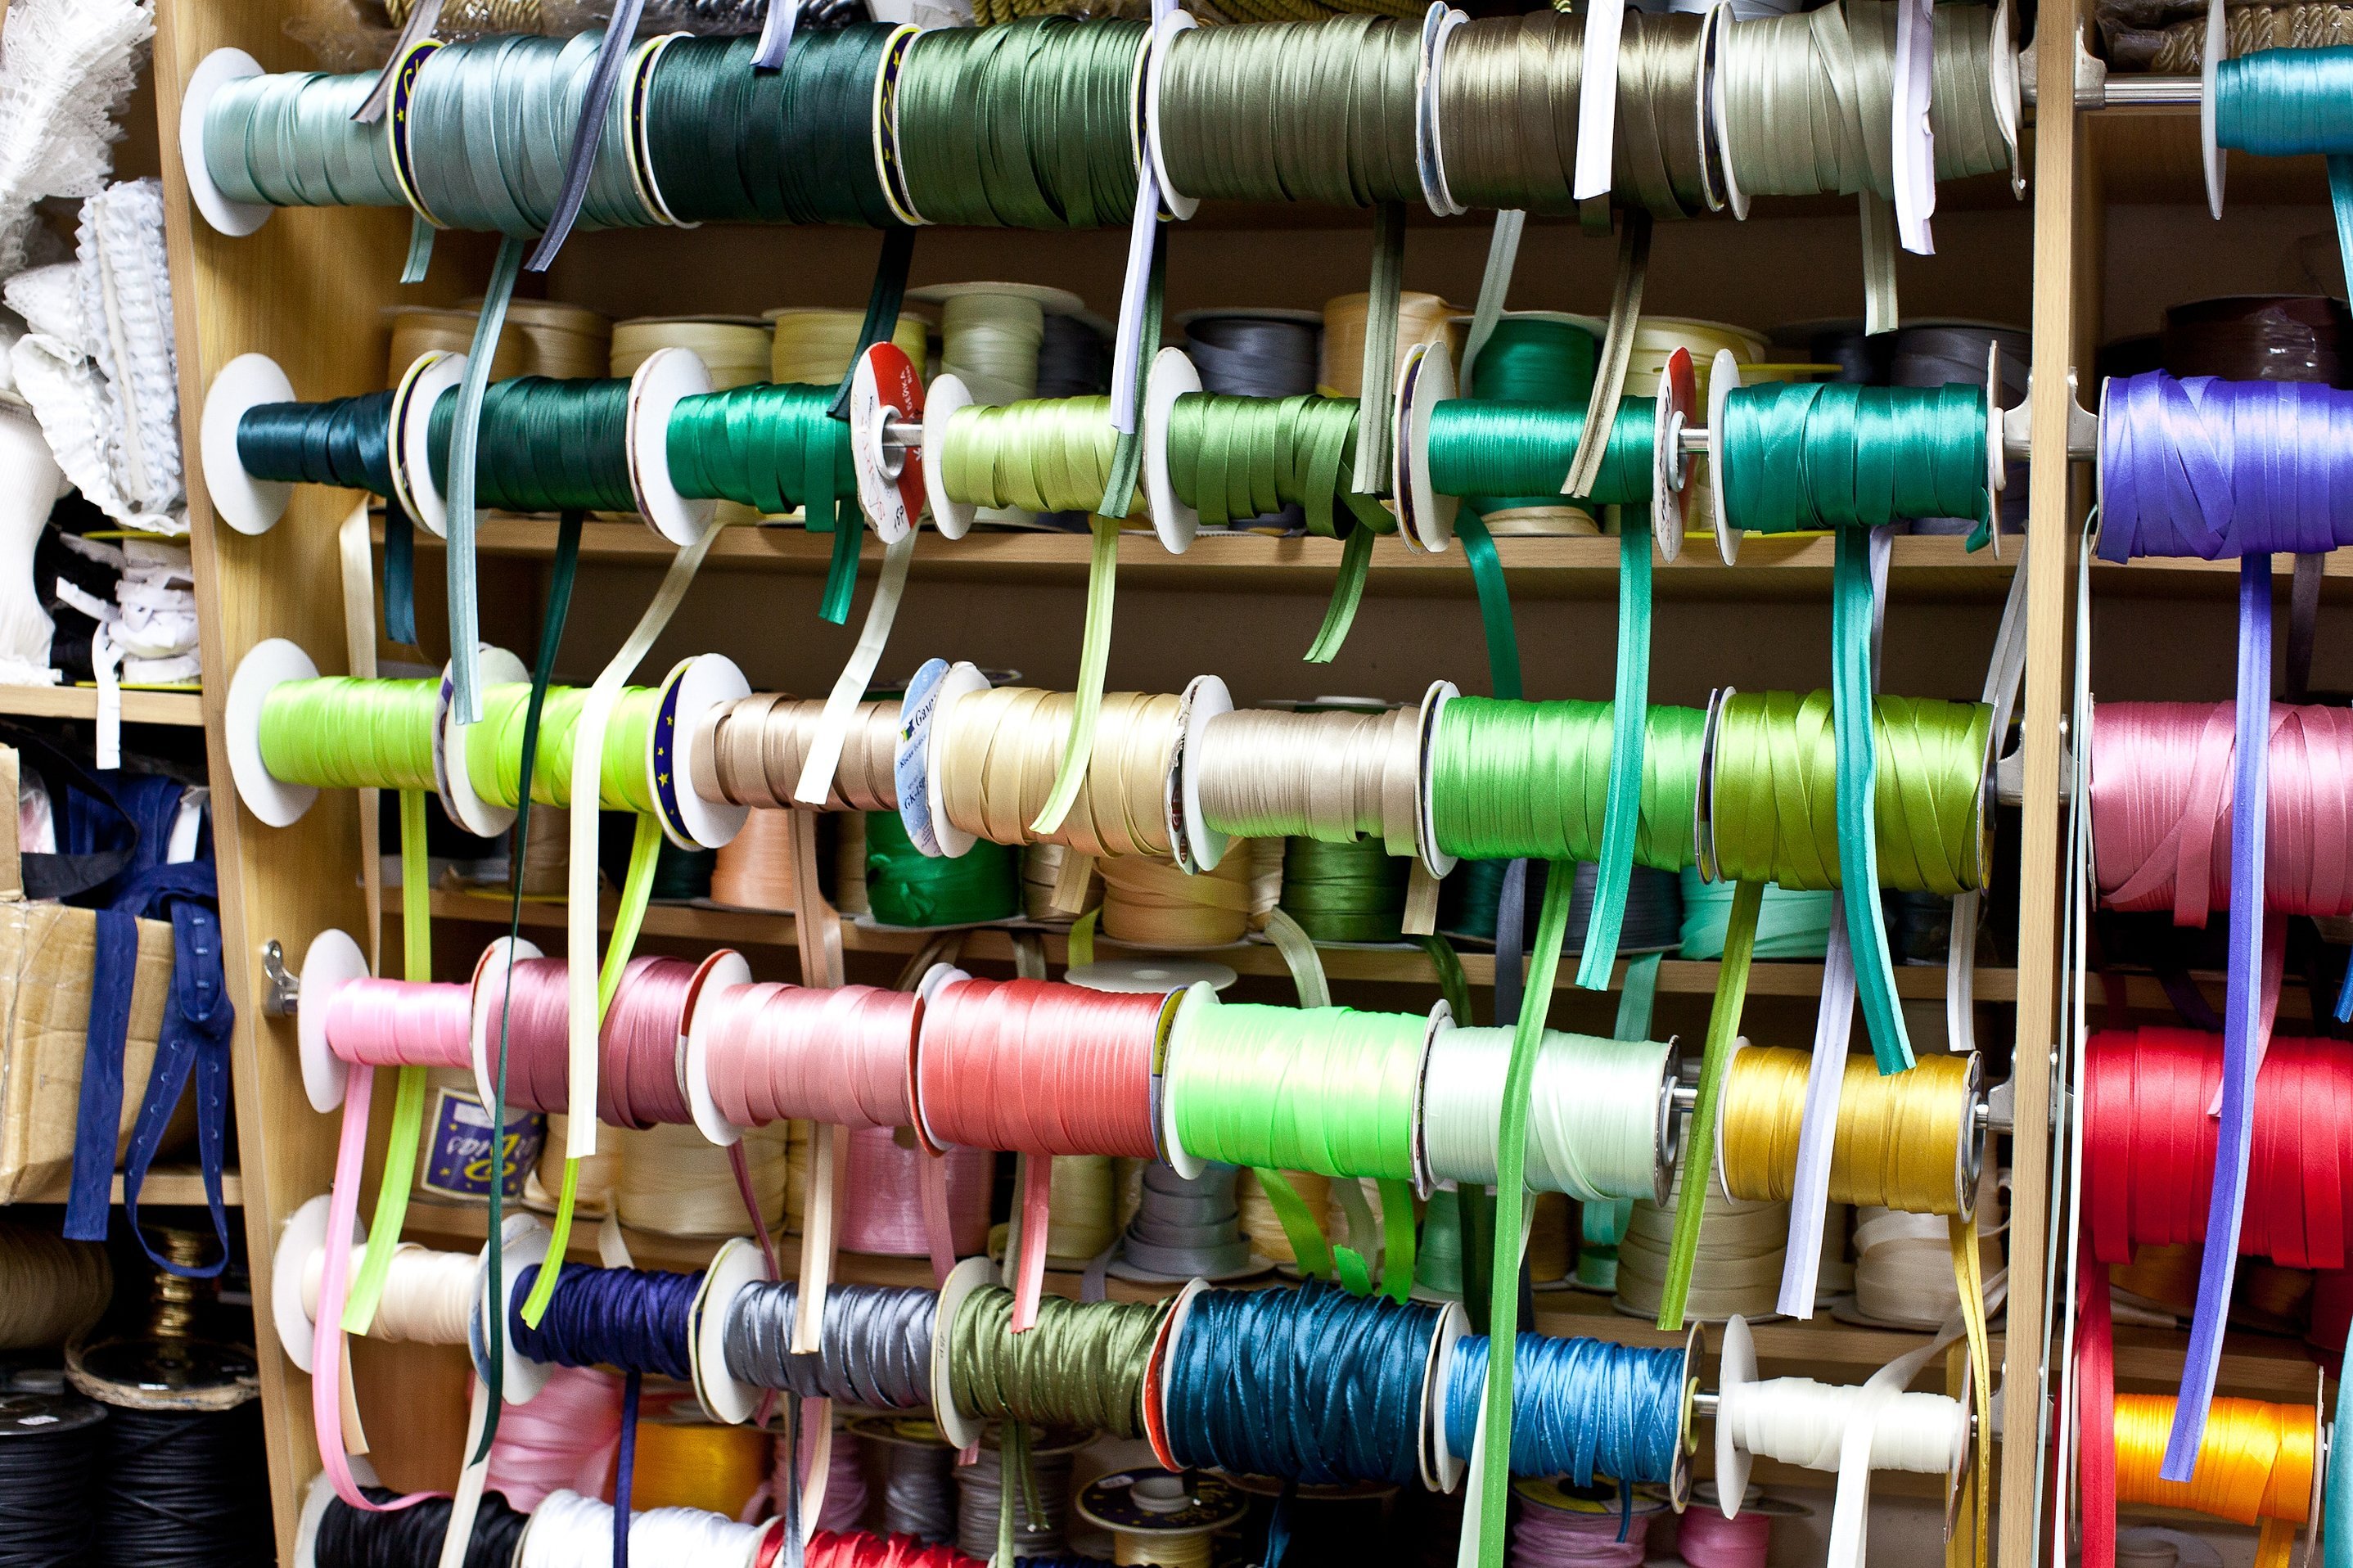
In conclusion, it should be noted that edging with bias tape has been gaining popularity in recent years. When using strips for edging, the product looks completely finished and elegant. This idea is suitable for dresses and blouses. You can also try different bright colors of edging for natural-colored products. To understand how to make bias tape with your own hands, you need to follow the instructions in this article.
*the prices indicated are valid for June 2019


