When sewing any item from fabric or leather, you must first construct its parts on paper and only then transfer them to the material. This allows you to avoid mistakes and shortcomings when cutting. Paper parts are called patterns, the term "pattern" is also used - what is it and why is it necessary?
- What is it needed for?
- Pattern and template - what is the difference
- Tailoring patterns: types and shapes
- Why do we make notches on patterns?
- Basic principles of manufacturing
- Why you should make your own patterns
- How to make a pattern
- What materials are best to use?
- Technical requirements for manufacturing
- How to change the size of a blouse pattern
What is it needed for?
Sewing any clothes begins with the construction of a pattern or templates. These are drawings, templates or samples of parts from which the clothes themselves will be assembled.
Any sewing of clothes occurs in several stages:
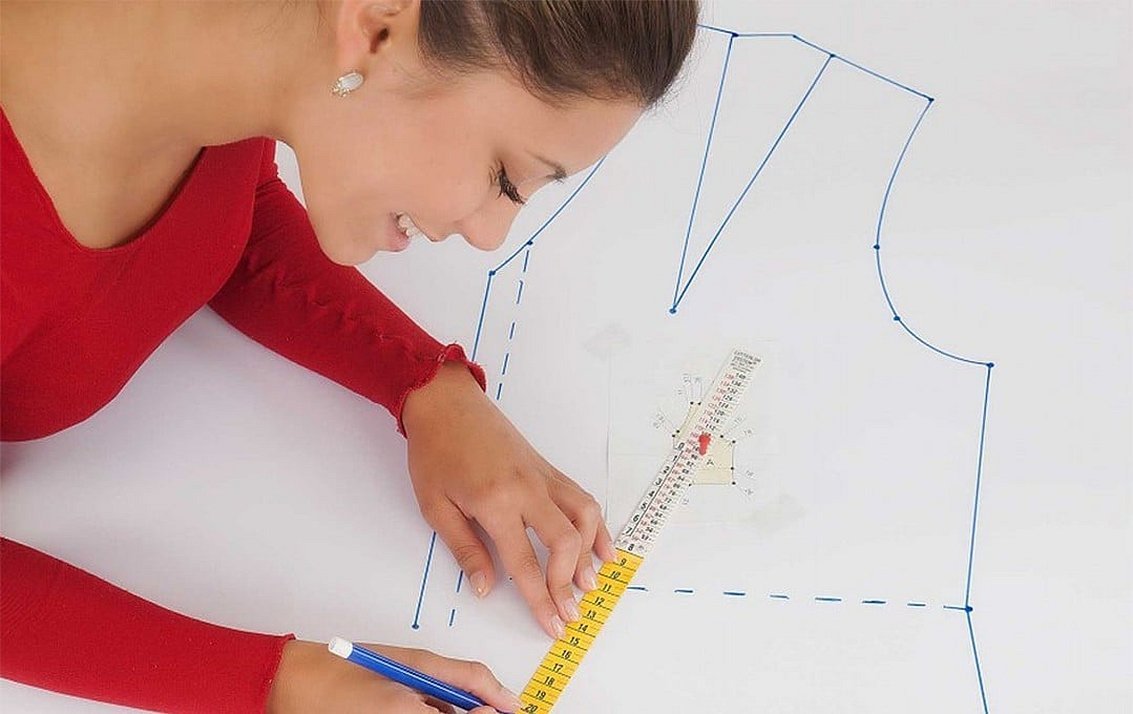
- Taking measurements from the model;
- Construction of patterns;
- Cut the fabric according to the patterns;
- Joining pieces of fabric and trying them on if necessary;
- Sewing all the parts together and subsequent finishing: sewing on buttons and zippers, finishing the seams.
The whole process depends on the correct construction of patterns: the more correctly and accurately they are made, the easier it will be to work later. But what are patterns for?
Important! Do not confuse a pattern (its definition is a drawing instrument with which you can draw a curved line) and a tailor's pattern (the word is used only in the plural).
Pattern and template - what is the difference
Patterns are several details drawn on paper. If necessary, they can be changed, for example, lengthened or widened, details can be changed, creatively reworked. When using patterns, the main thing is to look at how the clothes fit during the fitting and correct them according to the situation. They are usually used in home sewing or when creating a custom product.
What is a sewing pattern? A pattern is a ready-made template for a batch of a product with all seams and allowances indicated. They are prepared for a specific item and a specific size, they cannot be changed or reworked in any way. The presence of a stencil means that the test item has been sewn, all changes have been made, and the entire batch can be made according to them.
There are other differences between the concepts:
- Patterns are made on paper, regular or graph paper, templates - on thick cardboard with a density of about 0.3 grams per meter. Some companies keep standards - the most clear and precise;
Important! Sometimes patterns are drawn on regular paper, but after cutting out a batch of items, they become unusable.
- Patterns are designed for one, rarely several times, as they quickly deteriorate and are adjusted to individual sizes. Patterns are used many times, according to them, batches of clothes are sewn;
- Patterns, unlike sewing patterns, are more precise; all seams, allowances and darts are marked on them.

Tailoring patterns: types and shapes
Stencils can be:
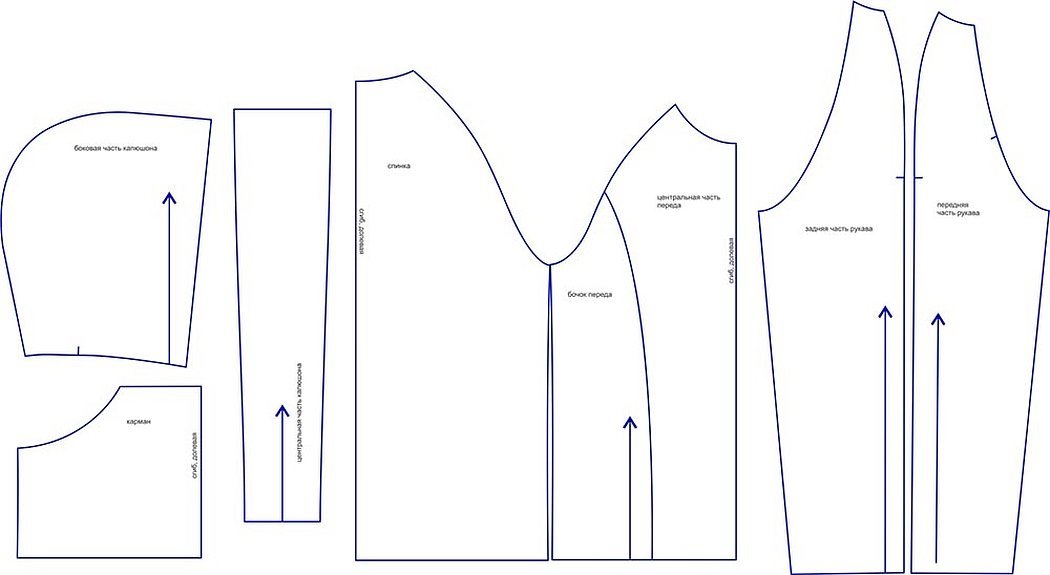
- Basic: necessary for cutting out the main parts of an item. This includes the back, sleeves, fronts, and backs of pants and skirts;
- Auxiliary: they are used to construct cuts and pockets, and mark the locations of loops and buttons;
- Production: these include templates for parts that serve as finishing for the top or bottom of clothing. This includes collars or belts.
Why do we make notches on patterns?
You can often see notches and slits on stencils. These are control points along which all the parts are then connected. This is an excellent auxiliary device needed to facilitate the process of assembling the finished product. For example, on the stencils of a jacket, a small mark is placed on the back and fronts at waist level on the allowance of the side seam.
Basic principles of manufacturing
Before you start building a stencil yourself, it is worth remembering a few rules. They will help you do everything quickly and without mistakes:
- The final version of the pattern can be constructed only after sewing a control sample, that is, after checking the pattern;
- They need to be made from strong and durable material;
- Write down all the necessary seams, allowances and details on the template, and indicate the dimensions and degrees if necessary.
Why you should make your own patterns
It is worth making stencils of a specific item if you plan to make several identical things, for example, for similar soft toys or furniture. All the details are marked on such samples, they have been worked out in sewing and will not change.
You can also make drawings for individual parts of clothing, such as collars, armholes, pockets. This will help speed up the sewing process and simplify it.
How to make a pattern
Making patterns with your own hands is not difficult. The layout can be done in several steps:
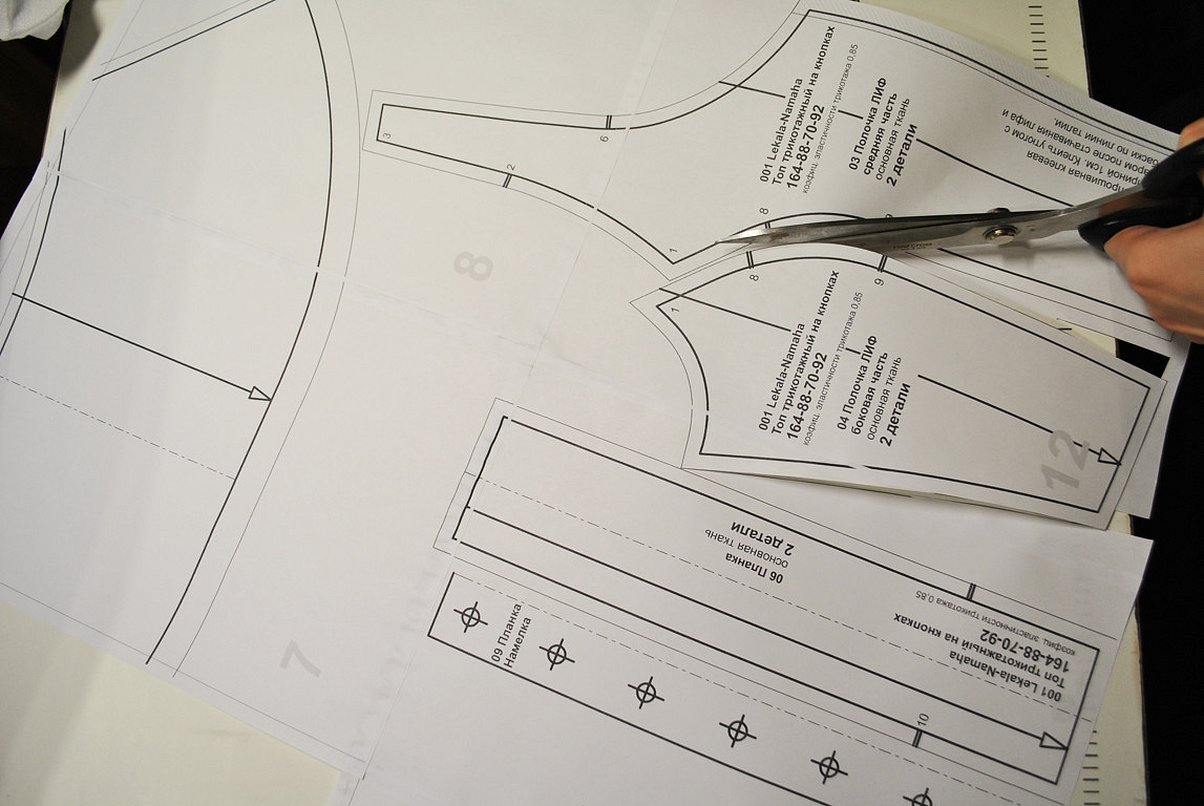
- It is necessary to prepare all the necessary materials: a base, writing instruments, a pattern that needs to be transferred, rulers, pins for fastening;
- The template must be placed on the base and secured with pins;
- Trace the pattern and cut it out of thick material, signing if necessary;
- Transfer all necessary designations;
- Secure the edges with something thick so that they don’t fray.
What materials are best to use?
The lifespan of the samples and the convenience of working with them depend on the density and quality of the material. You can use:
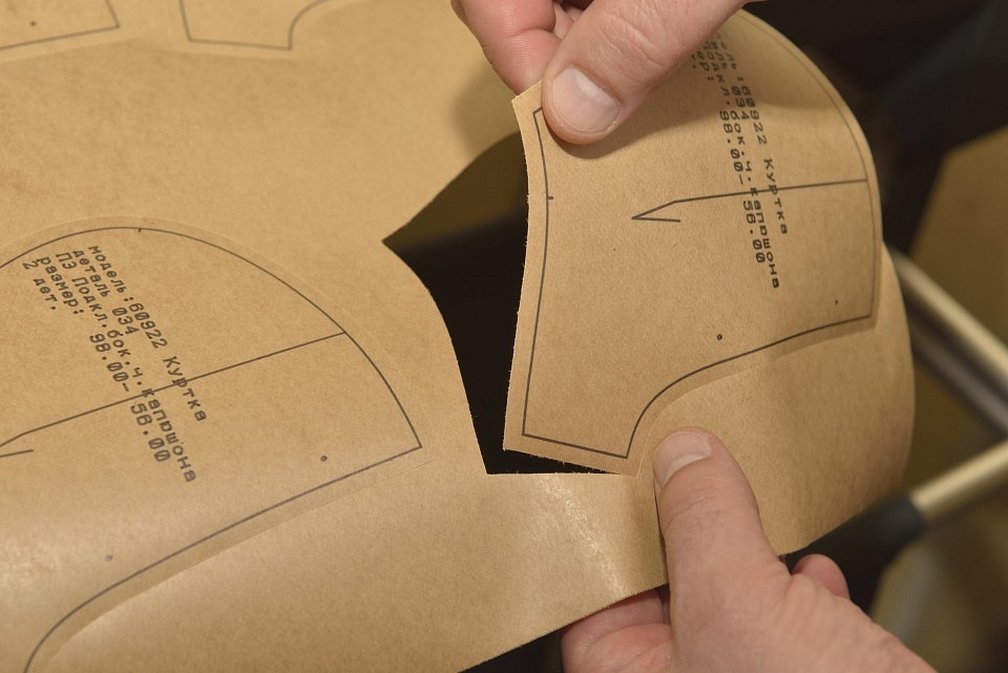
- Tracing paper. This is a translucent white paper that is great for transferring patterns, for example, from a magazine. Tracing paper is sold with a smooth and rough surface in thin rolls of different widths. The material has two disadvantages: it tears easily and rolls up;
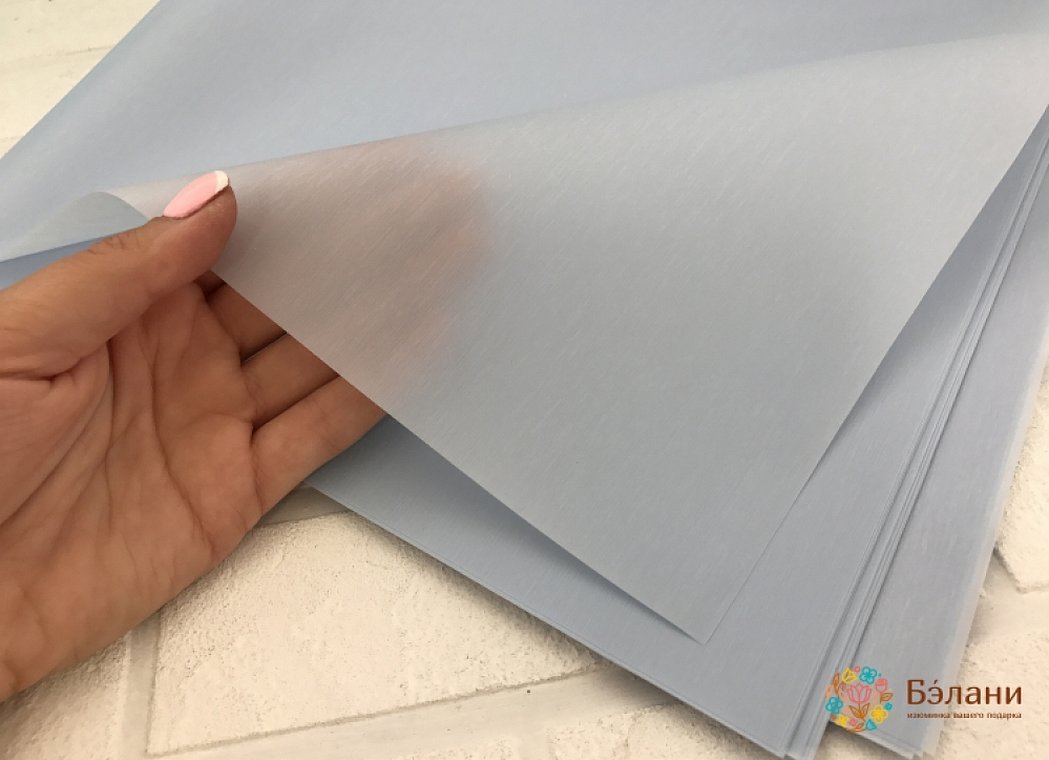
Important! To straighten the tracing paper, it must be ironed with a warm iron.
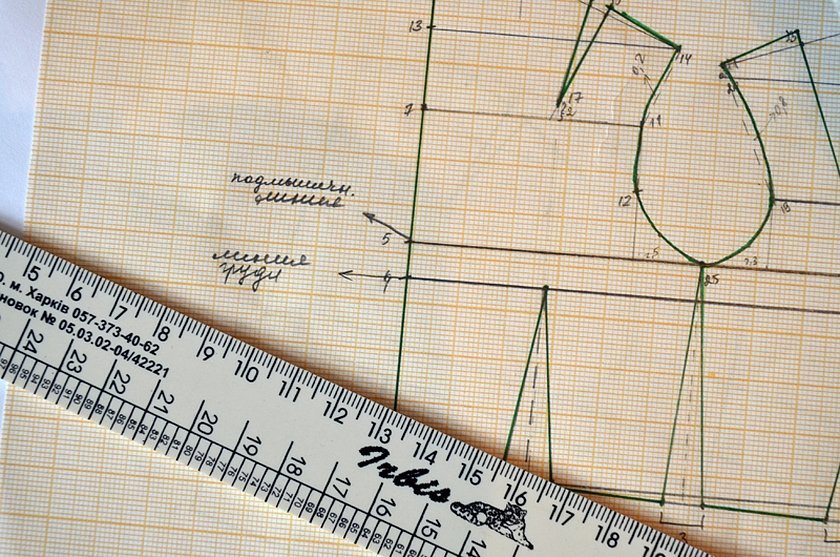
- Graph paper. Thick paper with drawn cells, the sides of which are equal to a millimeter. Such paper is usually used to create drawings, it is also suitable for patterns. Graph paper is thicker and more durable, but not by much;
- Cardboard. Usually thin or medium-density cardboard is used. This material is more durable and reliable, and if handled with care, it will easily last for quite a long time. It is important to reinforce the edges of the sheets in advance, as they will gradually begin to wear out and fray;
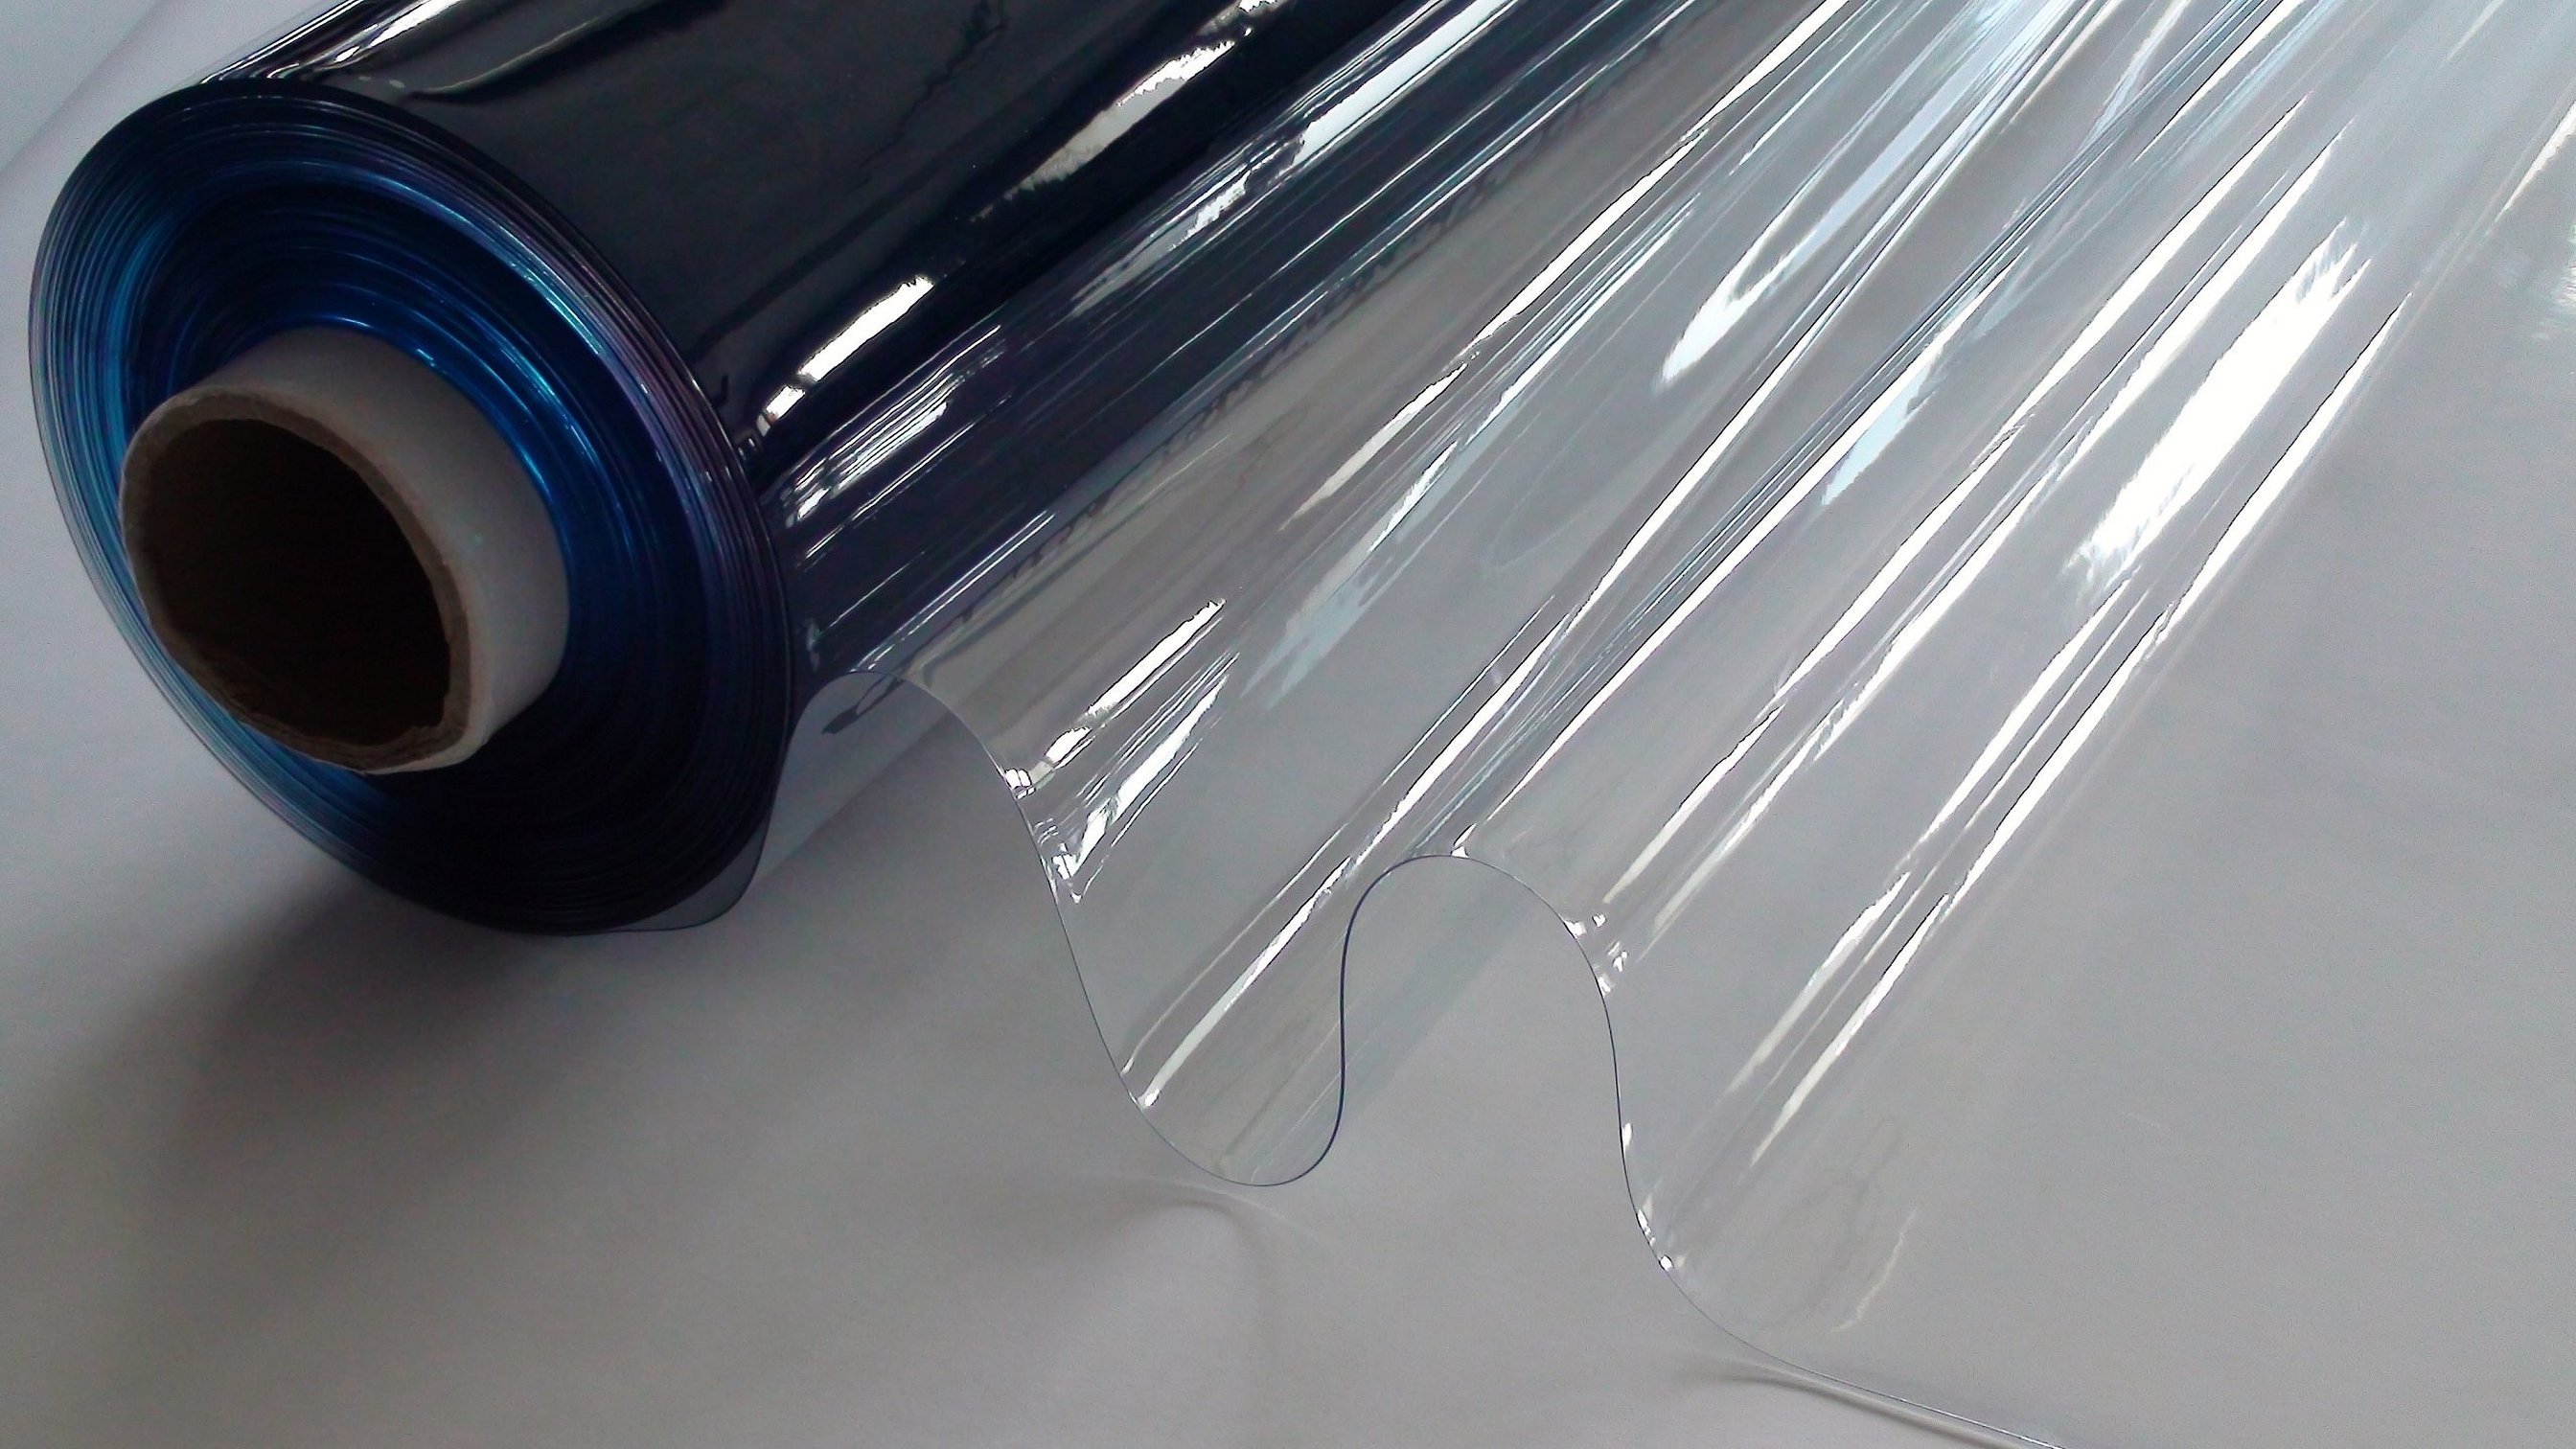
- Transparent PVC film. It is not afraid of moisture and does not tear, thanks to the "sticking" due to static electricity, it is easy to build on the film. You can store patterns made of film by rolling them into a roll;
- Plain paper. If the pattern is needed urgently or is not intended to be used more than 1-2 times, you can glue several sheets of paper together and cut out the resulting large piece.
You can also use other materials: fabric, oilcloth, even simple newspaper.
Technical requirements for manufacturing
To the production of patterns
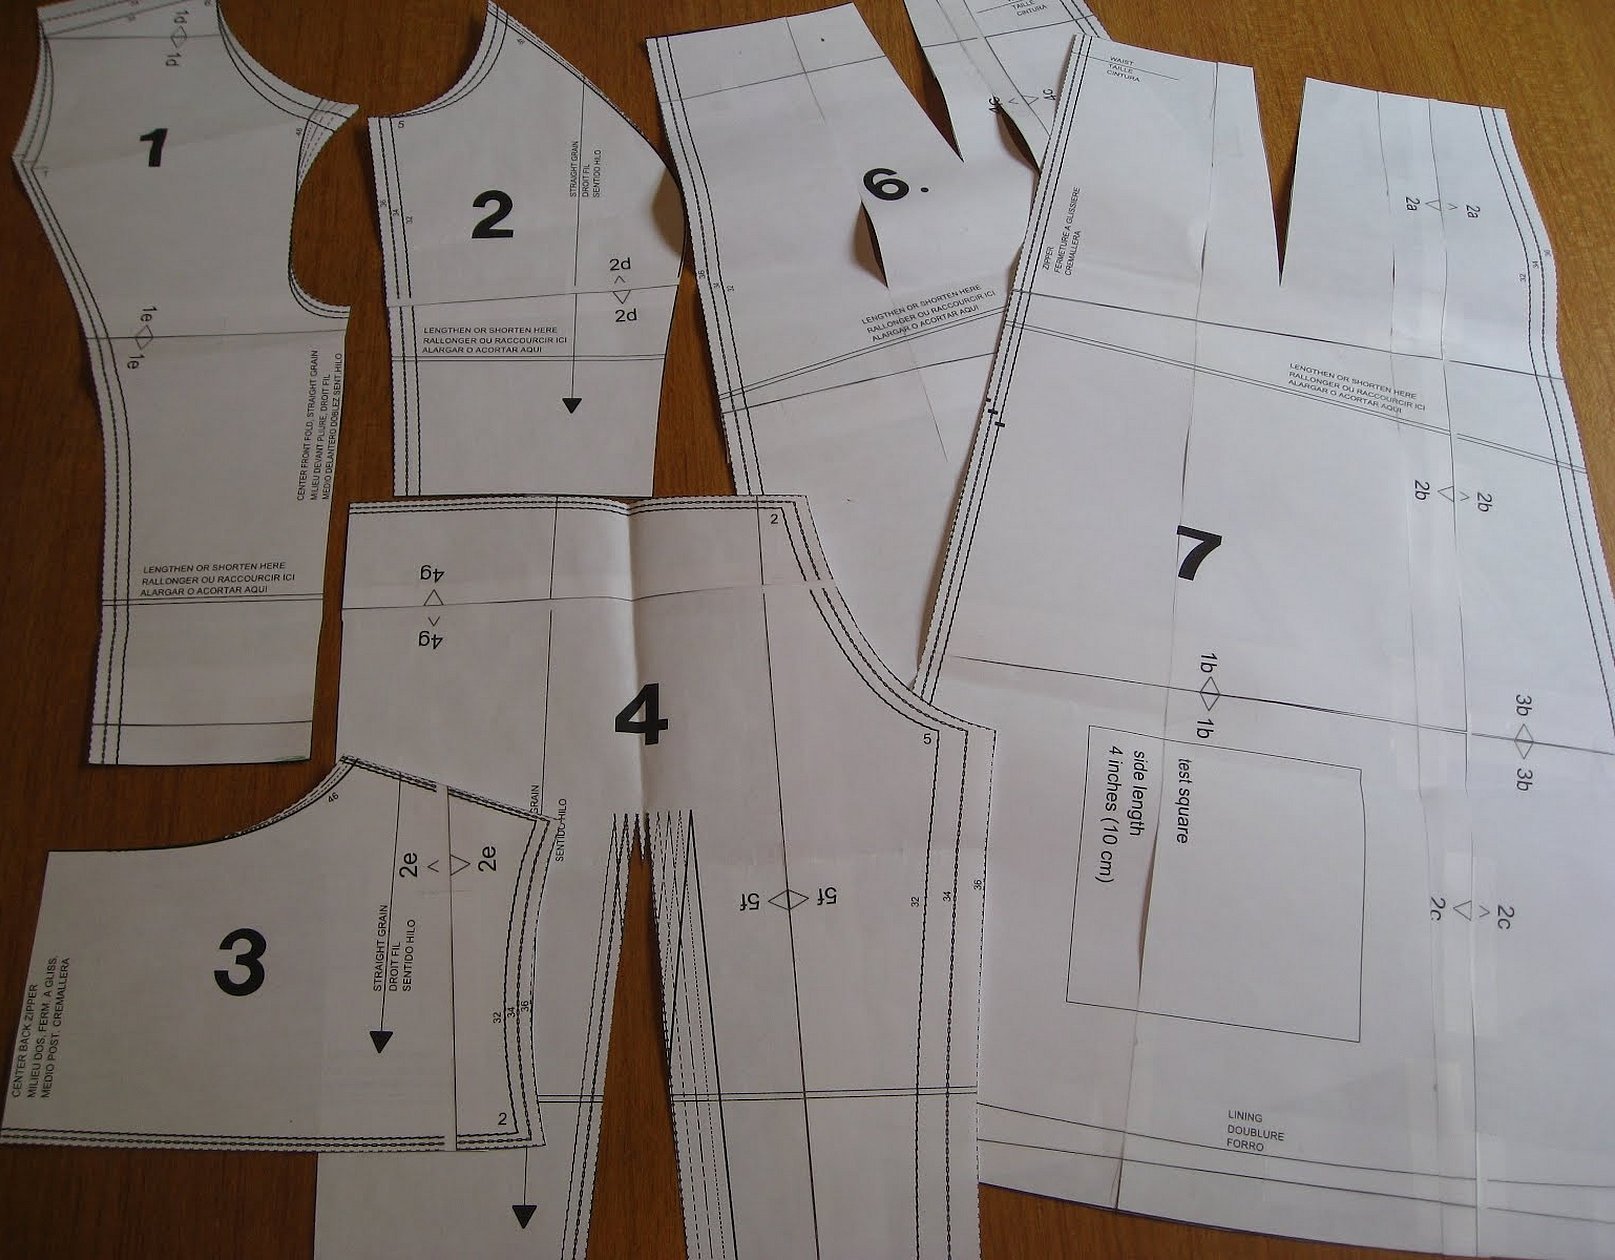
- For each model, a complete set of patterns is made - from the main parts to the smallest ones;
- The patterns are cut out of a dense material, such as cardboard. The edges are edged with metal strips;
- The lines are drawn with pencil, ink or mascara, that is, with something that will not be erased;
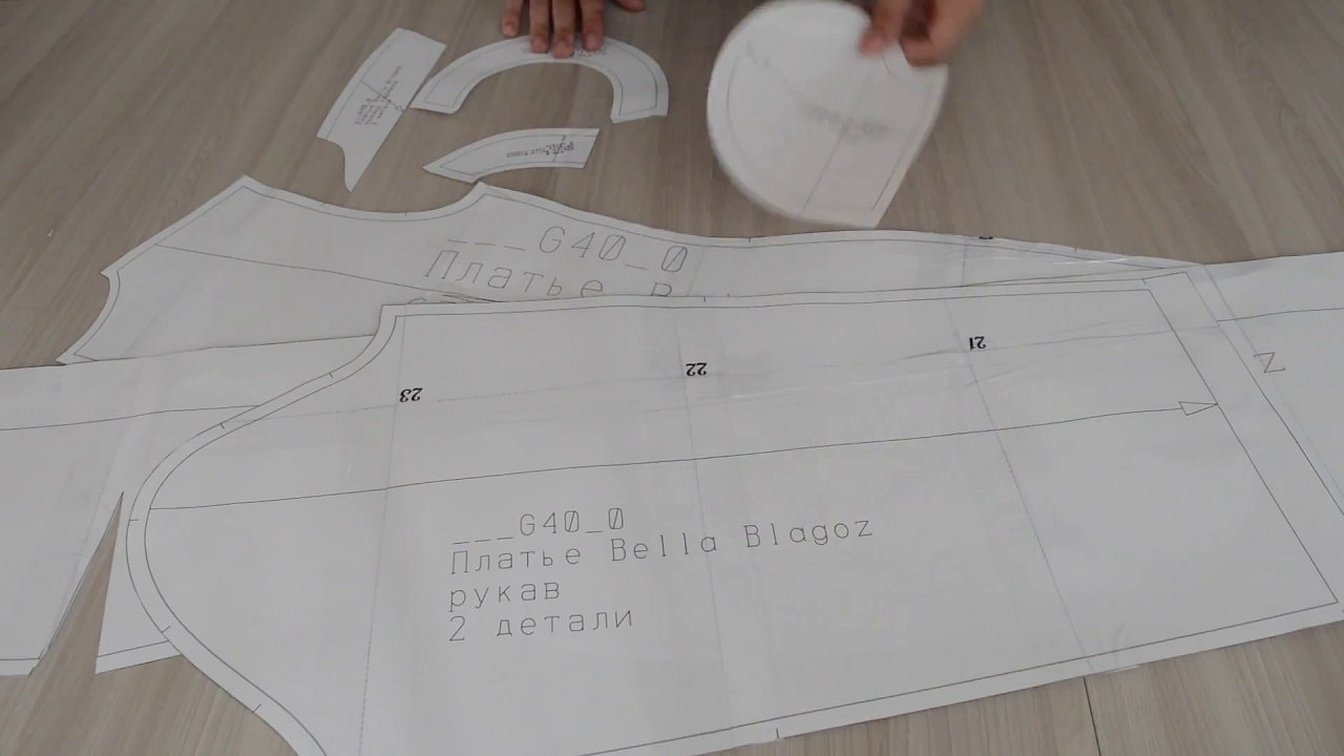
- All notches, shares, folds are also applied to the templates, and markings and parts (halves, thirds, quarters) are often applied. Also, according to GOST, lines must be applied indicating the grain direction of the material and the permissible deviations from the grain direction.
How to change the size of a blouse pattern
It is impossible to change the size of patterns, since they do not imply changes. But patterns can be changed: it is enough to increase or decrease the existing lines to the required size, for example, add a few centimeters to increase the volume.
Patterns for professional seamstresses or amateurs are an indispensable assistant when sewing. Thanks to them, there is no need to build patterns anew each time - it is enough to build the correct template once and then use it. Unlike patterns, patterns do not change and are not adjusted to a specific figure.


