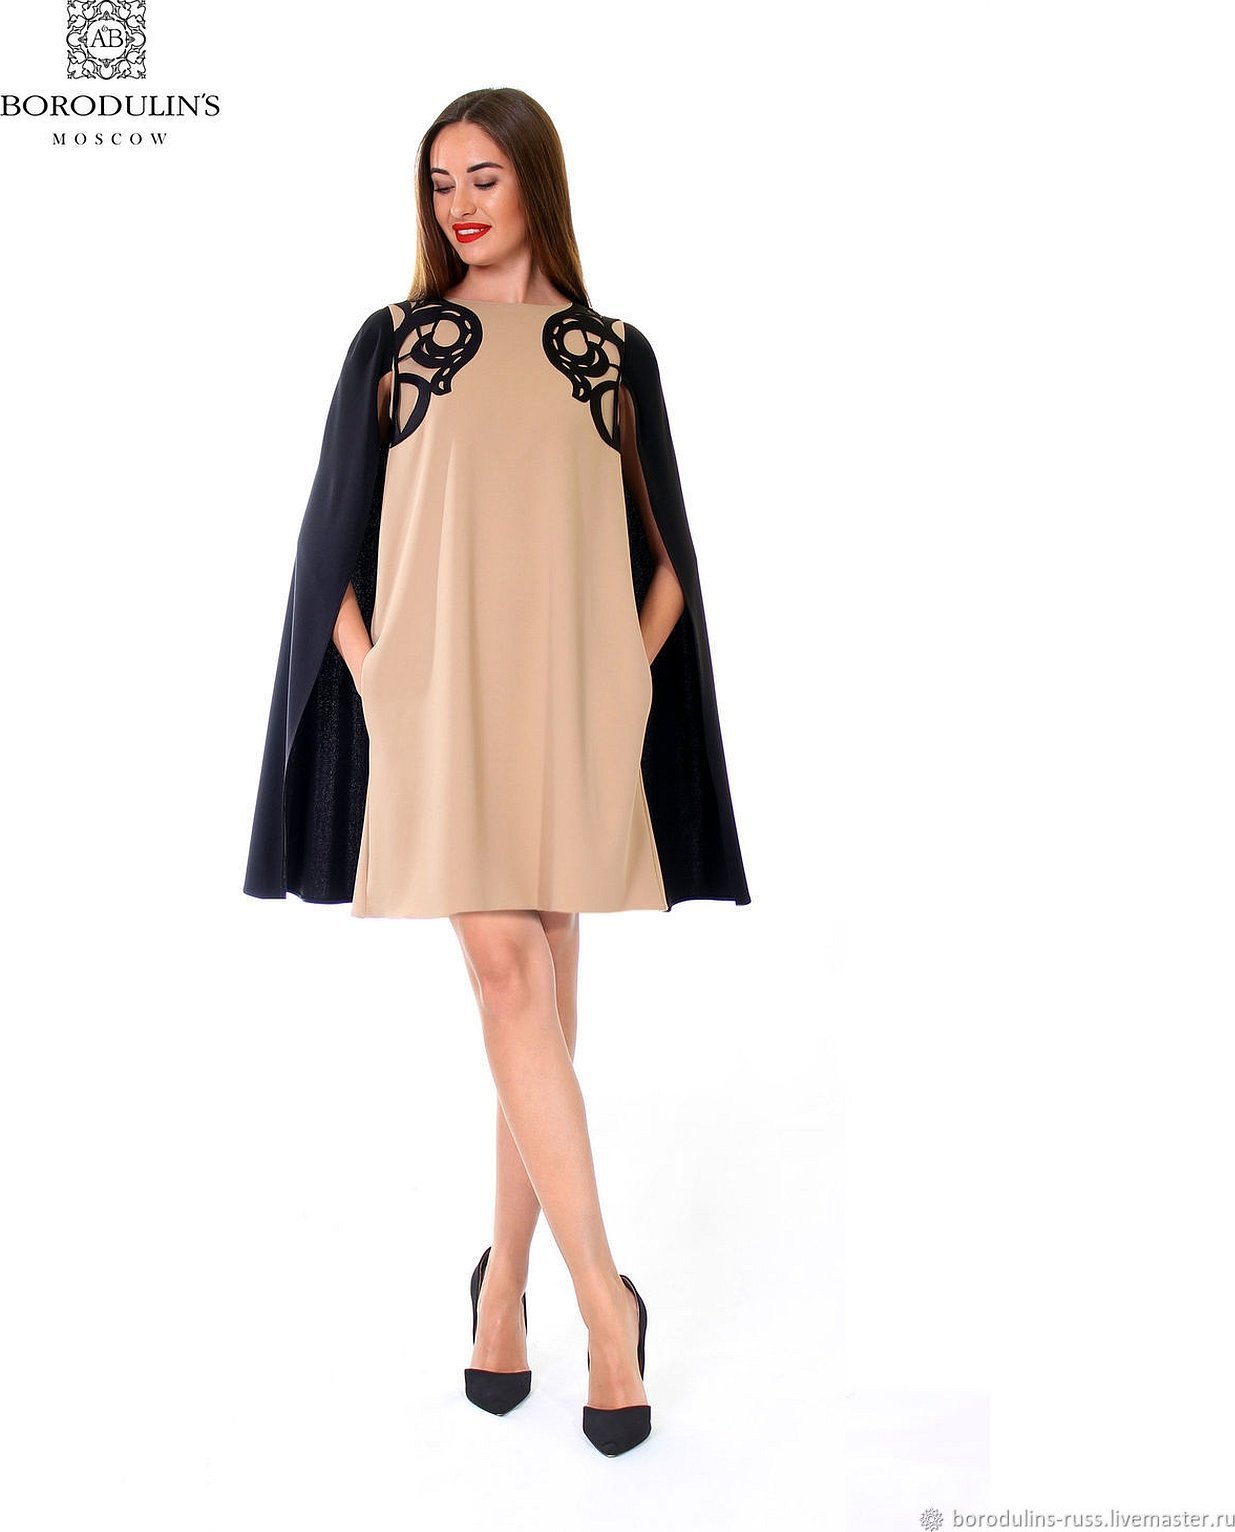
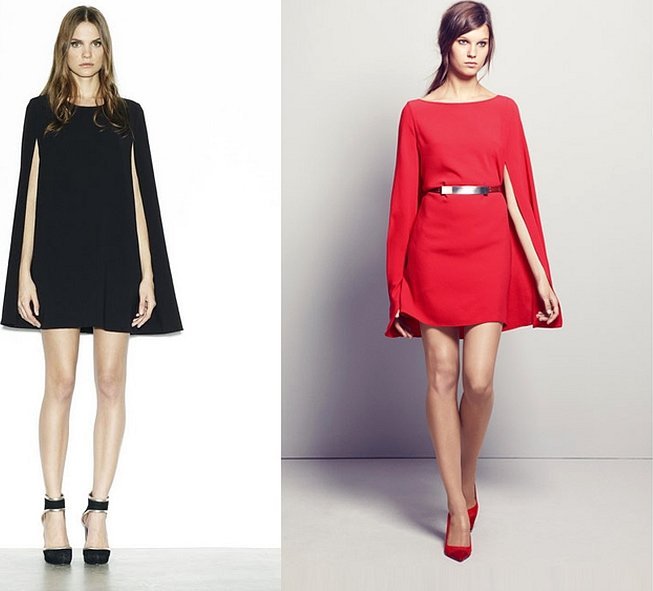
This type of clothing is an original combination of a basic dress and a light cape. The cape dress looks unexpected and stylish. It emphasizes femininity and at the same time demonstrates convenience and functionality. In order to sew it, you need to know not only the basic technique of cutting and sewing, but also understand the features of this unusual dress.
Materials and tools
The choice of the right fabric depends on the model that you plan to sew. If you need a model for warm summer weather, then a light flowing fabric will do. To use this style in everyday life, a medium-density material will be more suitable.
The following cape dress options are used:
- In hot weather, people usually wear clothes made of viscose, chiffon or silk. Such a dress will serve as good protection against burns and will not prevent air from reaching the body. A fluttering cape will help a woman create a romantic and mysterious image.
- There is a type of cape dress with a hood. It brings a light medieval atmosphere. These models are made of fabrics with medium density: soft wool, cashmere or knitwear. In this case, dresses are worn to the ground. Some prefer knee-length.
- Transformer cape models are popular.
- A floor-length dress made of heavy fabrics is decorated with rhinestones, lace or embroidery. It is sewn fitted or made in an A-silhouette.
- Wedding style can be used.
- You can use translucent fabrics: tulle, thin chiffon or organza. Opaque clothes are worn underneath. In this model, the cape can be removable. In this case, you can choose two options for wearing: together or separately.
The cape dress can be sewn in different variations depending on taste. To create patterns, you can use the advice of the Burda magazine.
To work you need to prepare the following tools:
- scissors;
- ruler;
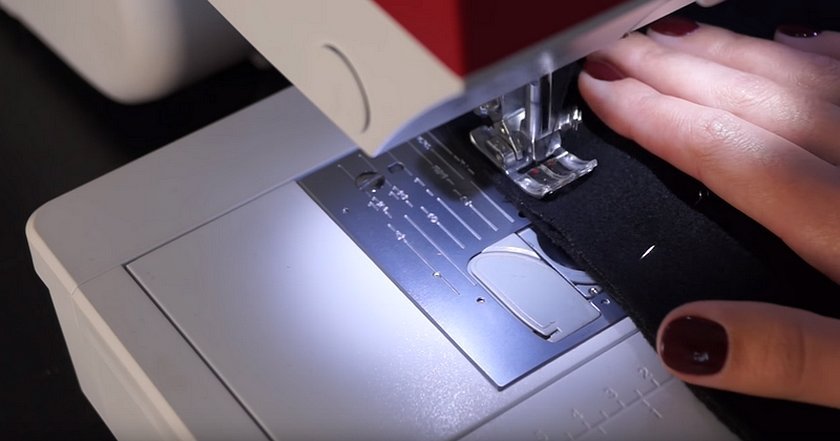
- overlock;
- sewing machine.
You will need threads, chalk for marking, pins. During the work process you will need an iron to iron the seams.
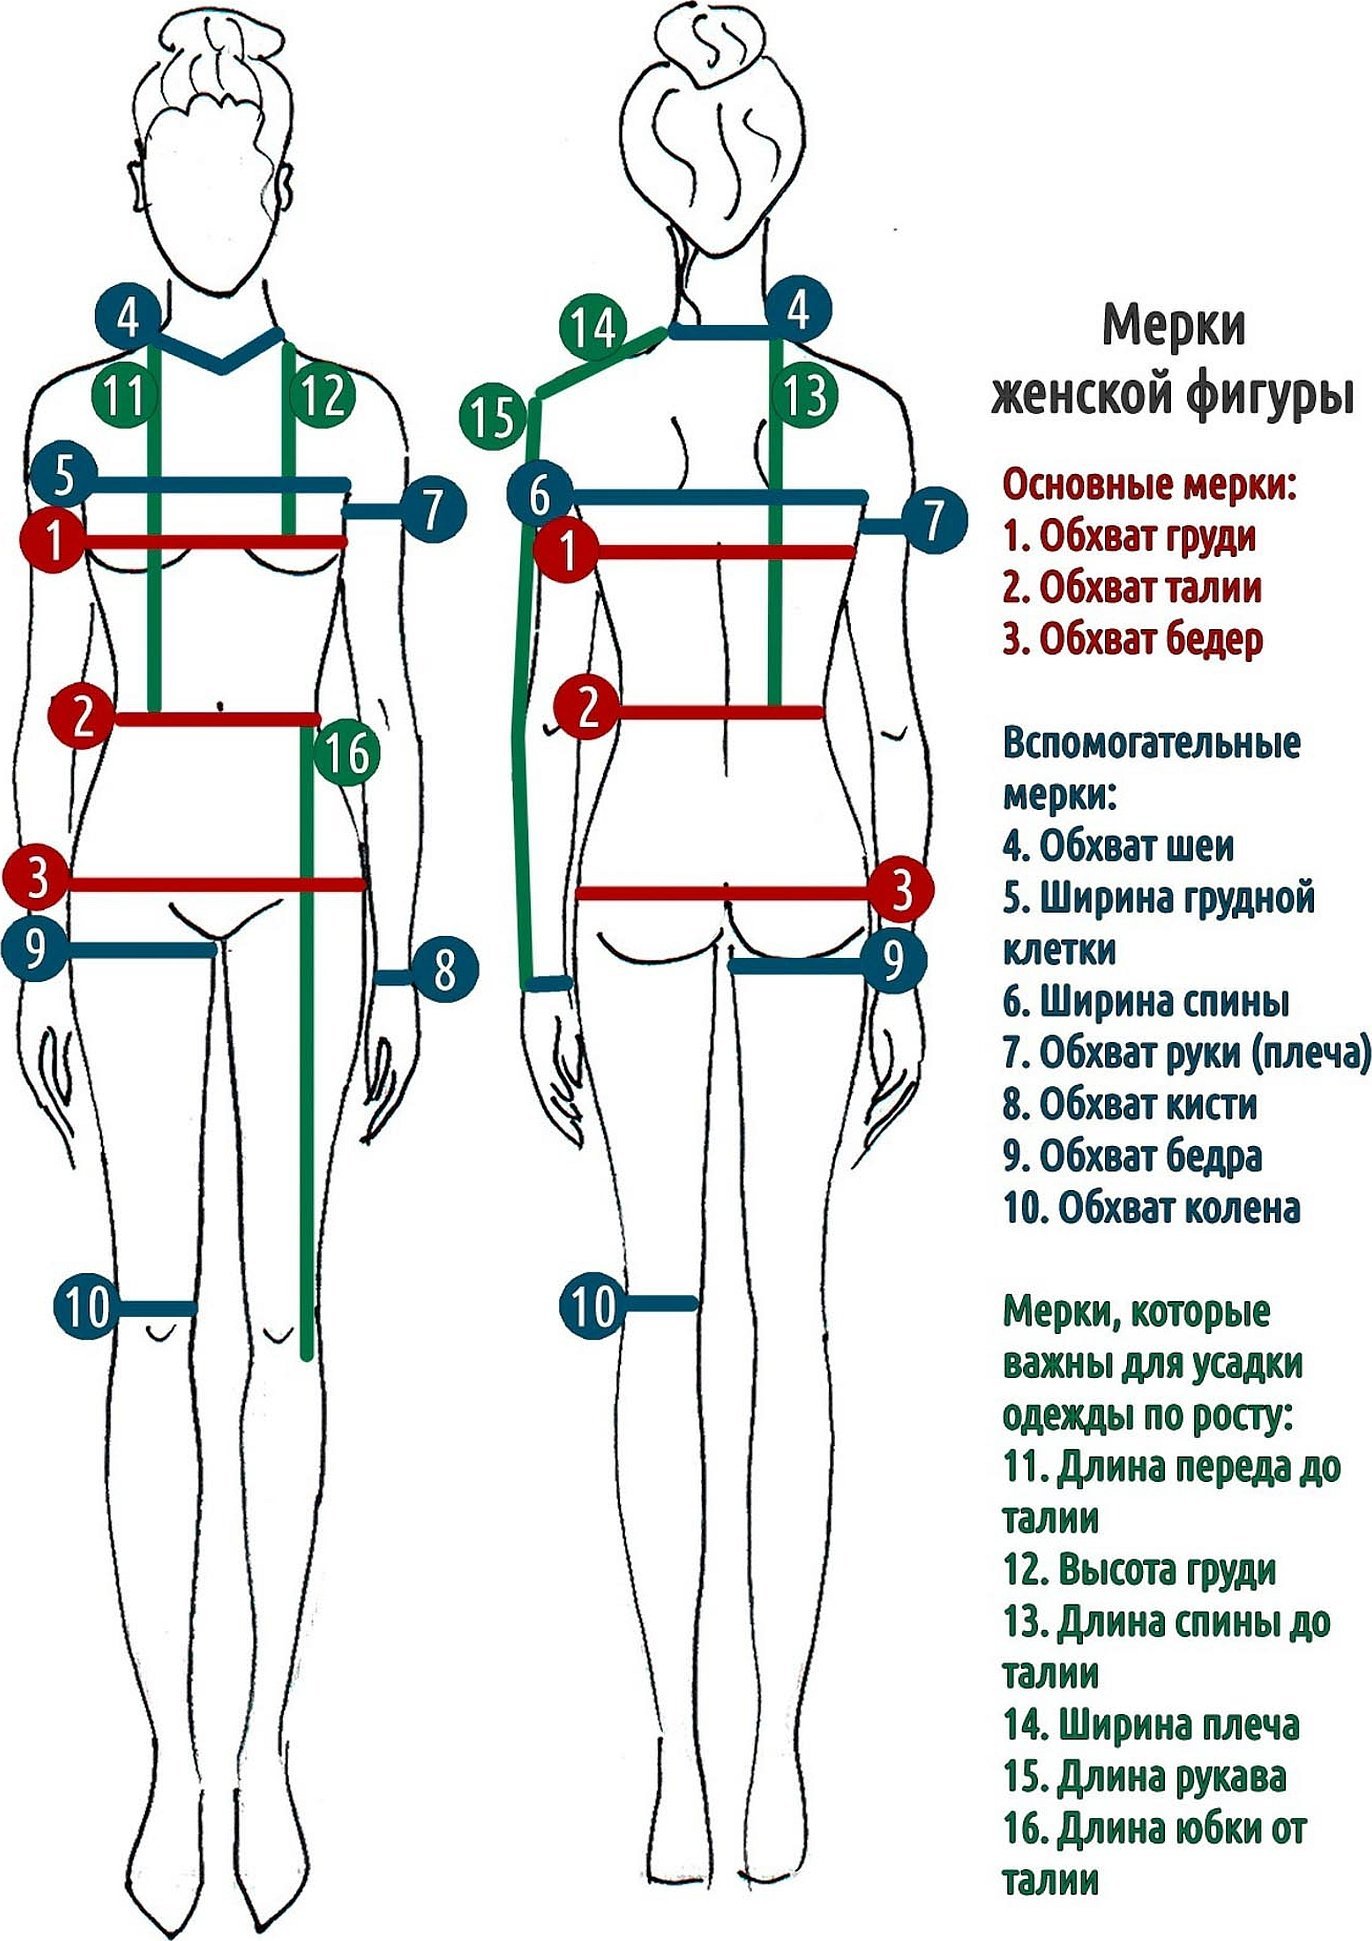
Necessary measurements
In order for the created model to accurately correspond to the sizes, the master must take measurements. It is recommended to take measurements on a naked body. In order to sew a one-piece simple style, the following measurements will be required:
- You will need to determine the length of the sleeve. It is measured from the shoulder joint to the middle of the wrist.
- It will be necessary to determine the length of the half-girth of the neck. In this case, the tape measure should not be stretched, but should fit the body freely. The measurement is made at the level of the seventh cervical vertebra and the jugular notch.
- The distance between the base of the neck and the shoulder drop is the shoulder length.
- It is necessary to measure the length from the neck to the waist. It is necessary to correctly position the belt loops through which the belt will be threaded.
- For cutting, you will need the overall length of the dress. To do this, determine the distance from the base of the neck to the knee.
- You need to determine the length of the front part.
- Make other necessary measurements.
Based on the measurements taken, a cape dress will be sewn, the pattern will be made taking into account the features of the figure.
Calculation of material taking into account the length of the product
The amount of fabric required depends on the chosen model. The length of the dress, texture, presence of a pattern or width of the garment are important.
If you plan to sew a one-piece dress, it is recommended to use a piece 1.5 m wide. Usually, to determine the length, use the dress dimensions with the addition of fabric for additional details - slits for the arms.
If you plan to sew a loose dress, then the length of the cut is determined as double the size of the dress.
It is important to remember that the cape pattern implies that a centimeter of fabric should be left for seam allowances.
Construction of the pattern
When making a one-piece dress, the amount of work during cutting is minimal. This version of the cape dress is best suited for a beginner seamstress.
A more complex option is a cape pattern with arm slits, which does not include darts. The pattern is created on paper. After that, the resulting patterns must be transferred to the fabric.
The work of creating a cape pattern is divided into the following stages:
- Measurements are taken. It is necessary to obtain the circumference of the hips, neck, waist, as well as the length of the back and front, the height of the shoulder and hips, the length of the shoulder and the depth of the armhole.
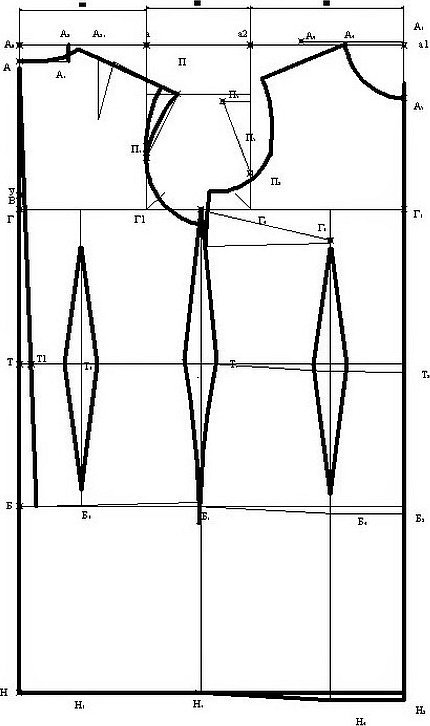
- Draw a horizontal line on a sheet of paper, stepping back 10 cm from the top. From it, put down: the depth of the armhole (G), the length of the back from the top to the waist (T), the length of the dress measured along the back (H), the height of the hips (B). From the resulting points, draw horizontal lines.
- On line G, a distance equal to half the chest circumference (G1) is set aside. At this point, a vertical line is drawn and points T1, H1, B1 are obtained.
- The width of the back (G2) is set off from G. A segment is drawn from it upwards to the intersection with level A.
- We get point G3 if we measure a quarter of the chest circumference to the left from G1 minus 4 cm.
- The middle of the segment between G2 and G3 corresponds to the location of the middle of the armhole. At this point is point G4. At this point, a perpendicular is drawn down to level H.
- To determine the neckline, you need to put aside 1/6 of the neck circumference on the drawing and add one centimeter.
- The shoulder lines are determined using arcs with centers at points T and T1. In this case, the radius must be equal to the height of the back minus one centimeter.
Based on the constructed diagram, it is necessary to draw a complete layout of the front and back. Then the drawings are transferred from paper to fabric.
Sewing stages
After the fabric parts are cut out, you need to stitch the connecting seams and the dress will be ready. However, when sewing, you need to take into account the features of the cape dress.
Basic dress
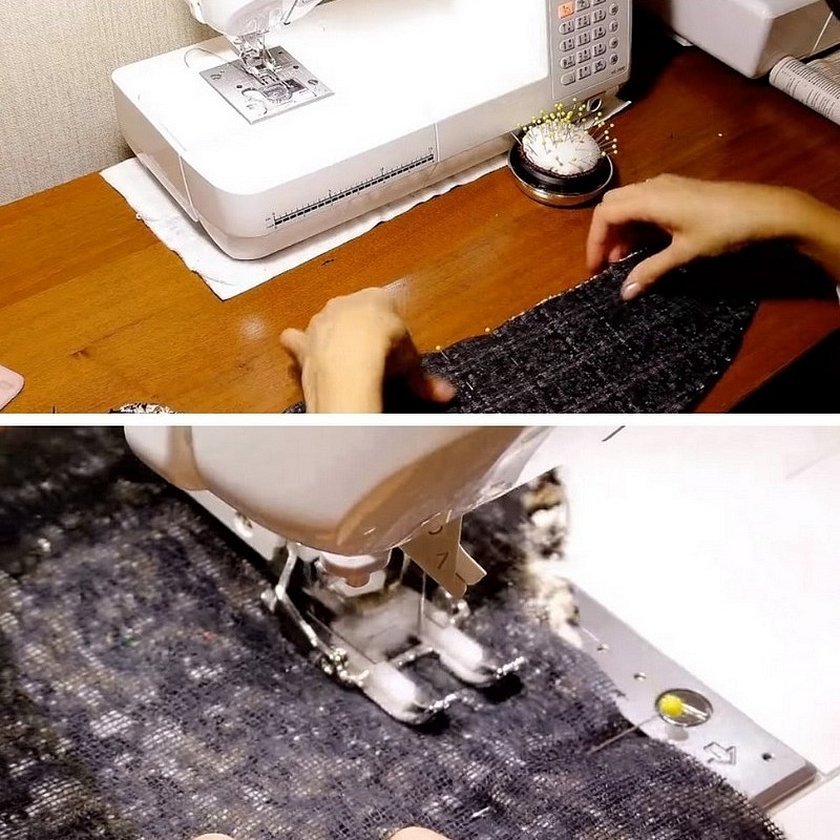
Below you will learn how to sew a cape. At the initial stage of production, it is necessary to create the basic part of the dress. It is created taking into account what fabric is used. To sew a basic dress, you need to do the following:
- The lower edge at the front and back should be folded and stitched. If the fabric is fraying, it will need to be processed with an overlock.
- The shoulder and side seams need to be overcast and then stitched.
- Finish the neckline and armholes with facings.
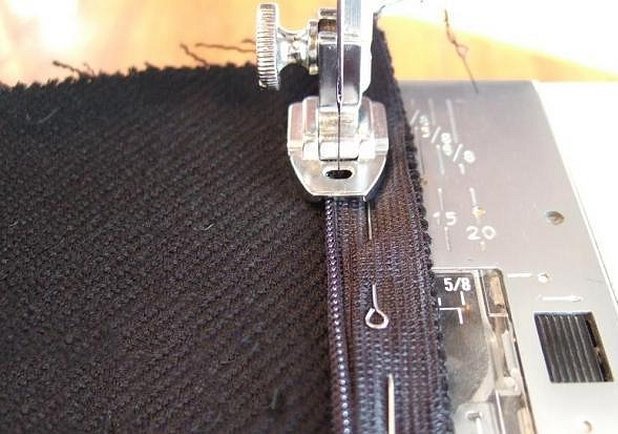
- Sew a hidden zipper on the back or side.
If you make the dress fitted or tapered, a cape will look good with it.
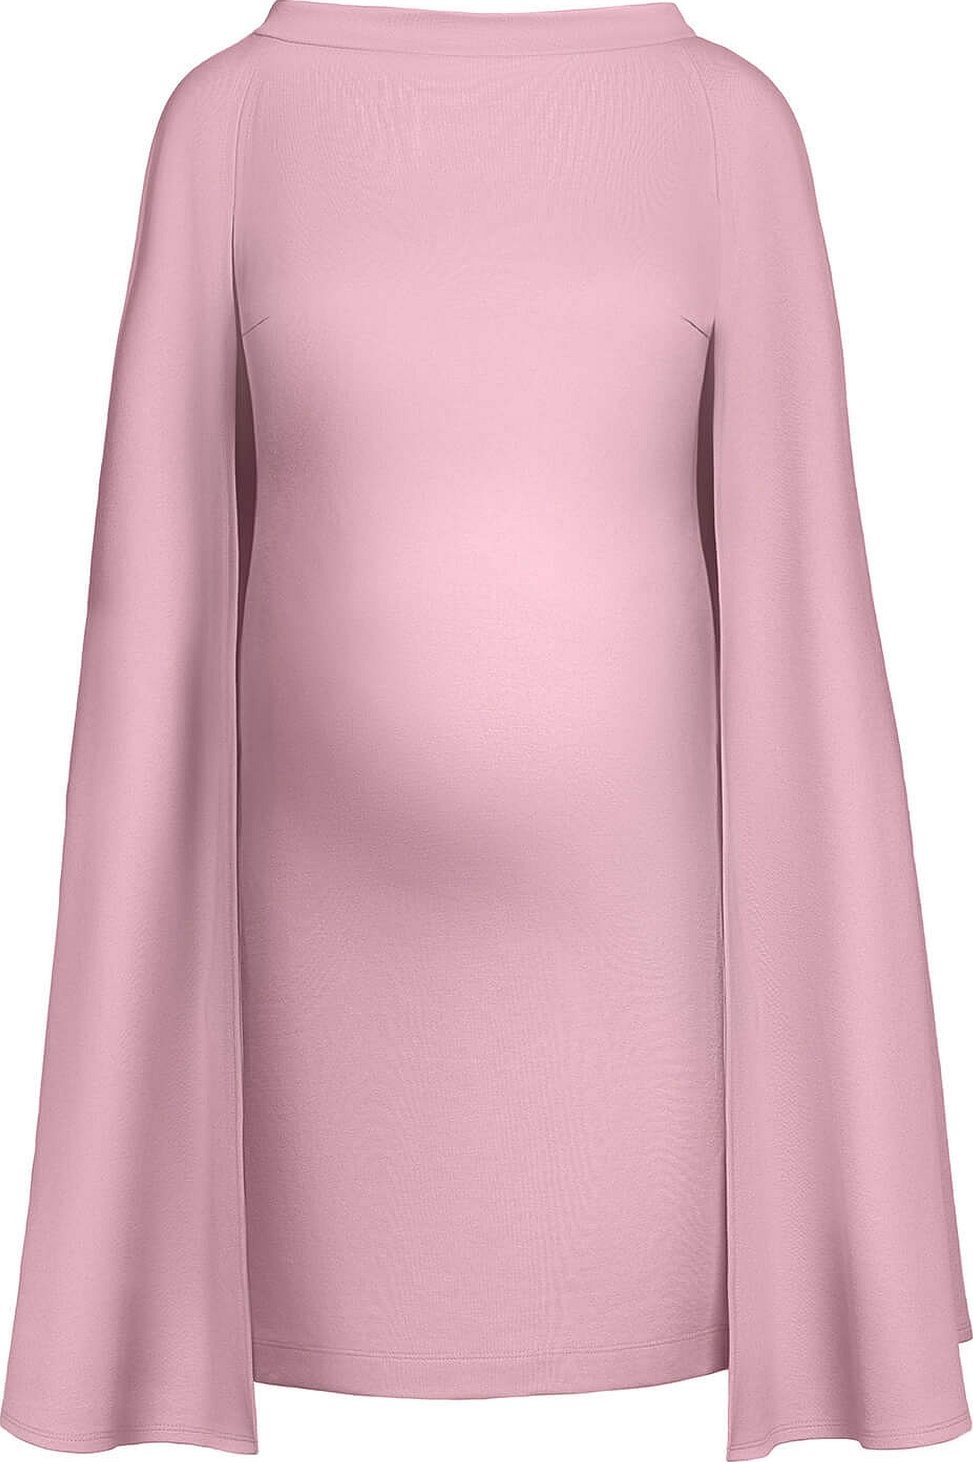
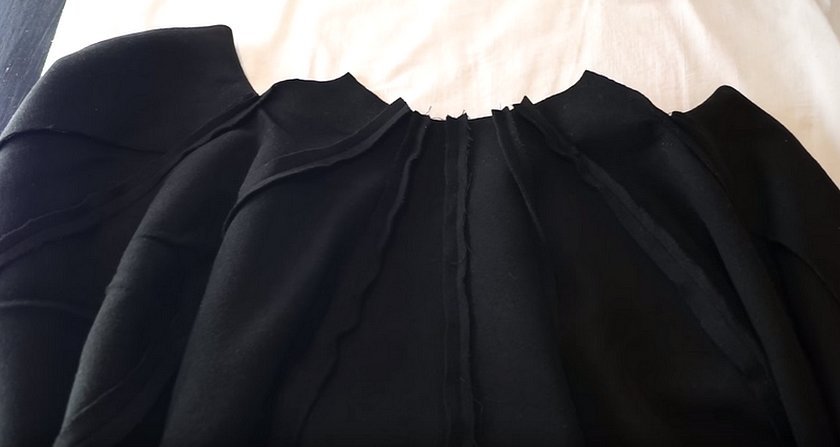
Cape
Such a cape will look spectacular if it is shorter than the dress by 3-5 cm. Sometimes fabric with a different texture is used for it. The story about how to sew a cape dress will be incomplete without telling about making a cape.
In warm weather, it is recommended to wear light and airy capes. In cool weather, those made of dense material will be more comfortable.
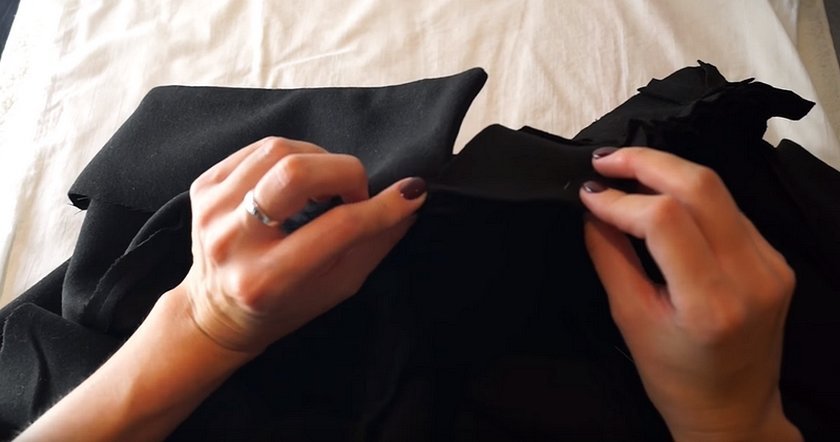
The cape is a one-piece piece. Work on it comes down to processing the edges. The cape is sewn on in the shoulder seam area.
Cape coat
This coat has a peculiarity in that it does not have sleeves. Instead, there are slits for the arms. The cape coat is made of thick fabric and can be worn at any time of the year.
Cape poncho
This model does not have arm slits. The size of the poncho is such that it does not exceed the length of the arms. The cut of this part will be simpler compared to the cape, since there is no need to make arm slits. When sewing a cape poncho, the pattern is simpler compared to the cape. Since there is no need to make arm holes.
Decor options
This dress will look much better if various decorative elements are used. The following options can be used:
- Designs made on fabric, similar to a large brooch. They are usually made near the place where the cape is attached.
- Sometimes the contrast between the fabrics used for the cape and the main dress is striking.
- The bottom and sides of the cape are decorated with bright fabric.
These and other decorations can add special shades to a woman’s image.
The cape dress combines the romanticism and sophistication of the image with practicality for everyday life. Making this model does not require special sewing skills and is accessible even to beginners.


