Many beginning needlewomen, after the first developments, move on to more complex things, for example, sewing a girl's dress. What are the advantages of making clothes, how to choose the right model for sewing, what are the recommendations on how to choose the material, how to sew a fluffy dress for a girl? About this and more below.
- What are the advantages of sewing by hand?
- Model selection
- Selection of material
- Tools
- Sewing a dress for a girl with a fluffy skirt
- Transferring the pattern to fabric
- Connecting the yoke to the skirt
- Dress skirt processing
- Processing the edges of the product with triangles
- Sewing a bodice
- Back pattern and its differences
- Sewing the front and back together
- First fitting
- Processing the yoke
- Joining the bodice and skirt
What are the advantages of sewing by hand?
There are many advantages to making a fluffy dress yourself. One of the main advantages of sewing a children's dress yourself is the low price of the final product. Compared to a store-bought product, a self-made model will cost three times less than a branded item. In addition, your own product will have an unusual cut, different from the usual one. Therefore, such a thing will be unique and made in only one copy. It is important to note that it can be supplemented with any decorations and accessories, thanks to which it can have an individual cut suitable for any girl.

It is interesting that if a child asks to make a fluffy dress, like in a fairy tale, it can be made in his own style, and completely convey the accuracy of each detail in the cartoon. As a rule, purchased items do not have detailed accuracy, even despite the high price. In addition, it is very difficult to find it in stores by size.
Model selection
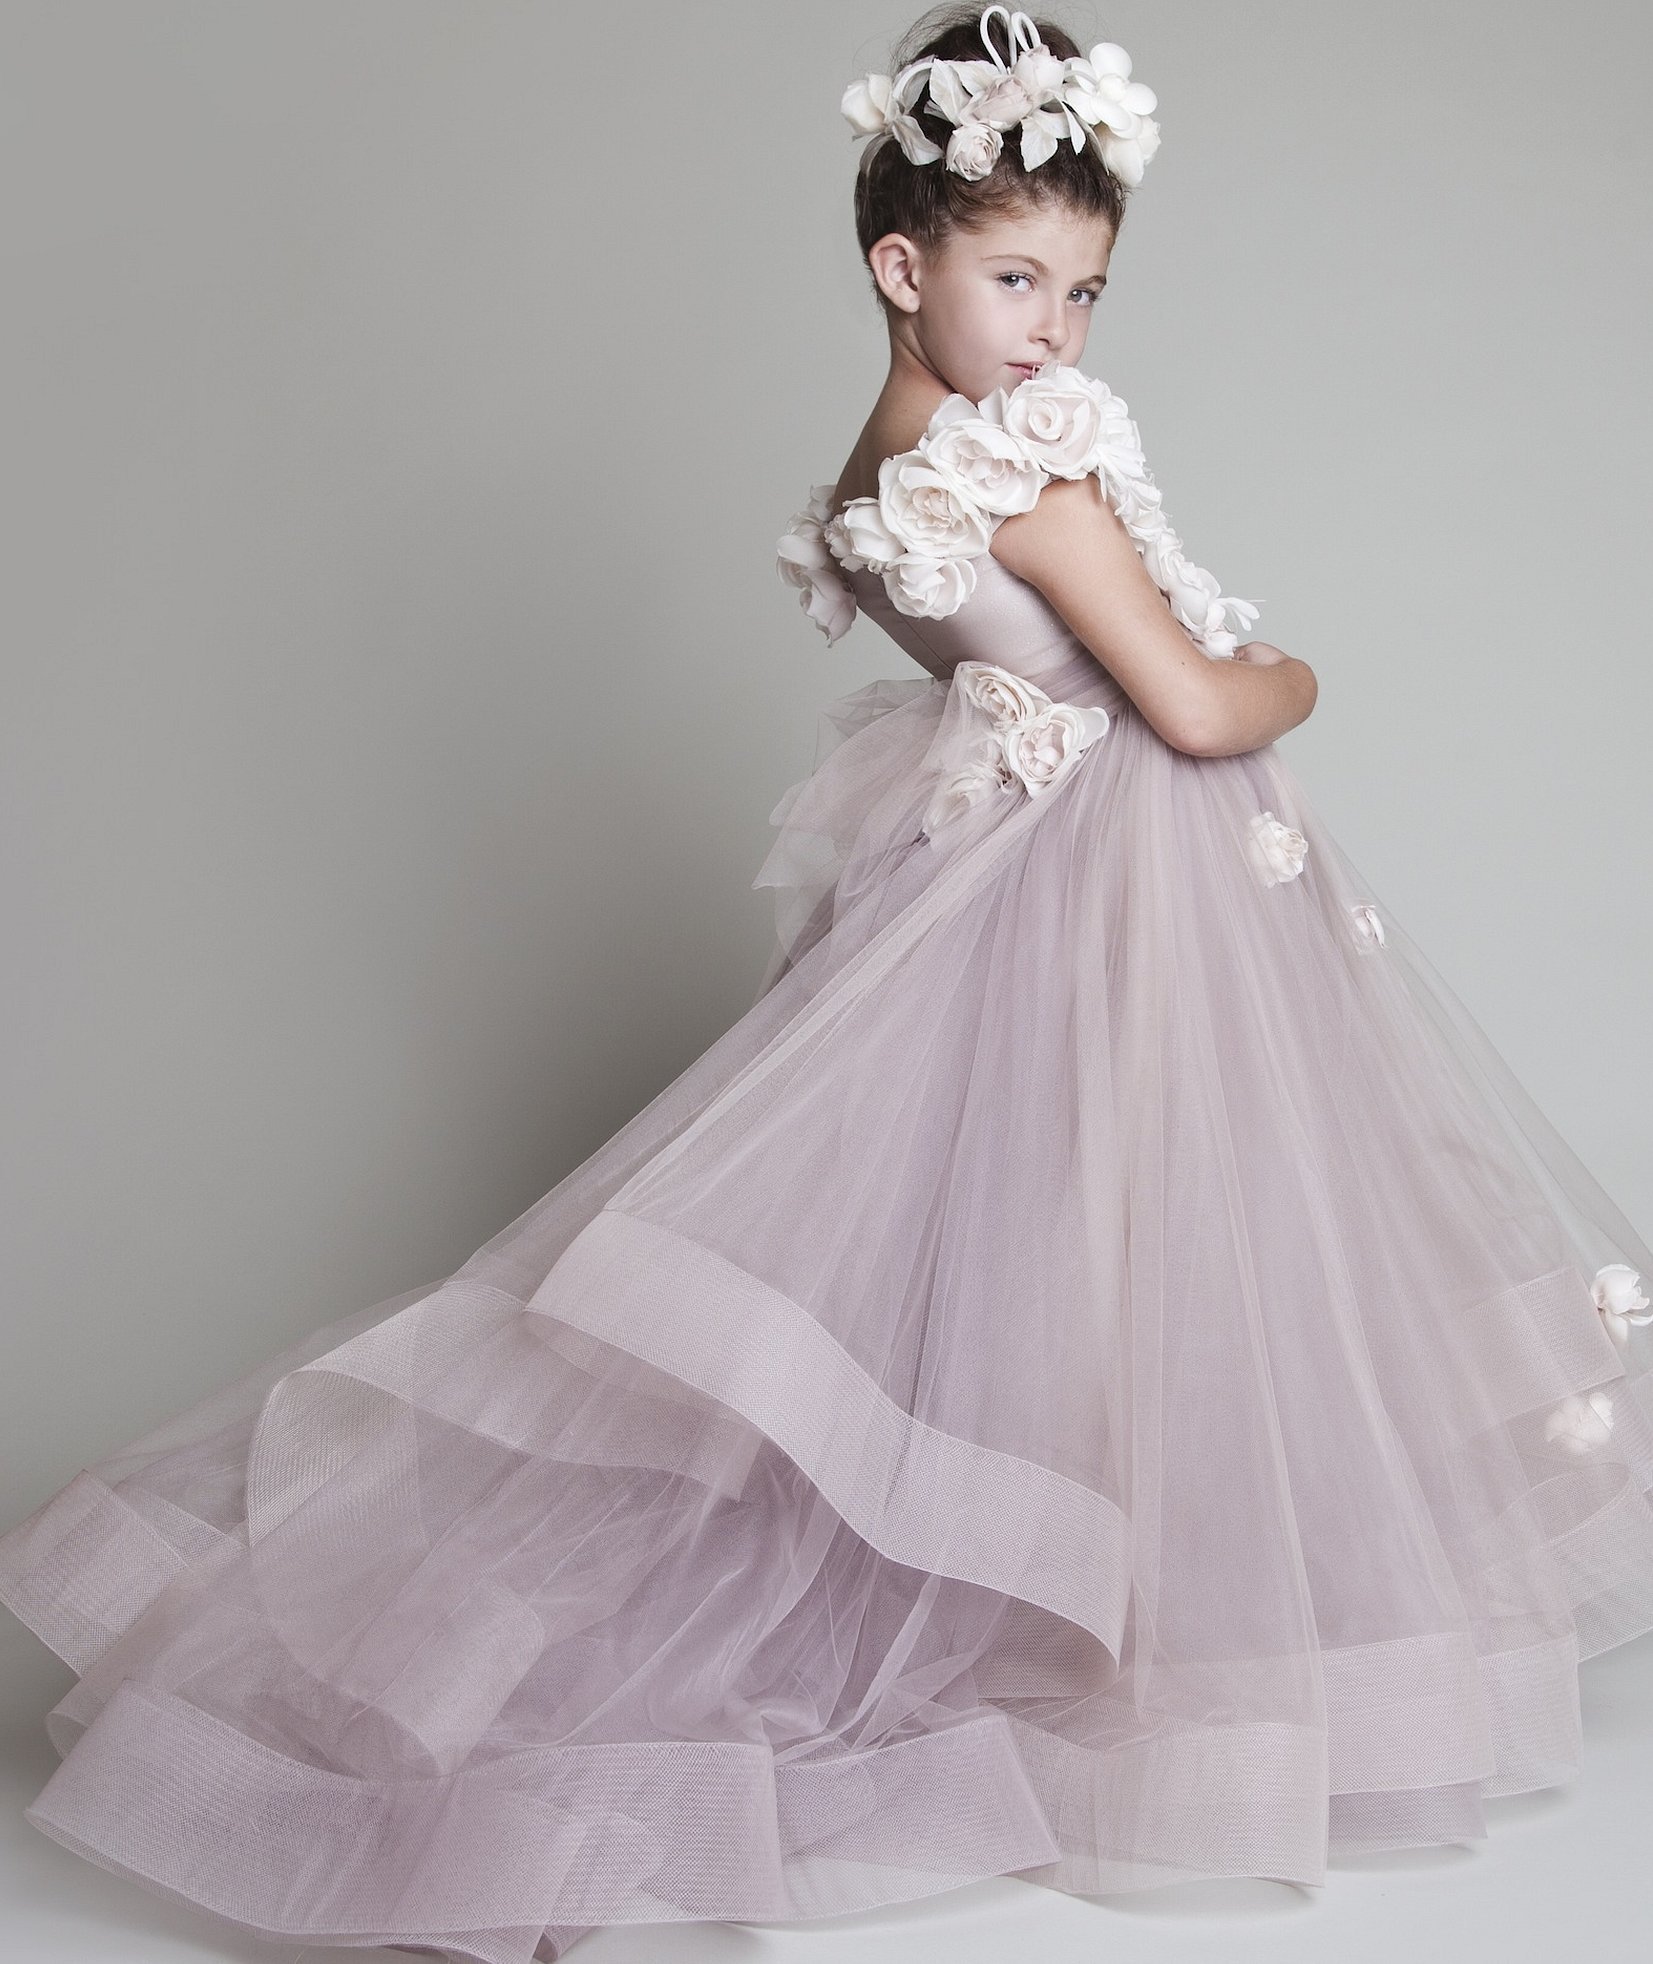
It is not difficult at all to choose a model or style of a dress for a girl. To do this, you can be guided by your own intuition, fashion trends, or make the same model as shown in the cartoon. Naturally, the choice of model will also depend on the age of the young model. For a girl from 1 year to 5 years old, a sweater dress with a trapeze, tunic, T-shirt, high waist and sarafan will do. At the same time, it is important to study the topic of a dress for 2 years to sew with your own hands.
Please note! In the period from 6 to 10 years, you can already emphasize the product with a waist and give preference to an A-silhouette, balloon, shirt, multi-layered and straight models. Starting from 10 years, you can already make things with a more interesting and dynamic cut, multi-layered inserts.
Selection of material
The material must meet special requirements, since we are talking about how to sew a children's dress. The material must be natural. In addition, it must be durable, long-lasting, practical, breathable, hypoallergenic, have good hygroscopicity, wrinkle resistance, wear resistance and beauty. Synthetic materials should be avoided, since dresses made from them can get dirty. They do not last long and are not able to hold their shape well. As for the color scheme, it is worth giving preference to pastel colors and contrasting trim before sewing a dress for a girl with your own hands.
Tools
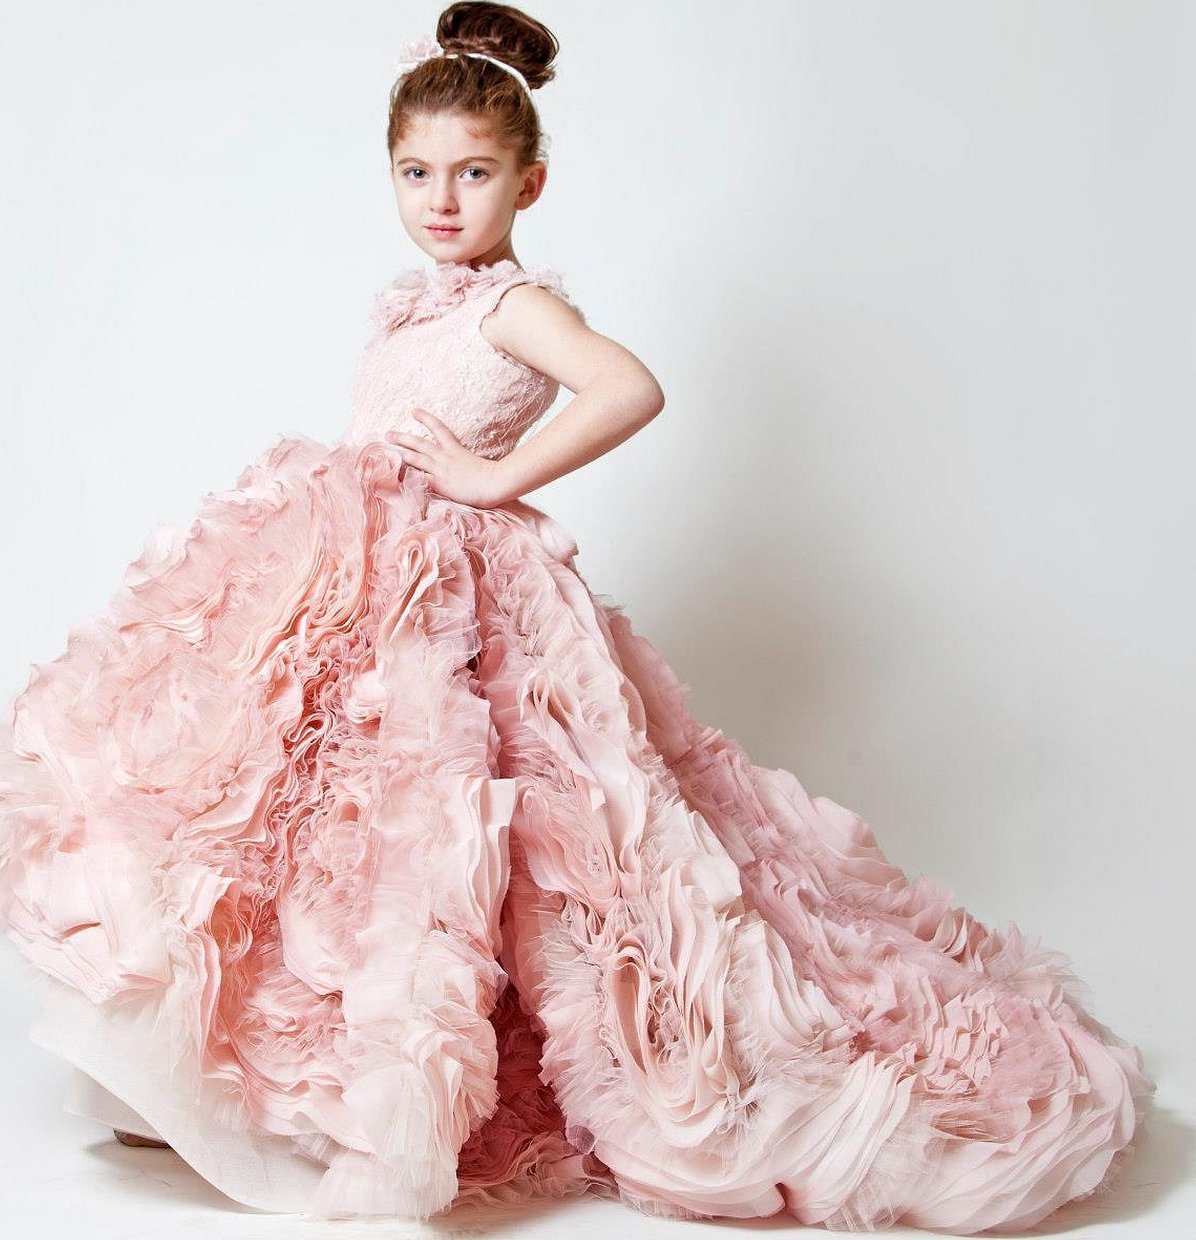
As for the material, it is better to give preference to a canvas with a tier of chintz, batiste, flannel, polyester, children's knitwear, pekhorka and flannel. You can also give preference to stylish jersey, interlock, footer, ribana, fleece and velsoft. Regarding the decor and style, you can use tulle, chiffon, lace with bows, frills and flounces. When creating products for very young children, you should not decorate the finished canvas with small beads because of the possible danger to the child. The same applies to the creation of a christening dress, since it is customary not to decorate the canvas with anything for christening.
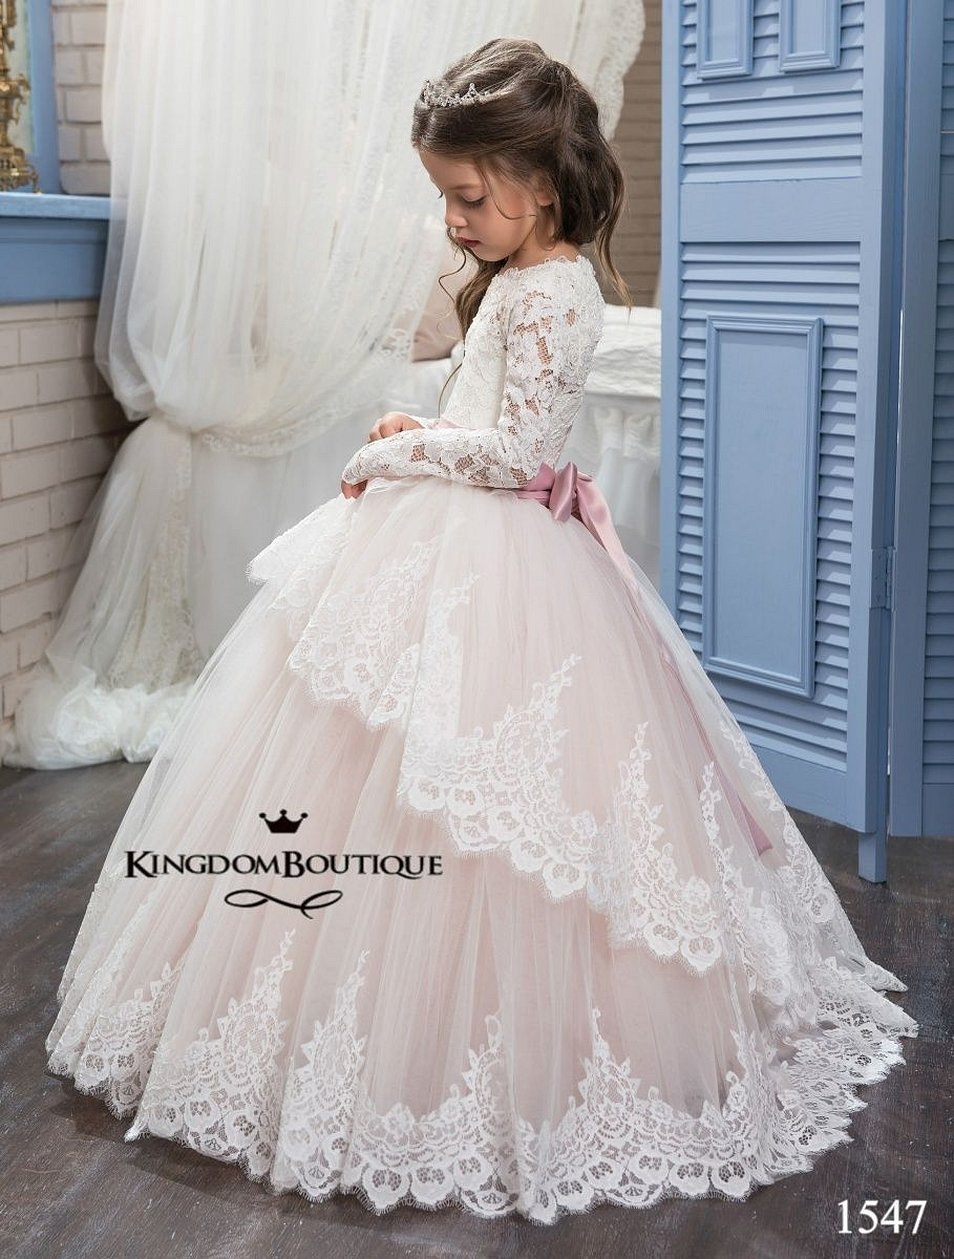
Sewing a dress for a girl with a fluffy skirt
To sew a dress for a girl with a fluffy skirt, you need to think through the step-by-step design and choose the right material.
Please note! After that, start cutting out the pattern for the dude, cutting the fabric into the appropriate parts and sewing the elements together in strict order by hand or using a sewing machine.
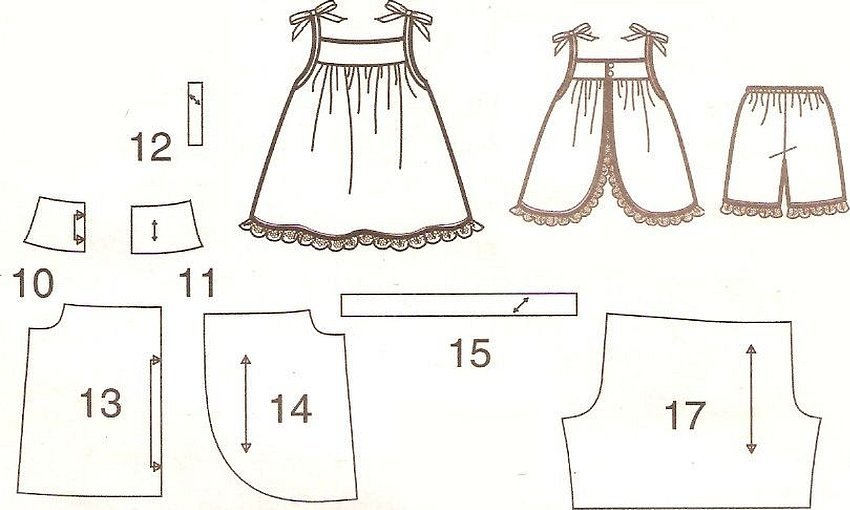
Transferring the pattern to fabric
First, you need to transfer the pattern to the finished fabric and connect the elements from the back side. The dress consists of a bodice and a skirt, so their creation is divided into parts. Finding patterns is easy, just enter the appropriate search parameters in the network.
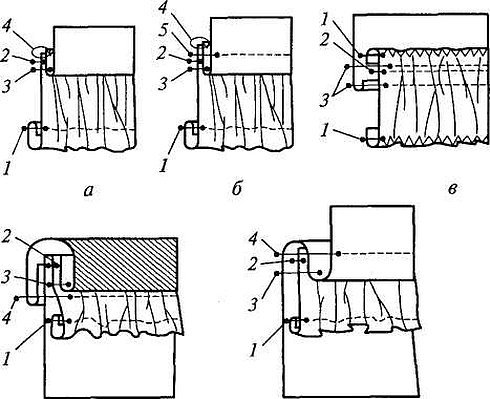
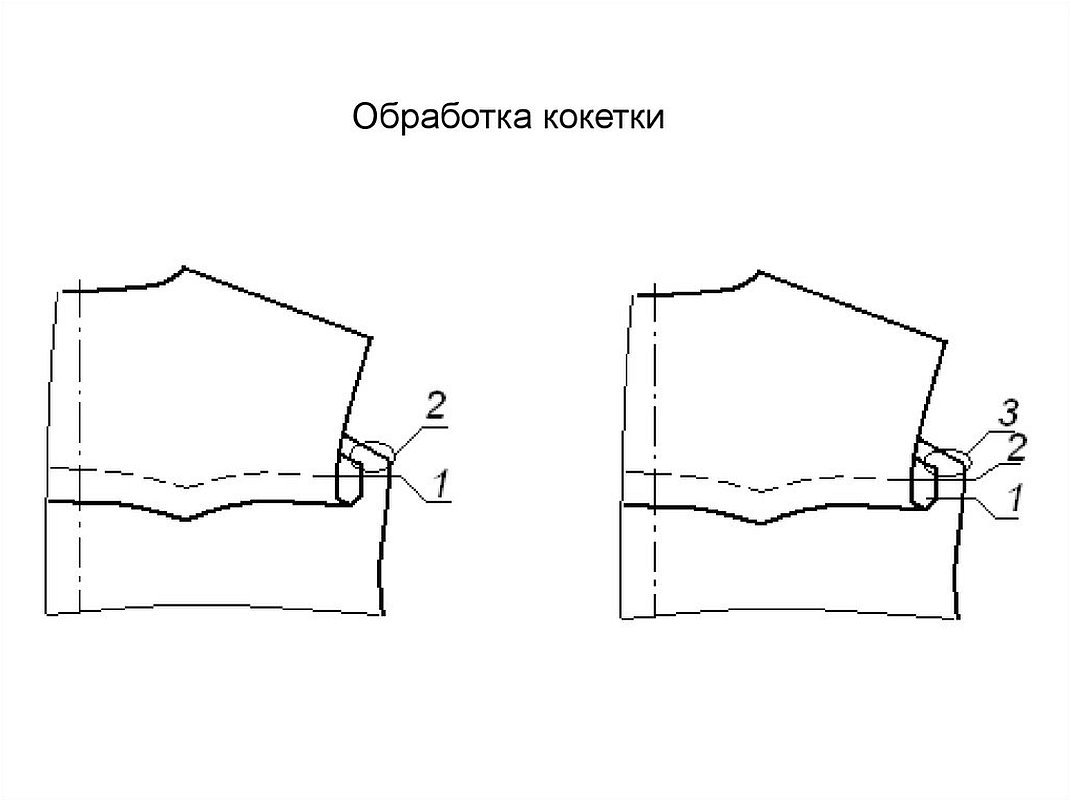
Connecting the yoke to the skirt
It is not difficult to connect the yoke with the graduation skirt, the main thing is to act in accordance with the ready-made scheme or a quick step-by-step lesson. After creating both elements, they are sewn together from the inside. There are no special sewing rules here, but you need to understand that the yoke is made of a different material, which means a complex double seam is required when forming the product.
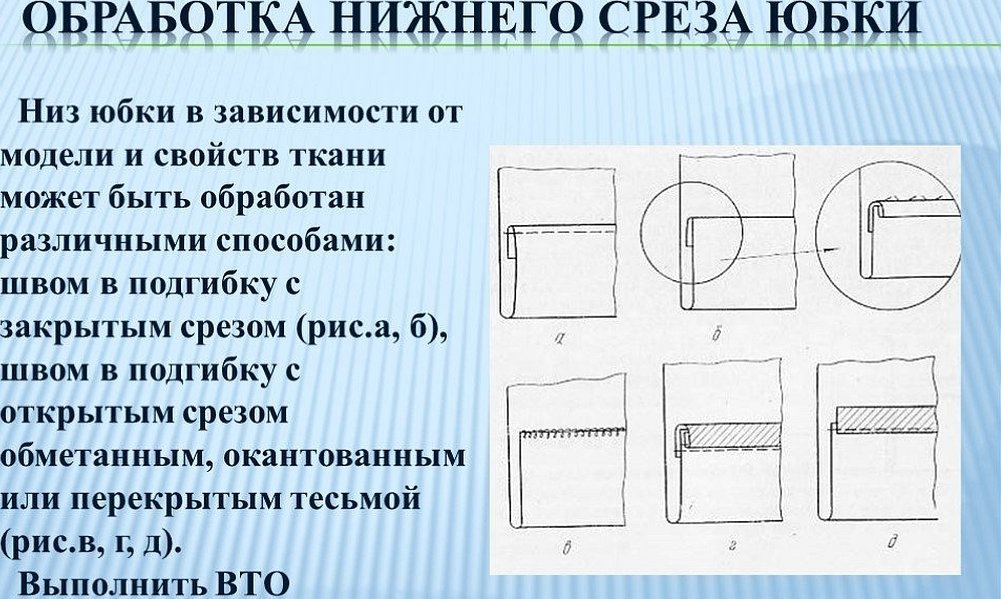
Dress skirt processing
To process the skirt of the cloud dress, you can use regilin, which is a synthetic tape with special rigidity. It is used to give it volume. This tape is inserted into the seams. It is sewn using an open and closed method. In the second case, the fabric is folded at the ends and stitched from the inside using a sewing machine. In this case, the edges of the dress can be sewn in any manner.
Please note! There are many ready-made master classes for this.
Processing the edges of the product with triangles
Finishing the edge of a smart garment with triangles is an unusual way to achieve the desired effect of volume and splendor, even for a male model. All you need to do is make triangle-shaped frills from a wide piece of fabric and sew them to the finished skirt. It is worth noting that you can also decorate the bodice in a similar way.
Sewing a bodice
Before you start sewing the bodice, you need to decide on the overall dimensions. To do this, you need to take measurements from the child. You need to measure the length of the back, the volume of the neck, chest, waist and, if necessary, hips. According to the measurements, make patterns. Exact sizes and drawings are freely available today.
Please note! Most often, the bodice goes along the waistline or above it. Often you can find a model with an elongated bodice to the very bottom. Therefore, you need to make a drawing based on the design.
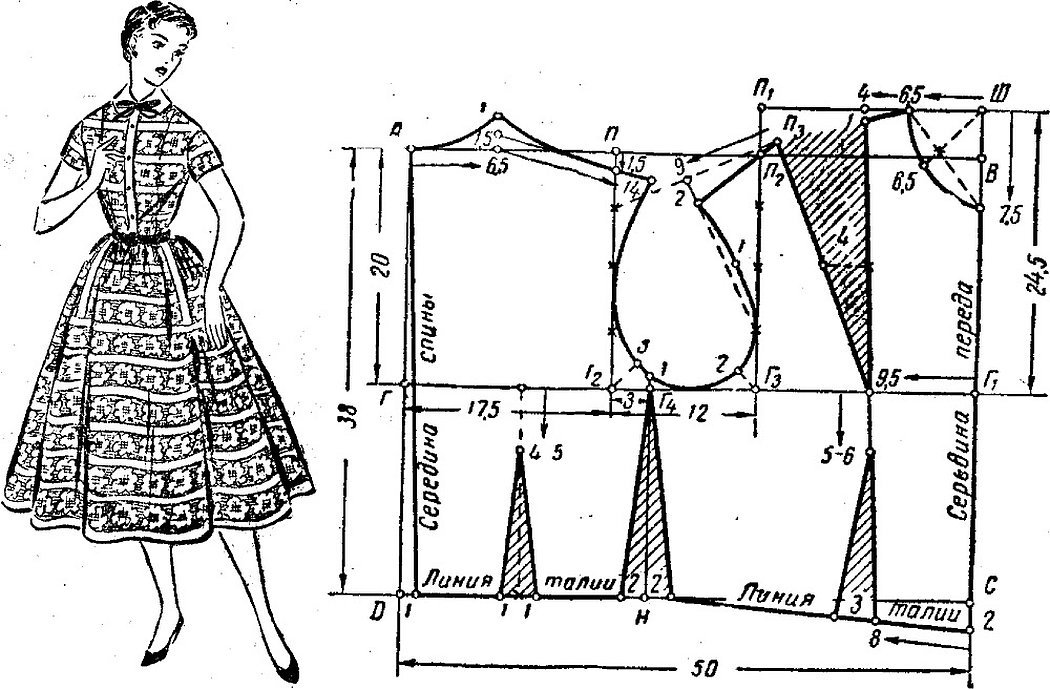
Back pattern and its differences
The pattern of the back should be made based on the design of the product. Often the back of the product has an unusual shape and then it makes sense to use a special step-by-step master class, during which the main necessary details for forming the product are analyzed. The back can even be open, and therefore it will be necessary to take into account the waist and chest circumference in order to make a slit and at the same time the child is comfortable in the model.

Sewing the front and back together
It is worth clarifying that the front and back are sewn together after the first fitting. Then the finished bodice is complemented with a skirt. It is important, if possible, to apply both patterns to the child's body before sewing to make sure that the finished product will not be too small or, conversely, too big. The front and back should be sewn together using the allowance left on the drawing of several centimeters. It will go to the necessary seam and possibly decoration, if, for example, the product has decorative inserts.
First fitting
The first fitting is best done after the bodice and the skirt are ready. Before sewing them together, it is better to make sure that the product will not be too short, will not squeeze the child's waist too much and to make sure of such trifles. In addition, after the fitting, the vision of the finished item becomes clearer. Perhaps, after the first fitting, the designer will want to make radical changes to the design of the fabric or make interesting decorative details, use some other seam to fasten the parts.
Please note! The first fitting is also necessary in the case that, in the event of technical errors in the calculations, something could still be corrected before the product is hopelessly ruined.
Processing the yoke
The yoke can be processed in different ways. Each method is selected depending on the product to be sewn. For example, the yoke can be sewn with ironing of seam allowances, ironing of the lower edge of the yoke inside out, or attaching connecting overstitch seams with open or closed edges.
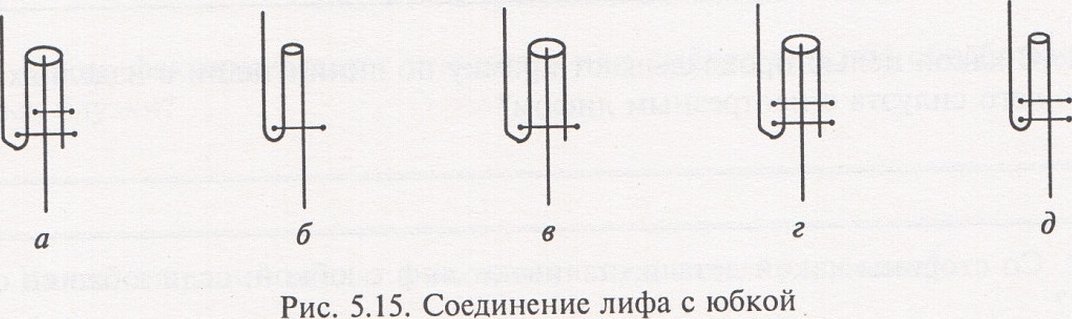
Joining the bodice and skirt
The bodice and skirt can be joined using either regilin or other decorative ribbons. This can be done using a regular hand stitch or a double stitch on a sewing machine. If we are talking about creating a creative product with a large number of boulders, creative decorative elements, then it is better to connect the parts of the fabric according to the pattern that was used when the product was first formed. It is important to understand the weight of the fabric and its density. The denser the fabric, the more effort is needed to connect its connecting main parts.
Please note! If necessary, it is worth contacting experienced designers if a specific connecting element does not work out or the sewing structure is not clear.
In general, the advantages of sewing a fluffy dress for a girl yourself are that you can make it according to your imagination, and also significantly reduce its cost. At the same time, you can give preference to any fabric and make all the necessary patterns according to a special master class to make a beautiful product of your dreams.


