There is a lot of specialized and high-tech equipment at the disposal of seamstresses in the modern market, but the sewing machine "Chaika 134 A" with a high-quality shuttle remains in demand. When considering the model, it is worth studying its features, characteristics and kit. Before work, preparatory operations are carried out, it is important to know common breakdowns.
- Features of the model "Chaika 134 A"
- Characteristics
- Equipment
- General machine setup
- Setting up for working stroke and bobbin winding
- Adjusting the needle to the hole in the needle plate
- Preparing for adjusting the shuttle block, adjusting the housing, changing the buffer spring
- Broken buffer spring on shuttle pusher
- Eliminating thread breaks in the shuttle
- Preparing for installation of the shuttle block
- Assembly and adjustment of the shuttle block
- Preliminary exhibition
- Preparing the shuttle for installation in the block
- Shuttle exhibition in the shuttle block
- Setting the shuttle block relative to the needle in the straight stitch position
- Adjusting the Upper Thread Regulator
Features of the model "Chaika 134 A"
The sewing machine "Chaika 134A" has a number of features. The parameters of the model are taken into account, as well as the quality of assembly. Consumers are interested in the complete set, the main elements that are provided in the set.
Characteristics
The machine of this series has the following parameters:
- maximum frequency 1000 rpm;
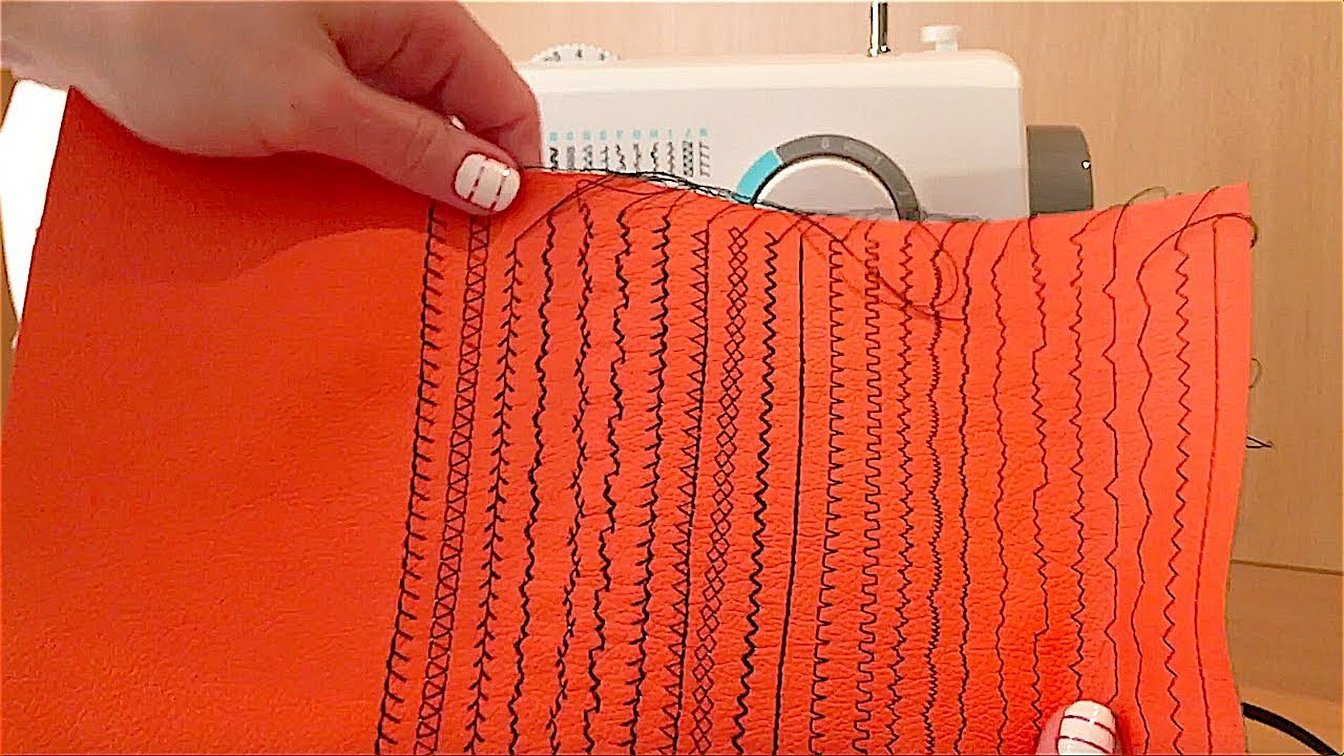
- number of lines 12 pieces;
- belt 21 cm;
- maximum zigzag width 5 mm;
- model weight 39 kg;
- stitch length 4 mm.
- foot height 6 mm.
Equipment
The set includes a sewing machine "Chaika 132m", an instruction manual, a set of needles, feet, a holder, screws. There is a winder, a thread take-up, switches, a spare belt.

General machine setup
When using the sewing machine "Chaika 134", the adjustment and regulation are carried out in the following sequence:
- platform check;
- inspection of the frame;
- coil rating;
- Checking the bracket.
During preparatory operations, the platform is inspected for defects. The sleeve must be intact, without obvious bends. The same applies to the cover. If the needle disappears, it is necessary to perform adjustment work. It is allowed to adjust the thread guide, as well as the handwheel.
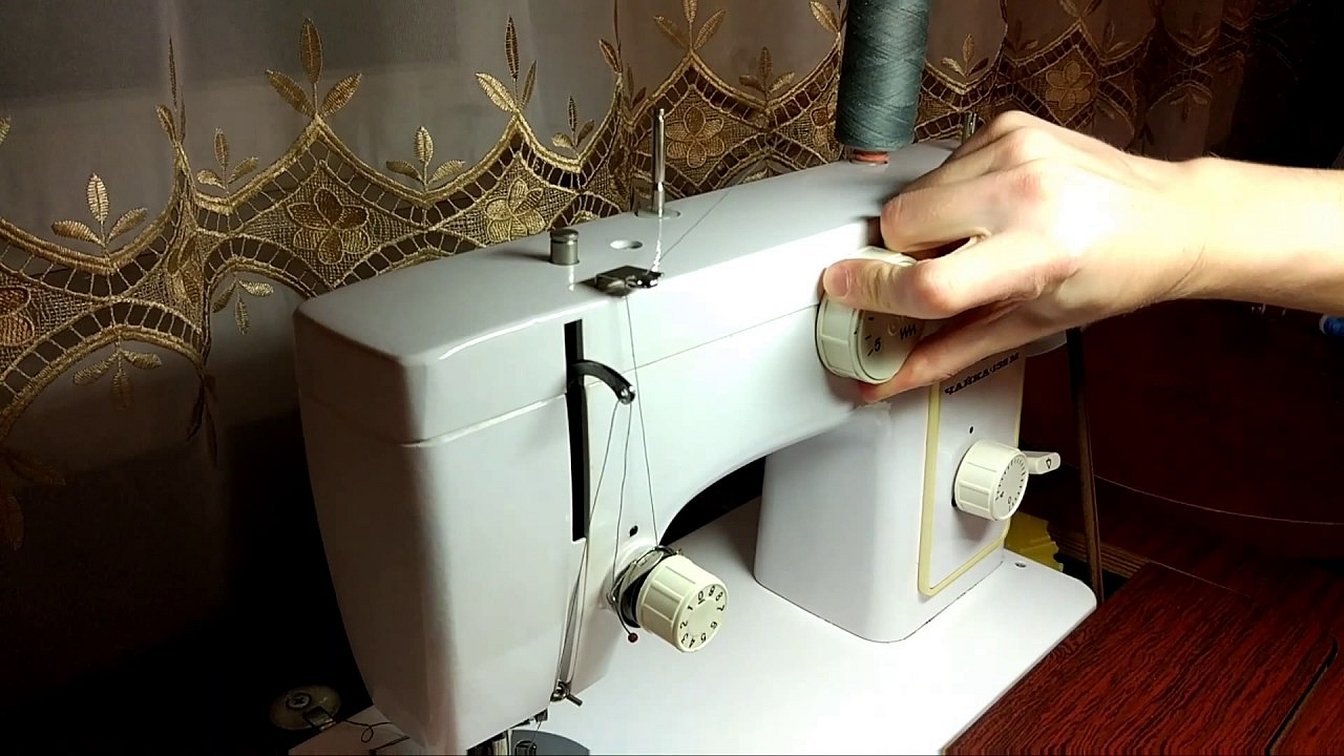
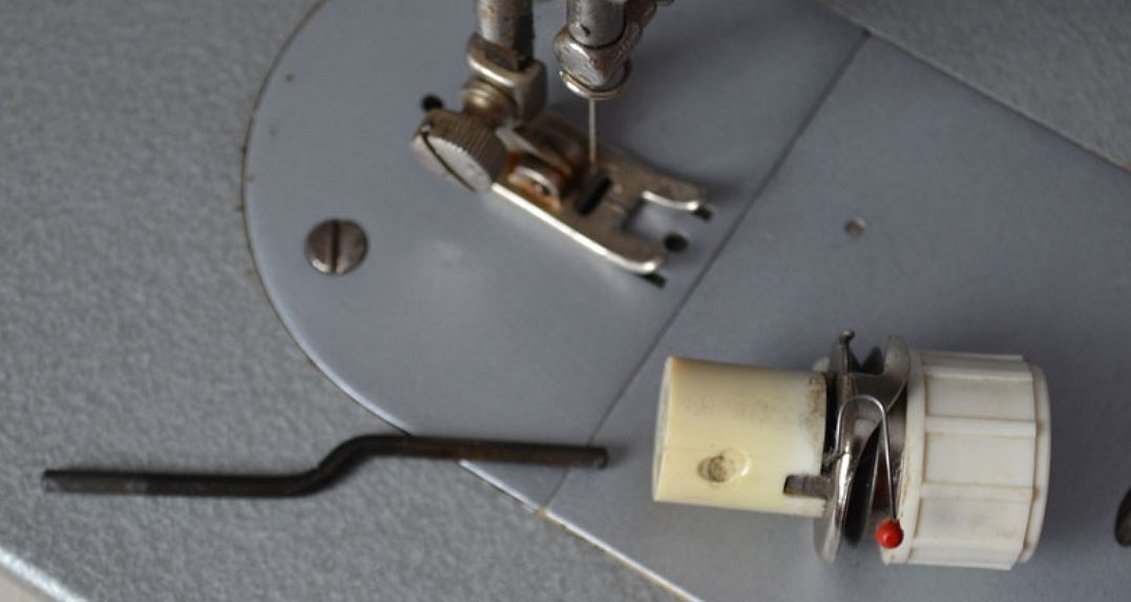
Setting up for working stroke and bobbin winding
Users must be able to set up the machine for operation. The bobbin winding is adjusted, it is worth checking the screw. The manual has clear instructions for the operation. To adjust the machine, the plate is released, it is necessary to remove the cover. The bobbin rod is inspected, which should be fixed on the frame.
Important! The brackets are attached on the sides, you will have to use a screwdriver to release them.
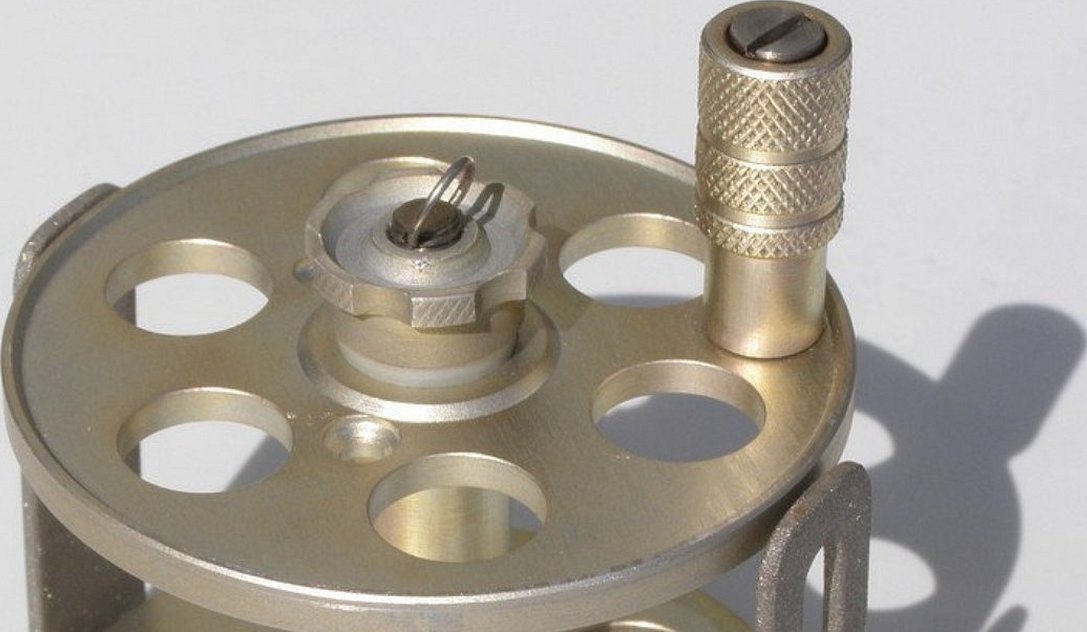
The next step is to adjust the bobbin, the thread should pass through the upper ring. Many people knock down the screws, which leads to the electric drive breaking down. As a result, the machine has to be sent for repair. Another common problem is tightening the screws. The bracket is designed for a certain load, the bobbin should be firmly fixed, but without fanaticism.
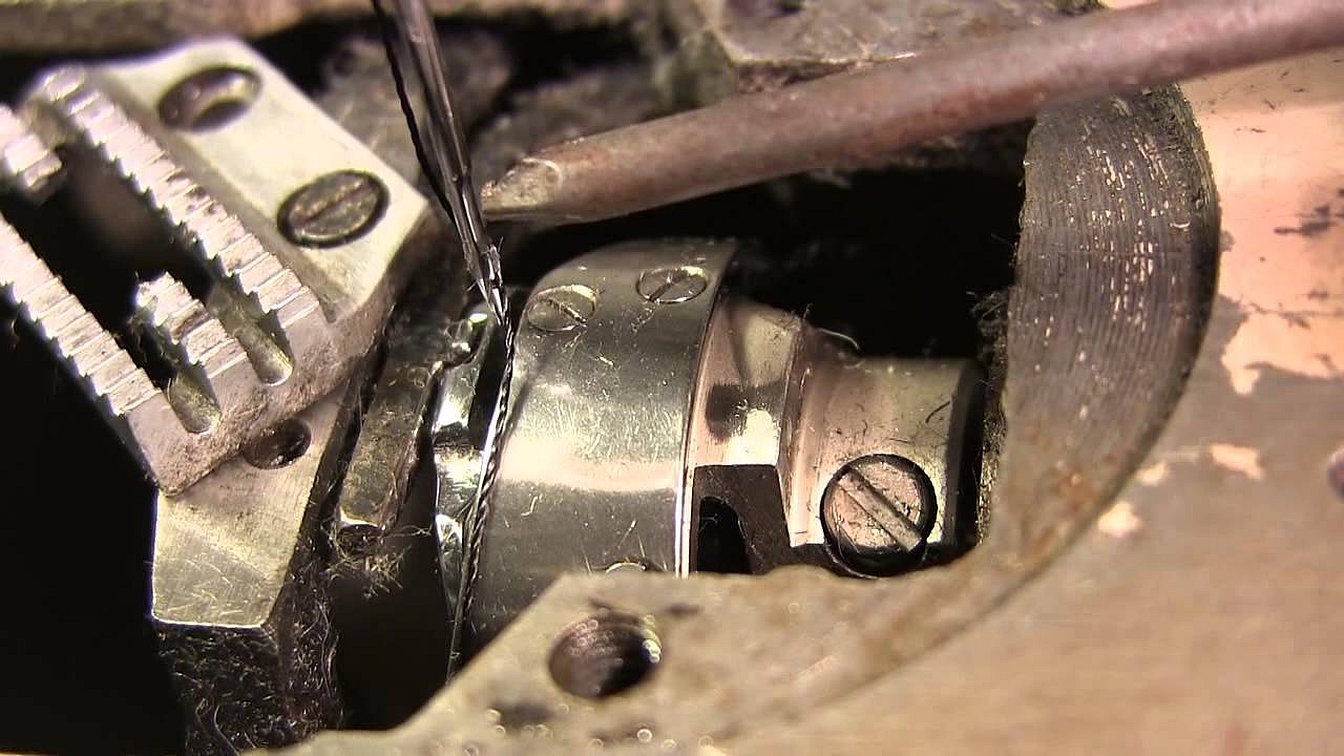
Adjusting the needle to the hole in the needle plate
During the needle setting, the plate's inclination to the sides is taken into account. A common malfunction is considered to be plate deformation, in which case the needle breaks. People try to quickly lower the needle bar and the plasticine does not reach the end.
Advice! To eliminate the backlash, it is worth loosening two screws. The needle bar must be in the upper position.
The plate is centered precisely horizontally. The next step is to check the needle tilt. It is worth fixing the moss wheel and lowering the foot. The handle shaft should be in the upper position. When testing, the stitch is even, it is checked by width.
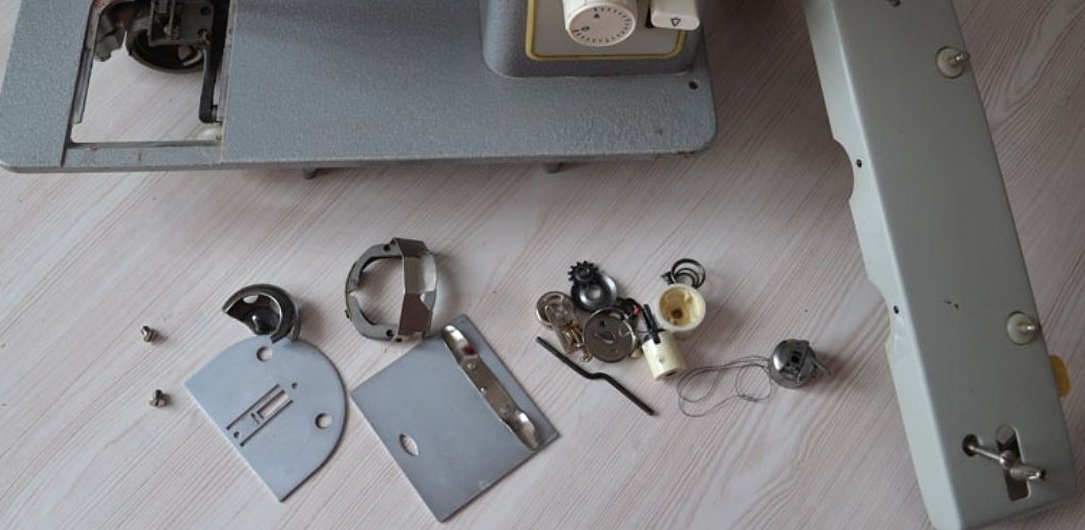
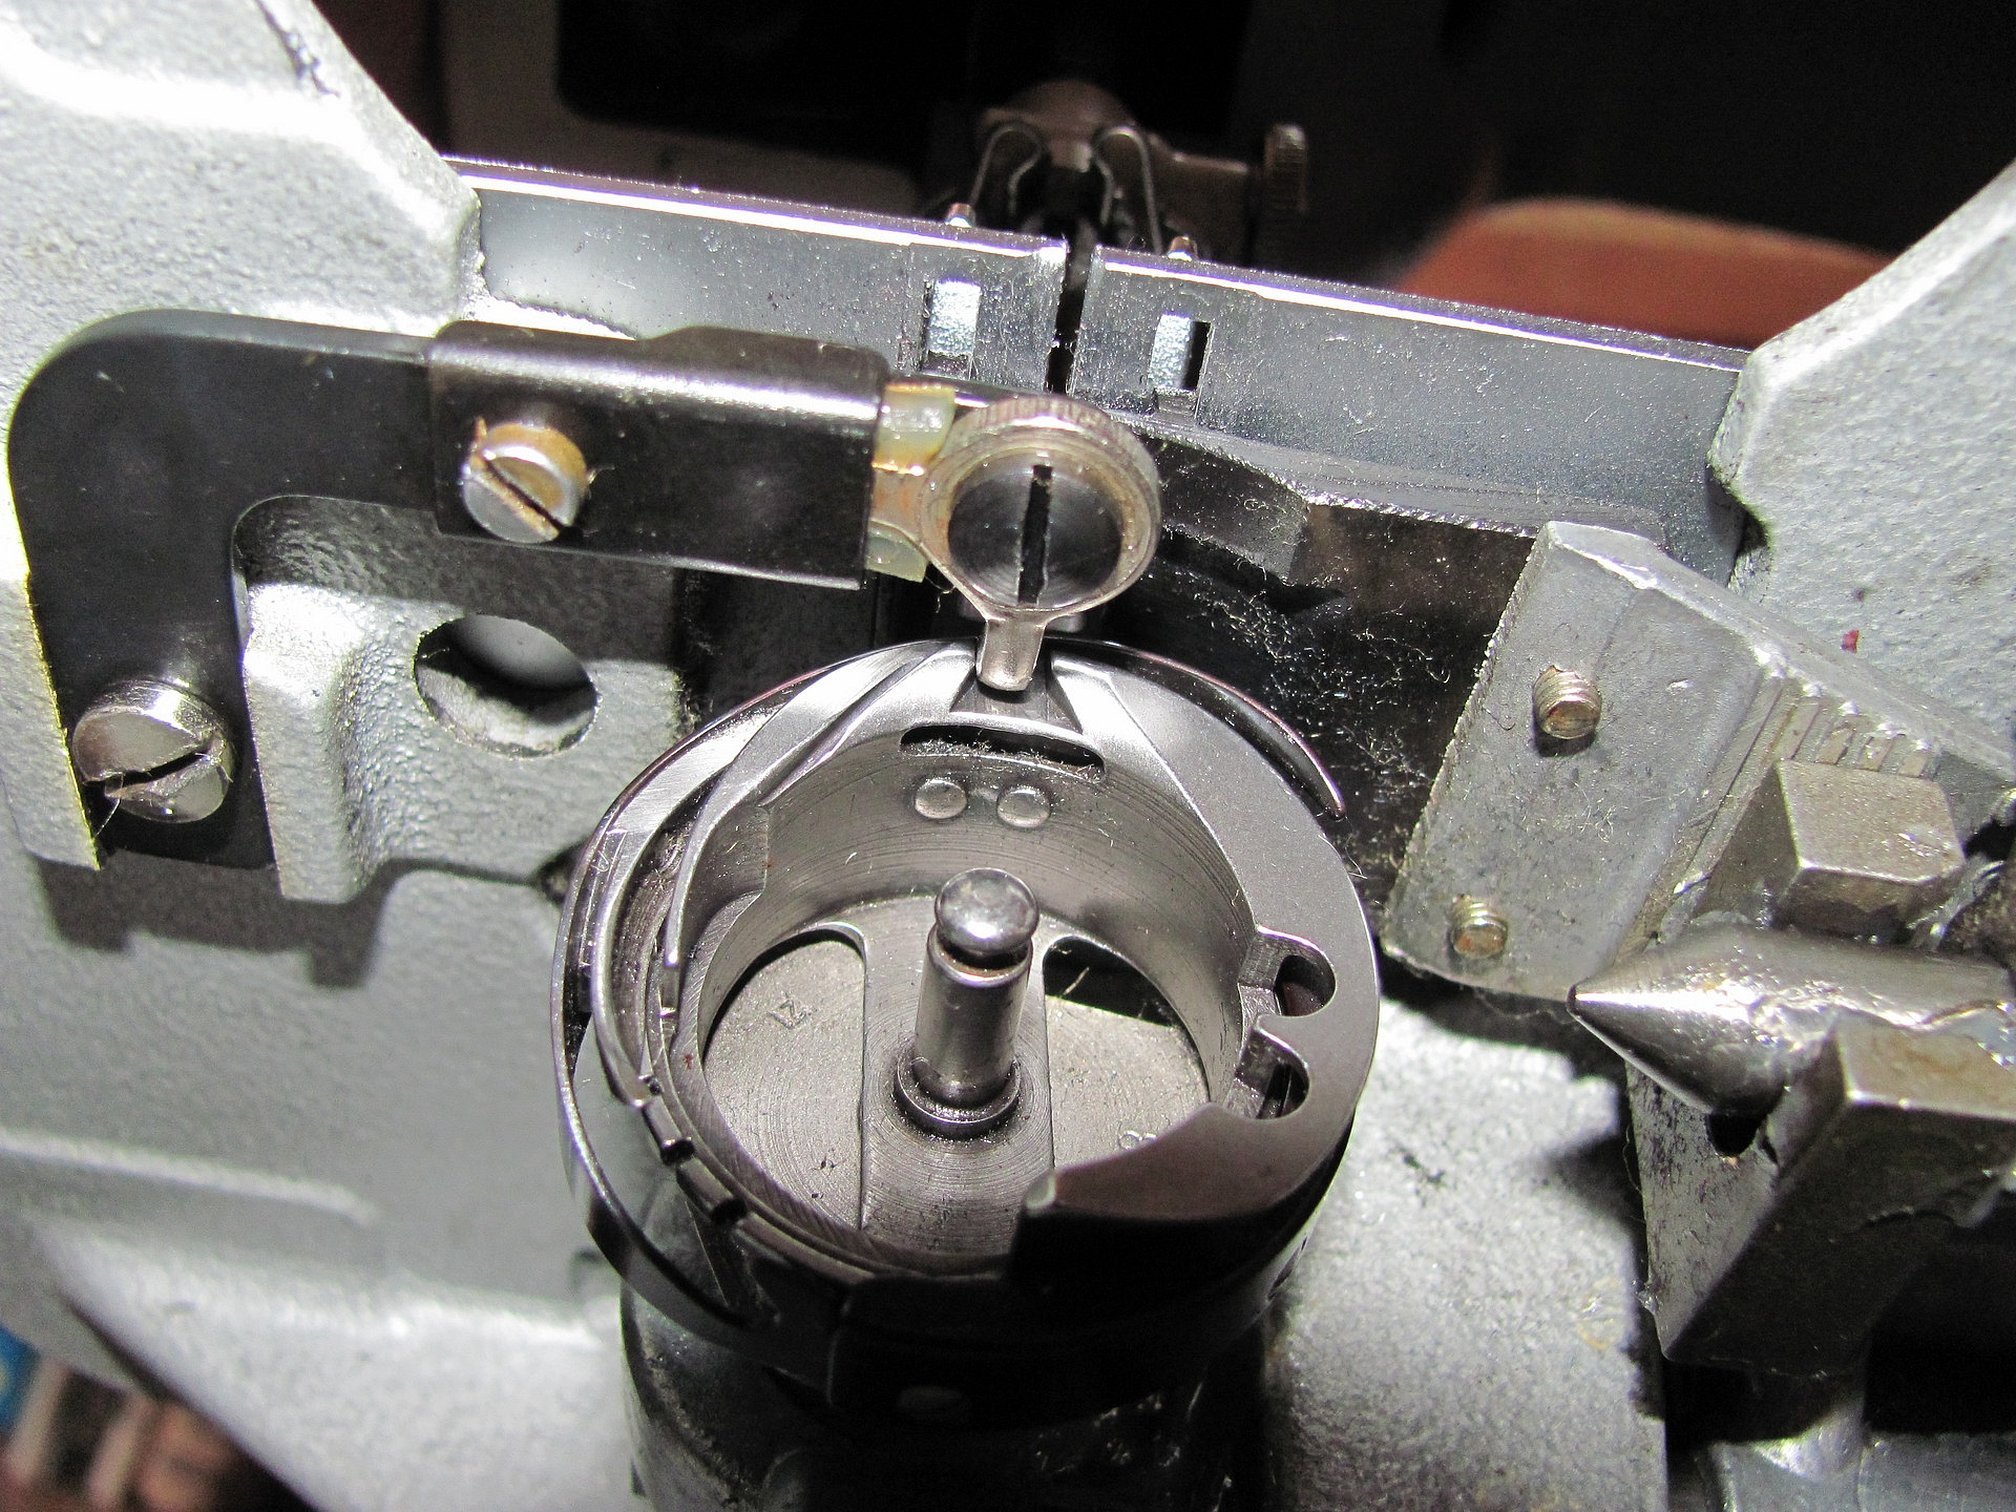
Preparing for adjusting the shuttle block, adjusting the housing, changing the buffer spring
The shuttle block is configured in the following sequence:
- removing the lid;
- release of the posterior wall;
- inspection of fastening;
- checking the pressure spring;
- bobbin case clamp;
- gearbox adjustment.
To set the shuttle body, there are two clamps on the plate. During the adjustment, the gap between the shuttle heel is checked. The pusher should be free, it is important not to overpress the spring.
Interesting! A common mistake is to use pliers to fix the element.
When everything is done, it remains to replace the buffer spring. This can be done when the shuttle is disconnected. The clamping ring is attached and the bobbin is released. The cap must be put aside and the foot unscrewed. After this, it will be possible to remove the buffer on the spring to replace it.
Broken buffer spring on shuttle pusher
A common problem with the machine is considered to be a broken buffer spring. When setting the shuttle, many people put excessive load on the plate. The pusher is a fragile element with small teeth.
Important! The upper or lower buffer springs can be replaced. To do this, you will have to remove the block and the cover.
Eliminating thread breaks in the shuttle
A broken upper thread indicates a faulty tension regulator. You will have to thread it yourself. The second common problem is a defective needle. When a poor quality thread is used, breaks occur and knots form, and a defective needle and pusher are observed.
Preparing for installation of the shuttle block
When preparing a sewing machine for installing a shuttle, it is worth thinking about assembly and adjustment. Initially, preliminary adjustment and final fixation occur.
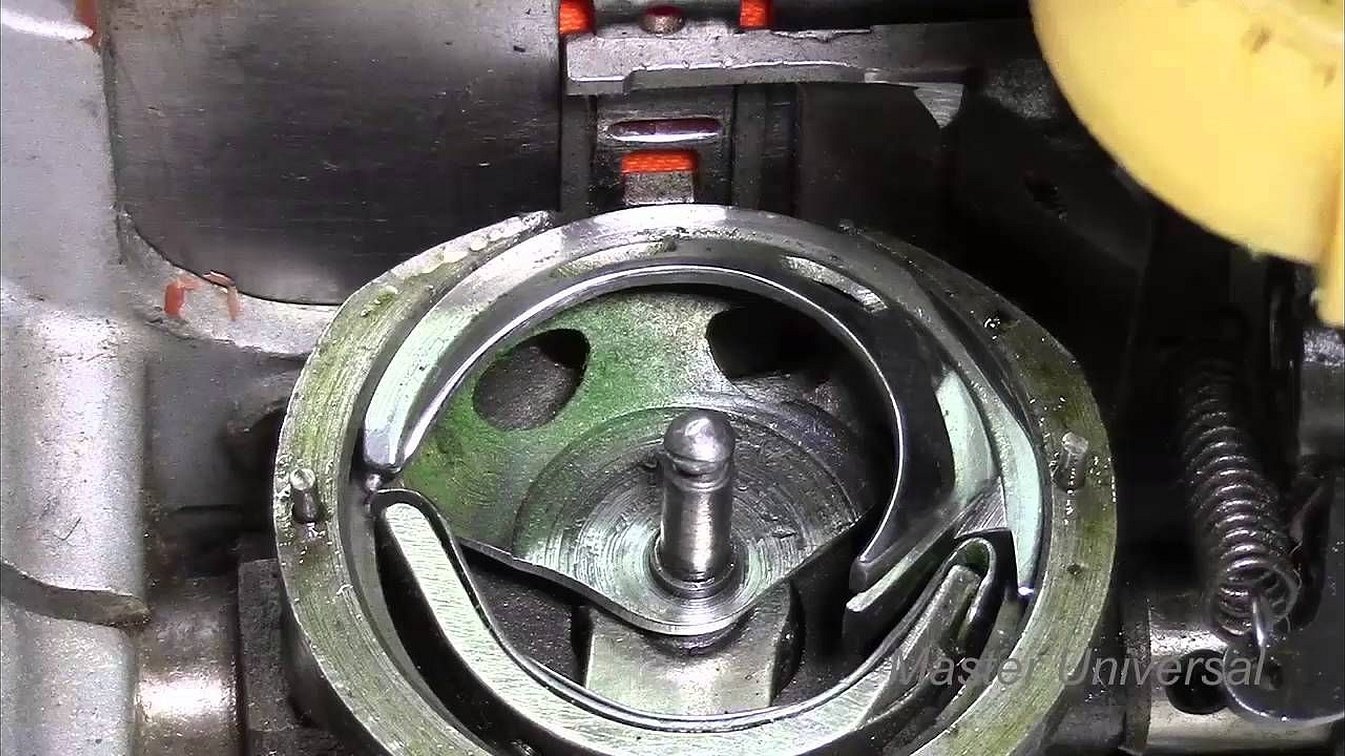
Assembly and adjustment of the shuttle block
The shuttle block of the model is considered easy to adjust. It includes the main unit, as well as the swing mechanism. For assembly, you will need a set of screwdrivers and pliers. Adjustment is carried out by rotating the flywheel clockwise. During the procedure, it is important not to damage the electric drive.
Preliminary exhibition
When rotating the flywheel, wait for a click when the teeth are in place. Next, check the position of the ring, which should be in the center. If everything is OK, the screw will rotate clockwise by half a turn.
Preparing the shuttle for installation in the block
Before installing the block, you need to check the shuttle. You need to make sure that the bobbin case is on and the nose is facing the pusher. The heel should be without deformations, much depends on the quality of sharpening.
Shuttle exhibition in the shuttle block
To set the shuttle in the shuttle block, you should follow the following algorithm:
- turn the handle;
- head lowering;
- shuttle fixation;
- buffer spring fastening;
- installation of the shuttle.
Setting the shuttle block relative to the needle in the straight stitch position
If you choose a sewing machine of this series, you will have to be careful about adjusting the shuttle block relative to the needle. According to experts, the bracket is fixed with a rod, and the screws are slightly loosened.
Adjusting the Upper Thread Regulator
Setting up the regulator does not take much time for the user, since it is only necessary to remove the cover, disconnect the element and disassemble the box. Then the spring is released, it is necessary to install the regulator and put on the cover. After this, the head is turned clockwise until it clicks.
The machine "Chaika 134A" is considered above, which has a lot of advantages. For full use, you need to know the preparatory operations and adjustment work. Owners of the model encounter breakdowns, you need to be ready to eliminate the thread breakage.


