A cardigan is a cape-jacket that differs from other items in its loose cut. Most often, it is made of knitwear, wool, cashmere or fleece, but a much larger number of materials are suitable for it. In addition, a cardigan can have many differences based on its cut models. This article will discuss how to sew a knitted cardigan with your own hands, knitted blouse patterns and the history of the cardigan.
- Story
- Opening
- Checking fabric for defects
- Decating fabric
- Determining the direction of the loops
- Cardigan pattern
- Pattern layout
- Modeling the shelf and back
- Modeling the sleeve
- Cutting out the details
- First fitting
- Translation of lines and connection of parts
- Sewing
- Making changes after trying on
- Stitching seams
- Product base
- Processing of pockets and collar
- Connecting the collar to the garment and sewing in the sleeves
- How to sew without a pattern
- DIY knitted sweater
- DIY Knitted Blouse
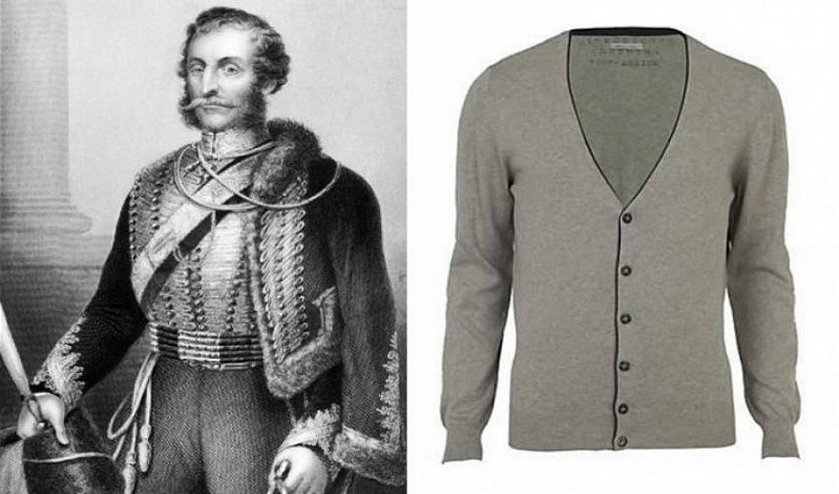
Story
The classic image of a cardigan is a knitted, elongated vest without a collar. There is a button-shaped fastening in the front, with which it is fastened, several pockets and a V-shaped neckline. At the beginning of its invention, it was worn only by the military as insulation for a uniform. It got its name from the Earl of Cardigan, who came up with the idea of wearing this type of clothing.
It began to be actively used in civilian clothing only by the 50th year of the 20th century. From that moment on, the popularity of the cardigan only grew, and it began to be worn always and for any occasion. Modern cardigans, in addition to the main distinguishing features, have a fitted bottom and a button fastening.
Important! In Russia, this item of clothing has become popular relatively recently and is only just getting its rightful place in the wardrobe of every man who wants to look stylish.
Opening
Before making patterns for knitted blouses, you need to check the main indicators of the fabric: defects, decating, direction of loops. All this determines the quality of the future product.
Checking fabric for defects
Cutting cannot begin without a thorough check of the fabric of the future cardigan for defects: knots, holes, textile quality, marriage. If at least one of these defects is present, then you need to either choose another material, or if it has already been purchased, then outline it with chalk.
Decating fabric
This process is very important at the very first stage of cutting. If you do not decatize the fabric, then during the sewing process it and its individual parts will wrinkle and deform. All this will ultimately cause asymmetry of the finished product.
Determining the direction of the loops
In order to determine the direction, you need to fold the fabric "face" inward along the edge, and turn the edges of the edge towards you. Knitted fabric has a certain feature - machine knitting, loops that can be unraveled. That is why when making a cardigan from knitwear, it is important to ensure that the loops unravel from top to bottom. To check this, you should carefully pull the thread across. If the fabric begins to unravel easily, then this is its upper part.
Important! After determining the top, you need to align the bottom and use a ruler or a tape measure to draw a straight line with chalk or soap. From it, set aside an allowance of 3-4 cm and draw a line again - the future hem of the product.
Cardigan pattern
Correct cutting of the fabric is the basis of the beauty of the future product. Cutting involves laying out patterns on the knitted fabric, modeling the future front and back, modeling the sleeves and cutting out all the details for subsequent sewing.
Pattern layout
This process requires:
- Take the pattern for the shelf and lay it out on the fabric so that the top point of the shoulder coincides with the mark of the total length of the future product;
- Take the back pattern and lay it out on the fabric so that its center coincides with the fold of the fabric;
- Check the distance between them. It should be equal to twice the width of the allowances on the sides.
Modeling the shelf and back
It is important that the control lines on the patterns are at the same level. First, you need to outline the details with chalk or soap, and then proceed to the dart, which can be transferred to the armhole for less visibility. This will also suit those with large breasts and eliminate the likelihood of creases and folds in the armhole. The last thing you need to do is shorten the dart by 4 cm from the center of the chest. A back dart is not needed. It is enough to shorten the shoulder seam by the width of the dart and raise it by one centimeter. From this point, draw a line until it coincides with the highest point of the neck and mark the width of the allowances on the shoulders and armholes by one and a half centimeters.
Modeling the sleeve
The sleeve is located at the top of the fabric near the edge. To do this, from the shoulder allowance of the shelf, put aside the length of the sleeve at the top and add an allowance at the bottom of about 4 cm. The width of the sleeve, as well as the elbow and inner lines are determined in accordance with the model and style of the future cardigan and pattern. You should also apply allowances: one and a half centimeters along the armhole, and 2 cm along the elbow and inner lines.
Important! The entire structure should be checked again for width and length. The main thing is not to forget to also add allowances for a loose fit to the body, which depend on the type and fullness of the figure and model.
Cutting out the details
After modeling all the details taking into account the allowances, you can start cutting out, that is, cutting out the cutout details. To prevent them from shifting, it is advisable to pin them together.
First fitting
Before you finally sew the cardigan, you should prepare for the first fitting and do the fitting itself. This process includes drawing lines, connecting the parts and, actually, the fitting.
Translation of lines and connection of parts
Using a cutter and a chalk board, you need to transfer the chalk lines from one piece of the pattern to another. After that, you need to sew the darts on the shelf pieces. To do this, you need to:
- Connect the front pieces to the back along the sides and shoulders;
- Sweep one of the sleeves to try it on from one side and transfer all changes to the other sleeve;
- Make decorative elements from paper or unnecessary fabric, such as cuffs, collar and pockets, for trying them on, if you plan to do so at all.
During the first fitting, insert the sleeve into the armhole and fix the length and width of the product, sleeves and neckline, mark the location of decorative elements. The pattern of a knitted cardigan is not always sold in the public domain and the dream of making a beautiful thing remains a dream. You can cut out a cardigan yourself, using standard patterns that fit the size and make the necessary adjustments in the process.
Sewing
Only after trying on the translation of lines and connecting all the parts, the sewing of the product itself is performed. This involves making adjustments after the first fitting, stitching seams for beauty, adjusting the finished product and processing decorative elements.
Making changes after trying on
It is necessary to mark with chalk the places where the parts are pinned so that it is imprinted on both sides. After splitting the parts, the following instructions should be followed:
- Remove the threads used for basting on the sides and shoulders to make it easier to adjust the product;
- Take the tape and change the distance from the marks to the cuts on each part horizontally. Sum up the data obtained, which will be excess when trying on. These distances can be distributed along the side seams;
- After this, you need to connect the marks with lines on the sides of the back and the shelf: fold the back in half and match the cuts;
- Combine the back piece with the front piece along the side seam and leave a one centimeter allowance;
- Trim off excess on the back and sides;
Stitching seams
You can sew the seams on a serger using a knitted stitch. If you don't have a special serger, you'll have to use a regular machine with a knitted needle. The allowances should be cut to one centimeter, and the edges overcast. After that, sew the side seams and iron them onto the back.
Product base
To base the garment, fold it in half and align all the cuts and seams on the sides, securing them with pins. Next, connect the marks on the armhole with smooth lines using chalk, and apply a 1 cm allowance. Align the center of the front and the bottom of the garment. Measure the armhole and sleeve cap with a centimeter. Find the difference from this. If it is 3-4 cm, then everything is fine. If the value is larger, then the excess is distributed over the seams.
After this, the seams on the sleeves are joined, as are the shoulder seams. To prevent them from stretching when wearing the product, before grinding them down, a strip of adhesive material is glued to the allowances with an iron. All seams are ironed onto the back.
Processing of pockets and collar
After trying on, the pocket parts are turned out of knitted fabric and stitched with a flat seam. The pocket edges are folded over and the pockets themselves are fixed to the garment with pins. Then they are basted.
For the collar, a piece of fabric is cut out to the length of the sides and the neck. Allowances are also taken into account. The width of the collar is equal to the length required for the model multiplied by two, taking into account allowances. The collar must be folded in half and aligned in accordance with the planned model.
Connecting the collar to the garment and sewing in the sleeves
After all the above actions, you need to baste and stitch the voronik to the top of the product. Its stitched edges should clearly match the bottom of the product. Sewing in the sleeves is even simpler: it is tucked into the armholes from the side of the product.
How to sew without a pattern
It is quite possible to sew a cardigan without a pattern. To do this you need:
- Take the fabric from which the cardigan will be sewn and cut a square with sides of 150 cm or more;
- Find the center of the square by folding it into 4 layers;
- Inscribe a circle in it with chalk with the center in the center of the square;
- Take any sweater from the closet that fits your figure perfectly and place it on the fabric in the center, leaving 20 cm from the top;
- Transfer the armhole lines of the back and front of the blouse onto the fabric;
- Make holes for future sleeves and make a collar from old leather or denim, stitch it to the top along the circle. This will be needed for a collar or hood;
- Make sleeves and sew them with an inner seam to the back of the garment.

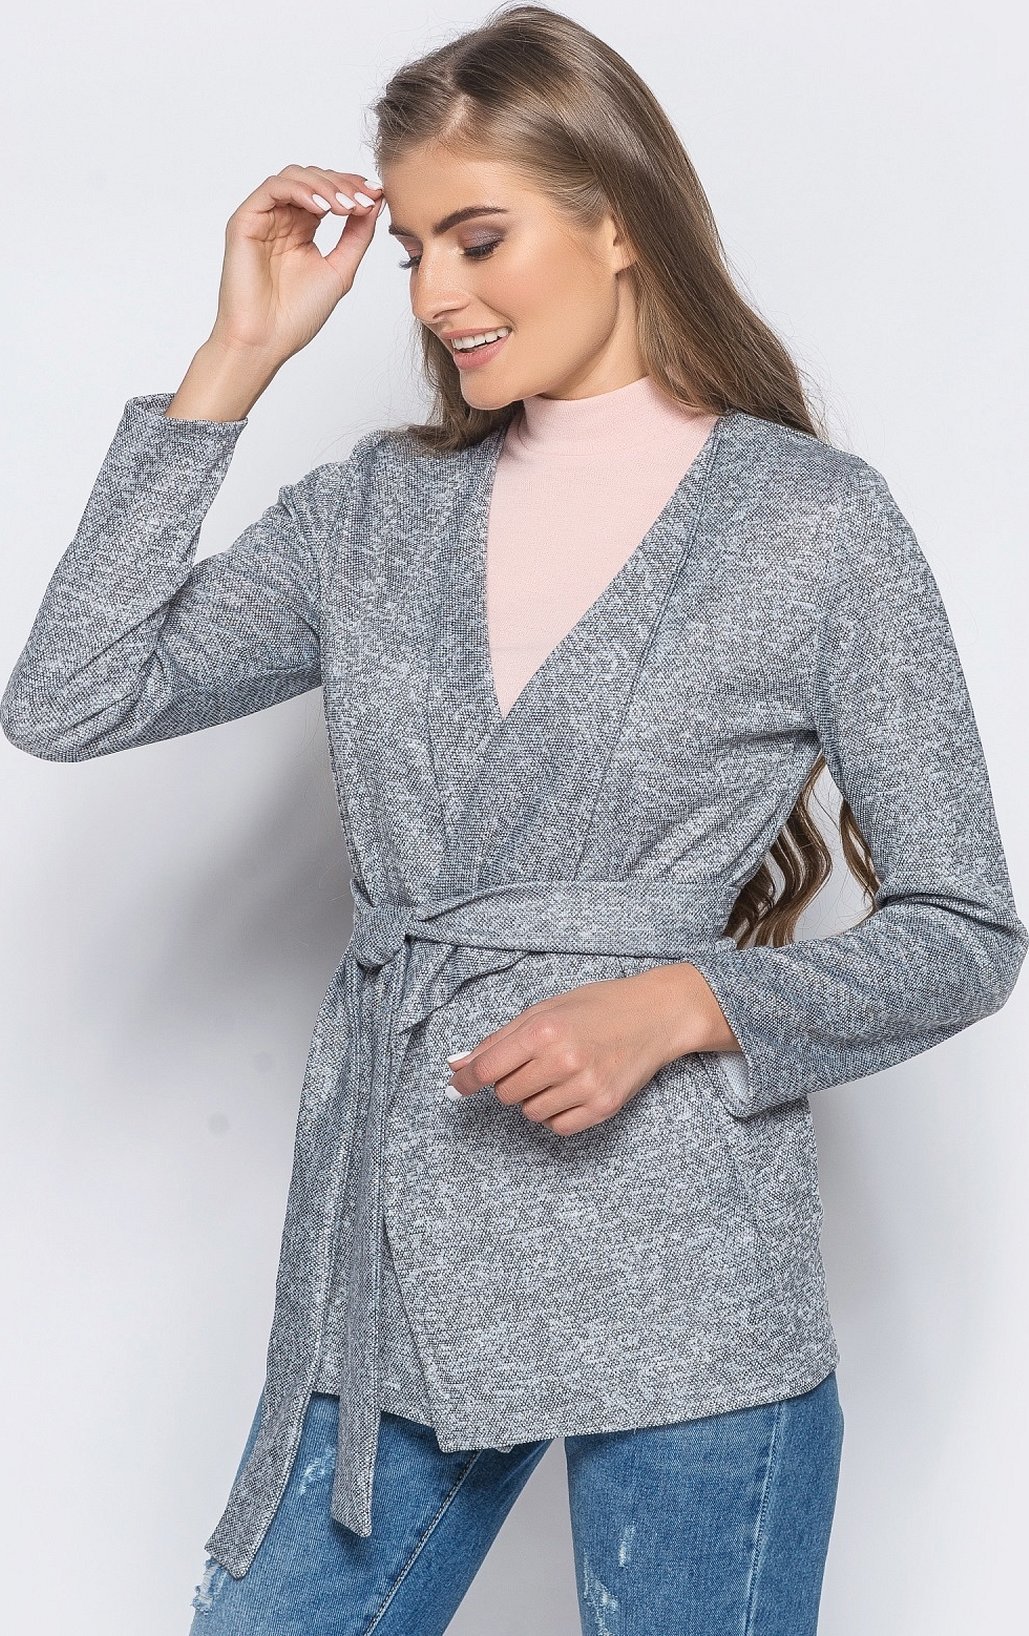
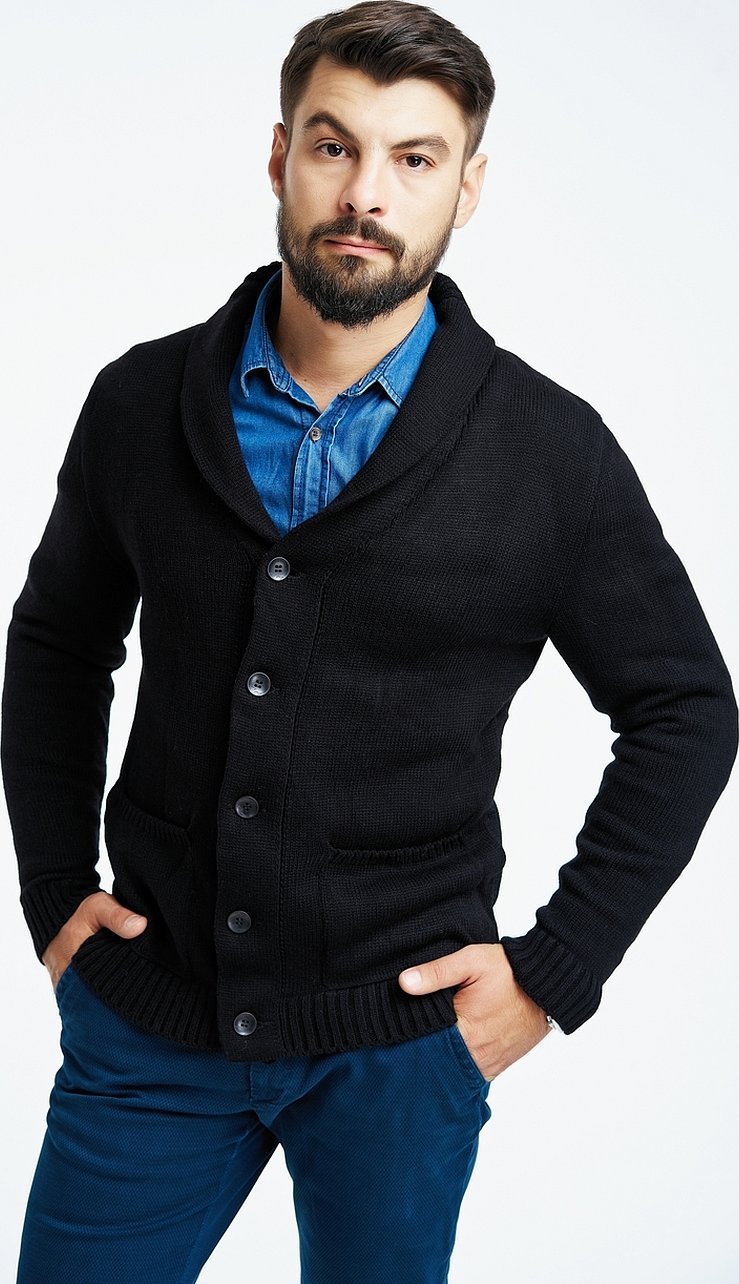
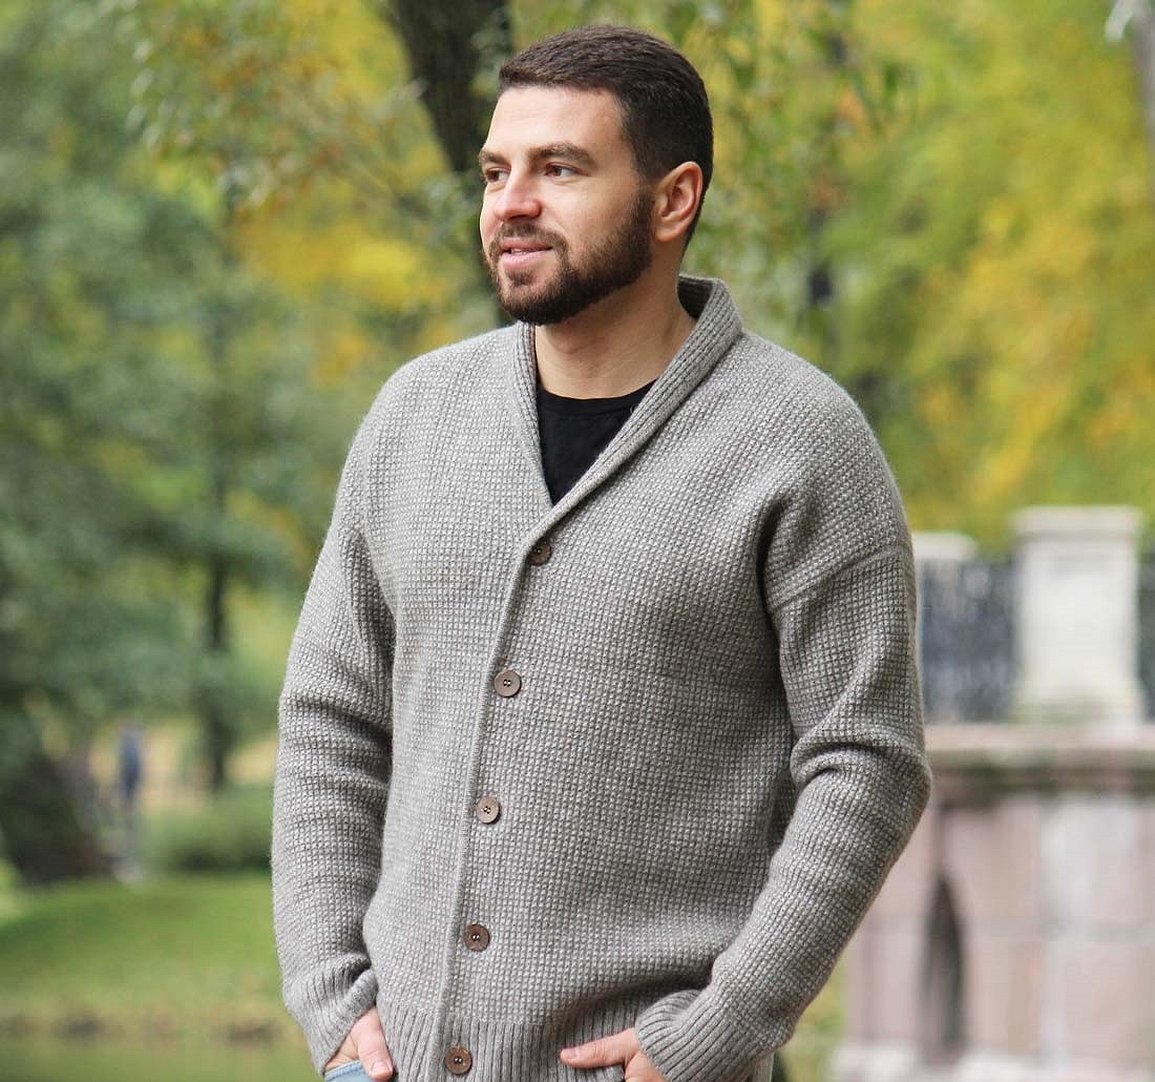
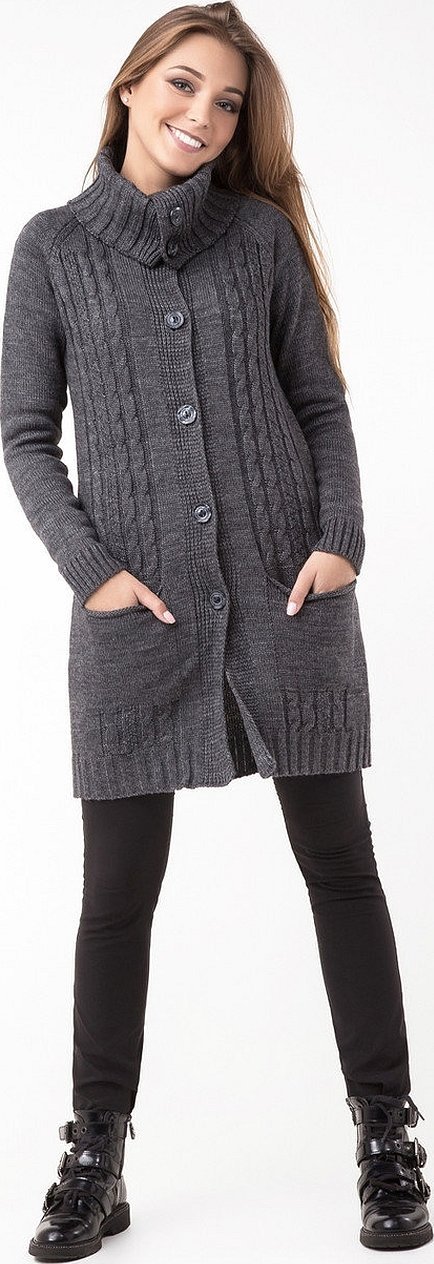
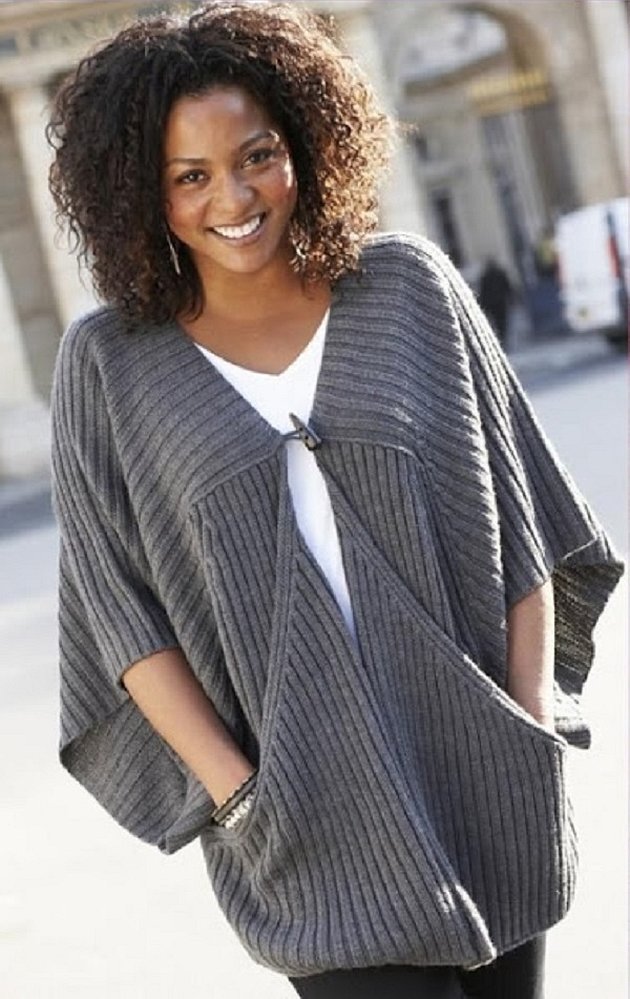
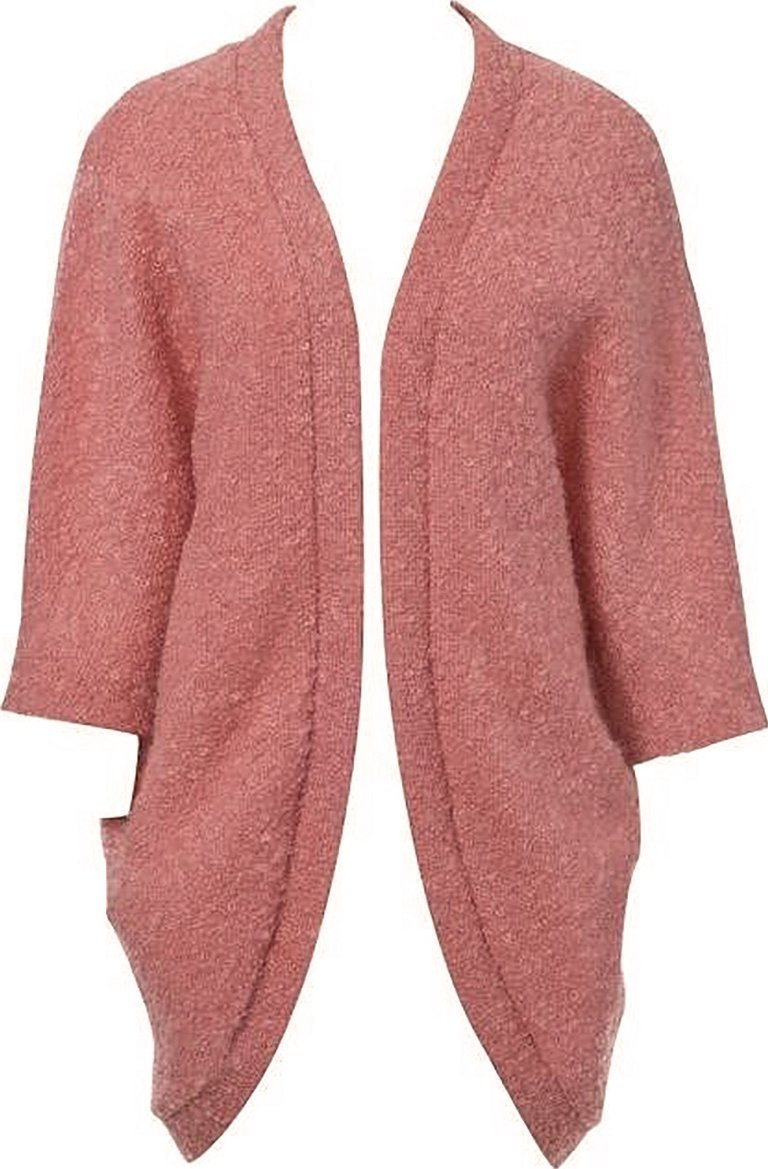
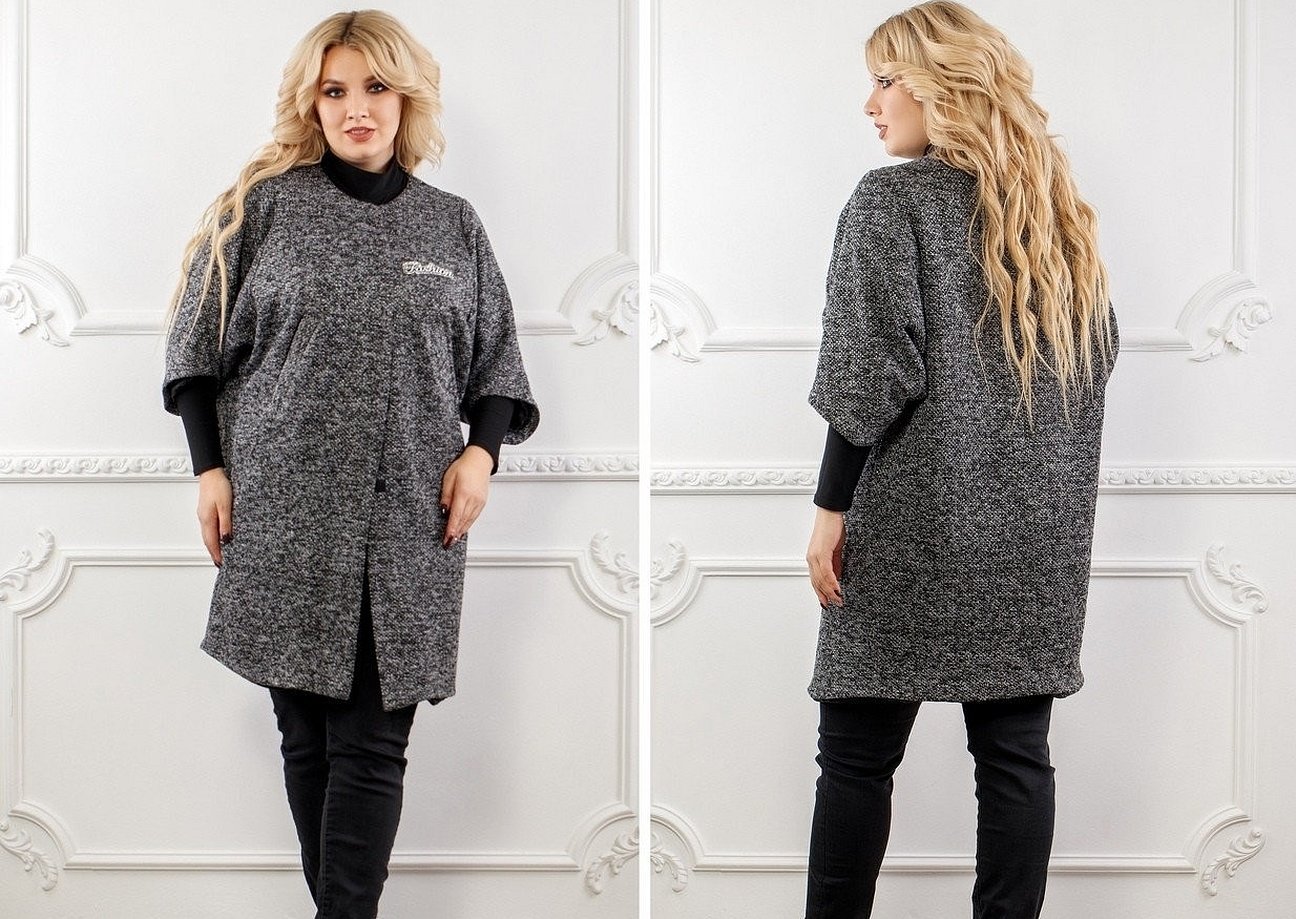
DIY knitted sweater
This section contains photographs of patterns for knitted blouses that can easily be made with your own hands and improvised means.
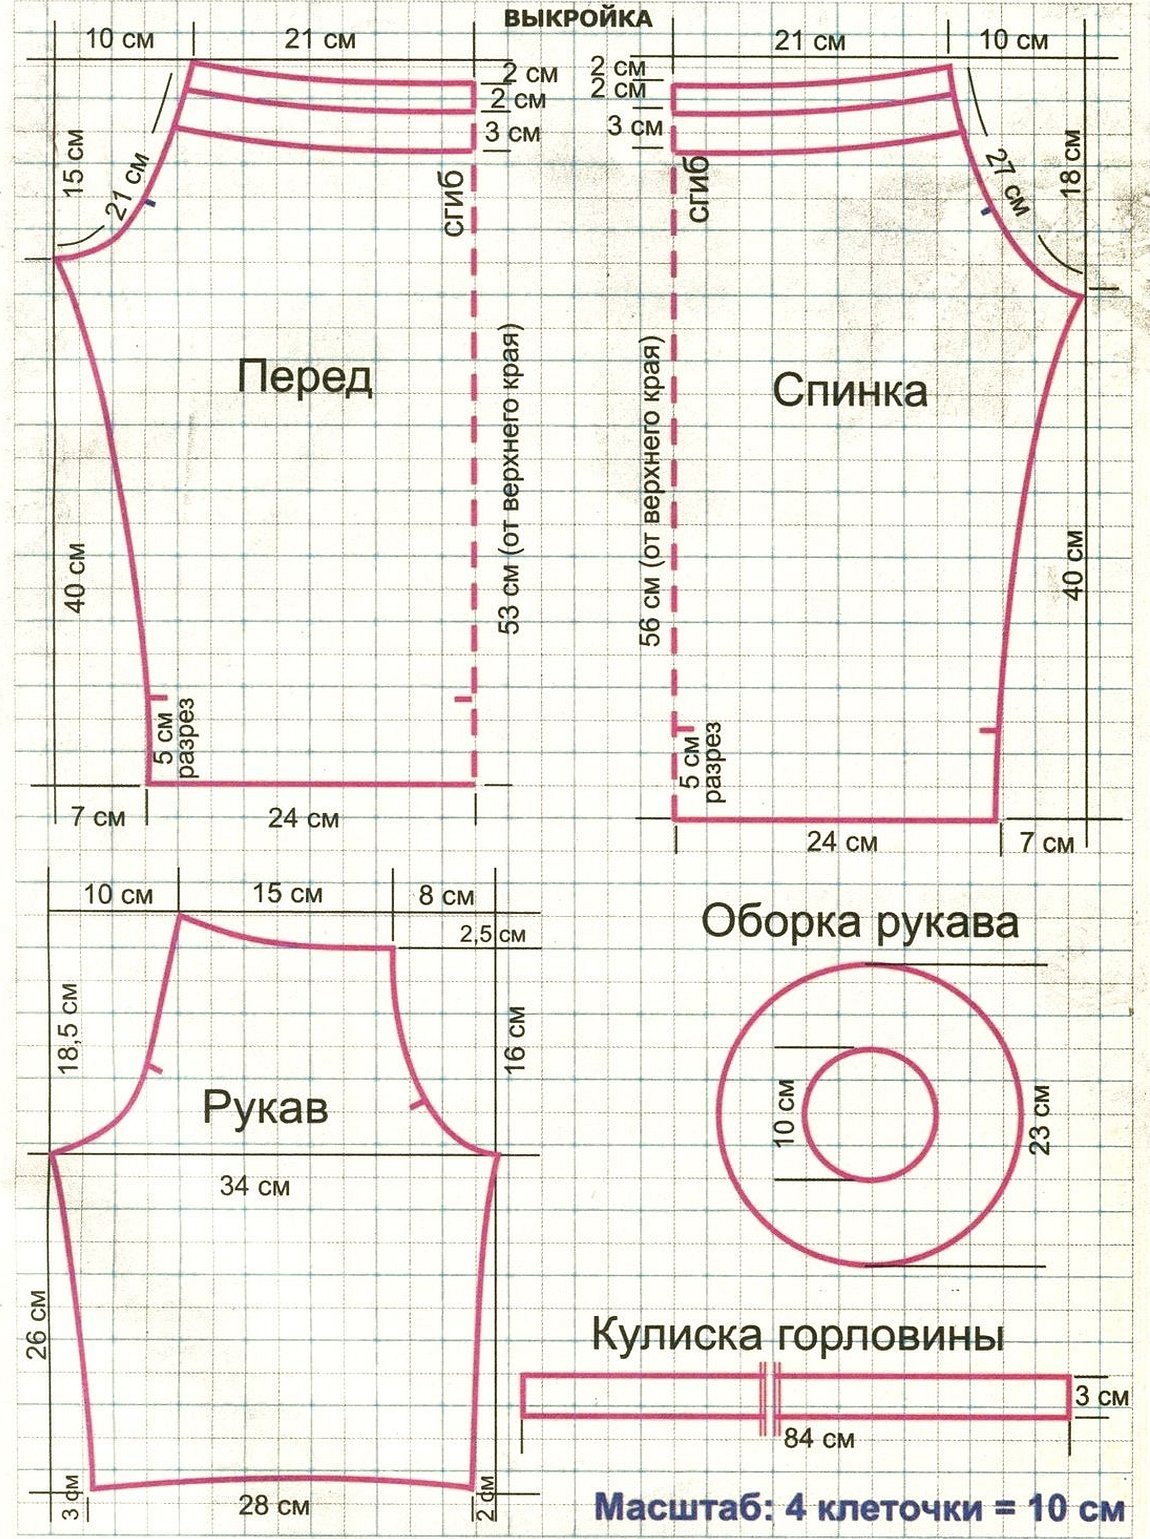
DIY Knitted Blouse
It is very easy to make a blouse or cardigan with your own hands. There are many patterns on the Internet that are available to all sewing lovers. Below are examples of knitted blouse patterns.
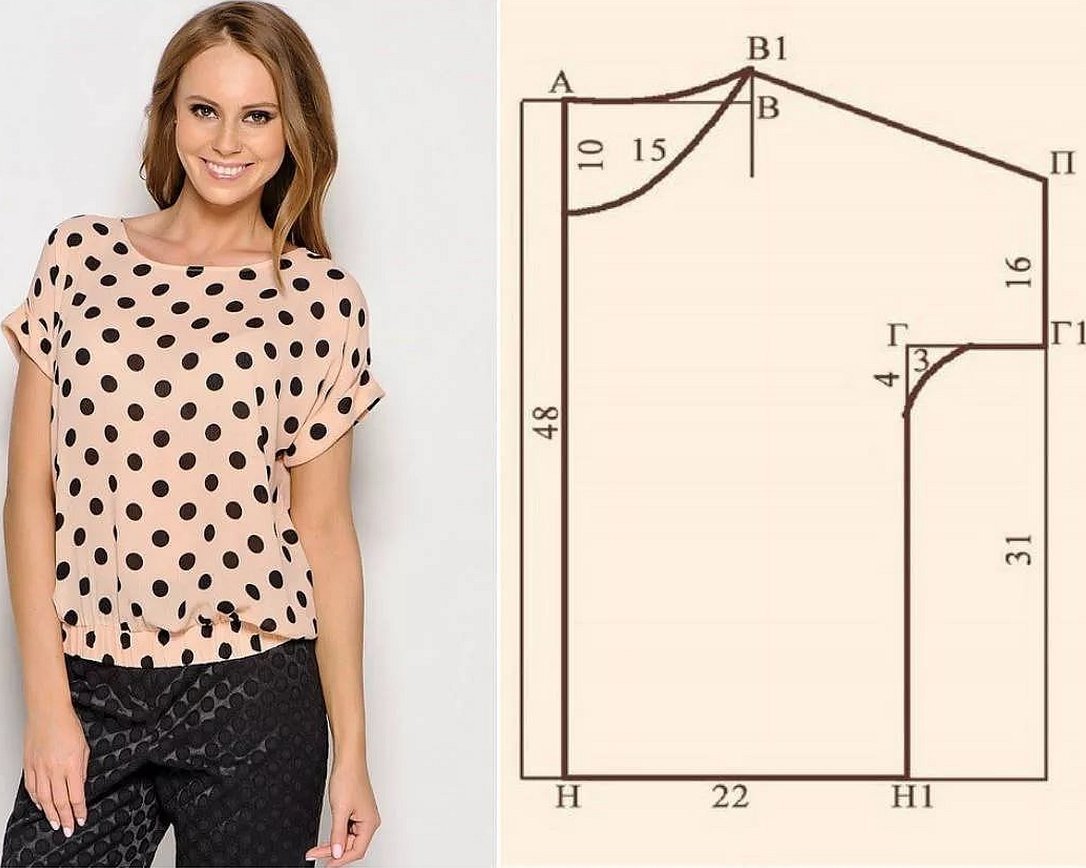
Thus, the pattern of a knitted sweater with long sleeves is simple and interesting. Understanding the essence of the work and following the instructions, even a novice seamstress will be able to sew this product and the pattern of a sweater from knitwear will bring only pleasure.


