There are many bloggers among needlewomen. Those who spend a lot of time and effort on creating masterpieces, strive to share their skills and secrets with all beginning craftsmen. One of them is Gella Chara. She has become popular on many platforms where there are master classes on sewing and other handicrafts.
The Secret of Gella Chara's Popularity
Every blogger has their own secret to popularity on YouTube, Instagram and other platforms. Gella Chara has won the attention of needlewomen who do more than just patchwork.

Why her master classes get so many views:
- Gella Chara explains in the most accessible way. Gives advice on the topic, even if they do not relate to this master class.
- Her crafts are accessible to everyone. They do not require purchasing a large number of materials or expensive equipment.
- She adds lessons to the public domain, which allows all beginning needlewomen to use her advice.
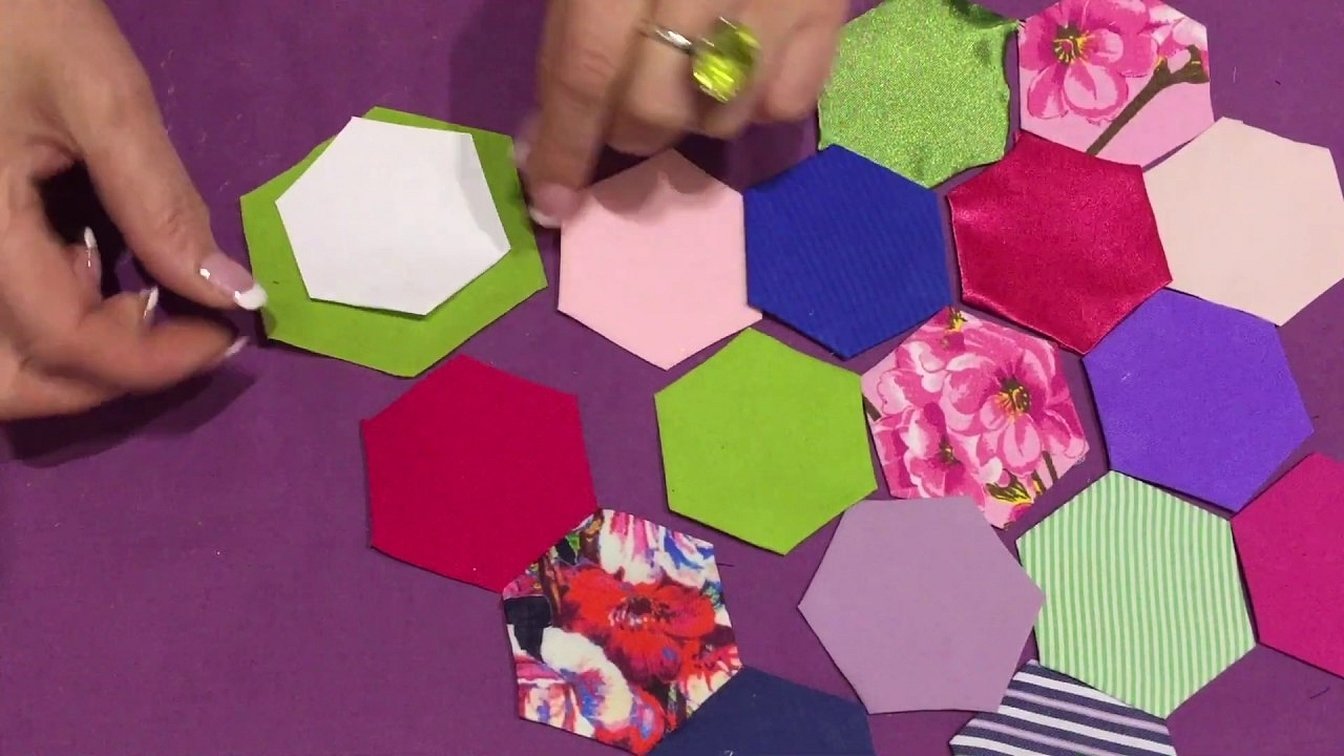
The author of the blog is engaged in patchwork sewing, the so-called patchwork. This is the creation of products from scraps of fabric. There are different techniques. The most popular are English and Eastern. The advantage of patchwork sewing:
- All products are sewn from scraps and squares, which allows you to create original items with an unusual pattern.
- It is not necessary to buy fabrics to create bedspreads, pillows, etc. You can use old clothes, this is one of the main advantages.
Detailed master classes from Gella Chara
Craftswomen involved in various areas watch master classes filmed by Gella Chara: patchwork sewing - stylish and very unusual at first glance - is not the craftswoman's only hobby. Video lessons are available, as well as text materials.
For beginners, it is recommended to watch the following lessons:
- How to make a pillow from scraps.
- We create rugs in the style of patchwork sewing.
- Creative patchwork pincushion.
Important! The craftswoman is engaged in the production of clothing elements using other techniques.
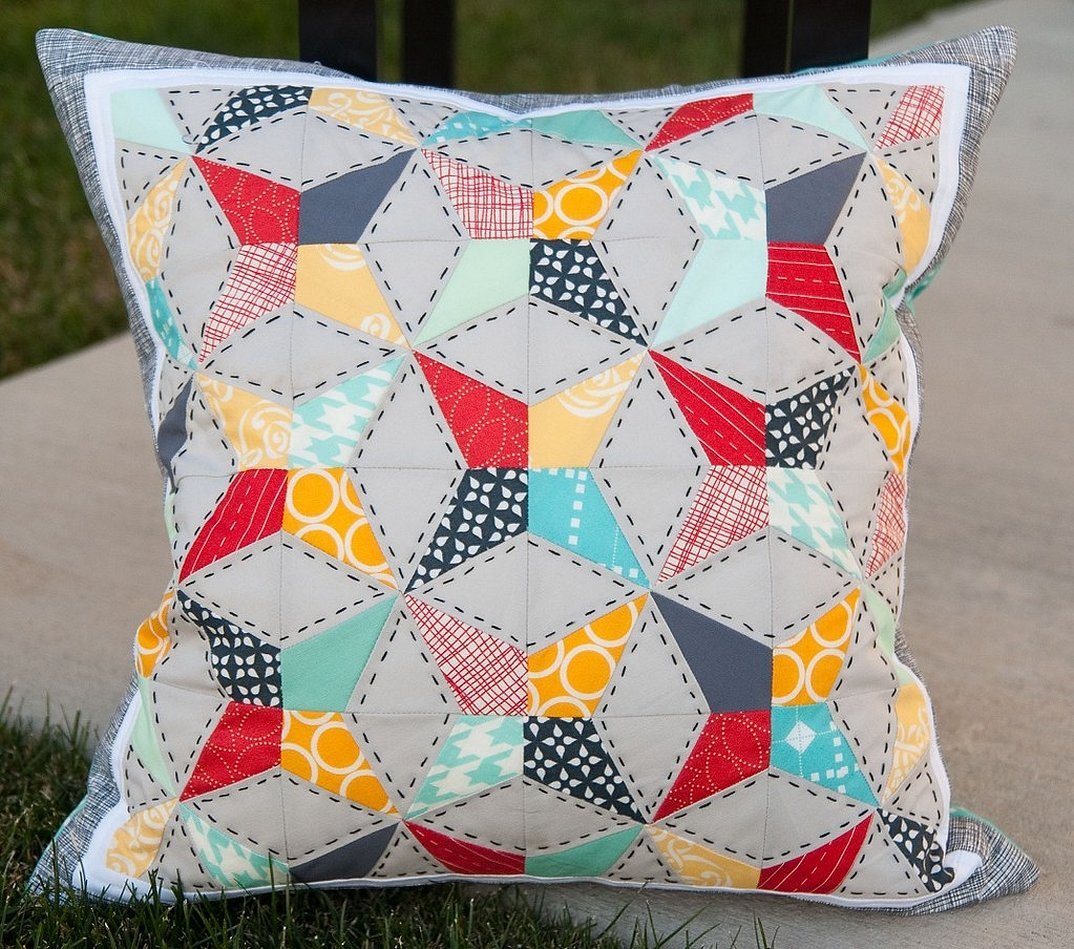
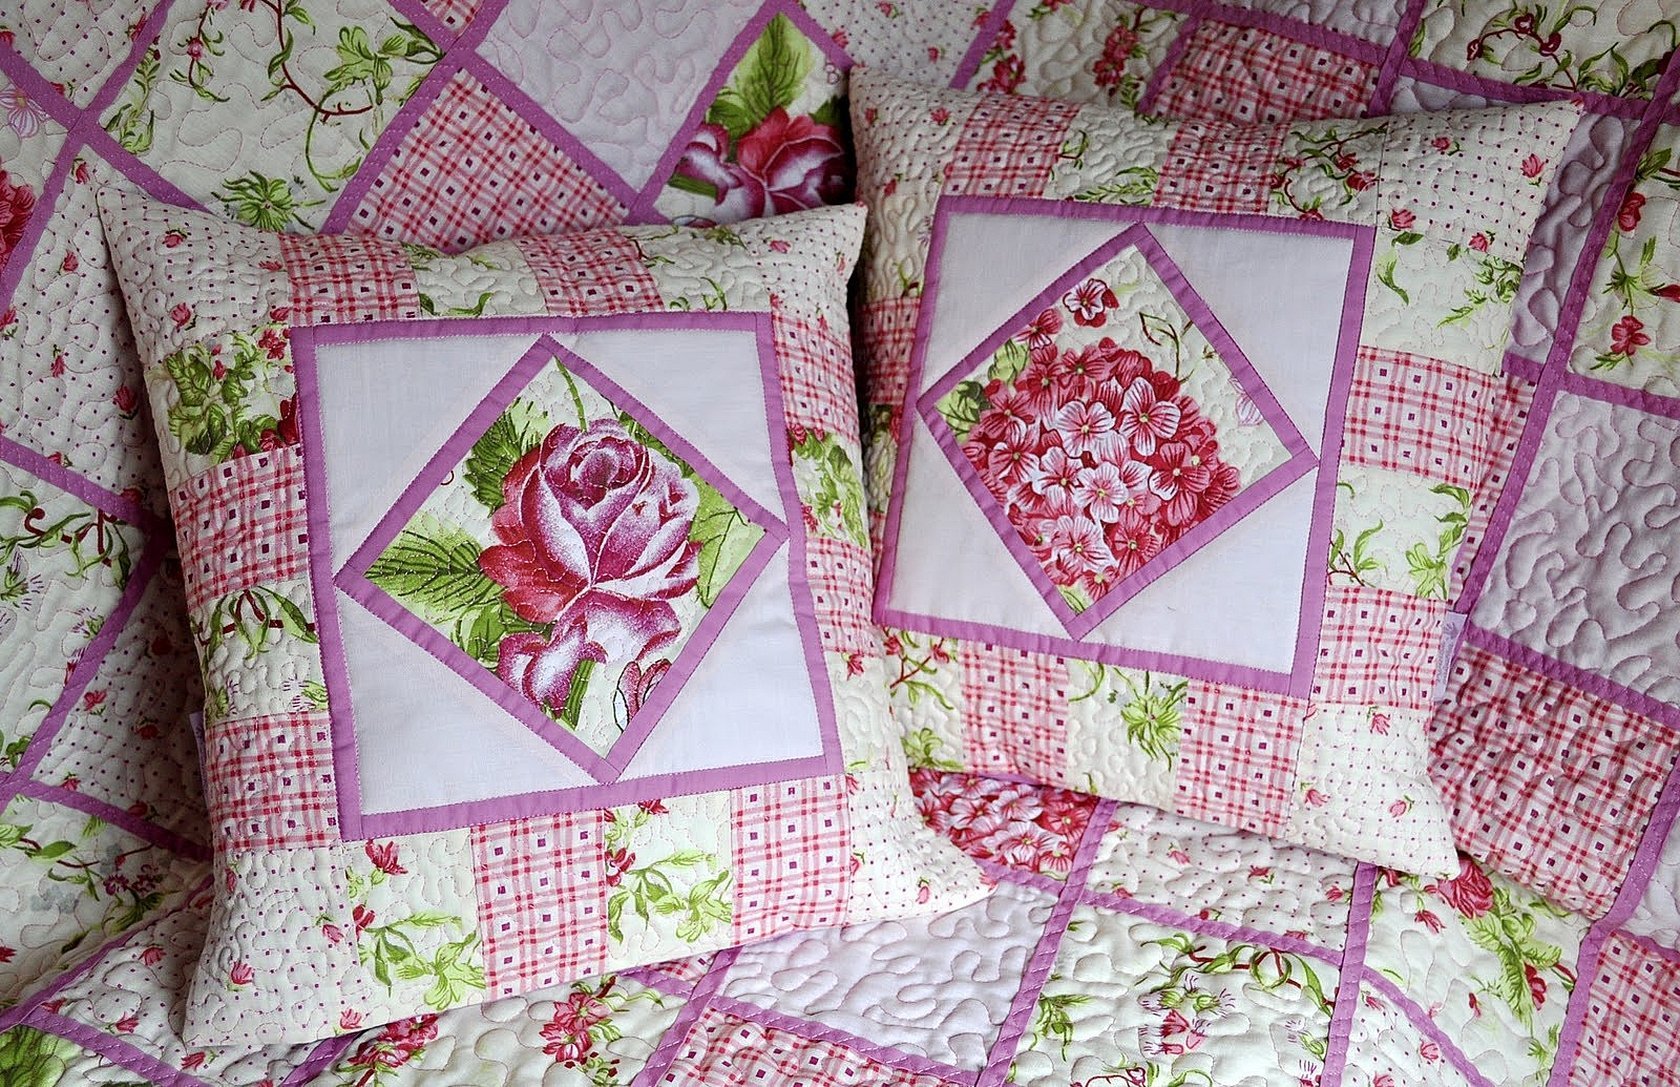
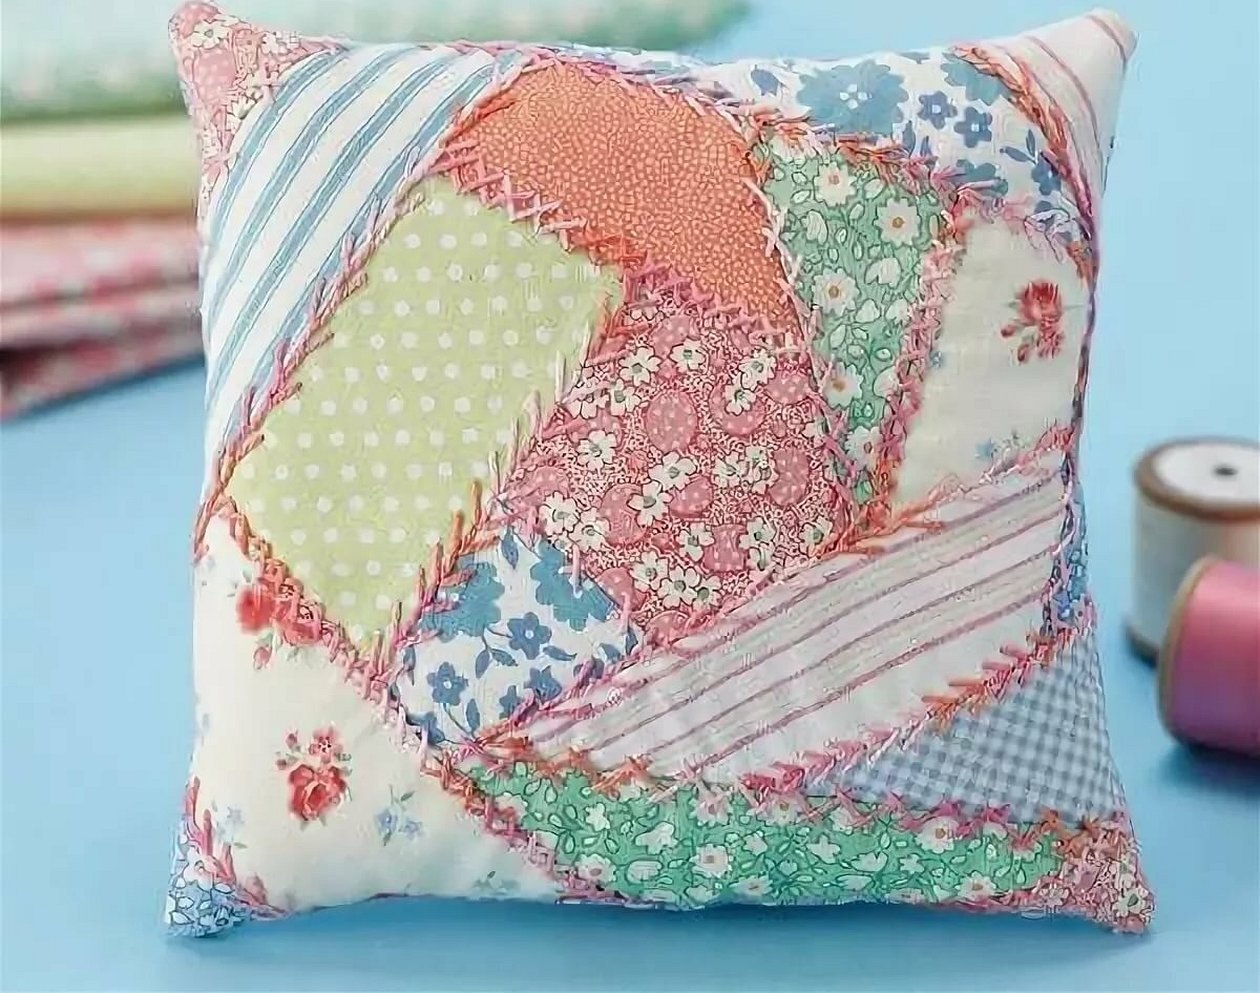
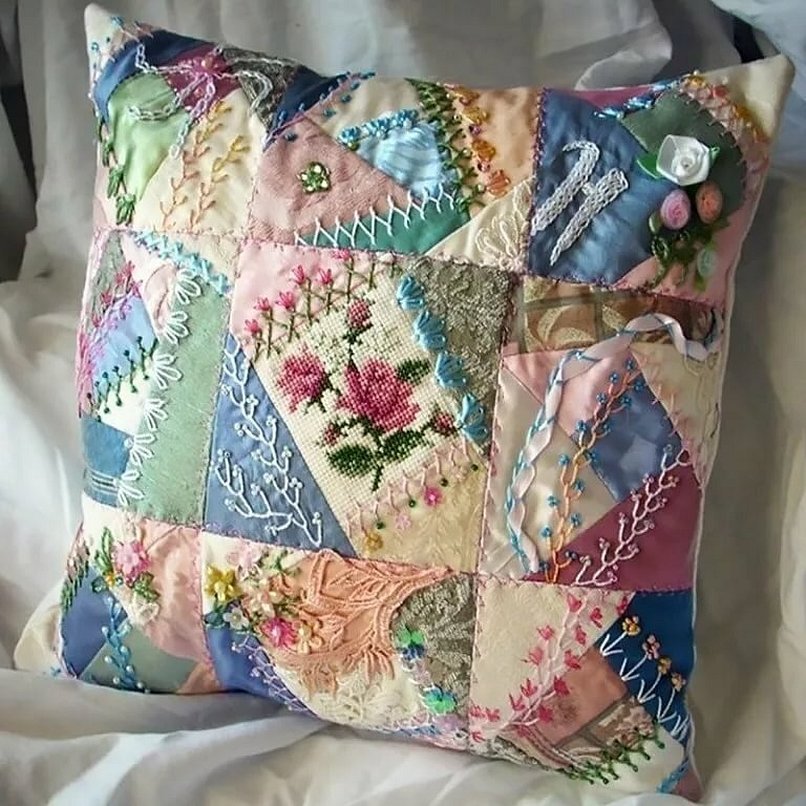
Pillows
The most popular option for those who are just starting to do patchwork is to create a pillow, or rather a cover for it. It can be with or without a zipper. Therefore, it is recommended to consider the option of a pillowcase from Gella Chara in the style of patchwork.
Clothes are also good for making, but it is recommended to use softer fabric. For example, it can be diapers. They are soft, pleasant to the touch and safe. And they are easier to work with than with clothes.
What you will need:
- cotton fabric;
- roller knife;
- mat;
- ruler;
- pins;
- water-soluble marker;
- glue.
How to proceed:
- It is recommended to make pieces measuring 45 x 45 cm. The fabric from the back is taken 60 x 150 cm. It is recommended to take a filler made of cotton-soy.
- The presser foot on the machine is either for quilting or walking.
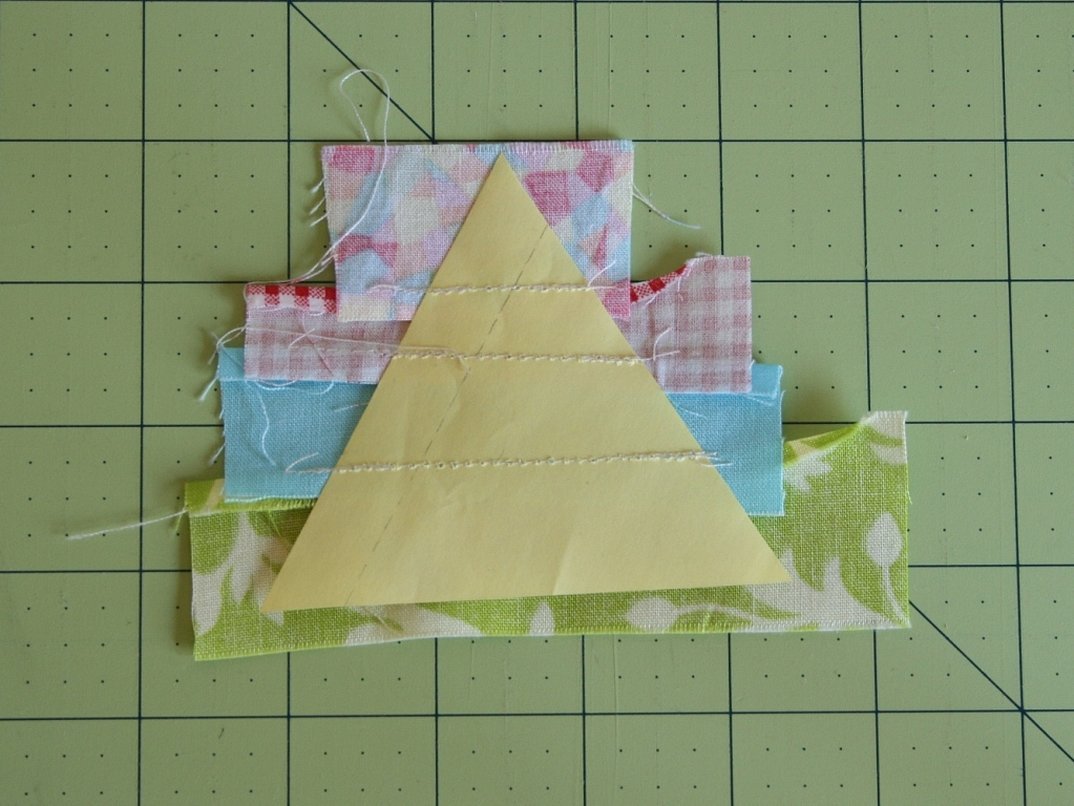
- Cut out a square 11.5 x 11.5. 4 should be dark, 4 lighter and 8 the lightest.
- Draw a diagonal line on the wrong side with a disappearing marker.
- Place the squares face to face in pairs.
- Sew diagonally.
- Cut diagonally with a knife. Iron. Trim to 10 centimeters. Remove corners.
- There are 2 stacks of 8 squares. Each square consists of a triangle.
- Lay out the squares as they should be according to the plan.
- Sew the stripes.
- Iron along the arrows.
- Gather the ranks.
- Cut out 4 sides. Bind all sides.
- Press the seam allowances outward.
- Sew with a walking foot. Make patterns.
- Cut out a square of the same size from a uniform fabric.
- Cut out strips of 6 cm wide piping. Fold them lengthwise and iron.
- Sew the piping along the sides of the piece, cut to cut.
- Sew with a blind stitch.
- Form a pocket.
- Sew the sides.
- Insert the pillow.
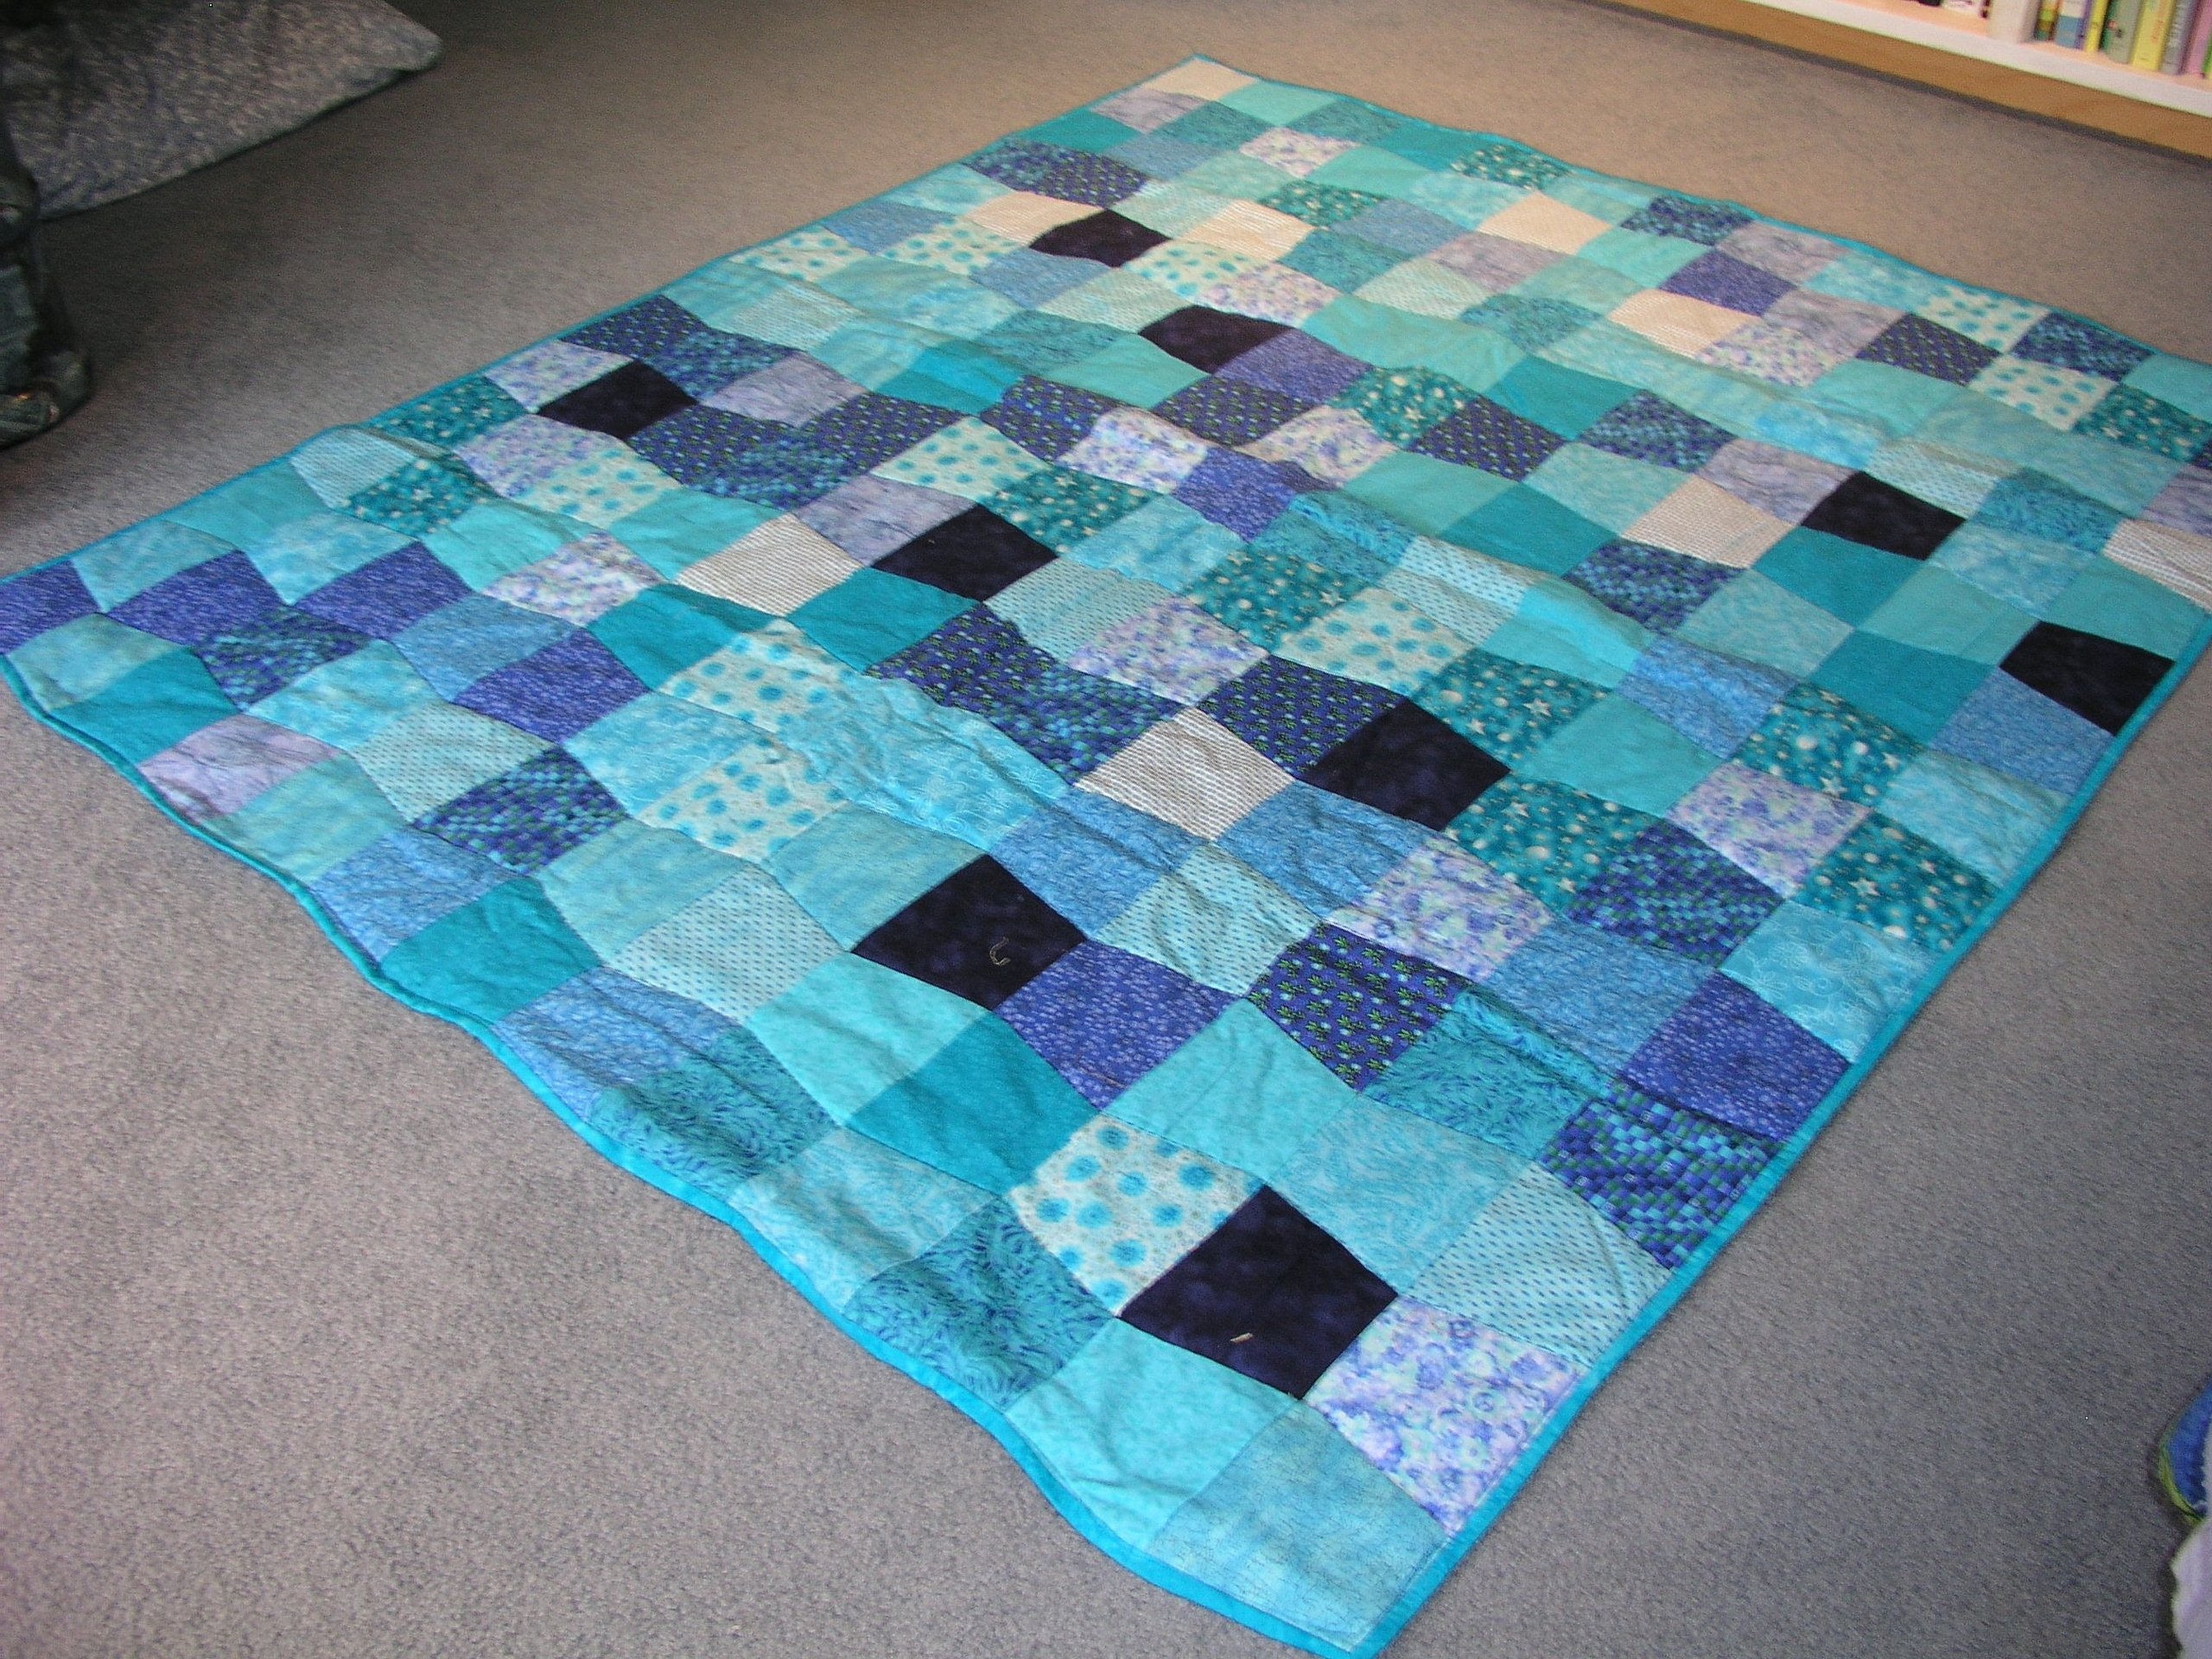
Rugs
Patchwork fans often create rugs from scraps, this is a simple type of work, but voluminous. Simple options are popular, when the rug is straight, created from triangles or squares. Multilayered canvases are more difficult. For them, you have to create many triangles, sew them in a row and form, it looks like scales.
You can use old clothes to create it. The rug can be thicker. Therefore, different denim will do, if you have a lot of it. Thinner fabrics will do, but it is important to make sure that the rug fits tightly on the surface.
Advice! Before creating even a simple patchwork item, it is recommended to visualize it.
What you will need:
- fabrics of different colors of medium density;
- scissors;
- threads;
- knife;
- marking means.
How to sew from scraps:
- Sew 10 squares in one line.
- Connect all the pieces face to face. Smooth out the seams.
- Make 10 strips from squares.
- Sew the strips together. You should get a square piece measuring 90 x 90. It is important to leave allowances for the seams.
- Iron the rug.
- Sew the base to the workpiece.
- Stitch the product.
Advice! To prevent the patches from becoming crooked when sewing, it is recommended to cut the fabric lengthwise at the preparatory stage.
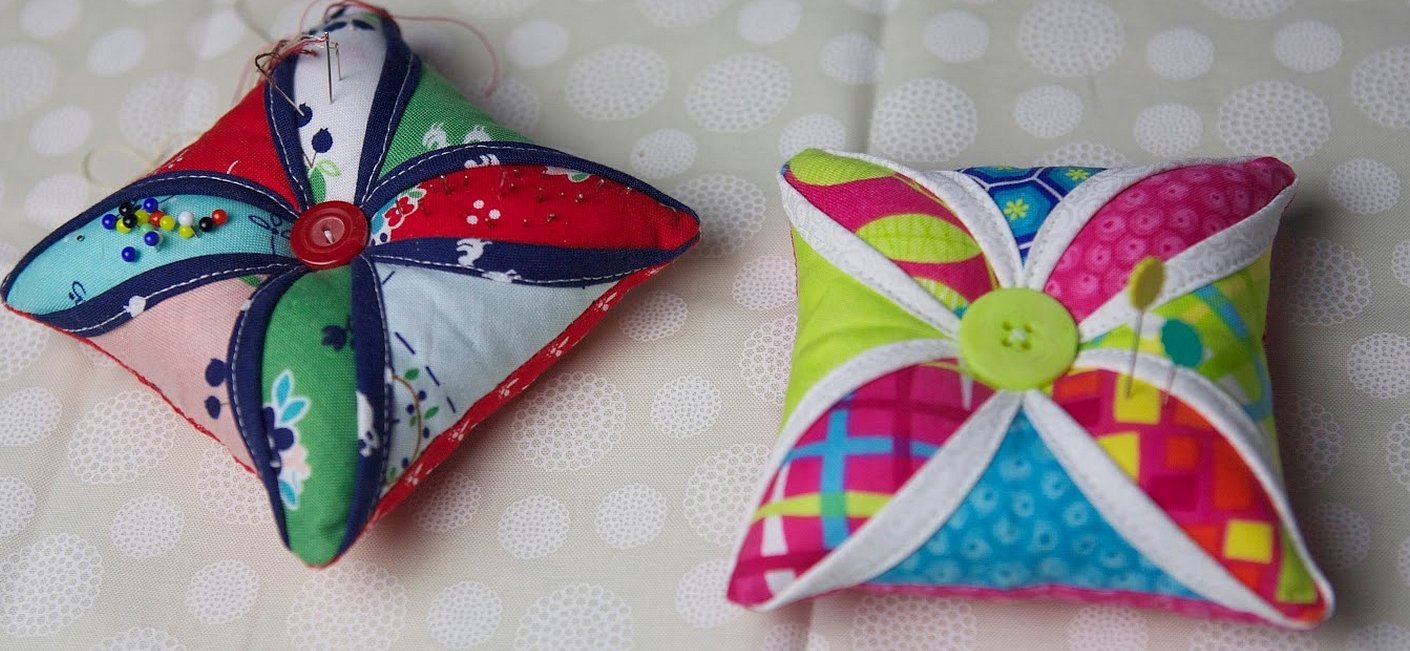
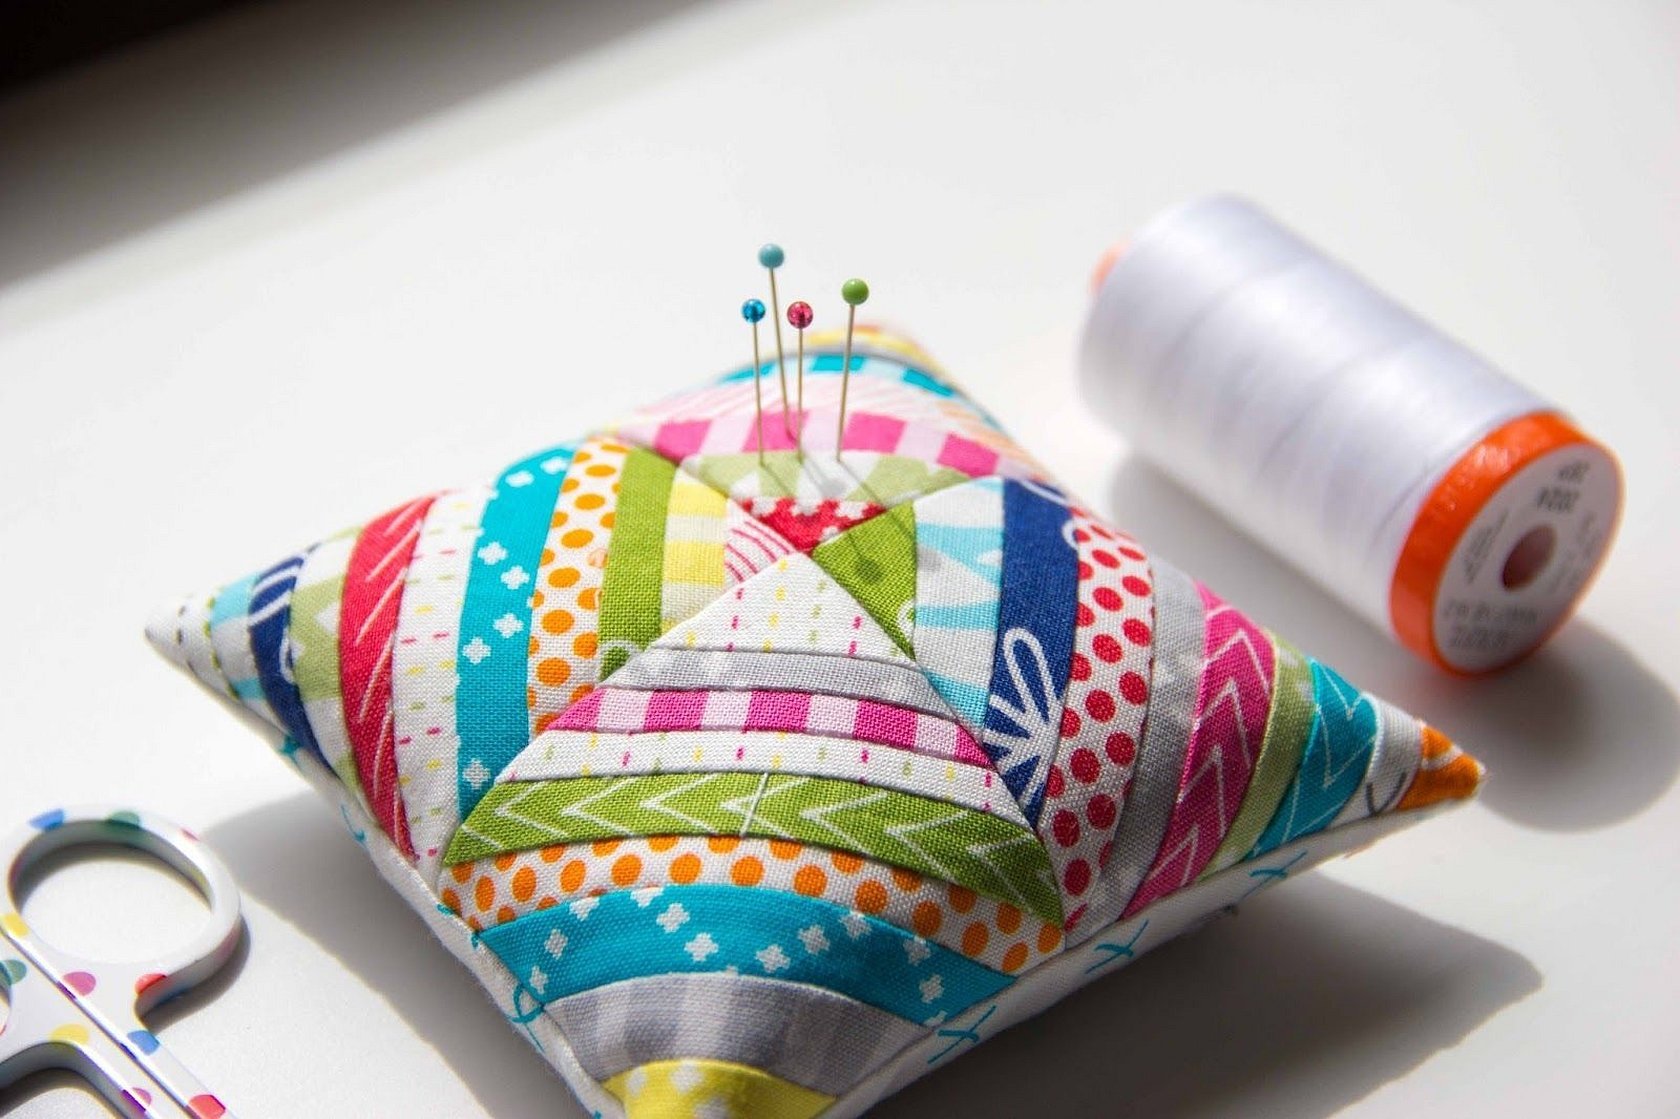
Pincushion
The author of the blog has a video describing the creation of a pincushion that is put on the hand. The most popular options are square pincushions in the form of a pillow made of squares and triangles. But you can make a round pillow with a wristband.
It is recommended to make a pincushion for the hand. Pins are often needed in work, when the needlewoman is engaged in decoration, more than a dozen pieces may be needed at once. If you make a pincushion, it can be a little larger, even the size of a disk. And it can be installed on the table without a wristband. You can make one just in case.

What you need to make a pincushion or a pin holder:
- cardboard;
- the fabric is dense;
- filler;
- rubber;
- decorations.
How to sew a pin holder with your own hands from scraps in patchwork style:
- Cut a circle out of thick cardboard.
- Cut out a round center inside.
- Cut a square of thick fabric with a large margin. First, assemble it from scraps.
- Gather the fabric with a thread along the edge.
- Put some of the filler into it.
- Insert a cardboard circle.
- Next, fill it through the hole in the cardboard using a pencil.
- Cover a cardboard circle of the same diameter with fabric of a different color.
- Glue the circle to the resulting pillow. Before gluing, put an elastic band on both sides.
- Decorate the joints with a ribbon or ruffles at your discretion.
Additionally, you can decorate the pin holder with glitter or beads at your discretion. The products can be of different sizes. But in any case, it is recommended to take a thick fabric, as it will deteriorate over time due to the needles.
The patchwork technique is easy to master. It is a good way to use old material, get some benefit from it and extend its service life. The most popular options for beginners are sewing a bedspread, rug, pillow. A pincushion can be made in the same style.


