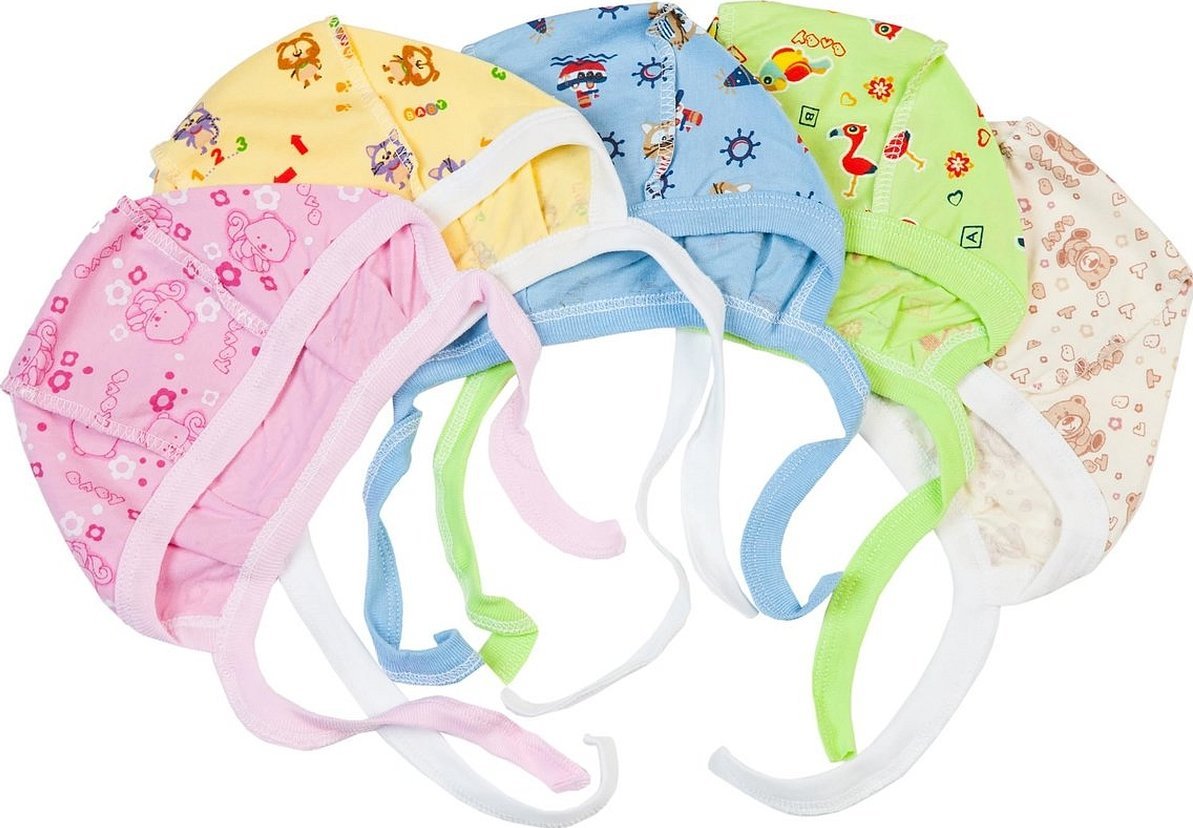
What could be more important than the birth of a child? In the first months of life, children cannot yet independently control their body temperature, so young mothers use various caps. But buying baby clothes every month is quite difficult and expensive. This article talks about sewing a bonnet for a newborn yourself and what is needed for this.
- How to choose the right hat size for your child
- Size chart of hats for newborns
- Measurements and pattern for a baby bonnet
- Modeling of the product
- Drawing a drawing of a cap pattern
- Construction of the bottom
- Construction of the main part
- The back of a baby cap
- Front and bottom line of the cap
- Sequence of sewing a cap from two parts
How to choose the right hat size for your child
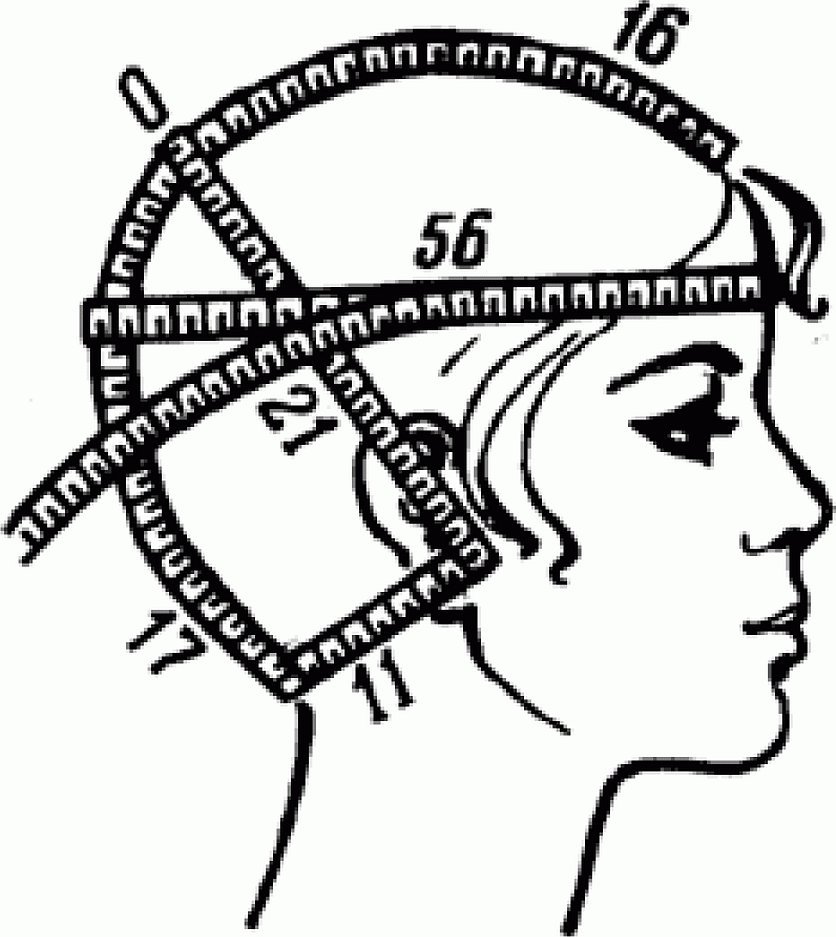
When a child is very small, only a few months old, it is difficult to take him to clothing stores, so you need to buy hats according to your own measurements. Determining the size of a child's headdress is quite simple. It is recommended to use a centimeter, or at least a thread that does not stretch. The centimeter must be applied to the most convex point of the head, and in front, put it above the child's eyebrows.

The tape should not be tightened, and if necessary, round the result up. The resulting number will be the size of the headdress. For example, if the measurements give a result of 42 cm, then it is better to take the size of the product 43. When buying, you need to focus on the age of the baby.
In the first years of life, the baby grows very quickly, so it is not advisable to buy many hats of the same size at once. About every 2 months you need to buy new items. Sometimes you can buy things for growth. For infants, size 44 is suitable, at six months you can safely buy 46, and at a year from 48 and above. These are average figures, and they may differ for different babies, because each person is individual.
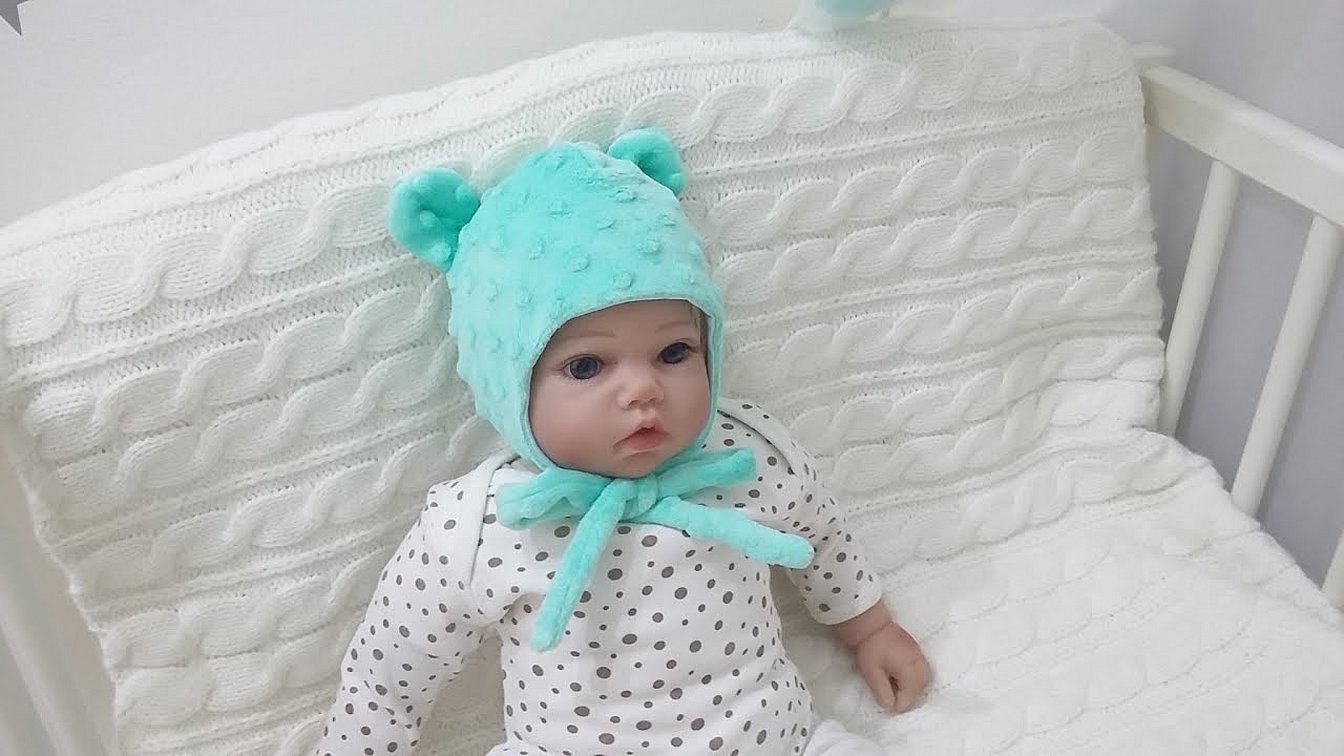
After one year, the head size will change, but not at a high speed. It is advisable to take measurements every six months and note the changes. Regular knitwear, which is not capricious in care, is perfect for sewing. Plush fabric is suitable for the winter version, but in this case it is necessary to make a lining so that the headdress holds its shape well.
Size chart of hats for newborns
The size of the headdress can be found out without measurements, approximate indicators are known from the age of the child. Even since the Soviet Union, children's clothes were bought this way. Table of sizes from the age of the child:
| Age (months) | Product size |
| From 0 to 1 | 35 |
| 3 | 40 |
| 6 | 44 |
| 9 | 46 |
| 12 | 48 |
You can use this table to buy hats and caps for children, but since there was no specific measurement, it is better to buy products made of stretchable fabrics. Because all babies have different head shapes. Modern doctors insist not to buy children's caps at all if the manufacturer relied on age and medical statistics when producing them. Below is how to sew a cap with your own hands.
Measurements and pattern for a baby bonnet
For example, you can take the head circumference size of 46 cm. To find the width of the side part of the product, you need to divide the length of the head circumference by two, the half-girth will be 23 cm.
If the cap is made without the possibility of taking measurements, for example for a gift, then you need to use the table indicated above. The pattern for a newborn cap is based on the head circumference.
Modeling of the product
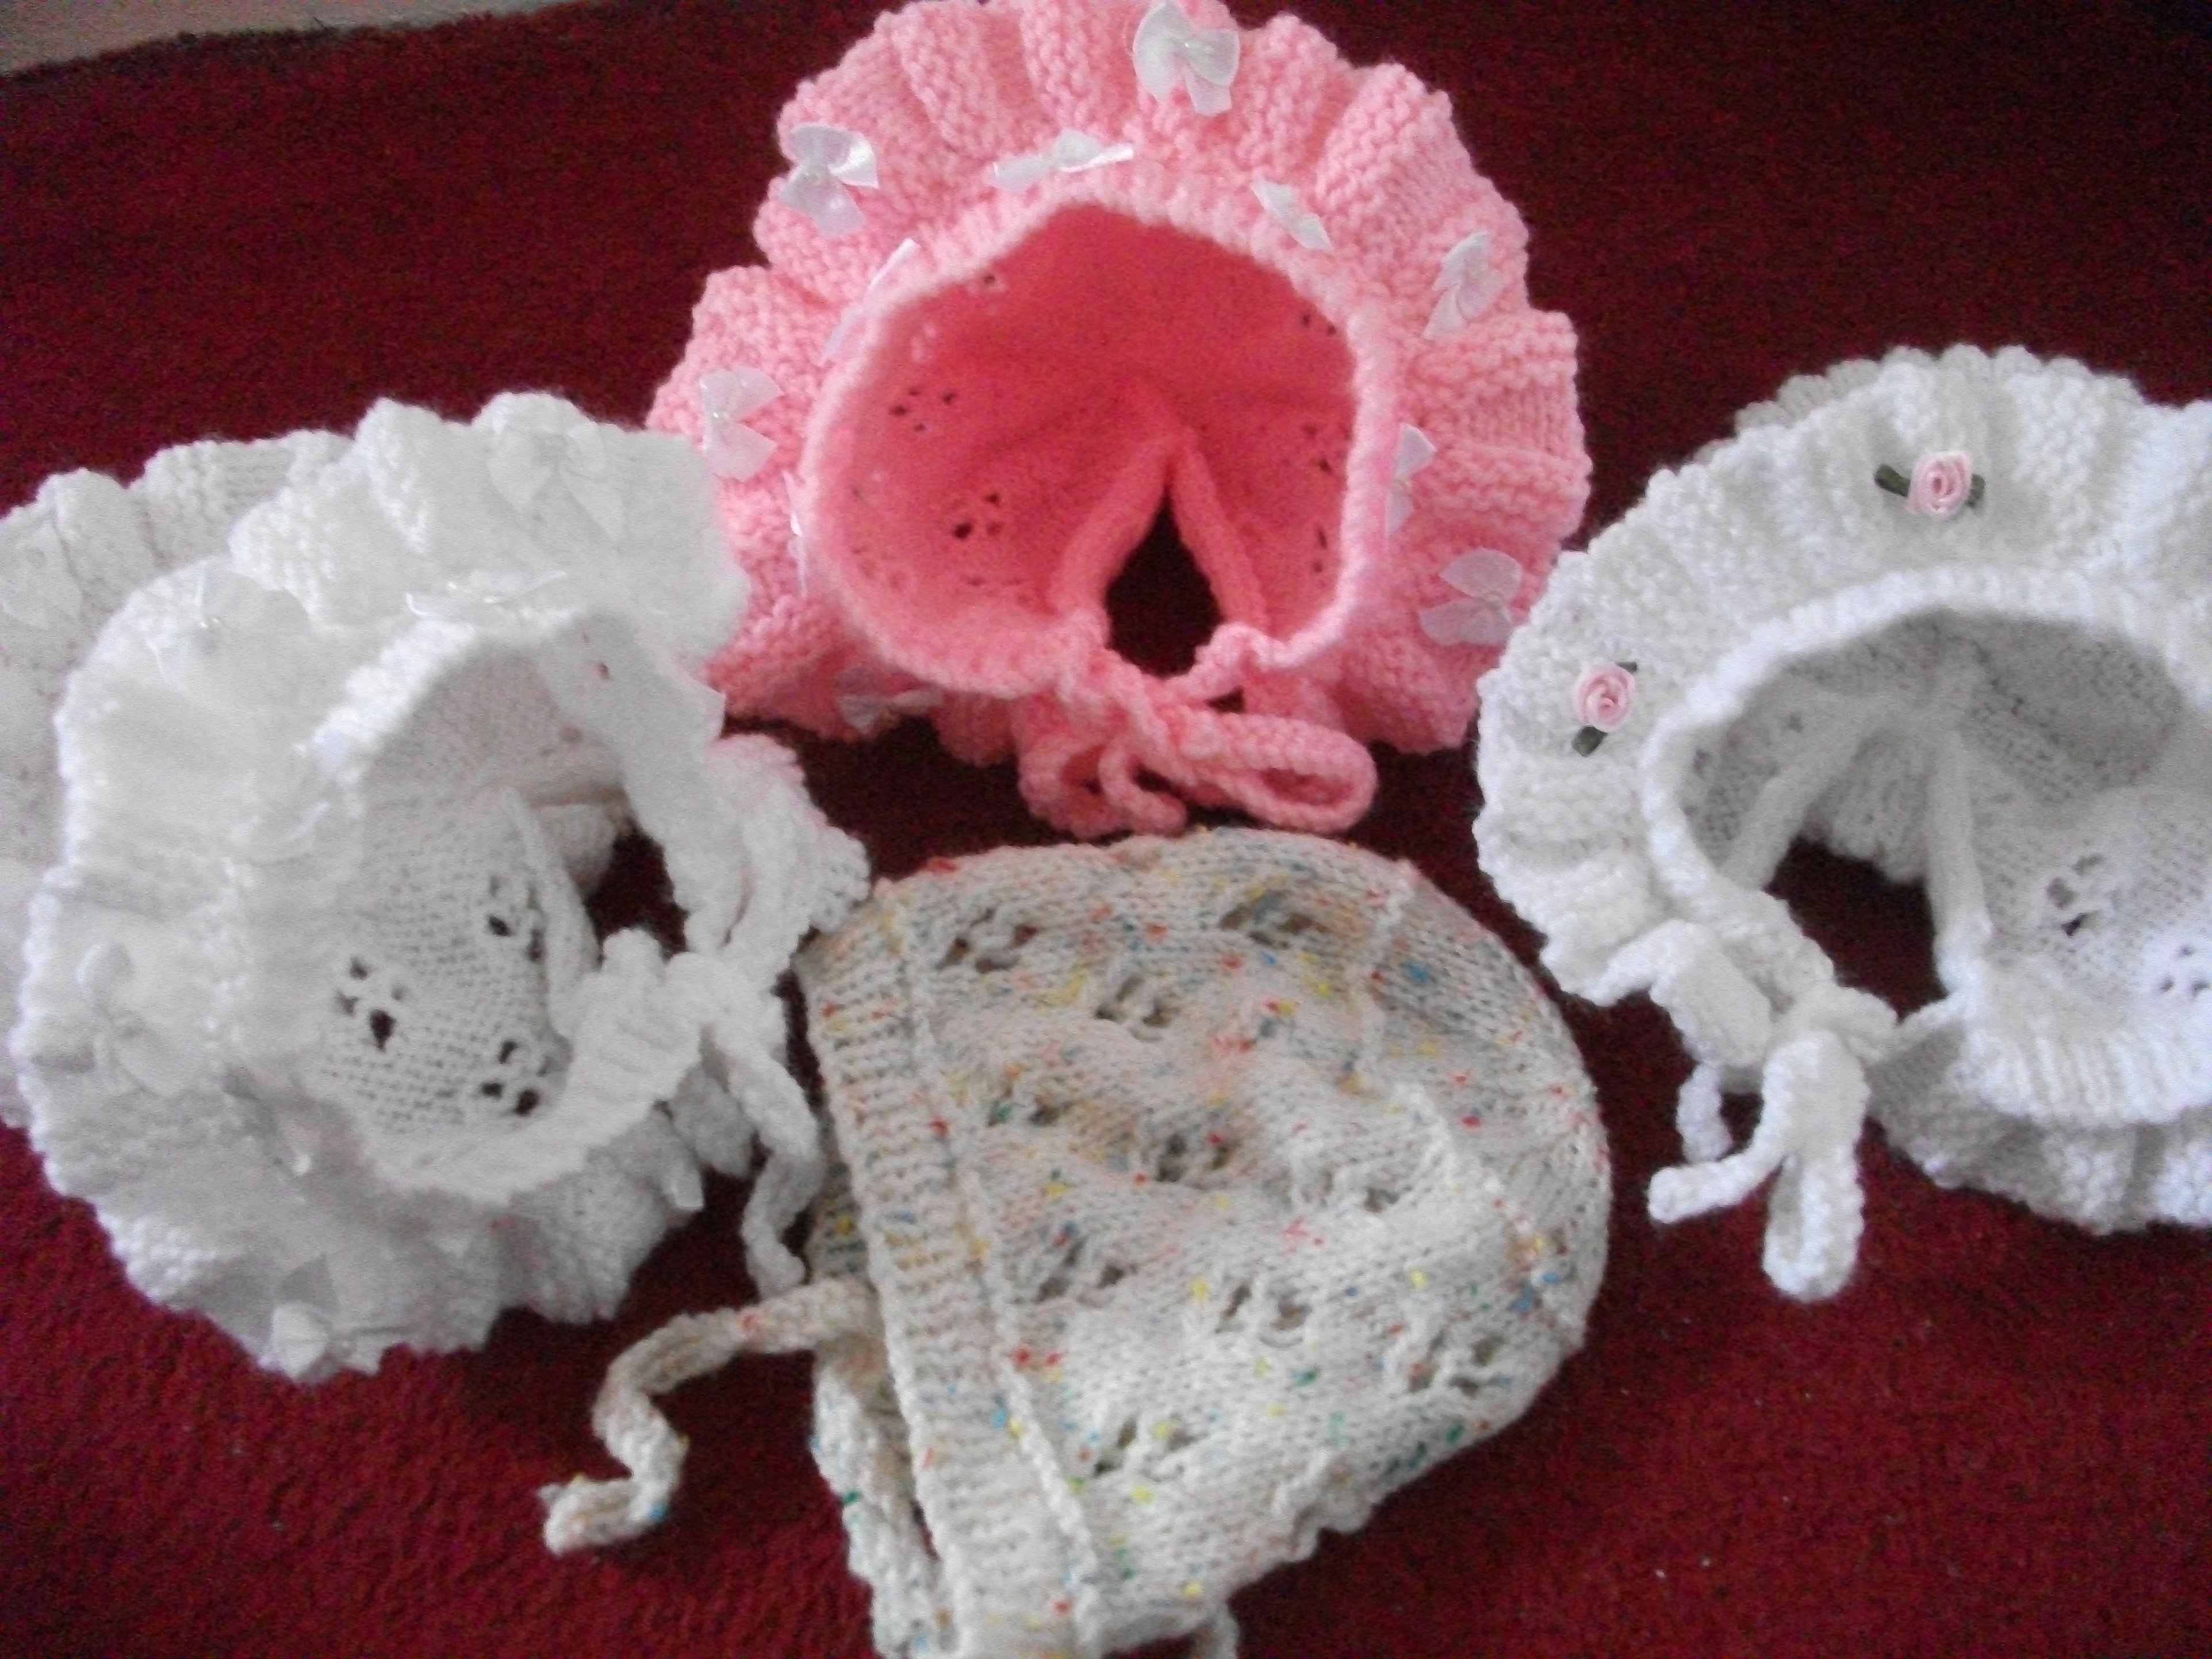
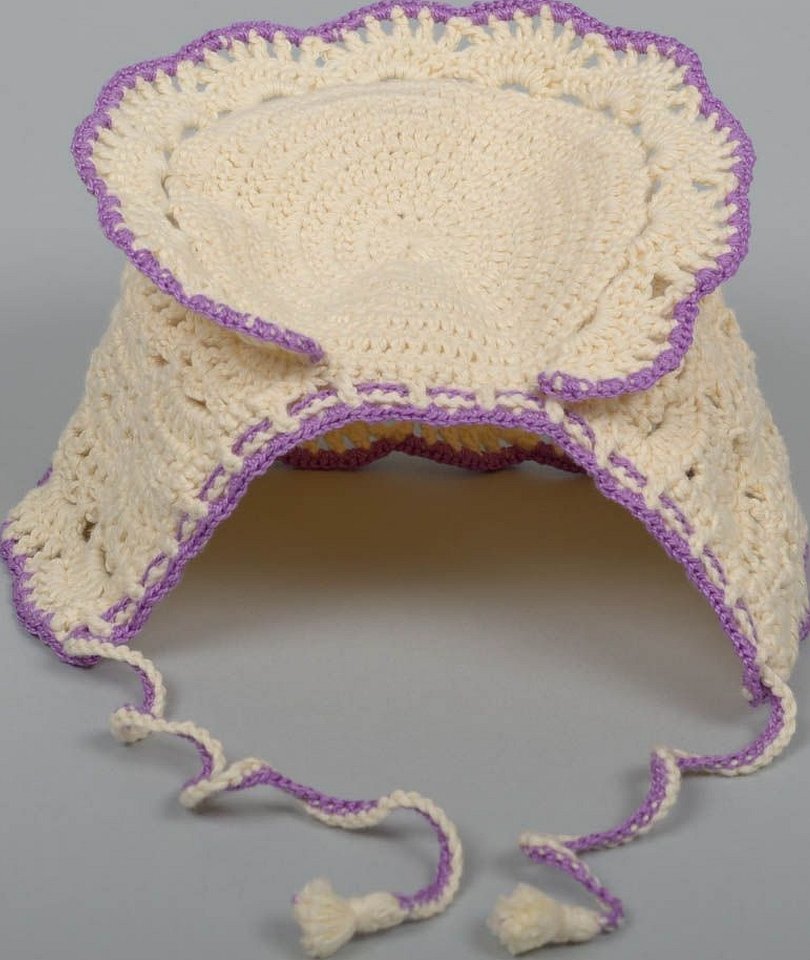
Before starting work, you must choose a model of the bonnet. The pattern of the bonnet is searched for on the Internet, in magazines or master classes. If your imagination works well, it is better to rely on it and make an original headdress. It can be sewn or knitted, you can add ears or ribbons to it. You can sew a hat for a newborn with your own hands in several stages, which are presented below.
Drawing a drawing of a cap pattern
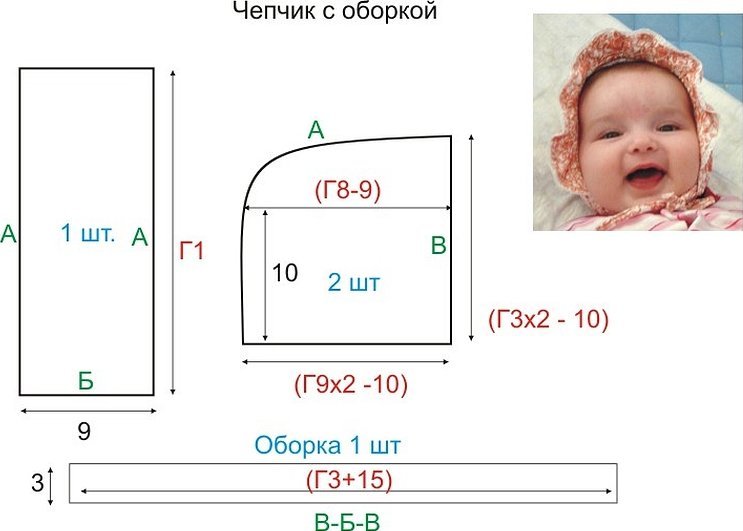
The standard model of a baby hat is sewn from two parts. It is very easy to make, even a person without experience can handle it. The pattern of a hat for a newborn can consist of three parts or more, but the complexity of the work will increase.
Construction of the bottom
Length of the bottom of the product. Make a right angle, where point O will be the top. Then cancel the length of the bottom of the cap, about 10 cm.
The width of the bottom at the top. From the top O to the right measure 5 cm and make a point O2.
Bottom width at the bottom. Measure 5 cm from line O1 to the right, make point O3. Connect measurements O2 and O3 together. Next, divide line OO2 in half and mark O4. From O2, count down 3 cm and make O5. From O2, measure 1.5 cm along the corner and make point O6. Then connect O4, O6, O5 with a straight line.
Construction of the main part
Make a right angle and mark the vertex M.
Base length. Measure 16 cm down from the top of M and make point M1.
Base width. From point M, draw 10 cm to the right and make point M2. Since the width of the cap at the top is 2 cm greater than at the bottom, then from place M1, count 12 cm to the right and make point M3. Now connect M2 and M3 with a line. From point M3, draw 2 cm up and add point M4. Now M4 and M1 need to be connected.
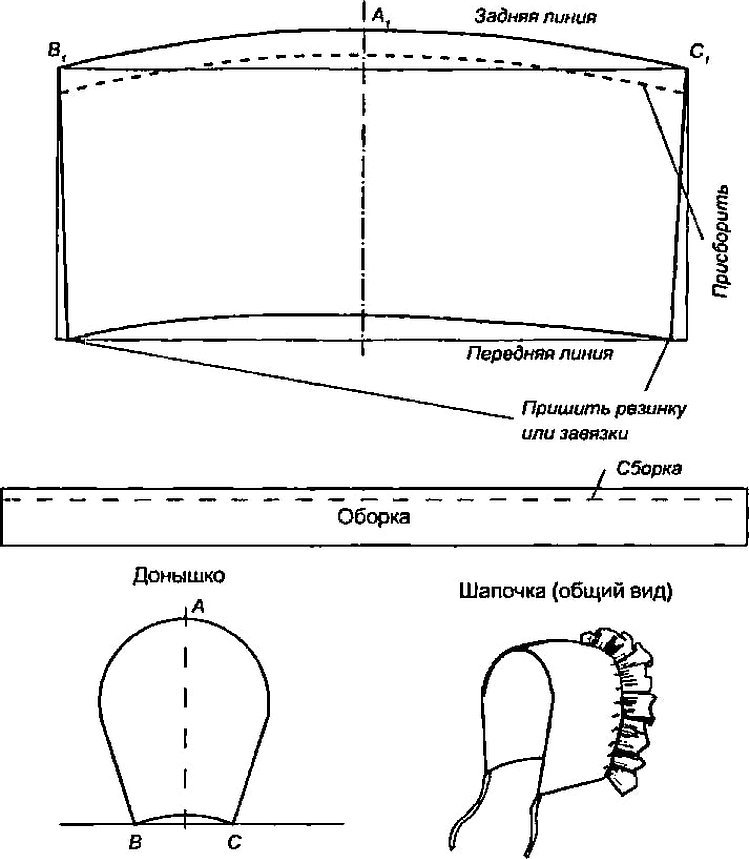
The back of a baby cap
To make a pattern for a baby cap for newborns, you will need paper and a pencil.
You need to carefully draw a beautiful rectangle. It can be marked as ABCD, vertical lines AD and BC will be equal in length at 15 cm (half the head circumference, and an additional 2 cm):
The horizontal lines AB and DS will be the width of the occipital lobe and also have the same size of 7 cm.
Front and bottom line of the cap
From line C, draw segment CD and set aside 2 cm.
Connect points B and 1 (at the bottom). Connect point 1 (on the bottom line) to the place where the product will be sewn. This can be seen in the picture below.
Sequence of sewing a cap from two parts
Like any work, sewing a bonnet begins with a pattern. You can print it out using the drawings provided in this article. Cut out the necessary elements for the headdress from the fabric.
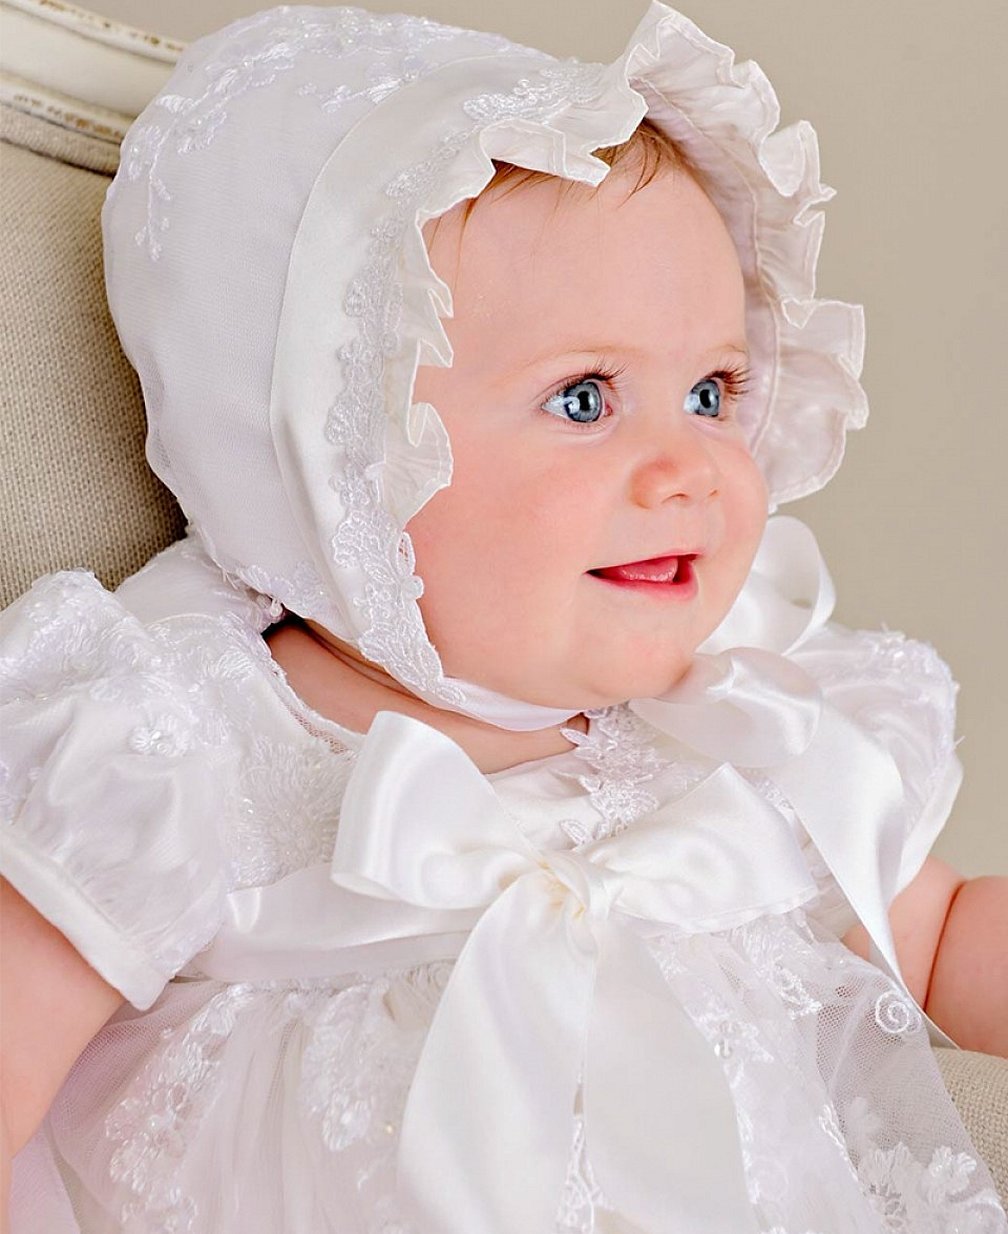
If a lace ribbon is sewn onto the face, the side part should be made a little narrower.
Sew the lace ribbon to the back of the cap, making folds. The elements are sewn together in one plane, the edging should look up, not to the side. Lay out the constituent elements of the cap, aligning the lines in the center. Next, everything needs to be secured with pins. All pieces of fabric need to be swept. This is done in two stages, starting from the middle line in both parts. The fabric should not be pulled too tightly, otherwise the edges will be uneven.
Important! For beginner needlewomen, it is recommended to secure the ends of the seams with needles before starting to baste. Sew the hat with a machine stitch.
Sew the front edge of the product with a large step seam and gather it a little. This small gathering is necessary for the cap to fit well to the skull. Sew a lace or satin ribbon to the front part of the cap. This seam can be basted, if desired. Finally, the seams must be processed with bias tape. For this, you need to cut a 30 mm wide strip from a thin material, such as cotton.
Important! If the cap is for everyday use, it is advisable to make the seams external. It will be much more comfortable and softer for the child to wear it.
Sew the piping along the seam. You need to cut off the excess fabric, fold the piping around the seam allowances and sew with a basting stitch. The finished flat seam needs to be stitched. At the end of the work, process the lower edge of the cap with a facing and make strings so that the cap can be tied in a knot. A thin cotton strip will do for this. You can sew a knitted romper to the cap and you will already have a set of clothes.
Hats can be not only for children, but also for adult girls. On the handicraft site Pastila, there is a video on how to sew a women's cap with your own hands, patterns and diagrams. Therefore, it will not be difficult to work on the video lesson. They can be worn with various dresses or combined with suits.
Children's hats need to be washed often, so when making them, it is better to use natural fabrics that are easy to care for. Cotton, chintz fabrics or fleece are perfect. They are allowed to be washed at a temperature of up to 60 degrees, dried in a machine. But it is better to wash children's things using liquid or gentle powders. Ironing is allowed at a temperature of up to 100 degrees or using a steamer.
Important! It is advisable to wash children's clothes several times a week, but separately from adults.
It is not recommended to sew on brooches, rhinestones or beads as decoration, as they may scratch the baby’s delicate skin.
It is very easy to make baby caps yourself. This will help save the budget of a young family, since in the first year, the child grows quickly, which means that you will have to buy hats very often. It is better to take natural fabric for work, so that the child does not develop allergies. Such products can be sewn as a gift for a young mother for discharge or for the christening of a child. If desired, you can decorate with different ribbons or lace.


