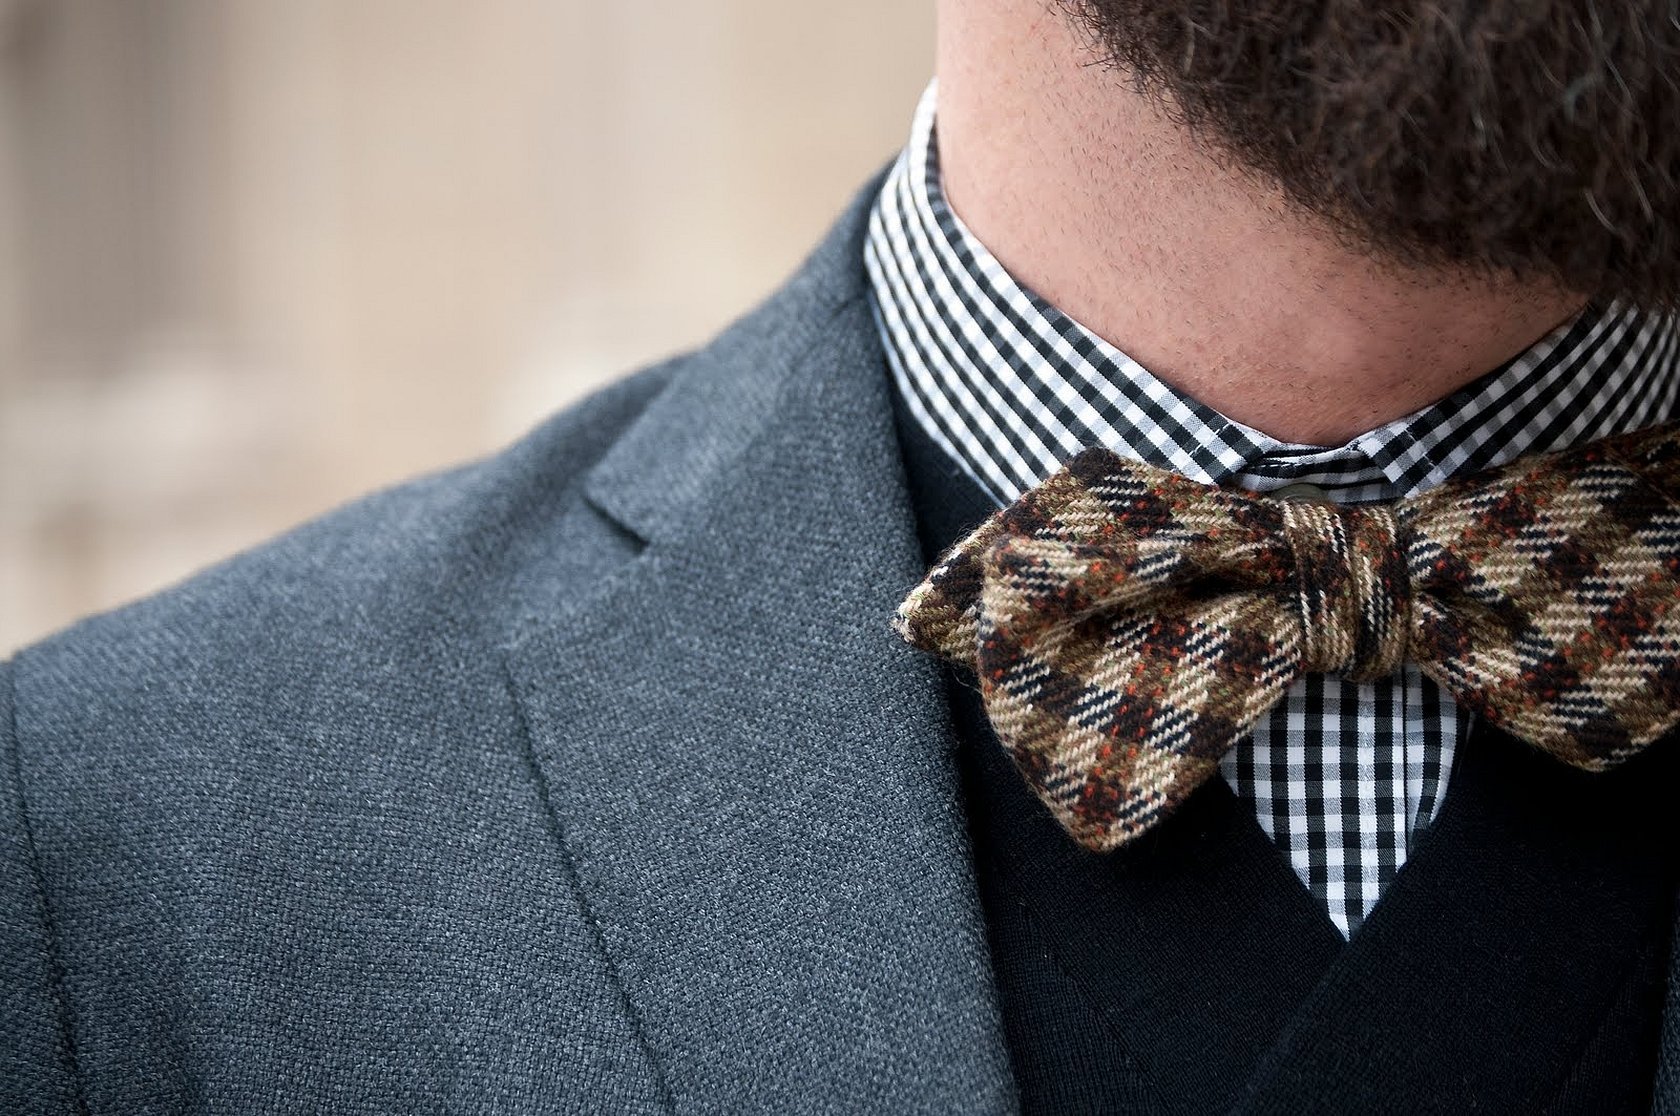
In modern fashion, bow ties are not only a classic attribute. They have firmly entered the everyday style of clothing, and inveterate dandies successfully combine them in their everyday looks. You can buy an accessory in a special store. But making it yourself for your son, boyfriend, father or for your beloved man is a special thing, from which you can get much more pleasure than from a simple purchase.
The pattern for a bow tie is simple and requires a minimum of time from the master. In addition, it is universal, suitable for both men and women.
How to make a bow tie
To make this accessory you only need to know one measurement - neck circumference.
Silk, satin, polyester, cotton, linen are used as materials. Less often - woolen fabrics, jacquard, brocade.
If the bow tie is planned for an official event, then it is better to choose silk or satin as a material. They look very impressive. If you want to create a beautiful everyday look, then cotton fabrics, linen, but with the addition of interlining or interlining are suitable as a material.
For reference! These are lining materials that are used to maintain the appearance and quality of the product and to give the fabric rigidity.
Today, there are models based on wooden and paper templates. Below in the article, master classes on making a bow tie from paper and wood are described in detail.
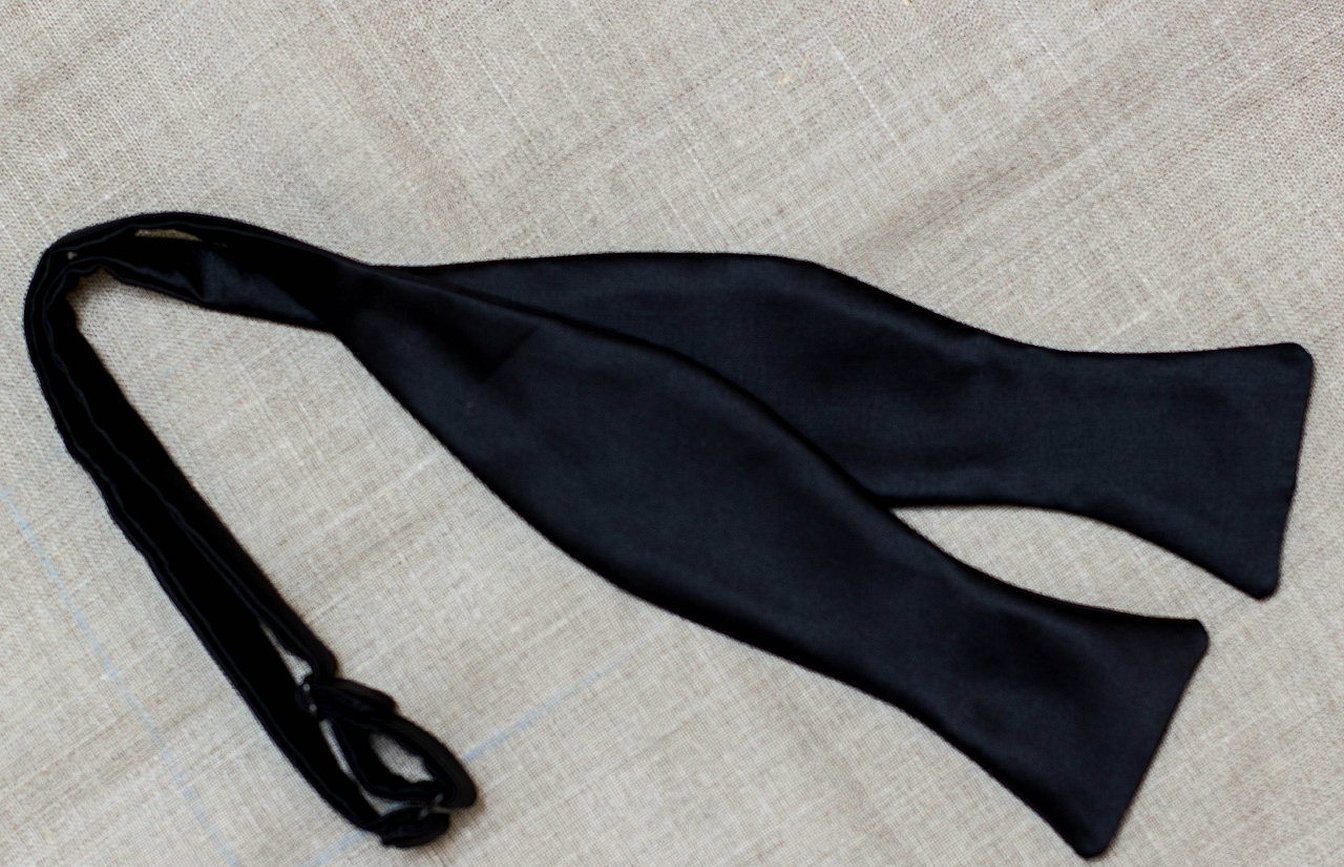
The next nuance that is worth understanding is the pattern of the future accessory. There are two types of bow tie patterns: the classic "self-tie" bow tie and the simple "lazy" bow tie.
For reference! "Sloth" is a ready-made accessory with an elastic band that does not require tying like a full-fledged tie.
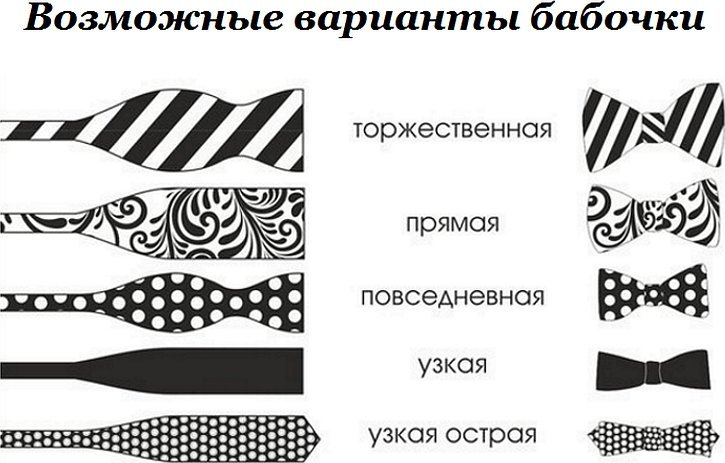
The pattern also depends on the purpose of the accessory. Traditionally, there are 5 types of butterflies:
- Solemn - Butterfly oskar;
- Everyday — Butterfly daily;
- Butterfly daily wide;
- Narrow - Butterfly daily slim;
- Narrow sharp - Butterfly daily keen (batwing).
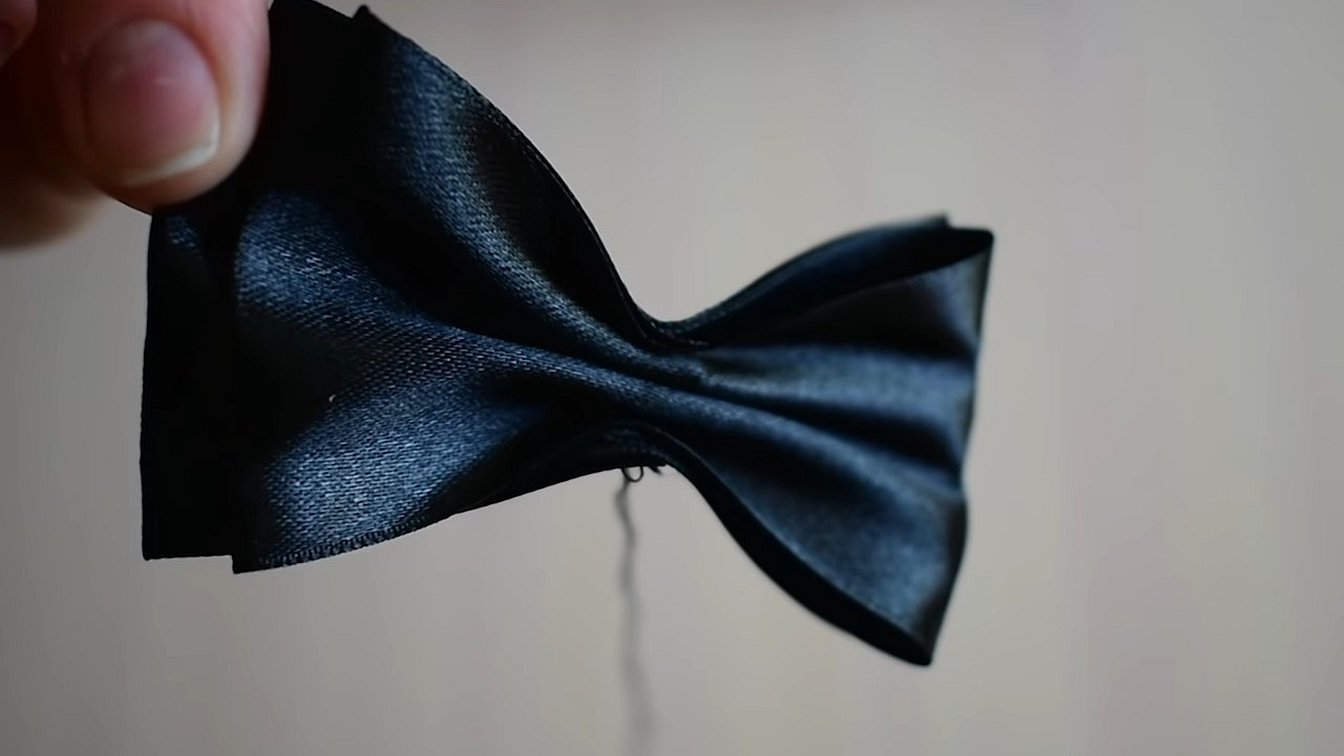
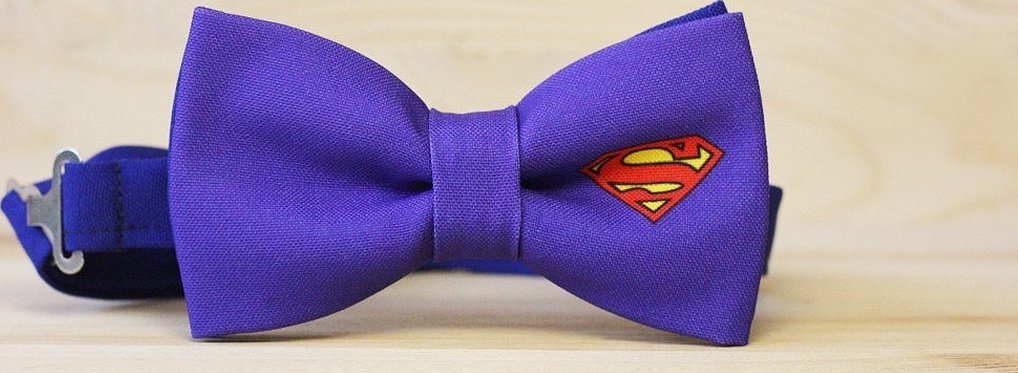
Making a bow from satin ribbon
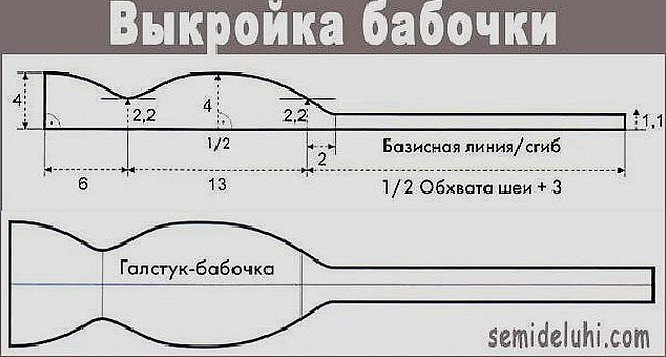
Since satin bow ties are more suitable for beautiful formal events, they should be made using the Butterfly oskar template. This means that the widest part of the accessory ("wing") should be 8 cm.
The first pattern is a classic self-tie. It is easier to make it than to tie it beautifully later. Therefore, if any official event is planned, it is recommended to practice first - "get the hang of it".
Scissors, needle, thread that matches the color of the ribbon, measuring tape, satin, marker, machine, fittings for adjusting the length.
- Draw all parts of the tie with a marker/chalk/bar of soap. This can be done using a pre-prepared stencil, taking into account the dimensions of the neck: attach the template and draw.
- Cut out two parts of the butterfly with scissors, both in duplicate. Place each part on top of the other with the wrong side up and stitch, but not all the way through. Leave a small unsewn area so that you can turn the product right side out later.
- Trim sharp corners, if necessary, treat the edges of the fabric with a lighter so that the tape does not come apart.
- Treat with steam/iron.
- Turn both parts inside out.
- Place special fittings on each part as follows:
- Pass the thin end of the first part completely through both holes of the first fitting. Then pass it through one hole of the second fitting. Then pass the same end through both holes of the first fitting again and sew a loop.
- The thin end of the second part of the butterfly is also made into a loop, but with a fastener.
For a satin butterfly on an elastic band you will need:
- satin ribbon 1 m, width not less than 5-8 cm;
- threads;
- needle;
- matches or a lighter;
- scissors, glue gun, black elastic band, 1 cm wide;
- 2 elastic band fastenings.
Subsequence:
- Take 2 pieces of tape 5-8 cm wide, 41 cm long and fold in half. Align the edges, press the fold with your fingers. Measure 9 cm from the fold, secure the distance with a needle.
- It is necessary to sew with a thread along the obtained line. Do not cut the thread, but simply secure it.
- Next, move the tapes apart. The fold line marked with your fingers should be located right in the middle, along the seam. Secure with a needle.
- Place the free ends of the ribbons in the middle, overlapping (one end on the other, approximately 1 cm). Secure with a needle. Pre-treat the ends of the ribbon with a lighter or matches. This is done to prevent the ribbon from coming apart.
- Using the existing needle and thread, make 2 stitches about 1 cm long on each side. Remove the needles. There should be a lot of free space between the stitches in the middle on the front side of the butterfly.
- Tighten the thread. As folds form, shape them into a beautiful wave and straighten them.
- Next, design the elastic: also process the edges with fire. Pass one edge through the fittings and glue (approximately 0.5 cm wide). The length of the elastic is: neck circumference + 10 cm.
- Thread the second end of the elastic completely through the second fitting, but secure the end in the first, gluing it in the same way. The result should be a closed elastic band with the ability to adjust the length. It will be easy to put it over your head and tighten it around your neck.
- Glue the bow to the elastic band.
- Take a piece of the same ribbon 7 cm long, fold it lengthwise in 3 and melt the edges. Glue the middle to the bow.
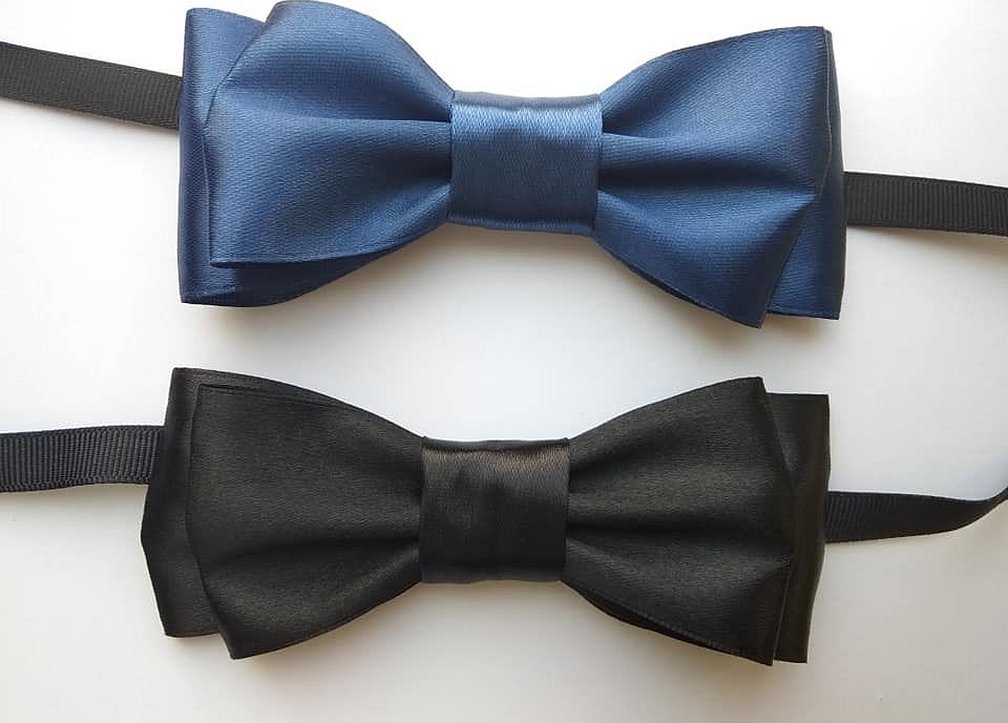
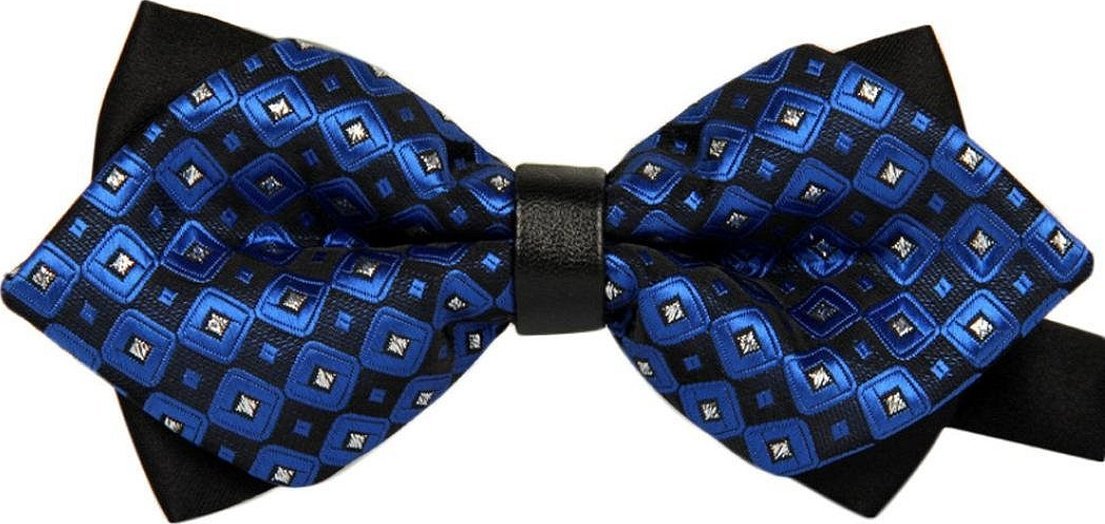
Double from different fabrics
You will need:
- 2 pieces of different fabrics,
- sewing kit,
- scissors,
- glue gun,
- ruler,
- elastic band,
- 2 fasteners.
Master class:
- Prepare the elastic band according to the principle described above.
- 3 parts of the bow tie (large, smaller, bridge) are cut to the following sizes: 13x23.5 cm, 11.5x22 cm, 8x13 cm.
- Fold the largest piece of fabric lengthwise and iron.
- Straighten, fold in half crosswise, iron.
- Straighten, fold the edges of the fabric to the center, iron.
- Without unfolding the fabric, fold it across, overlapping it, and iron again.
- Use a needle and thread to make small stitches, tighten the bow, but not all the way.
- Repeat exactly the same steps with a smaller piece. You should get two bows made of different fabrics.
- Make the jumper using the same principle, folding and ironing.
- Place one bow on top of the other and sew.
- The jumper can be secured in two ways: using a glue gun, or by sewing the smallest piece into a ring. Then simply thread the bows through it.
- The last step is to glue the butterfly to the elastic band prepared in advance, according to the instructions described in the previous section.
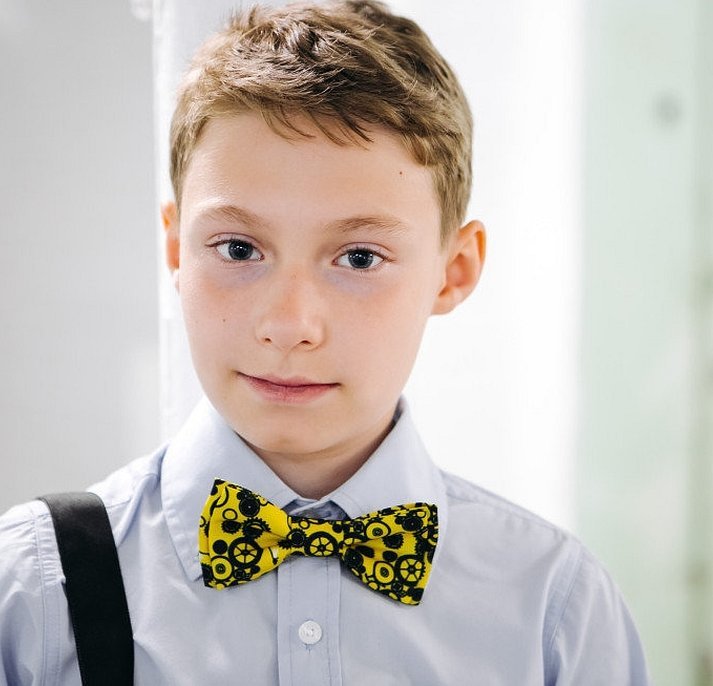
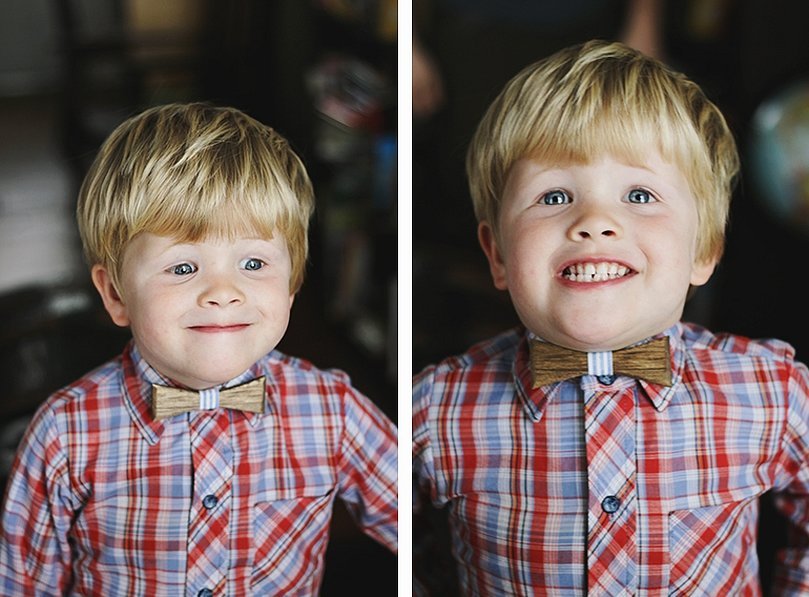
Making an accessory for a boy
In order to understand how to sew a bow tie for a boy, it is enough to understand that it is created according to the principle described above. It will differ from the male version only in the size of the bow and elastic band.
The sloth bow tie is the best option for a child, since he most likely won’t be able to tie a regular “self-tie” beautifully on his own.
You will need:
- tape 1 m long, not less than 4 cm wide;
- threads;
- needle;
- scissors, glue gun, black elastic band or one that matches the fabric, 1 cm wide;
- 2 elastic band fastenings.
As a material for a child, you can take gabardine fabric, suit fabric, crepe ribbon.
Make it using the same principle as a men's bow tie, changing only the parameters.
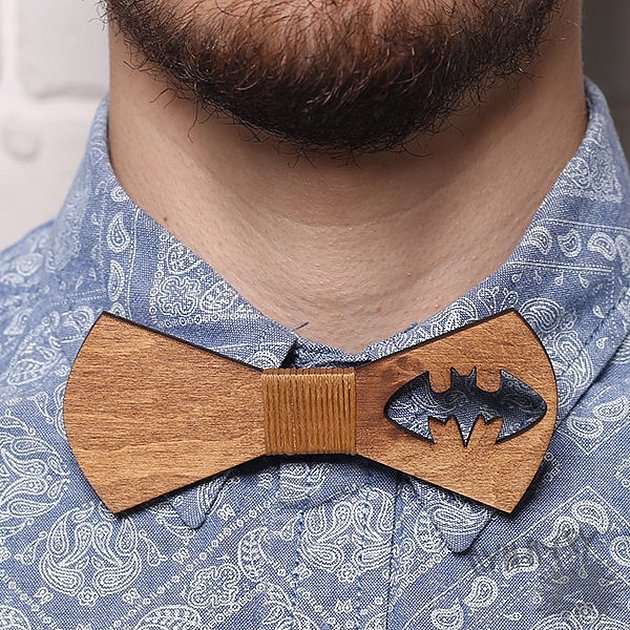
Wooden Bow Tie
A wooden bow tie has a special charm. Such an accessory is ideal for those whose life credo is to surprise and break standards and stereotypes. Anyone who puts it on will definitely not go unnoticed!
The idea of making a bow tie from wood was born directly from the creation of wooden ties, which were invented by the young designer Nelson Sampaio. This is a unique know-how of modern fashion, fully meeting such standards as ecology and environmental protection.
Making such an accessory will be especially interesting for those who are fond of wood carving. It is an interesting experience!
The simplest material for creating a bow tie is plywood. If you already have experience working with wood, you can take denser natural samples. For the tie material, you can take an elastic band, fabric, leather.
The advantage of making an accessory from wood over fabric is that it is possible to create holes, perforations, and patterns.
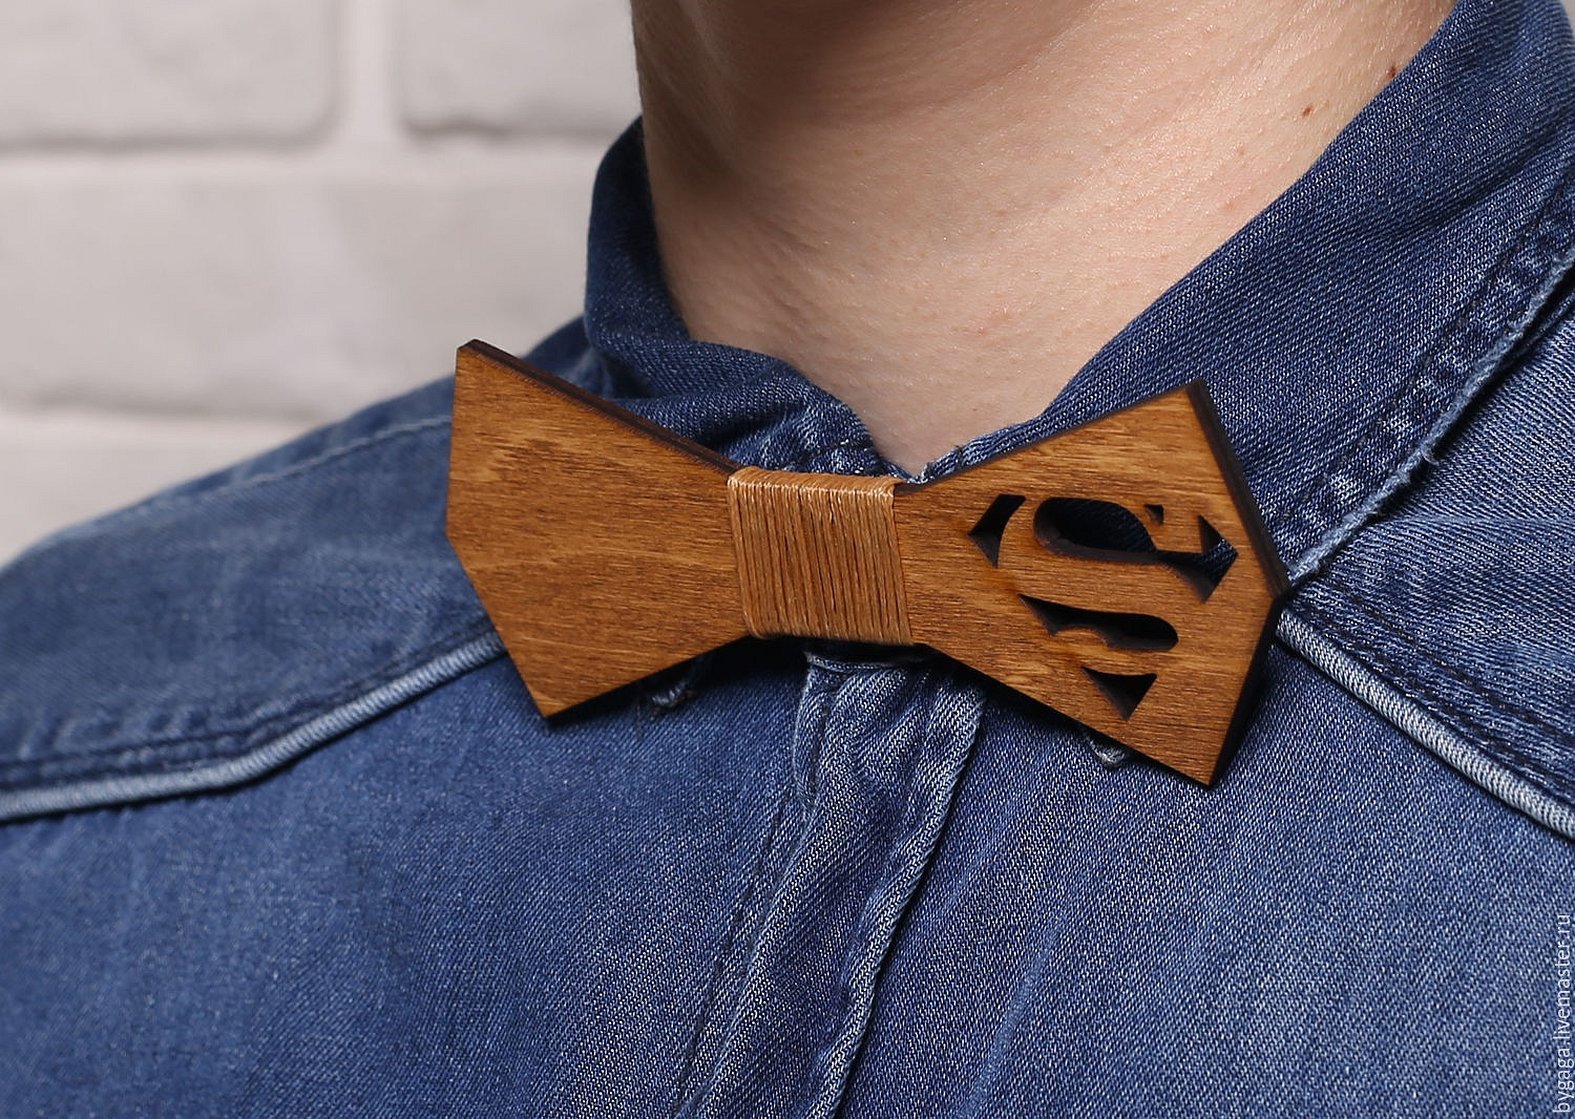
During the work process, you can use tools such as a file, grinder, jigsaw, laser machine.
You will need:
- grinding tools,
- stain,
- black paint,
- satin or fabric ribbon,
- glue gun,
- rubber,
- 2 fasteners.
Step-by-step work plan:
- Draw a schematic butterfly shape on the material.
- Cut with tools.
- Sand with sandpaper until the shape is smooth.
- Paint the edges black.
- Treat the butterfly with stain.
- Make a strap or elastic band using the method described in the previous paragraphs.
- The central part can be decorated with satin ribbon.
- Attach both the elastic band and the jumper with a glue gun.
How to make a butterfly out of paper
Making a paper tie is more suitable for a lesson on mastering origami skills. But perhaps there are people who will need such a bow tie for an event in real life. For example, for a theme party!
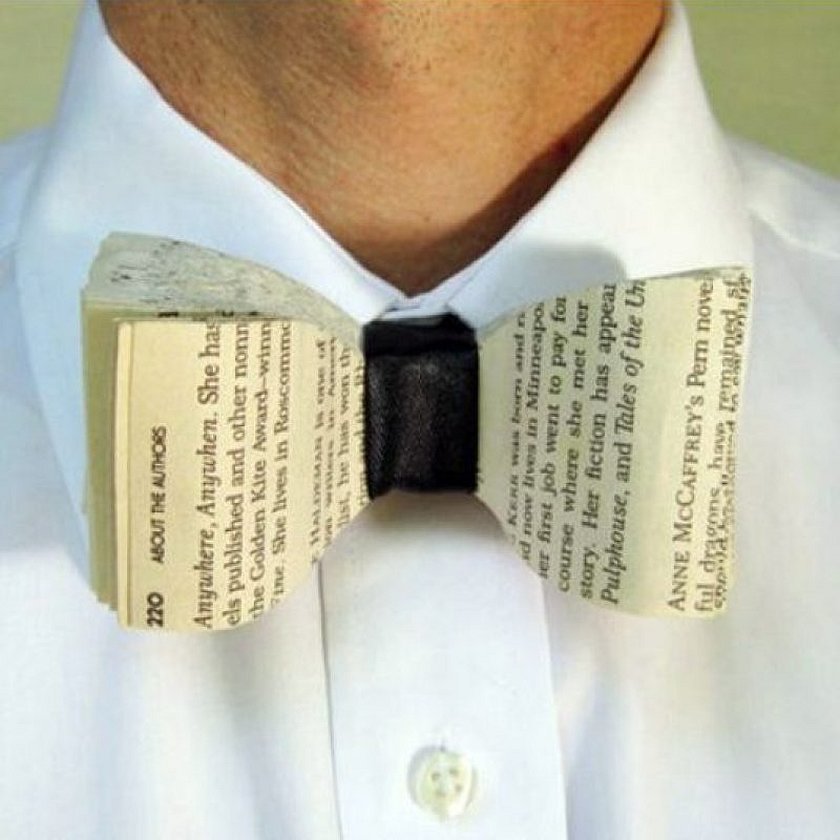
The advantage of making such a butterfly will be the ability to create an original and unique design, ease of execution, wide availability of materials and the ability to repeat it many times! There is no fear of doing something wrong. And in case of a mistake, you can always start over. You can additionally decorate the butterfly with rhinestones, sequins, etc. And you can attach it without using an elastic band, just with a pin or a hair clip.
You will need:
- A4 sheet of paper of any color,
- scissors,
- threads or any other detail to decorate the central part,
- glue gun,
- ruler.
The easiest way to make a paper bow tie is to use a ready-made template.
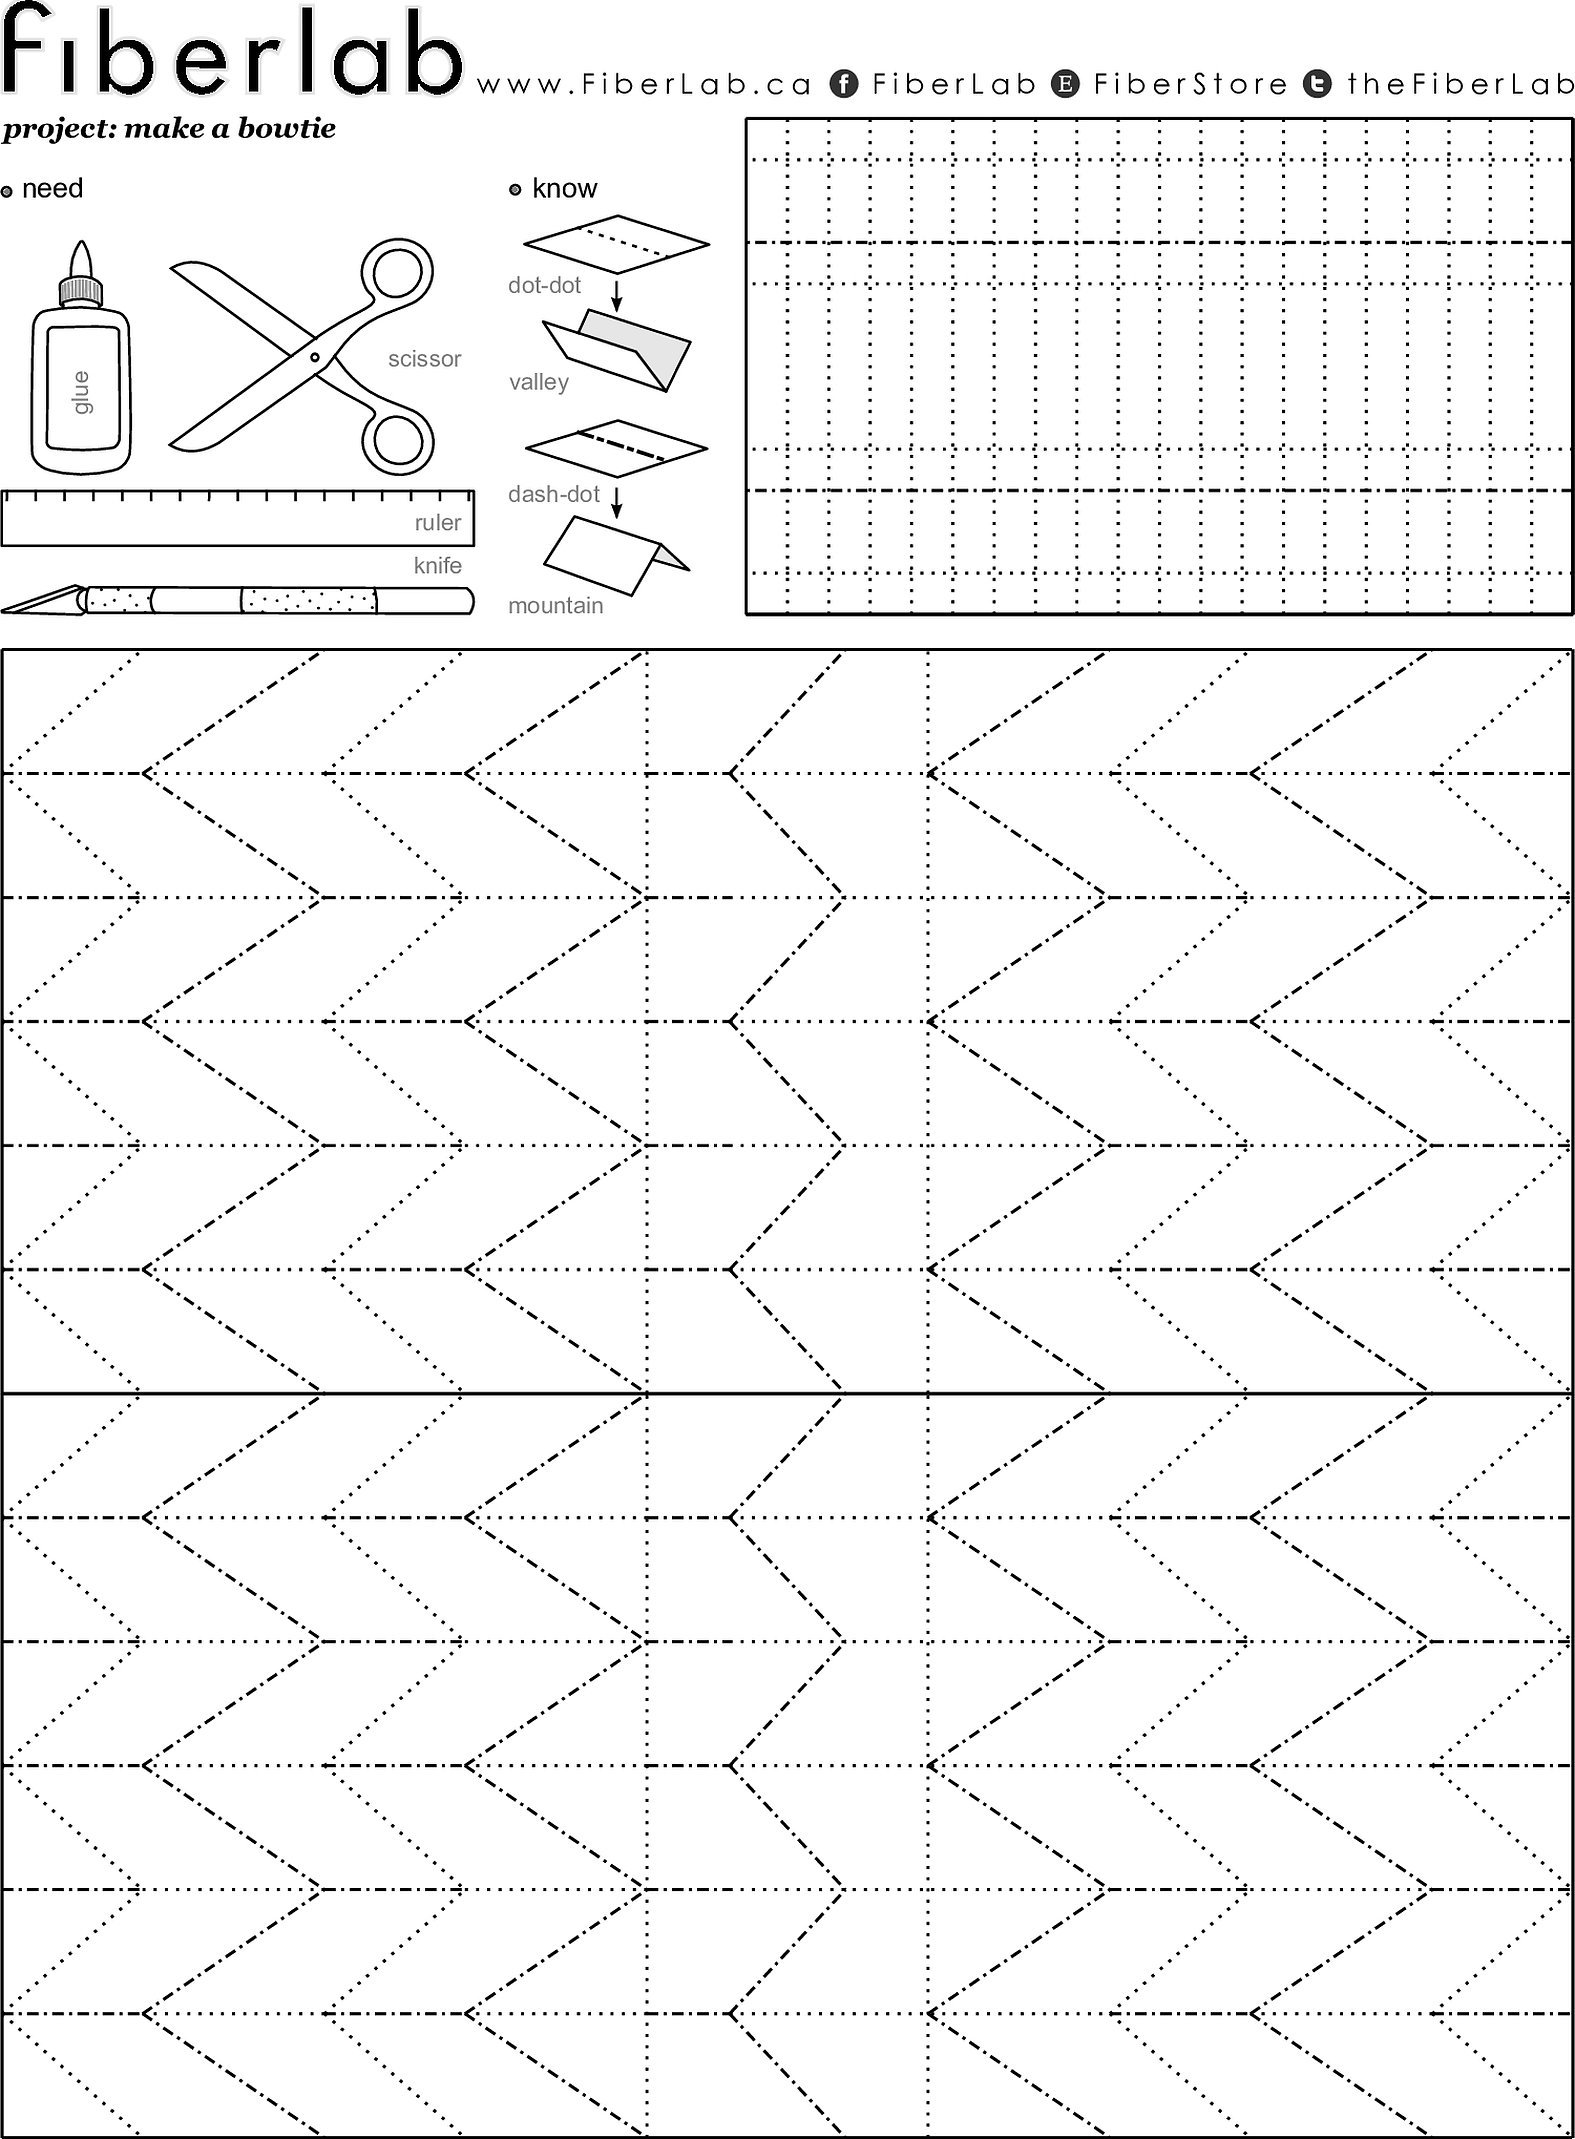
Step by step plan:
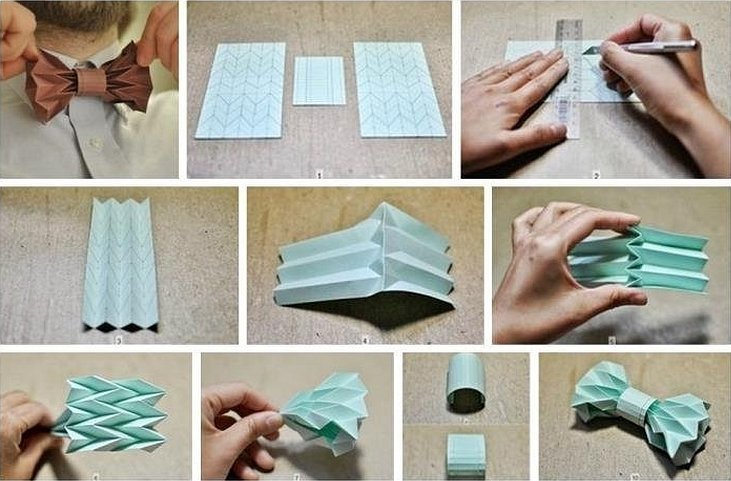
- Cut out the main parts of the template.
- Use a ruler to draw the fold lines.
- Fold the paper according to the diagram.
- Design the central part of the paper and glue it together.
- Let the paper dry.

The answer to the question of how to sew a bow tie for a man or a boy is multifaceted, because today no one can be surprised by standard accessory options. Everything unusual, bright, and standing out from the crowd is in fashion. As it became clear from the article, you can sew a bow tie with your own hands from almost any material, be it fabric variations, leather, rubber, even wood and paper. Season the creative flight of fantasy with a pinch of care and love and an original gift for your beloved men will remain in their memory for a long time!


