Nowadays, almost all clothes are mass-produced, so the probability of meeting people in absolutely identical clothes increases every year. And unique and designer items were and will always be valued. That is why there are so many unique showrooms and clothing studios now. And sometimes people sew their own clothes. But this raises questions about the process of cutting and sewing items. Further in the article about how to make a pattern for a T-shirt yourself.
Choice of fabric
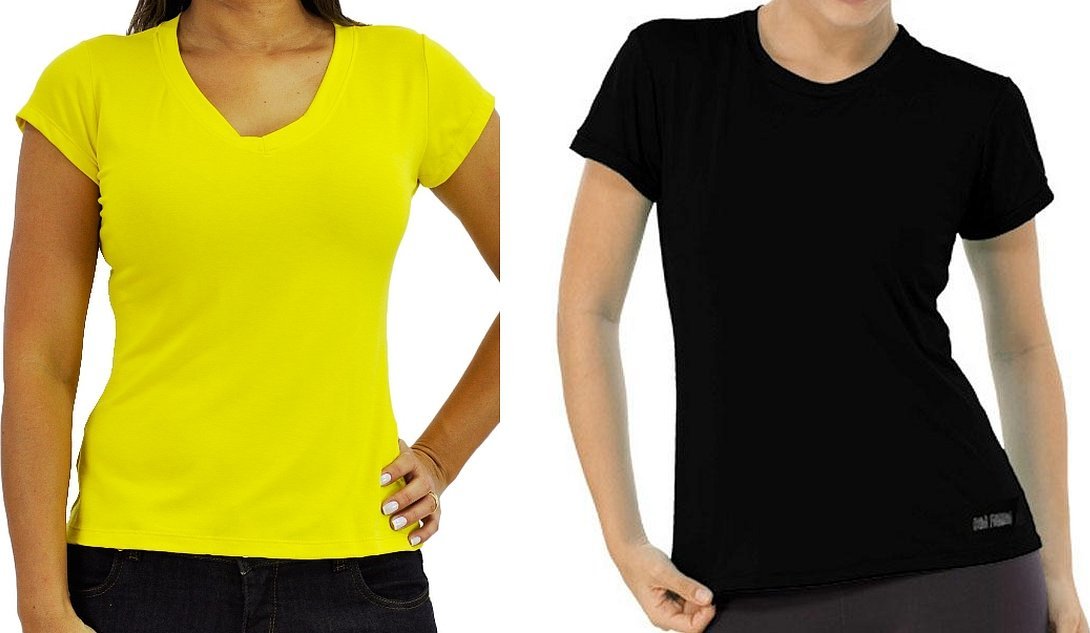
For women's T-shirts, light, pleasant to the body fabrics are usually chosen, for example, knitwear. The best choice is a bioelastic, stretchy material, which includes cotton or viscose. But you can also use other fabrics:
- interlock;
- footer;
- Capiton.
For example, a pattern for a women's T-shirt uses thin, airy fabrics in sewing. Of course, there are exceptions, because the material is selected according to personal preferences.
Pattern
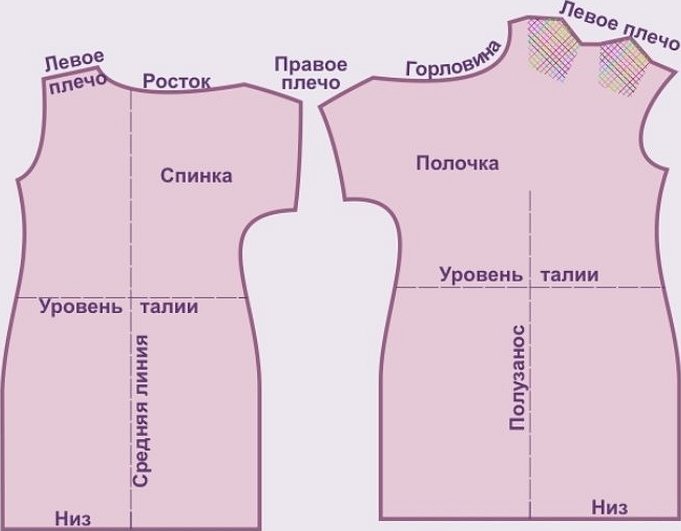
The pattern of a women's or men's T-shirt is made after taking measurements. They are needed to create an accurate drawing. That is, it is necessary to measure:
- Og - chest circumference;
- Osh - neck circumference;
- Dst - length of the back to the waist;
- Df is the length of the T-shirt;
- Vprz - armhole height;
- Шс — back width.
All this needs to be known so that sewing T-shirts is not difficult, and the product is a normal size and fits well. All these measurements are divided in half, and the pattern is made in half of the future T-shirt. So the pattern is made in half, so that the right and left sides of the product are mirror images.
At the very beginning, a 90-degree angle is constructed, on which the neckline is marked, and the length of the entire product is measured (a dress can be cut according to this principle). Half of the chest circumference must be measured to the right. The height of the armhole is set aside from the top point of the neckline and drawn. The armhole is also divided in half and a line is drawn down. It indicates the side cut of the product, front and back. It is advisable to add 1-2 cm to all measurements for seam allowances and so that the product does not sit tightly like tights.

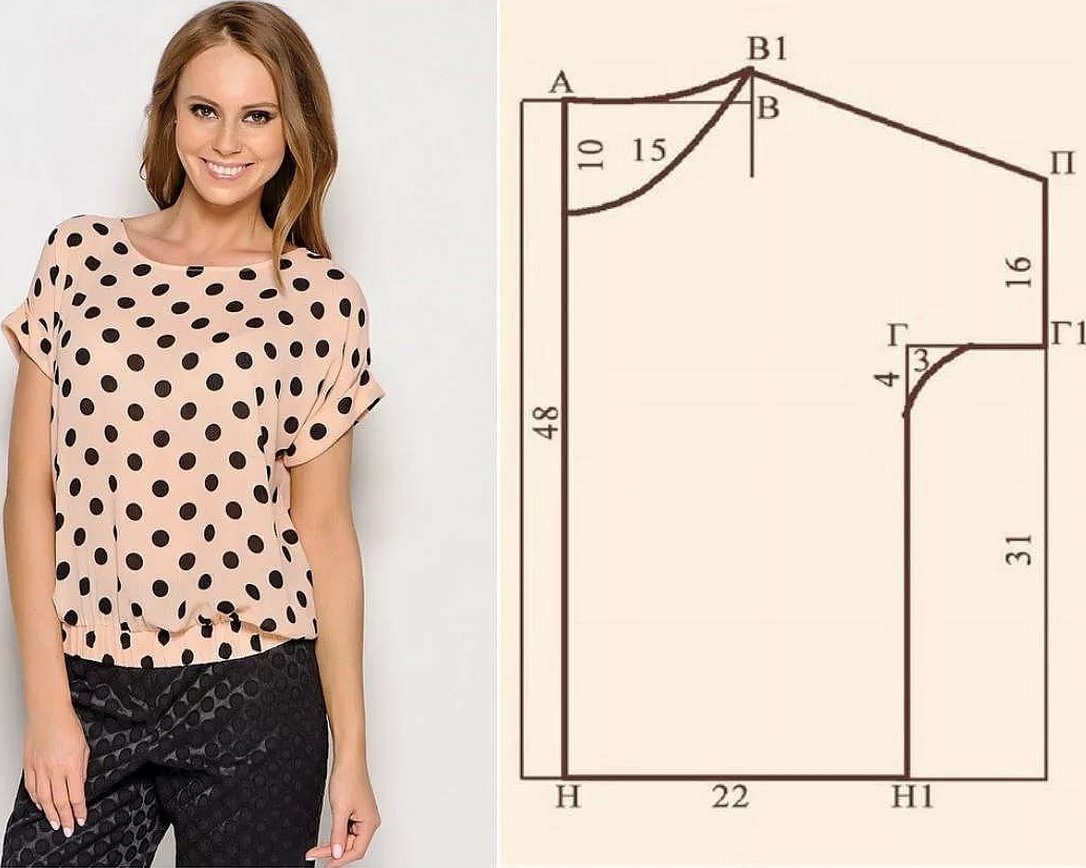
A separate drawing is made for the sleeve depending on its length and cut. A right angle is also drawn, from which the length of the sleeve is measured, and the width of the sleeve is measured to the right. The width is also divided in half and a half drawing is made, ¾ of the armhole depth will be the height of the sleeve cap. The appearance of the pattern may vary slightly, depending on the style of the future product. The sleeve can be made wider if desired, or, on the contrary, a frill, narrowed towards the end. The upper right and left points are connected by a smooth curving line - the pattern of a T-shirt or T-shirt is ready.
Modeling
This is the process of creating a T-shirt model, which takes into account the silhouette of the product and preferences for design and style. Modeling includes 4 consecutive stages: drawing up a style and mentally modeling the item, choosing a material, taking measurements, sewing the product. Thus, first you need to understand how the T-shirt will look, for clarity of presentation it is better to make a sketch. Next, the fabric and accompanying parts are selected, namely buttons, if they are necessary, or other decorative elements. After that, the necessary measurements for constructing the pattern are written down in a list. When the pattern is ready, you can start, but before that you need to know how to sew a T-shirt.
Off Shoulder T-Shirt
Today, this is a rather popular and fashionable style of T-shirts worn by modern youth. They can be knitted or stretch. The model creates a silhouette of sloping, graceful shoulders in women and at the same time is comfortable to wear and offers freedom of movement. This model differs from the classic style only in that it has a dropped sleeve line down the shoulder. The pattern is the same, but the shoulder seam is lengthened so that the T-shirt falls slightly on the arm. This shift will ensure a casual exposure of the shoulder.
With one-piece sleeves
The peculiarity of this model is that the sleeve is constructed as one piece with the entire garment without additional seams. This one-piece, seamless garment is often found on mannequins in modern stores of many popular brands. This model is the easiest to sew and is recommended for beginners. The task is simple: draw the garment on paper, cut it out, attach it to the fabric, trace it, baste it and stitch it together. Such models are often oversized, that is, they are not fitted and do not have a specific size.
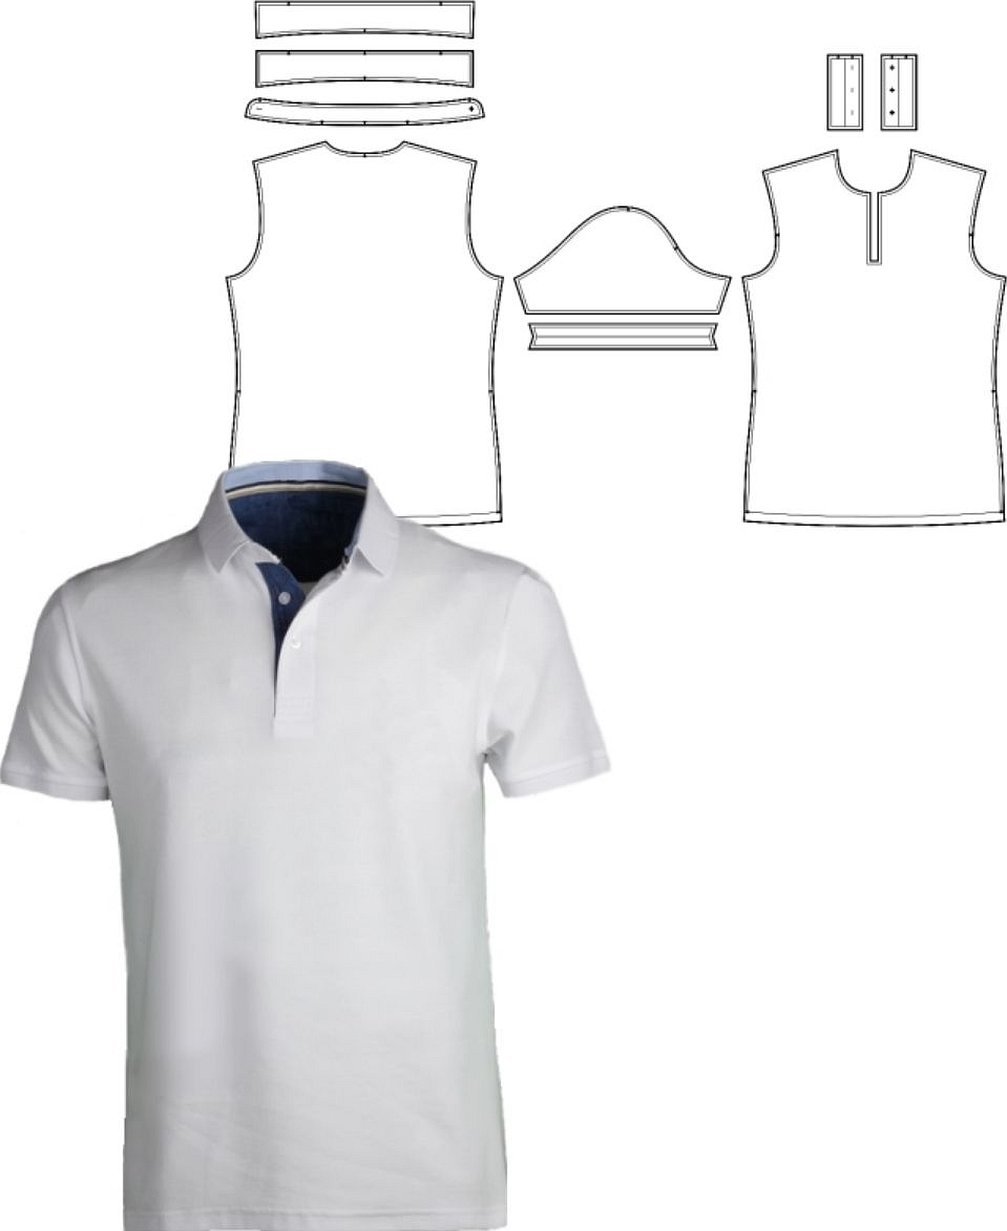
Polo
This model is distinguished by the presence of a collar with buttons and a more sporty style of execution. Polo is worn by both girls and boys of different shades and colors. This is the so-called universal T-shirt. The pattern of a men's polo shirt varies in the depth of the fastener and the presence of a collar bar of the desired height.
With raglan sleeve
This is a sleeve in which the sleeve is placed tightly on the pattern of the product, combining the shoulder cuts. Such T-shirts are also in demand.
For the full
For fuller people, patterns are constructed in the same way as regular T-shirts, just a couple of centimeters are added to all measurements to flare the product for an easier process of putting on and taking off the T-shirt.
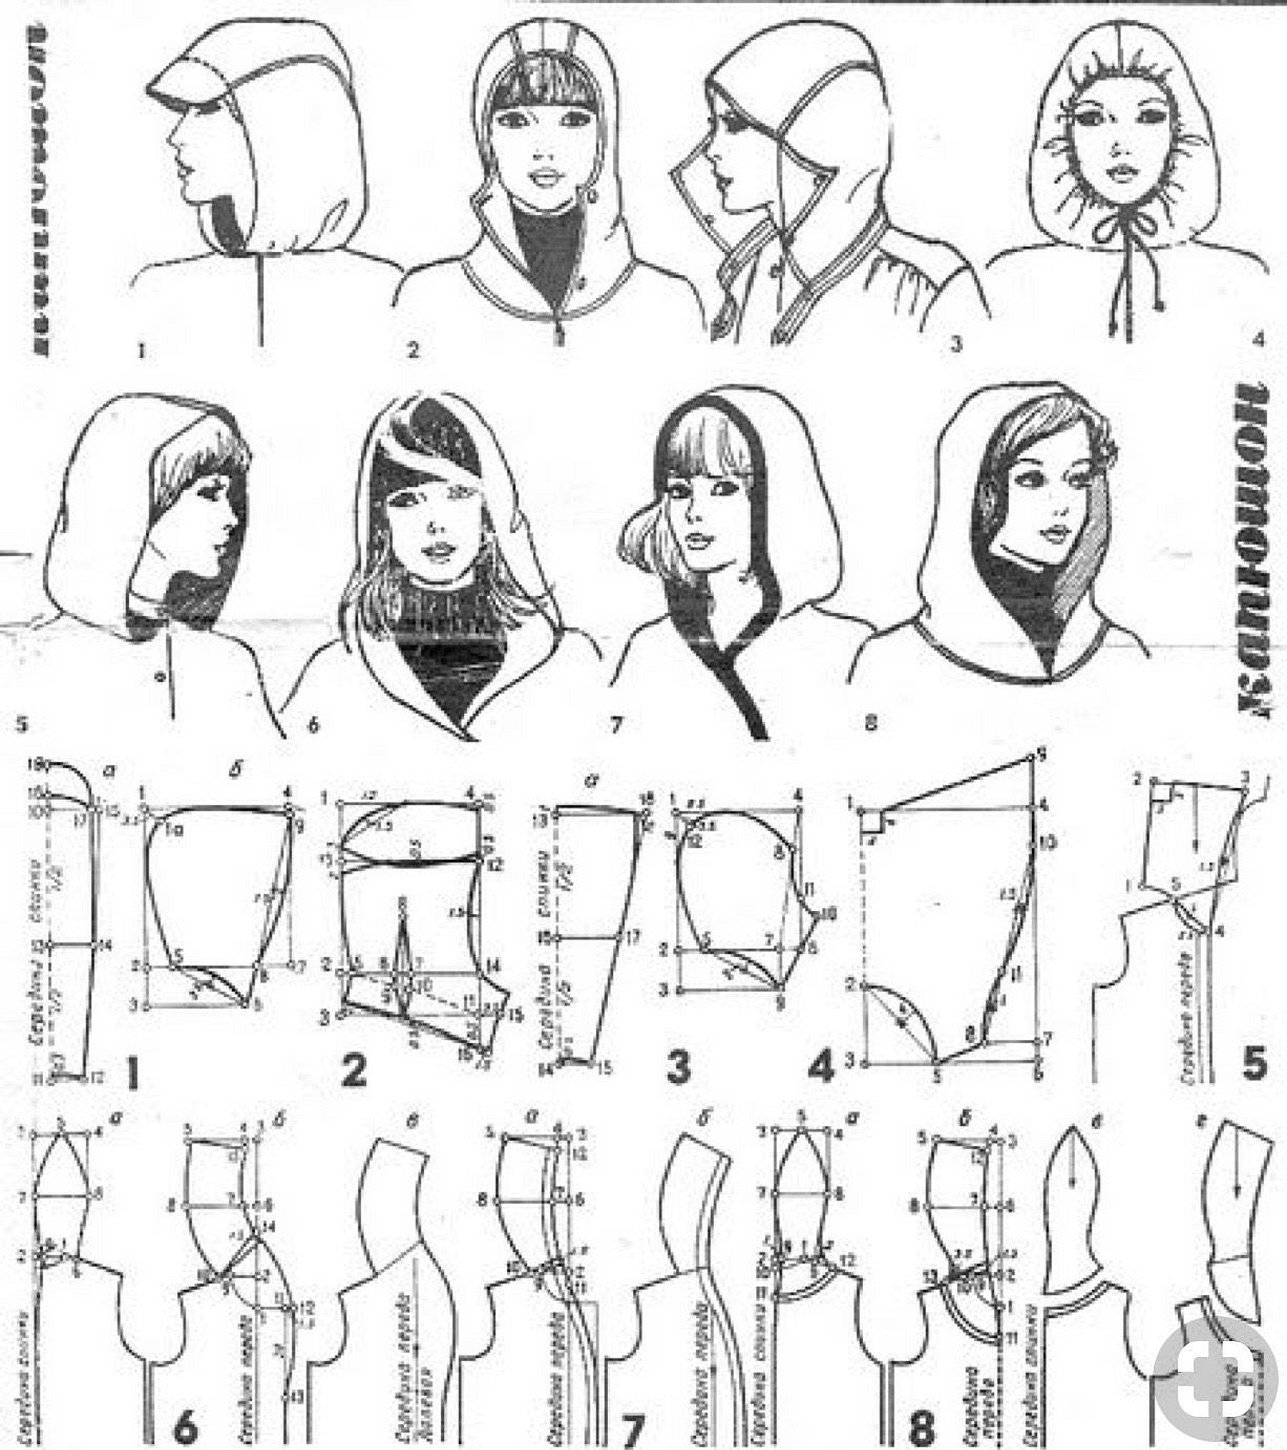
With a hood
For a hooded T-shirt, it is constructed separately and then simply connected to the main T-shirt. Such T-shirts are quite rare, since the practical significance of the hood does not justify itself.
With V-neck
An original model of T-shirts, T-shirts, dresses, since for the neckline it is enough to determine the depth and draw 1-2 lines. Such a neckline emphasizes the neck and décolleté area for girls, for example. This model visually stretches the upper part of the body and neck, making the silhouette slimmer.
How to sew with your own hands
An original T-shirt or tank top, sewn by yourself, will look very impressive and will differ from all other models, which are produced in packs at factories. Creating such a designer wardrobe item does not seem to be a difficult task if you consistently follow several important points. And most importantly, it will take much less money to sew than to buy a ready-made trendy T-shirt. The following points will help you with the question of how to sew a T-shirt with your own hands for beginners.
Sewing
When the pattern is ready, you need to process the seams on the shoulders, connecting the front and back parts of the product. To do this, you also need to use an overlock to process the edges of the product. This way you get a base that will only need to be connected along the side lines. If this is a T-shirt pattern, then the shoulder seams also need to be sewn, they will just be shorter. In this case, an overlock is used to ensure that the inside of the product looks neat, without any pieces of fabric or threads sticking out from under the seams. Sewing a T-shirt with your own hands is quite simple, it is easier than sewing a T-shirt, because it has no sleeves. It takes less fabric, and there is no additional effort to pattern the sleeves and sew them in.
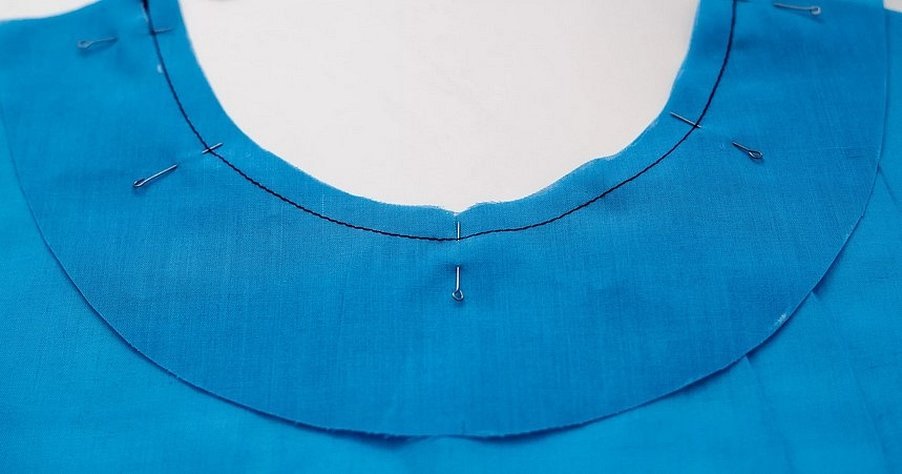
Neck facing
Usually, when edging the neck, the front and back parts of the product are divided in half, marked with a pin or colored thread for better visibility. The front and back should be folded in half again and additional dots should be put. For the neck, it is necessary to make allowances and edging of the neck. It is important not to forget to leave a few centimeters from the back for allowances. This strip should be smaller than the neck itself. Otherwise, it will turn out unattractively and spoil the full look of the product.
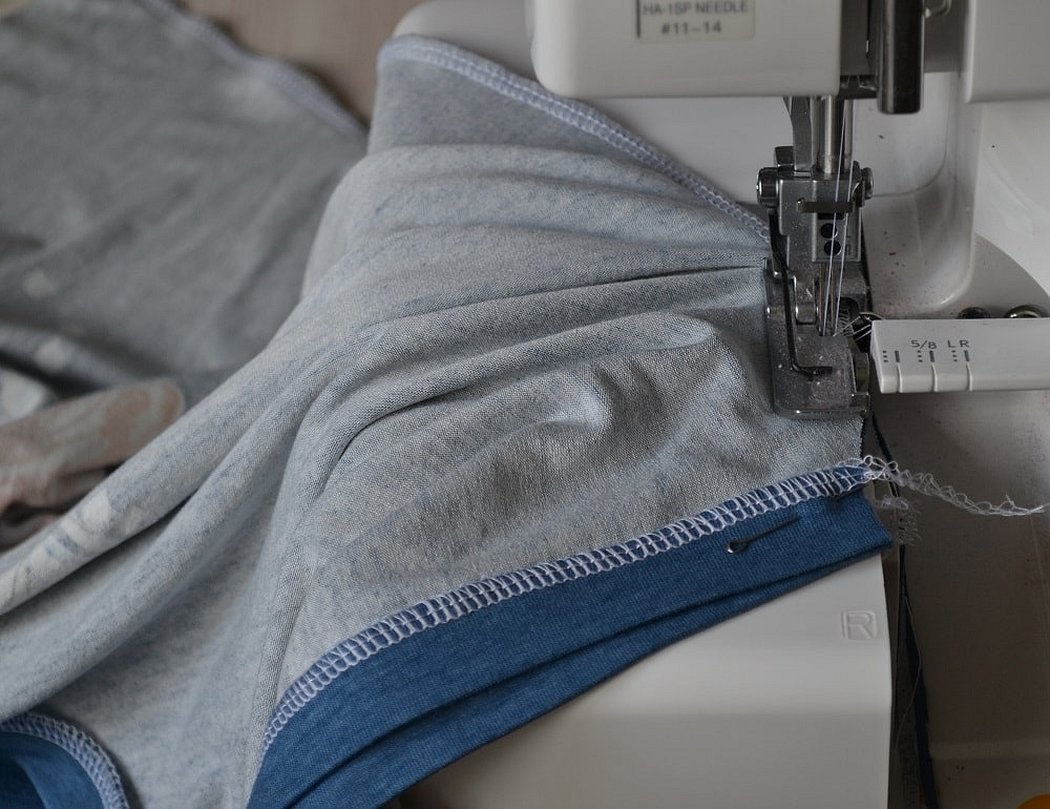
Armhole processing
The armhole, that is, the end of the sleeve, is also processed so that no threads stick out, and the sleeve is neat and looks tidy. It is usually processed with bias tape. The side seams are joined and a hem is made. But sometimes, in order to save time on processing, as well as to save materials, only an overlock is used. This looks unusual, since everyone is accustomed to the usual processing of the armhole.
Processing of side seams
They are basted and the edges are joined. It is important not to forget about the side seams, as they also need to be processed for the proper appearance of any product, not just a T-shirt or tank top.

Hemming the bottom part
The bottom of the product is folded by sewing an elastic band along the bottom edge of the T-shirt. This is done so that the T-shirt does not ride up when actively moving or raising your arms. Or you can simply fold the edge of the T-shirt and stitch it, folding it in half. This way the T-shirt will have a looser edge and will not gather with an elastic band at the end.
Thus, sewing a simple T-shirt is easier than it may seem at first glance. Only a clear sequence of actions for drawing up a sketch of the product, constructing a pattern and sewing the product itself is important. You need to decide in advance on the design, material and composition of the fabric that will be used in sewing, and decorative details needed in the process. And then start sewing the planned T-shirt or tank top.


