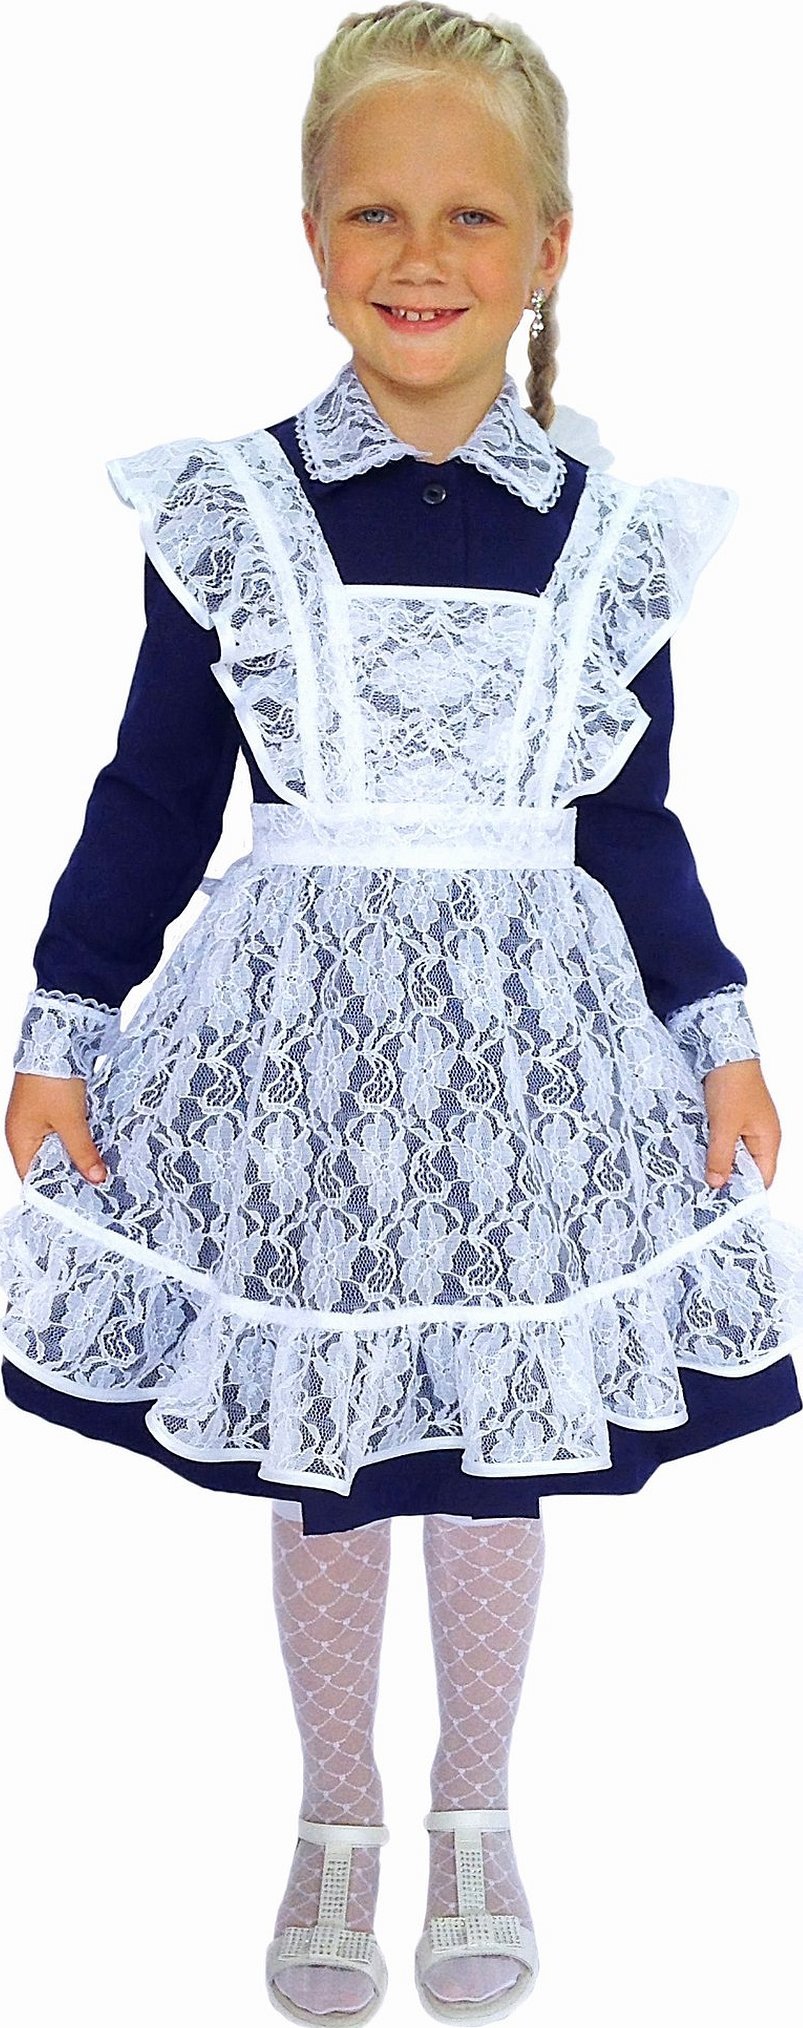
A school apron is a beautiful item for a regular trip to school or gymnasium, as well as a good decoration for a graduation party or the last bell at the end of the school year. What types of models are there, how to take measurements, how to construct a step-by-step pattern, what preliminary preparations are there before sewing an apron, how to work with guipure and how to sew the product? More on this and more below.
Types of models
At the moment, it is easy to make a simple and elegant apron model from guipure, lace fabric, cambric, satin and nylon. Guipure is the most popular material, the difference of which is its lightness, affordable price and attractive appearance. Lace is a fabric similar to guipure, but has a denser structure. Cambric is considered a simple, easy-to-cut and care for material that does not have any special details. It has an affordable price. Satin is a modern variation of the previous fabric. Externally, it is similar to silk, but has a more complex structure for sewing. Nylon is considered a synthetic fabric, quite rarely used to sew a school apron with your own hands.
Taking measurements
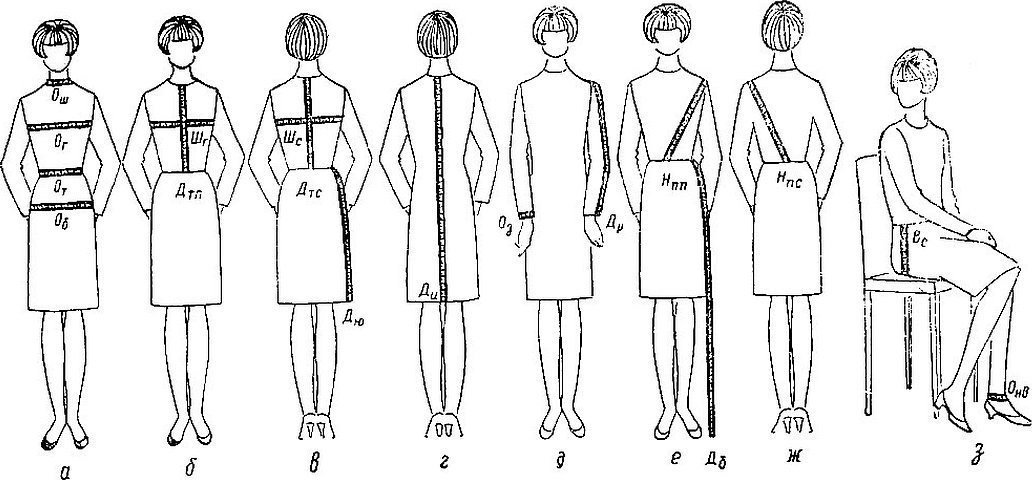
The measurements are the basic dimensions of a person's figure, which are obtained by measuring his body. They are taken using a tape measure on the right side of the figure. They are taken and written down on paper. To do this, the waist is belted with a ribbon. The tape is not stretched or loosened. To create an apron, it is necessary to measure the center line of the front with the neck, chest, waist, hips and the middle of the back.
Please note! The waist measurement allows you to determine the waist length, the half-girth of the hips - the width of the product, the bib length - the length of the product to the waist, the length of the bottom of the apron from the waist to the hips - the size of the product to the end from the waist. Accordingly, the measurements of the chest, hips allow you to find out the volume of the product. As for the back measurement, this is required to find out the volume of the product along the back.
Pattern
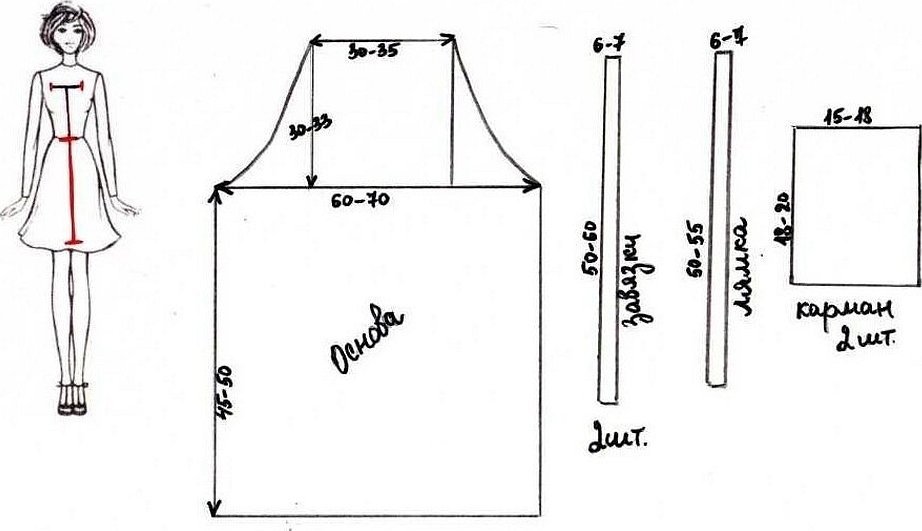
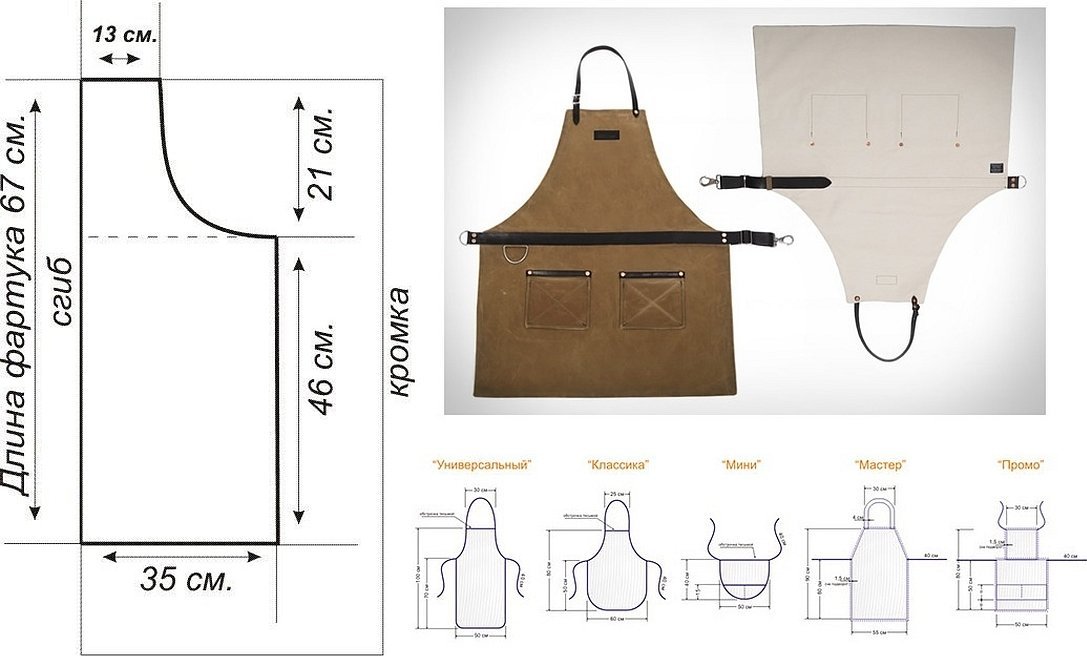
To create a pattern, it is not necessary to have special knowledge in the field of drawing. It is enough to use a simple scheme from the Internet and substitute your values, taken from the measurements. A school apron for a first-grader includes an upper with a lower panel, straps, a belt, an apron and a frill. Some models come without a bib and have a fairly deep neckline. In this situation, the straps are sewn in front to the belt.
It is important that all constructed parts must have allowances for hemming and sewing. If you plan to process the parts using edging, then allowances do not need to be made.
Preparations before sewing an apron
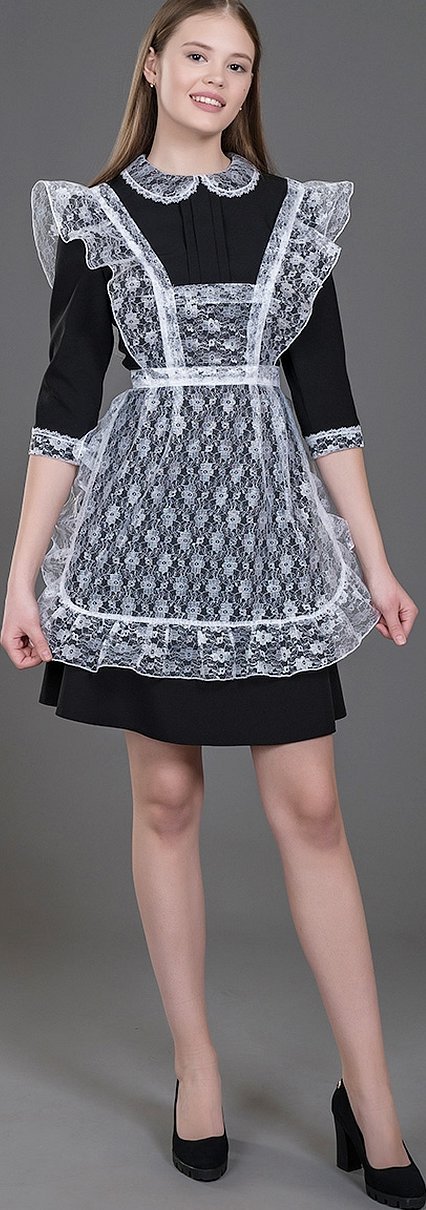
Naturally, before sewing an apron for the last bell with your own hands, you need to prepare the material. Beautiful and high-quality fabric can be easily selected in any fabric store. Of course, lace with guipure looks more elegant, but simple cotton can also have an unusual look. At first, you should refuse to use silk with velor and satin because of the difficulty of working with them. After selecting the fabric, you need to choose the style and model. Then think about decorating the product with ruffles.

The nuances of working with guipure
Guipure is a difficult material to sew and cut, so novice needlewomen do not use it to create things like aprons. It is great for creating creative, light and airy items in the form of a collar. It is also used as an addition to an already finished apron. Many experienced needlewomen use it as a base.
Please note! It is difficult for beginners to work with guipure because it is impossible to carefully process the threads and make patterns correctly at first, so that the material does not start to stick and turn into lumps. All that a beginner craftswoman can do is to complement the apron with guipure inserts taken from ready-made products or bought in a store.
Sewing an apron
The sequence of how to sew a school apron is exactly the same as for other products. First, a plan of action is created, a sketch is thought out and patterns for the girl are created according to it. First, the base of the apron is sewn, namely the front part and the white skirt. Then, a belt is attached to the entire product. At the end, the belt is complemented with ruffles and other decorative trims. A button is sewn on and a corresponding hole is made for it.
Please note! Before the final stitching of all the parts, a preliminary fitting with the turned patterns is required.
Pattern of the upper parts of the apron
It is not necessary to have an idea of how to make a pattern for the top or how to sew it to the bottom. To do this, you need to take a ready-made step-by-step diagram, substitute your values from the measurements and cut out the corresponding parts. It is best, if you have one, to make a pattern based on an old apron. To do this, you will need to cut it out or attach it to the new fabric, and then outline everything. What a standard diagram for creating an apron for size M looks like can be seen below.
Connecting the upper and lower parts
Connecting the top and bottom is easy. All you need to do is use a sewing machine and make a double stitch on the back of the materials. The connection can also be made along the waist, but this is more difficult.

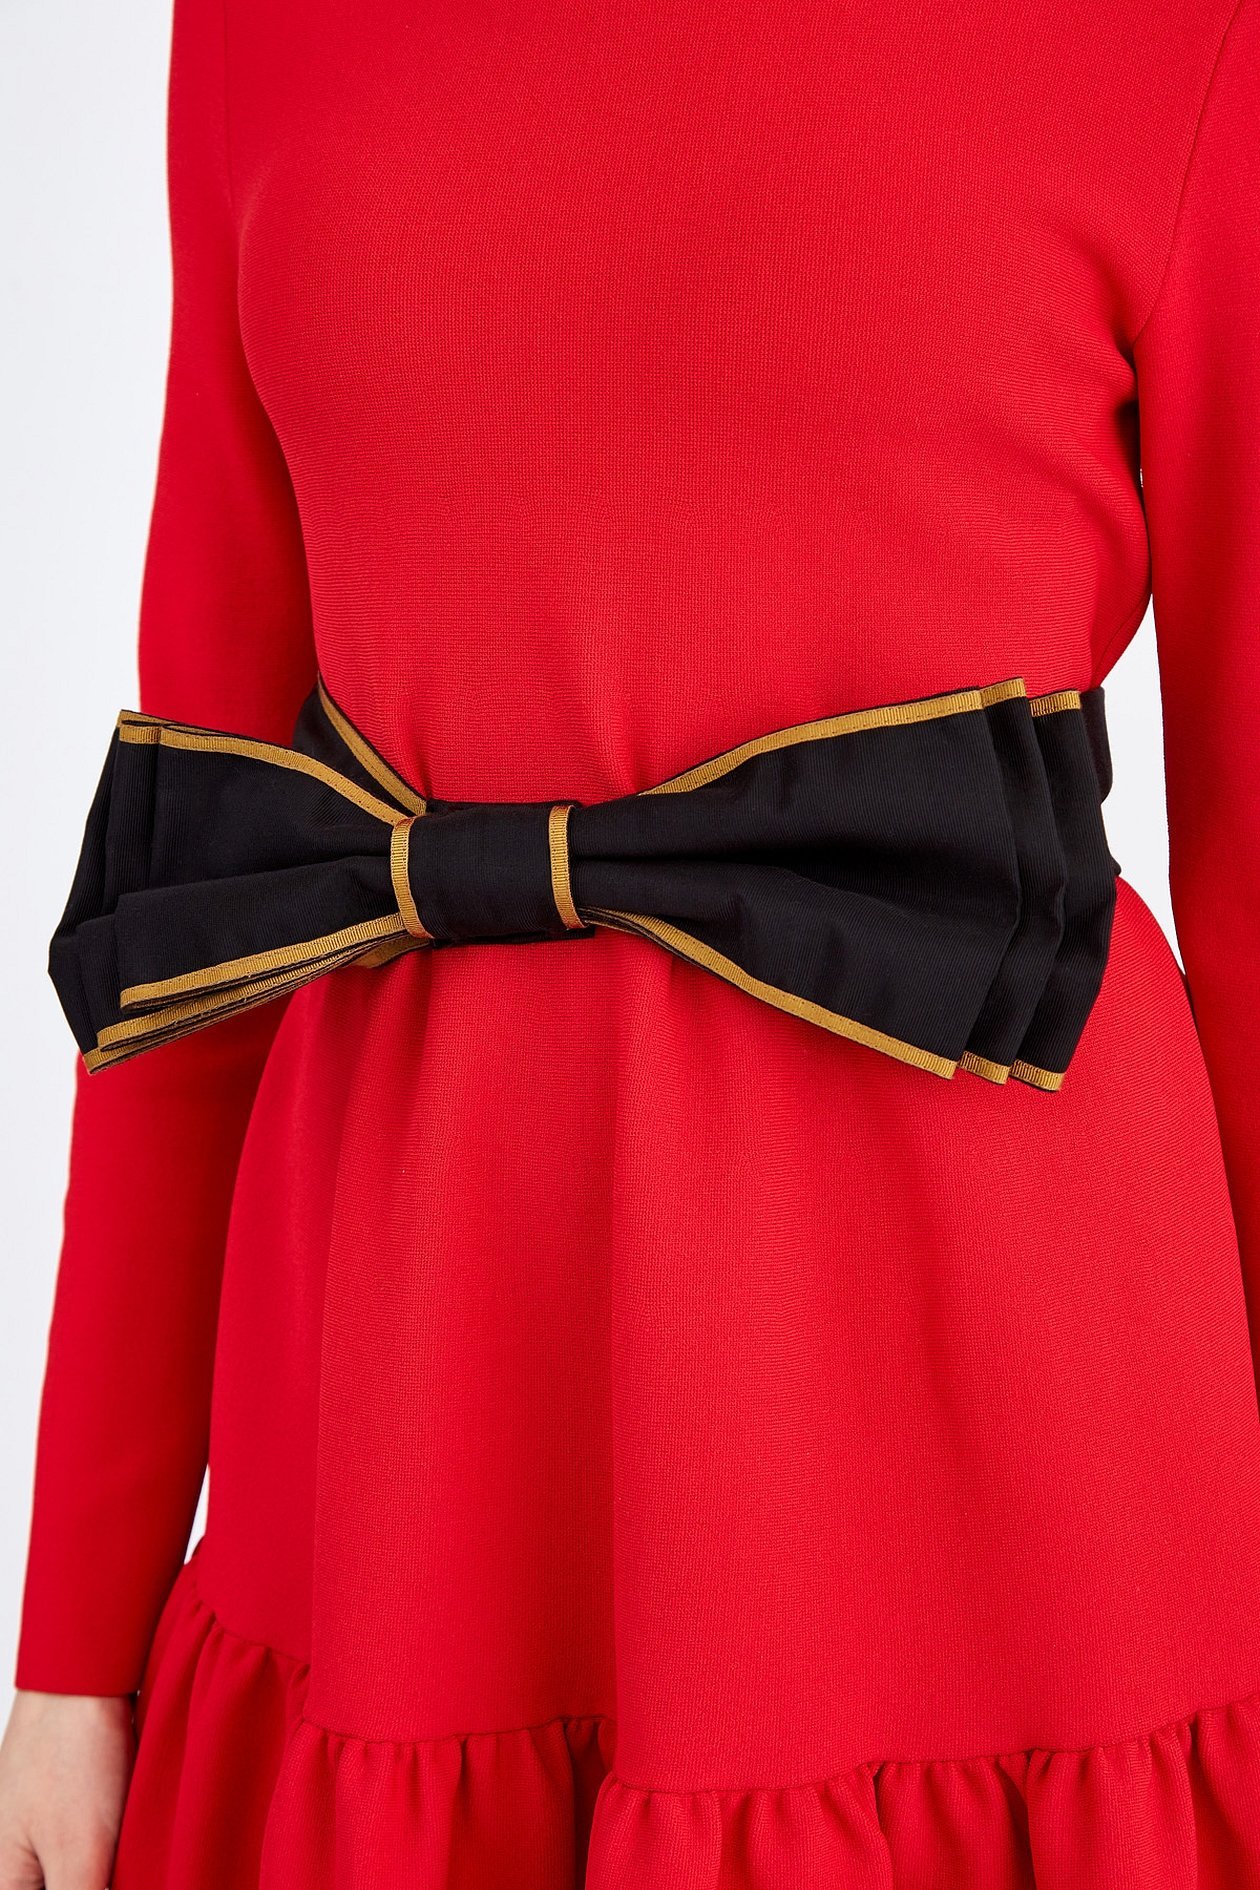
The apron belt can be tied into a bow
The final piece of the future apron is the belt. It is very easy to make. To do this, you need to make a pattern and fold the fabric in half. Then sew it by hand or use a sewing machine and stitch the product from the inside. The finished belt can be inserted into special loops or come with the apron separately. It can be tied in the usual way, or you can use an interesting idea - make a bow tie.
Before attaching it to the finished product, it is necessary to iron it well. The product itself also needs to be carefully ironed. In the case of guipure, it is worth using ordinary water or a steam generator, so as not to accidentally burn the apron or make a hole.
Please note! If desired, the belt itself can be supplemented with fittings or beads. Some craftswomen often resort to embroidery.
In general, creating a school apron is not a difficult task if you take measurements correctly, create a pattern and prepare it in advance. It is also simple if you rely on a diagram or a master class. It is worth noting that only by carefully handling the material, only by fully following the master class can you achieve success in your intended business.


