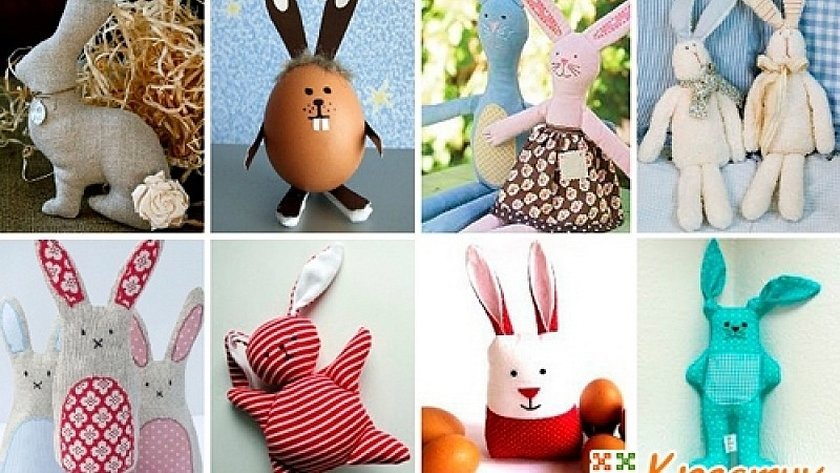
Among craftswomen who sew toys and soft goods with their own hands, various types of bunnies are especially popular. These soft toys not only look cute, but also provide a huge scope for creativity in this direction, because you can come up with a huge number of bunny models: they can be of different colors, shapes, sizes, from different materials and fillings. Do not forget about the unique decor for each of them: clothes, dresses. In this article, several master classes with examples of simple patterns for sewing yourself were prepared especially for needlewomen. Below you will be told how to sew a bunny with your own hands, without having special skills, an approximate pattern of a bunny is given.
Patterns and sewing
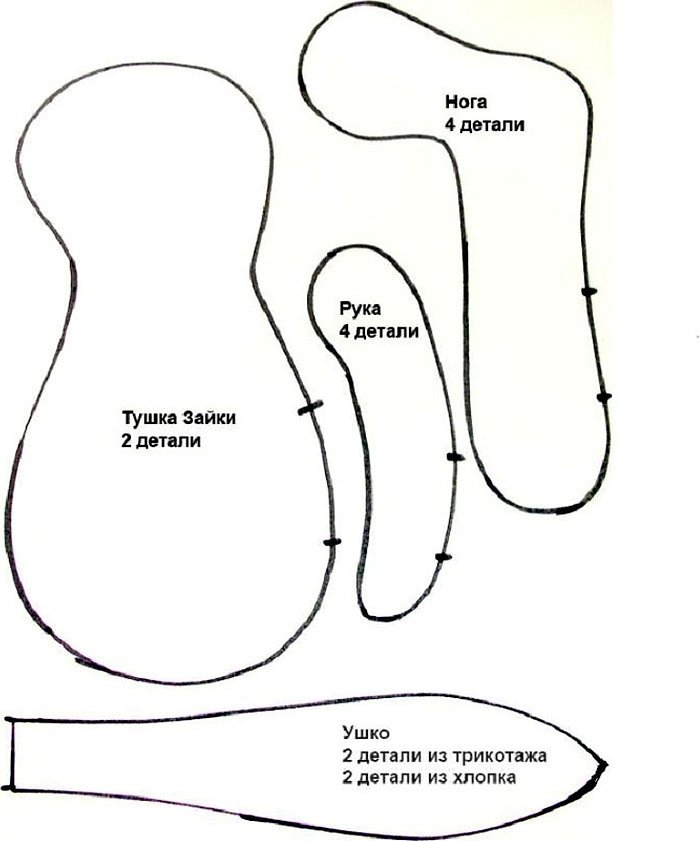
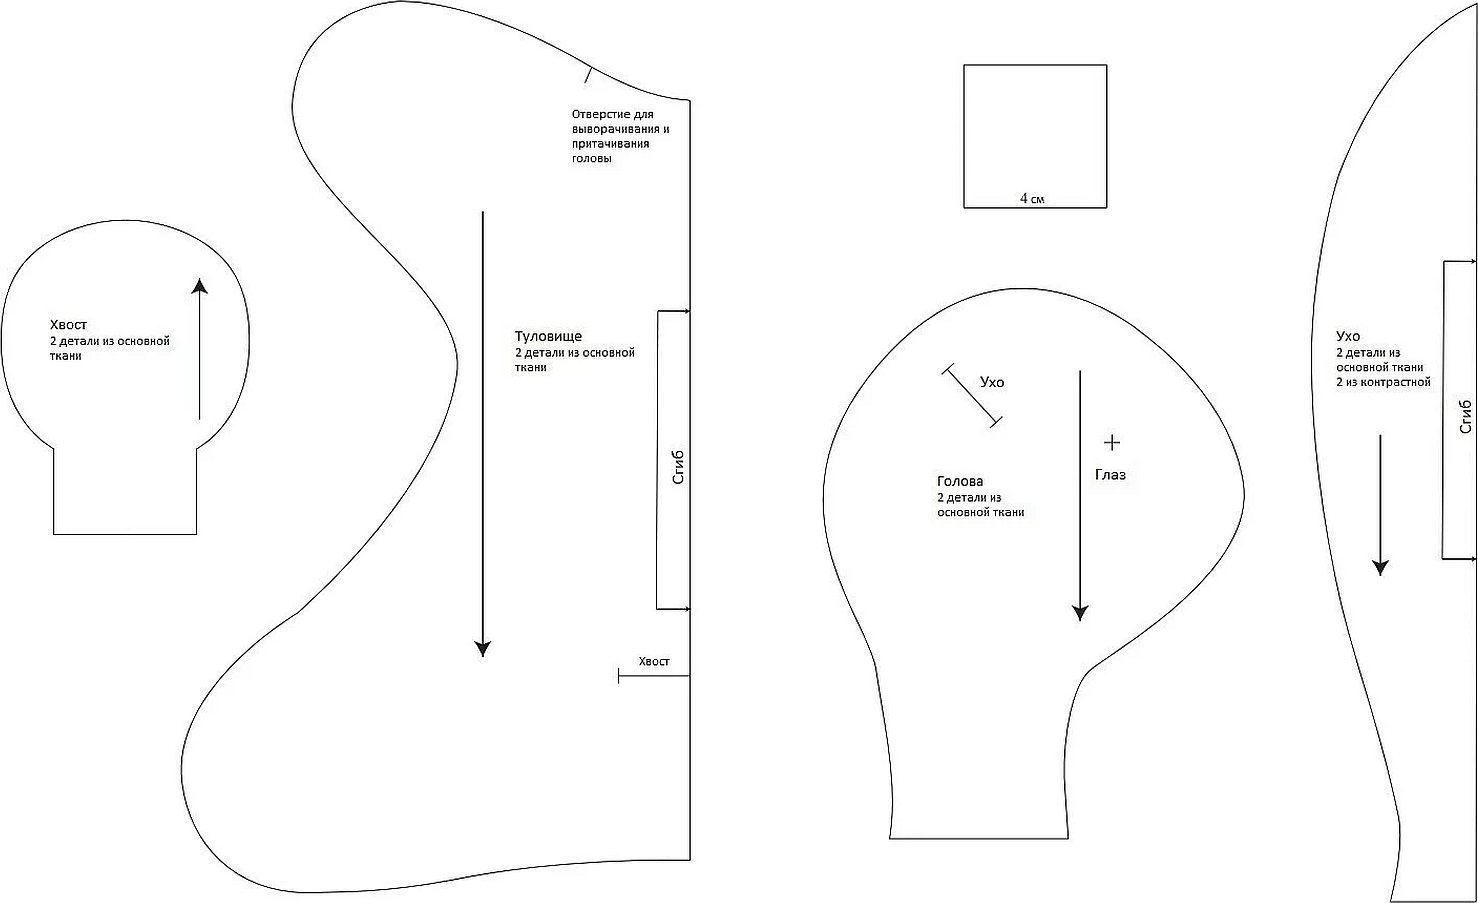
Below we will analyze all the main features of sewing a hare. A small toy was taken as the main example. Further subtypes of models will be analyzed in general terms. Before starting the sewing process, you need to choose or develop a pattern. The pattern for a 30 cm tall hare is presented. This template needs to be printed on paper and cut out.
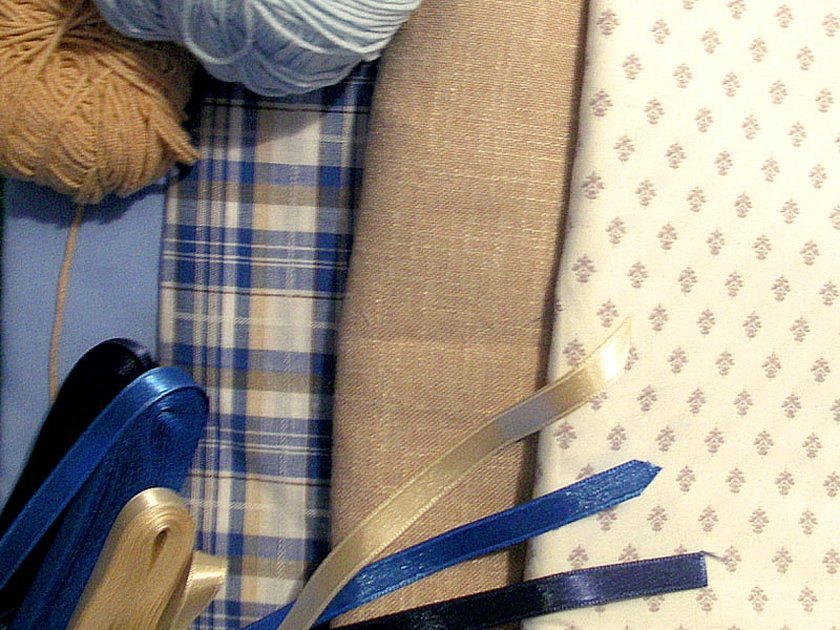
When transferring, you can take into account your preferences and choose the texture of the material, the type and the pattern for yourself. Since this model will be made of knitwear, it was taken into account that this material stretches, therefore, the bunny will be slightly larger than the stated sizes.
After selecting the materials, the work is carried out using step-by-step instructions in the following order:
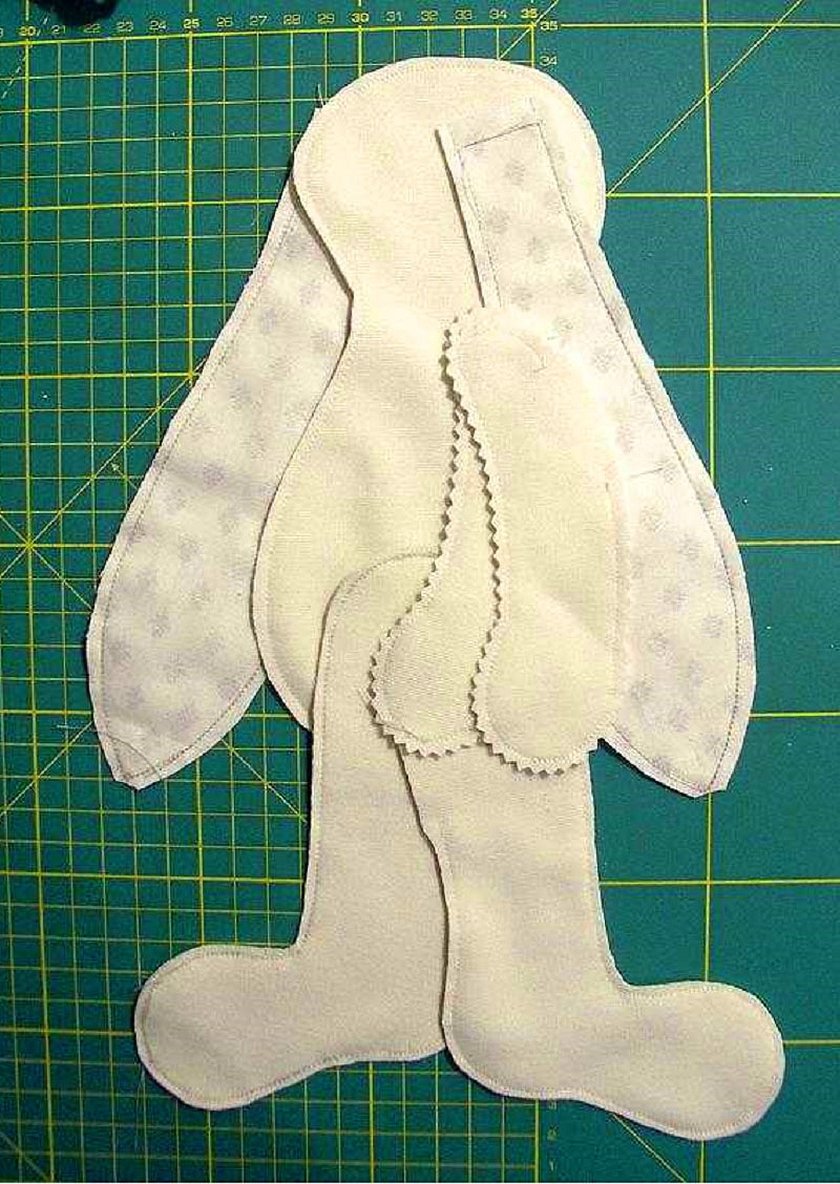
- Fold the fabric in half with the right sides facing inward and pin it together;
- Transfer the sketch of the details from cardboard or tracing paper to the canvas, tracing the details with chalk or pencil;
- Leave marks on the places that will not be sewn up for subsequent turning and filling of the toy;
- There is no need to cut or trim the pieces, because the stitching will be done on a single piece of fabric;
- Cut out the eyelet into a rectangle that should fit two templates of this part;
- Cut out two more ears from another fabric, for example, cotton, and cut out taking into account allowances of up to 7 mm;
- Place the two ear pieces together with the right sides facing inwards and pin them together. Then stitch along the outline;
- Cut out all remaining elements with seam allowances of 3 mm;
- Turn the toy inside out and stuff it with any filling material. The ears do not need to be stuffed, they should simply be ironed;
- Sew up the filling holes with a hidden stitch, embroider the antennae and muzzle with threads of a different color, attach the eyes;
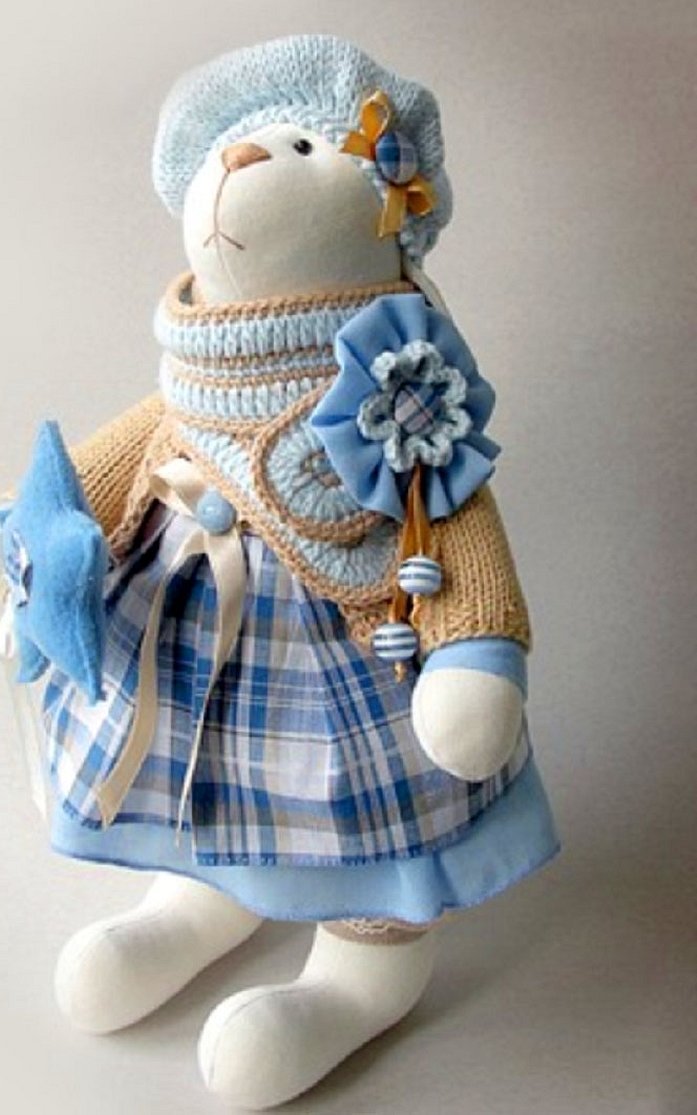
- Choose clothes for the bunny at your discretion.

It is advisable to make a minimum distance between the elements, as this greatly saves material. It is also advisable to cut out the parts with special zigzag scissors.
Easter Bunny
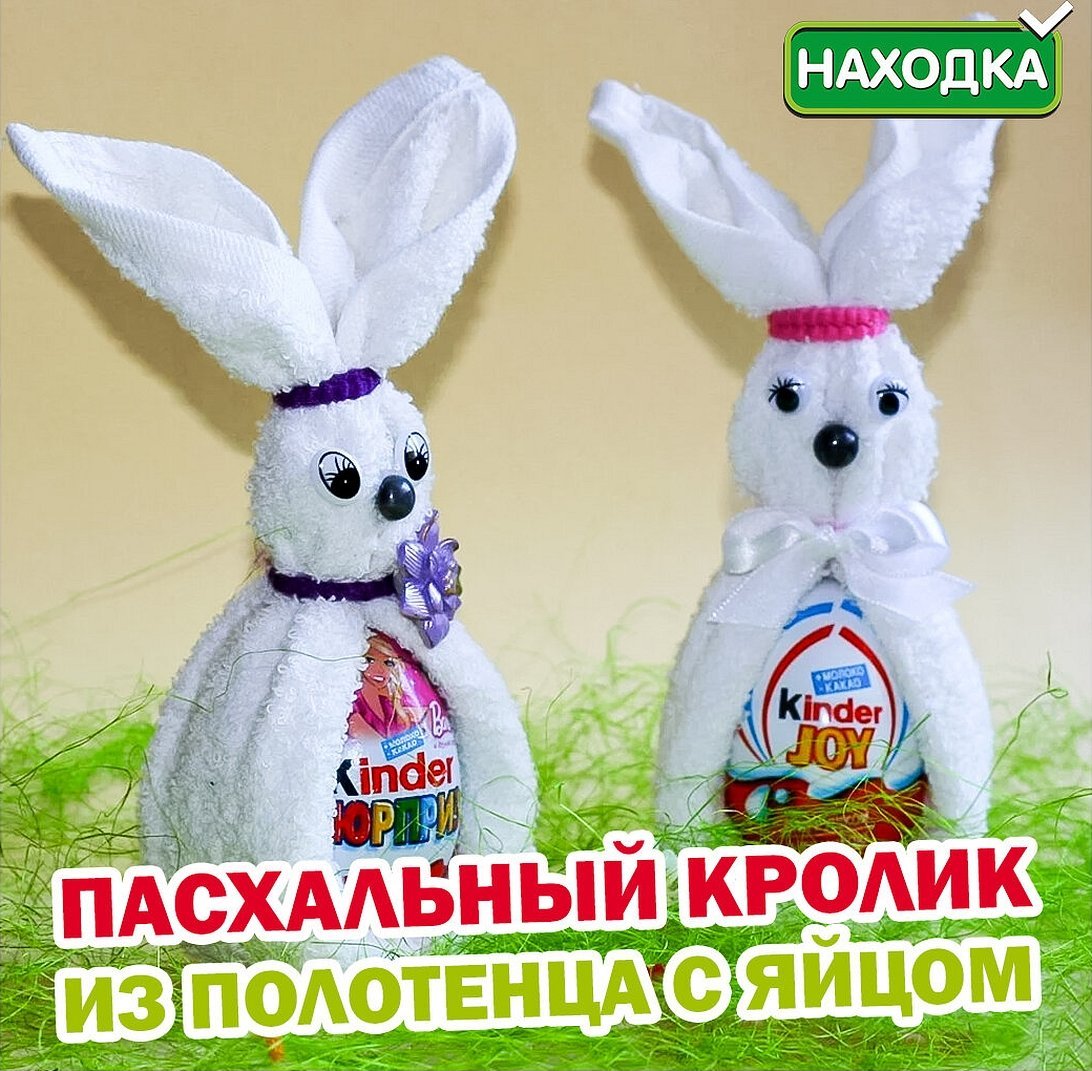
The Easter bunny is a symbol of the sacred holiday in many countries. It is expected no less than Santa Claus on New Year's. The bunny-egg will please not only children, but will also become a decoration of the festive table. There is only one question: how to sew such a bunny? This is below. You can make several small animals and give them to your relatives.
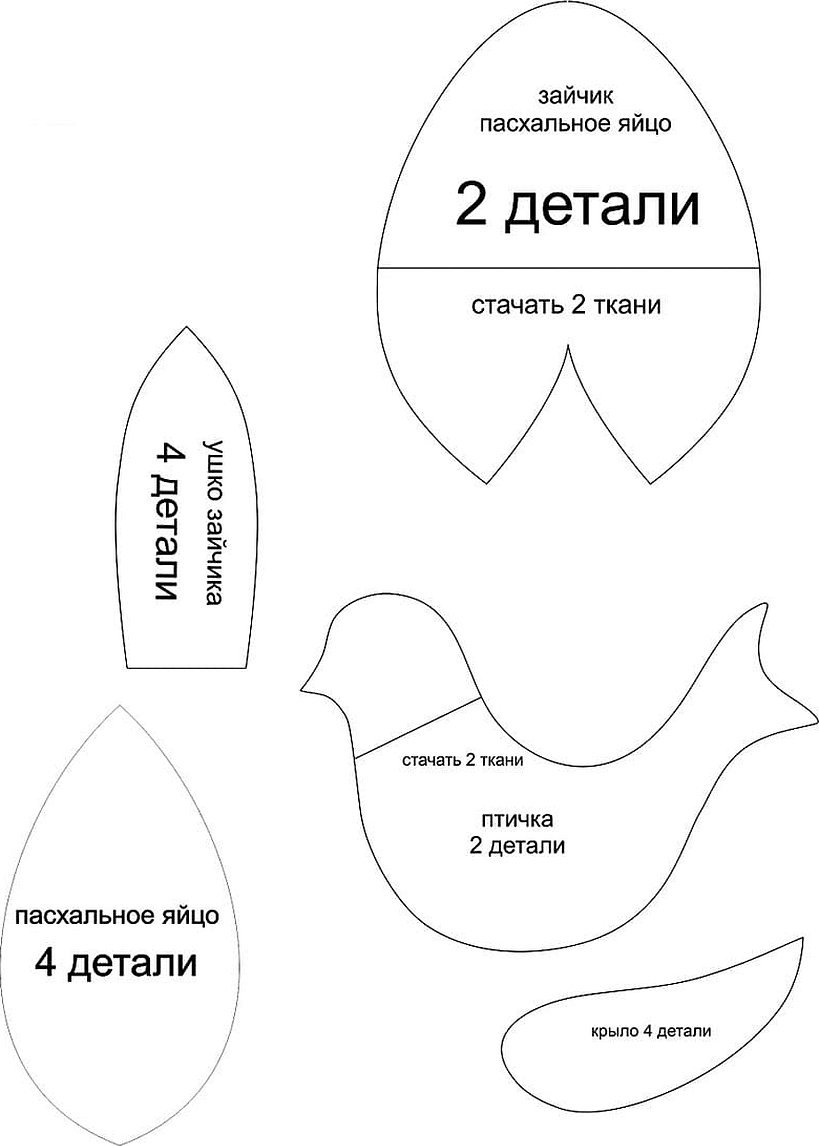
Sewing master class:
- Place the main and auxiliary fabrics face-to-face and transfer the patterns onto them using available means. Secure the fabrics with needles or pins;
- Sew the elements of the parts and leave some space for the seams. Again, it is better to cut with zigzag scissors;
- Sew the seams to create a rounded shape;
- Cut off excess allowances and turn the main piece inside out;
- Fill the rabbit's body with any material and sew it up. You should get an egg;
- Bend the ears inwards and fold them in half. Sew them to the top of the body;
- Draw or glue on eyes, attach or embroider a nose and muzzle with thread;
- Attach a base to the toy so that it can stand and decorate it with flowers if desired.
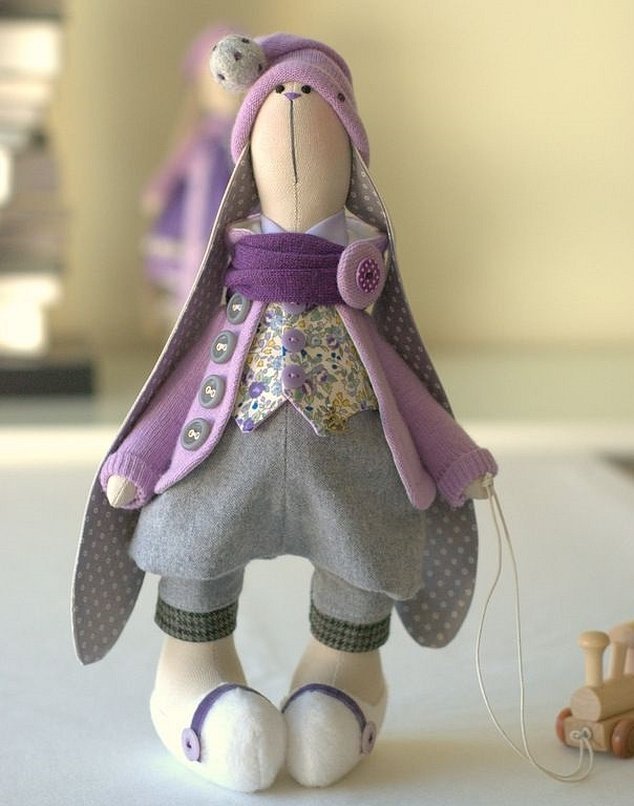
Simpleton with a bow
The simpleton pattern consists of three parts: the base, including the head and hind legs, front legs and ears. The size is approximately 30 cm excluding the ears. For work you will need the pattern shown in the photo below, material, threads, interlining, a sewing machine and accessories for it, decorative elements at your discretion.
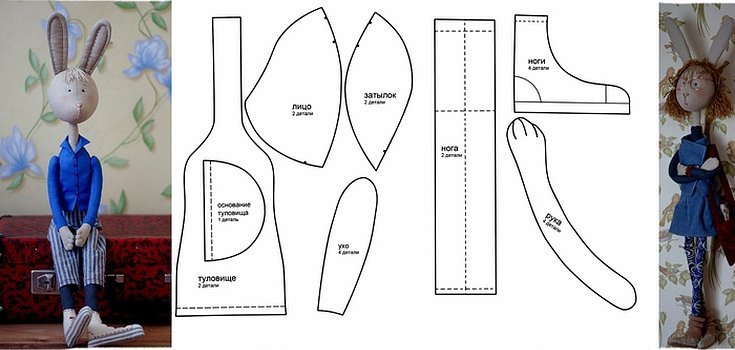
The work process is as follows:
- Transfer the patterns from paper to fabric. They include 2 body pieces, 4 paw pieces, 4 ear pieces and 1 tail piece;
- Pin the material together and cut out the pieces, taking into account seam allowances;
- Cut two strips of interlining for the ears and iron it from the back side through a damp cloth;
- Sew all the details on the machine and turn them inside out;
- Fill with any material and sew the holes with a blind stitch;
- Sew the front paws and ears to the body;
- Make eyes with beads or other means;
- Embroider the face and attach a ribbon bow to the toy.
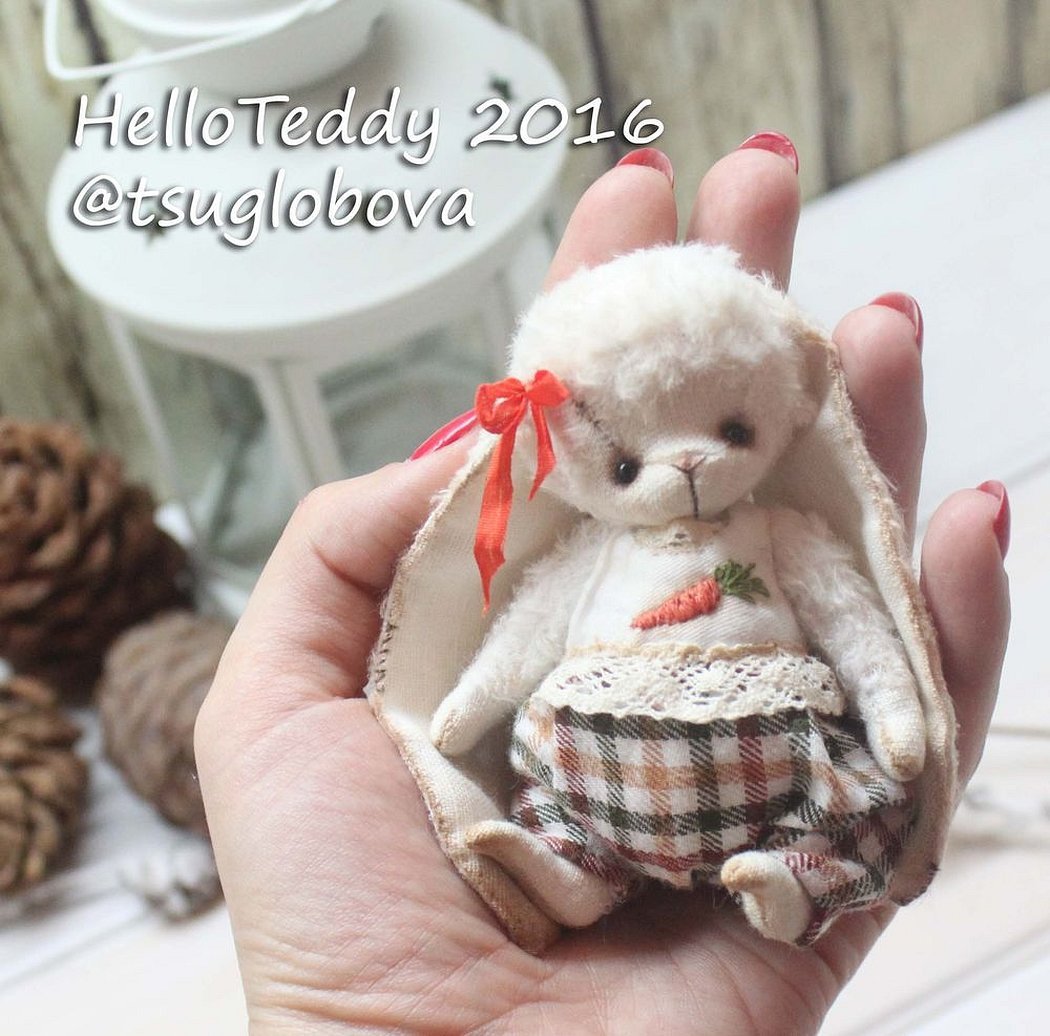
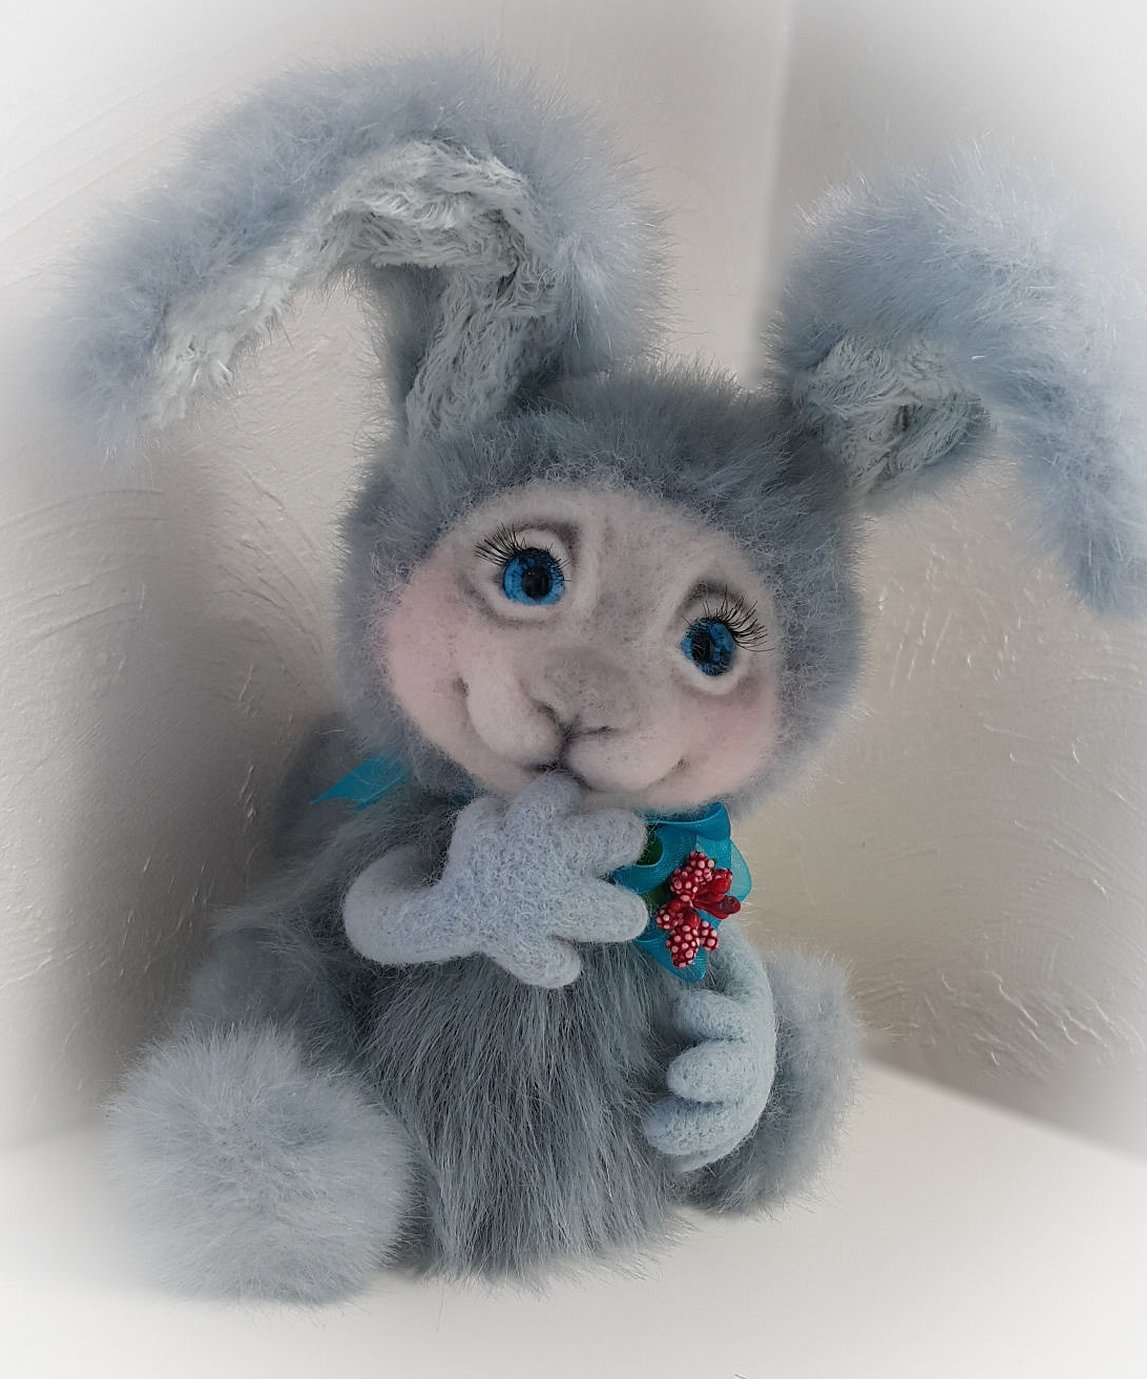
Teddy Cutie
The Teddy-style bunny differs from other products by the special structure of its ears and paws. A fluffy tail is also a mandatory attribute. The toy pattern is presented in several versions.
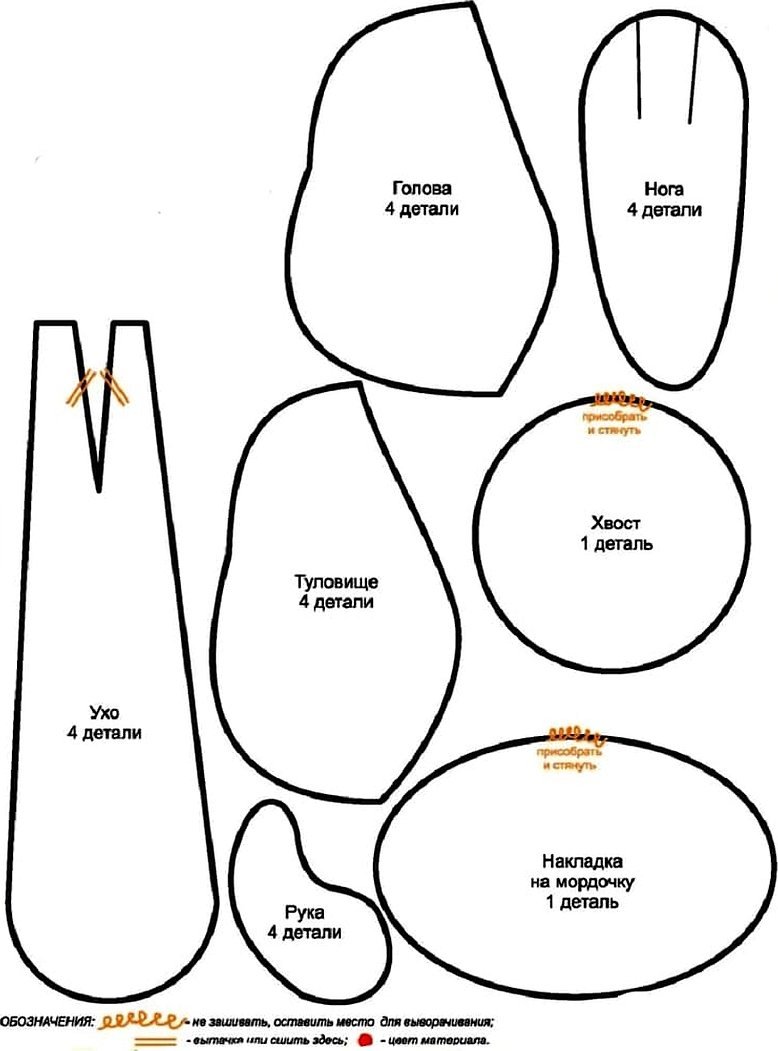
The general procedure is as follows:
- Transfer the drawing of all the parts onto the fabric and sew all the parts together one by one, turning them inside out;
- Sew all the finished darts and sew the leg pieces together. The pictures also show the places where the fabric should be fitted;
- Fill the pieces with stuffing and sew up the holes with a blind stitch;
- Assemble all the parts together.
Important! The back or front paws can be sewn on with buttons, but for this you should sew the edges with special invisible seams. This will hide the seams and give the toy additional mobility.
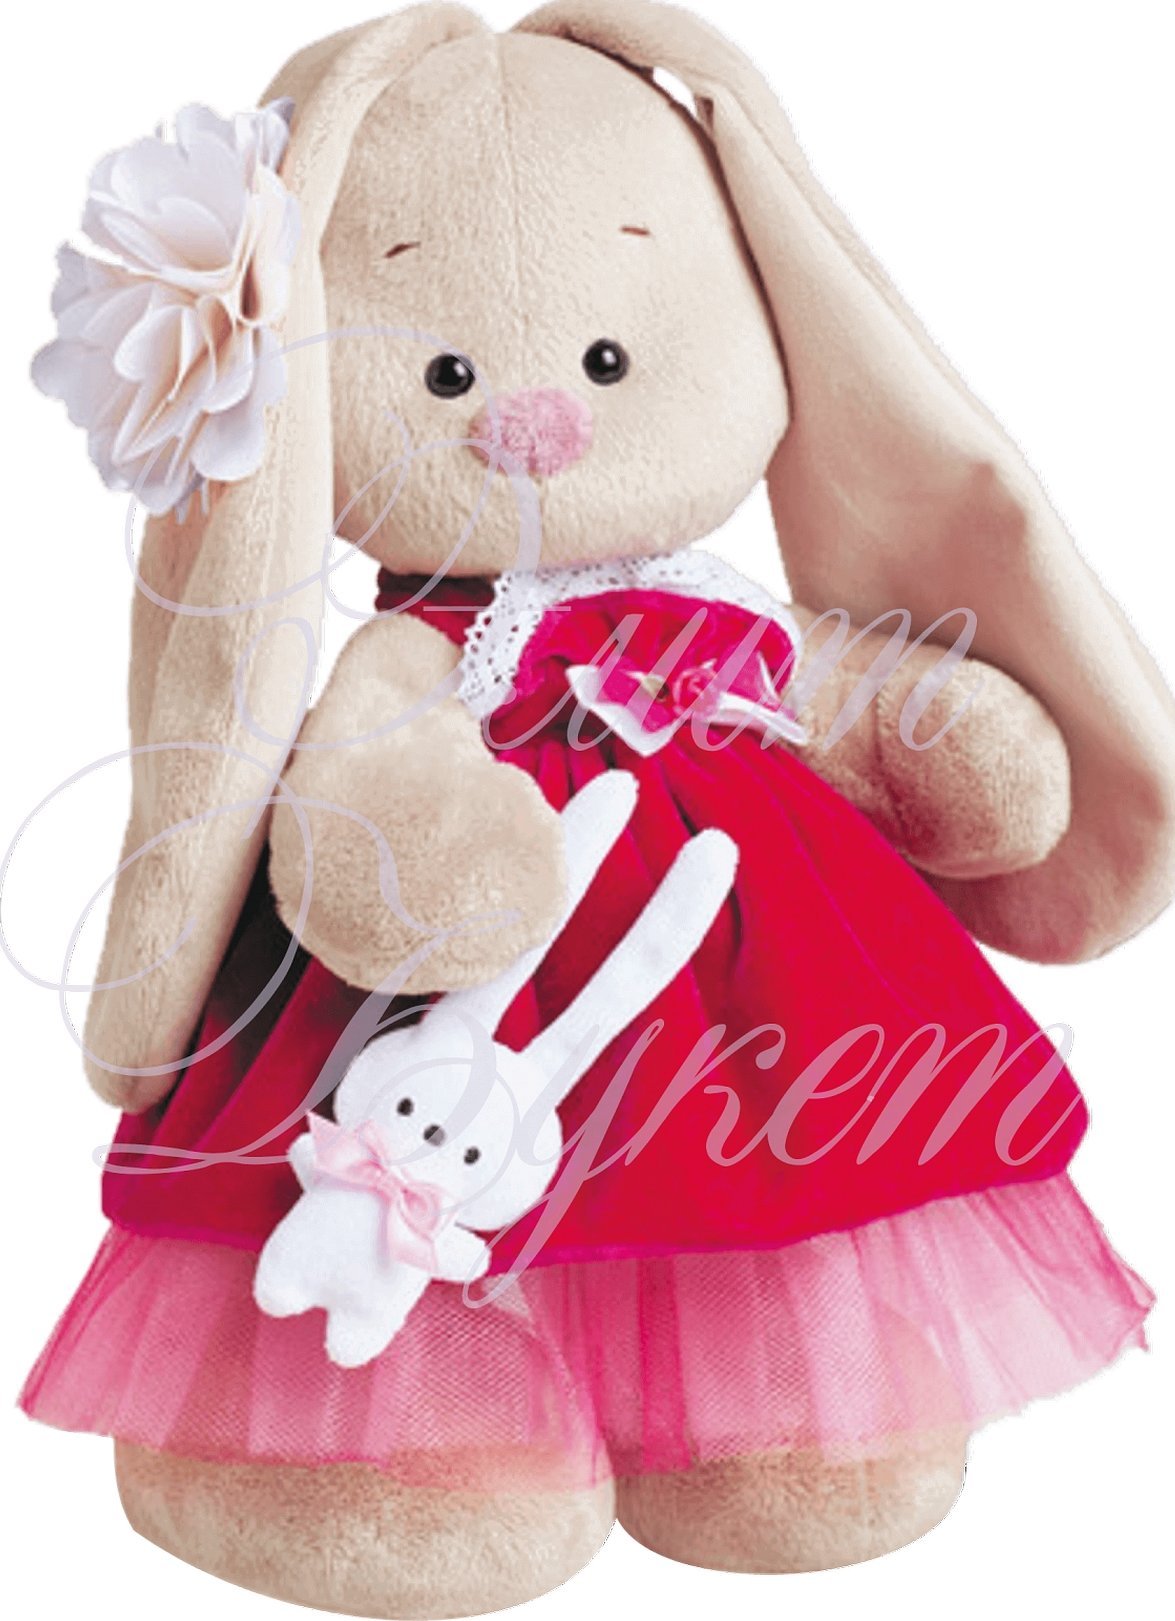
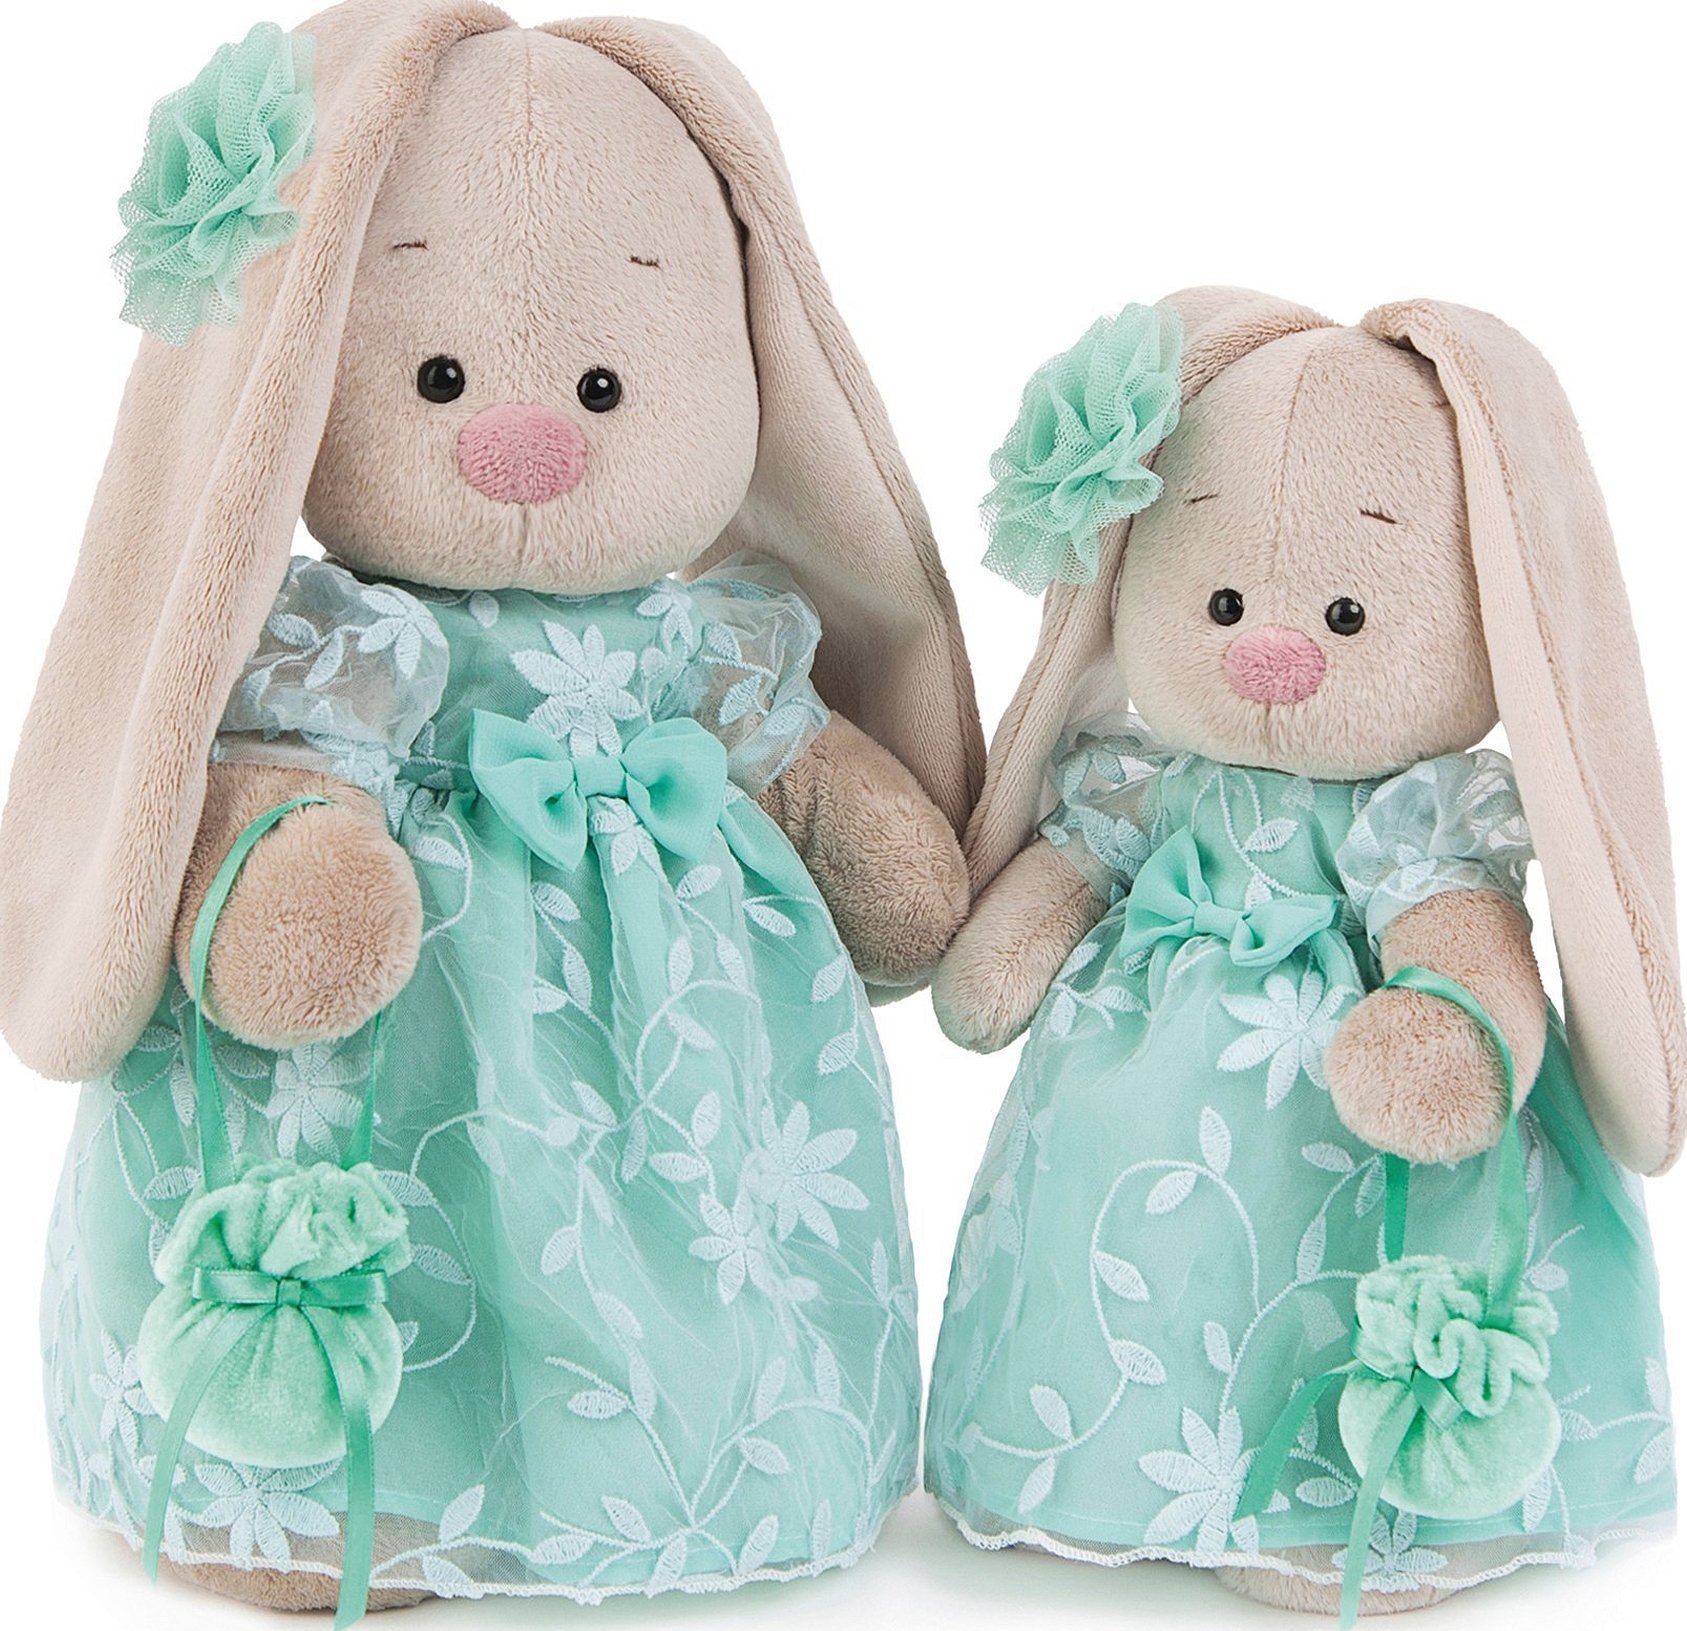
Long-eared beauties or sewing bunny Mi
This type of bunny has long ears. They should reach the length of its body. For its manufacture, it is recommended to use fur and cotton for the ears and feet. It is worth noting that there are no seam allowances in the sketches. You need to make them yourself. The arrows show the direction of the fur pile.

The step-by-step instructions for making it are as follows:
- Transfer the patterns onto a plus or other fabric, folded in half with the right sides facing inward;
- Secure the pieces with pins;
- Sew the elements and the cutout with a 5 mm allowance. For places through which the filling will be done, the allowance can be made 1 cm;
- Transfer the ear pattern onto cotton without seam allowances;
- Place the fabric on the fur material and secure with needles, then stitch, leaving an opening for turning;
- Make a tail from the same fur;
- Sew all the details of the legs and paws and turn them right side out;
- Sweep all the elements and fill with material.
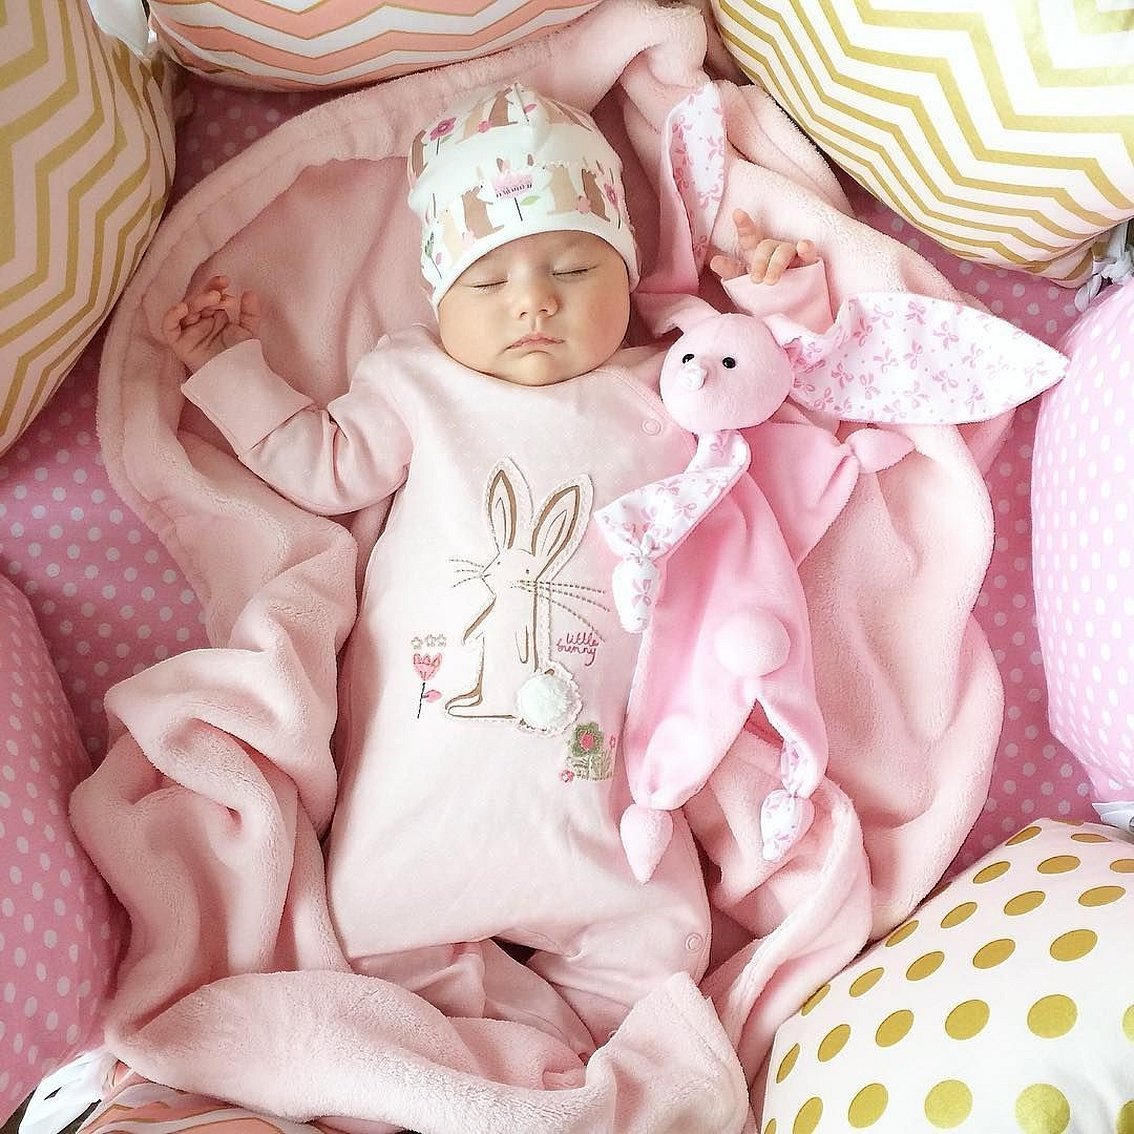
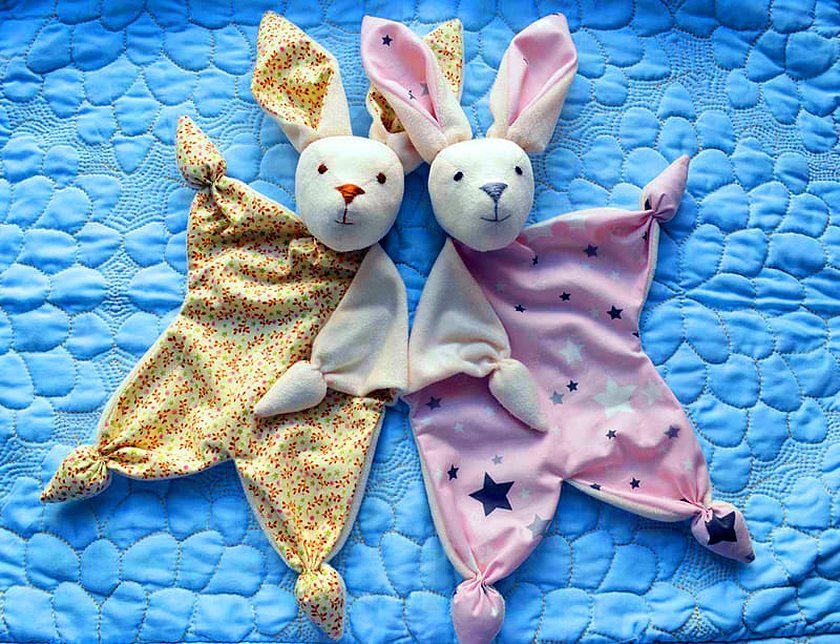
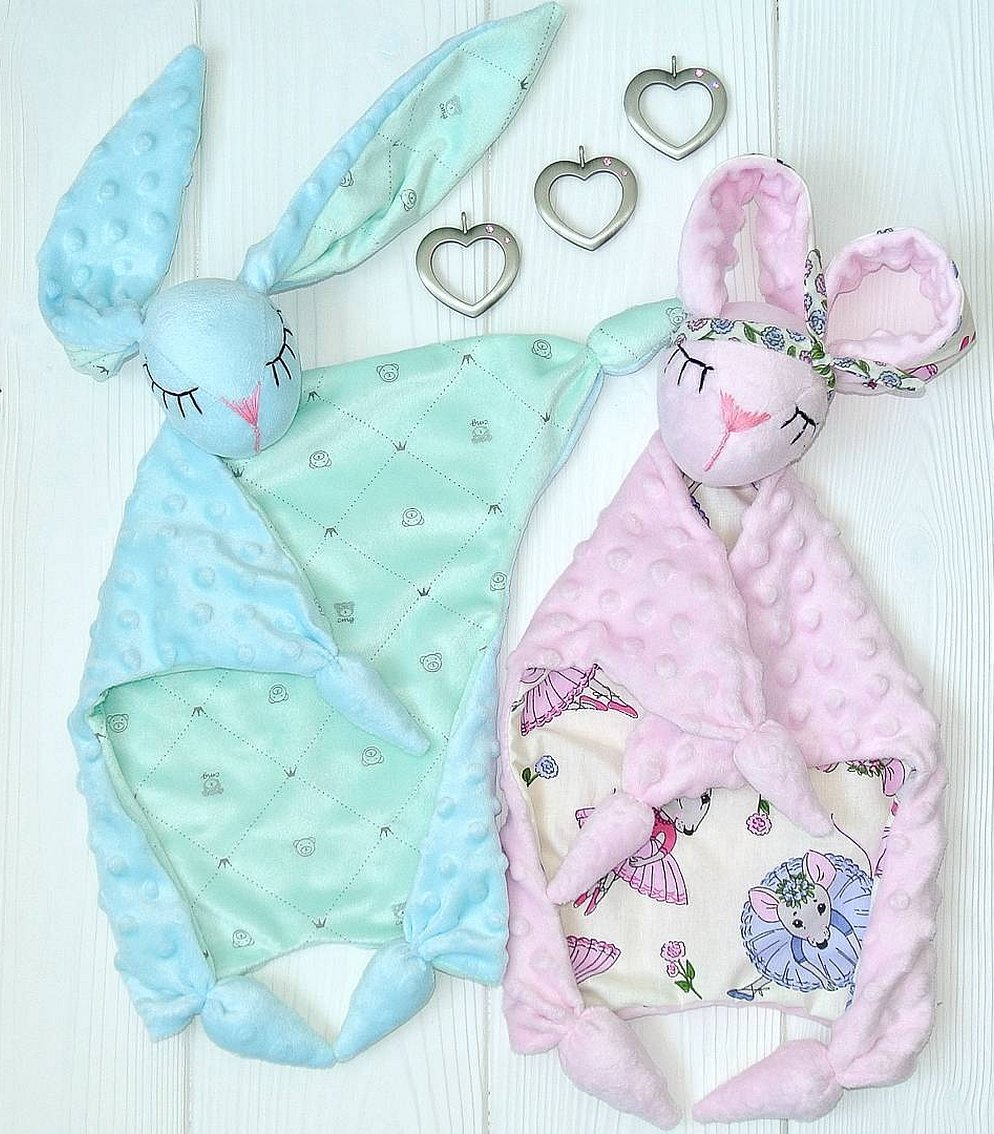
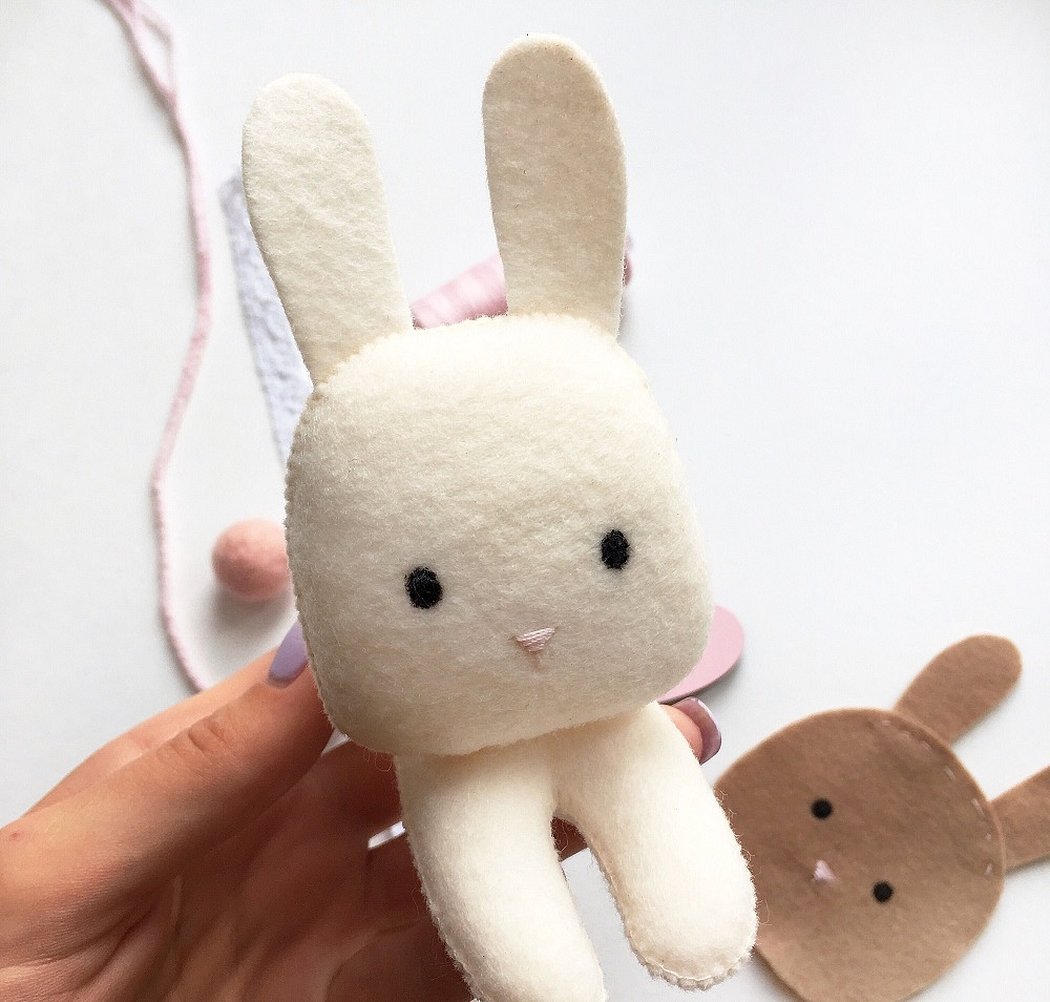
Sleepy Bunny: Pattern and Sewing
This type of bunny comforters has one feature: it allows the baby to fall asleep faster. This is one of the first toys of newborns and mothers specially keep them on their chest so that it begins to smell like mother and breast milk. After the feeding process, the child is put to sleep with a toy that will give him the familiar and gentle smell of mother and help him fall asleep in comfort.
The toy itself is a product in the form of a napkin with paws and a muzzle. Since the toy is made for a baby, it is necessary to use only high-quality natural cotton. This will give the toy hypoallergenicity and other useful properties.
Sewing is carried out in several stages:
- Print the provided pattern taking into account the 6 mm allowances and transfer it onto the fabric, which must be folded in half beforehand with the right side facing inward;
- Trim the seam allowances on the tail and ears closer to the main line;
- Turn the ears and tail inside out and straighten them with a thin stick. Iron the parts;
- Fold the head and stitch it on a sewing machine, remembering to leave an opening for stuffing. It is advisable to notch the seam allowances along the convex edge;
- Determine the places where the ears will be sewn in and cut them out;
- Fold the ears in half and insert them into the head. The fold should face the back of the head;
- The seam should face the center, and the folds of the ears should face each other;
- Sew a seam from one ear to the other using a sewing machine;
- Turn the head over and pull out the ears using a stick;
- Stuff the head, but not too much;
- Sew the bunny finally, embroider the eyes, nose and mouth;
- Cut the lower part of the body to insert the tail;
- Fill the tail with the desired material, insert it into the cut and stitch well;
- Sew the base around the neck and leave a hole to turn the part inside out and sew on the head;
- Trim the seam allowances and insert the head into the blank. Stitch the entire neck, remembering to leave 1 cm from the stuffing hole.
How to sew eyes
Many people wonder how to sew eyes on a knitted bunny. Regardless of the type of material, the eyes are sewn on in the usual way. Bunny eyes can be made from a variety of materials. If these are buttons, you can simply sew them on using the appropriate function on a sewing machine or do it yourself. Another method involves ready-made eyes that can simply be glued to the fabric in the right places. Most of them already have an adhesive base. If you don’t have one, you will have to buy special glue.
If the toy is made for a child, it is important that it does not have any loose elements or buttons, because a rascal or a baby can tear them off and swallow them. Here it is recommended to sew on the eyes with regular threads or appliques.
How to sew ears
The ears need to be sewn onto the product during the manufacturing process. Each type of rabbit has its own methods of cutting, stitching and decorating the ears, its own shape and length. Most often, the ears are sewn on from the inside, after which the product is turned inside out together with the ears, which are straightened with a thin stick. After this, the toy is ready for stuffing.
The pattern of a hare is a simple and exciting process. Every beginner needlewoman can sew a hare with her own hands. A plush hare will become a true friend to children and will bring a lot of joy not only to the craftswoman, but also to little rascals.


