Many parents strive to instill a love of beauty in their children from an early age. Children's embroidery comes to the rescue, which develops imagination and improves visual memory. Today, there are many auxiliary patterns (for example, cross stitch "Baby") and special kits that allow children to learn to embroider in a short time.
Should and how to teach a child to cross stitch
Women who do needlework often wonder whether they should teach their child to embroider. Many children's specialists believe that such an activity will help the child in his development. Embroidery for children is considered a useful activity. It:
- promotes the development of fine motor skills;
- stimulates brain activity;
- helps develop speech;
- restores visual and muscle memory;
- instills in the child a sense of beauty;
- promotes the development of imagination;
- helps to navigate the color palette well.
It is not so easy to interest children in embroidery. To develop interest, it is necessary to offer children, even the smallest ones, patterns and embroidery schemes suitable for their age. Children should understand the drawings they will work on. You need to start with simple elements - circles, leaves, feathers. The child will easily complete such a task and will want to try his hand at more.
Important! You shouldn’t complicate the process from the first lesson and give your child complex patterns and designs.
Cross stitch for kids: options
It is worth starting with simple elements with several colors and simple details. The most suitable option for children is a collection of flowers:
- large roses. Option for girls. In the process you will need to use 1-2 active colors;
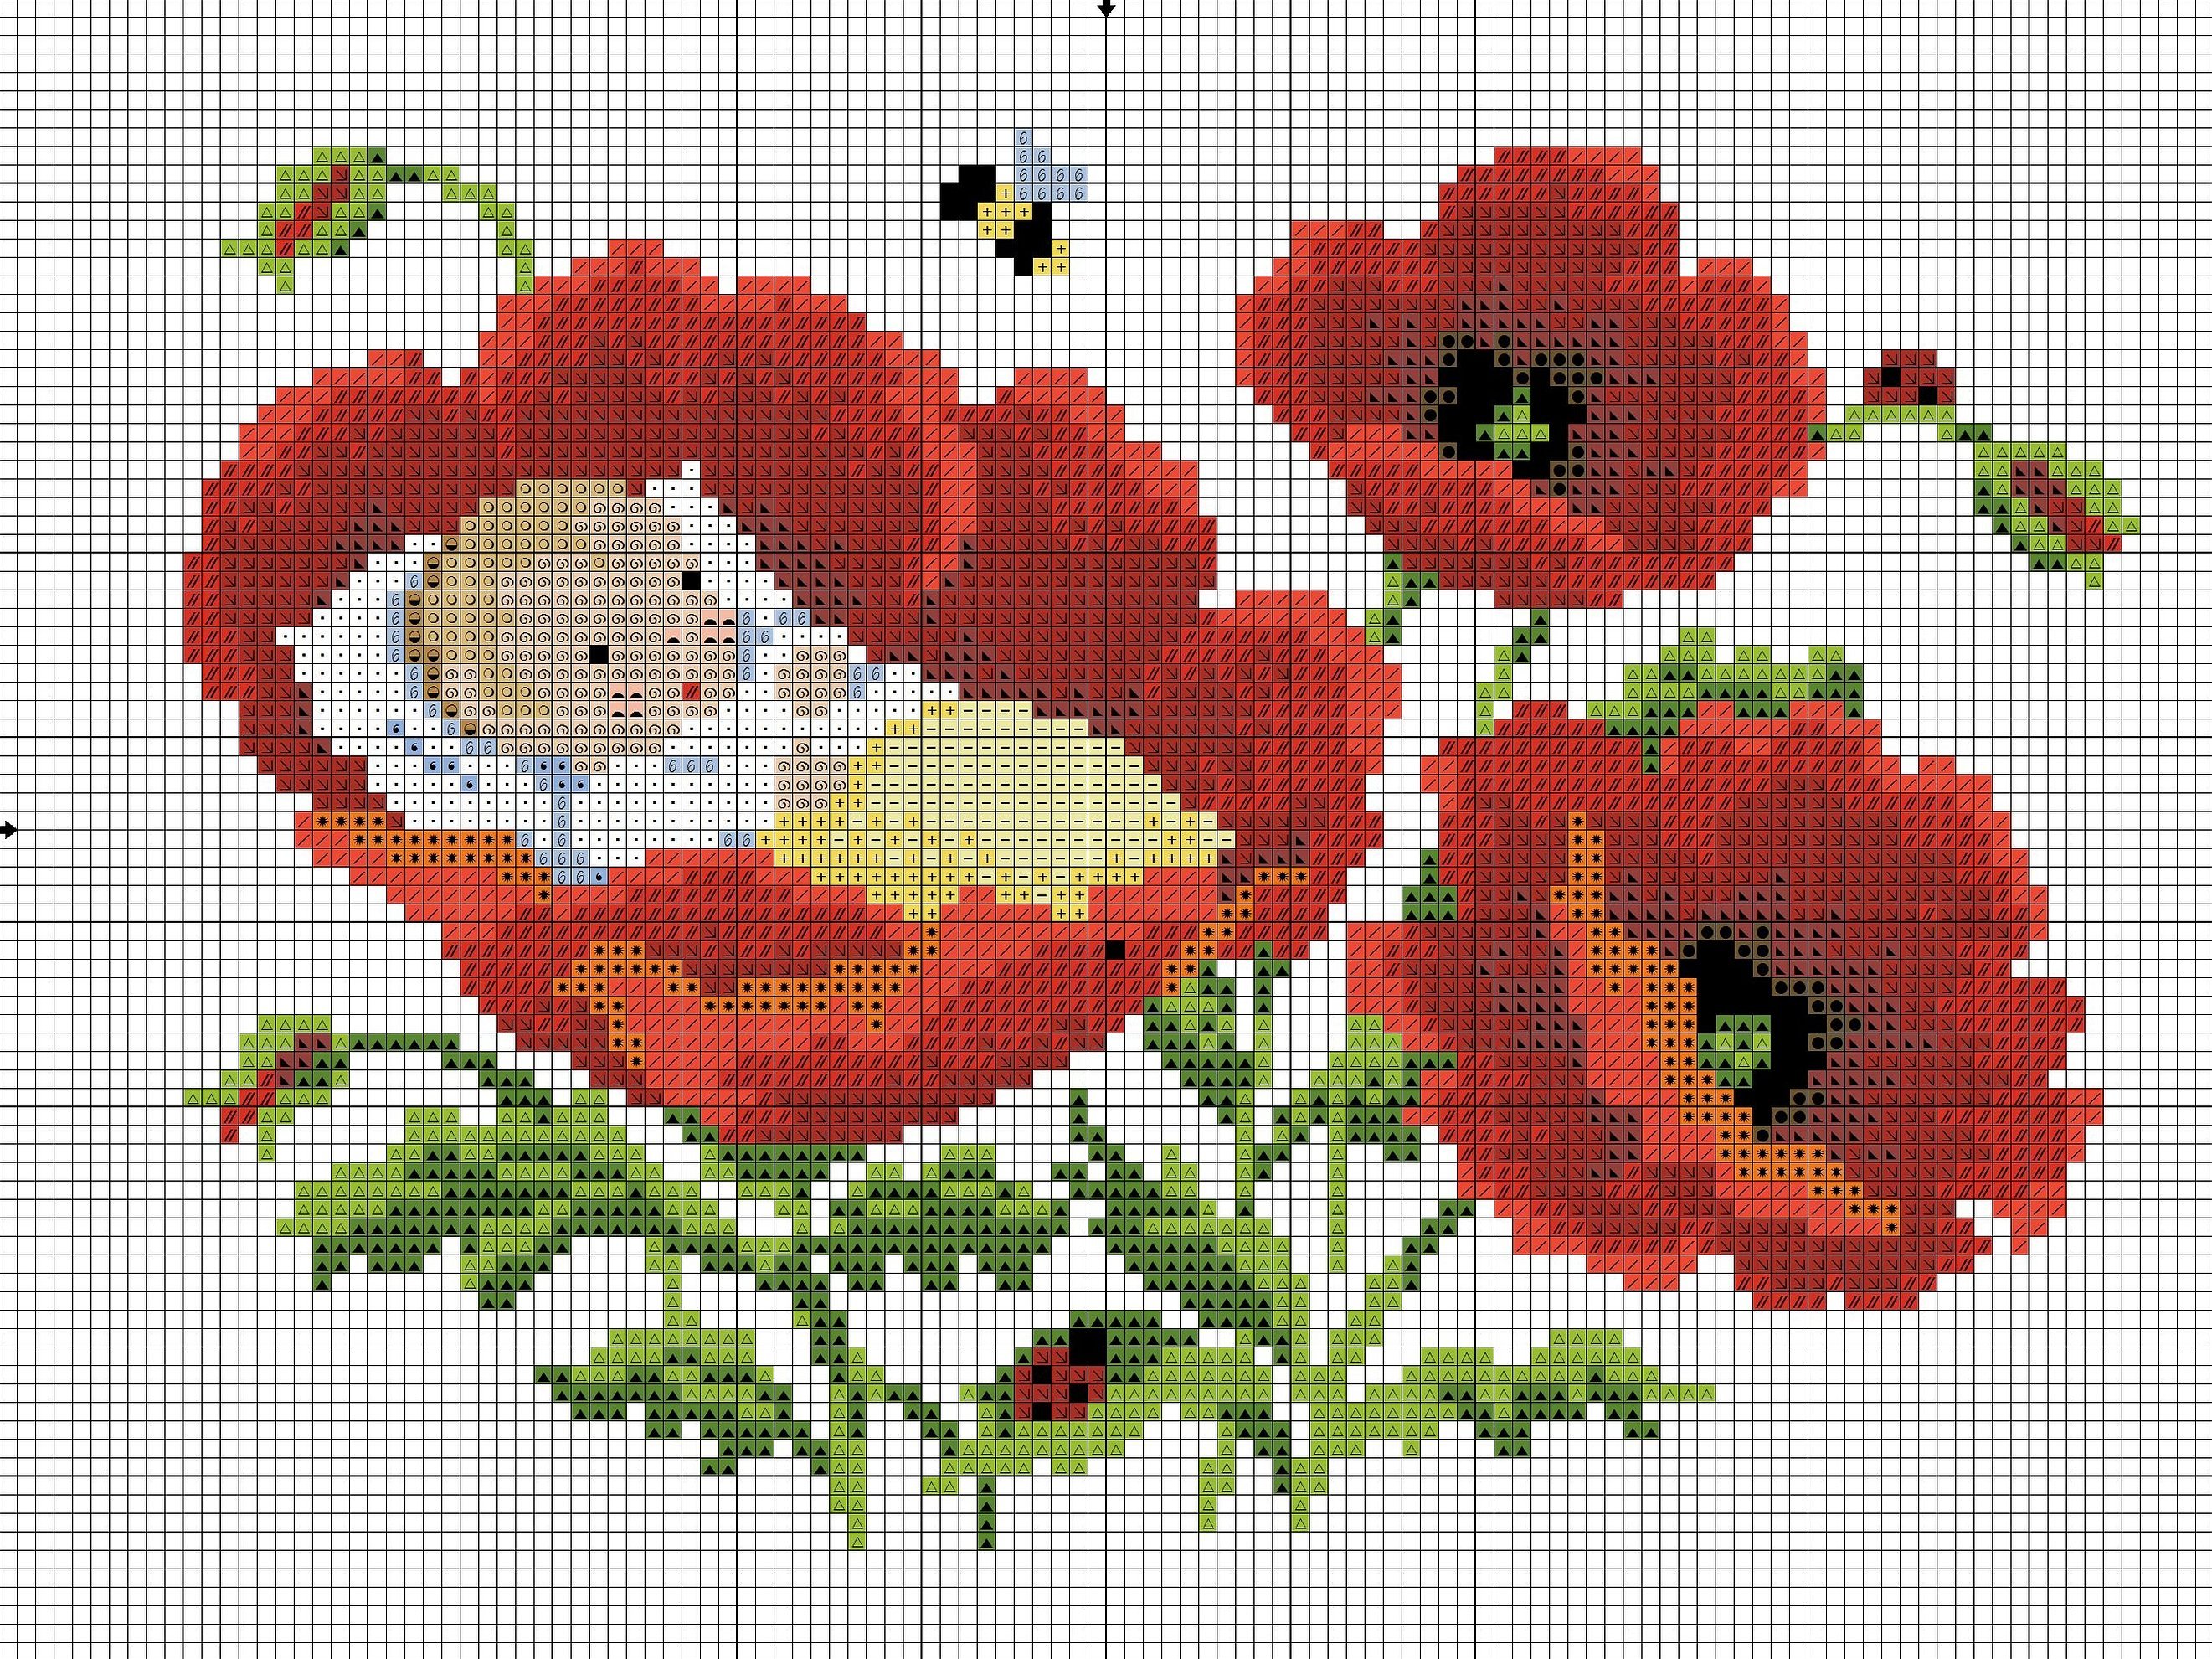
- poppies. Simple embroidery pattern using 2 colors. Both girls and boys can master this technique;
- peonies. A more complex version using 2-3 flowers.
Children often like to embroider animals with metrics. This option is used at a more advanced stage, when young needlewomen can master simple patterns and formats. Children can embroider cats, dogs, ducklings. A win-win and simple option is butterflies. They are easy to embroider, and the result can be hung on the wall in the children's room - embroidered butterflies will remind you of summer and sunny weather.
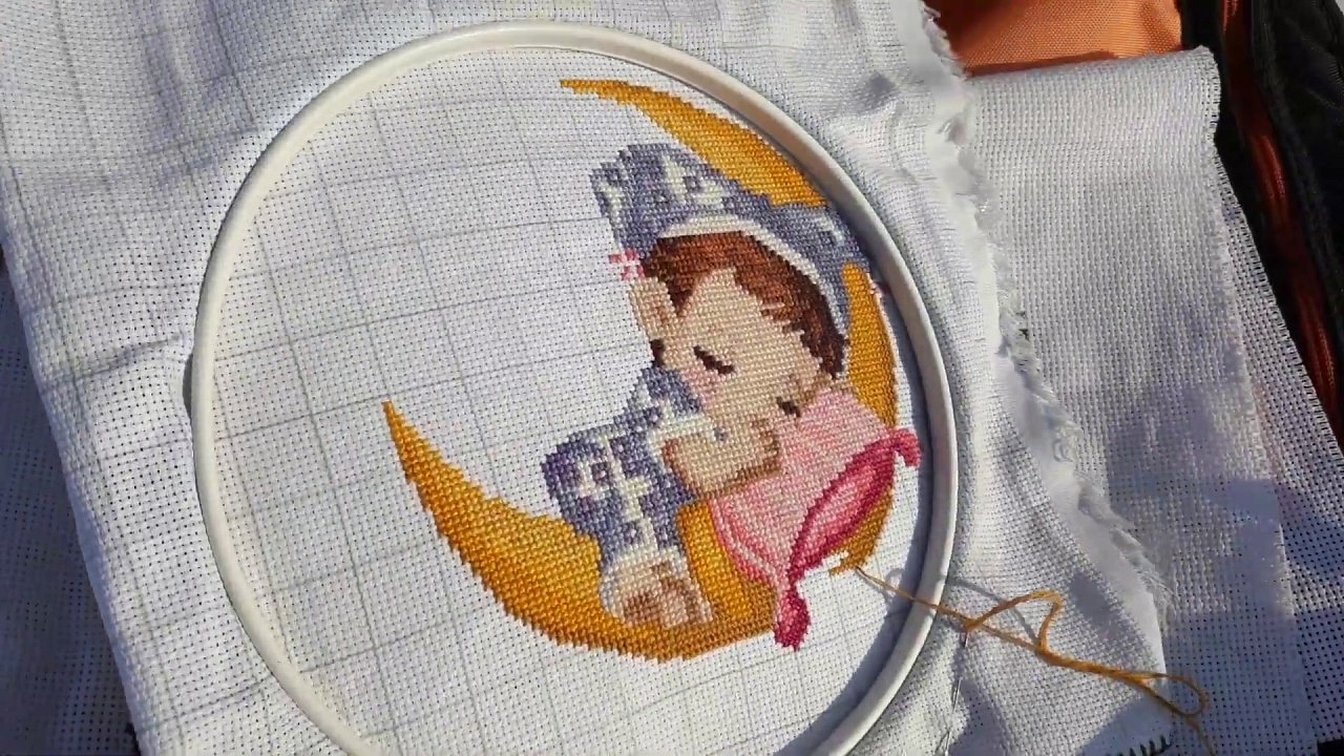
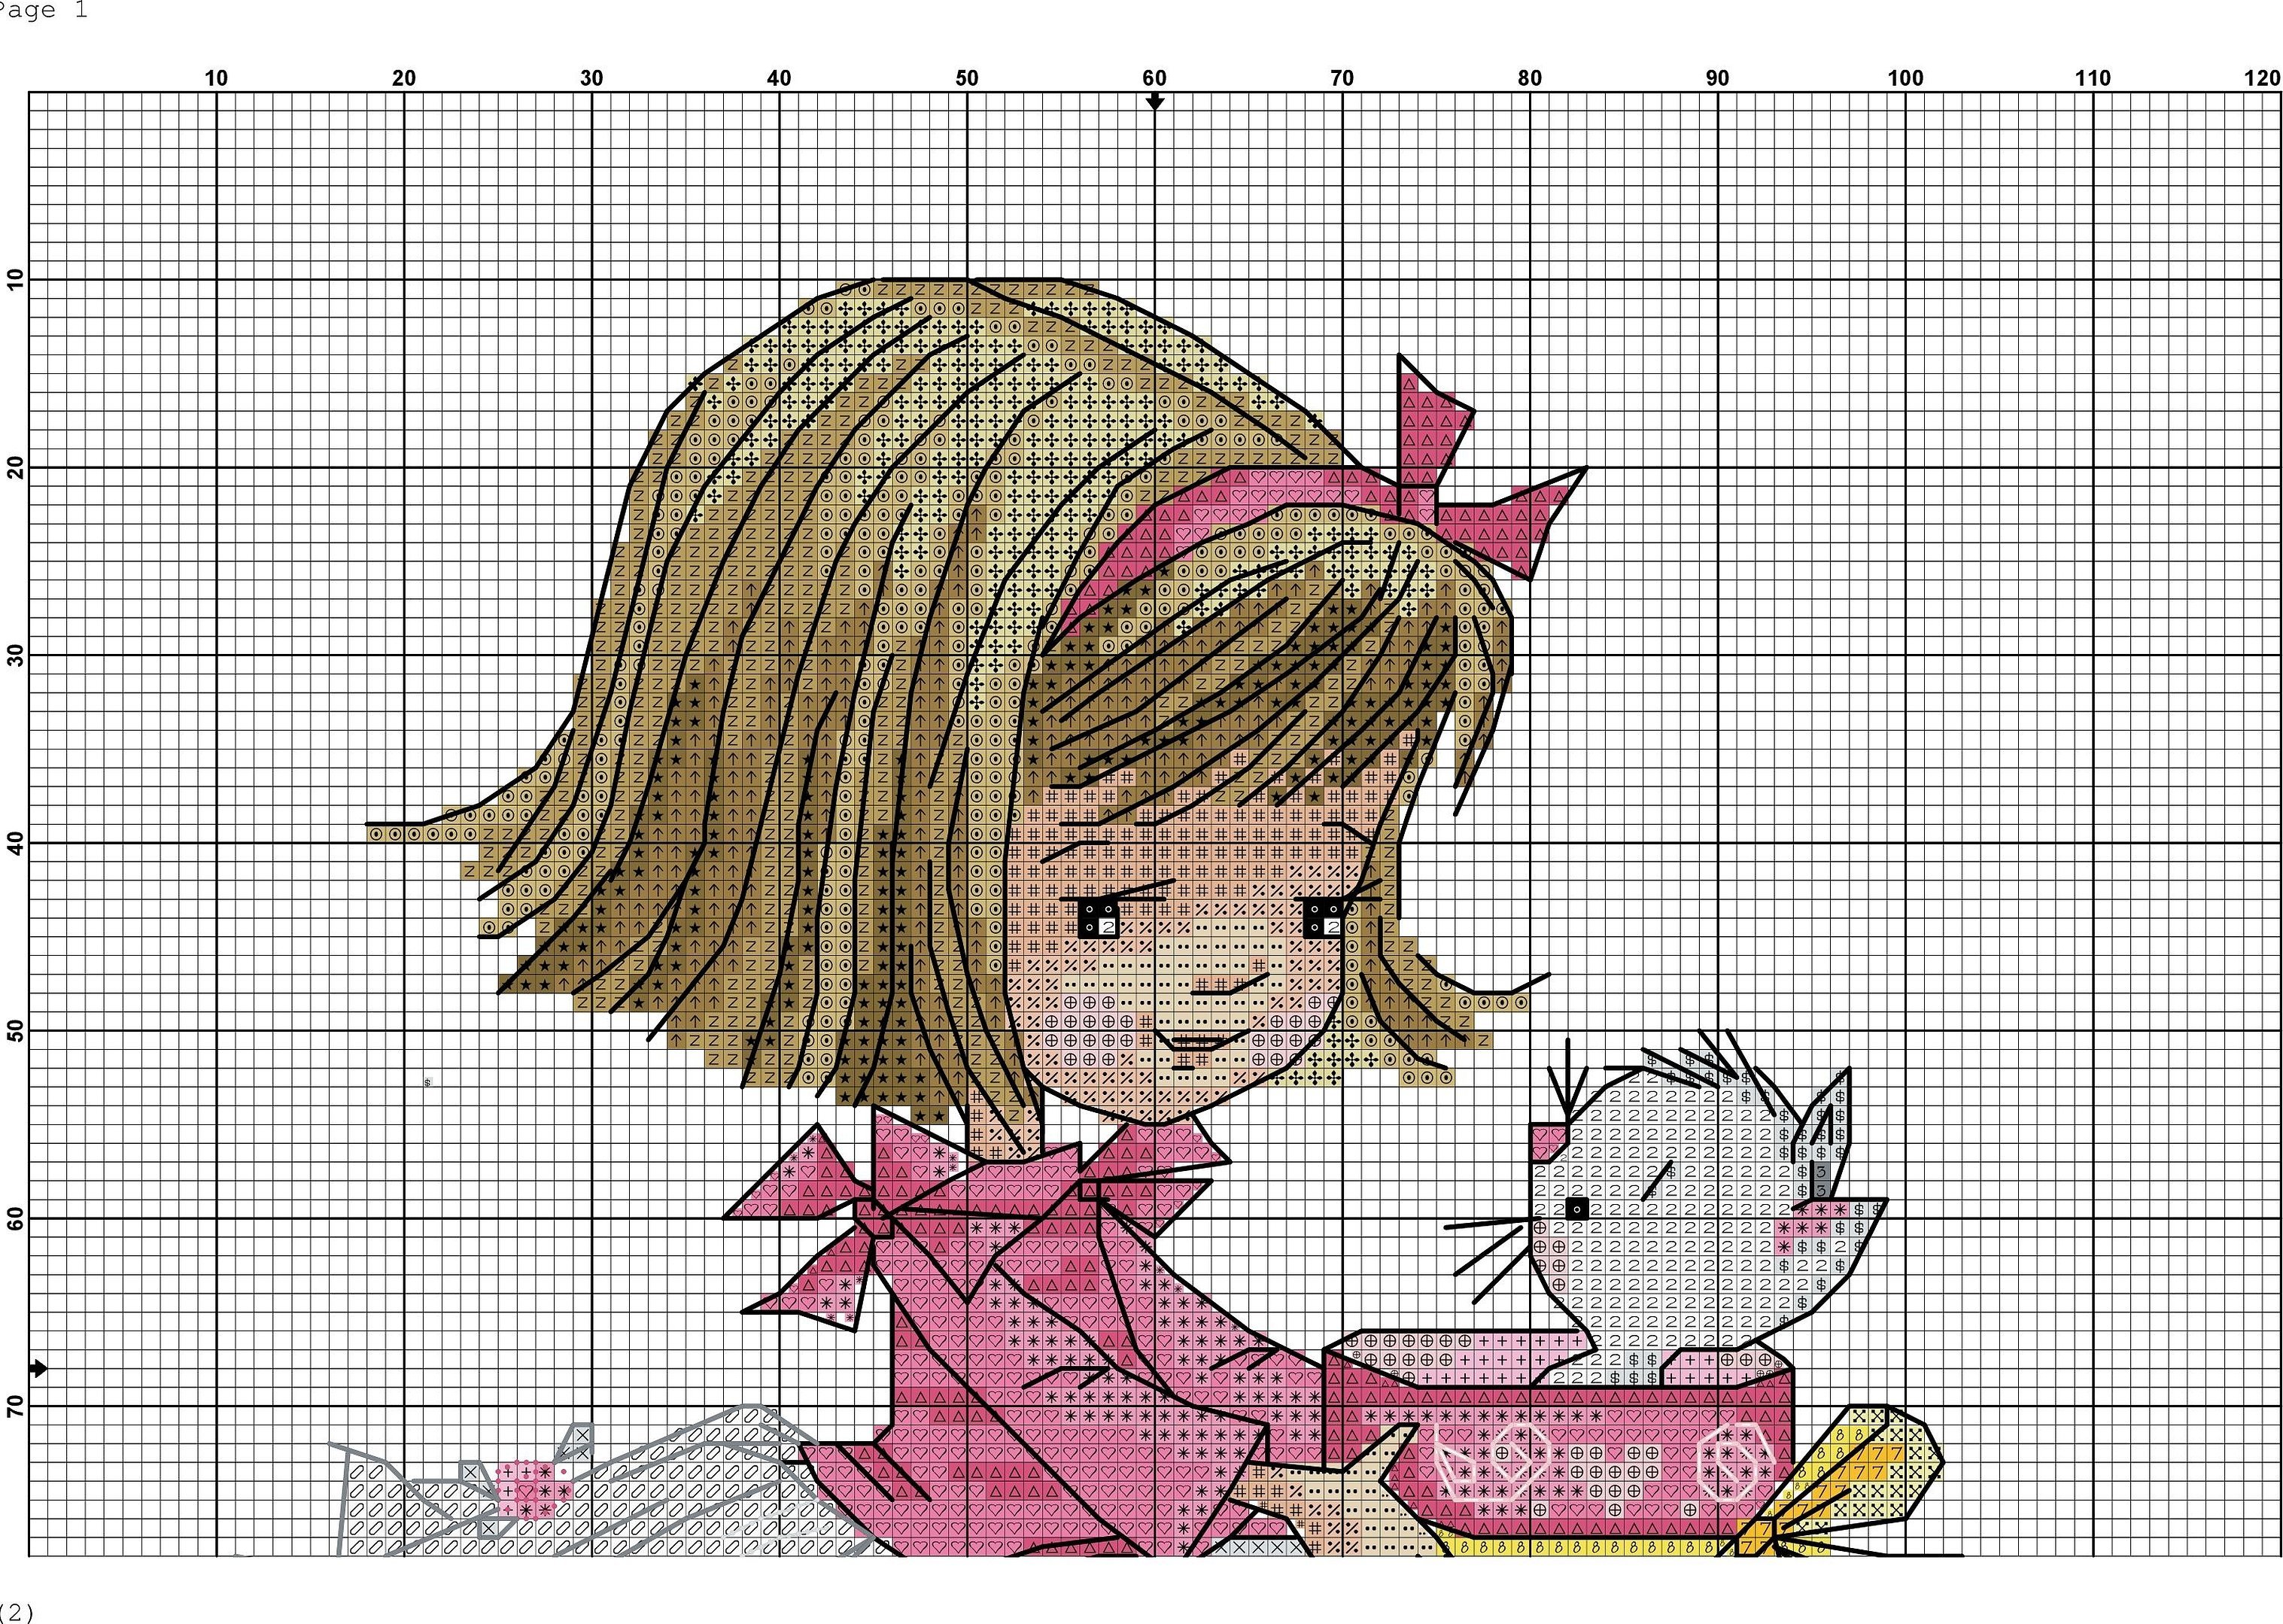
At the same time, the finished paintings will be able to stand and not deteriorate for a long time. Many girls like to embroider dolls or baby dolls. For this, there is embroidery "Baby" or "Dolls for happiness".
A child who has gone to first grade can embroider numbers and letters of the alphabet. This embroidery process will not only help develop fine motor skills of the hands, but also diversify home schooling. The child perceives information better when presented in an unusual and colorful style.
Tools for handicrafts
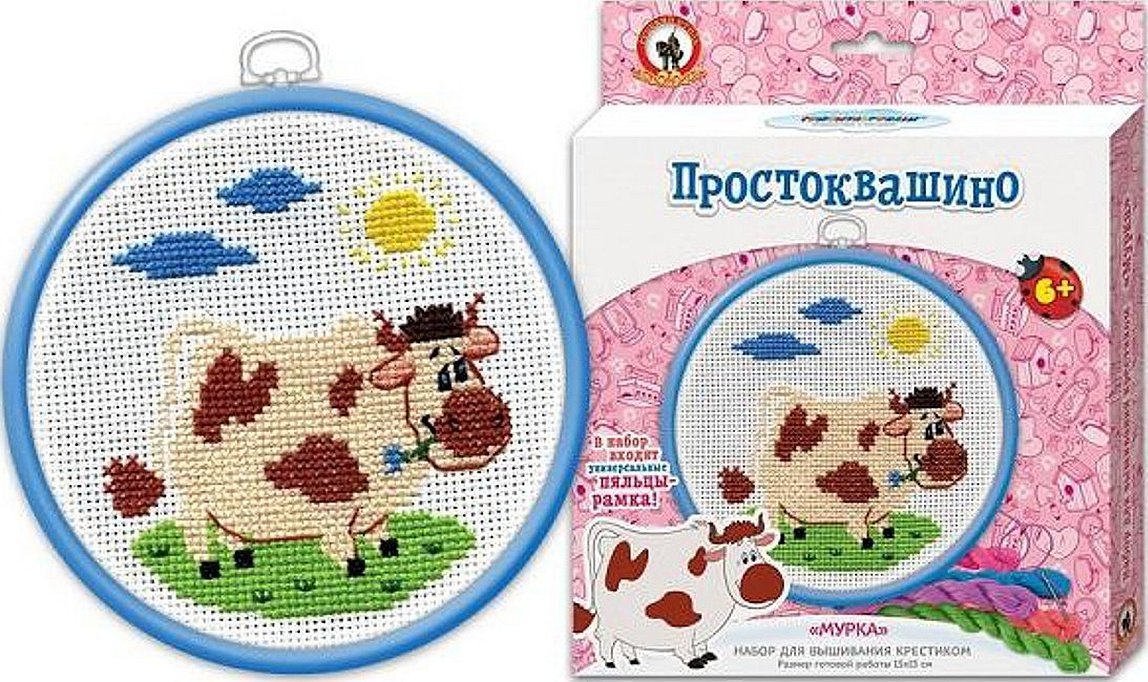
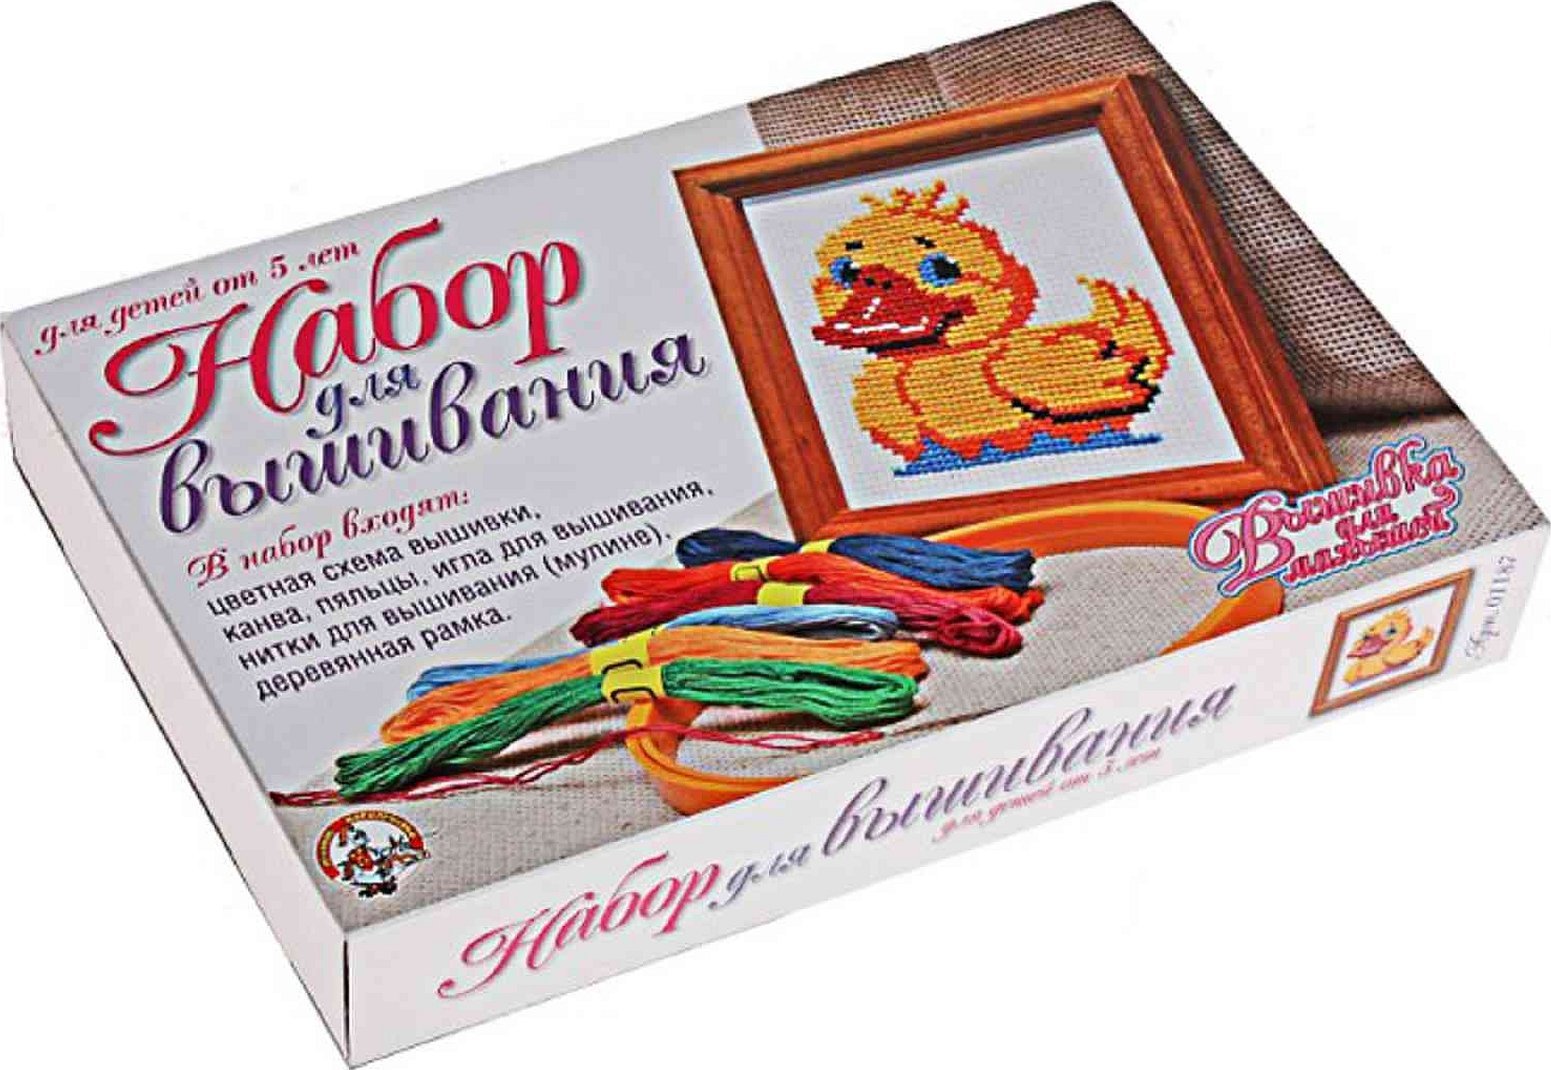
In order for a child to learn how to embroider his first pictures, he will need a children's set of tools. All devices must be safe for the health of young craftsmen. Parents can collect all the necessary tools themselves or buy ready-made sets.
Modern manufacturers offer a wide range of children's embroidery kits for different ages. They usually also contain special patterns for sewing patterns, hearts, flowers, animals. This makes the task much easier for parents. A standard children's embroidery kit includes the following tools:
- special fabric;
- cardboard;
- scheme for creating beautiful pictures;
- threads that are matched to the color of the pattern shown in the diagram;
- needles;
- a thimble that will help prevent finger injuries;
- operating instructions.
Important! If parents do not have a lot of free time to study all the details of sewing, they can read the general information in the instructions.
If parents choose all the necessary sewing tools themselves, they should rely on the following recommendations:
- The fabric for cross stitching should be thin. It is better to focus on materials such as calico or cotton. It is better to leave satin and silk for more complex embroidery;
- the threads must be silk or satin. Mouline threads are usually chosen. The buyer selects the thickness independently, based on the characteristics of the purchased fabric;
- The needles should match the thickness of the threads. For light fabrics, needles of size 4-8 are suitable.
For your information! Parents can buy a thimble and sharp scissors at any craft store.
How to prepare floss threads
To start cross stitching for beginners using different patterns for children, you need to prepare the floss.
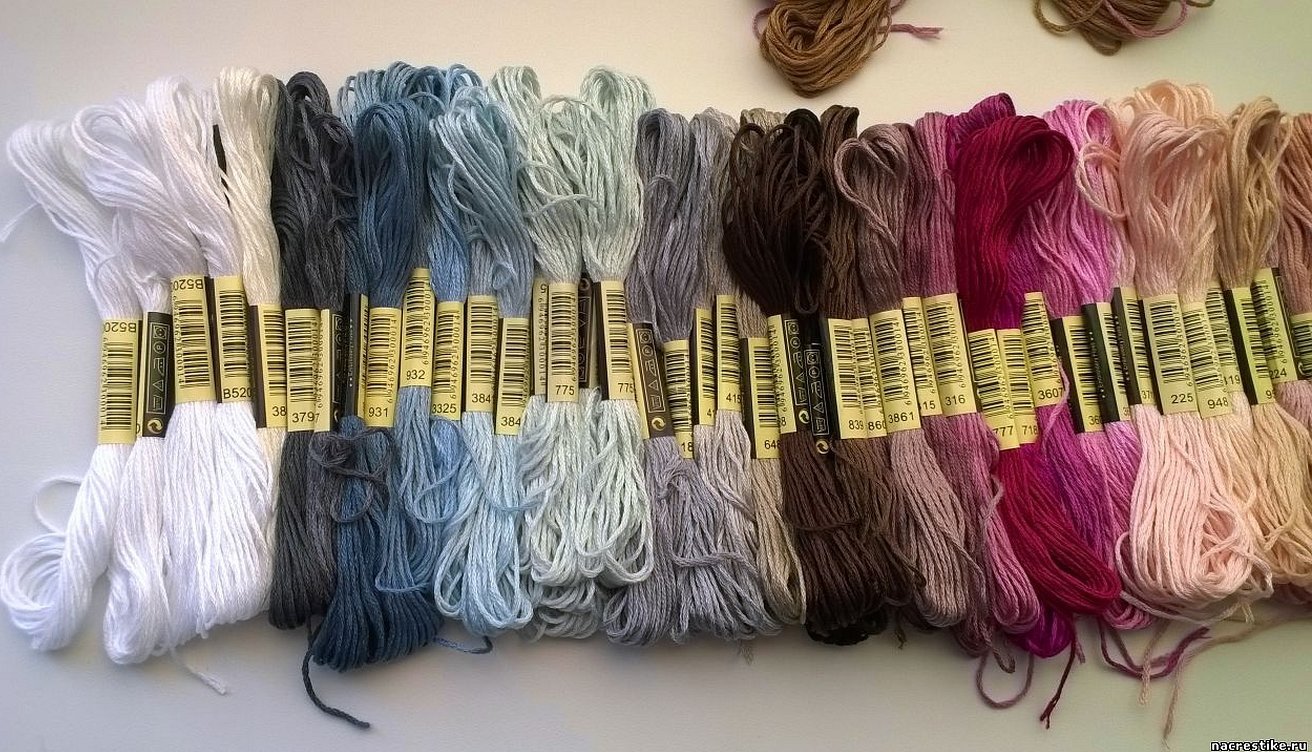
If parents have purchased a ready-made embroidery kit, the threads in it will already be disassembled and prepared. If the sewing equipment was purchased separately, it is worth untying the skeins and distributing the threads by color. After that, they will need to be fixed in a straightened state in a special organizer so that the child does not get confused during the sewing process.
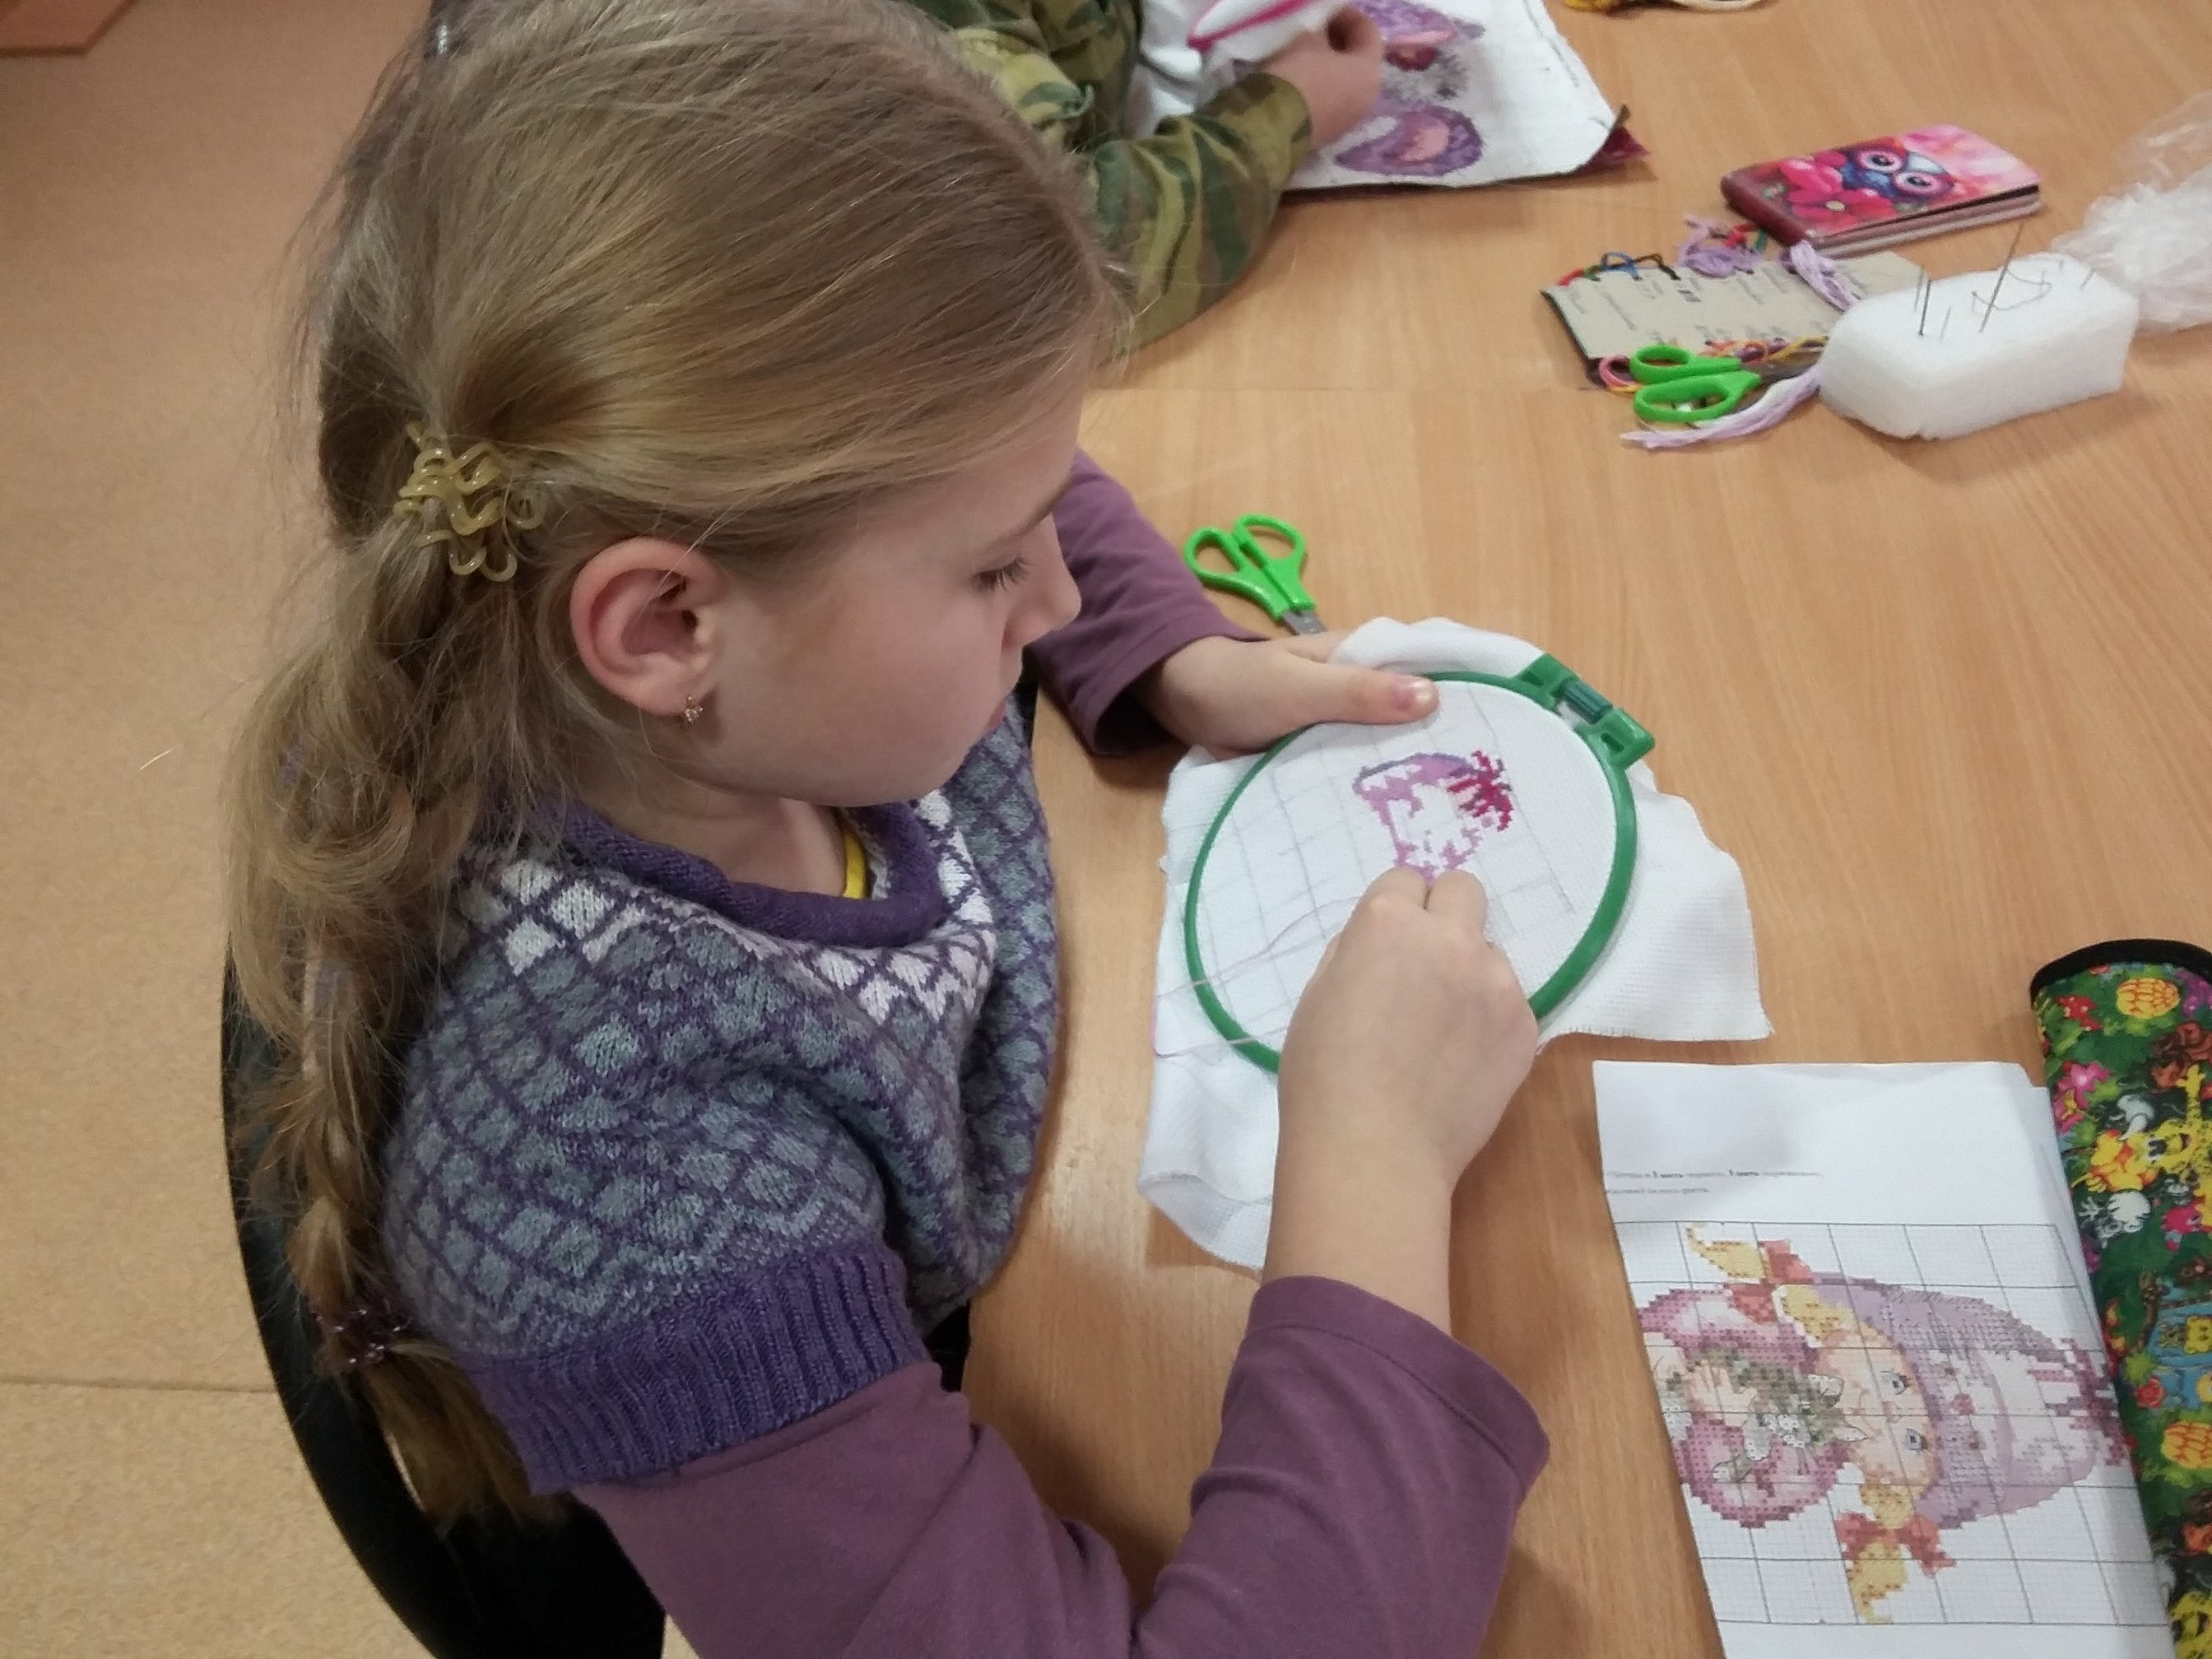
Cross stitch on squares
Cross stitching on squares is a great option for beginners. Such patterns are simple, which means that children will be able to create various images in a short time. Flowers, animals, and still lifes are most often embroidered on squares. In order for the drawing to be clear, beginners will need to regularly check the selected template. This will help to avoid redoing the work. In this case, the process begins from the marked middle. When a child needs to make a “cross” or “half-cross”, it is necessary to use 2 additions.
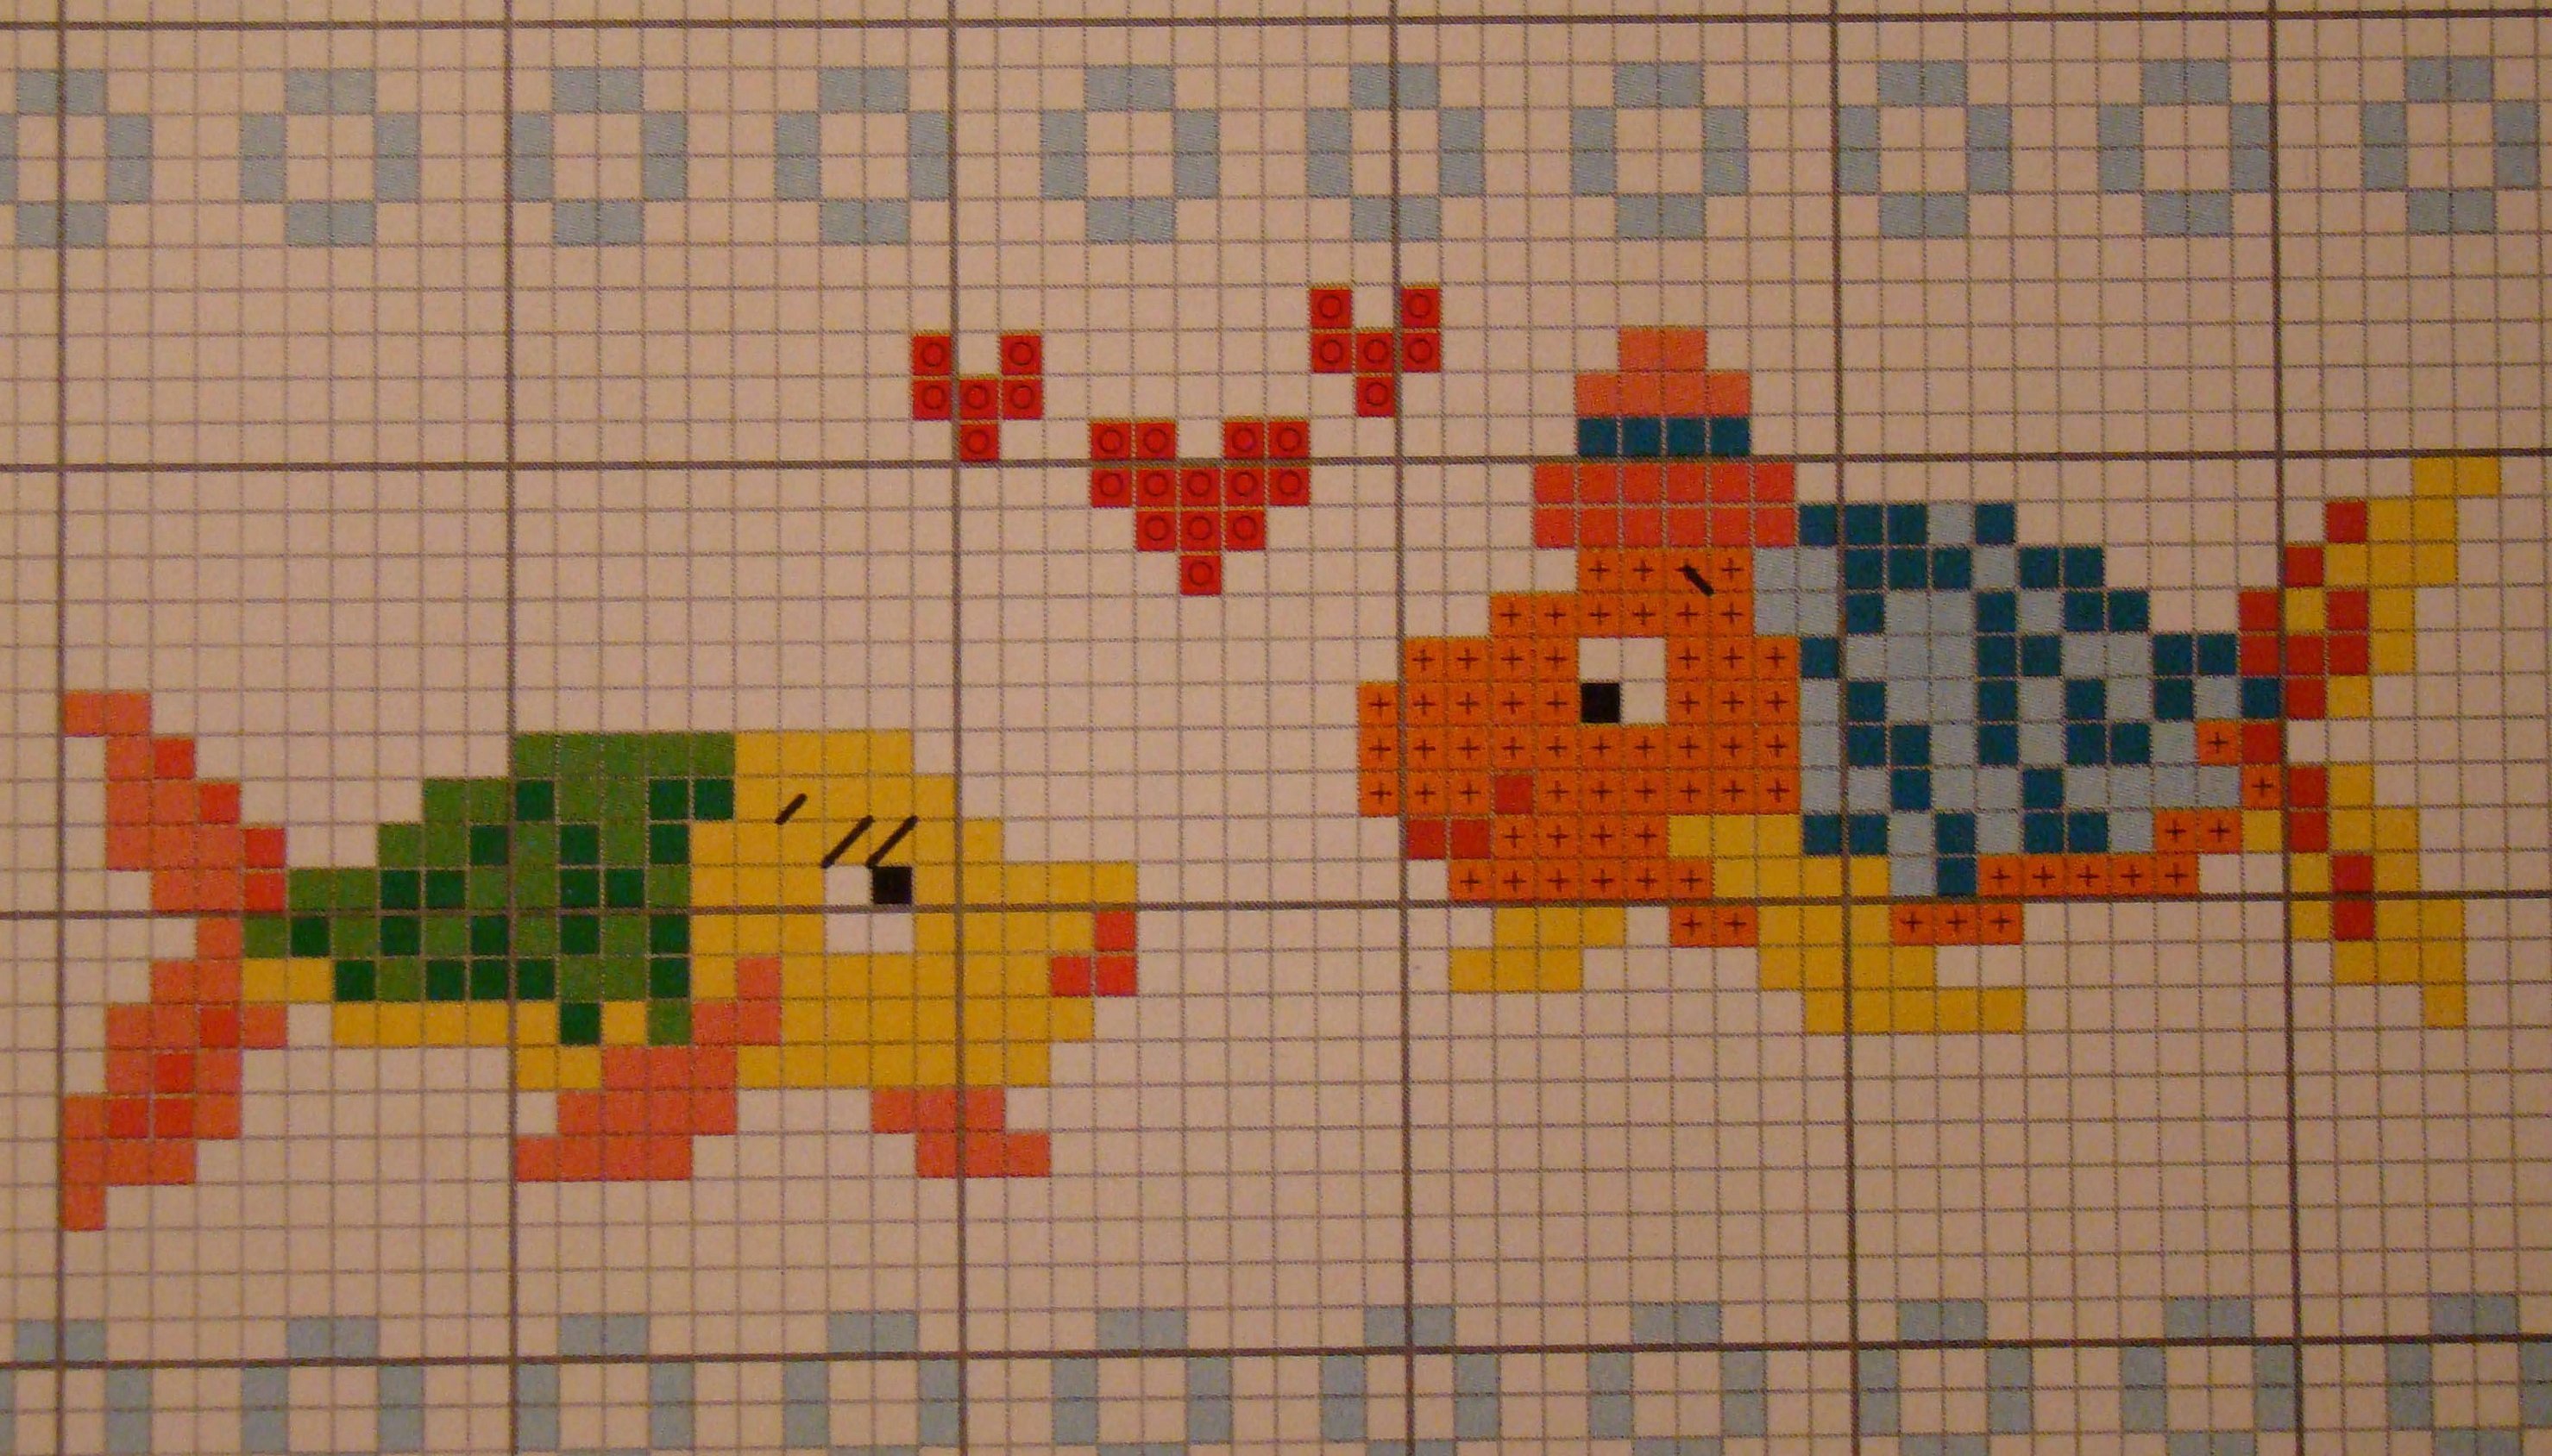
After the stitch is created, the needle is returned to its original position. During the embroidery process, parents should make sure that all the crosses made cover 2 threads on the material in width and height.
In this case, the embroidery base is selected to be of medium density. Parents should rely on materials such as linen or canvas. The needles are pointed, preferably equipped with a special "eye".
Important! Threads are chosen from silk or satin in any color category.
Easy Cross Stitch Patterns for Kids: Animals
There are many animal embroidery patterns for children on the Internet. Therefore, if parents were unable to purchase a ready-made kit with instructions, they can resort to popular sewing patterns from the Internet.
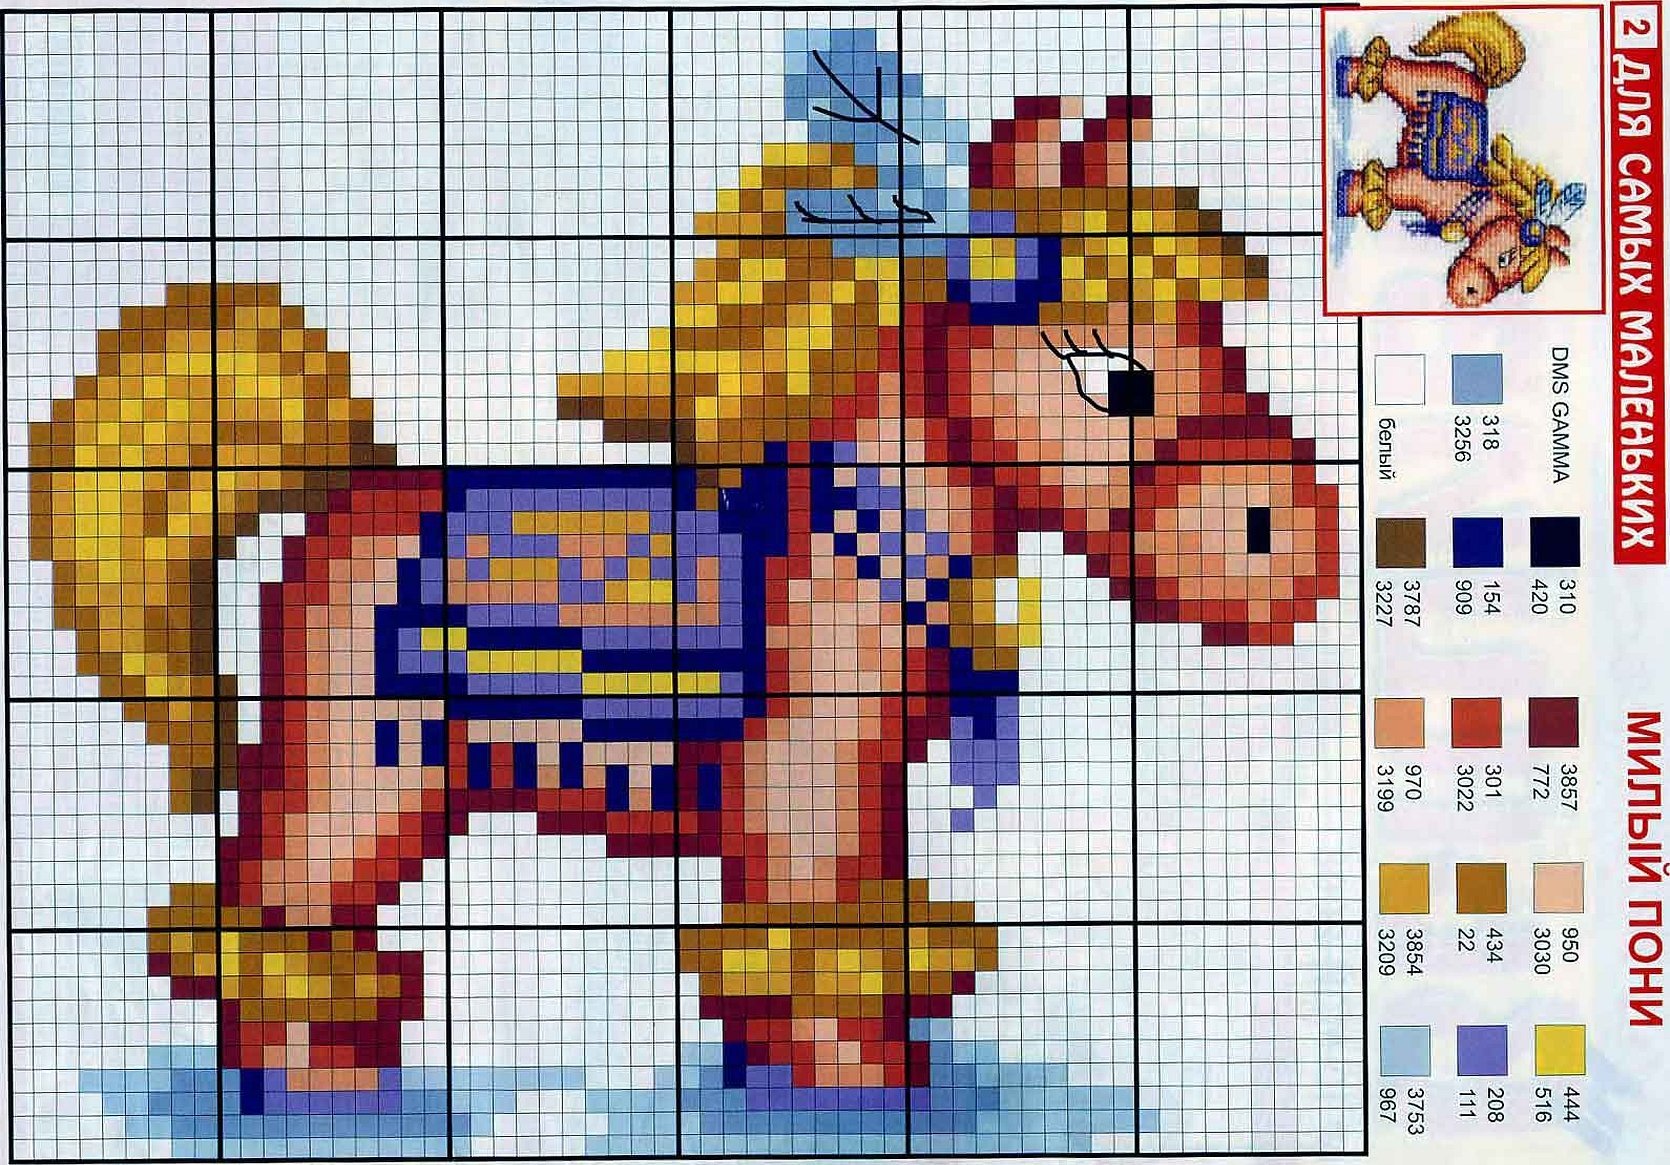
Sun Horse
The embroidery pattern depicts a graceful animal. It conveys its beauty and fortitude. Pastel and brown floss threads are used for the work. Experts recommend embroidering the pattern on beige or cream canvas. This will help to give it relief. Satin threads are used in the process. It is better to choose a dense fabric, in this case, such material as cotton or calico will do. Cross stitch patterns for children are presented in the picture.
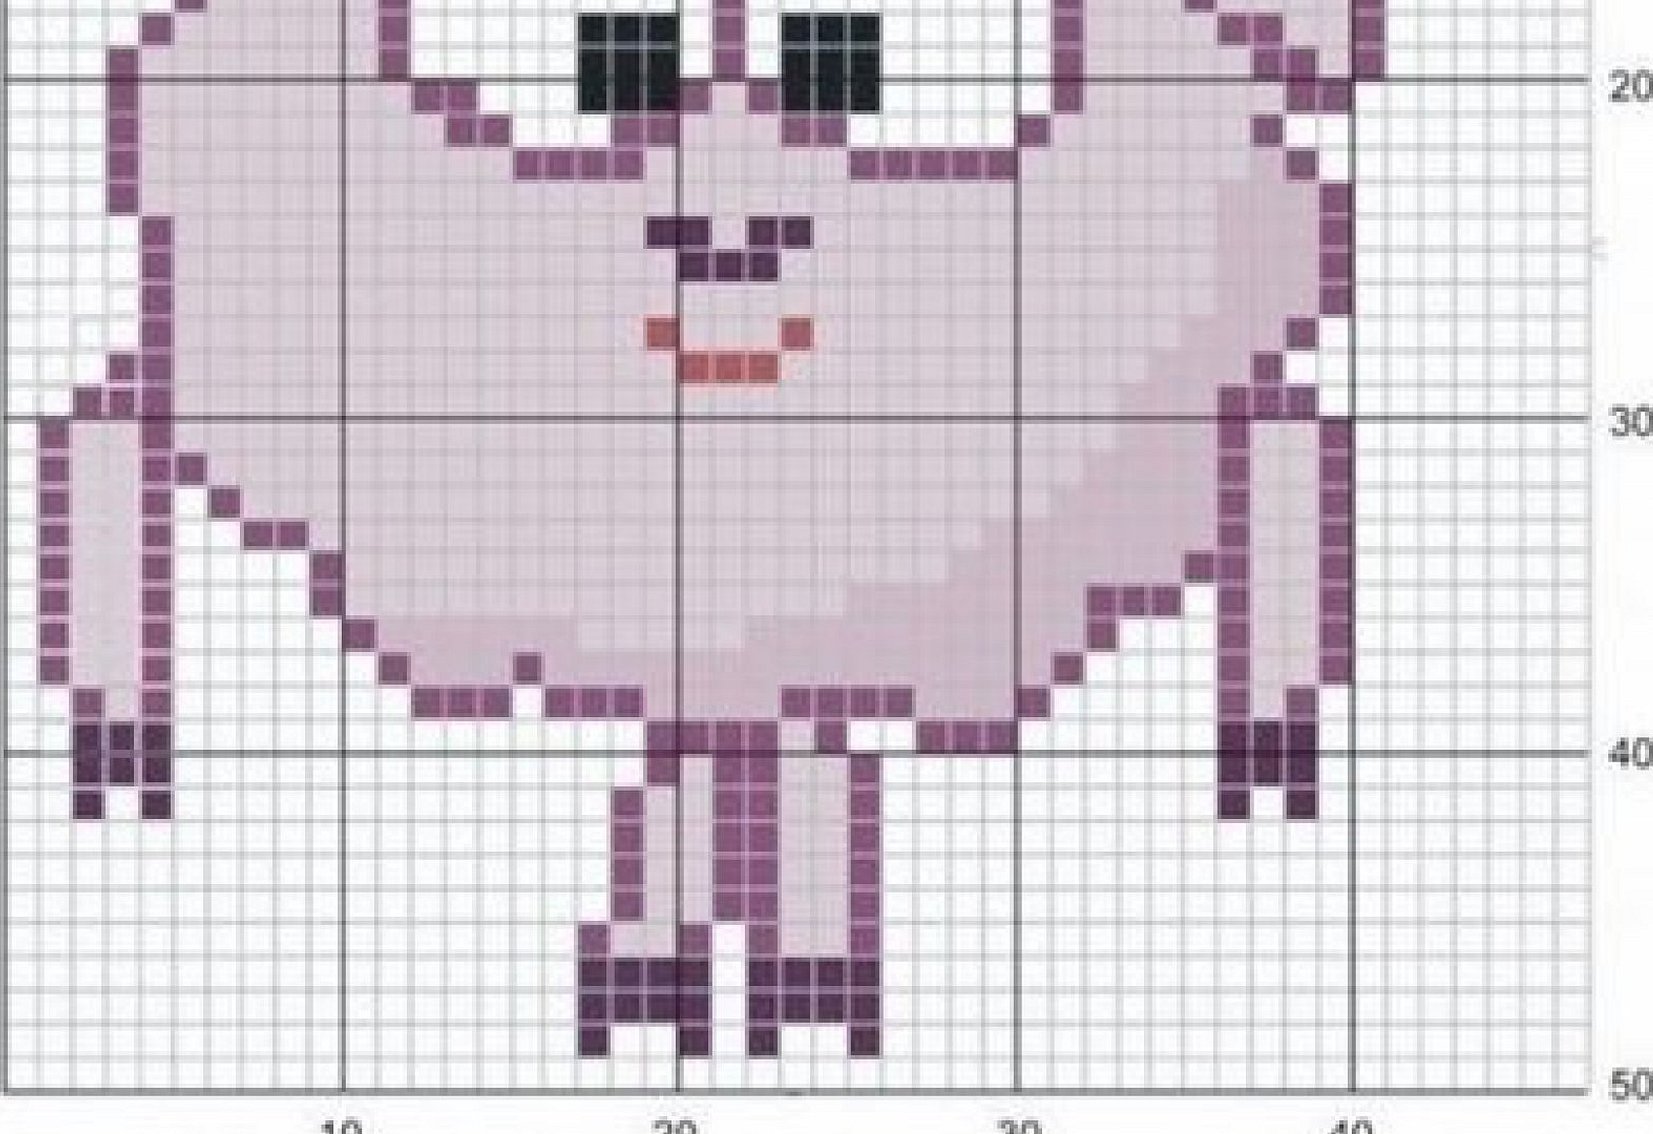
Dolls for luck
The "Happy Dolls" pattern is suitable for little girls. In this case, medium-density fabric is used. Satin or silk threads are used. The color range here is varied. Girls can use red, beige, pink, brown and blue threads. Cross stitch for children - the pattern is presented below.
Safe embroidery techniques
The embroidery process is considered to be quite painstaking and responsible. With any inaccuracies or distractions from the task, the child can hurt himself with a needle or ruin the work being created. What precautions should be taken during sewing:
- wash your hands thoroughly to avoid staining the white cloth;
- dry your hands to avoid leaving wet marks on the fabric;
- do not let the child use scissors on their own; at first, parents should cut the threads themselves during children's embroidery;
- take breaks. Even if the child is very passionate about the work and does not want to stop, it is necessary to distract him from sewing for a couple of hours. Otherwise, the risk of fatigue and injuries increases. In addition, such a strong passion can soon result in a loss of interest in embroidery;
- It is imperative to purchase a thimble for children to avoid injuries;
- tell the child that sewing needles are prohibited from being stuck into clothing or interior items (chairs, sofas);
- After finishing work, you need to collect all the tools and put them in a special organizer so as not to accidentally step on them with your foot and get hurt.
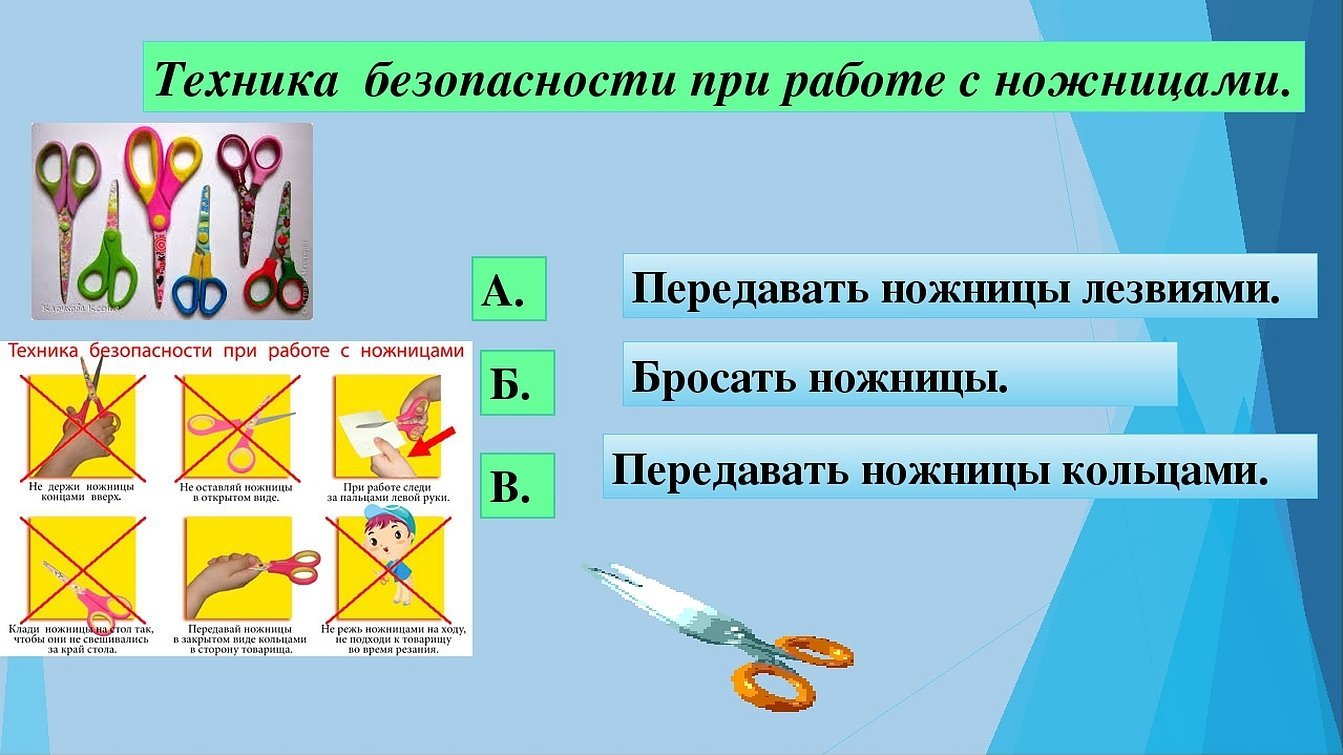
Important! Parents should teach children how to use scissors correctly and how to pass them correctly to avoid injury. Scissors should always be in a closed position.
Embroidery kits: which option to choose for beginners
Today, there are many different sewing kits – both professional and beginner. Parents should focus on children's kits with simple embroidery patterns and safe tools. It will be difficult for children to work with thick fabrics, so the kits should contain medium-strength fabric.
Needles for children's embroidery should be small in size. Parents should also choose sets with thimbles and children's scissors inside.
Children's embroidery is a fascinating and educational activity. In the process of sewing, fine motor skills of hands are developed, visual memory and imagination are improved. To teach a child to embroider, parents should purchase special children's sewing kits, and also remember safety precautions.


