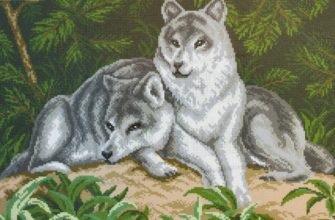
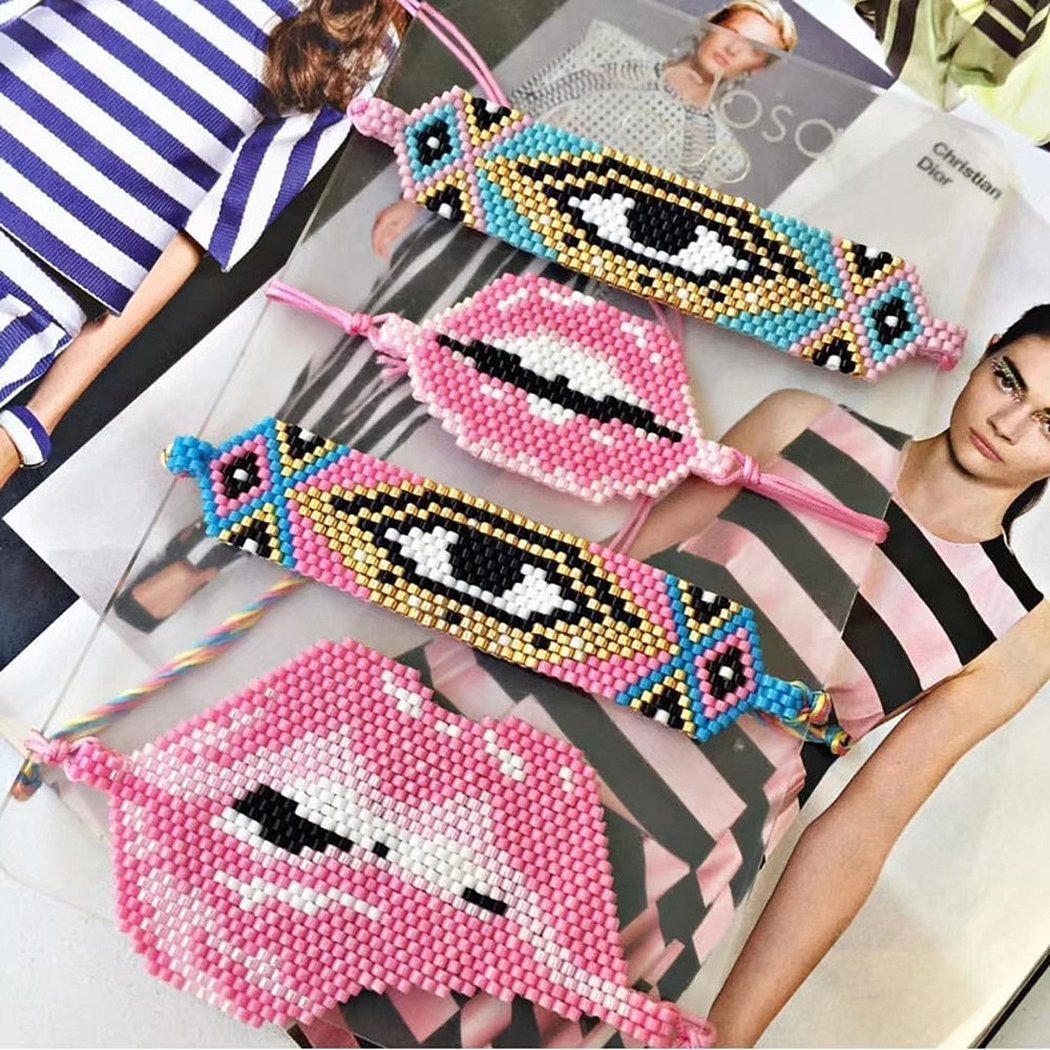
Bead embroidery is a special type of clothing design that has been known since ancient times. Bead embroidery can also be considered a separate type of handicraft and art. With a few simple tools, you can decorate a wedding dress, embroider a picture or icon with beads, make several accessories, and so on.
- Materials and tools
- Synthetic fiber threads
- Beading needle
- The beads themselves
- Other tools
- How to embroider correctly - a detailed guide and tips for beginners
- How to attach a bead to a canvas
- Attached equipment
- Linear stitching
- In vertical rows
- In horizontal rows
- Technique of partial beading of a painting
- How to use the diagram
- Simple schemes
Materials and tools
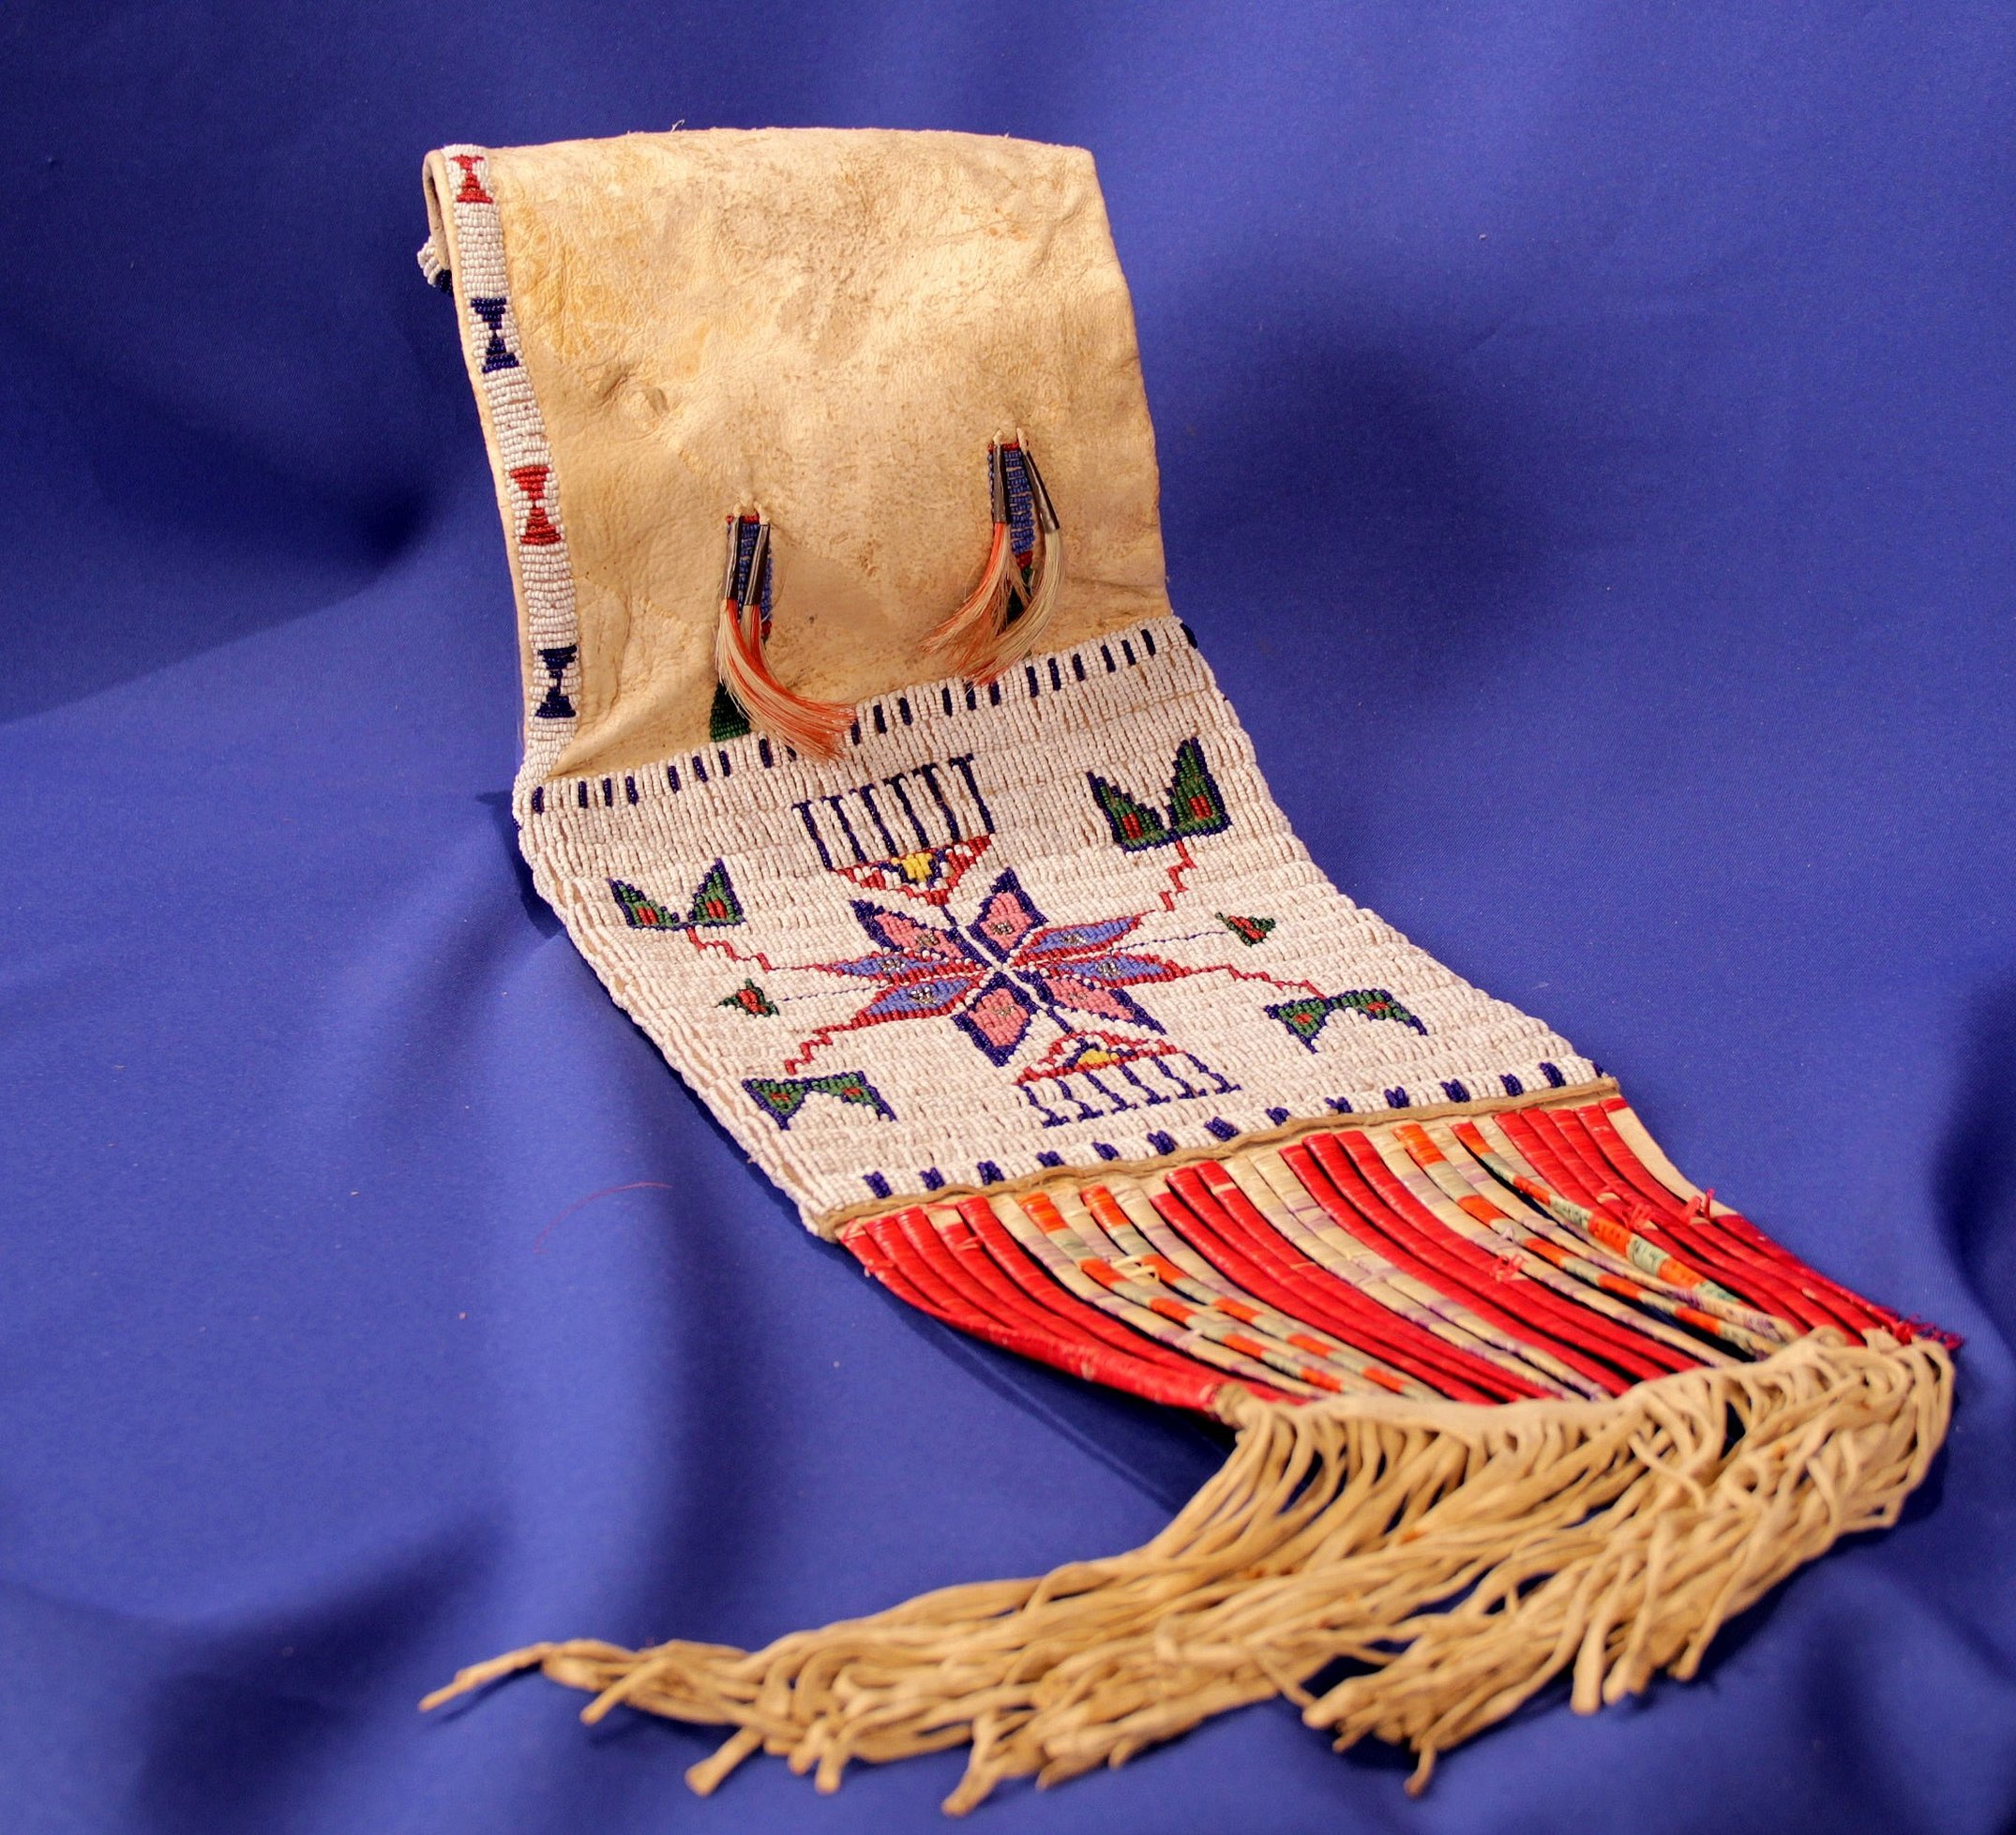
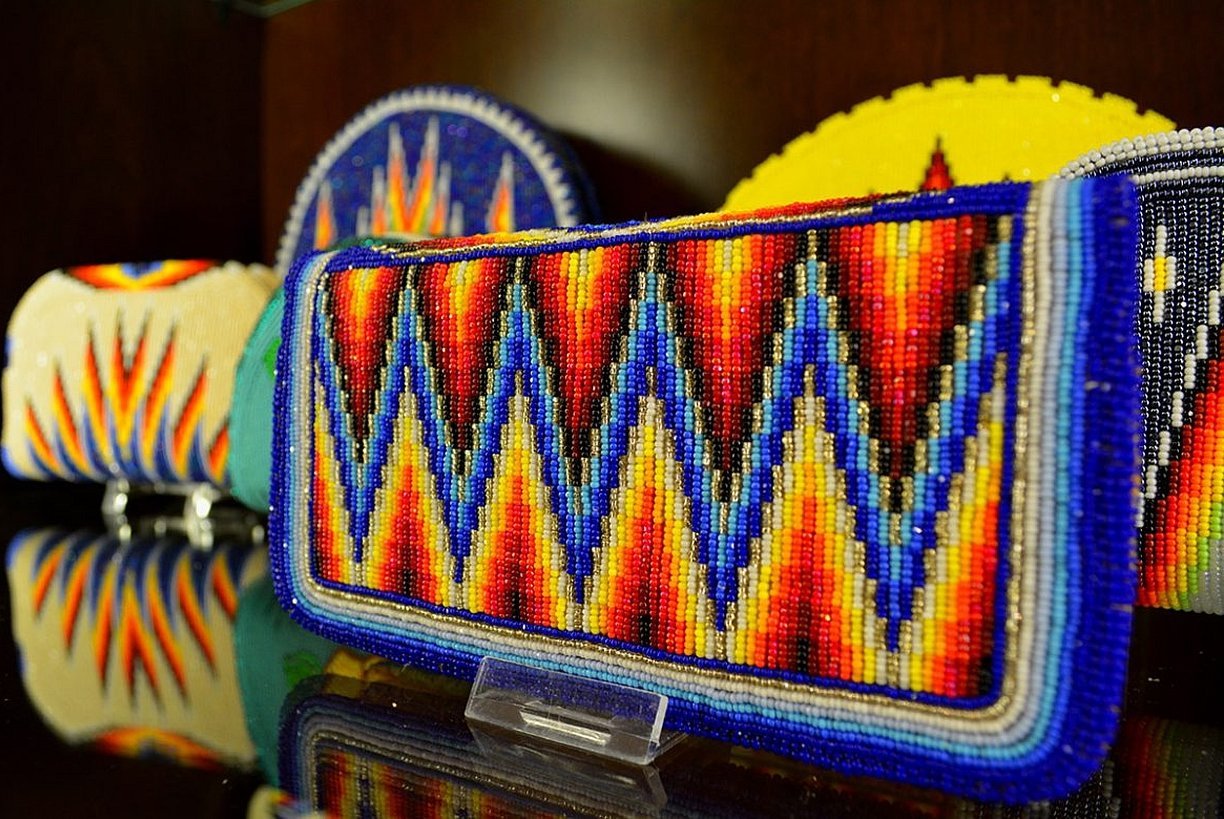
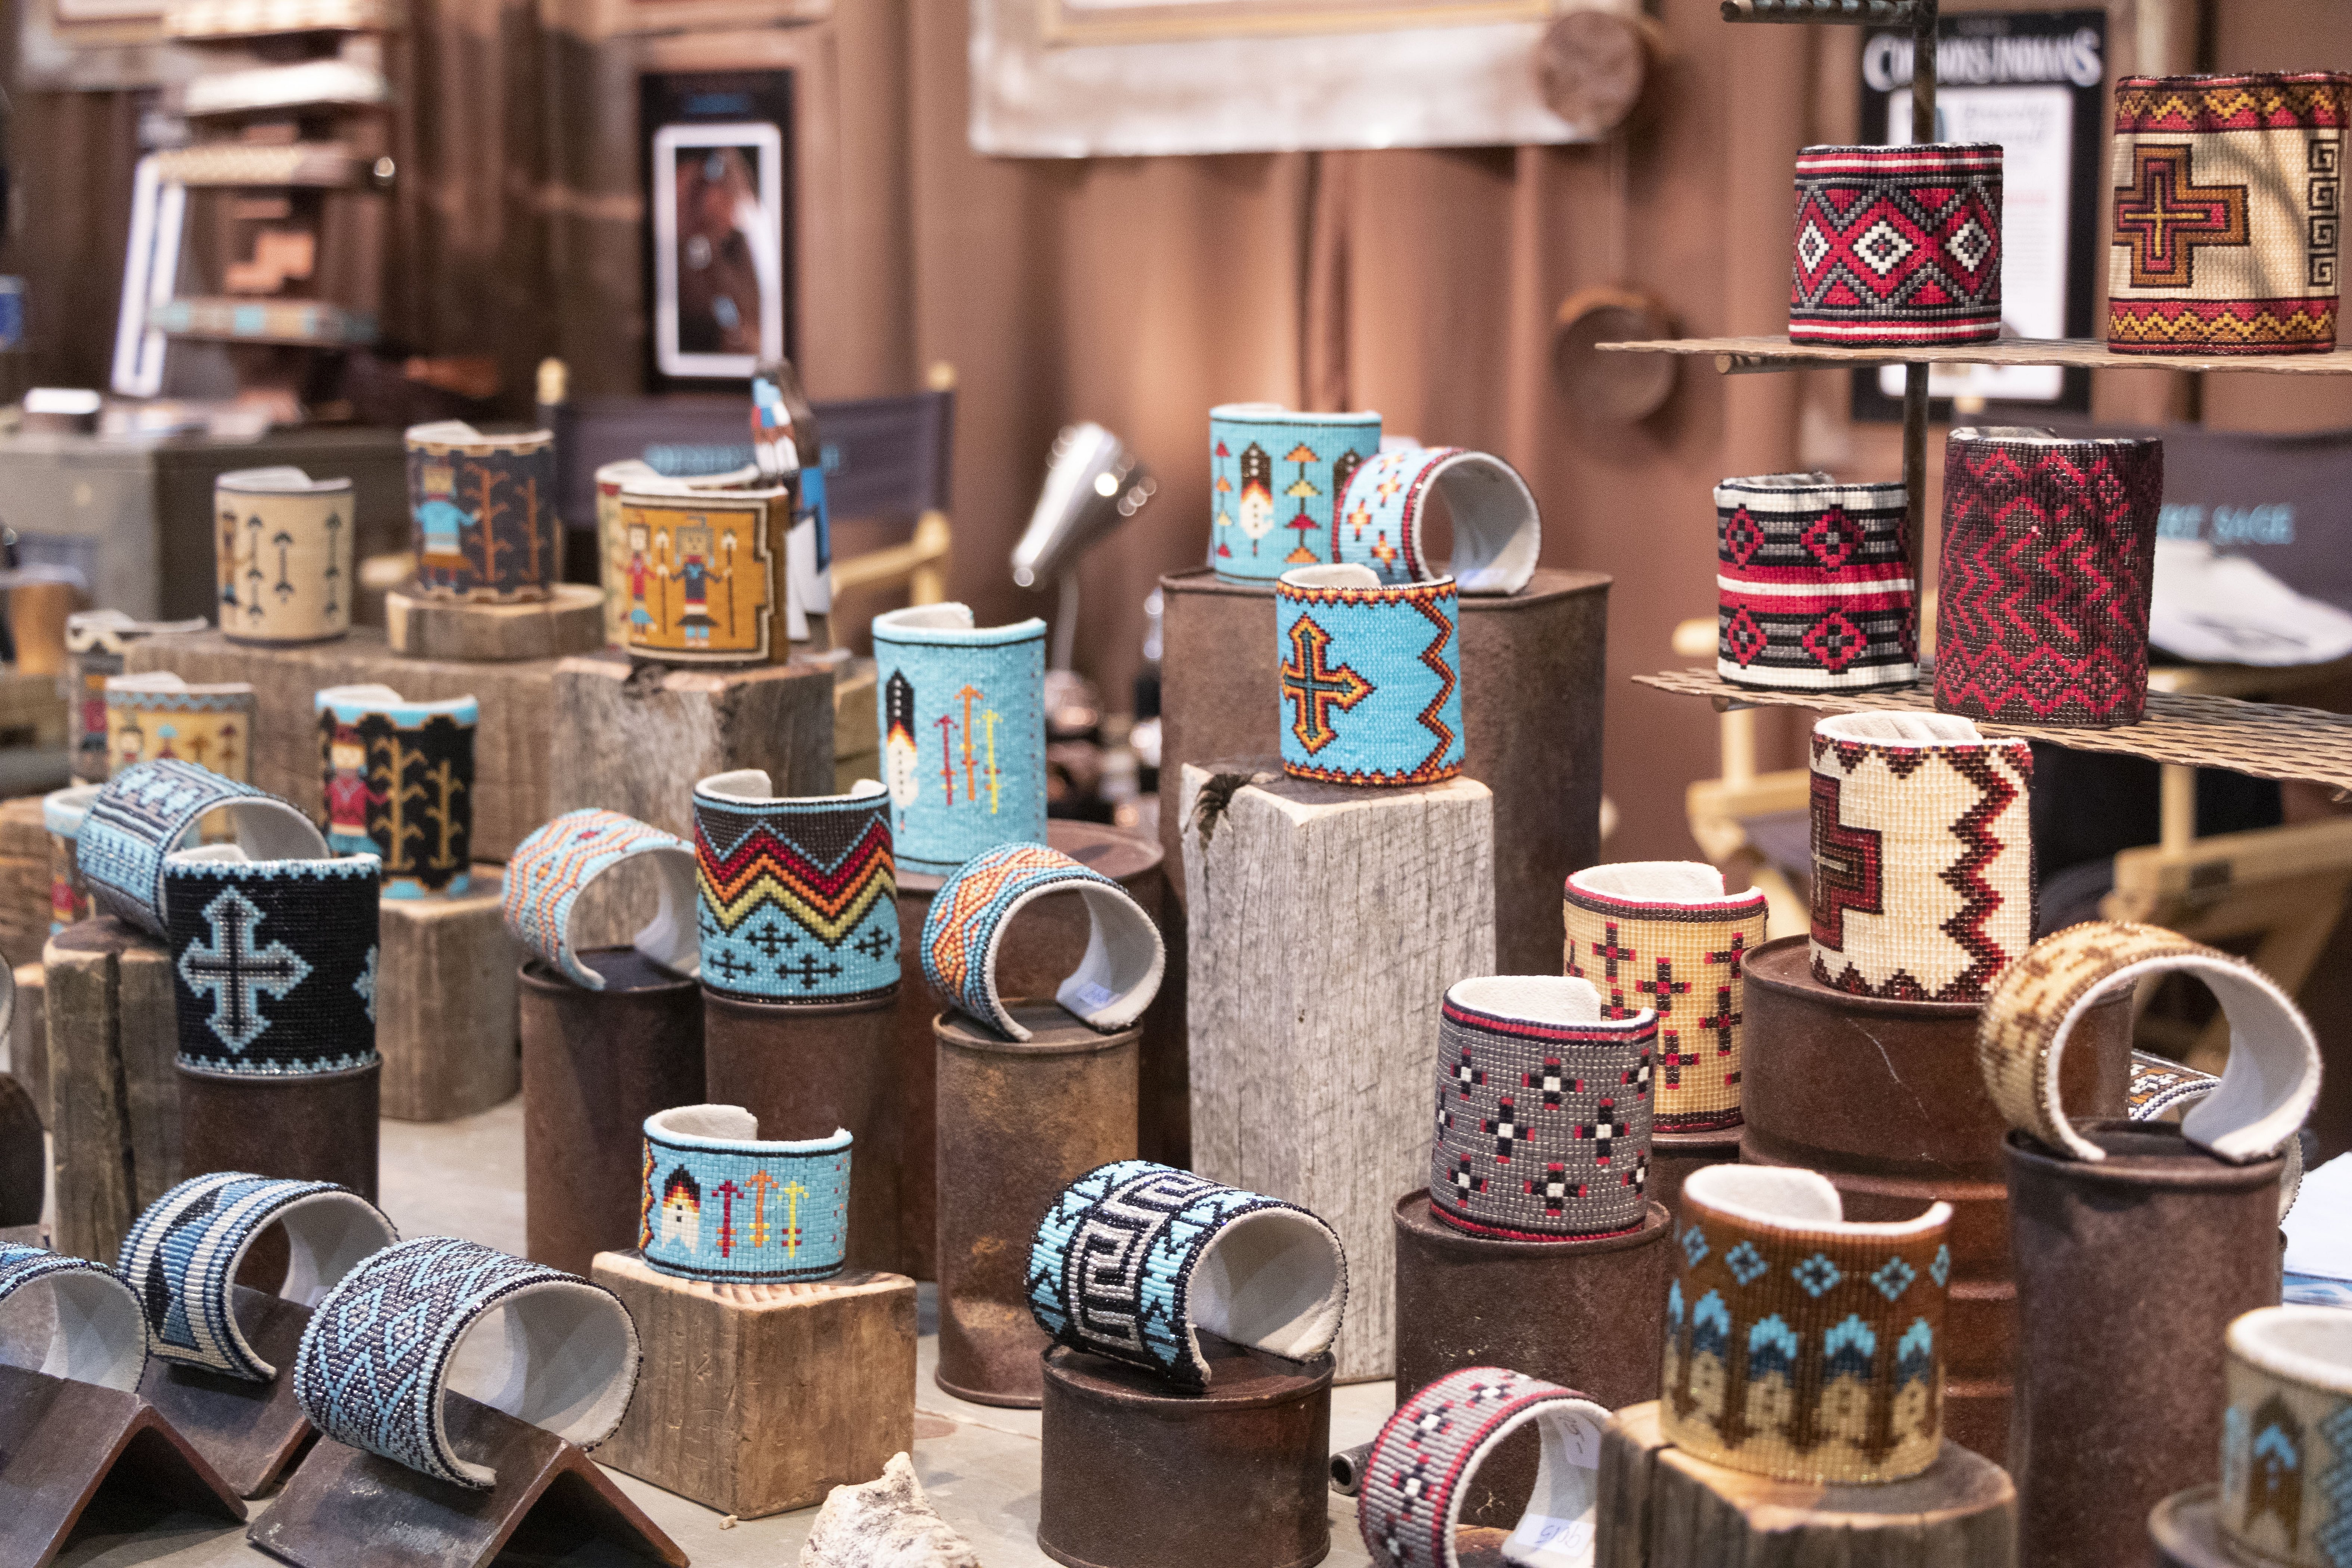
Even in the Middle Ages, real craftswomen decorated their outfits with pearls, and after the 17th century, they began to use small glass beads. This is a very troublesome job that requires attention and responsibility, but the result is such masterpieces that look simply gorgeous and cost huge amounts of money. Many girls have earned fortunes on simple but beautiful paintings, dresses, icons and other things made of beads.
Bead embroidery is not an easy task. This article will answer such questions as: "How to embroider with beads?", "What embroidery techniques are there?", "How to start?" and much more.
Each activity has its own separate tools. Bead embroidery is no exception, so in order for the process to be easy and fast, it is necessary to choose the right tools. For beginners, it would be better to buy a ready-made bead embroidery kit in the store, but if you want to bother a little and figure it all out yourself, then follow the recommendations below.
Synthetic fiber threads
Synthetic threads are great for beading. There are several reasons for this:
- are not damaged by moisture, dust, dirt;
- do not stretch;
- do not darken in the sun;
- temperature changes are not a problem;
- do not tear.
In addition, the threads should be correctly selected not only by quality, but also by color. For example, if the beads are gold and the fabric on which the embroidery will be white, then you can take a gold or white thread so that everything looks beautiful and aesthetically pleasing.
Beading needle
Particular attention should be paid to the selection of the needle. This is an important stage, without which the embroidery process will not do. The needle should be thin, no more than 1-2 mm, with a small, tiny eye. This is done so that even the smallest beads, which are often used by craftsmen, pass through the needle without any problems. It is called "bead thread". But in any case, it is better to check it in the store and see if the glass beads pass through the eye of the needle. If not, it is worth replacing. If you choose the wrong needle, things will not go further.
The beads themselves
In the modern world, in any handicraft store, you can see a huge number of different beads. They can be divided into three groups (by the material they are made of):
- plastic beads;
- ceramic beads;
- glass beads - bugle beads.
The peculiarity of selecting beads is that first you need to select the material from which it is made, then high-quality specimens, and only then decide on the color. What happens if you buy low-quality beads? The paint will quickly peel off or fade in the sun, the beads themselves may come apart, fall off or break the thread, some beads will be without holes, which means defective.
Another important point is the diameter of the bead. It should be directly proportional to the thickness and density of the fabric. For example, if it is a thick linen fabric, large beads with a diameter of 0.3-0.4 mm will do. If it is a light silk fabric, beads of medium diameter will do - 0.2-0.3. If you take chintz fabric or something similar, you need to take beads with a small diameter - 0.05-0.1 mm. This must be done so that the resulting product looks light, harmonious and beautiful.
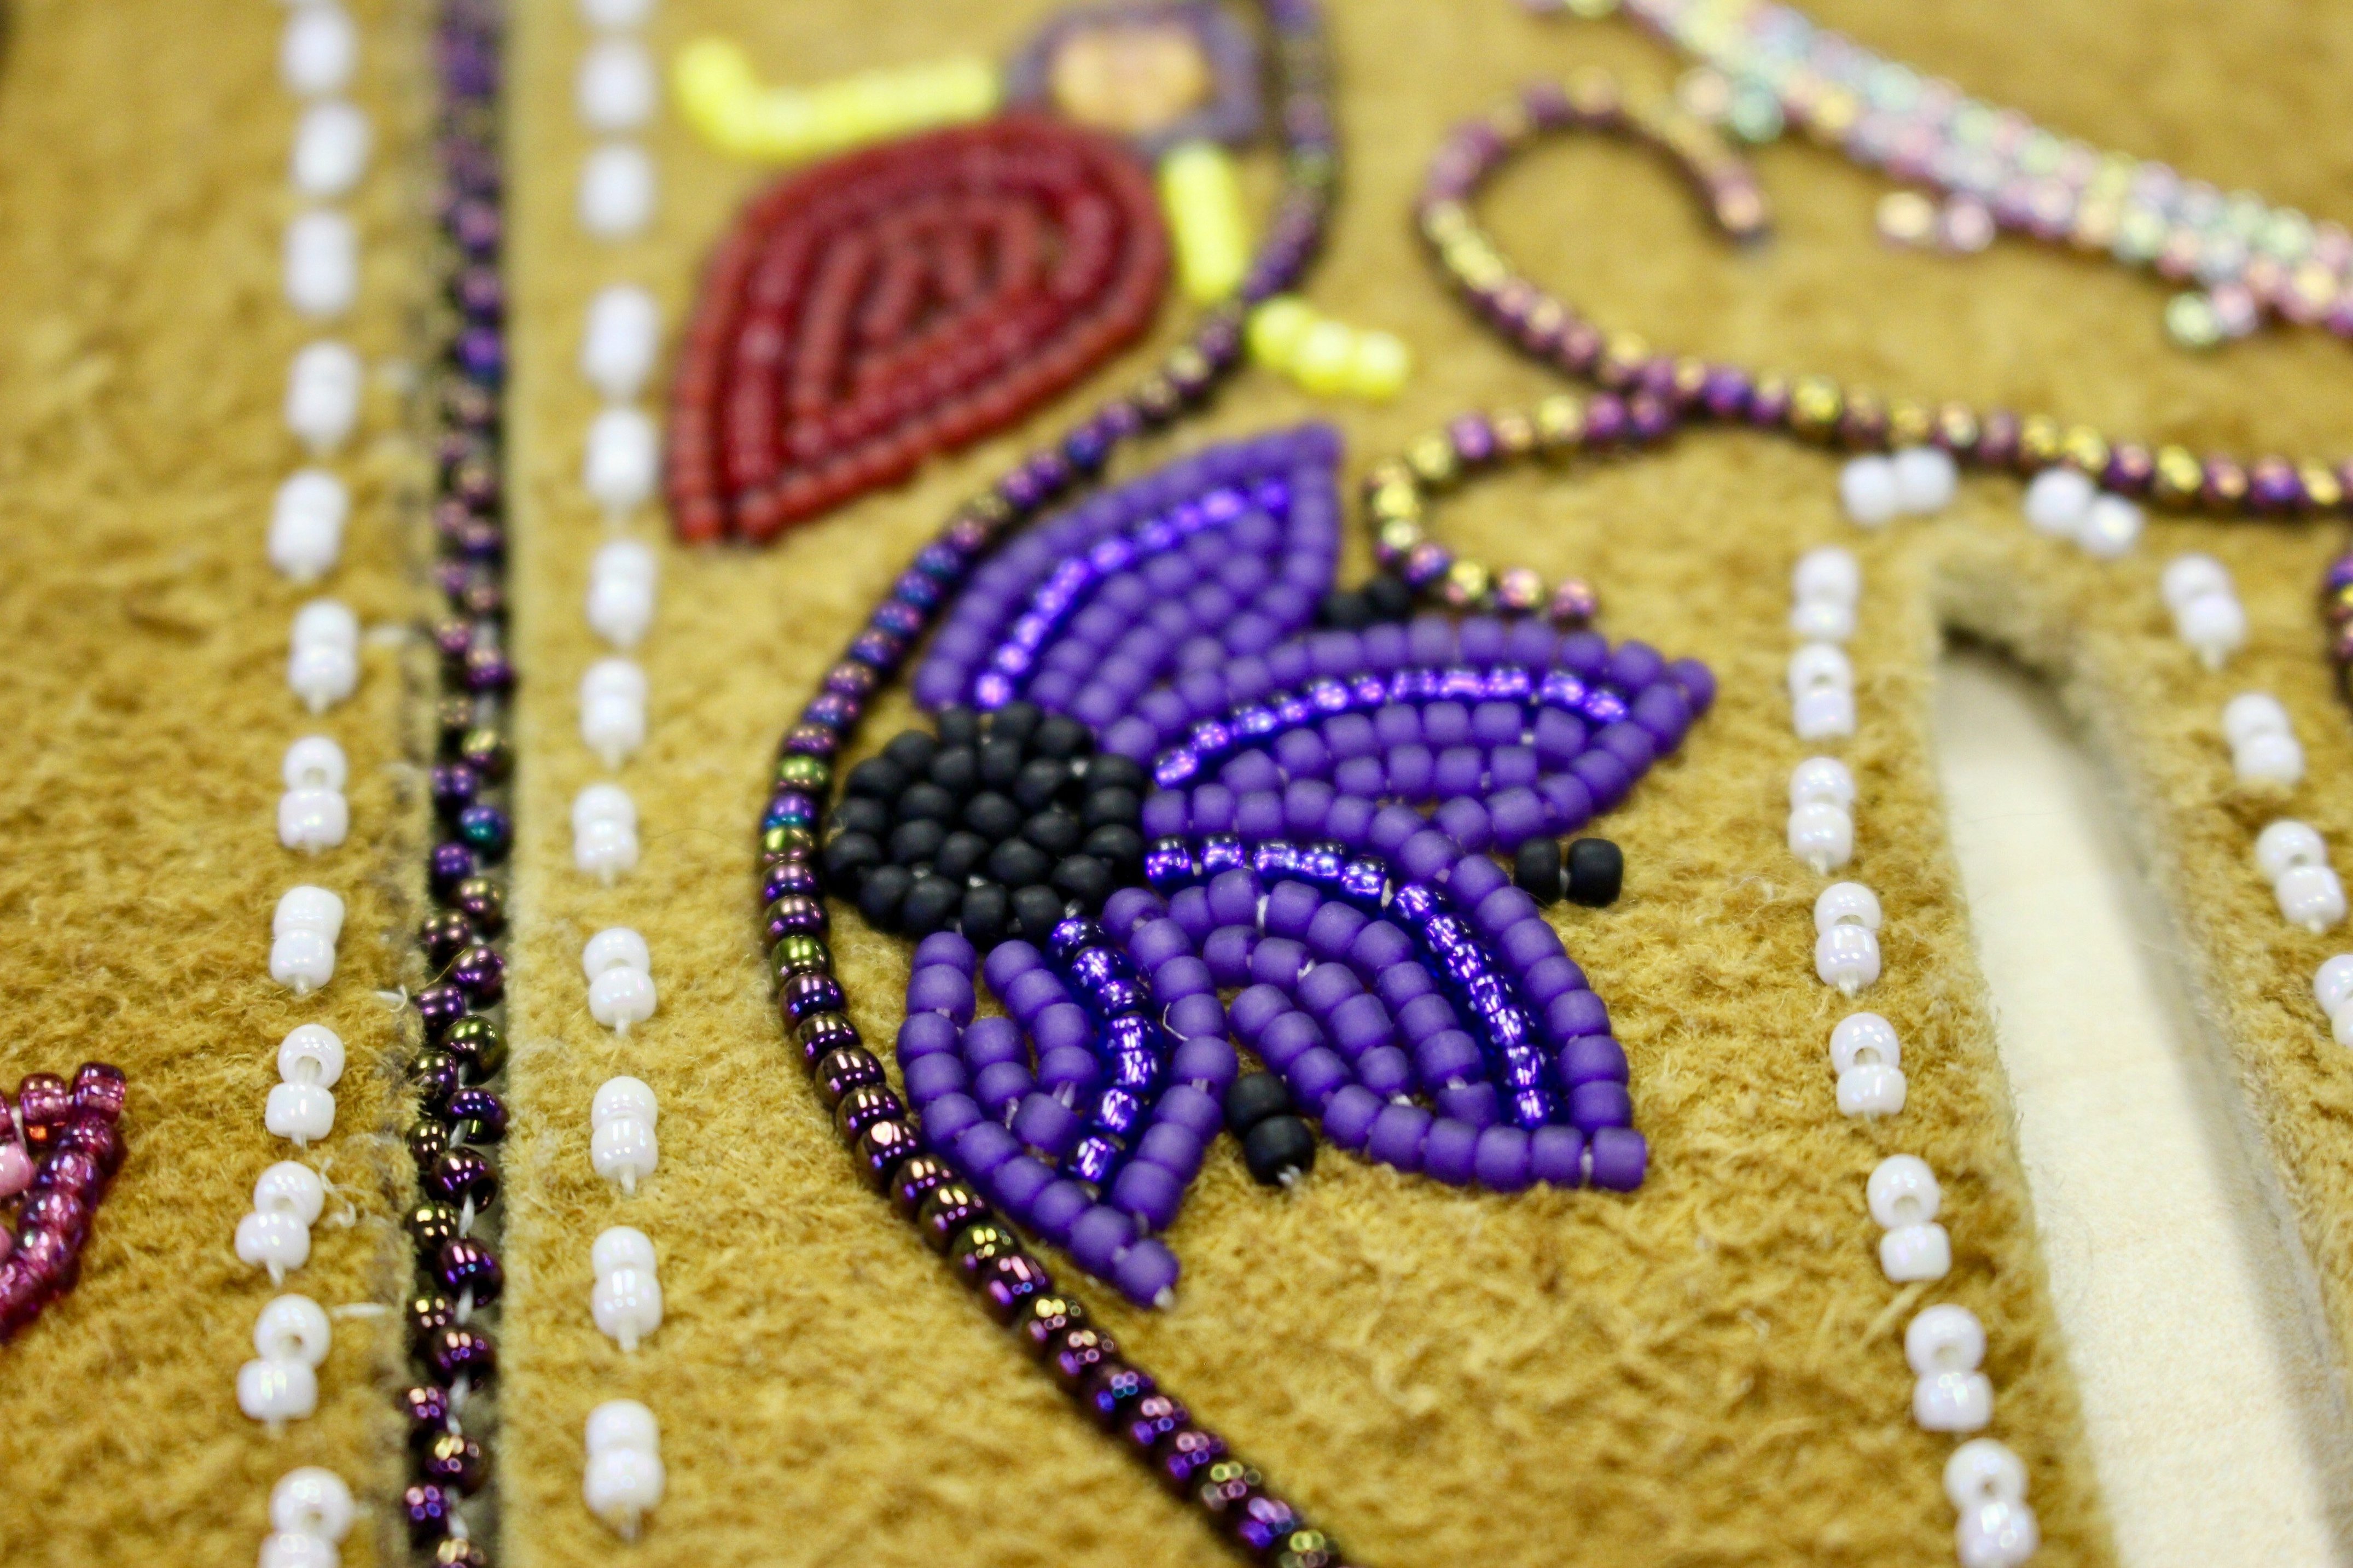
Important! If you choose the wrong beads, you will end up with a large, massive picture that the fabric cannot support and constantly falls and tears, or, on the contrary, a very small picture that is not visible due to the rough, dense fabric.
Other tools
Bead embroidery is a pattern that is drawn on a sheet of paper or already completely drawn on the fabric, so that it is more convenient to embroider. Usually, such embroideries are necessary for beginners, since real craftswomen have already learned to do it themselves.
To choose the right pattern, you need to look at it carefully: the pattern should be clear, with sharp borders and even contours throughout the pattern. In addition, ideally, such an auxiliary tool should have marked dots or crosses where the bead needs to be sewn on. Embroidering a picture with beads is a real art, so choosing the material is a responsible step.

How to embroider correctly - a detailed guide and tips for beginners
Embroidering, sewing different things from beads is difficult, especially for those who are just beginning to learn themselves in such a matter. Therefore, especially for such people, the manual "How to embroider with beads for beginners".
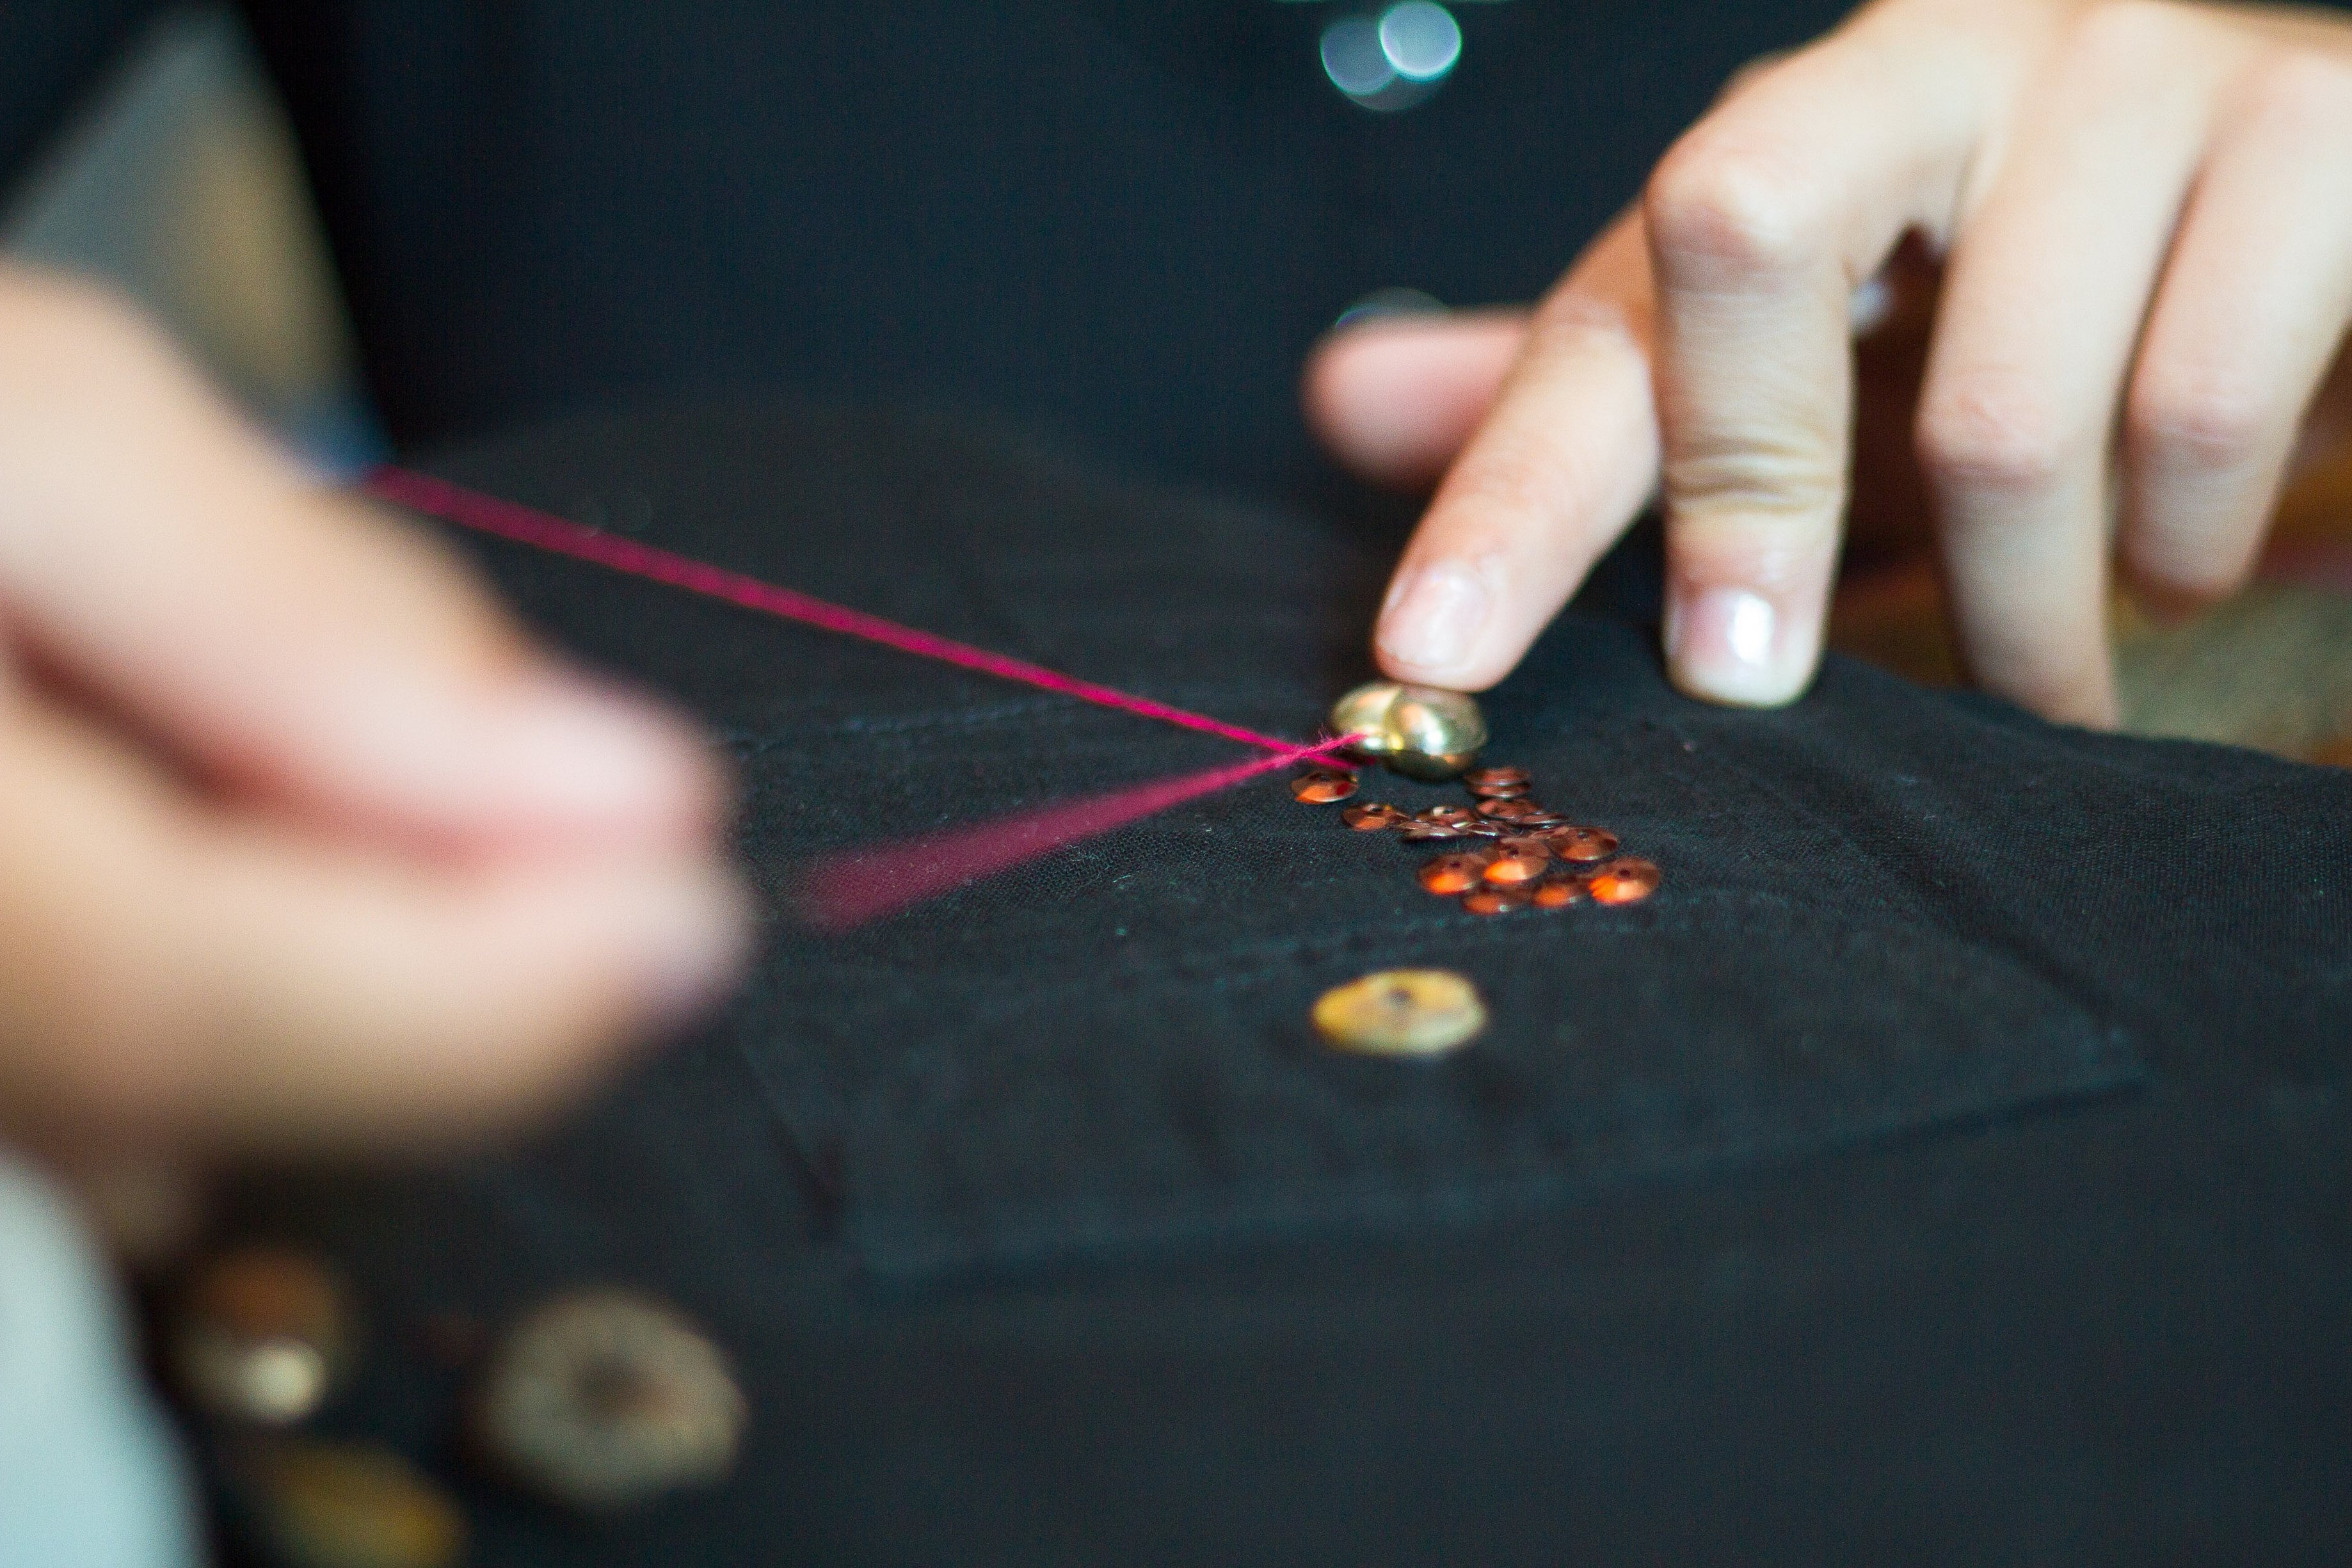
How to attach a bead to a canvas
Canvas is a fabric made from flax. It is strong and durable. It consists of squares of the same size, which makes it very convenient to embroider on.
To attach a bead to the canvas, just follow a few simple steps:
- pull the thread through the needle;
- tie a small knot at the end of the needle (to prevent the picture from unraveling;
- from the back of the canvas, thread the needle so that the knot is on the back side;
- thread the bead through the needle so that it ends up on the thread;
- thread the needle through from the front side so that the beads are on the front side and the needle and thread are on the back side.
That's it, the first bead is attached. To attach the next glass beads, you need to repeat the same thing. To get a beautiful picture, you need to calculate the cells of the canvas so that everything turns out even and proportional.
Additional tips for beginners:
- glass beads must be sewn on evenly and at the same angle;
- all beads must be the same size (you can use different sizes, but only if this is intended in the picture);
- the length of the thread should be 4-5 times longer than the width of the embroidery itself, for convenience and fewer knots on the back of the canvas;
- the canvas must be stretched tightly, to achieve this result it is necessary to use a hoop or tapestry frame;
- It is necessary to process the edges of the fabric or canvas - so that it does not unravel after the painting is finished and does not ruin everything. This is done before starting work.
Attached equipment
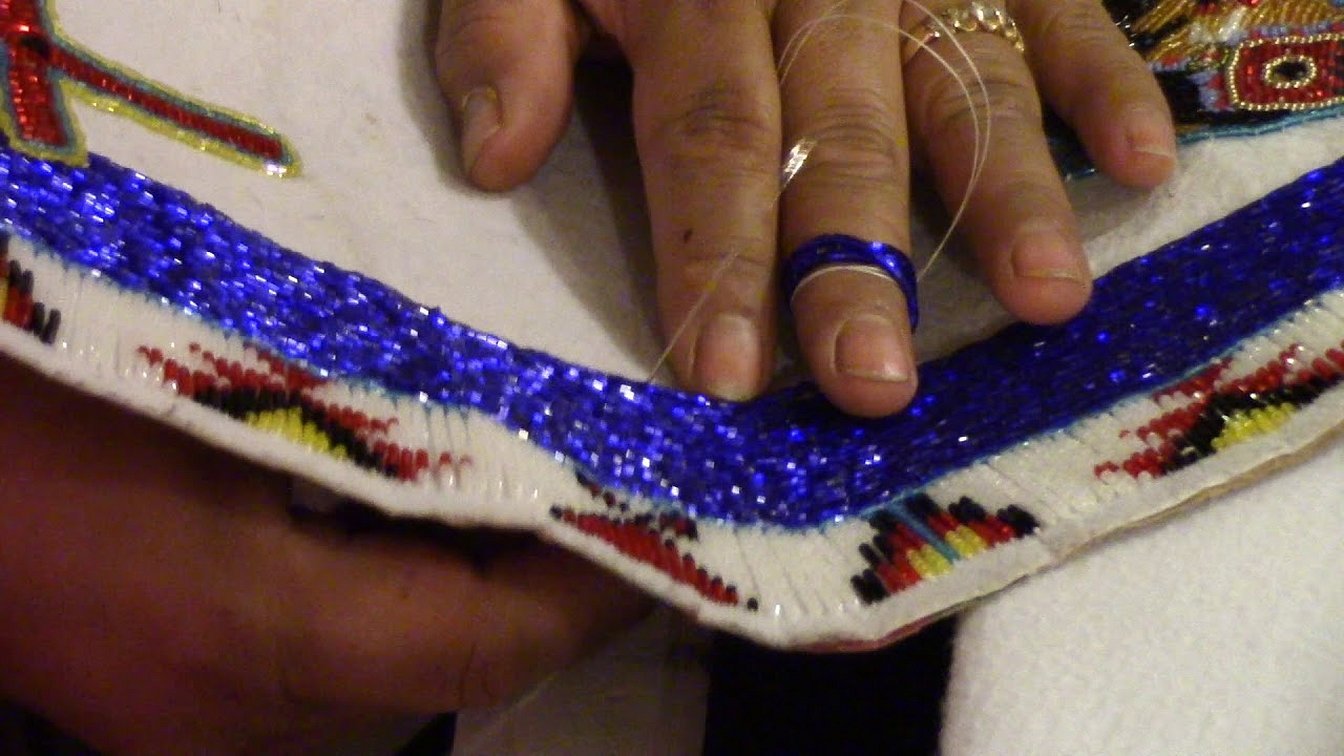
There are a huge number of different embroidery techniques and bead embroidery. One of the simplest and most popular is the "vprikrep" technique. Let's take a closer look at the step-by-step implementation.
Preparation:
- thread the needle, tie a small knot at the end of the thread;
- pass the needle through the canvas so that the knot remains on the back of the fabric;
- thread the required number of beads (for beginners, preferably no more than 3-4 beads at a time);
- secure them to the canvas by threading the needle so that it is on the back side and the beads are on the front side;
Next, the “attached” method begins:
- pass the needle next to the beads;
- pull the needle through the hole in the beads again (it will not come loose because the first thread that was threaded through is already secured with canvas);
- the needle was again on the wrong side of the canvas;
- bring the needle to the front side, next to the beads;
- take the outermost bead and thread the needle between the last and second to last glass bead;
- do the same with the glass beads on the other side.
Now the beads are completely secured. This is done for safety and security purposes. The more threads hold the bead, the longer it will decorate the picture. The main thing is to do this carefully and almost unnoticeably, so that others do not see the huge skein of threads near each glass bead.
Linear stitching
Linear stitching is a more professional method of embroidery, as it has more complex patterns, but it looks much more beautiful and richer. Therefore, if you want to try, there are several techniques of linear stitching. Let's consider each in more detail.
In vertical rows
Vertical rows are a unique stitching technique that is rarely used. However, such a product looks very unusual and unique. The point is to sew not step by step, according to the pattern, but from top to bottom, with a continuous stitch. This is very difficult, since some patterns have gaps in vertical rows and they must be followed. Also, often change the color and size of the glass beads, since any pattern changes from top to bottom.
Preparation:
- thread a needle, tie a knot;
- thread the needle through the canvas;
- thread one bead onto the thread;
- secure the bead.
Technique "vertical rows":
- pass the needle from below under the bead, leaving a minimum distance;
- pass the needle under the glass bead again;
- pull through the next bead;
- to secure;
- under this bead, thread the needle again and repeat the same with the next glass bead;
- and so on until the end of the entire row.
Important! Some people use an alternative technique called "reverse vertical". This is when a row is embroidered not from top to bottom, but from bottom to top.
In horizontal rows
This technique is also called "Monastic stitch". It is used for sewing handkerchiefs, icons, paintings or small items. There is nothing to learn here - everything is simple and easy even for a beginner. If for the "vertical rows" and "vprikrip" techniques, you need to take a couple of lessons, then here everything is much simpler.
Technique:
- thread the first bead (start from the top left corner);
- secure it (pointing the needle to the lower left corner);
- the bead is fixed diagonally;
- thread the needle again in the upper left corner;
- thread beads onto a thread;
- secure by threading the needle through the lower left corner;
- repeat to end of row.

When using this technique, you will notice that all the beads will be attached diagonally.
Technique of partial beading of a painting
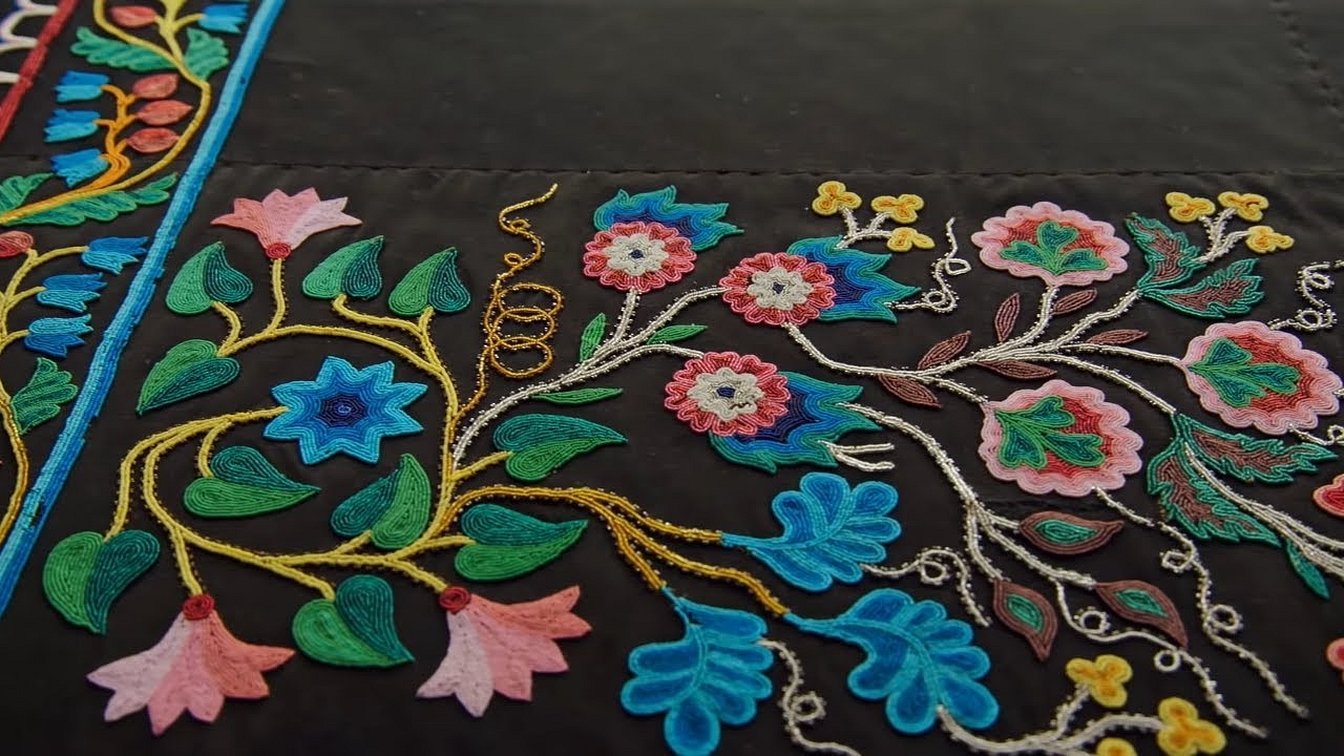
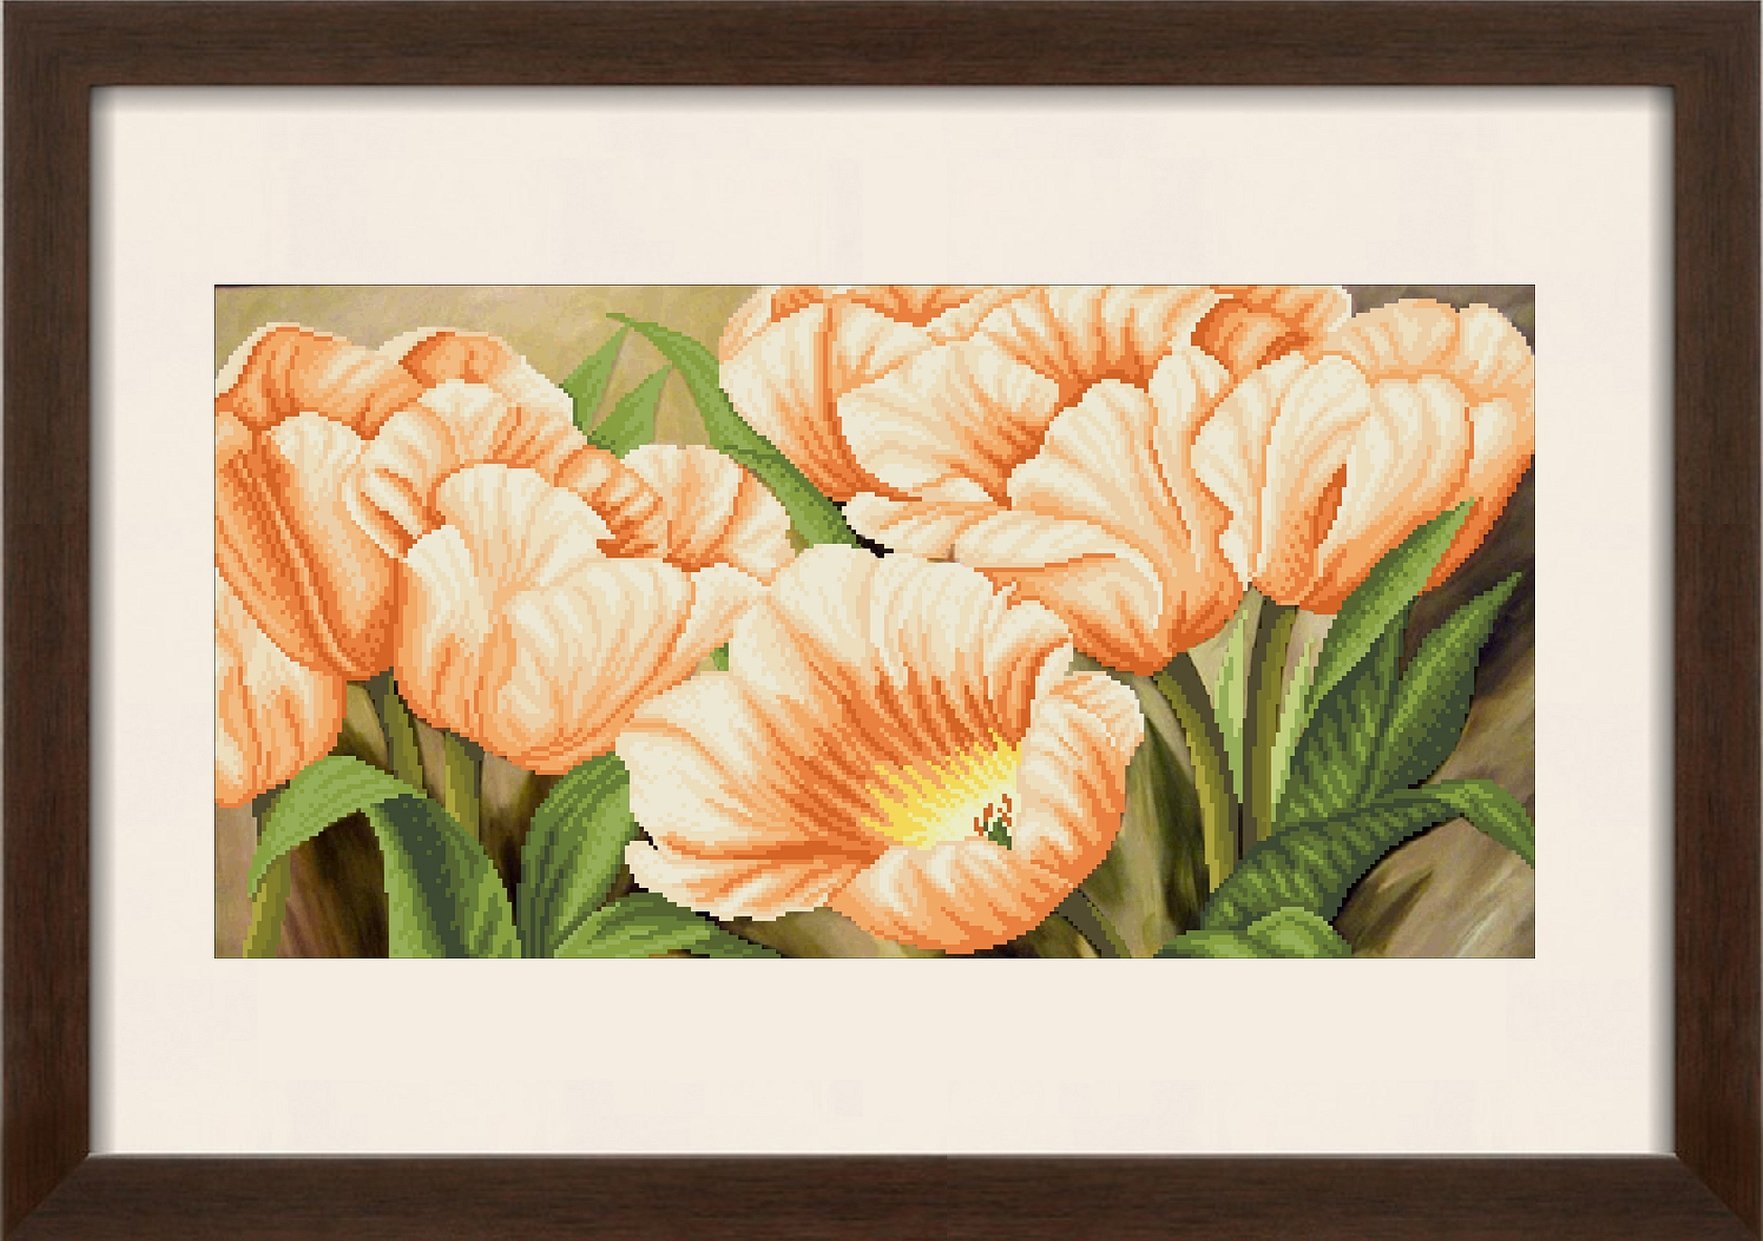
Partial stitching differs from the usual one in that the second option is a continuous process, where there are beads in every place, where without them there would be no normal pattern. The technique of "partial stitching" is used on finished paintings, dresses or icons. It is used to highlight certain elements or parts of the painting that carry some kind of informational urge or are simply very much liked by the needlewoman.
Partial stitching is an embroidery process in which the embroidery area can suddenly break off and move to another part of the canvas. In other words, the picture is partially stitched and does not necessarily need to be finished. It can be said that this technique was invented by craftsmen who did not want to finish their work until the victorious end.
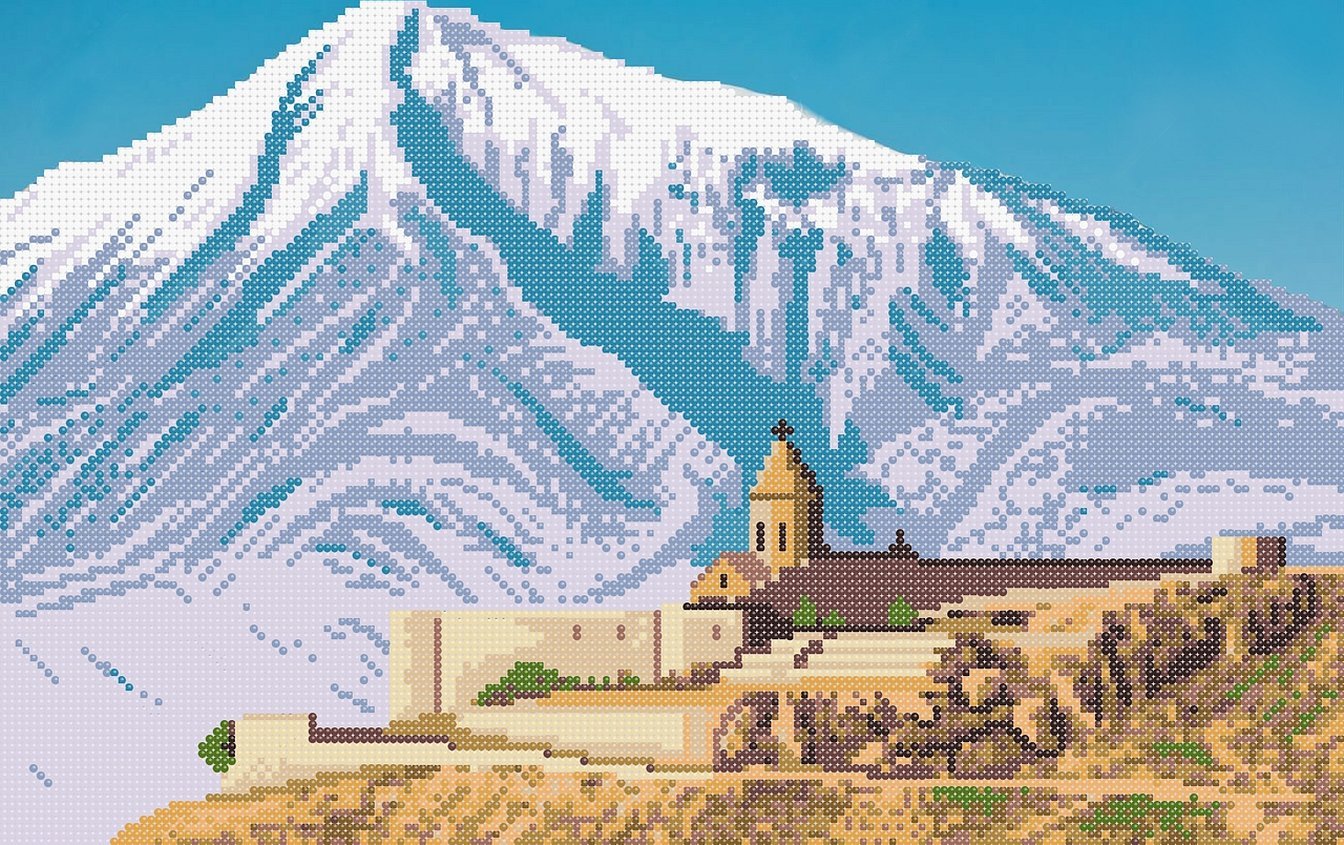
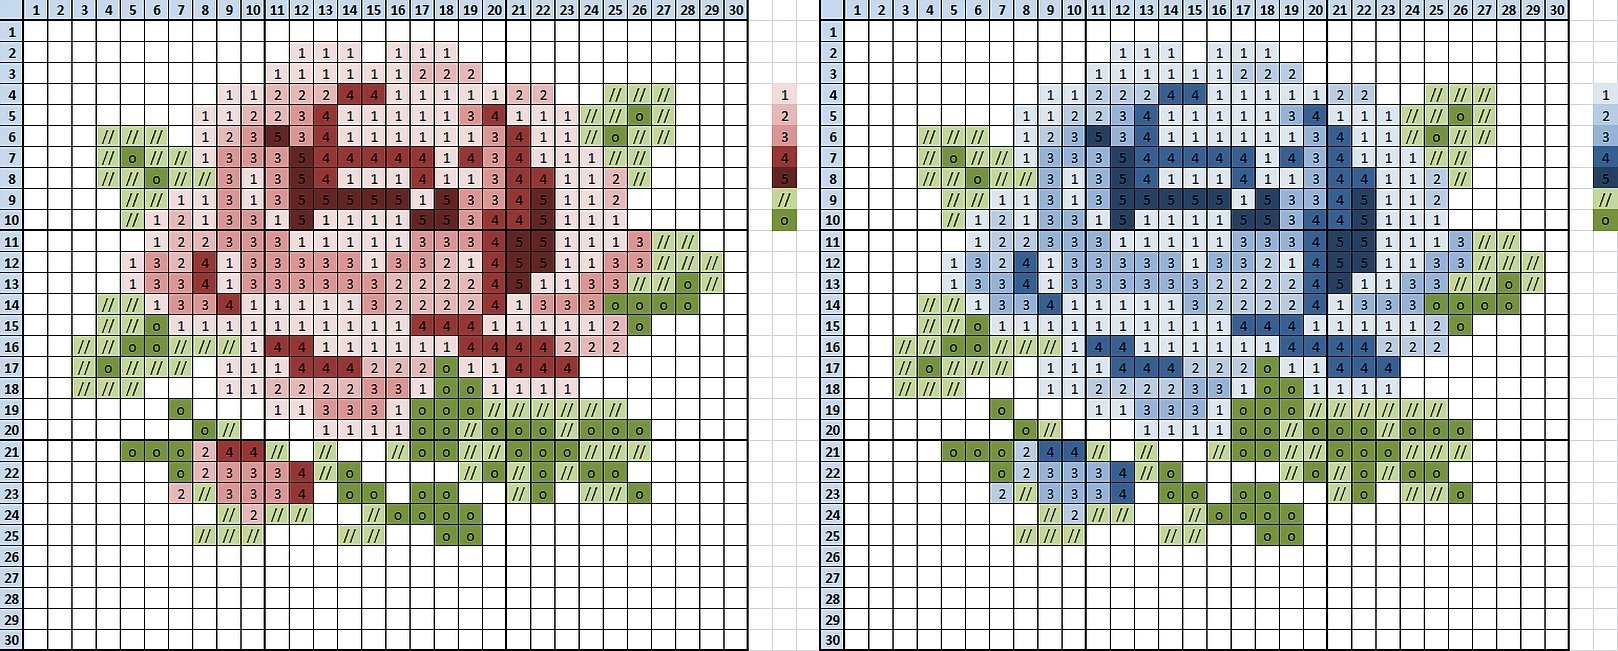
How to use the diagram
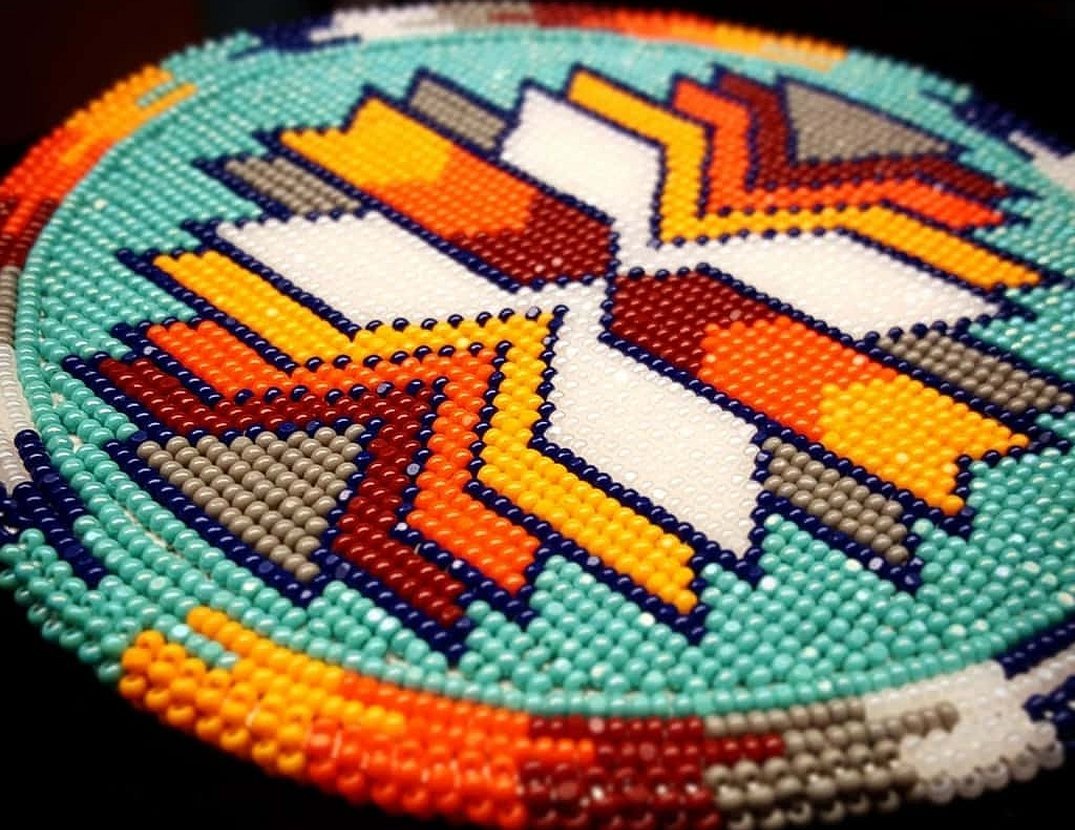
There are several types of embroidery used by experienced and not so experienced craftsmen:
- a diagram on a piece of paper or in electronic form;
- a design embroidered on canvas.

The first option is used by professionals who can accurately calculate all the nuances and not miss the necessary cell. This scheme is used for embroidery on canvas. If it is in electronic form, it is transferred to a regular sheet, preferably in a cell, like the canvas itself. Then, according to this scheme, they calculate how many cells are needed for which detail of the drawing, and embroider like that. It is convenient and practical.
But there are also people who use this scheme for a regular canvas. It is more difficult, but those who have already managed to get their hands on it do not complain.
The second type of pattern is popular among beginners and lovers of bead embroidery. They immediately buy the fabric for embroidery, which has a pattern with marked places for beads. They are usually sold in needlework kits. They come with instructions, with a detailed description of which technique is best to use to make the pattern. And also step-by-step instructions for the technique itself.
Simple schemes
It is worth remembering that you need to start with easy and simple drawings to get used to this activity, to get the hang of it. It is also convenient to test various techniques and seams on small canvases, to choose the most practical one for yourself. This will help in creating larger-scale paintings in the future.
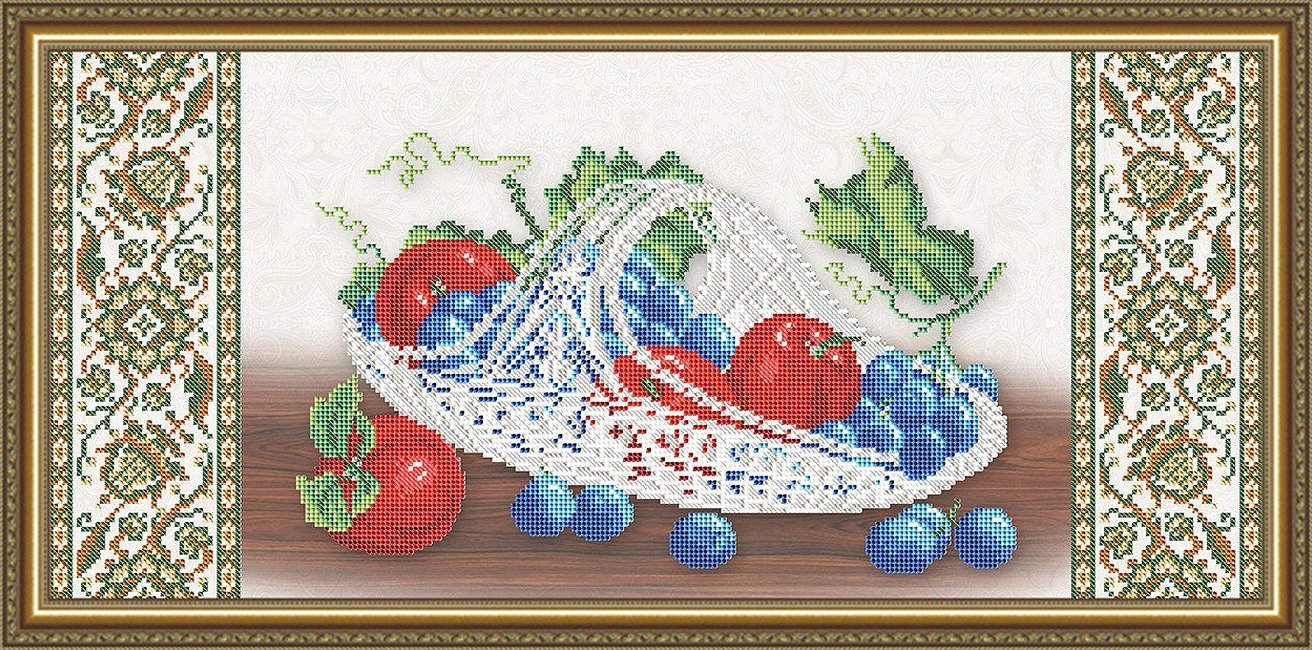
List of simple schemes for beginners and amateurs:
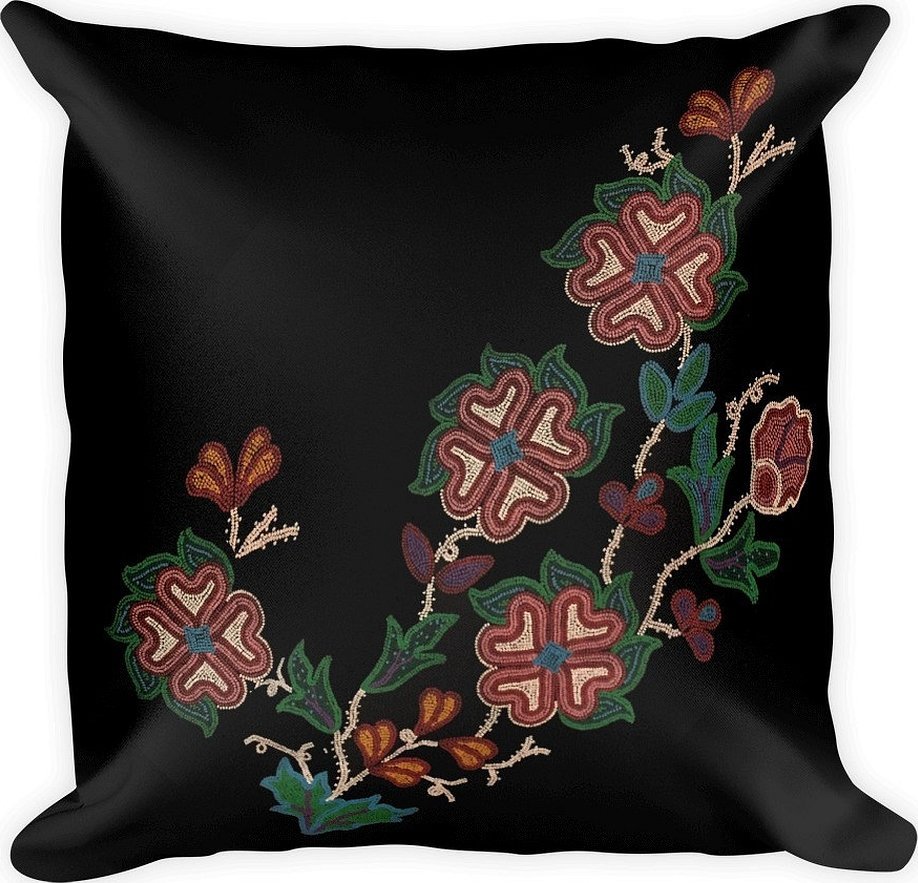
- butterflies - you can decorate a room, cover a pillow, a bag;
- angels - can be hung above a child's bed;
- water world - dolphins, crabs, crayfish, starfish, fish (suitable for decorating a beach bag and swimsuit);
- flags of different countries - this could be an idea for creating a world map from beads;
- animal world - suitable for decorating a pillow, blanket, bedspread;
- hearts - will be a great gift for your significant other on an anniversary or Valentine's Day.
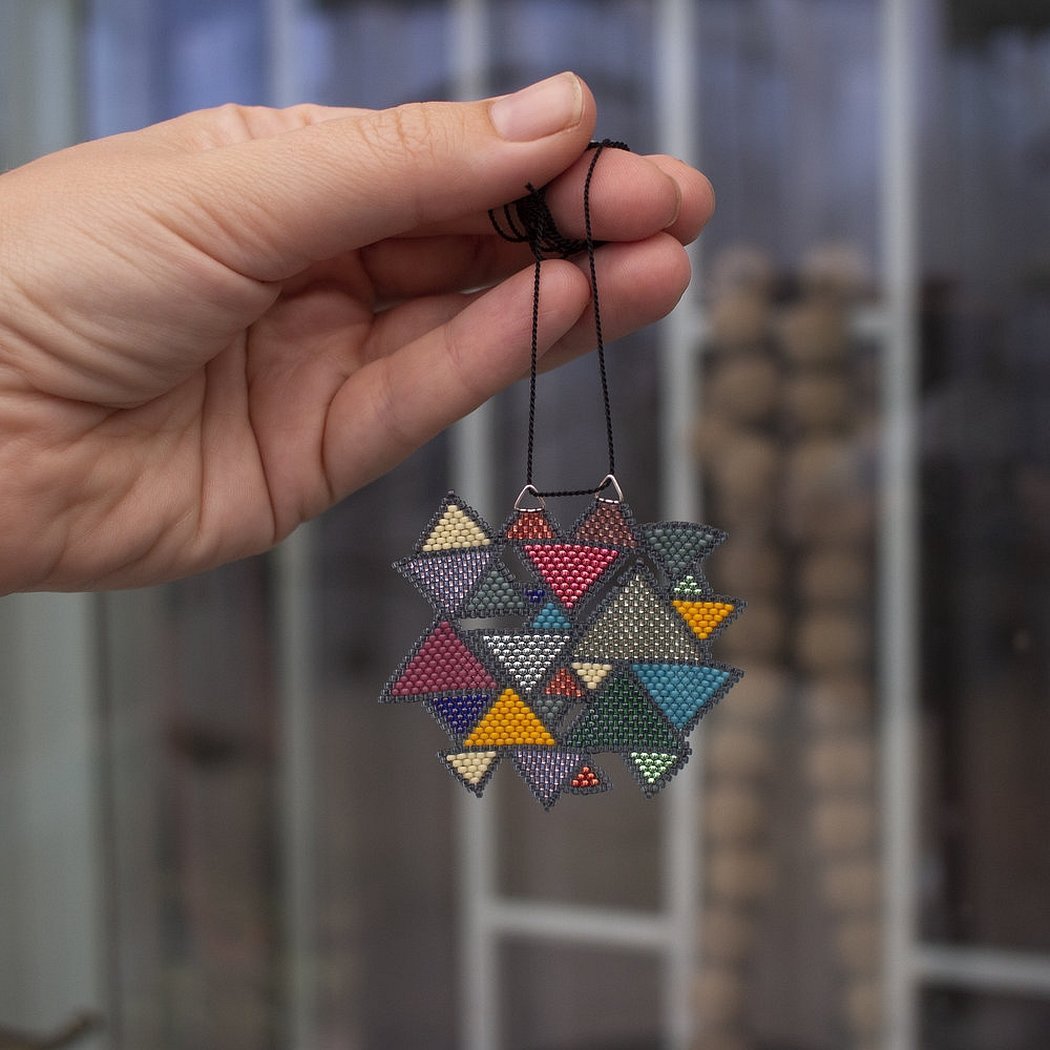
Bead embroidery is a unique type of handicraft that can make ordinary things sparkle with new colors. Even an ordinary, unremarkable dress, thanks to the skillful hands of the master and beautiful material, will become a masterpiece and an expensive thing.
Using a thread, a needle and beads, you can create icons. Decorate bags, pillows, blankets, bedspreads, swimsuits, jackets, towels. Make various accessories and much more. This is a great activity that will help you while away long winter evenings, as well as just relax and create beauty with your own hands. The main thing is attentiveness, accuracy, desire and responsibility.