Embroidery is a handicraft whose popularity does not fade with time. A cross stitch lesson, as well as patience and attentiveness, will help you become a professional and learn the basics of craftsmanship.
- What is a cross and what types of it exist
- Cross stitching methods and techniques
- How to secure the thread to the canvas
- Selecting and working with floss
- Materials and tools for work
- Needles
- Canvas
- Embroidery hoop
- Thimble
- Preparing the workplace
- How to calculate thread consumption
- Let's start cross stitching
- How to Embroider on a Hoop (for Beginners)
- Embroidery design
- Easy Cross Stitch Patterns (for Beginners)
- How to read a diagram correctly
What is a cross and what types of it exist
Cross stitch is the superposition of one diagonal thread on another. The beauty and realism of the element depends on the type of stitches:

- counted - a stitch in which it is necessary to count the threads in the canvas;
- free - a seam according to a previously drawn pattern.
The counted version includes most varieties of cross stitch. Precise execution of the stitching technique is a guarantee of the realism of the final result.
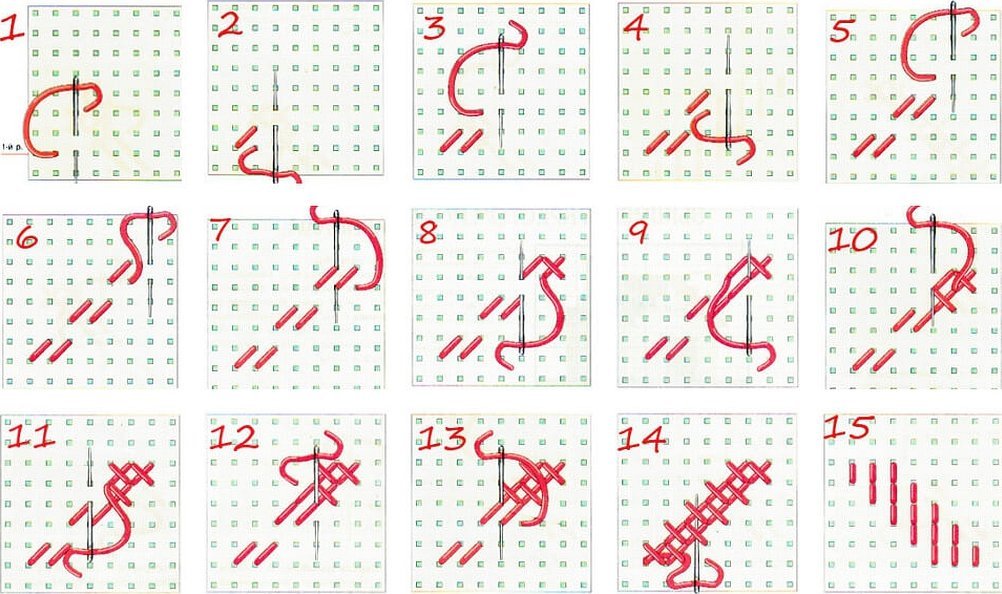
Cross stitching methods and techniques
The type of cross depends on the artistic motif, photo or landscape chosen for embroidery. The right choice of pattern will emphasize the beauty and richness of color shades. The following types of crosses are popular among craftswomen:
- traditional - made with two stitches by placing one on top of the other diagonally and filling a single cell of the canvas;
- half cross stitch – or 1/2 cross stitch, embroidered like the previous version, only in one direction in the form of satin stitch;
- 1/4 cross – a combination of the first two options, is a small cross located in 1/4 of the canvas cell;
- 3/4 cross stitch – an unfinished version, as a result of which an incomplete diagonal stitch is first embroidered, and then 1/4 cross stitch in the opposite direction, but up to half of the next incomplete element;
- extended – a standard option, placed not on 1 cell of the canvas, but on 2 or 3;
- Double - the second name is Bulgarian, where the lower part is a classic cross, and the upper part is vertical. It has a square shape and can occupy 4 cells of the canvas.
Important! Mastering the basics of embroidery will help you take the lesson "Cross Stitching" - a master class, and it is also necessary to purchase hoops and specially prepared patterns with crosses placed on them.
How to secure the thread to the canvas
High-quality embroidery largely depends on the way the thread is secured at the beginning and end of the work. At the beginning of the embroidery, it is necessary to insert the needle from the front side approximately 2-3 columns from the beginning of the motif. The next step is done in a horizontal position opposite the knot, stitches are laid from left to right, the knot is cut off and several stitches are made from the back side to close the cut floss.
To secure the thread at the end of the embroidery, the needle should be pulled out, having first stepped up diagonally a few cm. Then the area will be covered with crosses of the next color.
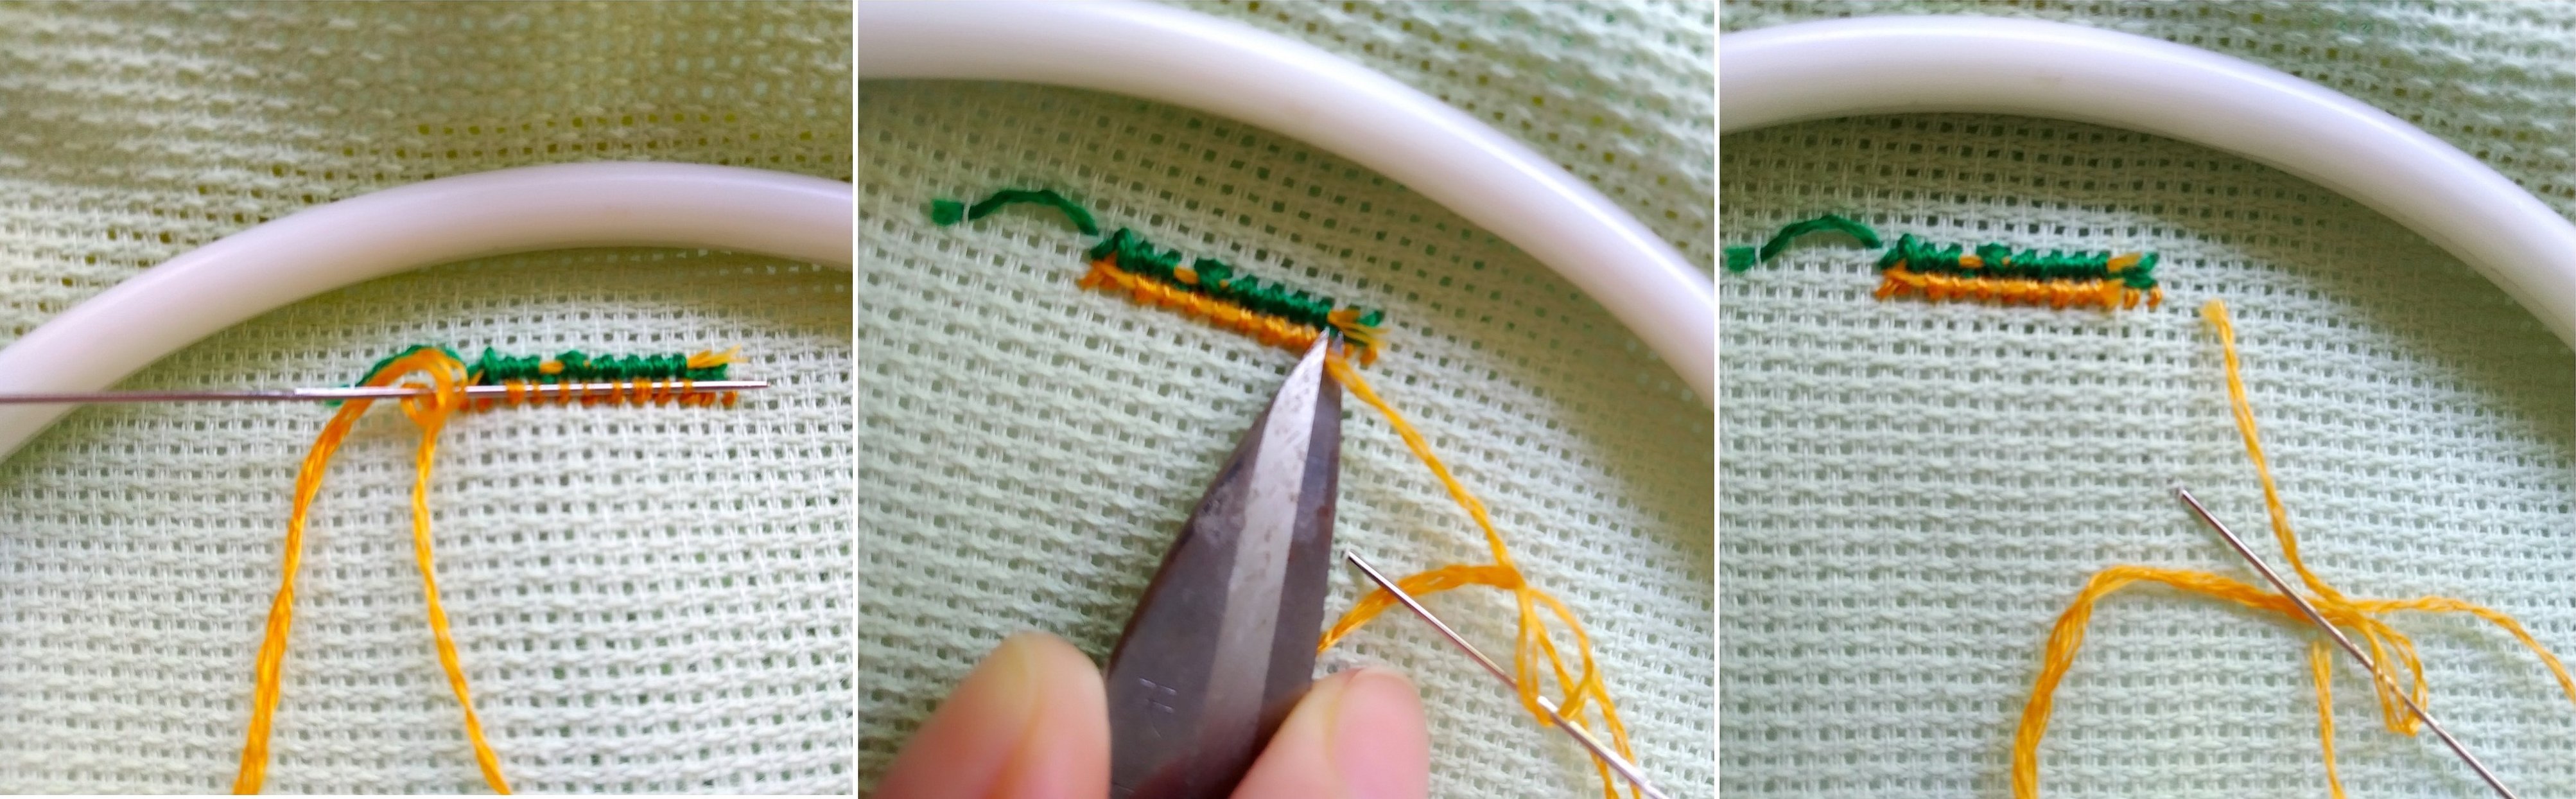
Important! The needle puncture is not done at this stage, since the stitch may shift on the embroidered canvas.
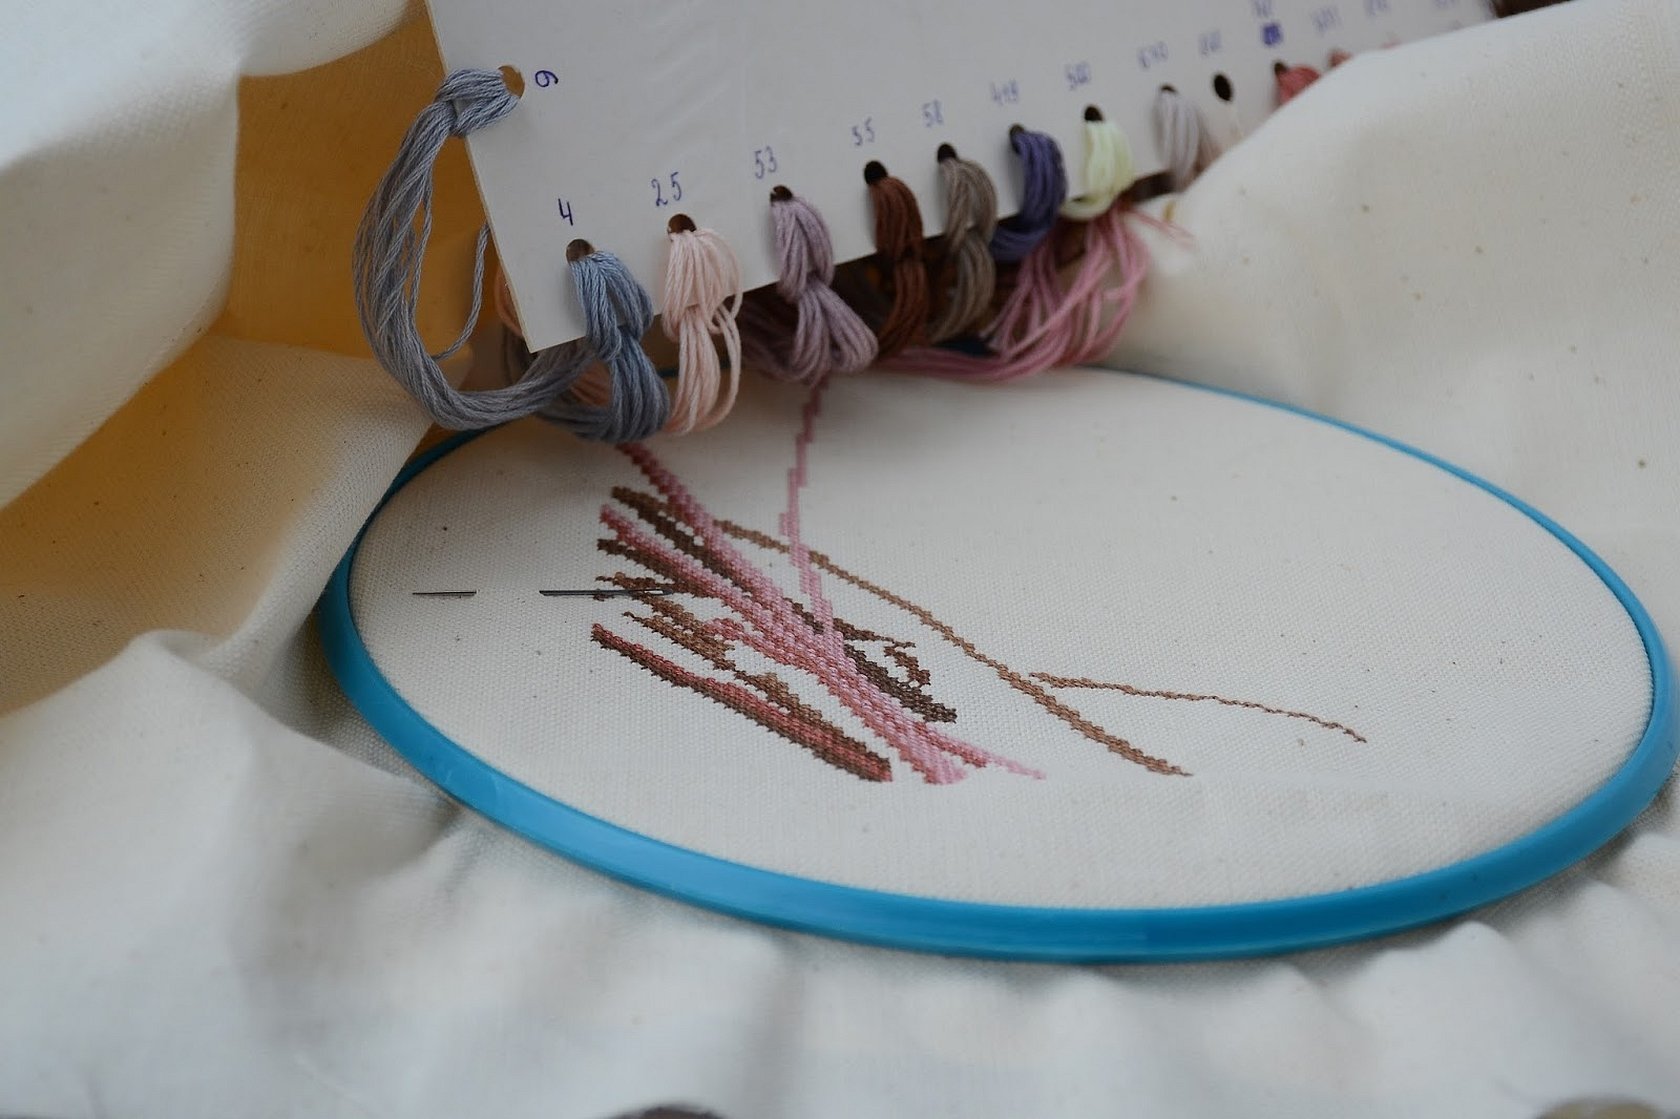
Selecting and working with floss
Mouline threads are factory-made or hand-made threads used for embroidery and other work with fabric. The choice and work with the floss depends on the complexity of the picture. The practical experience of craftswomen shows that the best ones are simple cotton or silk ones. In some situations, in order to implement the motif, it is recommended to use wool floss.
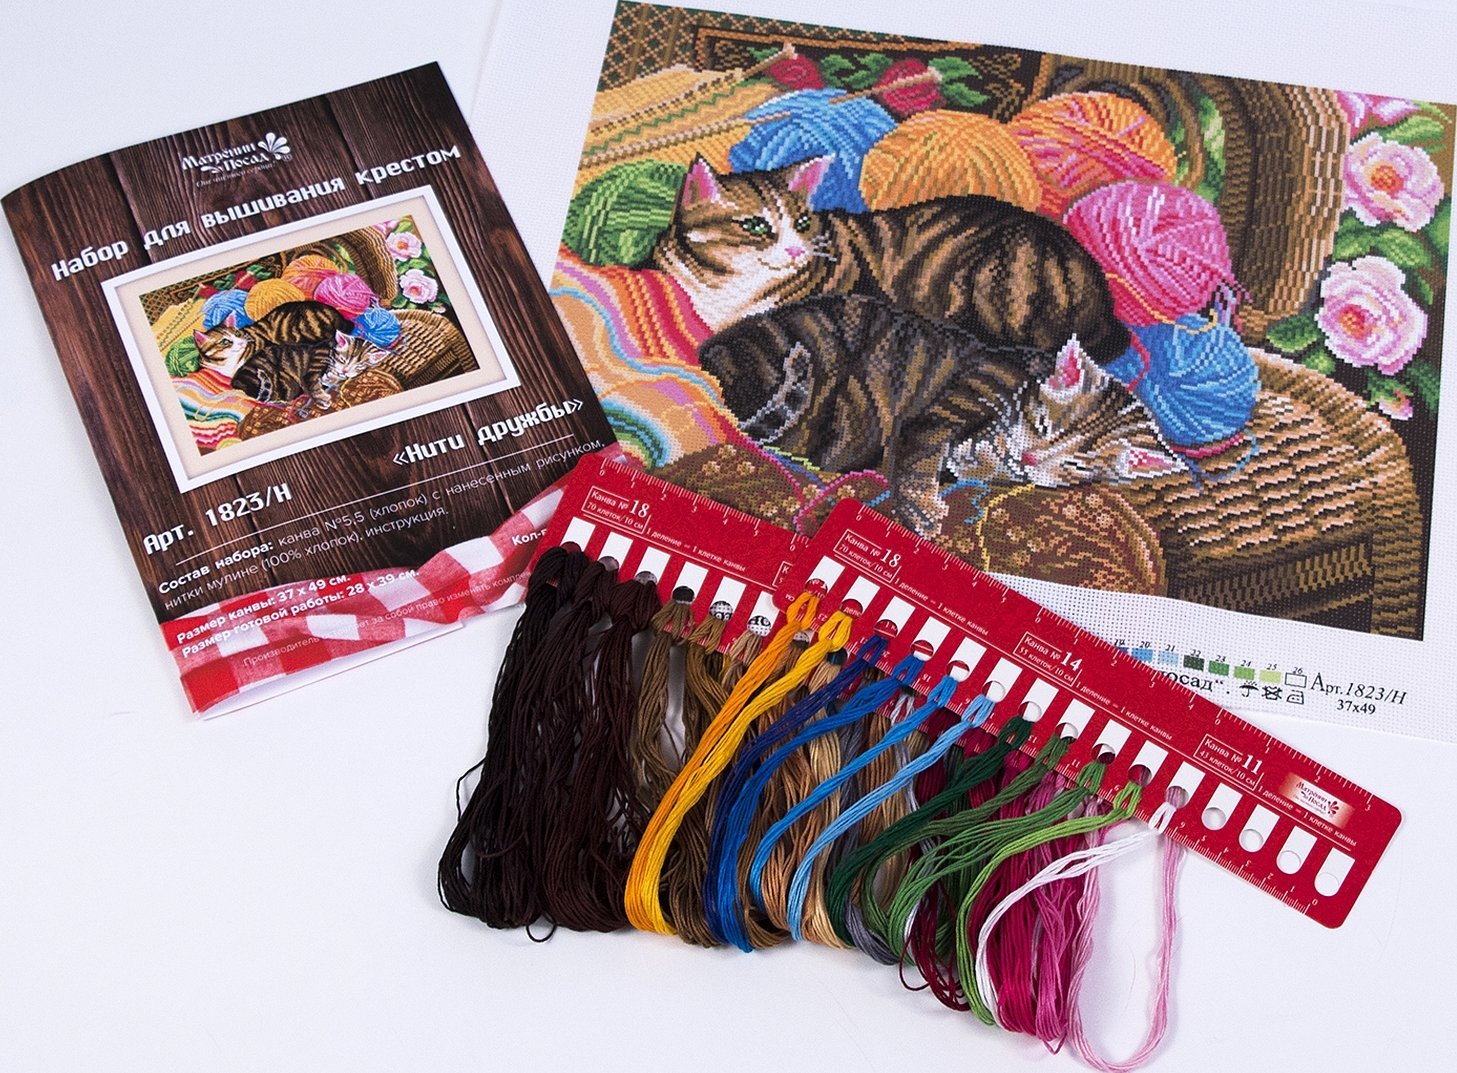
The variety of color shades does not limit the choice. These are classic and rare tones, monochromatic and melange, the choice of which depends on the complexity of the graphics and the degree of professionalism of the needlewoman.
Materials and tools for work
The standard set of embroidery tools includes a needle, thread, hoop, canvas and thimble.
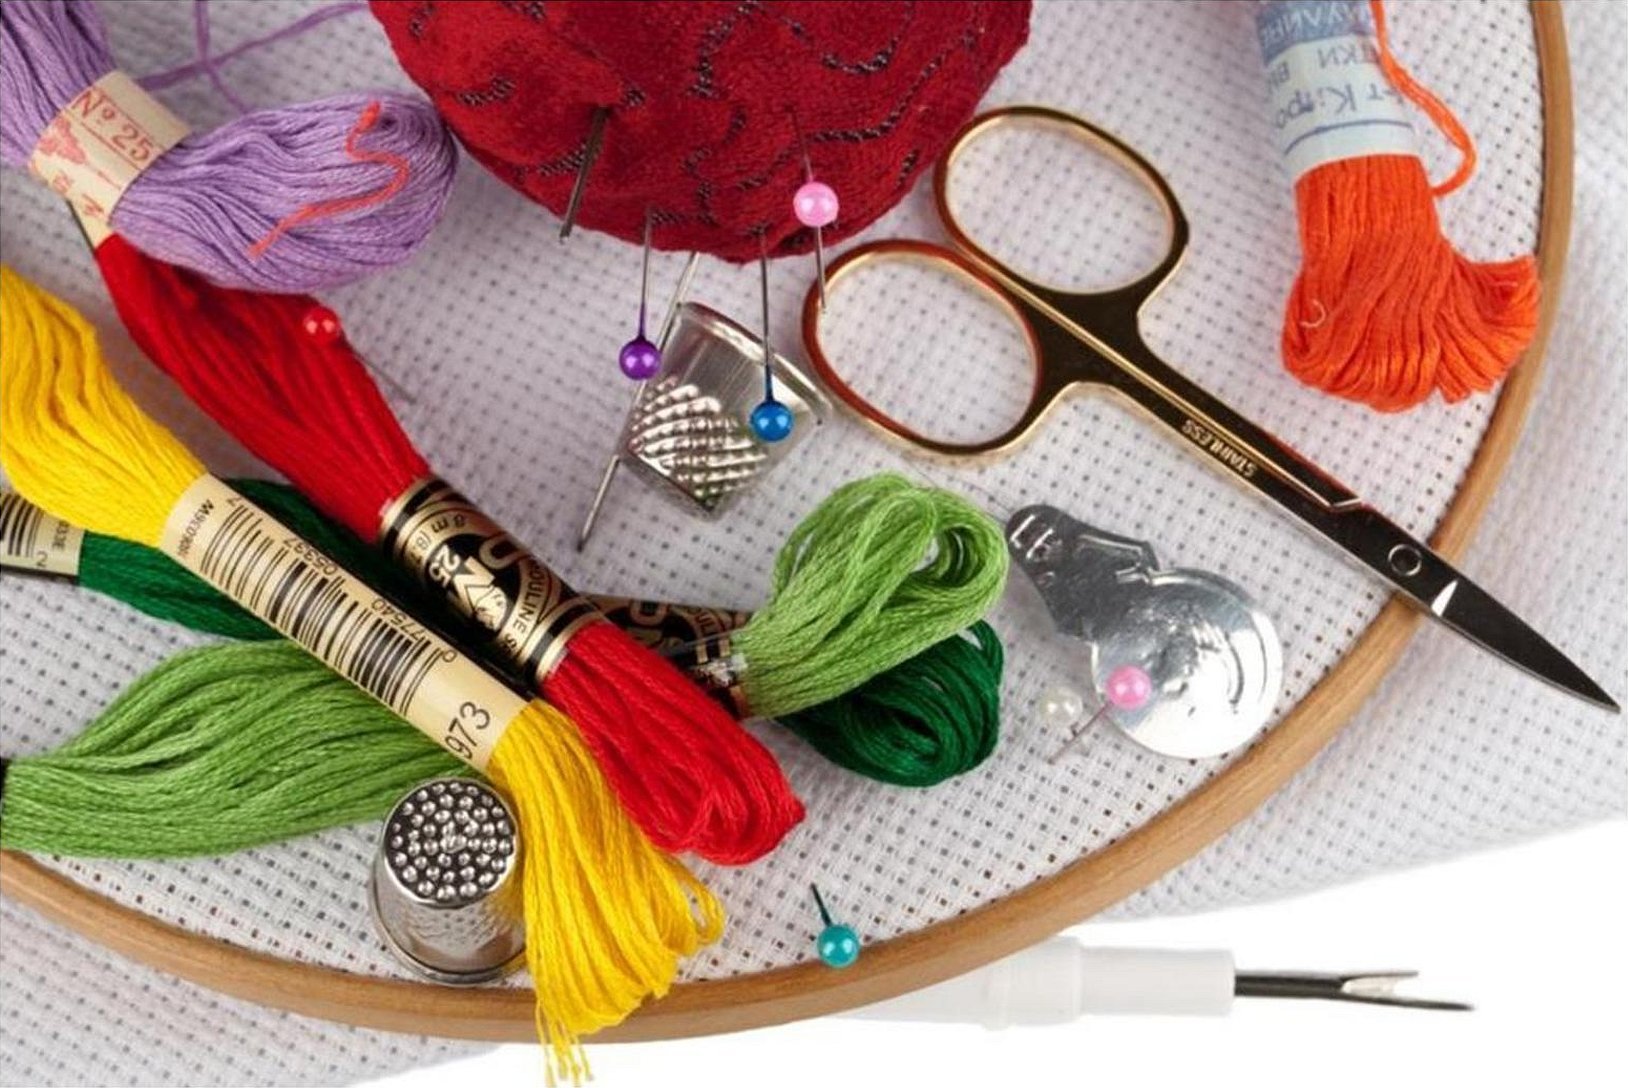
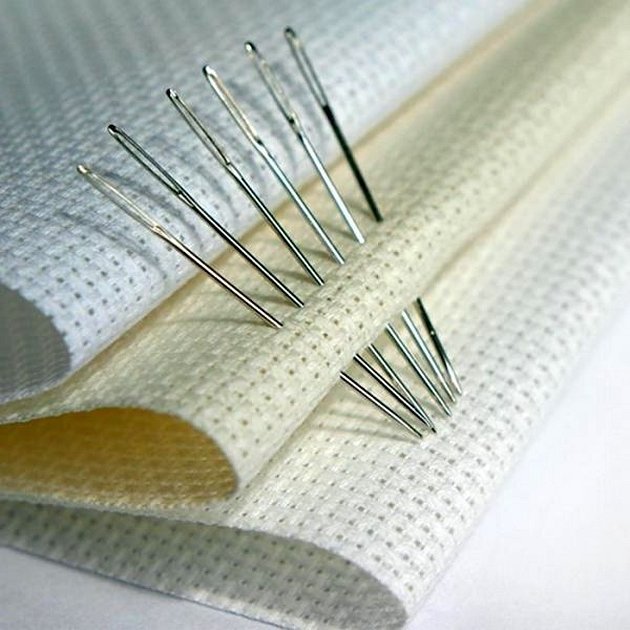
Needles
Cross stitching does not require a special needle. Pictures embroidered with floss threads will be realistic if you follow these tips:
- the shape of the needle and the size of the eye should be such that the thread easily passes through the canvas and does not become deformed;
- For large weave canvas, a blunt needle of medium thickness is recommended;
- The thicker the canvas, the thinner the needle you should choose.
Canvas
Canvas is a cloth for embroidery with numerous cells. It can be linen, cotton, or combined. The base size is indicated on the cloth:
- number 14 (55 cells x 10 cm) – characterized by a large cell, recommended for beginners;
- number 16 – (60 cells x 10 cm) – the size of the crosses is small in comparison with the previous version;
- number 18 – (72 cells x 10 cm) – a canvas with numerous small cells, in demand by women with experience, allows you to create real masterpieces.
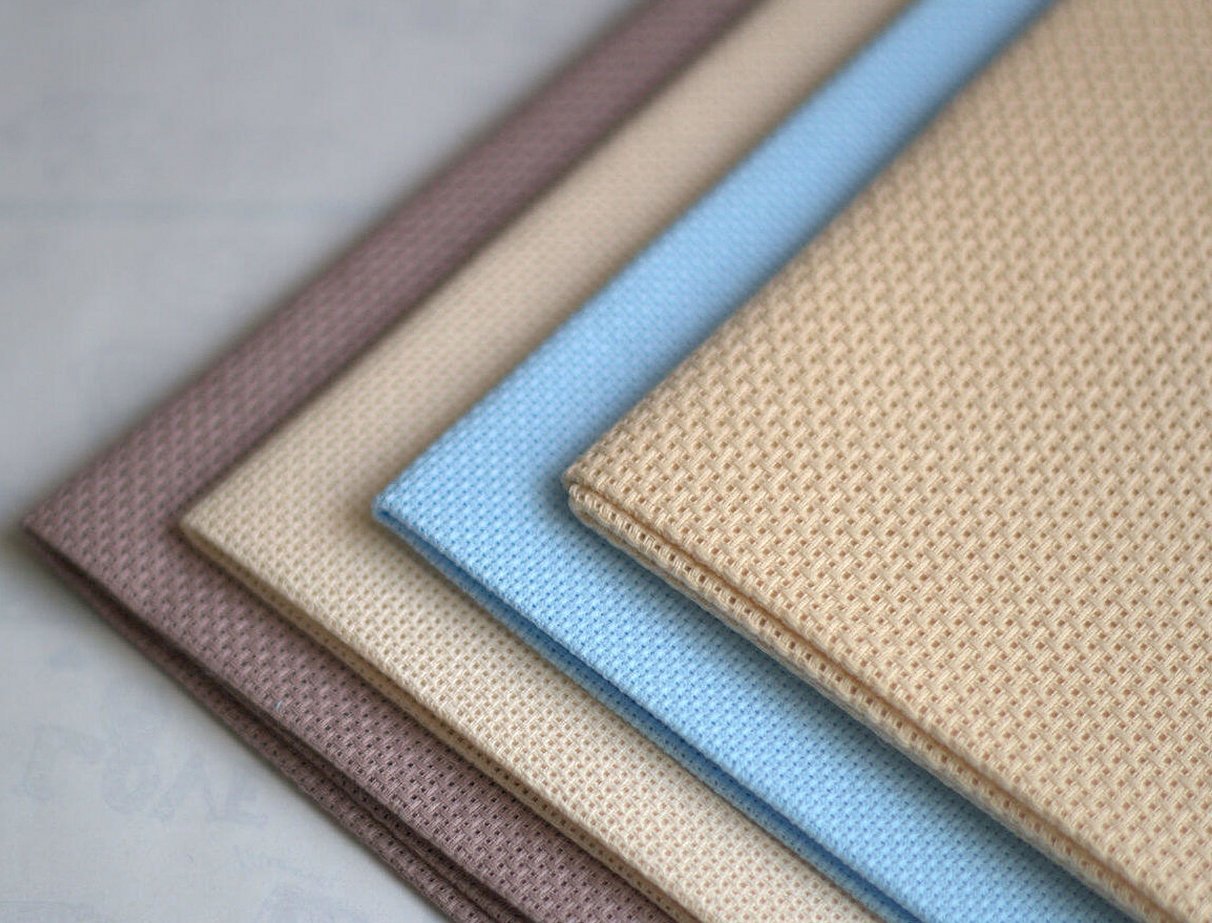
Important! When working with cotton canvas, shrinkage is possible after washing (along the grain line). In order for the picture to remain symmetrical, it is important to cut the material correctly.
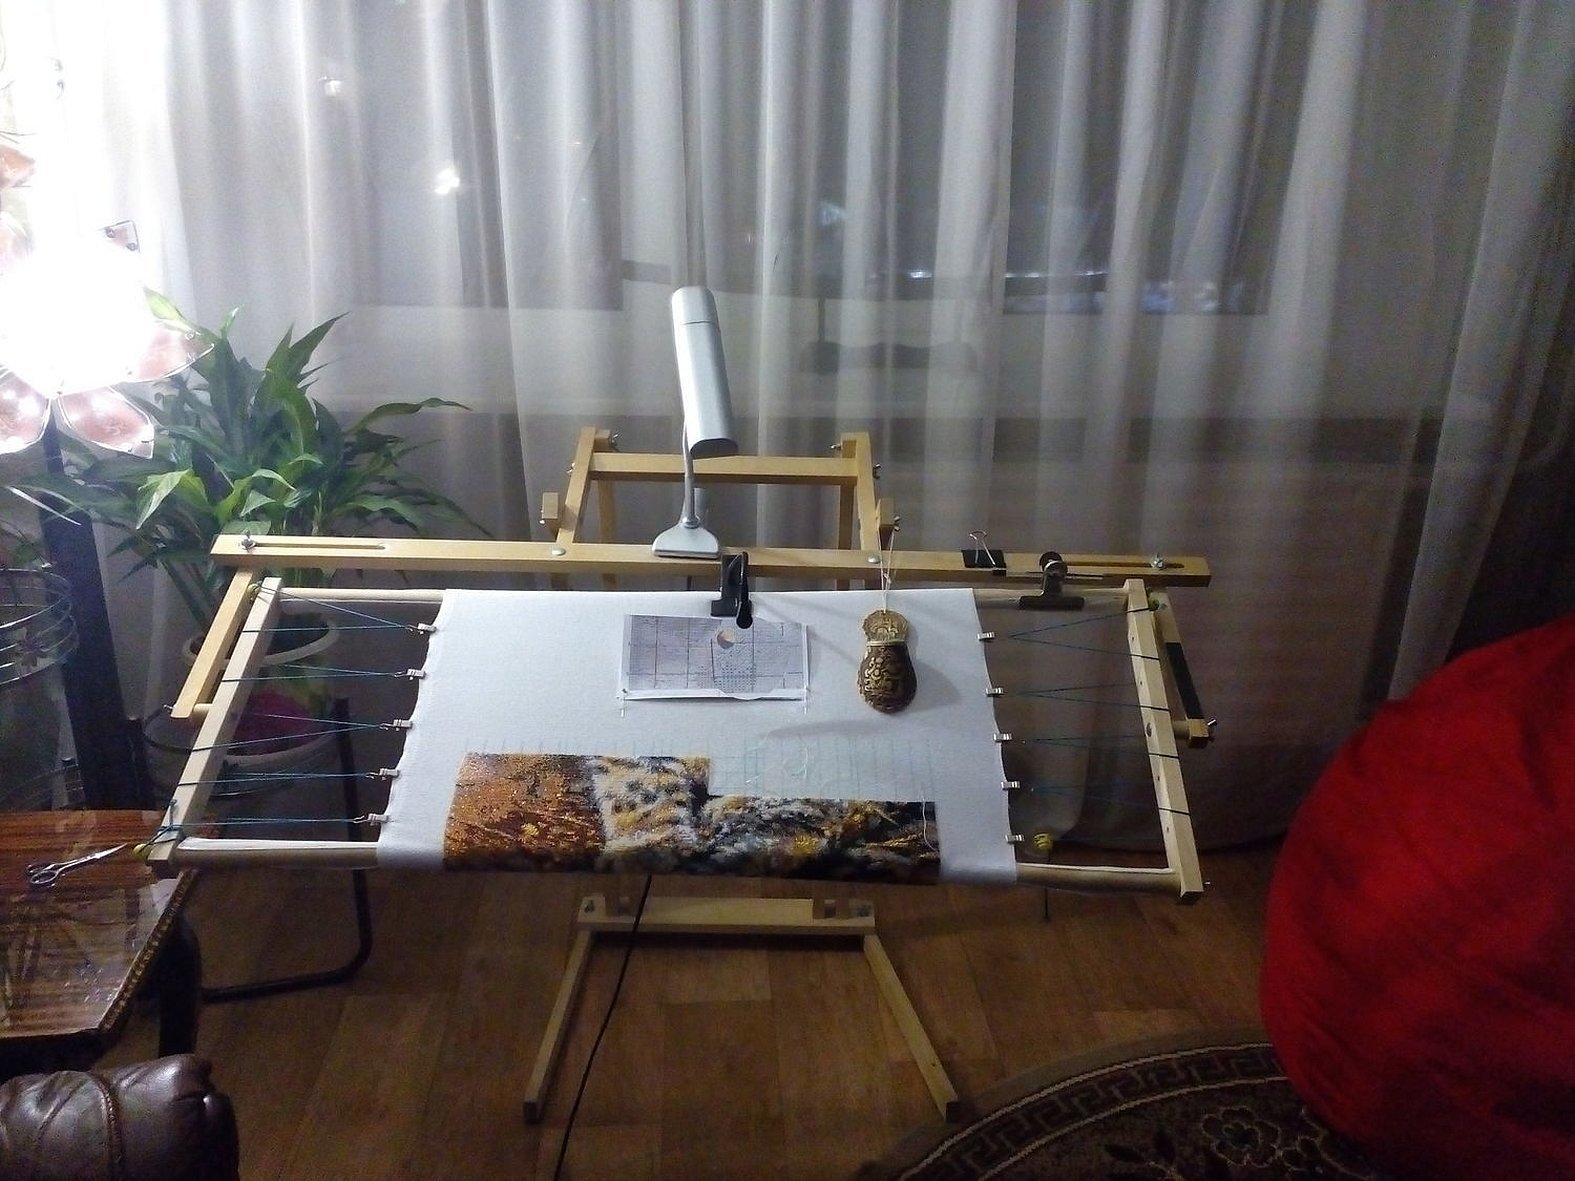
Embroidery hoop
The main purpose of the hoop is to stretch the canvas. The device is available in plastic, wooden, chair and frame versions. The first version is embroidery on the hoop for beginners and children, the second is professional, for working with fabric of different thickness, the third is for making serious paintings that require long-term strain on the hands, the last of them is a universal version.
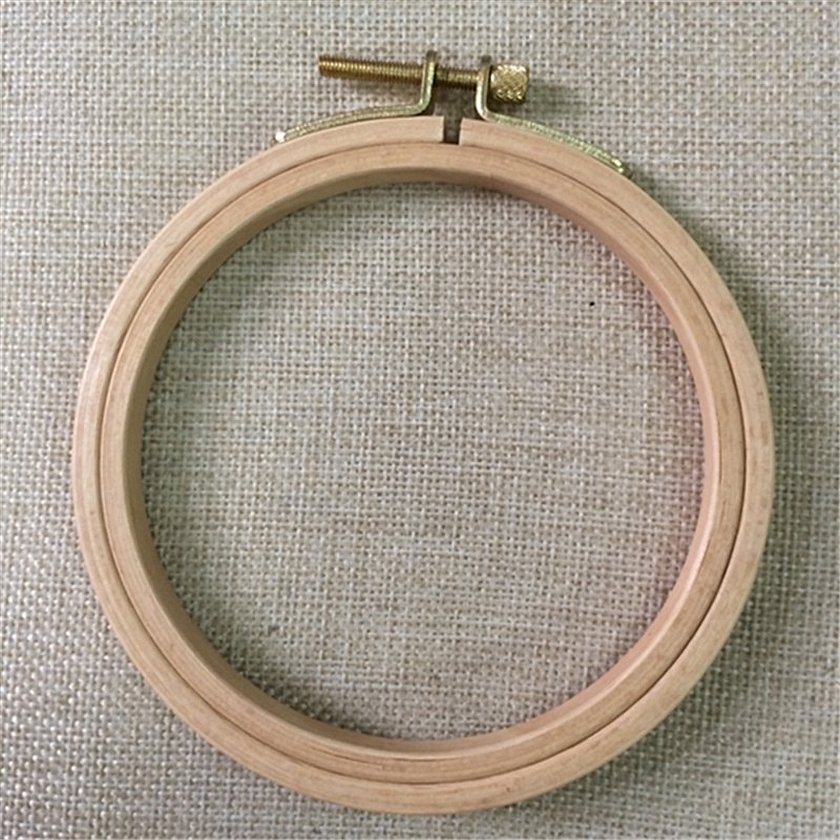
Please note! The size of the hoop depends on the scale of the painting. The larger they are, the less threads are secured and the more convenient it is for the needlewoman, and the less risk of damaging the canvas.
Thimble
A device that protects fingers from accidental piercing. The practical experience of craftswomen shows that old grandma's thimbles made from a metal base are the most effective.
Preparing the workplace
Embroidering pictures is time-consuming.
Requires perseverance and patience from the needlewoman. For these reasons, the workplace should be comfortable and convenient. The following will help ensure compliance with these requirements: a soft comfortable chair and daylight (if there is none, artificial lighting). Other requirements for creating conveniences in the workplace are individual in nature.
How to calculate thread consumption
The consumption of material and threads is calculated in accordance with the parameters of the material and the complexity of the chosen motif. Beginners are recommended to use ready-made works consisting of a 25 × 25 cm canvas, a pattern and the required amount of floss.
Professionals prefer canvas #16 and #18 with small cells and complex patterns. In such situations, needlewomen use individual patterns, the development of which is carried out using special programs. The floss selection table will allow you to accurately determine the color shades and the required number of threads.
Let's start cross stitching
The initial stage of cross stitching is processing the edges of the canvas. The work begins with smearing the edges with special glue or hand overcasting. To make the work easier, the canvas needs to be marked. To do this, the canvas is folded in half and ironed, and a pencil is used to mark out 10 x 10 cm squares.
The canvas is attached to the hoop smoothly and easily. Strong tightening and distortions will lead to subsequent deformation. The canvas will be damaged.
Important! When marking the canvas, it is necessary to leave 5 cm of material for allowances. If the picture involves a large amount of empty background, it is worth considering the parameters of the indent from the motif to the frame.
How to Embroider on a Hoop (for Beginners)
You should start with cross stitching of one color. Step by step it looks like this:
- the craftswoman decides on the start of embroidery;
- floss colors are sorted by shades;
- the thread is secured to the needle and canvas;
- a comfortable position is chosen;
- The correct direction of the cross is determined.
Usually, before starting work, each beginner has detailed instructions, which describe in detail how to cross-stitch pictures. Regardless of the complexity of the motif, the beginner must familiarize himself with the types of stitches.
Embroidery design
Once the painting is completed, the applied markings are removed from the work, the canvas is washed in a warm soap solution, dried in a vertical position and ironed with a steam iron. The finished painting is attached to a frame or framed using special baguettes.
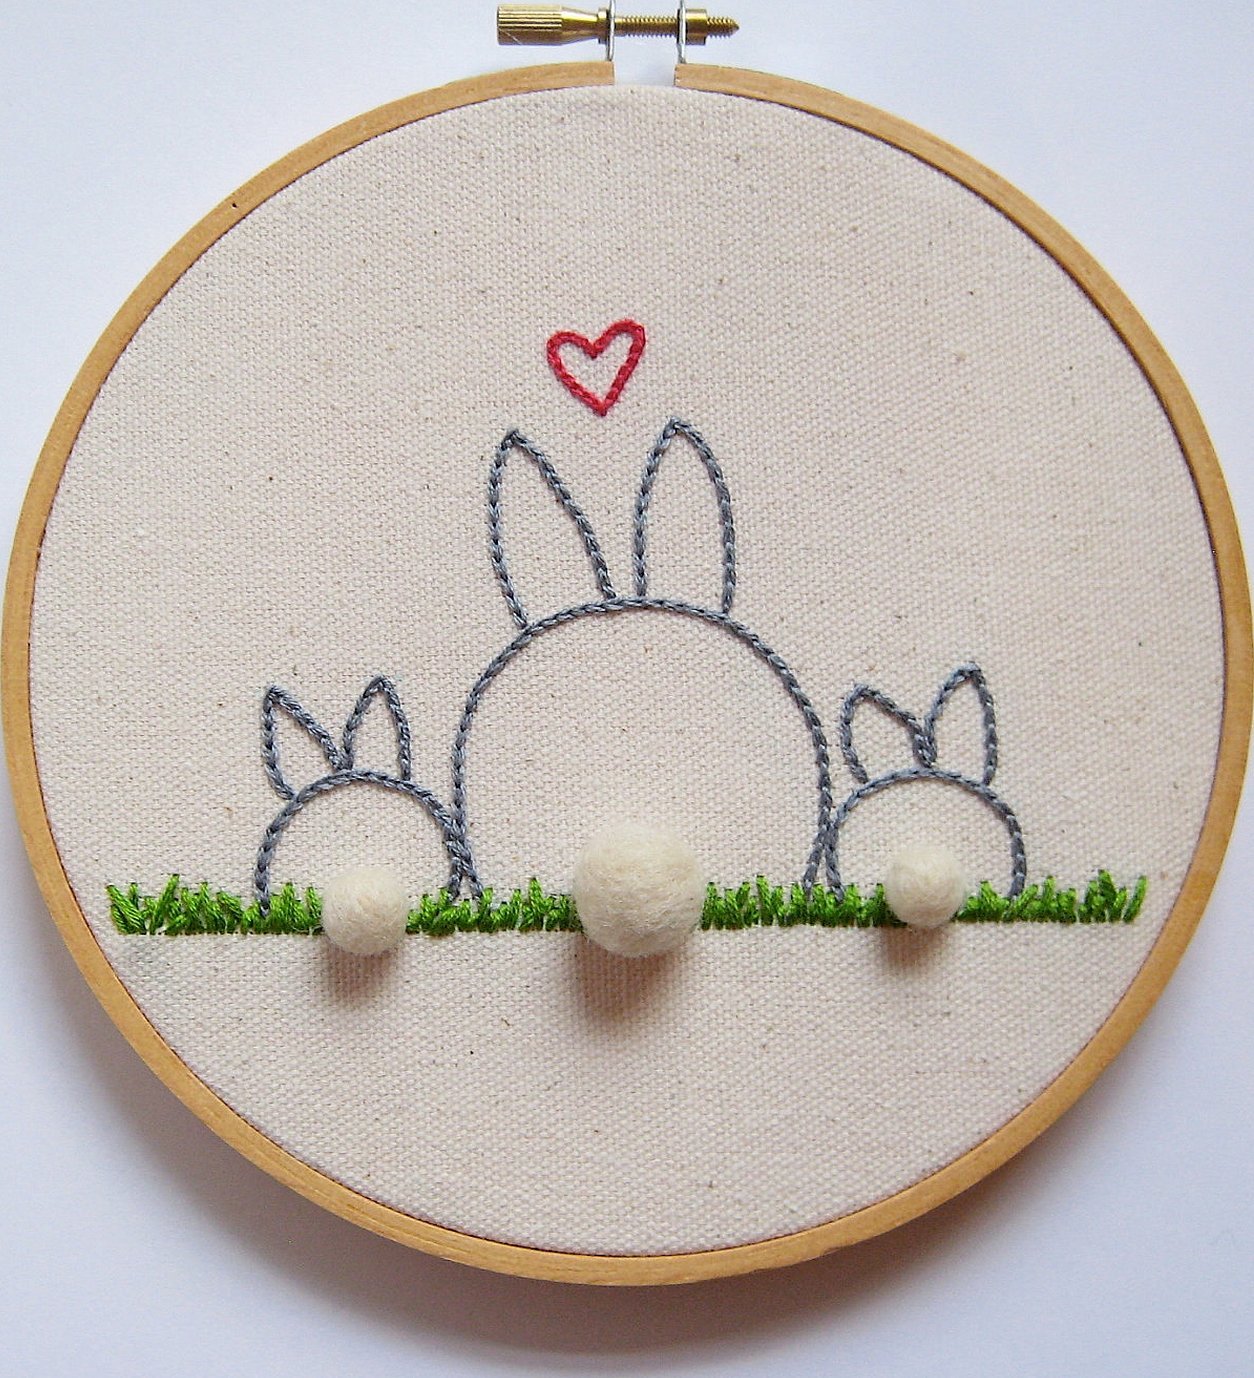
Easy Cross Stitch Patterns (for Beginners)
Simple embroidery patterns – drawings with a minimum set of colors (up to three), small and light, for example, a butterfly with red, yellow and blue shades of wings. Designed to familiarize with a certain technique. Suitable for those who picked up threads and a needle for the first time. Patience and perseverance, as well as a master class for beginners in cross stitching, will bring the beginning embroiderer the skill and experience so necessary in this craft, as well as a sense of satisfaction from a new hobby.
How to read a diagram correctly
Embroidery on hoops can be black and white or multi-color, where a certain tone is assigned to each cell for the cross. Modern charts can be marked with digital and symbolic designations. At the bottom of the image, next to the designation, there is information with the number of the color shade of the floss. Empty cells can mean gaps or a pastel shade - full information about this is written in the key.
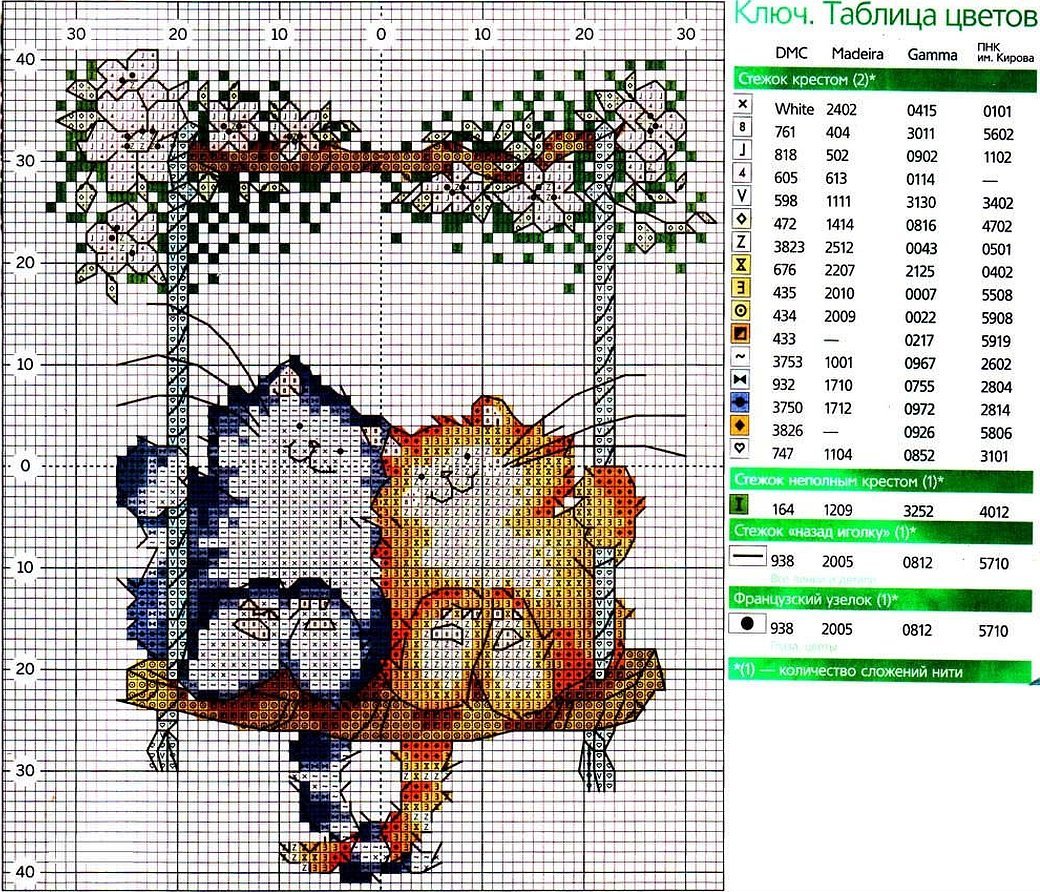
Important! Before starting work, the needlewoman must study the keys, decipher the meanings and try to meet the requirements of each indicated designation, otherwise the work risks losing all the beauty of the palette used and the saturation of shades.
Cross stitching is a hobby for the assiduous and patient. Learning the types of stitches, cross stitching techniques, and the rules for deciphering patterns can all guarantee the creation of a beautiful painting.


