"Backstitch" or "back" is a type of stitch in embroidery. The second name is the "back stitch". In literal translation from English, this term sounds like "back stitch". Is "backstitch" necessary in embroidery, what types of backstitch are there, what materials and tools are needed to perform the stitch, how to embroider using the "backstitch" technique are described below.
- What is "back" in cross stitch
- Types of "backstitch seams"
- Materials and tools
- Step-by-step implementation of "Bextitch"
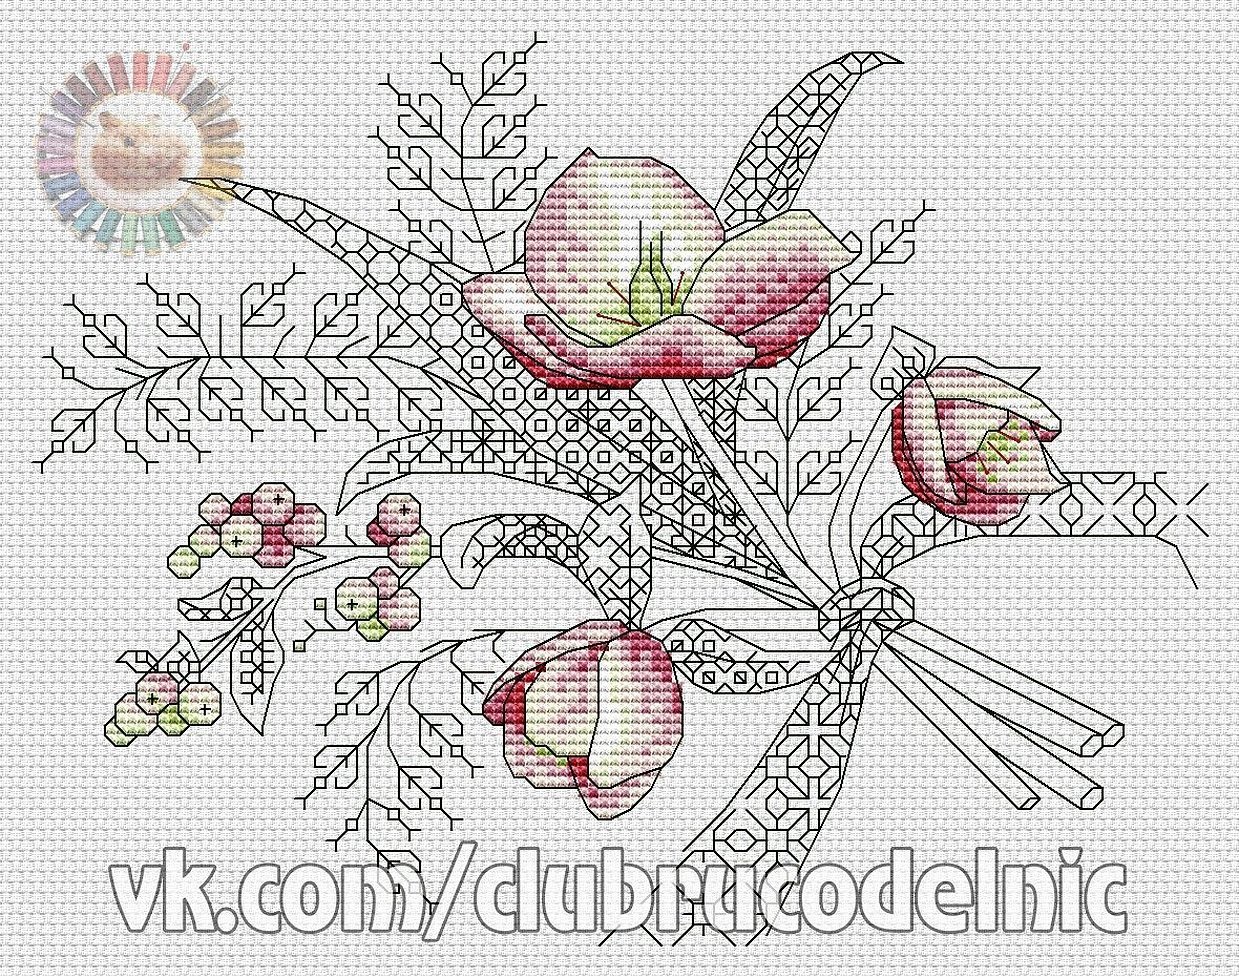
- "Backstitch" on small embroidery
- "Backstitch decor" for combined embroidery
- "Backstitch" on expensive embroideries
- Embroidery of alphabet and numbers using "backstitch"
- Some rules of "backstitch"
What is "back" in cross stitch
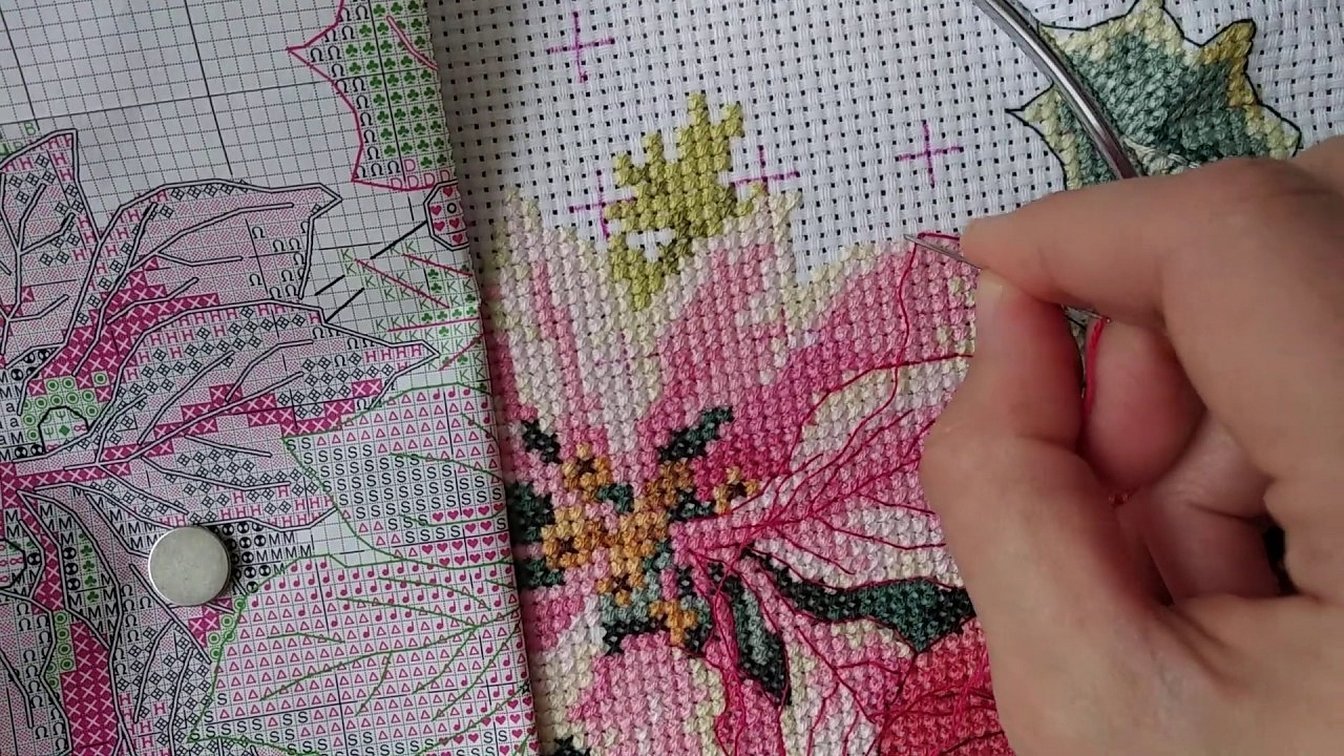
This is a type of stitch used in embroidery to form the outline of a design and create a border. It is also used to highlight small details, such as floral ornamental elements or fine lines of images.
"Backstitch" in cross stitch is used in small paintings, in combined embroidery, in decor and in volumetric compositions with a large number of elements. This technique is also used to idealize a painting when viewed from afar and very close up. It is not used to hide flaws in the pattern and unskilled embroidery. It is believed that this cannot save the work, on the contrary, it can only spoil, roughen and cheapen it.
Types of "backstitch seams"
At the moment, there are four main types of backstitch. There is the "Whipped thread" technique. This is the classic "back needle" version. First, a traditional line is sewn, as in the image and instructions, then a thread of a different color is used under each stitch.

The "Cascade" method uses a classic stitch, but the thread does not stretch. A wave is imitated. The result is a unique multi-colored cascade.

According to the "Double Cascade" method, as in the previous case, a seam is made traditionally and the thread is not tightened, but the second cascade is made with a thread of a different color. The loops of the seam are located at the loops with the first cascade. As a result, several waves are obtained next to each other.
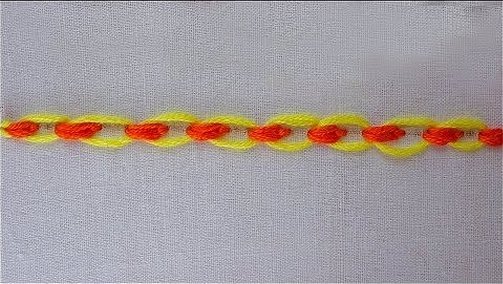
There is another embroidery technique – “two-line” stitch. For it, several “back” stitches are made with one color. Then double cascades are made. The thread is passed through several stitches at once.
Among the non-traditional types, we can highlight quilted, hand, piece, relief, and lapped stitches. We can also note the technique of "silk stitches", "herringbone", and "twist".
Materials and tools
For backstitch embroidery, you need fabric, thread, and a needle. The needle should be selected so that it does not leave large holes in the fabric. Accordingly, the thread should pass through the eye of the needle and be of the appropriate size.
Please note! To make a beautiful "back seam", you need to use a needle with a sharp tip. Then it will be easier to make punctures in the fabric when working. This is especially important when marking contours in cross stitch.
Recommendation: to make the outlines, you should use a thin needle. Otherwise, you can damage the crosses.
To connect the parts, you should use stronger coloured bobbin threads that match the colour of the fabric.
Before creating stitches in cross stitch, it is necessary to make outlines and use simple floss threads. Before forming stitches in canvas with the appropriate technique, it is necessary to choose a canvas where the threads are evenly intertwined with each other.
Step-by-step implementation of "Bextitch"
Before doing "backstitch" in cross stitch, you must take the canvas with threads. Wash and iron the material. If you do not do this, you still need to wash the canvas after embroidery. The threads will not shrink like the fabric and will lie untidily.
Before work, it is worth checking whether the selected and purchased floss does not shed. Buy only high-quality samples, check them with water.
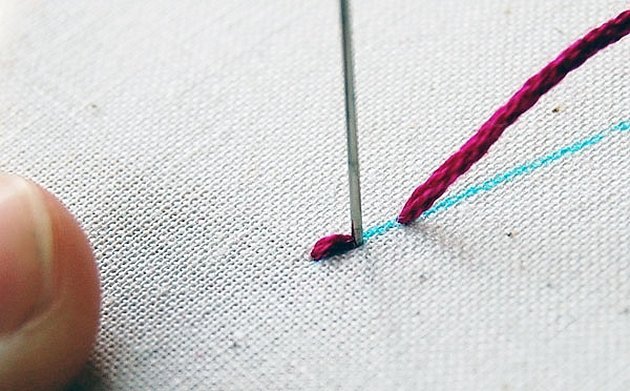
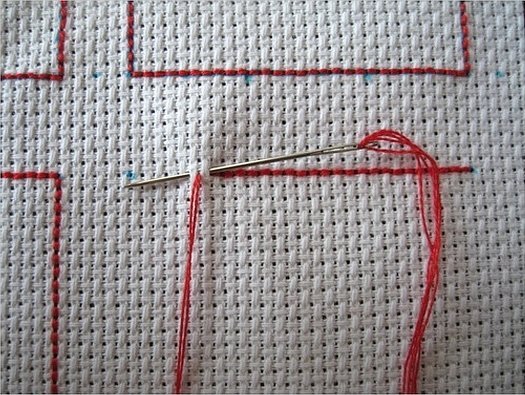
Although backstitching is fairly easy, it does require some skill and dexterity. The backstitch is similar to a regular stitch, but the stitches do not have gaps.
According to the step-by-step technique, first make an indent, insert the needle from the back side. Then make a back stitch and turn the thread back. Insert and get a stitch. Continue the action according to the given pattern. So, from the back side, long stitches should come out, located along the edge of each other. And from the front side, a regular sewing line should come out.
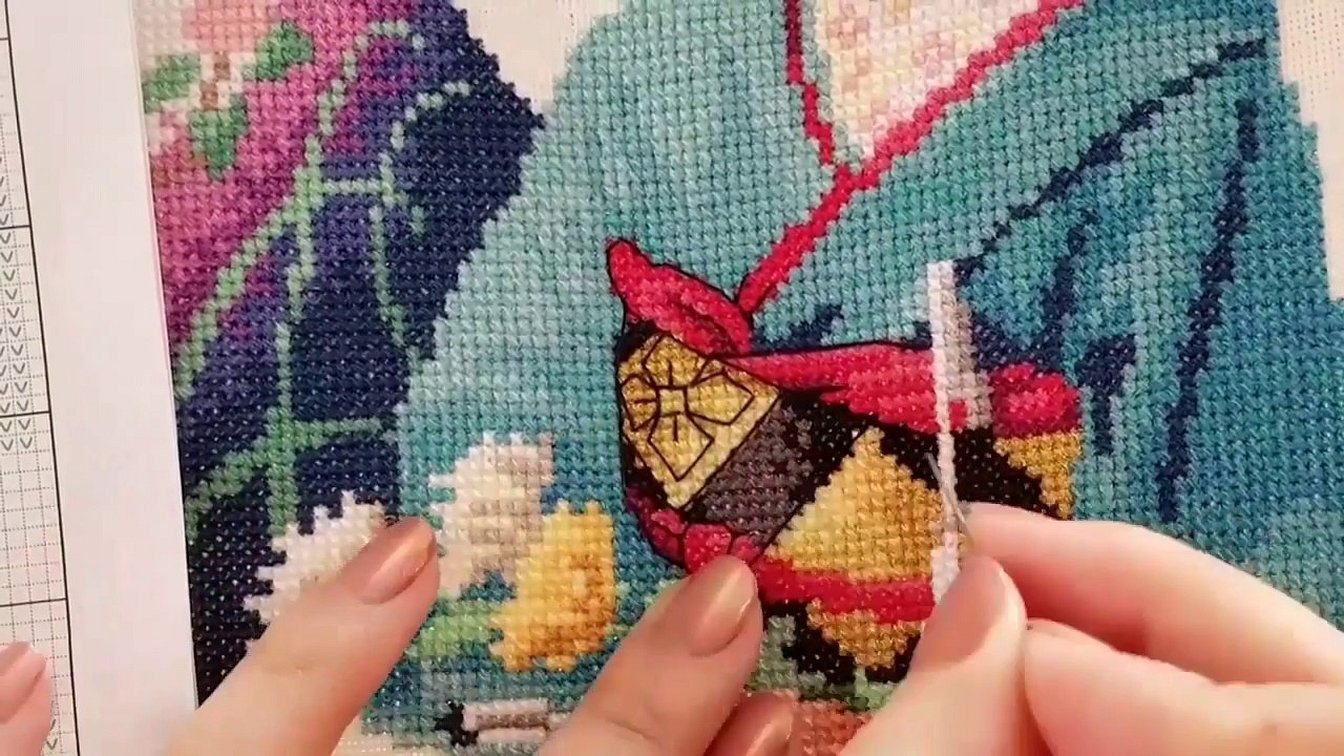
"Backstitch" on small embroidery
The back stitch is a technique of embroidery in small embroideries that is necessary to give the paintings clarity. A small painting can become a good draft and a trial run before a more significant work. The technique will also definitely come in handy to make some decorative elements for clothes, souvenirs and everyday items.
To make a small product, you don't have to buy a pattern. You can download a free one or make it yourself using online services. Then make a beautiful border.
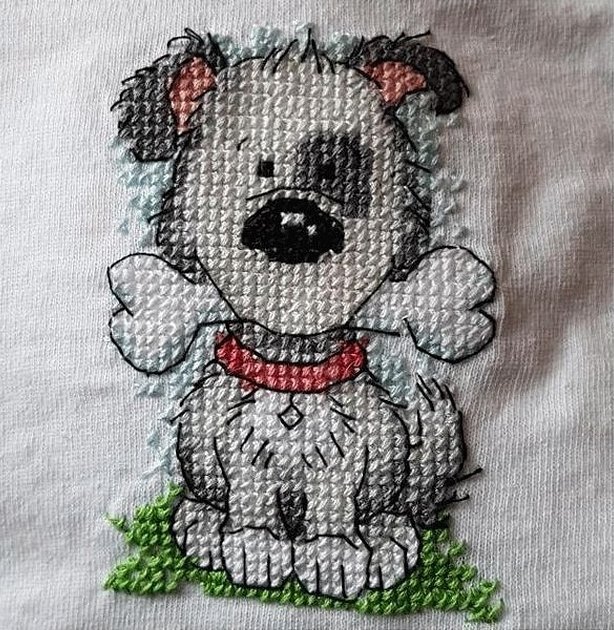
"Backstitch decor" for combined embroidery
"Backstitch" in cross stitch is appropriate as a decorative element. It looks beautiful in products decorated with beads or ribbons. It serves as a full-fledged element on various handicrafts. It is worth noting that "backstitch" has been used for several centuries in the ancient Italian Assisi needlework. They use the classic version of the technique to decorate traditional clothing.
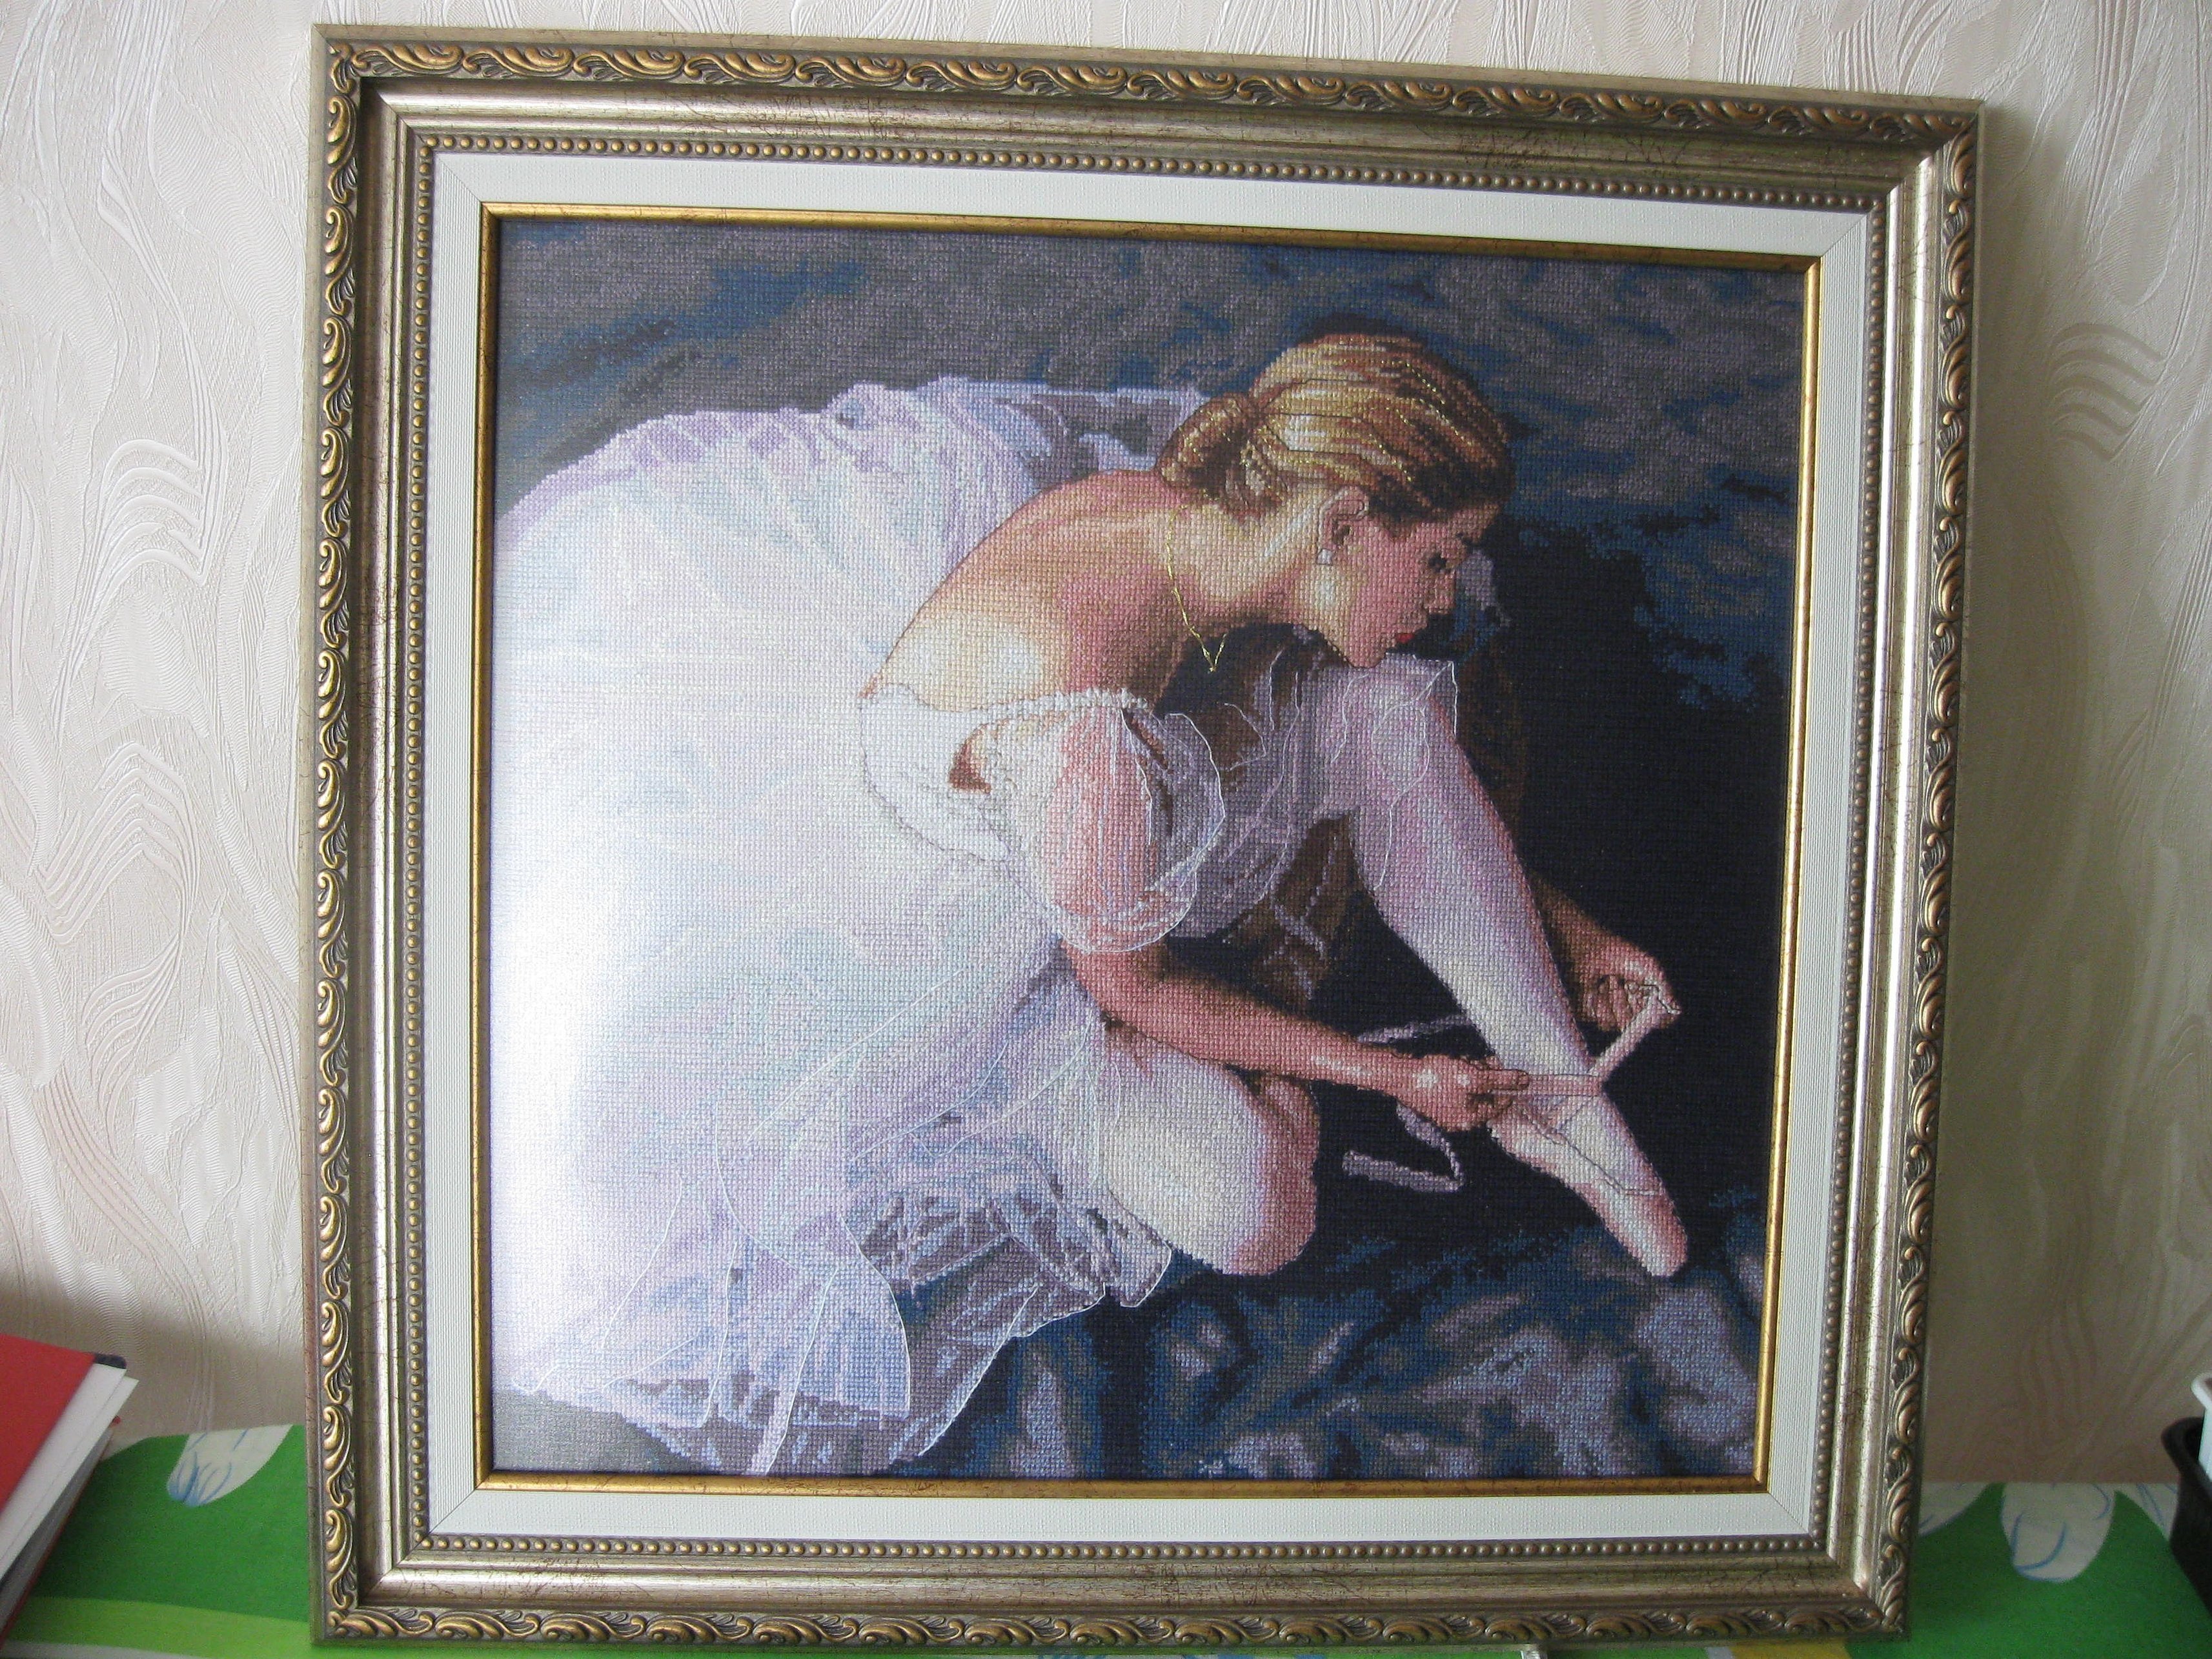
"Backstitch" on expensive embroideries
The backstitch is often not used in embroidery on expensive and large sets, but sometimes it does. Its significance disappears, since such pictures need to be viewed from a decent distance and there is no point in detailing characters or elements. In addition, sometimes such a technique only lowers the cost of expensive works.
It is important to use backstitch correctly when planning to do expensive embroidery. There are successful and unsuccessful examples of its use. Among the successful ones, it is worth highlighting the detailed drawing of the model's hair for embroidery, her necklace or other small elements.
To make a large and expensive embroidery, you can avoid drawing the backstitch yourself and order a diagram online, where the technique will be detailed. Then finish drawing the stitches according to it.
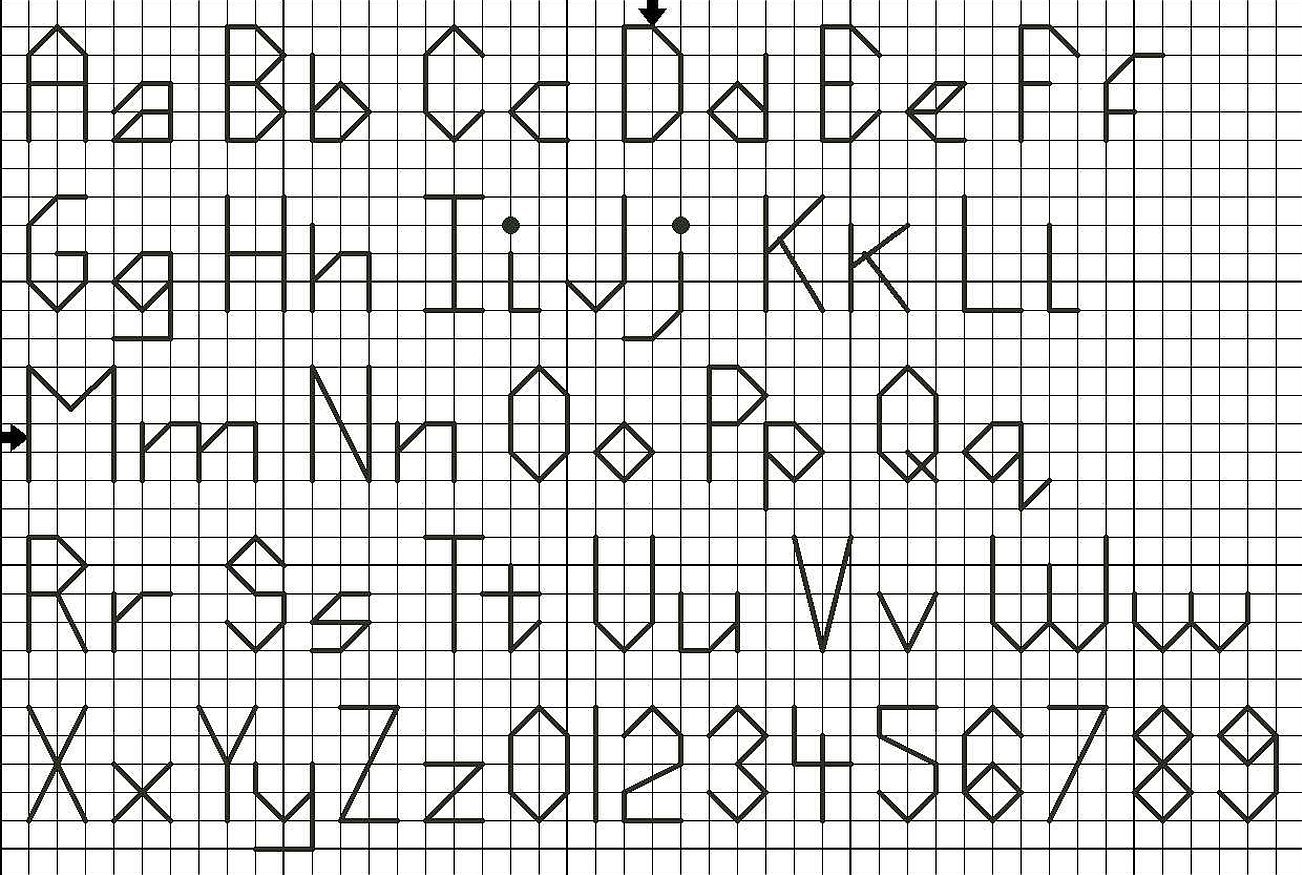
Embroidery of alphabet and numbers using "backstitch"
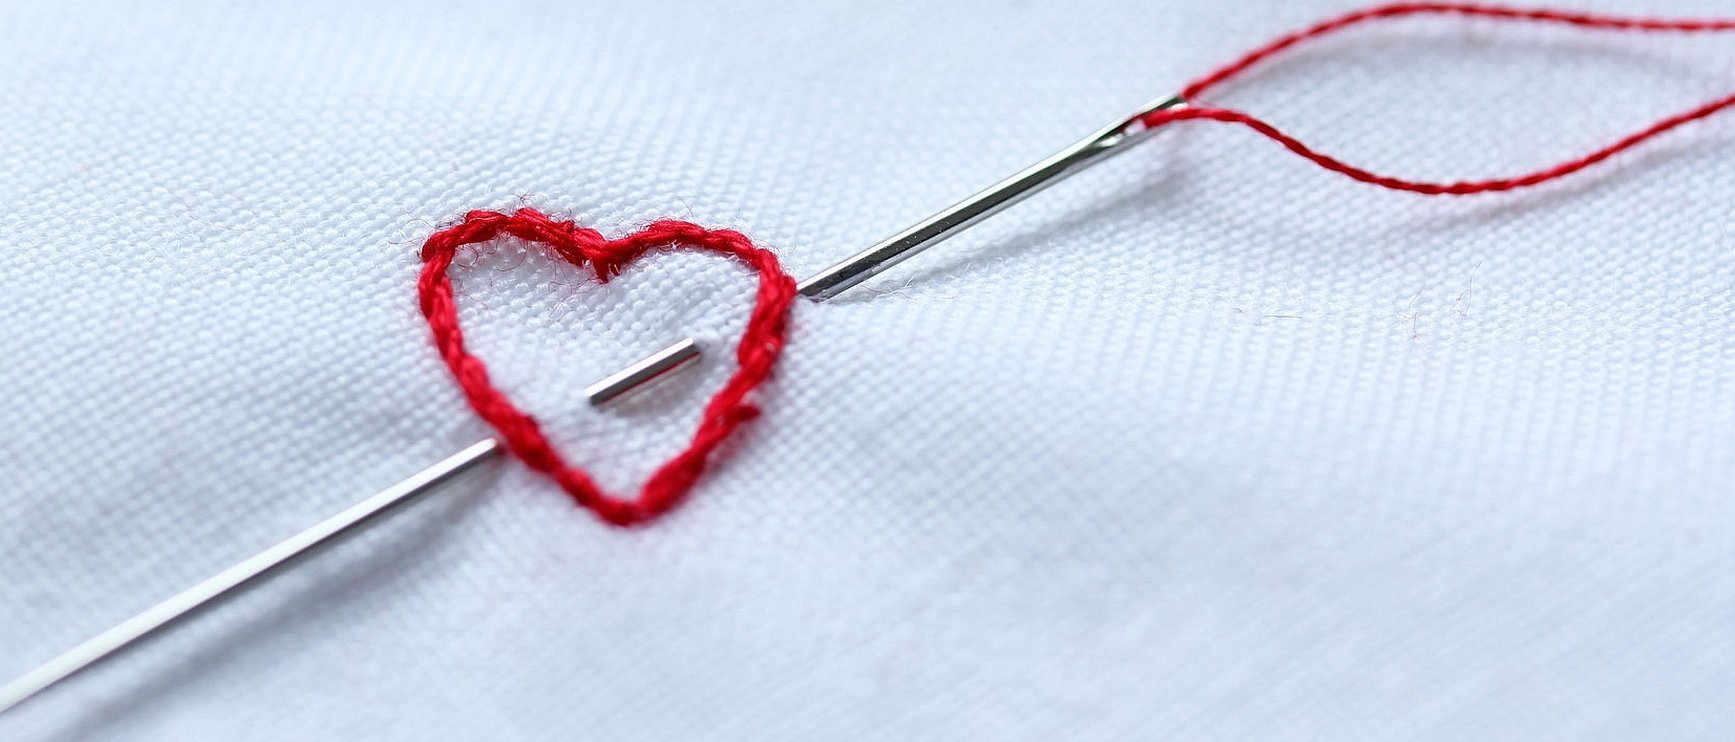
Another popular way to use the backstitch technique is to create letters and numbers. They are embroidered on things and postcards. In addition, this technique is used to sign paintings on large canvases. How is the drawing done then? It's simple: take a pattern and draw letters and numbers on the cells.
On the Internet, you can find both simplified and more complex options along with the answer - "backstitch" - how to embroider step by step. There you can quickly choose a good option for the picture: printed, written or decorative.
Please note! You can enter the word "backstitch" in English into Google, setting the parameter to a bright color, and it will display unusual options for creating letters and numbers in this method.
When using the technique, the main thing is to do everything wisely. Understand the importance and necessity of this or that embroidered detail in the picture, so as not to spoil it or cheapen it.
Some rules of "backstitch"
To make a beautiful stitch in the back technique, you need to remember some rules for creating an ideal pattern. So, it is necessary to make an edging after finishing the embroidery. All stitches should have the same length and direction. If you use the back in the cross technique, you need to focus on the cell sizes before you start decorating the product with edging stitches.
Recommendation! To make a more beautiful stitch, the fabric should be placed in a hoop or stretched tightly in another way. It will be easier to control the thread tension and make stitches.
Also, seams can be made in any direction. Before making them on the final version, you should try on a piece of fabric. For embroidery, you should buy only sharp and thin needles. In this case, it is necessary to wash the fabric after creating the edging and the final product.
In general, "backstitch" is a special technique that should be used in small embroideries, in combined embroideries and large embroidered cross-stitch paintings. It can be used on expensive embroidered compositions and in cases of embroidering the alphabet and numbers. When using this technique, it is important to apply and know some simple rules specified above. This is the only way to get a beautiful and interesting picture that can be hung on the wall and given to friends.


