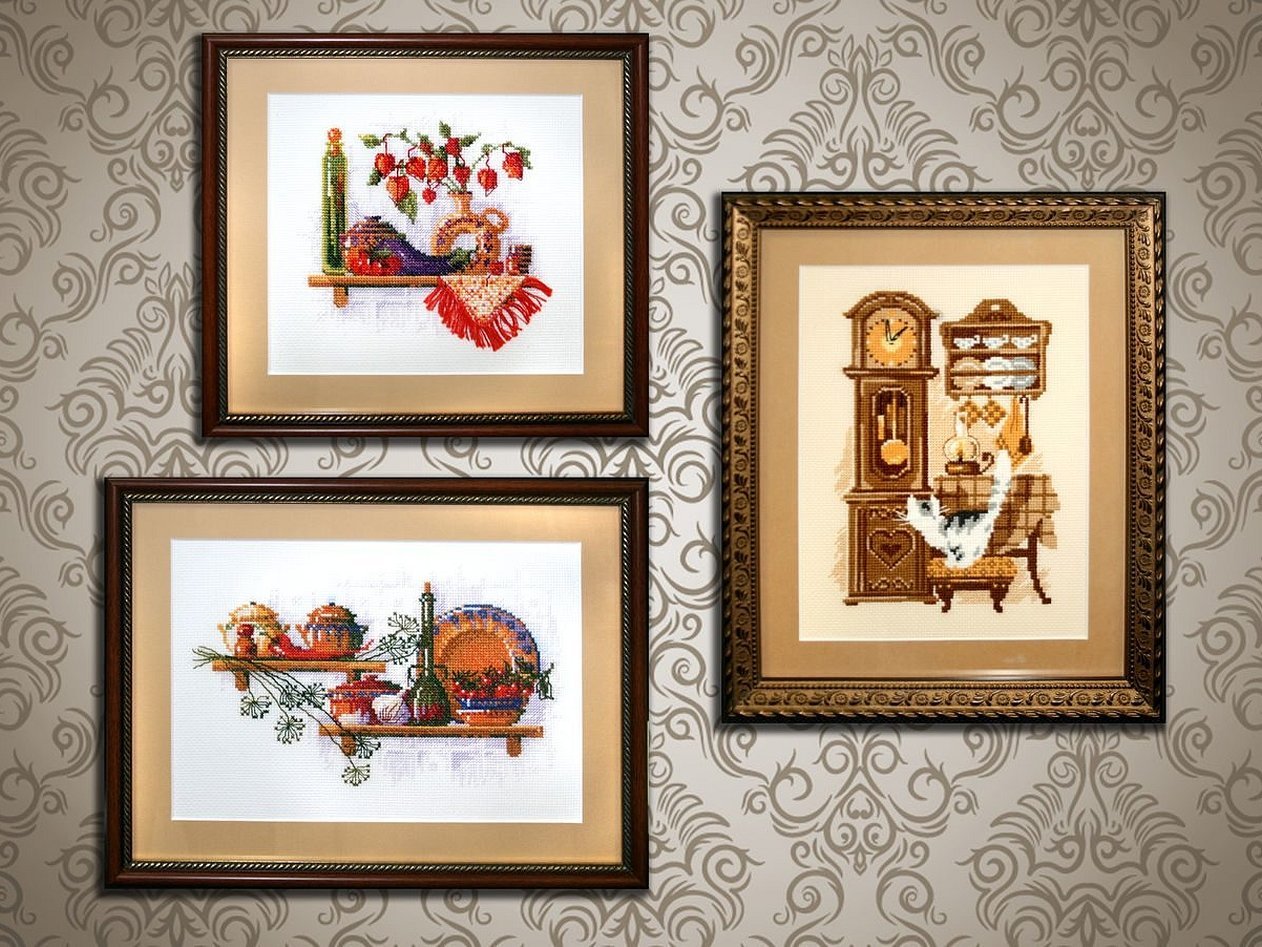
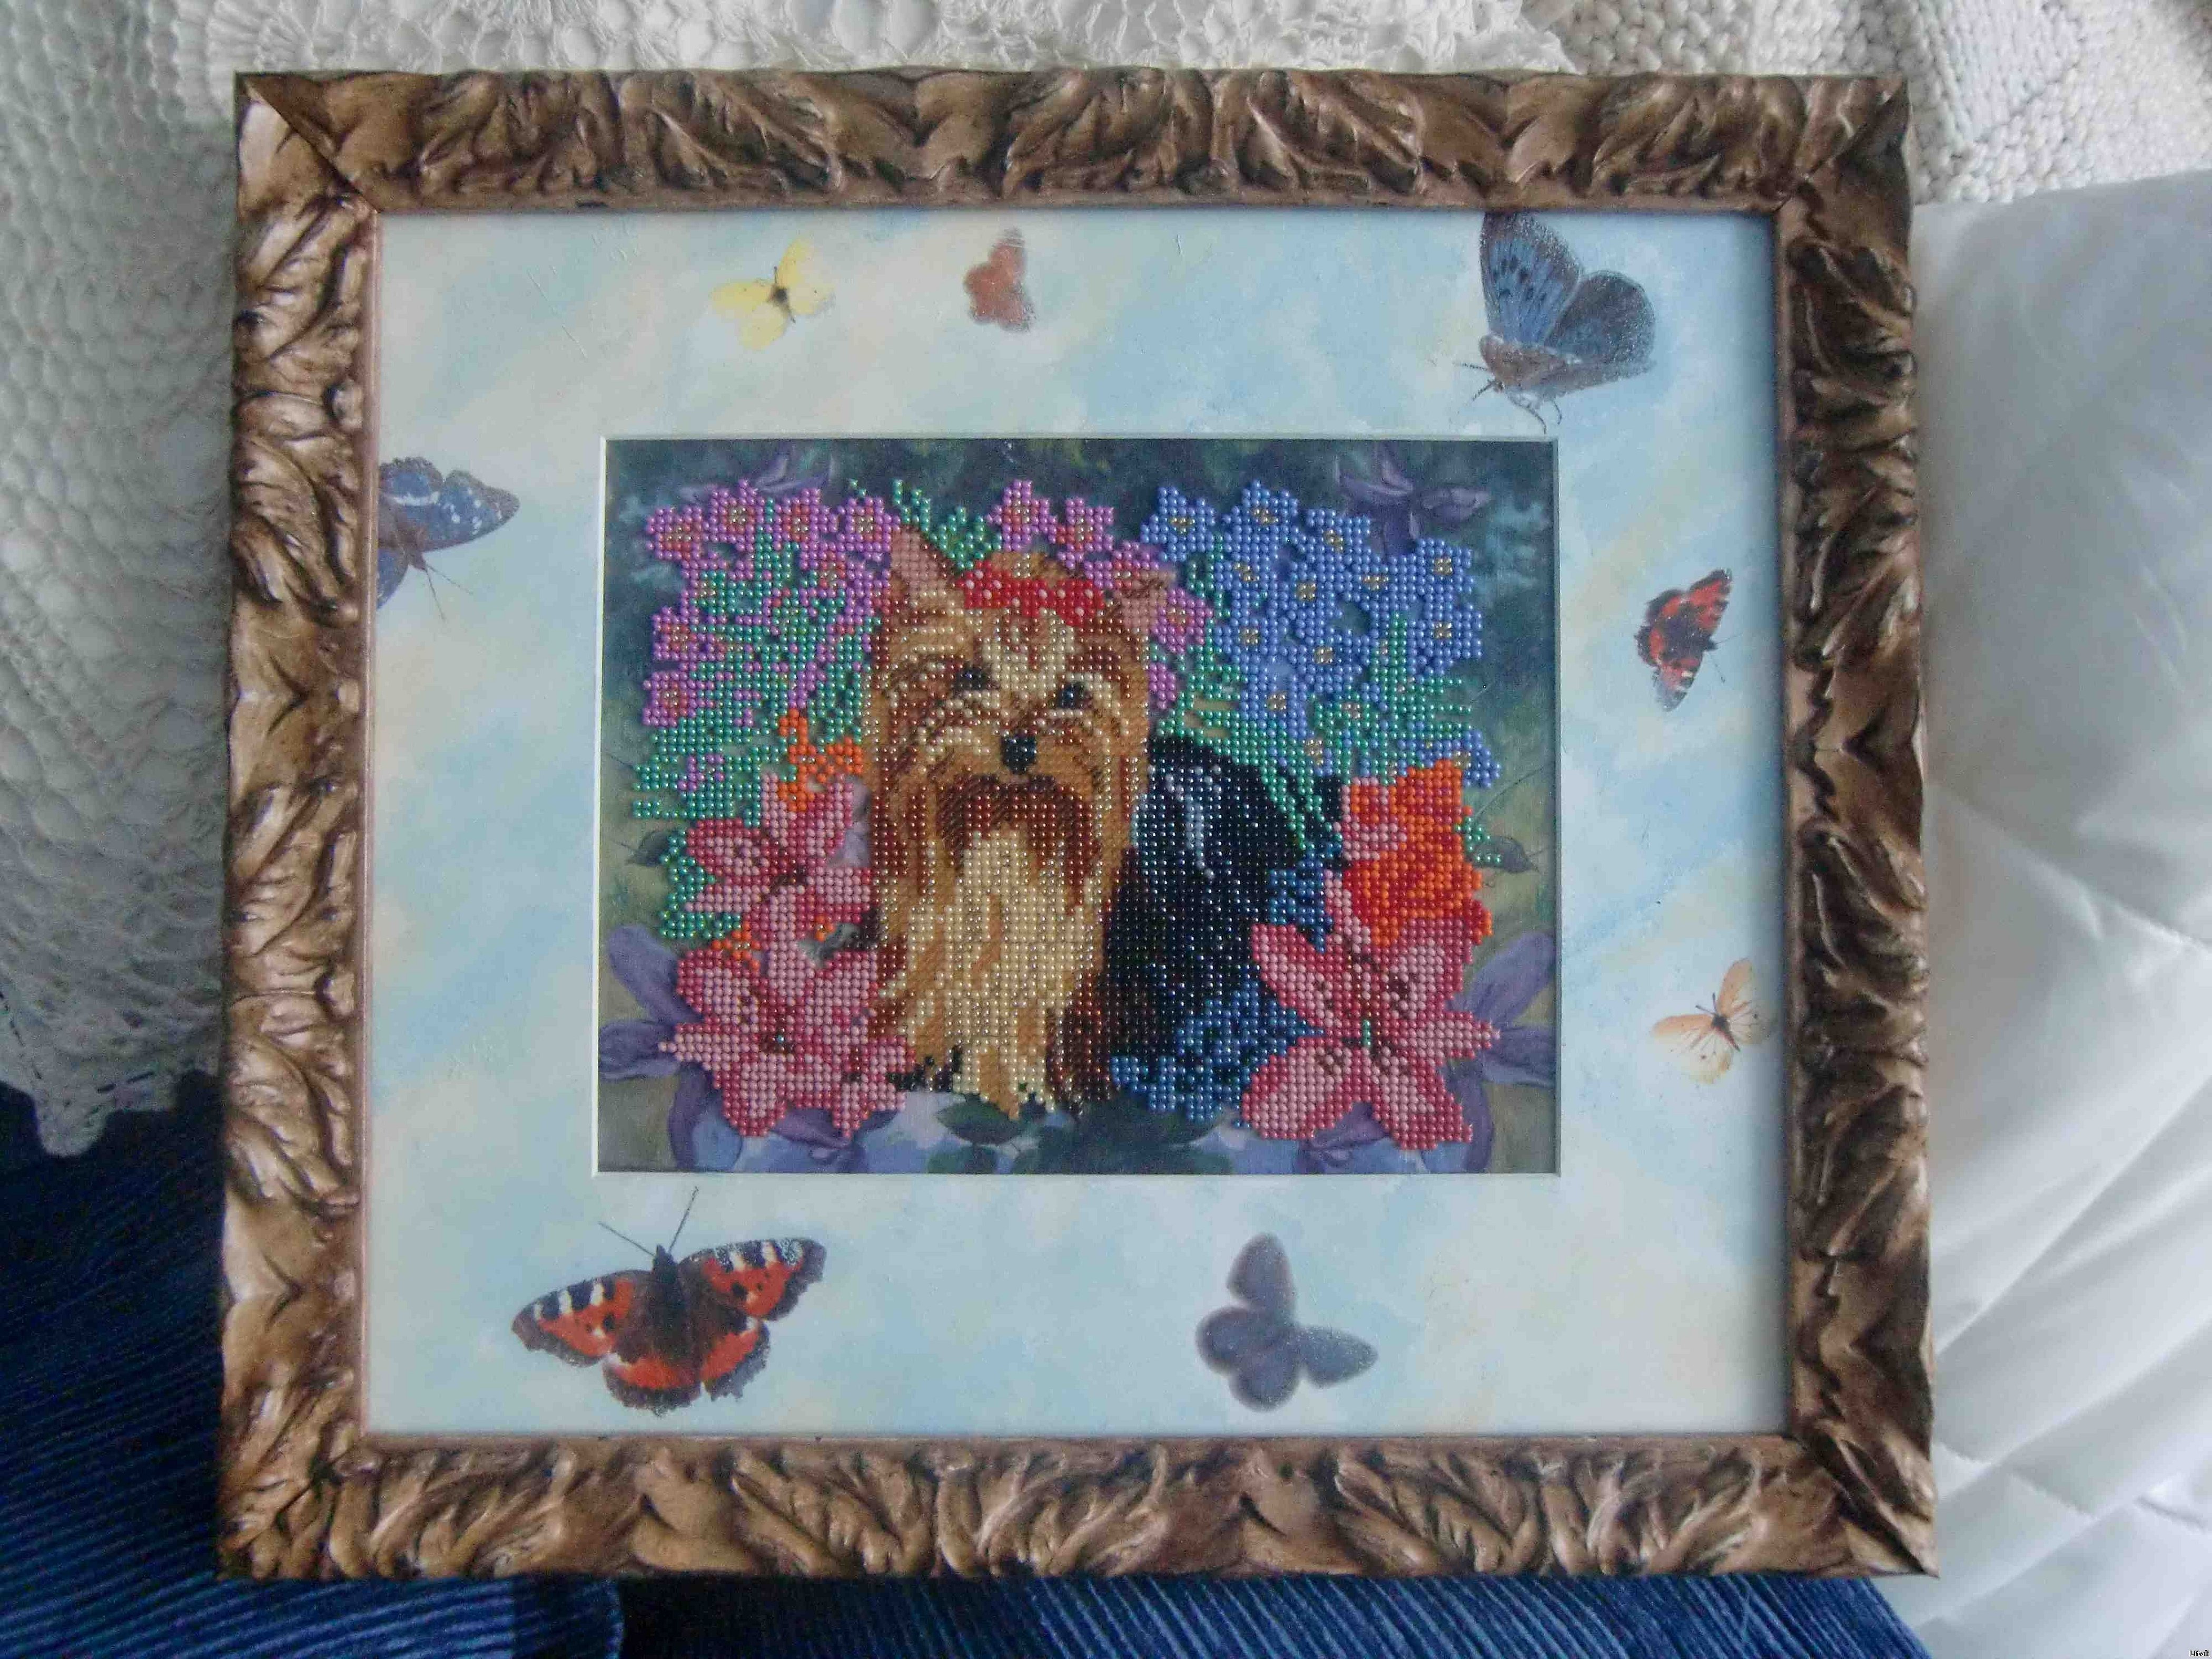
Embroidery is a real picture made of threads, beads, rhinestones and other materials that requires a decent design. The finished work can be transferred to a pillow, napkin, tablecloth, bag or clothes, or you can put it in a frame and hang it on the wall. When framing embroidery, it is important to follow some rules related to the specifics of the work. The frame itself can be bought or ordered, or you can make it yourself from improvised means. How to frame embroidery yourself?
- Materials and tools
- How to neatly stretch embroidery onto a stretcher
- The canvas is stretched and secured with threads
- The canvas is cut to the size of the baguette, not fixed
- How to stretch embroidery using double-sided tape
- Stretching and securing embroidery with pushpins
- The canvas is attached to the stretcher with a stapler
- How to make a frame for embroidery with your own hands at home?
- Let's create a frame from an ordinary box
- Using a passe-partout for embroideries
- Vintage Ceiling Skirting Board Frame
- Frames made of wooden skirting boards
- Making a frame for embroidery from hoops quickly and easily
Materials and tools
You can frame your embroidery in a framing workshop or do it yourself at home. The process itself is not complicated, even an inexperienced person can easily handle it.
The following details can be used when decorating embroidery:
- Base (stretcher or backing): the fabric is stretched onto it;
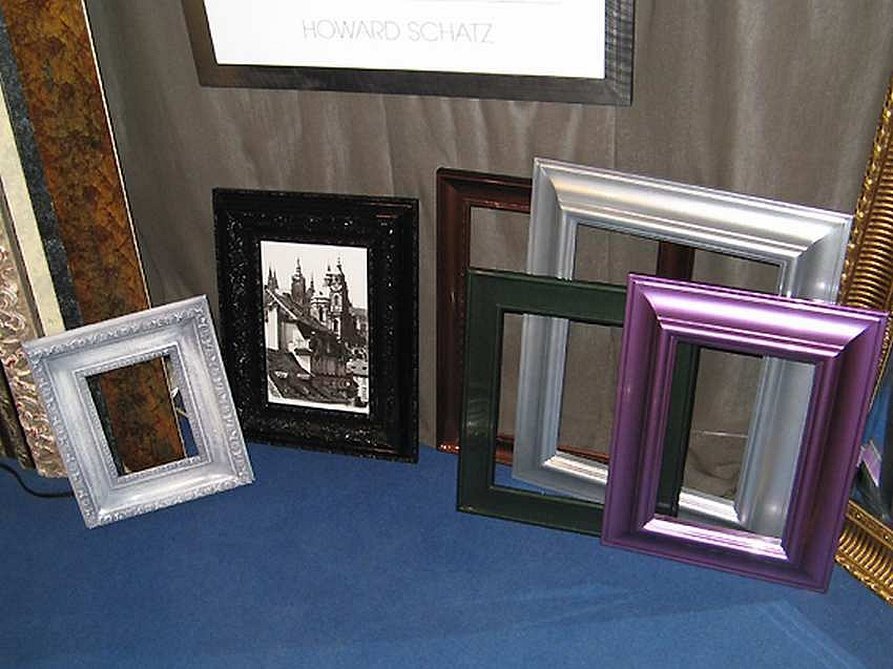
- Baguette (frame): most often, a plastic or wooden baguette is used. The first is cheaper and lighter, the second is more durable and strong: it does not scratch, does not fade in the sun. It can be purchased ready-made or made to order, at home you can make a frame from improvised means. If the embroidery is of a non-standard size, it is better to make a baguette to order.
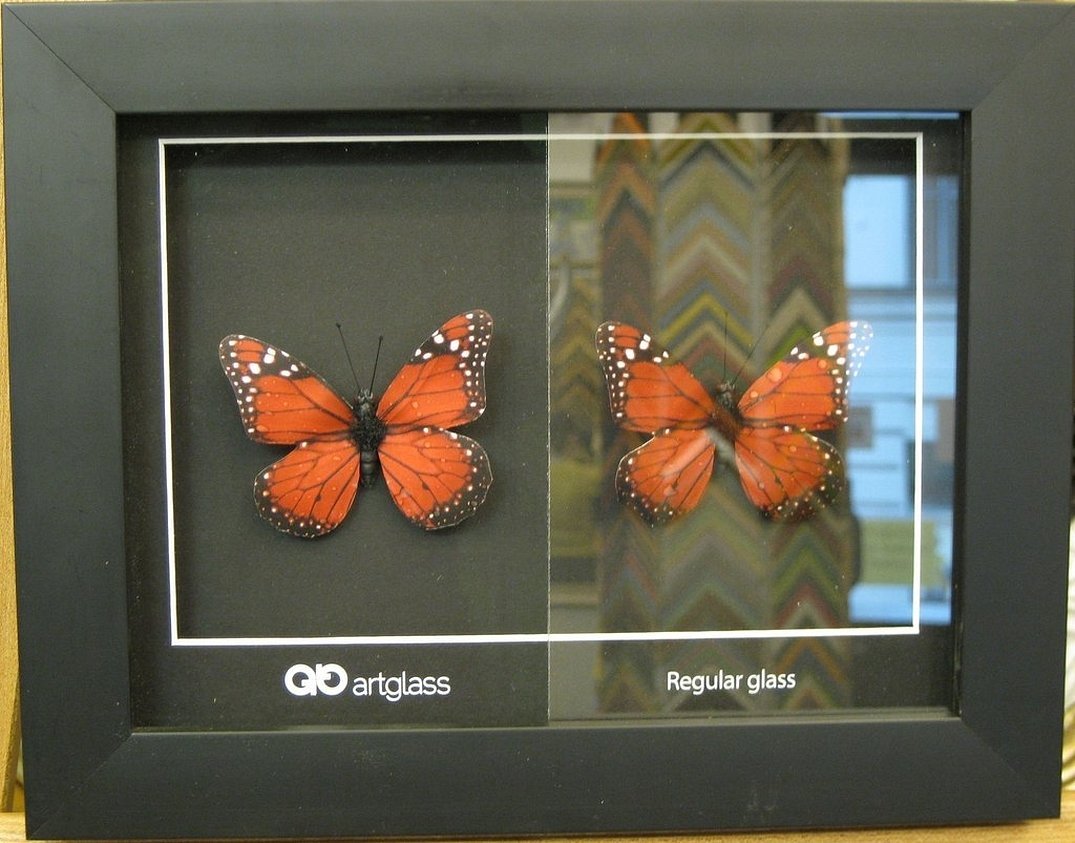
- Glass: protects the painting from the front. It can be regular or anti-glare. The latter allows you to get rid of reflections that prevent you from seeing the work, but it costs more;
- Back: an optional part of the painting. It is made of cardboard, hardboard and a thin sheet of chipboard. It protects the painting from behind, and there is also a mount on the back for hanging it on the wall or for placing it on a table;
- Passe-partout: a thin or wide frame that is located behind the glass. It is not a mandatory detail, often used for additional decoration or if the embroidery is of a non-standard shape, for example, oval. It is made of paper or cardboard, most often white, but colored ones can also be used.
When making a frame yourself, you will need to prepare the material and tools in advance. The list and quantity of what is needed may vary depending on the chosen method:
- Prepared embroidery;
- Baguette with glass;
- A ready-made stretcher or a piece of cardboard of the required size;
- Material for fixing the embroidery on the stretcher: paper clips, threads, double-sided tape, etc.;
- Ruler, scissors, pin to secure the fabric in the center.
How to neatly stretch embroidery onto a stretcher
Any DIY embroidery frame begins with stretching the fabric onto a stretcher. The latter can be purchased with a frame (usually included) or made by yourself.
The easiest and fastest way to make a stretcher is from thick cardboard. Cardboard does not bend and does not spoil the embroidery, and it is quite durable, it is easy to attach fabric to it. You can also use a thin piece of foam plastic of the appropriate size, but this material is easier to break. The third option: thin plywood or chipboard.
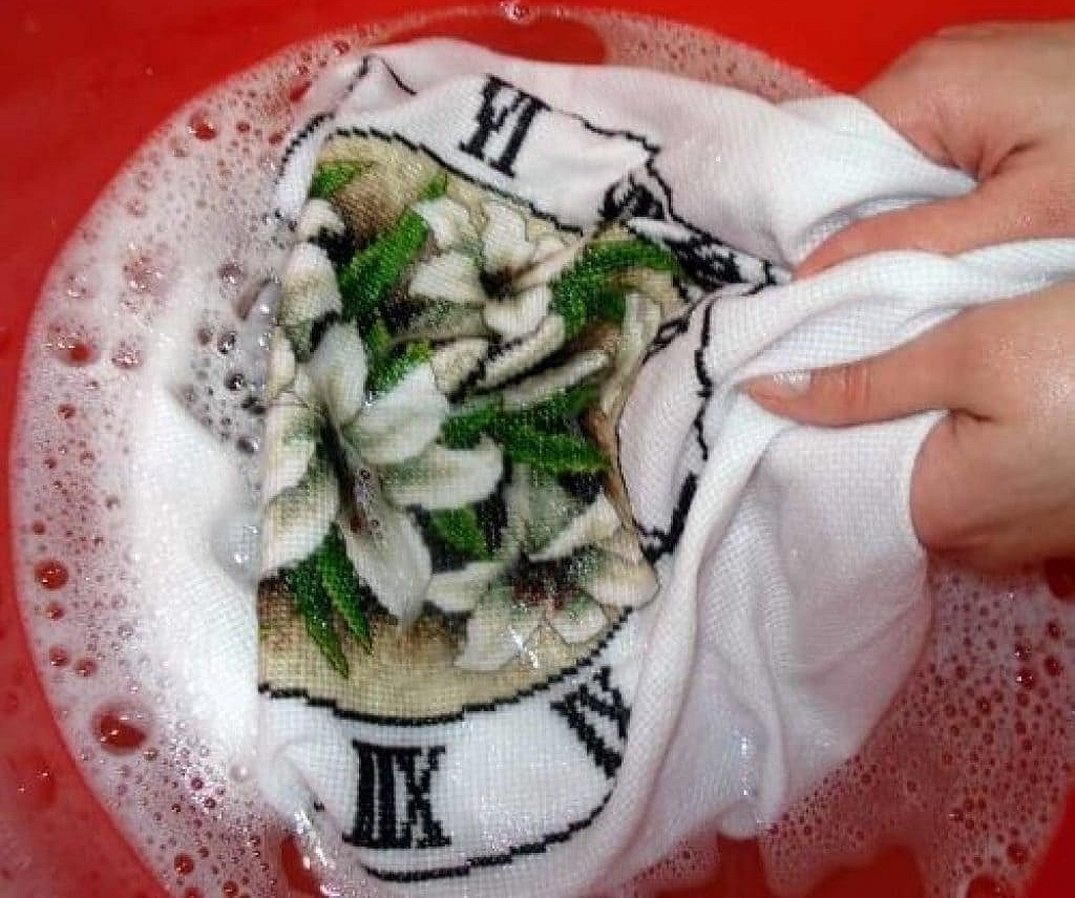
Before you start working, you need to prepare the embroidery:
- Wash, preferably by hand, using a mild detergent for colored items. This will help remove any remaining markings and remove dirt and dust particles;
- Dry on a flat horizontal surface;
- Iron at minimum temperature, selecting "steaming". Place the embroidery with the design down on a towel or soft cloth and iron from behind through a damp cloth. This will preserve the relief of the stitches;
- If desired, you can also starch the work: spray it with water and starch or a special agent from the inside. This will make the fabric stiffer, which will simplify further work.
Important! Embroidery made from ribbons, beads, rhinestones, sequins or diamonds cannot be washed.
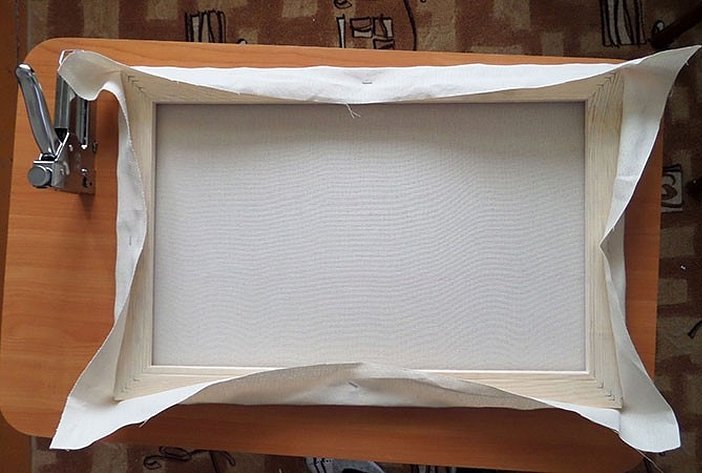
The process of tensioning itself occurs in several steps:
- It is necessary to determine the center of the stretcher. To do this, you need to draw a horizontal and vertical line in the middle of the base and find the center. You also need to determine the center of the embroidery;
- Next, you need to connect both centers by pinning them together. This will prevent them from shifting when pulled;
- It is important to check that the embroidery is positioned evenly, without creases, is not shifted, and fits completely in the frame. At the same time, there should be 3-4 cm left on all sides, which will be covered by the frame itself.
There are several ways to permanently secure the fabric.
The canvas is stretched and secured with threads
After stretching, the canvas should extend beyond the edge on all sides by several centimeters. The edges of the fabric are folded and sewn together at the corners.
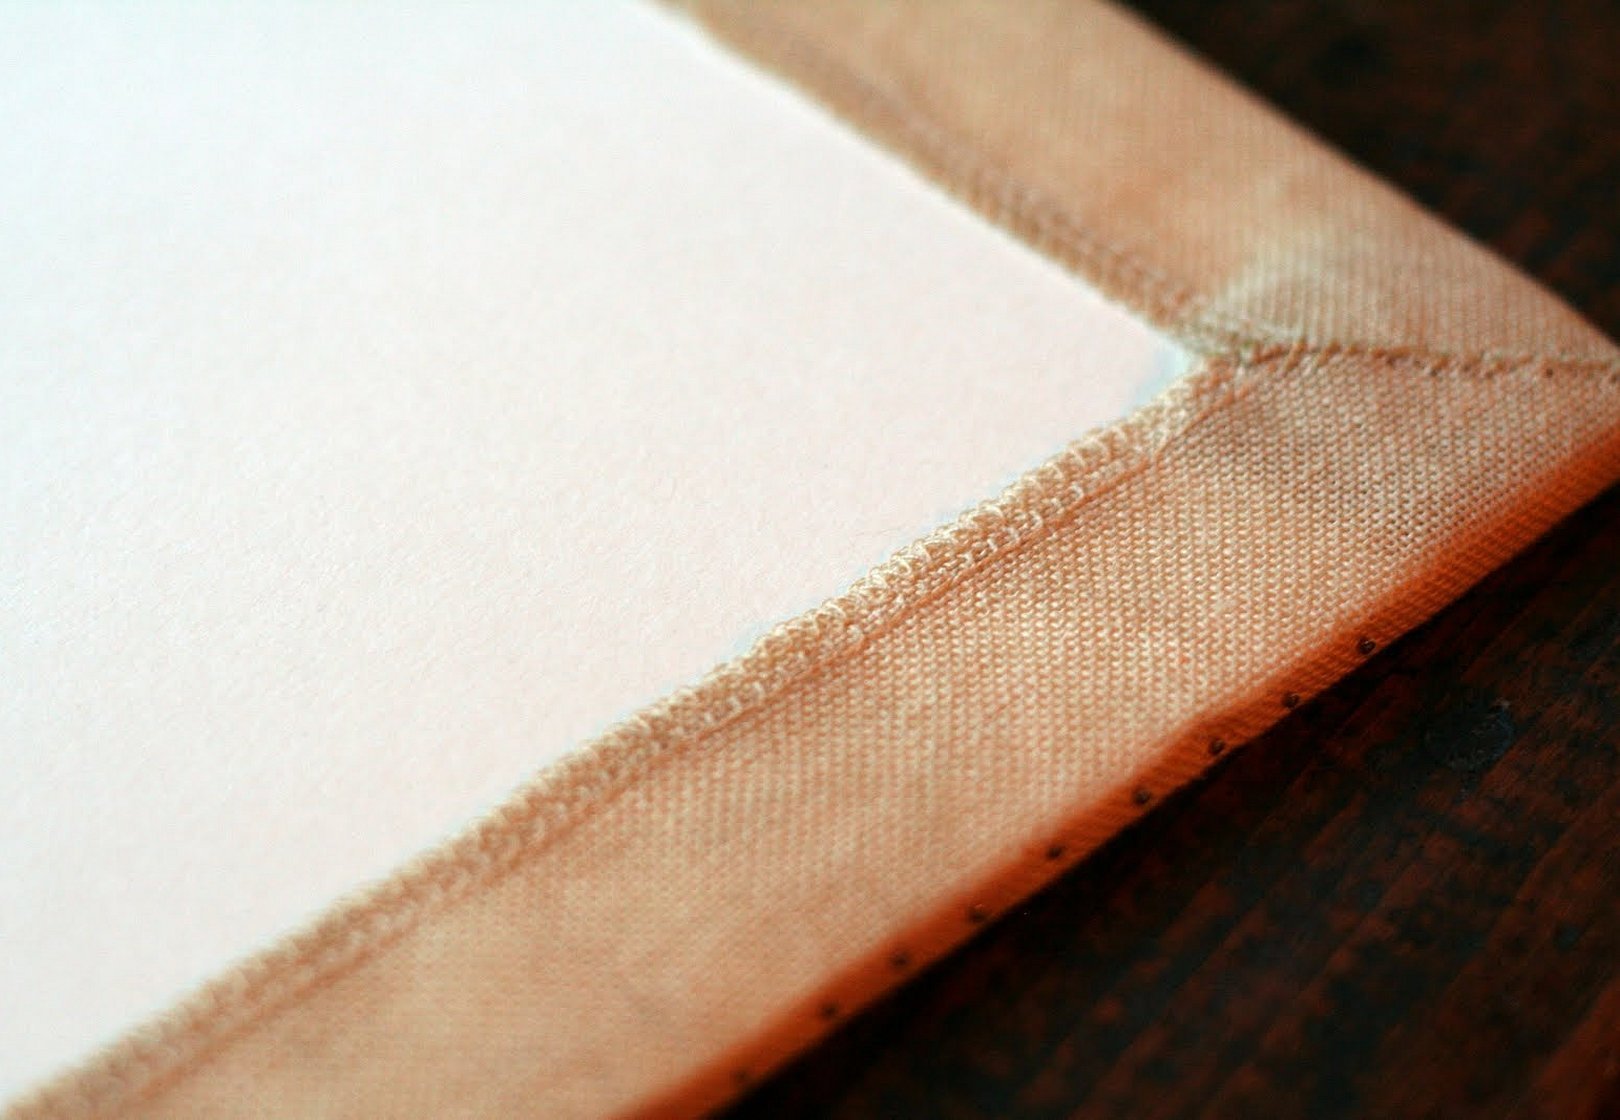
Then you need to pull the threads crosswise between the opposite sides, which will hold the embroidery in place.
The canvas is cut to the size of the baguette, not fixed
This is not the best option, as the fabric may slip. This option is suitable if the glass fits very tightly, and between it and the backing there is only space for the embroidery itself. In this case, you need to carefully trim the fabric along the edges. For additional fixation, you can fasten them with buttons, a stapler or tape.
The disadvantages of this method include the impossibility of further designing the work differently, since the edges will be cut off.
How to stretch embroidery using double-sided tape
First, you need to stick the tape along the perimeter of the stretcher so that the edges of the embroidery do not go beyond the edge of the tape when bending. Then, peel off the protection and stick the canvas in turn, pressing it carefully.
Important! In the same way, you can additionally secure the fabric by sewing the edges with threads.
You can also stick the tape on the front side, then stretch the fabric over it and press it. This is a simple method, in which you can immediately notice and correct the problem (fold or too much tension). For better fixation, you can apply the tape not only to the edges, but also to the center.
Stretching and securing embroidery with pushpins
This is not the best option, as over time the buttons may become loose and the embroidery will "slip". It is best to use buttons on a stretcher made of plywood or chipboard and squeeze them tightly, bending the ends of the buttons if necessary.
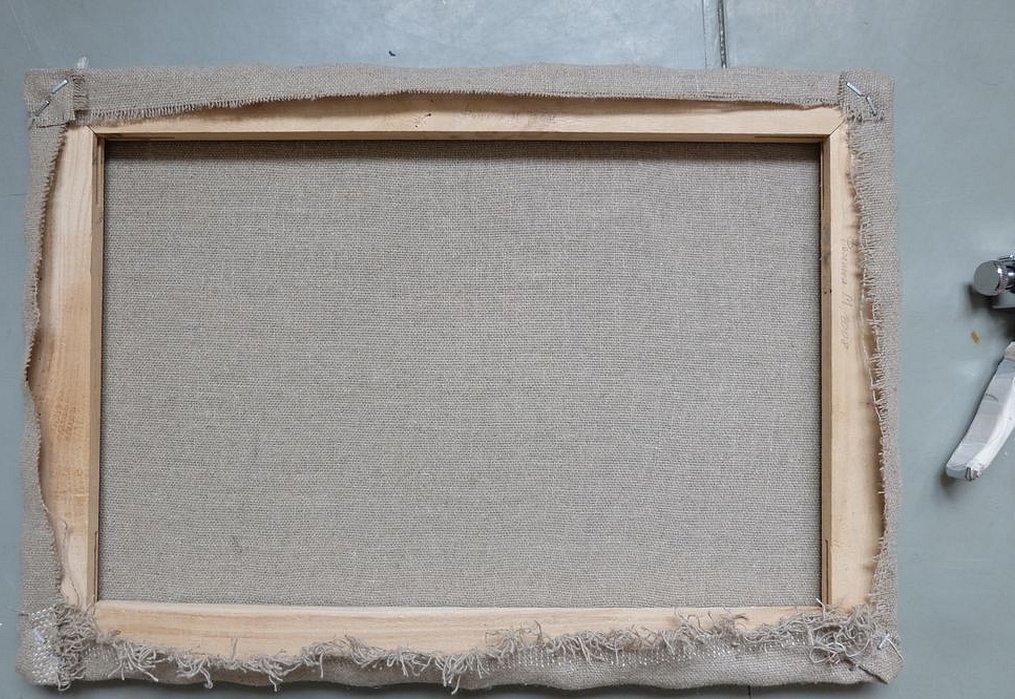
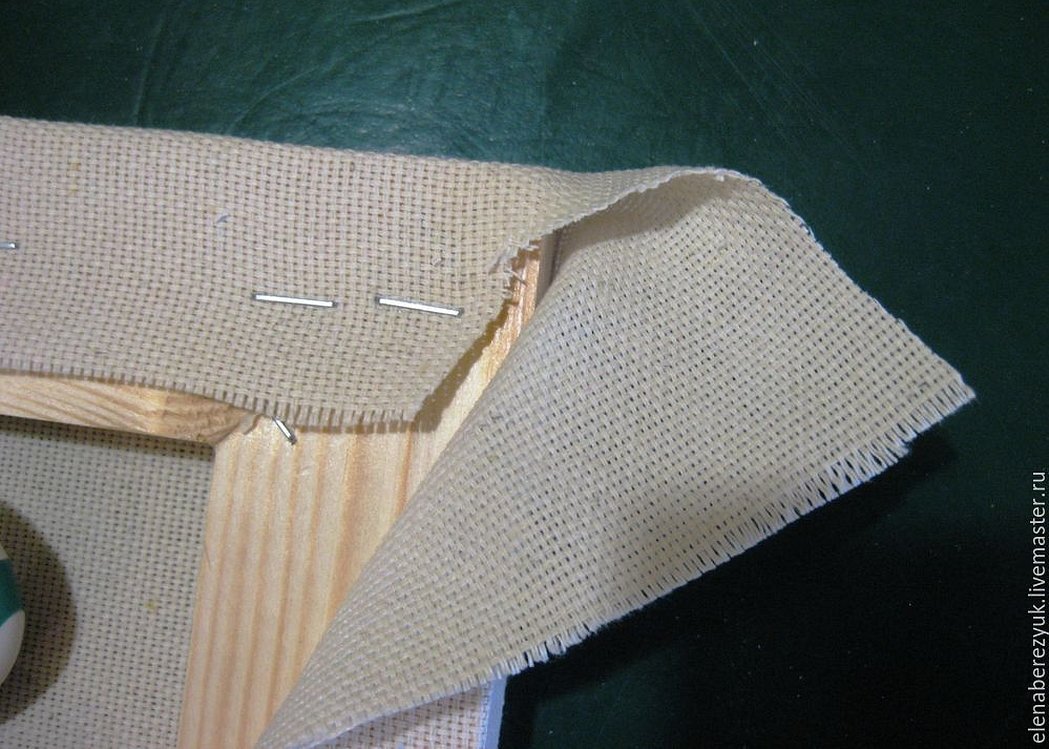
The canvas is attached to the stretcher with a stapler
Usually, the embroidery is attached to a wooden stretcher using a stapler: the embroidery is folded over and secured.
Important! We are talking about a large construction stapler, not a stationery one.
It is noted that this method is more suitable for securing large fabrics, as well as tapestries, batiks, and painted pictures.
How to make a frame for embroidery with your own hands at home?
The easiest way to frame your work is in ready-made frames. The embroidery will need to be stretched onto a stretcher and secured, then inserted into a baguette, pressed against the glass and secured with a backing.
Since most photo frames are designed for thin photographs and pictures on paper, when choosing it is important to check that there is enough space between the back and the glass for a layer of fabric. If the embroidery is too voluminous, you may need to remove the glass.
Let's create a frame from an ordinary box
Any box made of strong cardboard or sheet cardboard will do. The main disadvantage of this option: the work is not protected from dust and dirt, and it is impossible to wash it.
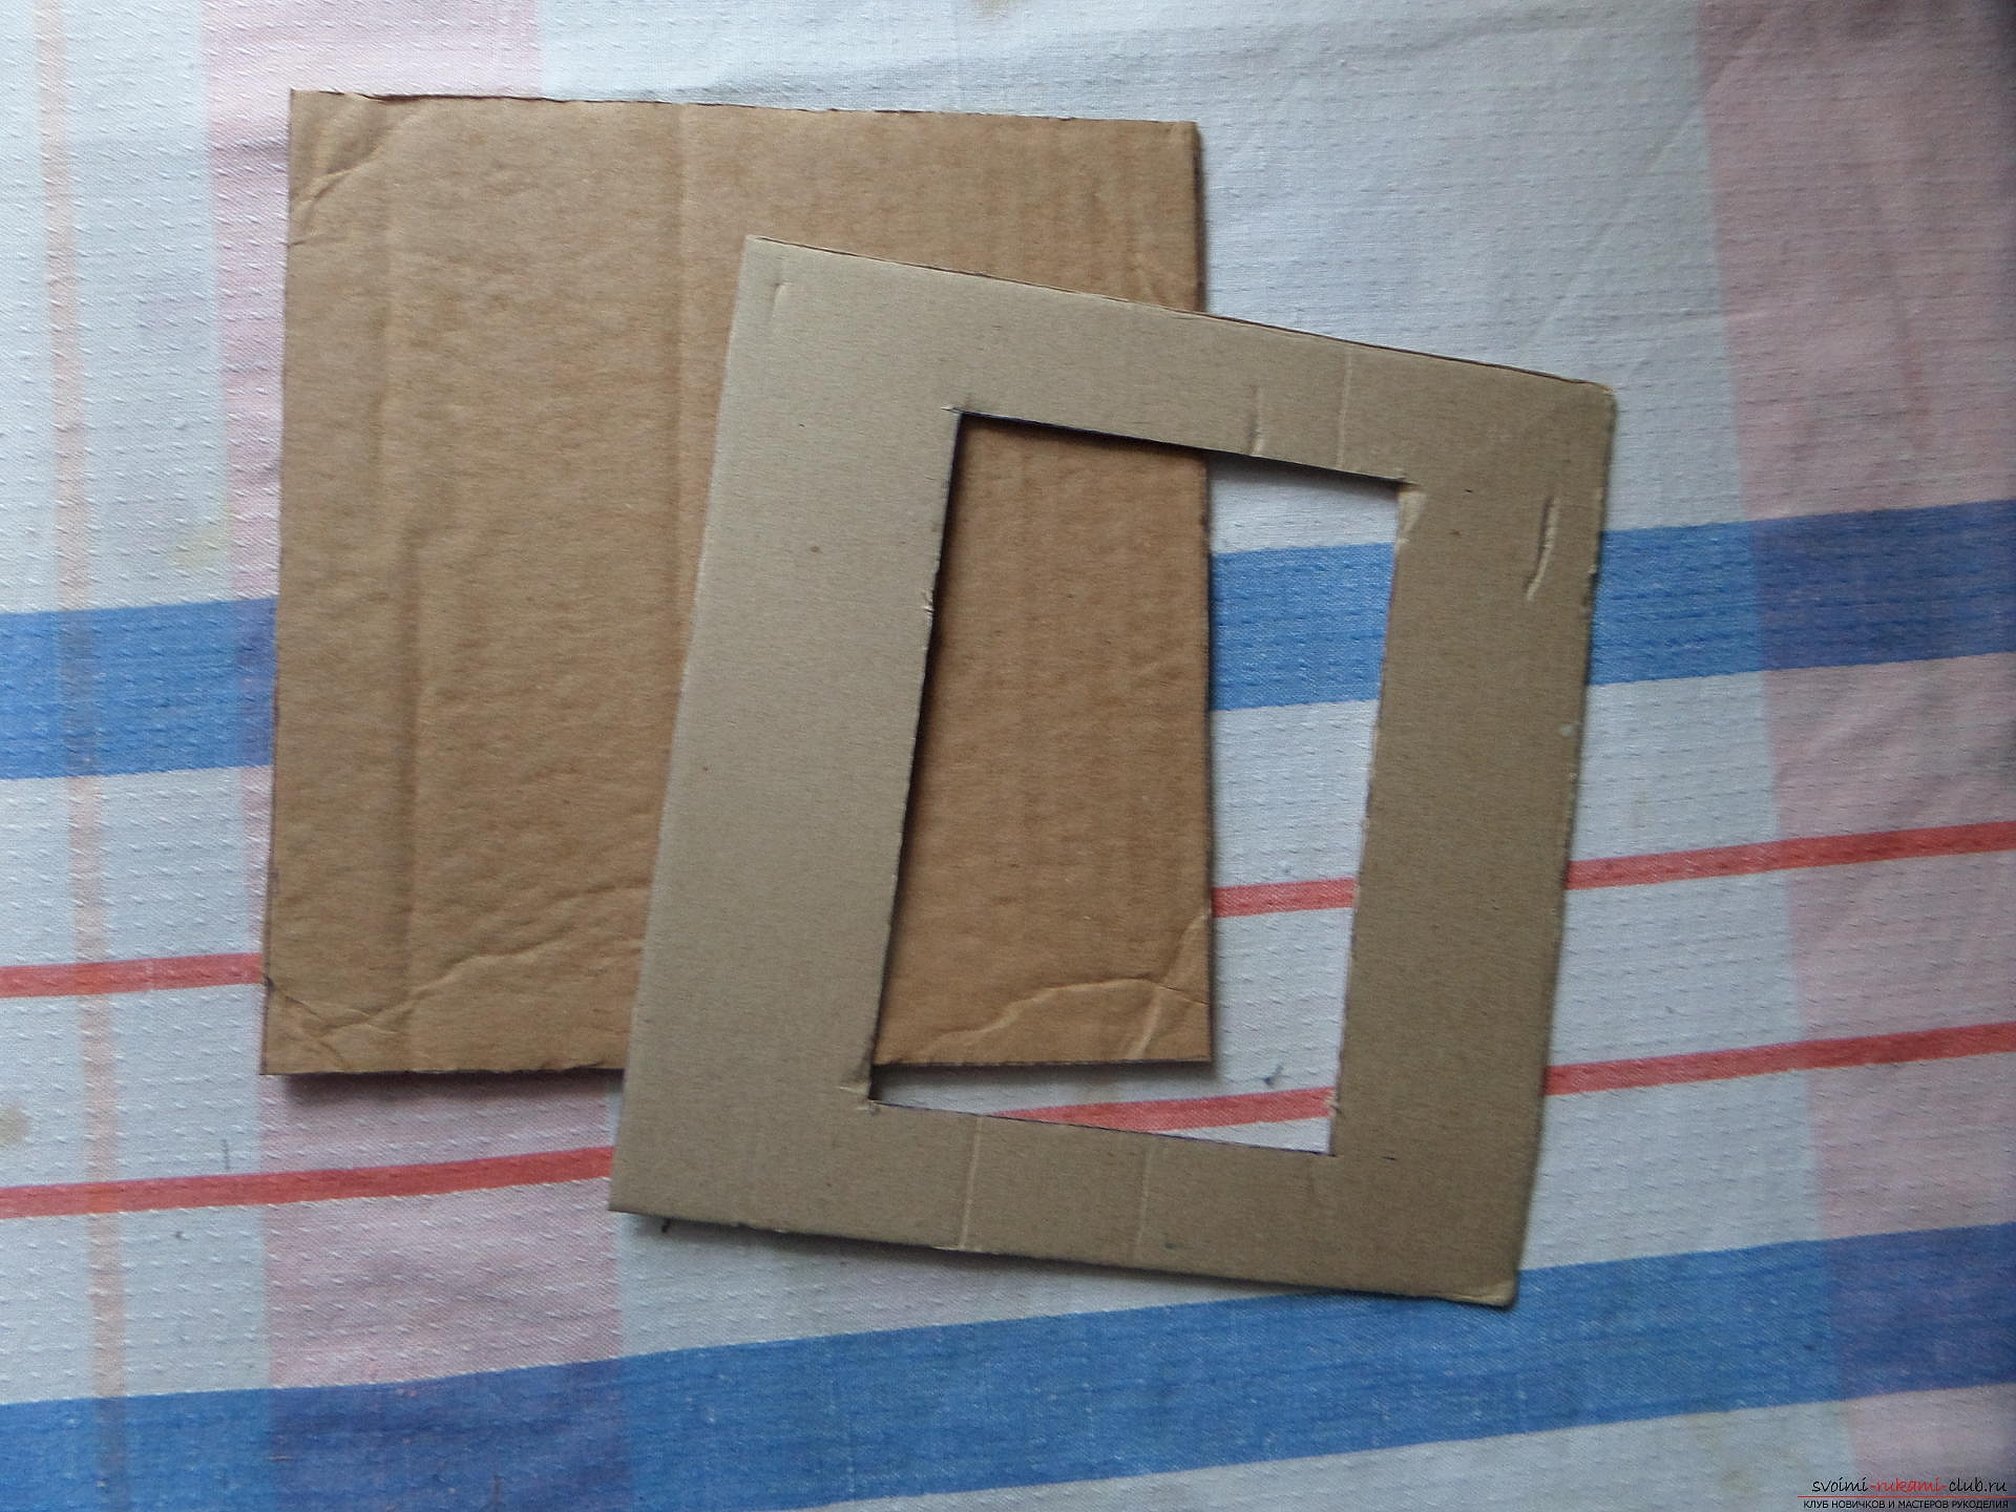
Step-by-step instructions will help you create a frame:
- It is necessary to measure and cut the sheet according to the size of the embroidery, adding 3-5 cm to each side. It will act as a back and stretcher;
- Then cut the frame: its outer edge should coincide with the outer edge of the first sheet;
- The work must be secured to the subframe;
- The outer frame needs to be decorated or painted, then glued on top of the back. As decorations, you can use ribbon or twine (for example, wrap it around the frame), appliques, beads, seed beads, voluminous flowers, etc.;
- At the back you need to make a “leg” out of wire or a loop out of thread to hang it on the wall.
Instead of a cardboard stretcher, you can make it from thin plywood, decorate it with fabric, which will serve as a passe-partout. Glue a cardboard frame on top so that the edges of the stretcher are not visible.
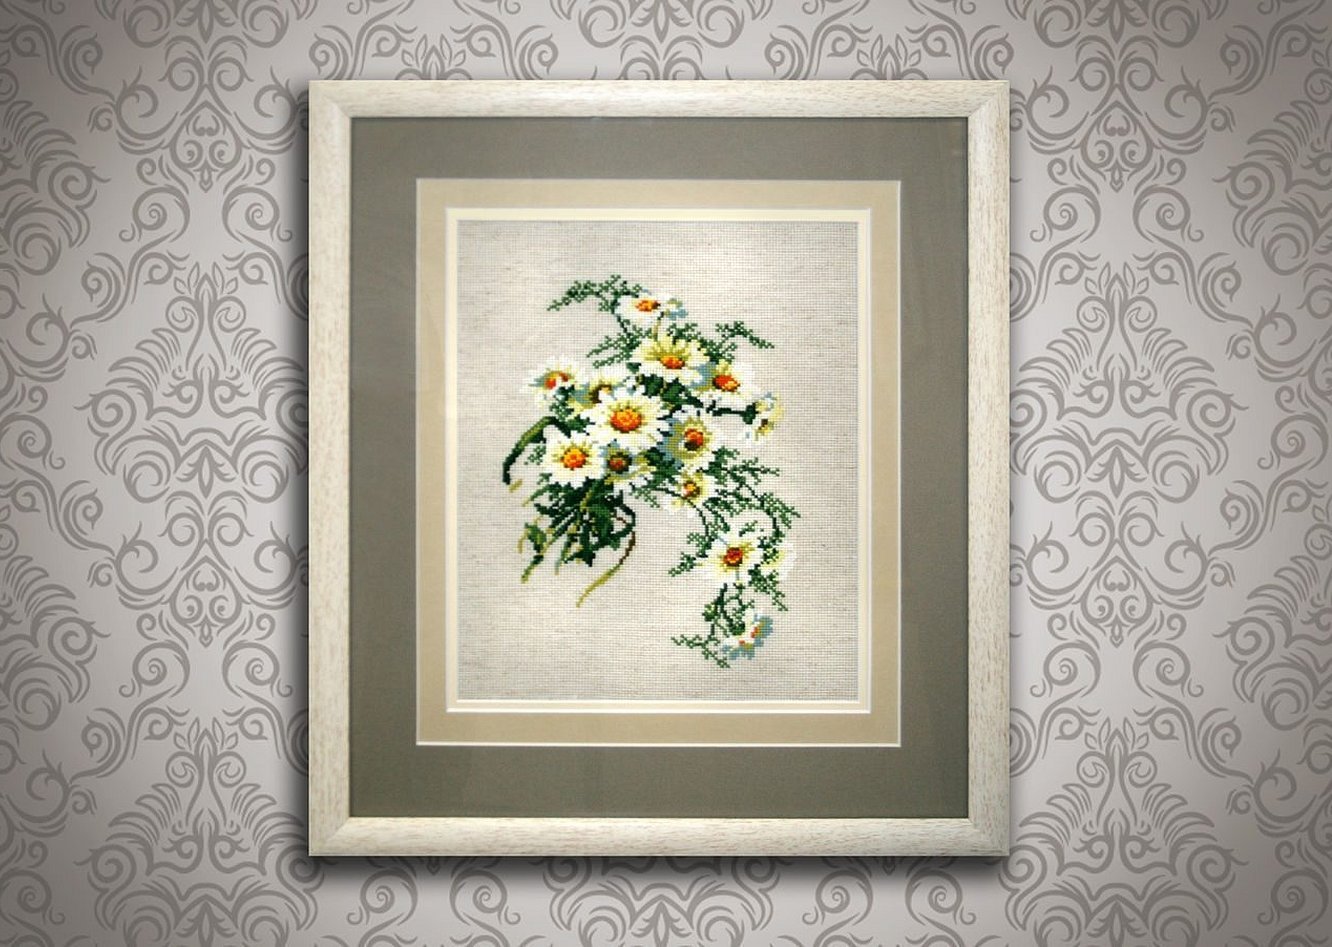
Using a passe-partout for embroideries
Passportu is a frame that is placed inside a baguette behind glass and serves as an additional decoration for the work. It also prevents the fabric and glass from touching, meaning the embroidery itself does not look flattened. Passportu is made of paper or cardboard and can be white or colored.
You can buy the correct passport in a store, for example, together with a frame, or make it yourself. To do this, you will need:
- Find a suitable piece of cardboard or paper;
- Select the shape of the hole (square, rectangle, circle, oval) and cut it out;
- When assembling the frame, the passe-partout is placed between the glass and the embroidery itself.
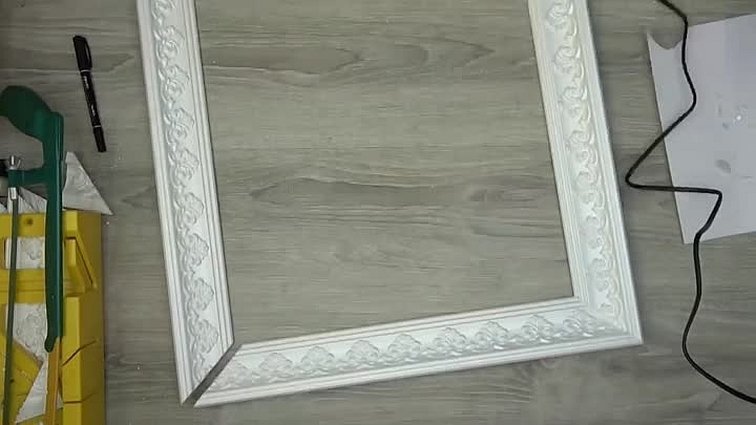
Vintage Ceiling Skirting Board Frame
Ceiling plinth can be a great replacement for a regular frame. The main difference of such material is the presence of moldings, thanks to which it is easy to get a vintage decorated frame.
The following materials will be required:
- Finished embroidery stretched on a frame;
- Skirting board (foam or polystyrene): its length should be slightly longer than the sum of all sides;
- Glue: You can use ceiling tile glue;
- Paint: You can use several shades or create an aging effect.
Important! It is better to test the glue and paint on a small piece in advance.
The work itself is not difficult: you need to measure and cut off 4 sides of the frame, then glue them together and insert the embroidery itself. The cut on each side should be 45 degrees: this will allow you to glue the frame with right angles. When measuring, it is important to remember that the length and width of the embroidery is the length of the frame from the inside, that is, each piece of the baseboard will be a trapezoid.
Frames made of wooden skirting boards
The principle of operation is similar to the previous one. The main difference is in the material itself: wood requires different glue and paints, as well as a small saw. You can also fasten the parts using thin nails.
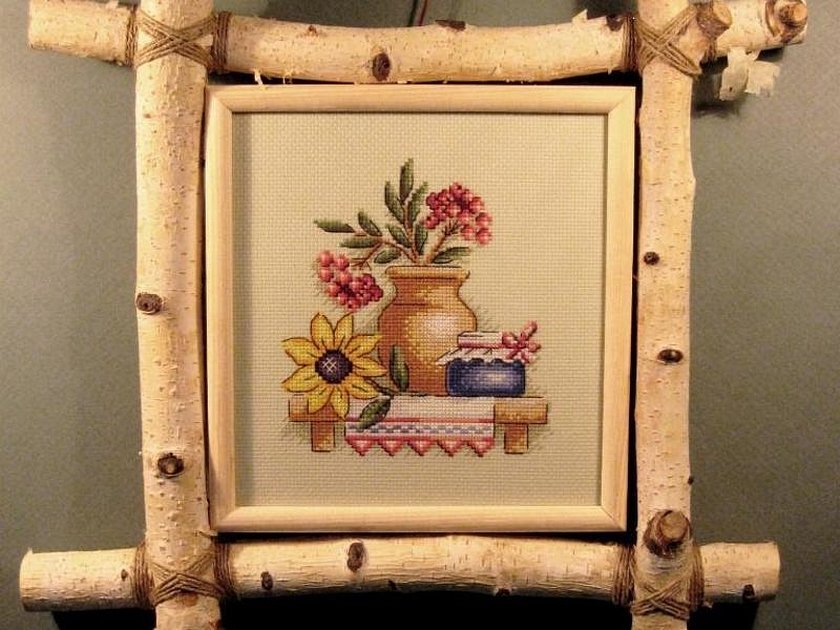
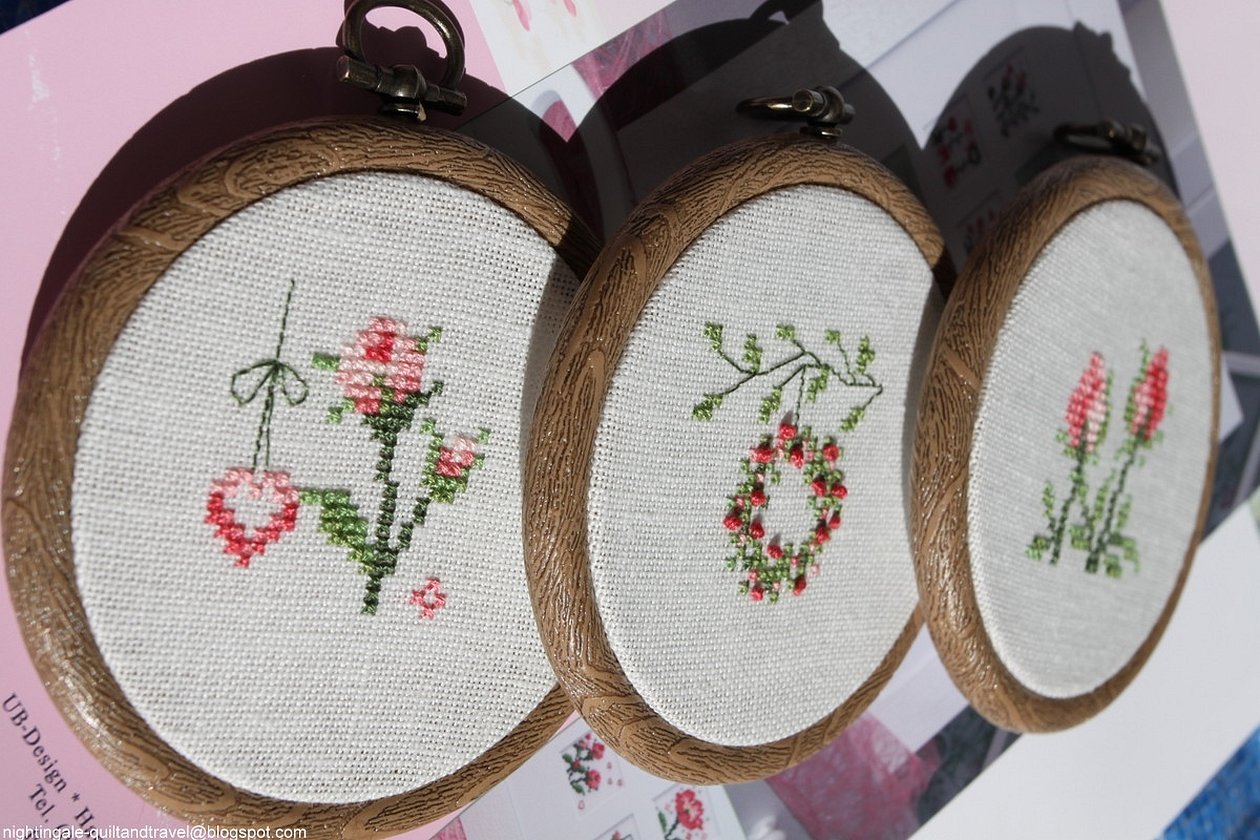
Making a frame for embroidery from hoops quickly and easily
This is one of the fastest and easiest options.
- It is necessary to pull the fabric tightly and cut along the edges, leaving a little excess canvas (approximately 2-3 cm). When after some time the fabric sags, it can be pulled up;
- The edges need to be folded and overcast so that they do not fray. It is important that the seam is not visible on the front side;
- Since the fingers look quite simple, they can be decorated if necessary: painted, decorated with ribbons, lace or braid;
- The embroidery will need to be washed from time to time as it is not protected by glass.
You can frame your embroidery in a ready-made or custom-made baguette. You can also make the frame yourself, using your imagination. Cardboard, wood or foam plinth can be used as the material. If you have any doubts, you can watch master classes in advance and get ideas from there.