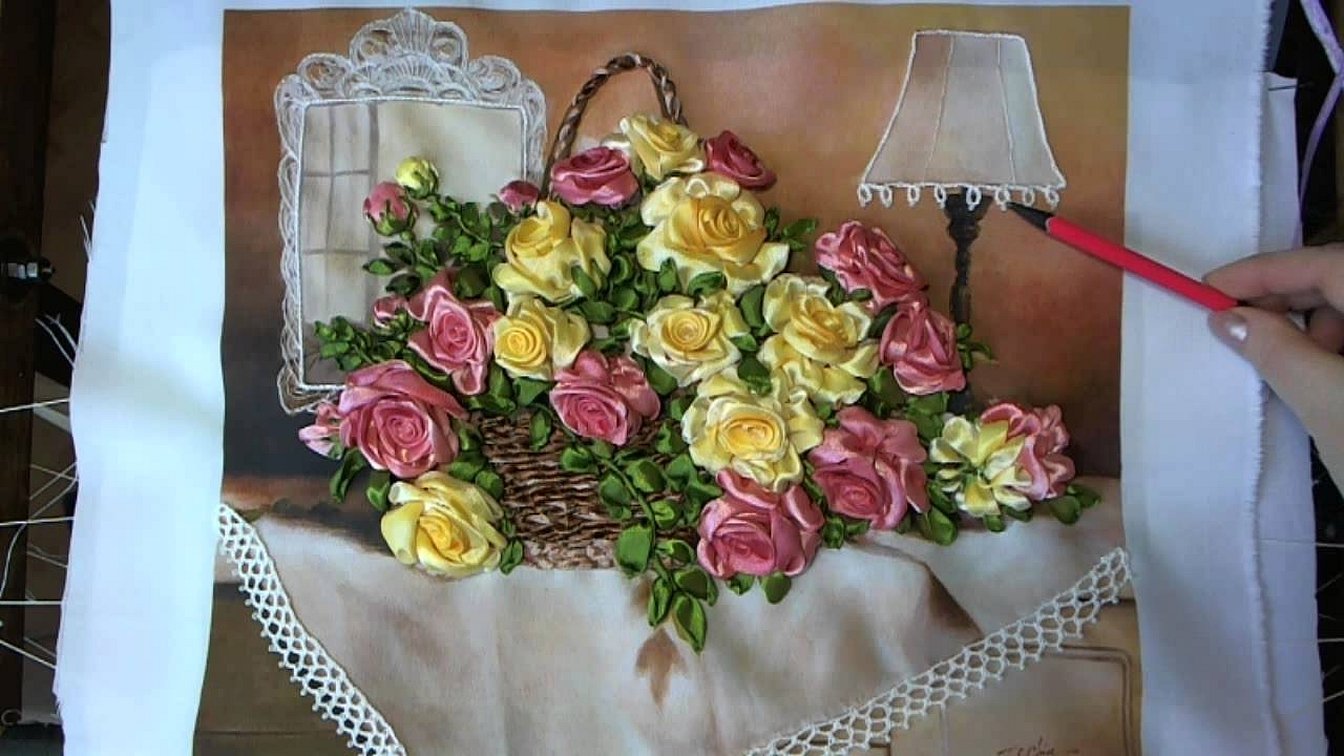
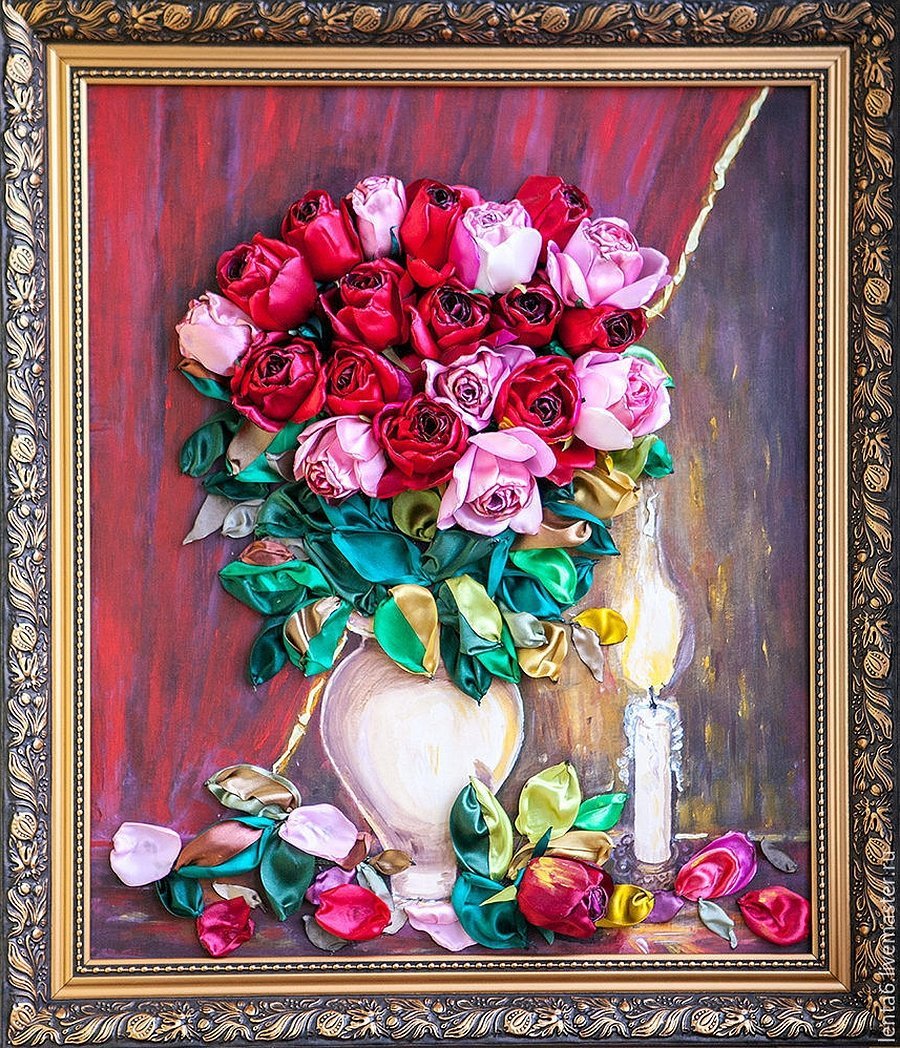
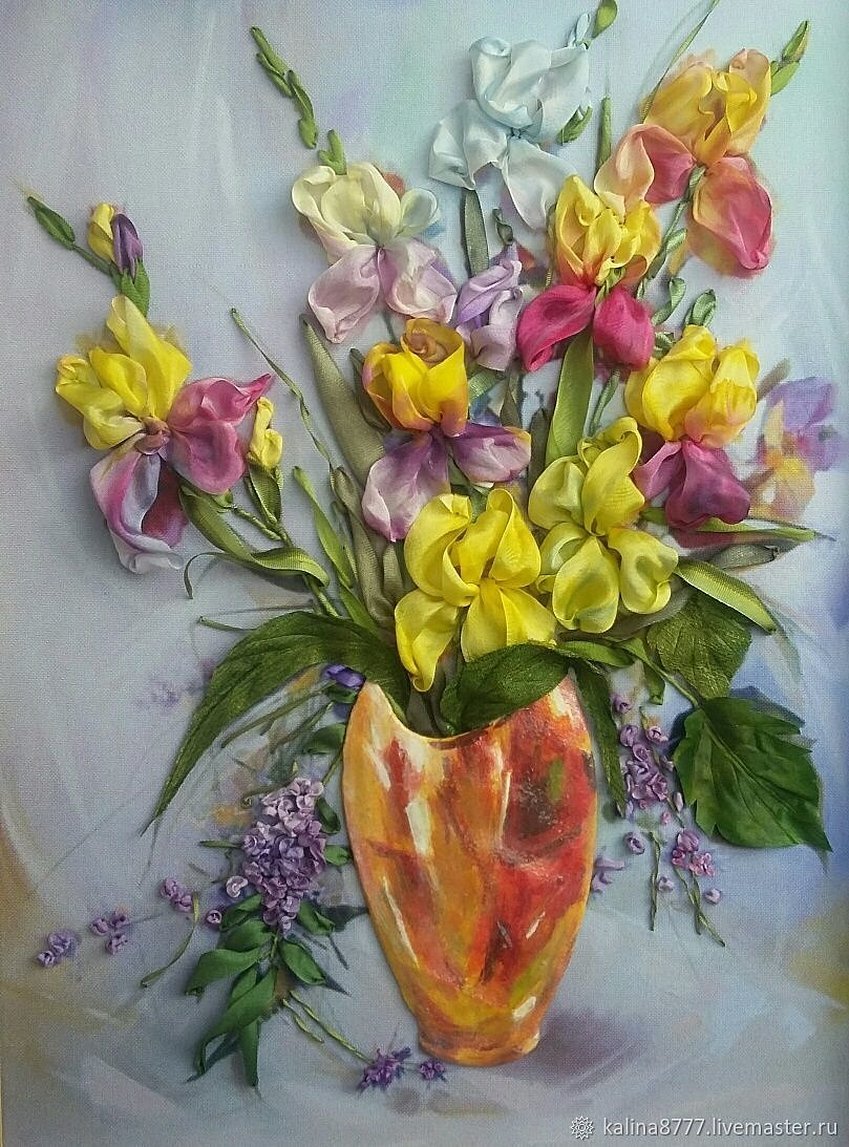
One of the popular types of needlework is considered to be ribbon embroidery. With the help of ribbons, even a novice craftswoman can create a picture. The embroidered pattern looks chic, luxurious. You can both embroider pictures and decorate clothes, interior. For example, decorate a napkin, tablecloth, bag, dress or blouse. Most often, craftswomen choose a pattern of ribbons in the form of roses.
Benefits of Ribbon Embroidered Roses
There are many ways to create embroidery - all of them have their pros and cons. Below are the main pros for creating a design from ribbons.
- Doesn't overload the picture. They create large details that are visible without additional eye strain.
- The process will calm the nerves. Any activity has a calming effect on the master, bringing peace. The process will give joyful emotions from the quick appearance of the result. This will definitely leave a pleasant impression on the seamstress.
- Opportunity to use your imagination. When making bouquets from ribbons, the seamstress “grows” the flowers herself and then makes the bouquet.
- 3D effect. Volumetric work comes to life on canvases. This is the only technique that allows achieving such volumes and forms.
- Originality. The panel will attract the attention of strangers with its uniqueness. This technique appeared relatively recently, so the paintings attract attention and impress strangers.
- No errors. Looking at the work, it is impossible to accurately determine the inaccuracy, error, since the size, type of stitch is not limited by any specific rules, requirements.
- The pastime is a royal pastime. In France, kings made their own ribbon embroidery by hand.
- Ease of mastering. To partially master the technique, it is enough to read this article to the end.
- Availability of material. In 2019, you can easily find natural silk ribbons of different sizes and colors in stores.
- Variety of colors. The presence of a large assortment of shades of different colors in the store makes the compositions more interesting.
- Speed. A seamstress will only need a few hours to create a complete picture.
Embroidery Basics
Before you start embroidering a design, you need to familiarize yourself with the list of basic rules.
- Don't forget to make a knot in the ribbon. This will help secure it to the fabric and prevent it from falling off at the wrong time.
- To prevent the possibility of the ribbon flower falling apart, you can stitch the base with a thread and then attach it to the fabric. Only after this is it recommended to start creating the flower.
- To work on a lush rose, you need a ribbon about 2 meters long. For a small flower, you can use a smaller length.
- It is better to work with small stitches with the shiny side up. This way the picture will be brighter and neater.
- For the stem, simply twist the ribbon and sew it to the fabric.
- Leaves are cut from a leaf-shaped piece and burned with a lighter. You can also form a flower with stitches, giving it the shape of a leaf.
- Be sure to burn the ends of the ribbon so that they do not unravel.

Materials for work
Before creating embroidery, you need to prepare materials and sewing tools.
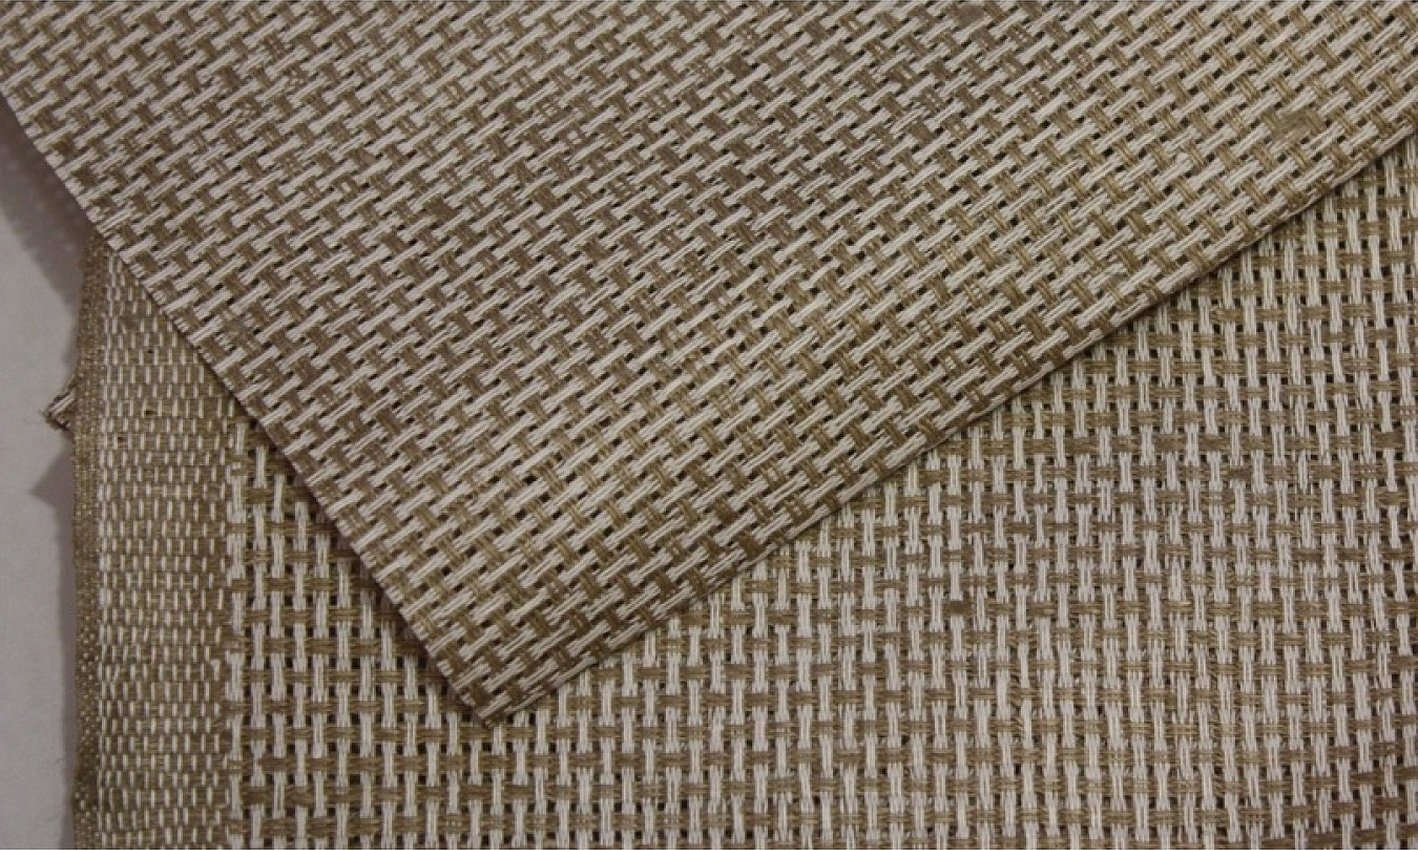
- The material that will serve as the basis for the embroidery. The fabric can be of any kind, but it is recommended for a beginner to take canvas.
- Needles with a sharp end and a large eye. When creating embroidery on canvas, it is better to take a needle with a blunt end, as it is easier to form a pattern with it.
- Ribbons of any size, material, color. For example, satin, nylon.
Please note! Suitable width is 1.5-2 cm.
- A thread similar in color to the ribbon. It is better to be careful when choosing, otherwise the pattern will turn out sloppy and garish.
Master class
Instructions:
- Select material.
- Determine the composition.
- Using a disappearing marker, trace the outline of the design onto the fabric.
- To embroider the leaves and stem, take a satin ribbon 1.2 cm wide.
- Embroider the leaves with small stitches.
- Twist the stem.
Additional information! To increase the volume of the stem, you can twist the tape again.
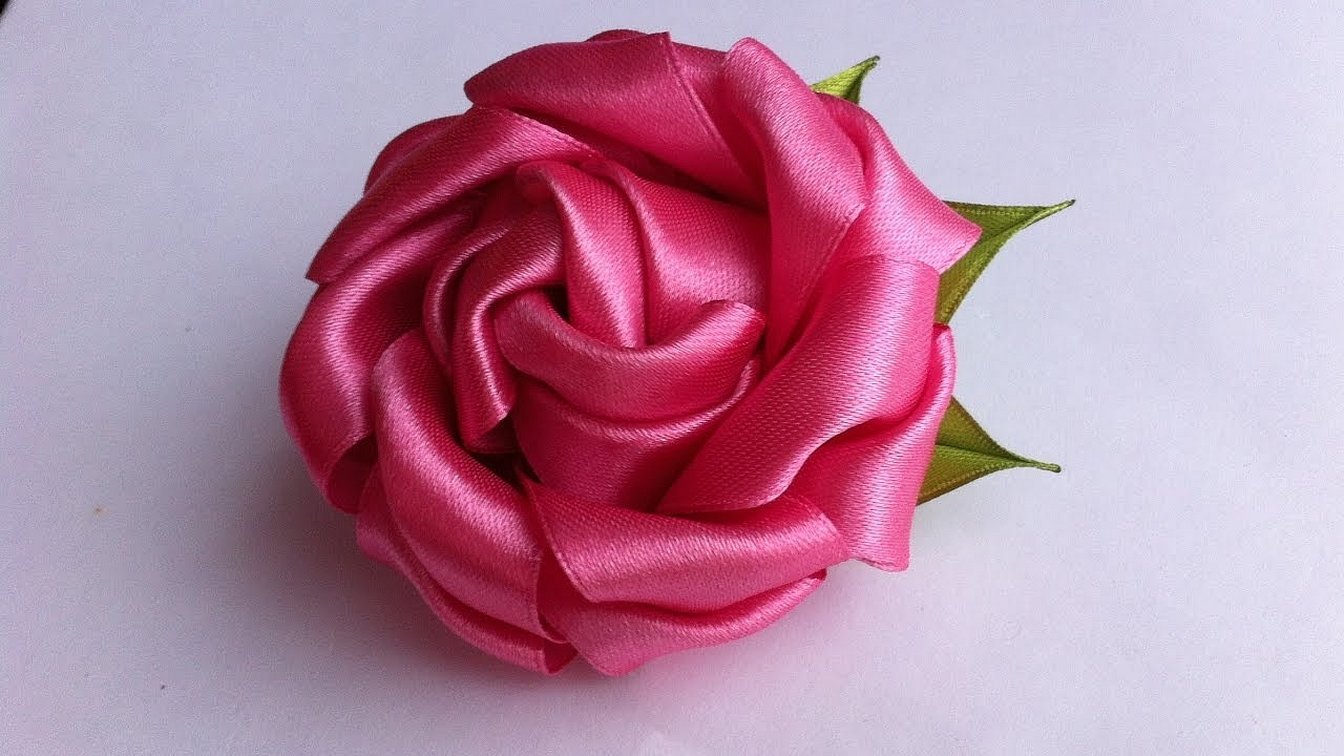
- For the rose, take a ribbon 2.5 cm wide.
- Make 3 straight stitches.
- Make 2 straight stitches for row 2.
- Add volume to the petals by lifting the fabric.
- Bring it out below the last puncture and make a French knot.
- Using a ribbon stitch, cross the middle and bring the ribbon to the right of the center.
- Do the same on the other side.
- Bring the ribbon out to the middle of the previous petal.
Please note! It is important to make small stitches so that no empty spaces are formed.
- Make a “half loop” and secure it on the opposite side.
- Embroider 2 similar petals, short and not crossing the center.
- Bring the ribbon out from the bottom.
- Make a "half loop", but insert the needle further from the center of the flower.
- Form petals at the bottom of the bud using a straight or ribbon stitch.
- Embroider a few more roses.
- Add buds to the drawing.
Please note! For beauty, you can embroider a heart.
How to attach tape to a needle
Before you start working, you need to secure the edge of the fabric.
Step by step instructions:
- Pierce in the center, 1 cm from the edge.
- Pull until it stops.
- Pull the short end firmly and thread it through the eye of the needle with the ribbon.
To secure the final embroidery you need:
- Cut the end of the tape to a distance of 1 cm from the material.
- Using matching threads and small stitches, sew the ends of the ribbons together.
- You can grab the fabric without it being noticed.

Technique of creating a bud
To create a bud you will need: ribbon, needle, thread to match the ribbon, scissors.
Instructions:
- Take the ribbon, bend one end towards you, and the other in the opposite direction.
- Roll it up to form a tube.
- Use a single-color thread to secure the ribbon.
- Roll up, fold inwards and wind.
- Perform similar actions, loosening the tape.
Important! You need to bend the tape in one direction each time.
After getting the bud of the required volume, secure the end of the ribbon. In this case, the bud will have a "leg".
The core and outer petals of a flower
To create the core you will need: ribbon, needle, and matching thread.
Instructions:
- Cut 1 m of tape, bend the end about 3 cm towards you, 90 degree angle.
- Fold again.
- Place the index finger of your left hand on the top edge, thumb down.
- Fold the top under the bottom, pull out the thumb, forming a triangle.
- Twist the part 3 times with your right hand.
- Sew the center with thread.
- Twist the tape to the end, securing each turn with a needle.
Sewing technique for outer petals:
- Twist the ribbon into a soft fold and pierce it under the petal.
- Step back 2 mm, insert the needle into the front side and create a fold.
- Carefully arrange the petals without gaps.
When embroidering petals, you need to change direction to make it look natural.

Flower branch
To embroider a flower branch, you need to roll up a tube. You can also stitch a ribbon along the stem using small stitches. To increase the volume, wrap the ribbon several times.
Coloring a flower and a bud
When tinting flowers, you can use watercolor paints or batik paints.
Instructions:
- Apply paint to the palette and dilute with water.
- It is necessary to moisten the flower and buds.
- Wet the brush and apply paint.
Please note! A hair dryer will help prevent paint from dripping.
Coloring the cup
When tinting the cups, you can also use watercolors and batik paints. The main thing is to take a small amount of color on the brush. It is best to use a hard brush for this.
After creation, the painting is framed, it can also be placed under glass. The most important thing is to decide on the concept of the composition, the rest a novice seamstress can easily bring to life. Online MK is conducted by Natalia Razhivalova, Larisa Torop, Lyubov Lebedeva.


