The Rococo style has its roots back in the 18th century, it first appeared in France. Handicrafts made in this technique are distinguished by their ease, and at the same time amazing luxury. In this way, you can decorate not only personal items, but also pillows, bed linen or toys for children. This article tells about what Rococo embroidery is and what techniques exist at the moment.
Features of the Rococo style
These embroidery features will be useful not only for beginner needlewomen, but also for experienced craftsmen.
Creating curls from right to left can unwind the yarn that the embroidery runs through, which will eventually cause the threads to become shiny.
To create a voluminous and compressed element, all finished curled stitches must be placed close to each other.
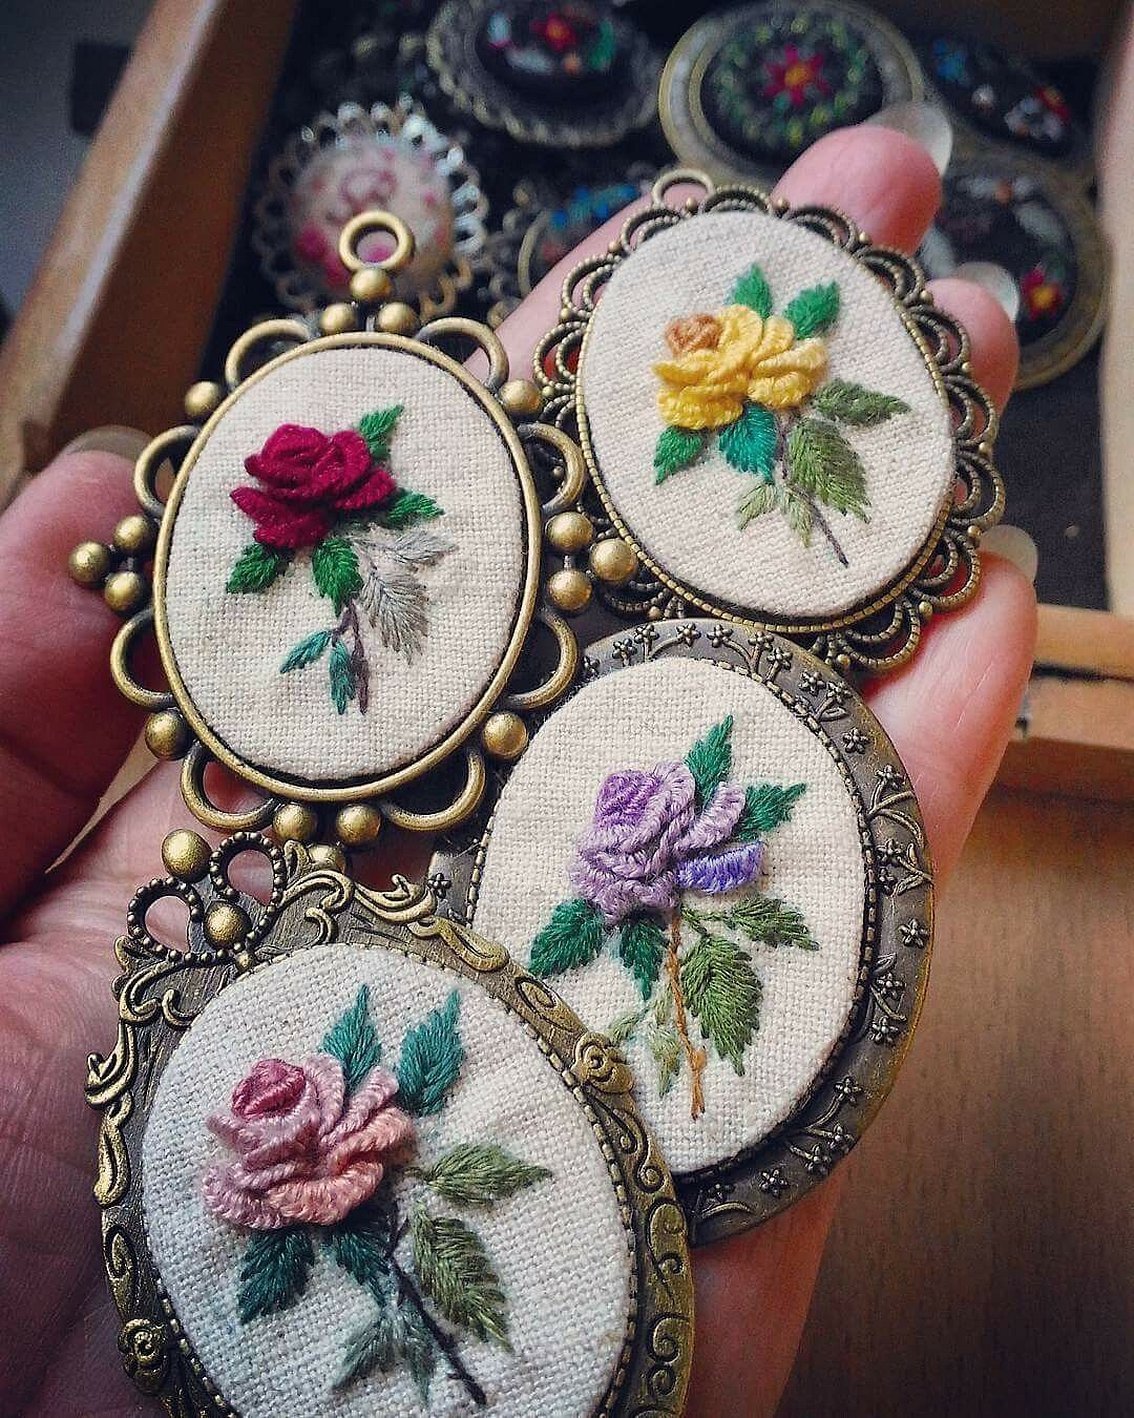
Colourful ornaments of volumetric embroidery, made in the Rococo style, are original elements that can be used to decorate various objects in the design of the room or personal everyday items.
Attention! For beginners, many recommend watching several video tutorials before work to understand the embroidery process itself.
Further in the article you can learn about the main embroidery options and their application.
Basics of seam making techniques
Rococo has three ways of execution:
- embroidery using stitches;
- using a knot;
- Spiral embroidery.
All these methods have their advantages and disadvantages, each of them is described in detail below in the article. Therefore, a beginner needlewoman can choose a more suitable option for herself to complete the work.
Making a stitch
Step by step process:
- First, you need to mark two marks on the fabric, you can mark them as A and C. The yarn needs to be brought to the outside of the embroidery, and then carefully tightened;
- then you need to return to point C and pass the needle through this mark, bringing it out as close as possible to point A. There is no need to split and pierce the yarn;
- next you need to start making a clockwise turn;
- lift the end of the needle above the fabric and, holding it in this position, move the coil closer to the fabric. Continuing to string the yarn on the needle, make the required number of coils;
- the curls should be held tightly enough on the needle, but not overlapping each other;
- press the curl with the thumb of your right hand and carefully pull the needle through it. Then you need to start working with the thread. You need to pull it away from you until the thread in the eye of the needle becomes taut. This little “life hack” will help you make a tight and even stitch;
- now you need to loosen the yarn tension a little and carefully place a new stitch in the direction of point C;
- When you have finished working, you need to stick the needle into point C and pull it out to the wrong side.
This technique is more suitable for experienced needlewomen and tailors. Because it is considered one of the most difficult to implement.
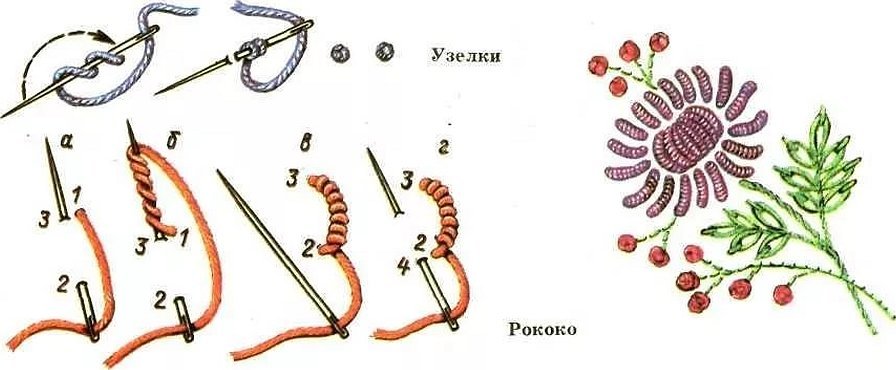
Making a knot
Step by step work:
- secure the thread on the back side;
- pull it out to the "front" of the ornament;
- curl it around the end of the needle a couple of times;
- pull the needle to the wrong side, holding the turns with your fingers. A beautiful knot appeared on the side of the ornament;
- repeat the action with the needle, “make” a second knot next to the first.
Rococo knot embroidery is a great option for beginners. It is easier to do and does not take as much time as stitching.
Performing a spiral
To make this item you need to follow the process below:
- Thread 10-15 turns of yarn onto the end of the needle coming out of the fabric;
- Pull the needle through the spiral, make a small puncture in the fabric. This is a very important point: the appearance of the finished spiral depends on this hole;
- If the needle cannot pass through the yarn, you need to twist it a little between your fingers. This helps to loosen the yarn.
This method will be of medium complexity, it is important to make a good puncture, otherwise the product will be ruined.
Embroidery of Rococo ornaments on examples
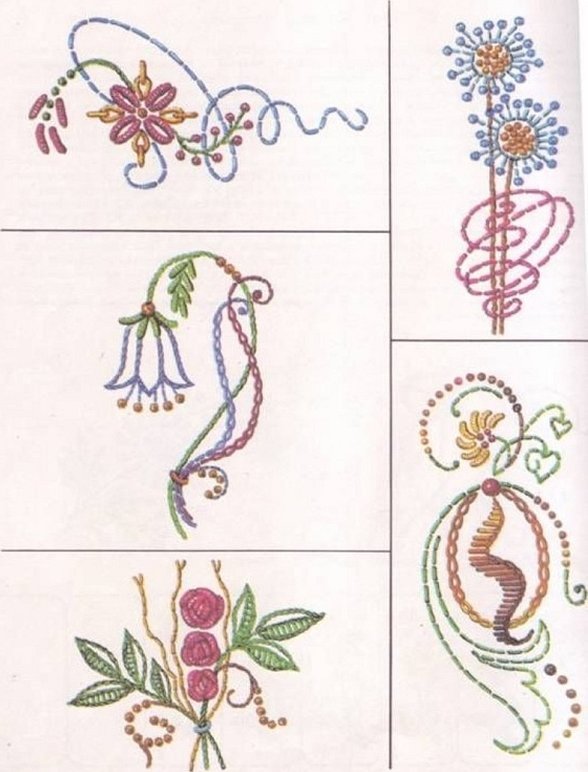
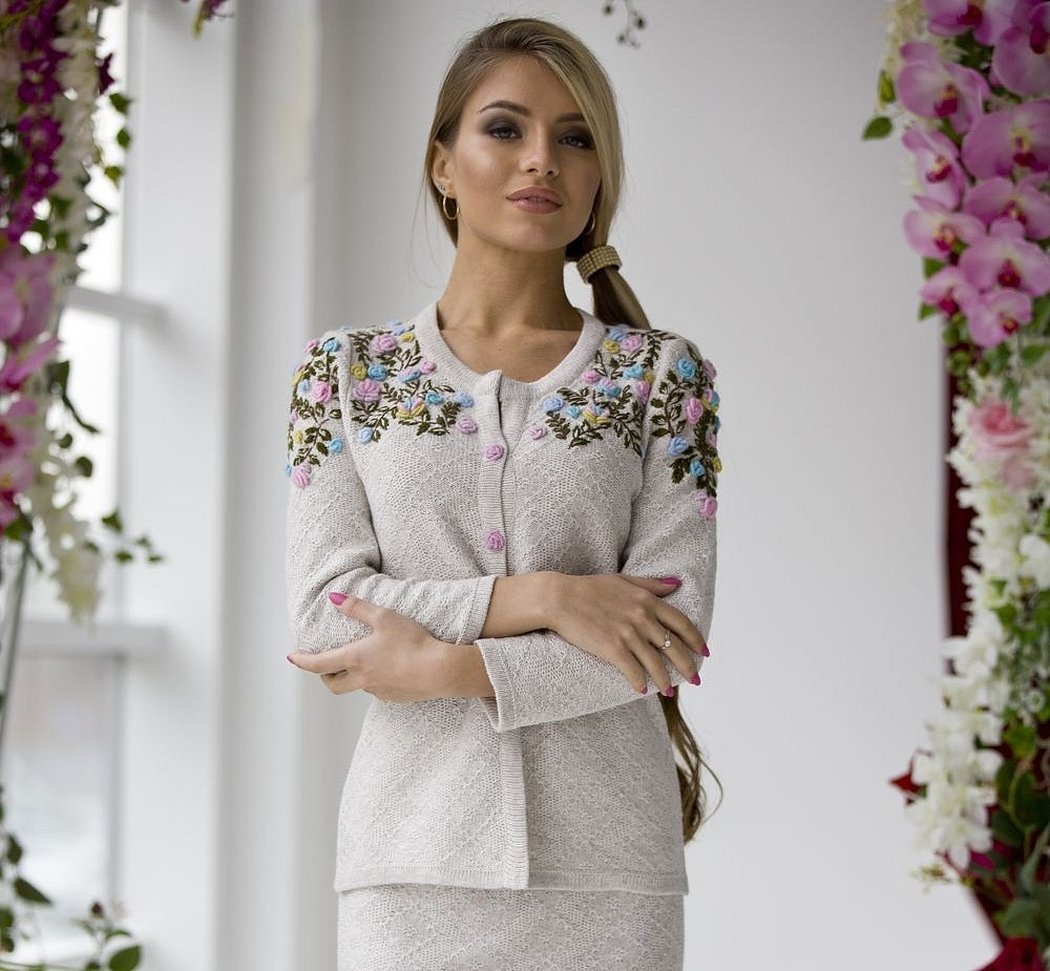
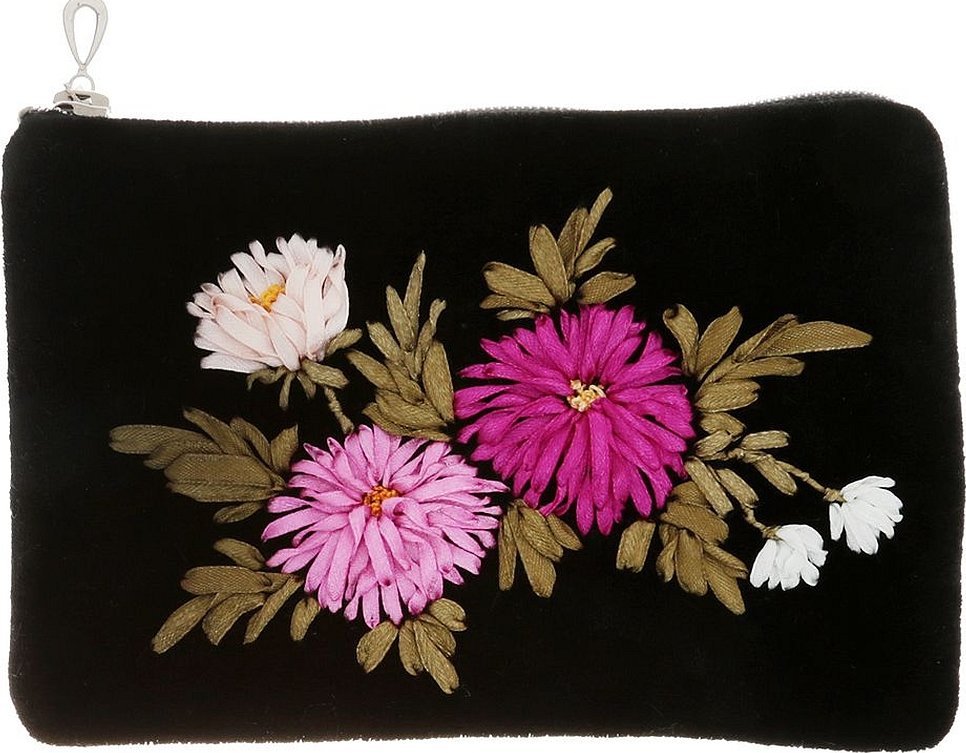
Above, we talked about the features of the Rococo style in embroidery. This technique is mainly used to create floral designs - lush lilies, daisies, roses, butterflies, fruits and crosses. Such ornaments can be used on gloves, handbags or outerwear. Below you can see a master class on Rococo embroidery.
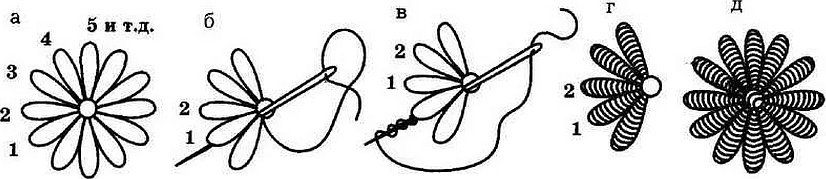
Embroidery pattern of daisies and roses
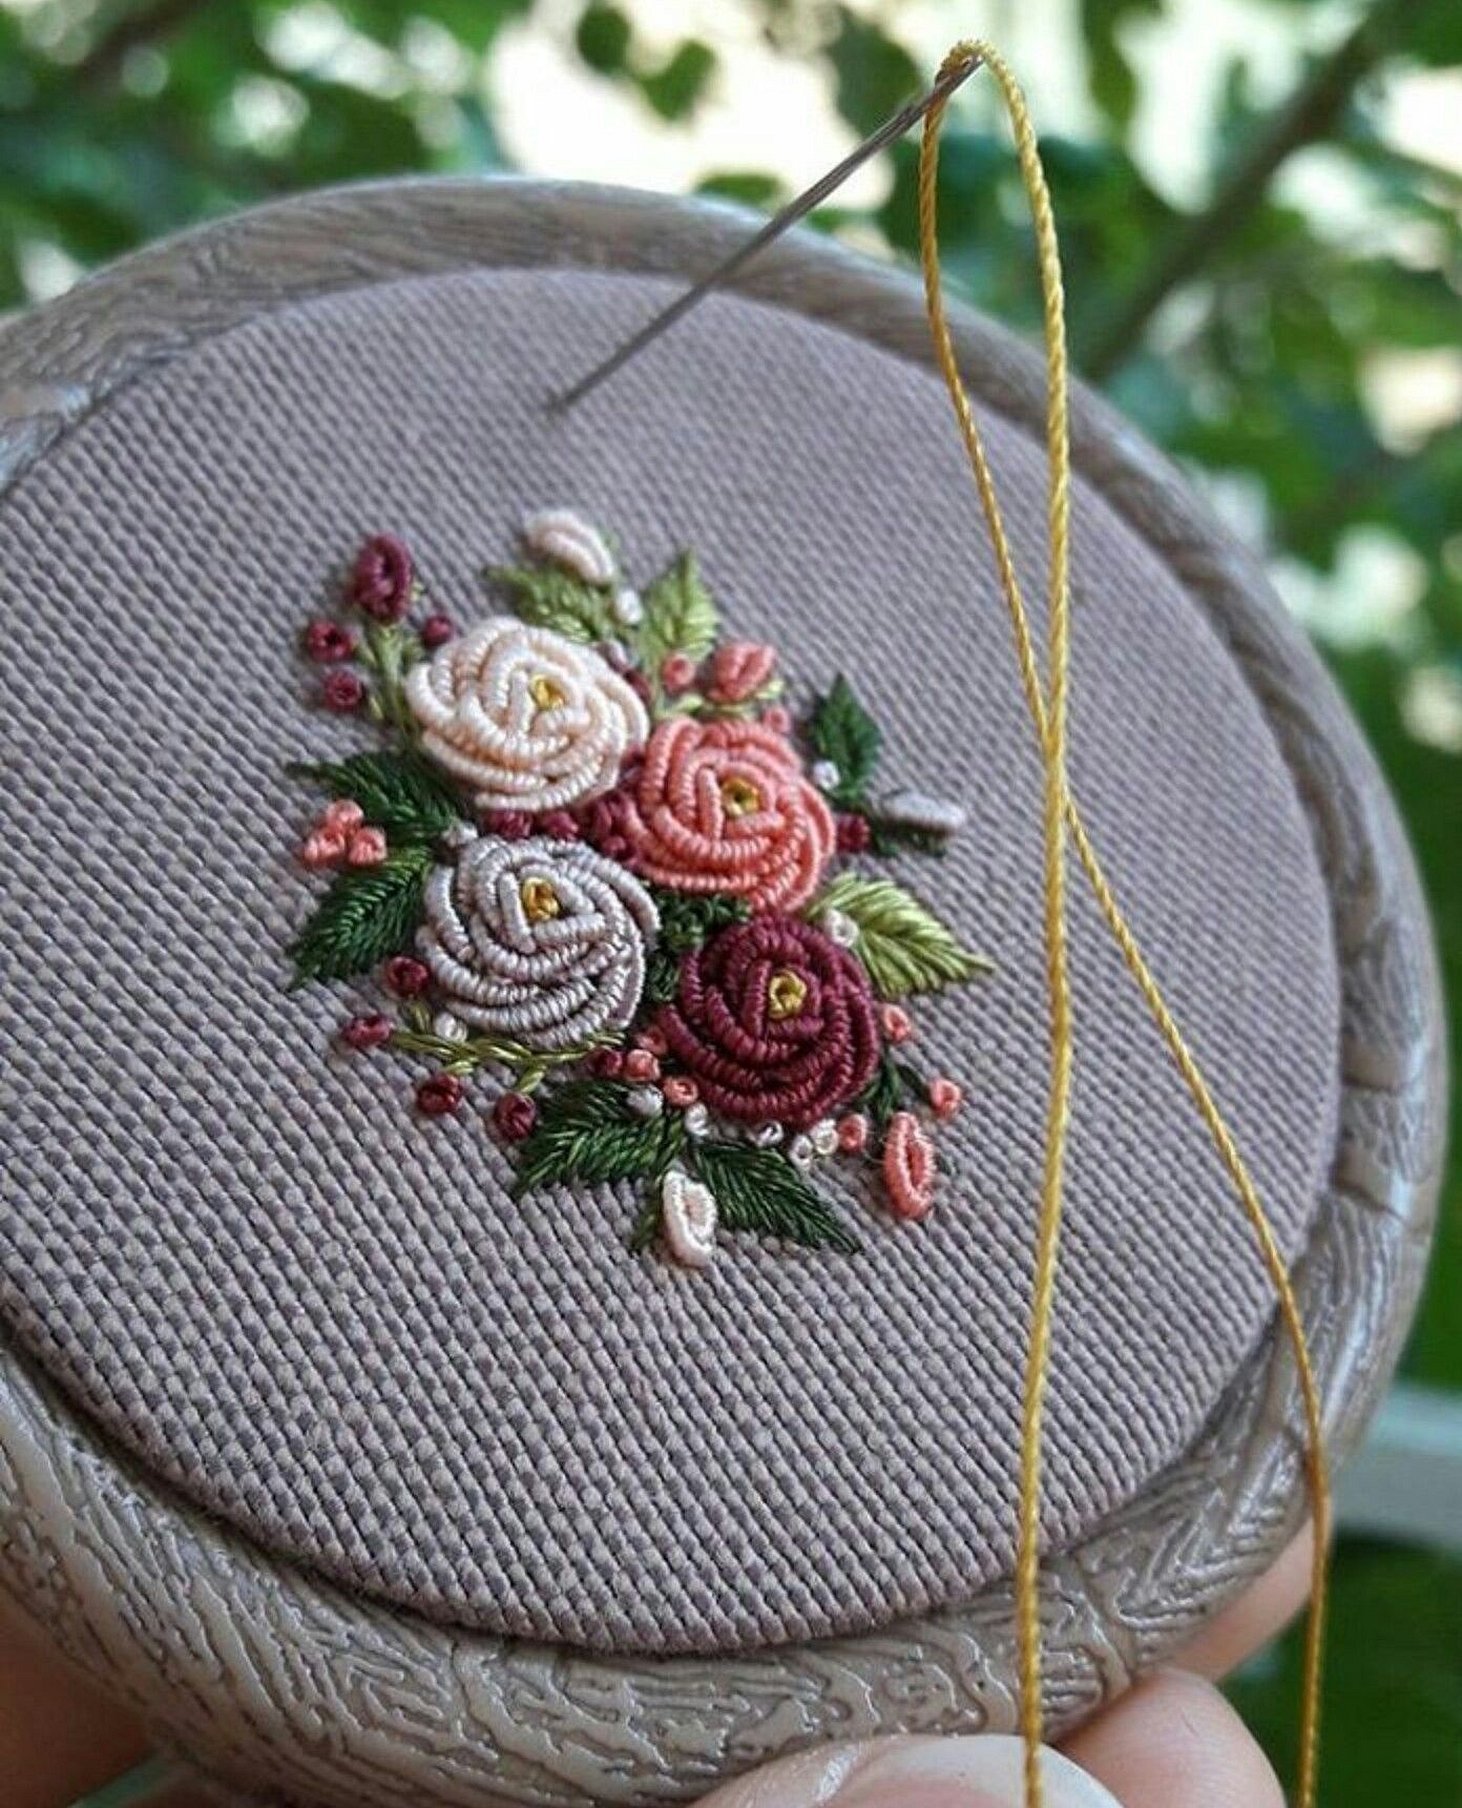
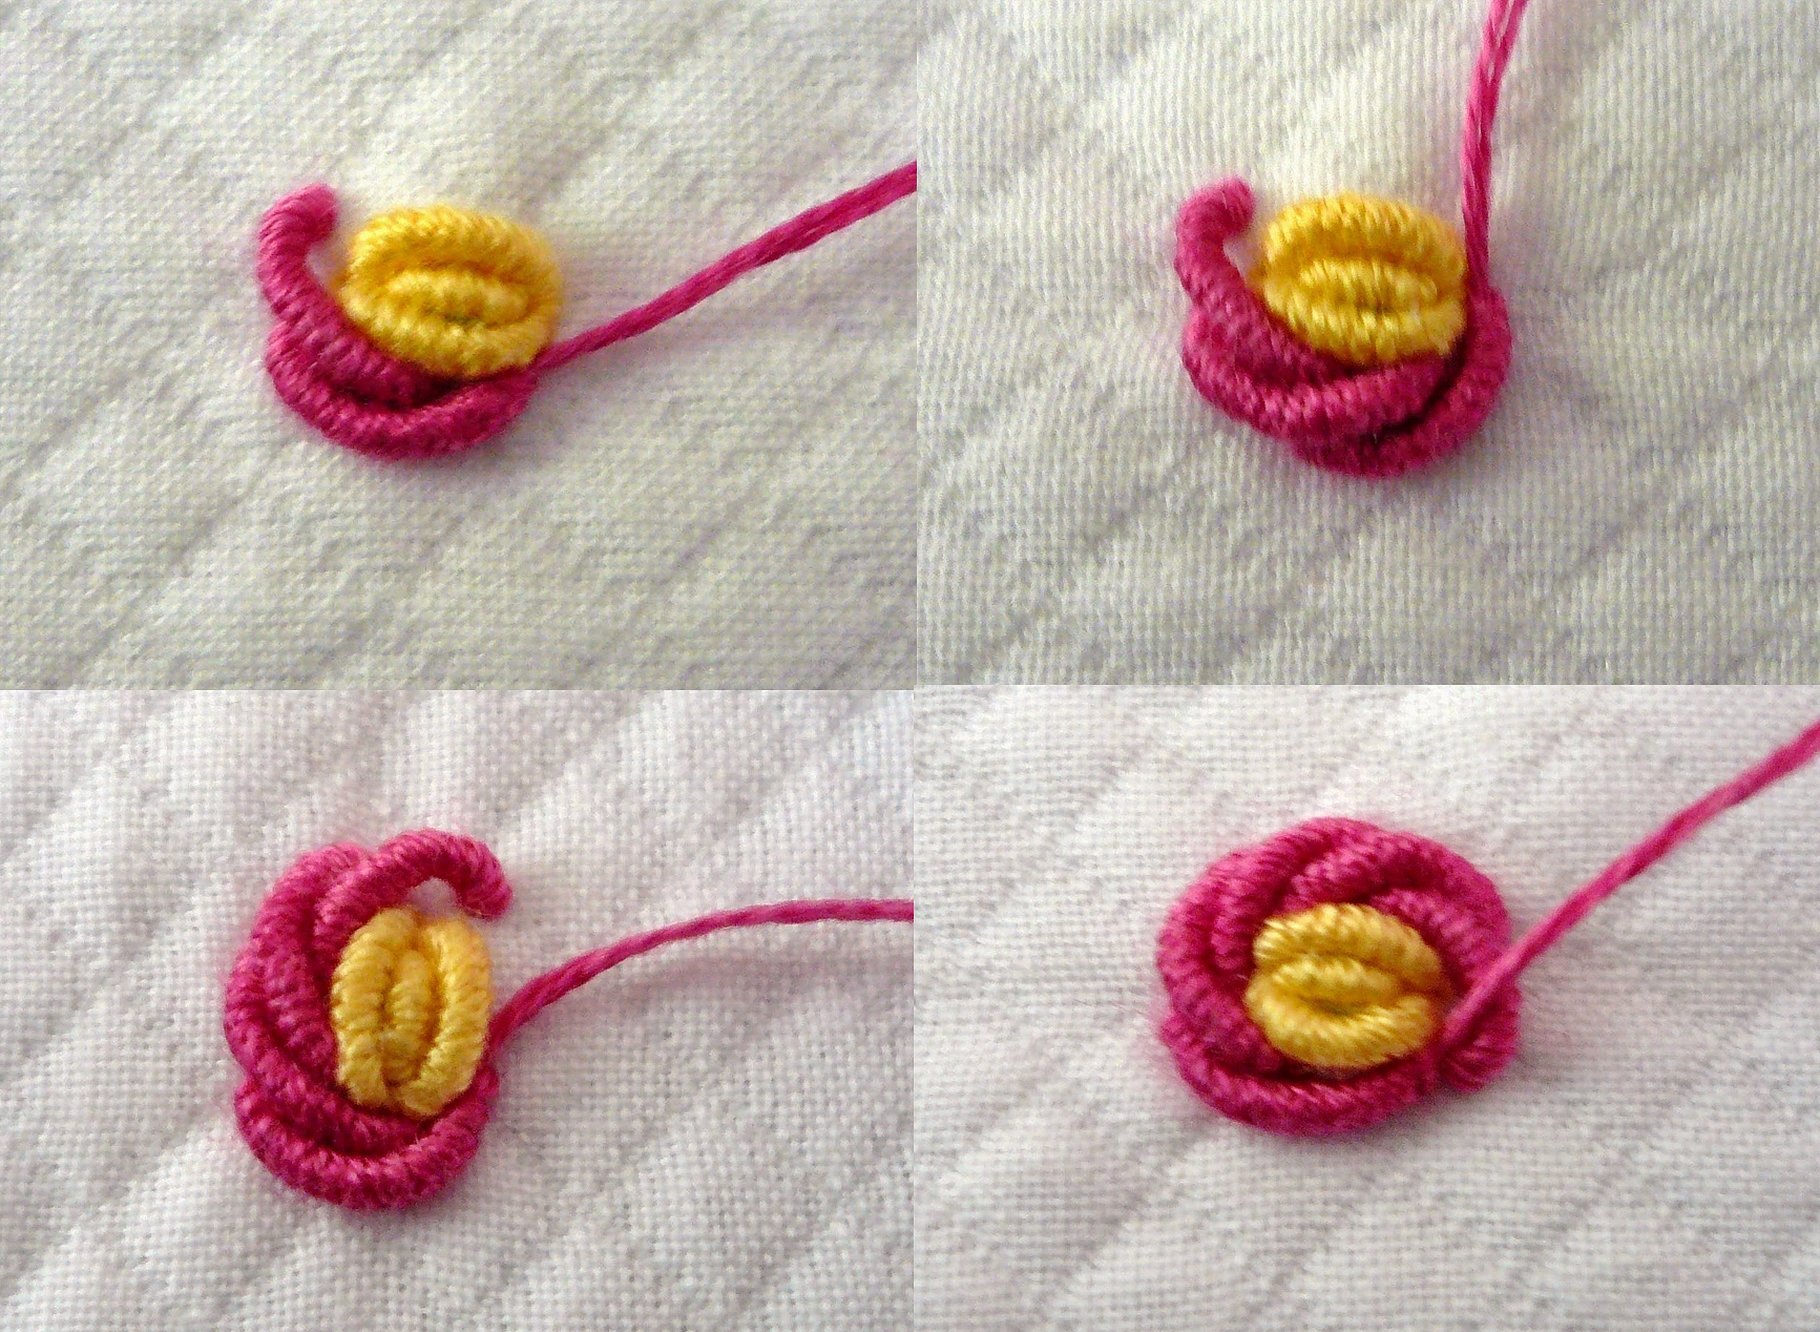
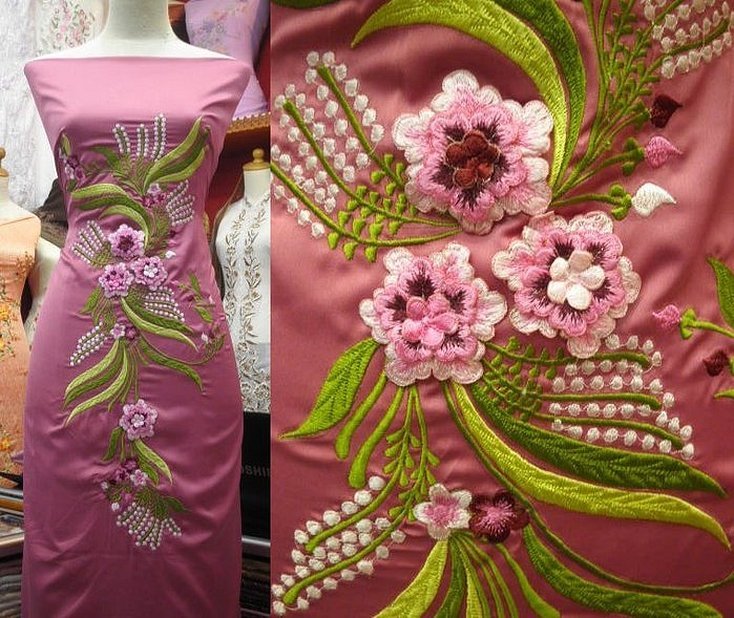
Embroidery of rococo roses is done step by step:
- insert the needle from the inside and bring it out to the front side at the point where you need to start the stitch;
- insert the needle into the bottom of the stitch and then back into the top. There is no need to split the yarn;
- thread the free end of the needle. The curls should be tightly connected to each other and match the length of the stitch. It can be a little more, but not less;
- pull the needle through the wound yarn, pressing it with your hands;
- unfold the curl along the thread and secure the stitch;
- to make a new seam, pull the needle out from the wrong side at the top of the future stitch. When working in the Rococo style, the material must be held so that the seam is vertical to it;
- you need to start making a rose from the middle of the canvas. Make three seams with seven and nine curls. You can use different threads for such a pattern, the difference will be visible after the embroidery is completed, and it will be reflected in the volume of the craft;
- around the middle make a row with 10 curls. When placing the seam, twist it into a spiral;
- for new petals, increase the number of curls, embroidering them longer and larger;
- Rose petals are made from two stitches with common tips.
The flower can be one color or made from different shades of red and pink; pastel colors can be used for the mittens.
The chamomile is made in exactly the same technique, but exclusively from white, yellow and green threads. For the petals, you can use the knot technique.
Berry embroidery pattern
Berries are used as additional patterns on the product.
To make a berry you need:
- make a curl on both ends of the needle;
- the outer curl is made in the shape of a figure eight;
- secure the yarn and make a stitch from bottom to top.
Berries can be supplemented with petals, twigs, creating a complete picture on the canvas. If desired, you can sew in beads or rhinestones.
Cornflower and leaf embroidery patterns
To embroider leaves on fabric, you need to make them from knots, tightly laying them on the canvas. For cornflowers, you need to use only white and purple threads.
You also need to know the rules for caring for items made using the Rococo technique.
Attention! Although the seams are quite dense, it is not allowed to wash items with embroidery at very high temperatures, since any threads, even the best ones, can start to shine.
Because of this, the quality and appearance of the product will change dramatically. It is better to wash by hand or in silk mode, it is recommended to use only liquid powders, as abrasive particles can be absorbed into the yarn. Dry at room temperature, away from direct sunlight, because the threads tend to fade. Ironing or steaming the products is not recommended, because steam has a rather bad effect on the threads and volumetric pattern.
This technique will look great on children's things, for example, on a girl's summer sundress or night pajamas. Children really like this kind of decoration of things.
Rococo embroidery style is gaining popularity every day. Fashion designers are increasingly showing their collections on the catwalk with decoration using the knots and stitches technique. The advantage of such embroidery is that any girl can do it, thus decorating her everyday clothes.


