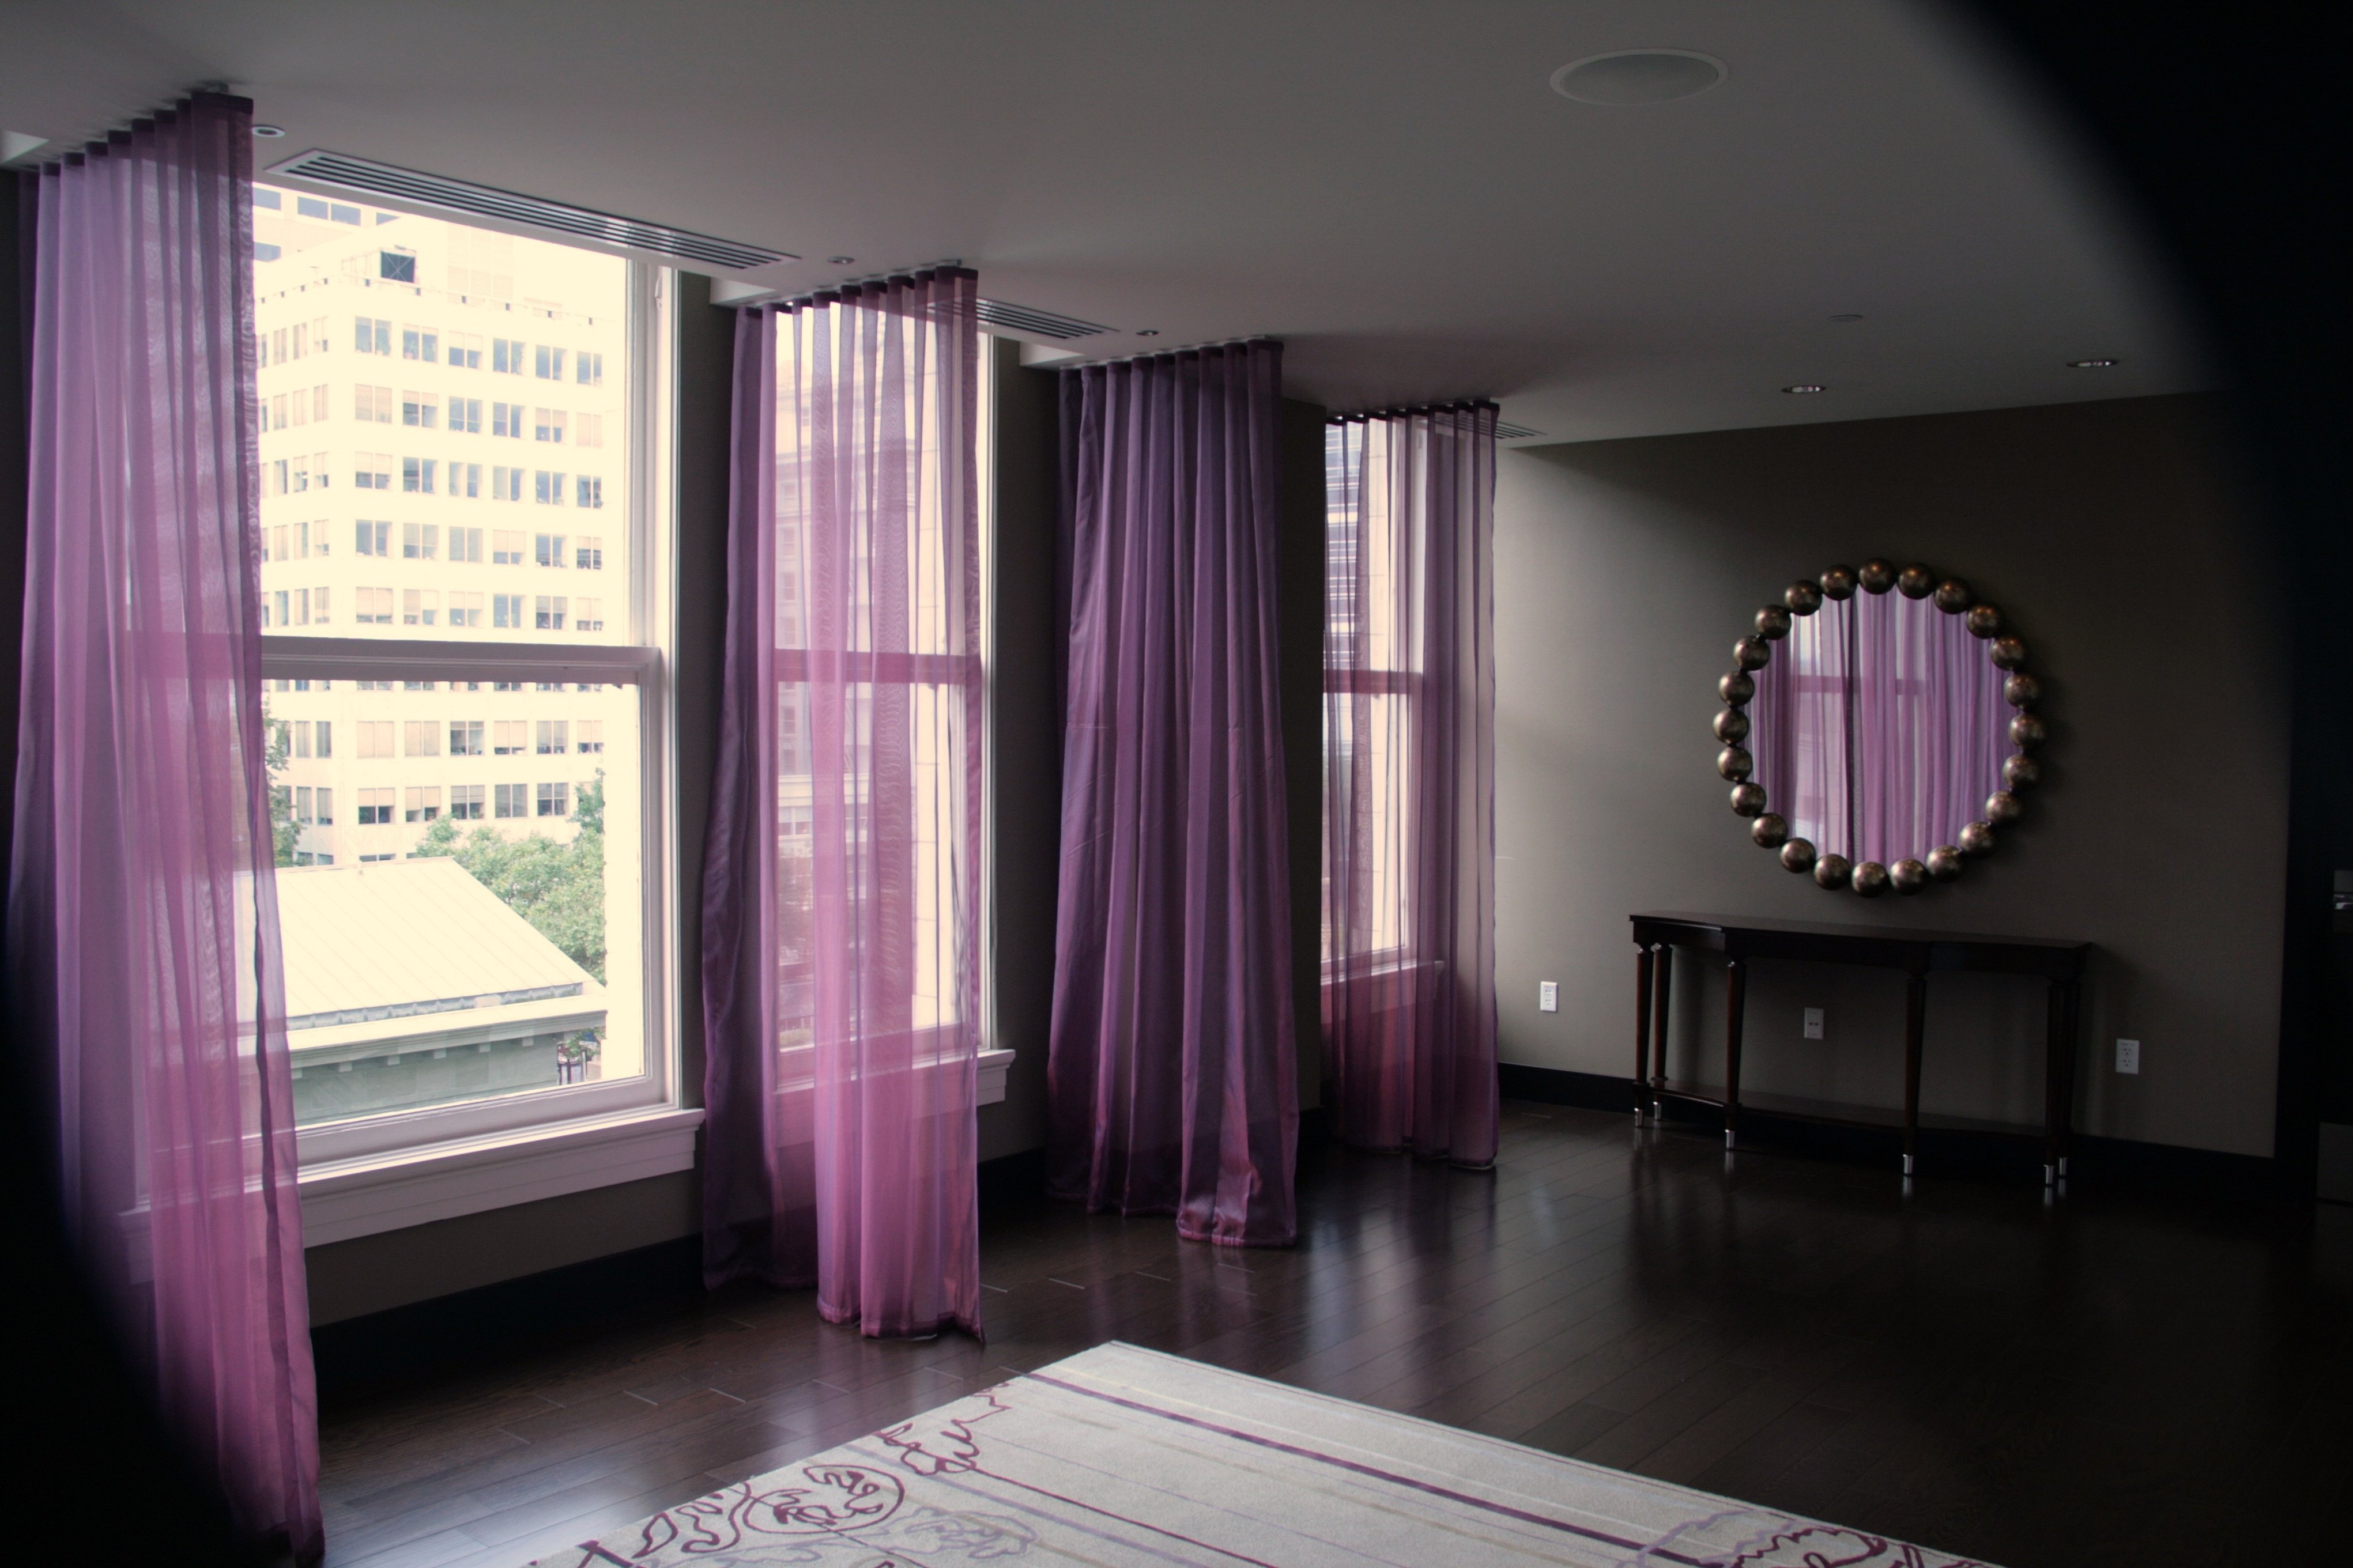
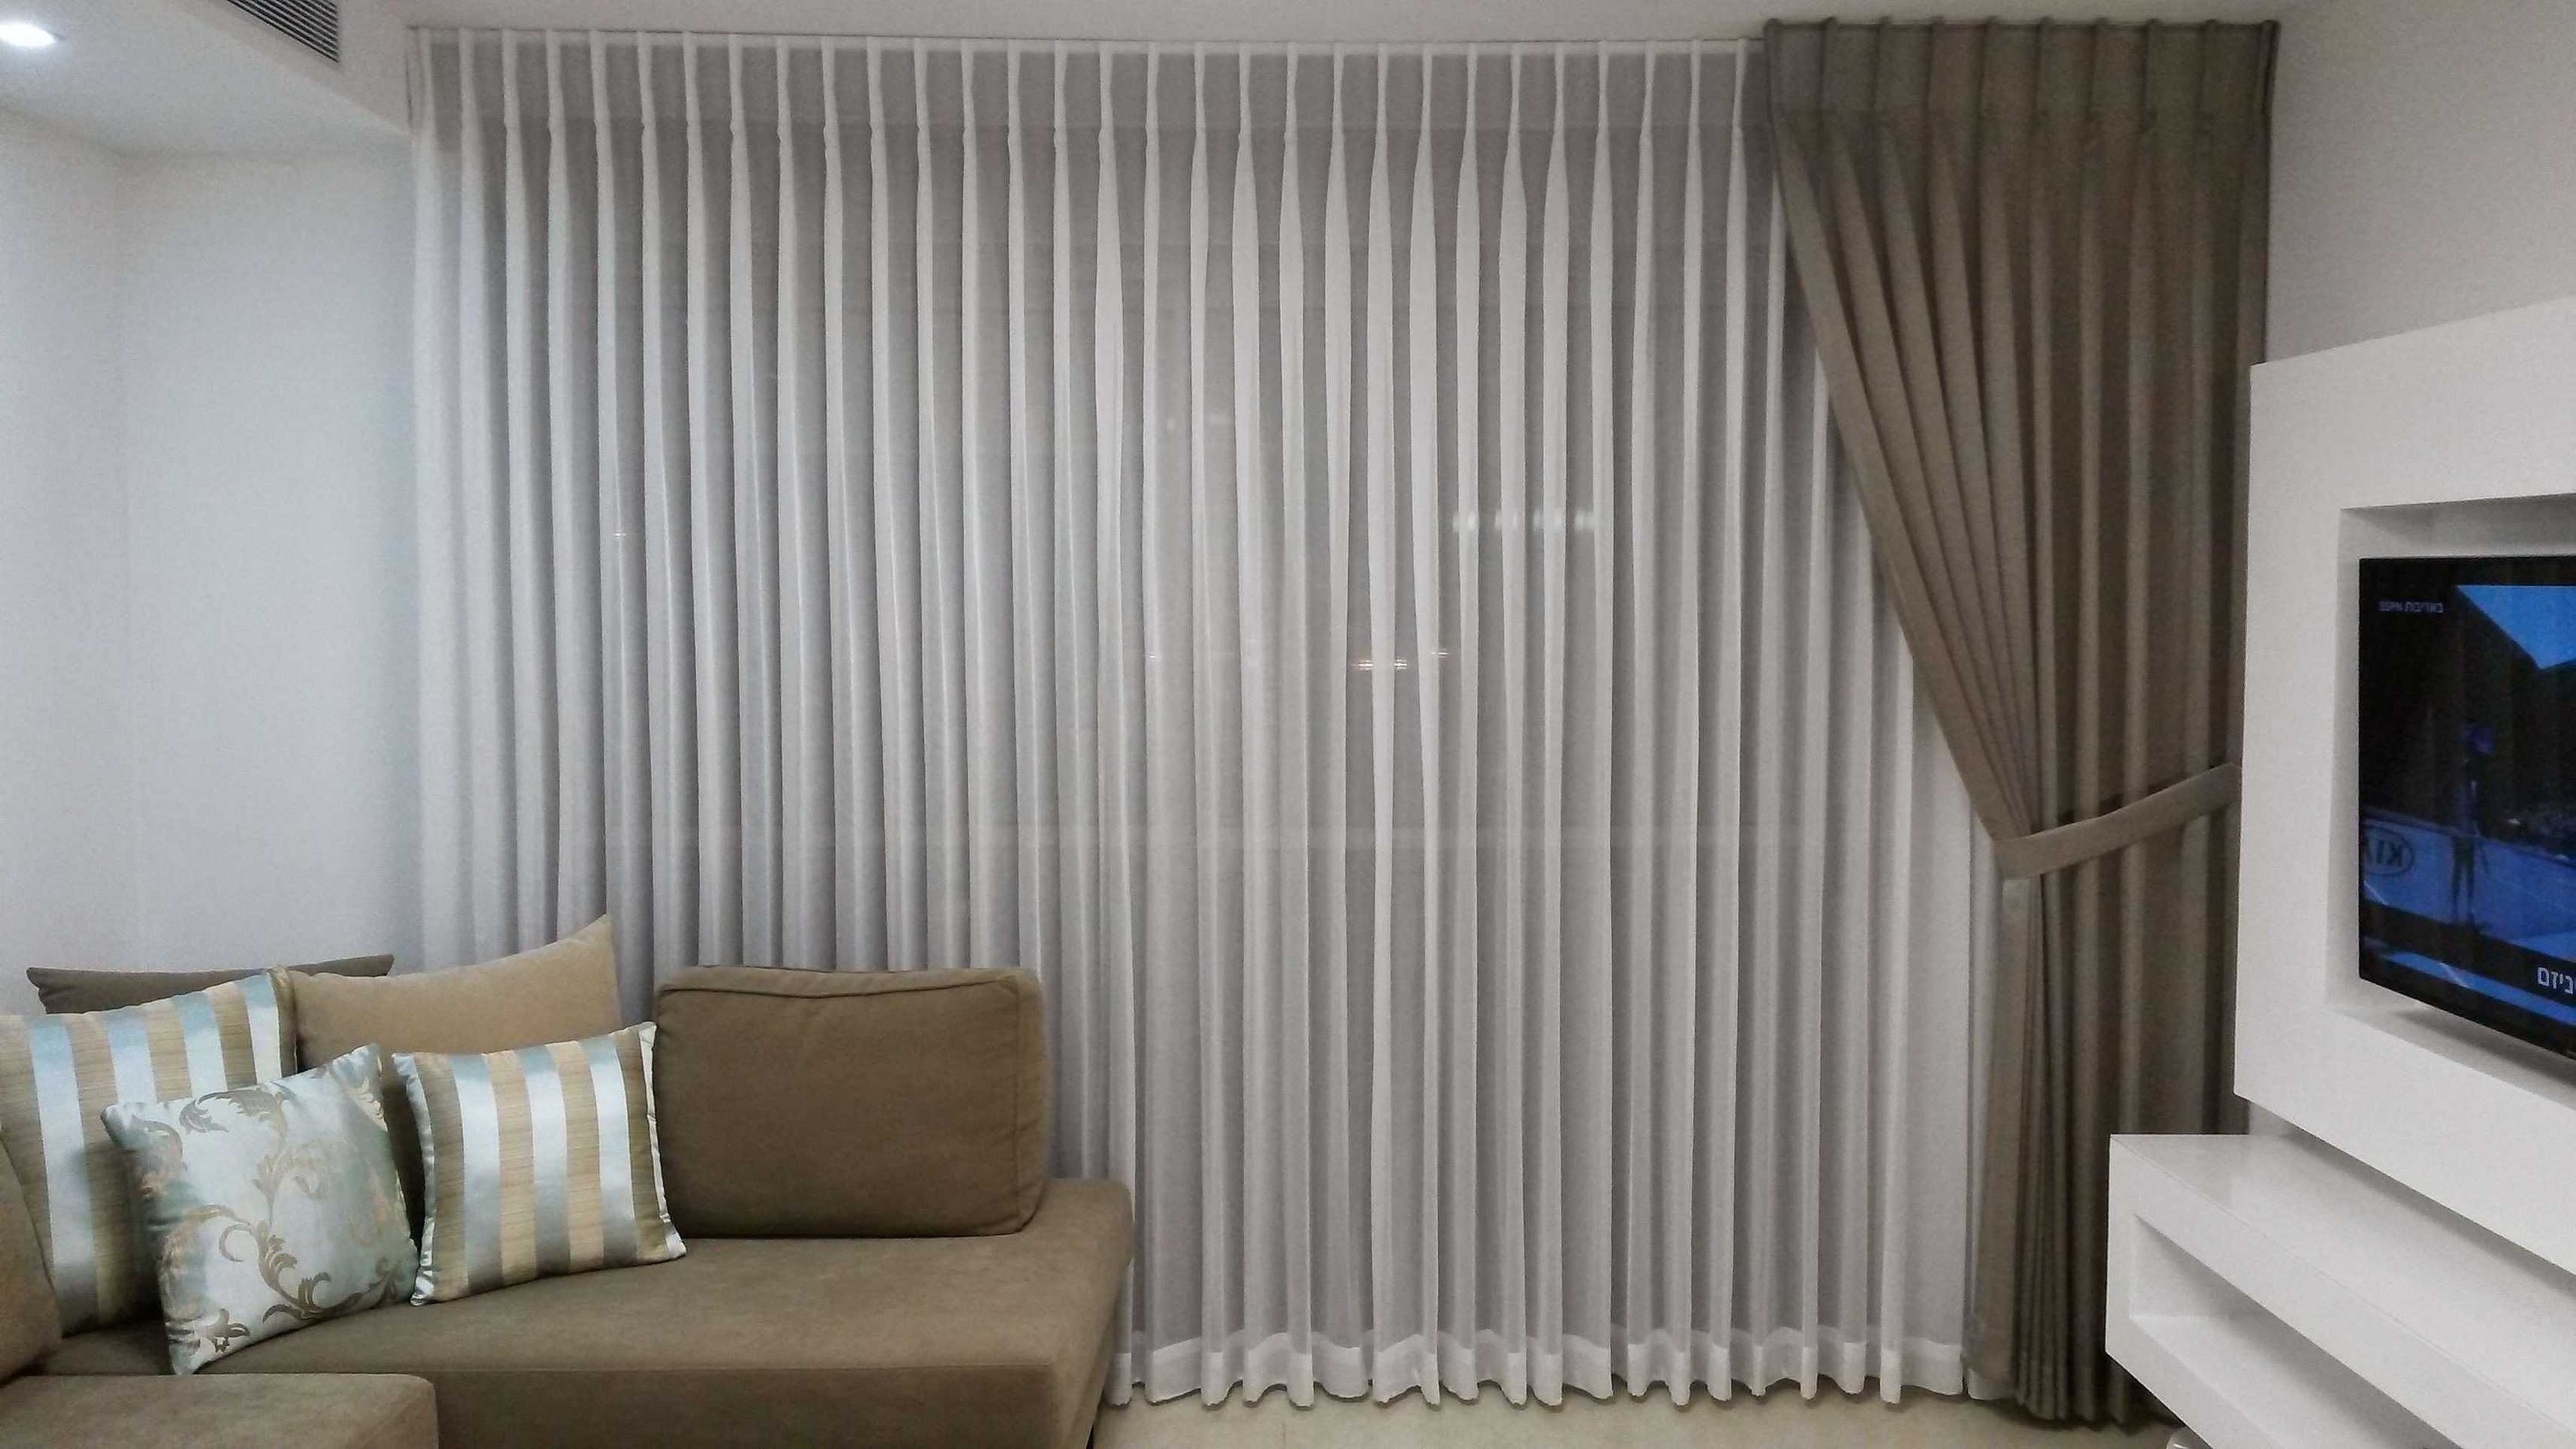
Curtains are an important part of almost any interior. But it is not necessary to buy ready-made curtains if you can sew tulle with your own hands. All you need is a sewing machine and a desire to decorate the room.
- Types of fabric for tulle
- How to calculate fabric consumption for a curtain
- Determine the length
- Determine the width
- Calculate the amount of fabric
- Step-by-step instructions on how to sew tulle with your own hands
- Step 1. Choosing the material for tulle
- Step 2. Correct cutting of the canvas
- Step 3. Processing the edges
- Step 4: Creating folds on the curtains
- Step 5. Cutting and sewing the curtain top strip
- Sewing tulle on eyelets
- Using fabric scraps
- Decorating Curtains
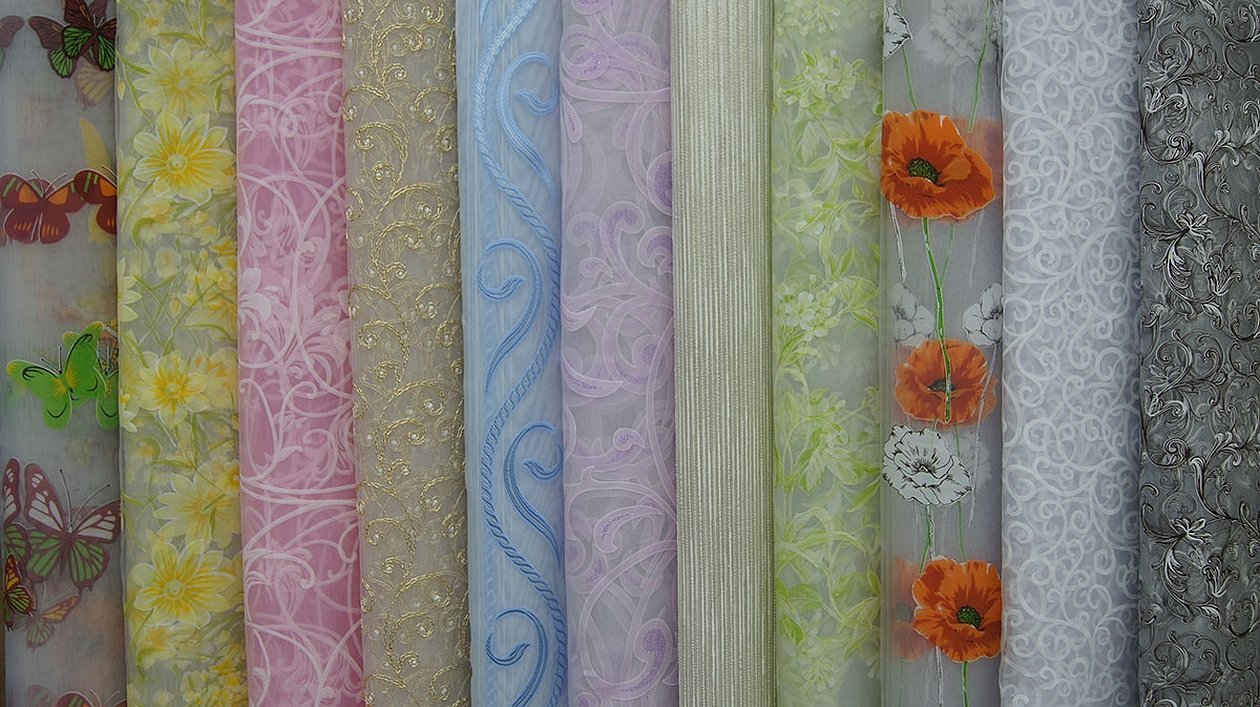
Types of fabric for tulle
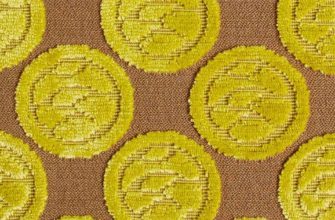
To choose a fabric, you need to understand how different types differ from each other. They differ primarily by the production method: smooth or patterned; by color and by the raw materials used.

Depending on the type of yarn and manufacturing variation, there are the following types of fabric:
- Organza. Transparent, light, but dense and rigid material that holds its shape well. It is made of polyester, but there are expensive models made of silk or viscose. It does not allow air to pass through well.
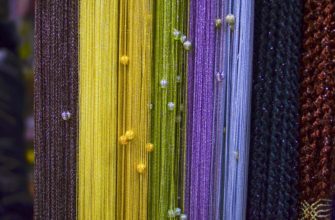
- Mesh. A dense fabric with holes that allow light to pass through easily. Usually made from synthetic fibers. Great for the kitchen.
- Muslin. A light, soft fabric made of fine threads. It is breathable, easy to wash and dries quickly. Silk, cotton or wool are used for production.
- Veil. A thin, translucent matte fabric that is most often used to sew curtains. It is made from cotton, silk, wool or linen. It is lightweight, holds its shape well, although it collects dust, gets dirty and fades. It is perfect for a hall.
- Gas. This type of fabric has a transparent, thin and light material. It is usually made of silk, but sometimes it is made of synthetics.
All these materials can make excellent curtains. You just need to figure out how to sew beautiful tulle for windows.
How to calculate fabric consumption for a curtain
Independent calculation of the amount of fabric required for sewing curtains includes three stages.
Determine the length
First, the length of the future finished product is measured. To do this, you need to determine what the curtain should be:
- to the floor without touching. In this case, 1-2 cm are retreated from the floor to prevent rapid wear;
- to the floor and lie on it as a train. Usually the train is made 5-10 cm;
- to the windowsill;
- 10 cm below the window sill, but not reaching the floor.

You also need to determine how the curtain will be attached to the cornice. For example, to sew a curtain on eyelets, 10-20 cm are added to the length of the curtain itself for the lining tape.
Please note! To the obtained result add 5-8 cm for “shrinkage” and 2 cm on each side for processing the edges.
Determine the width
The width consumption is determined by adding three parameters:
- cornice width;
- assembly coefficient;
- allowances.
The assembly coefficient for tulle is 2-4, the allowance size is 2 cm on each side.
Calculate the amount of fabric
If separate curtains are made, then for tulle with a pattern, two lengths of the pattern step are added to the length so that the curtains are symmetrical.
Step-by-step instructions on how to sew tulle with your own hands
For those who have decided to sew tulle with their own hands, below is a step-by-step instruction describing how this can be done.
Step 1. Choosing the material for tulle
First of all, you need to decide on the design. Tulle is an important detail of the interior, so it should not only match, but also emphasize it. Answers to the following questions can help with the choice of material:
- How sheer should the curtain be?
- What color?
- What texture?
- Plain or patterned? Or maybe embroidered?
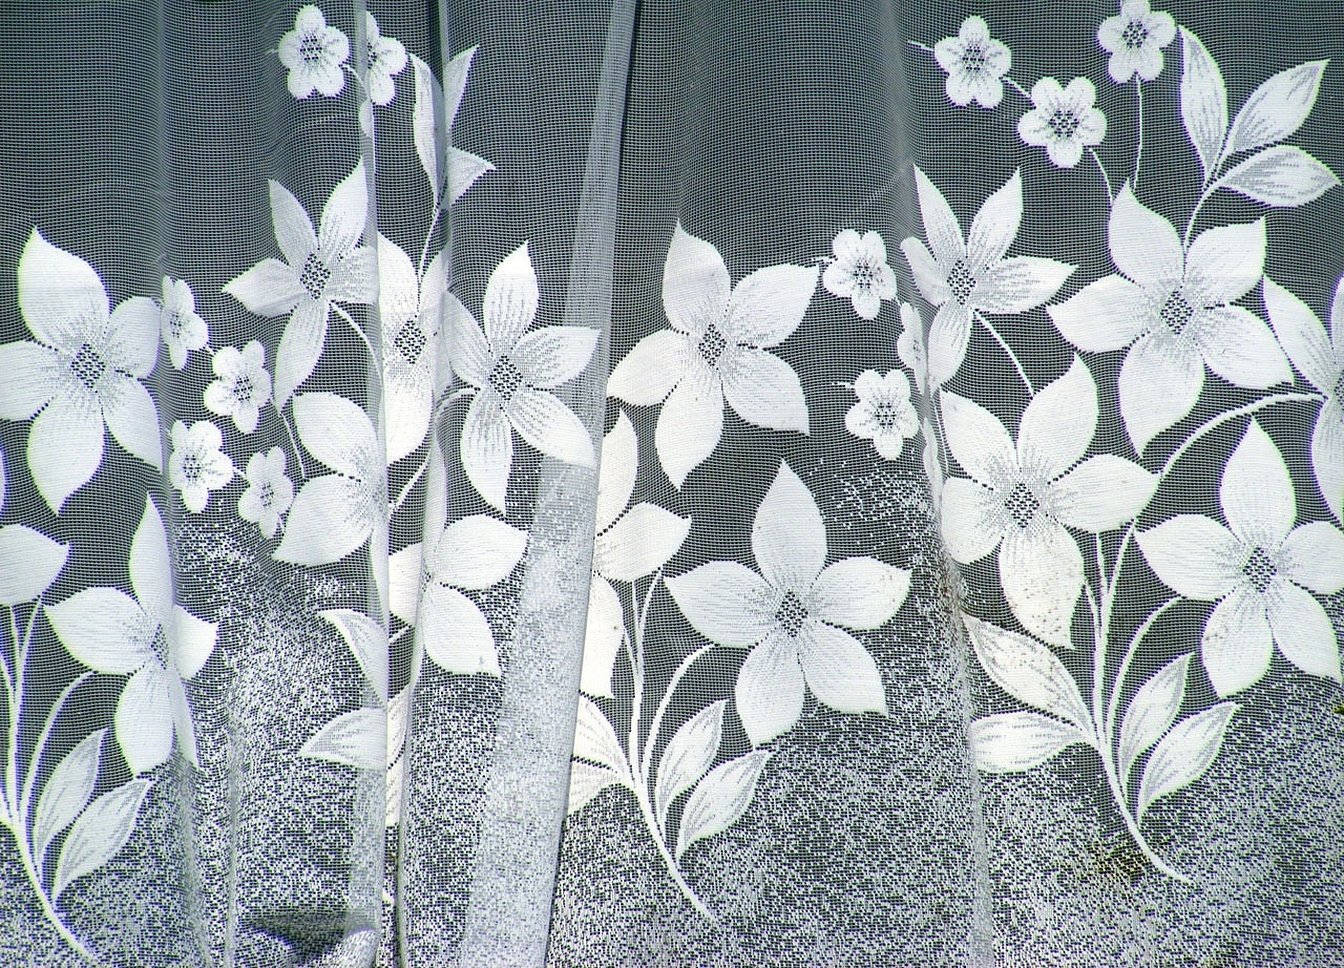
Important! You can mix different types of fabric to get something that suits your idea.
Step 2. Correct cutting of the canvas
There are four ways to cut the fabric so that the edges remain even and the desired length:
- Along the fold. Using a ruler, mark equal distances along the length of the fabric, then fold the fabric and iron. Cut with a knife from the inside.
- By thread. Measure the required length along the edge, make a small cut and pull out the thread. This leaves a visible mark, along which the fabric is cut with scissors.
- Using a ruler and scissors. Lay the fabric on a flat surface and mark the required distance using a long wooden strip and a marker. Cut with scissors along the resulting line.
- Using a ruler and a cutter. Place the fabric on a wooden surface, attach a ruler of the required length and cut using a cutter.
Important! Before ironing the fabric of the future curtain, you need to put a thin cotton material on it to avoid damage.
Step 3. Processing the edges
The material is not always cut evenly, and even high-quality fabric will fray at the edges over time. There are three main ways to process edges.
Important! You can take a sample of the fabric to test which edge treatment option you like best before you start working.
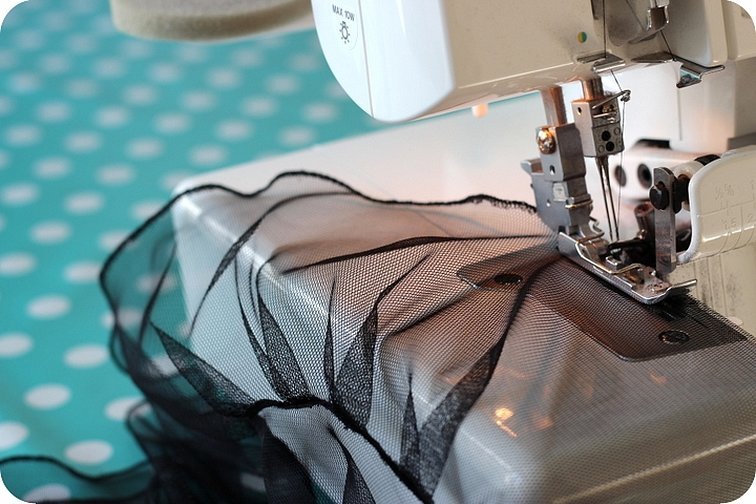
- Manually on a machine is the most commonly used method. The main thing is to choose a thread that exactly matches the fabric, so that it is less noticeable. Thick fabric can be folded once, but it is better to fold tulle twice. Before hemming on a machine, it is worth basting by hand. It is not recommended to pin the fabric, as marks may remain on the thin material. The correct seam will only work if you sew confidently, then the line will be even.
- Using adhesive tape. It is easy to use the tape, you only need an iron. The edges are folded twice and the tape is pulled between the layers of fabric. After that, it remains to go over it with a hot iron. The fold line is neat, without punctures and threads.
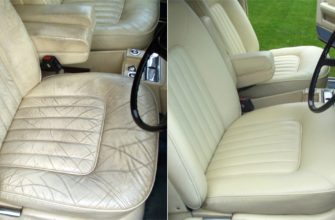
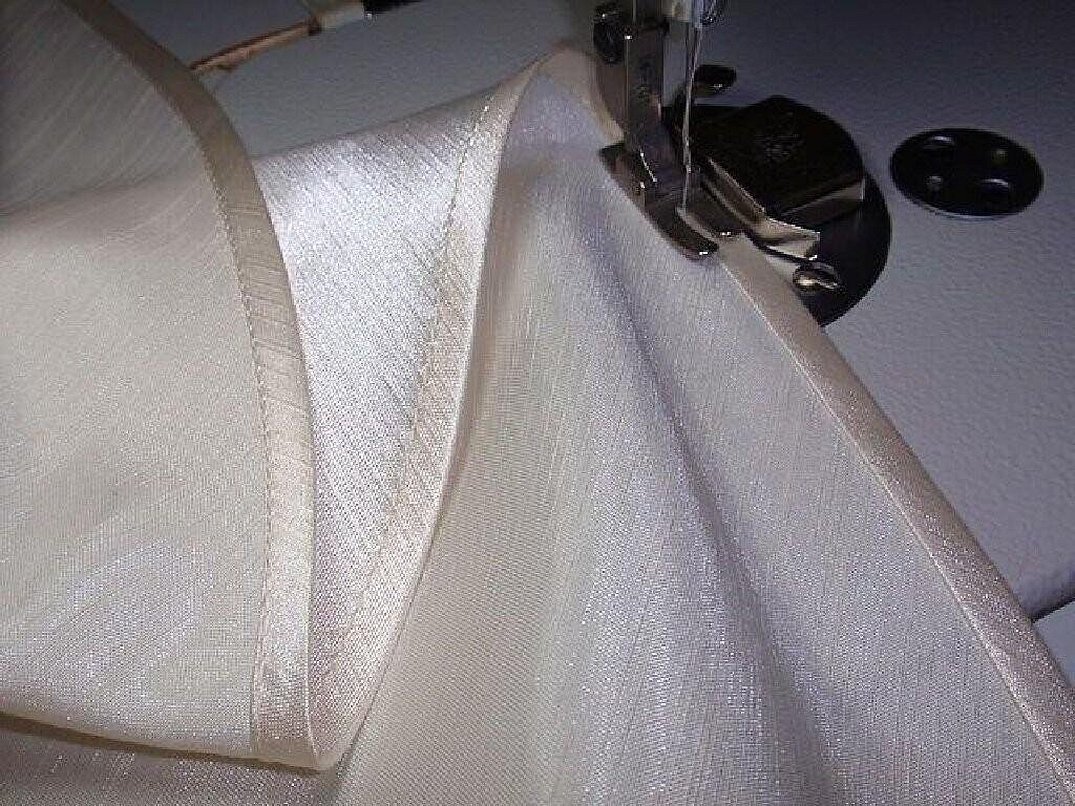
- Edging. This will not only help protect the edges, but will also serve as an additional decorative element. You can use anything: ribbons, braid, lace or fabric scraps. To make the edging even, the ribbon or fabric scraps should be folded in half and ironed.
Important! Before you start processing the edges, it is worth hanging the curtains on the curtain rod for a couple of days. This way they will take their final shape.
Step 4: Creating folds on the curtains
Pleats give curtains a special effect. And although folds on thick fabric will only weigh down the curtains, tulle is a light and thin material. How to make neat folds:
- Step back 1 cm from the top edge and draw a line parallel to it with a pencil or chalk.
- Every 5 cm mark strokes perpendicular to this line.
- Make folds by basting them lightly.
- Secure the folds with a machine.
Making folds is a long and painstaking job, so you will have to be patient.
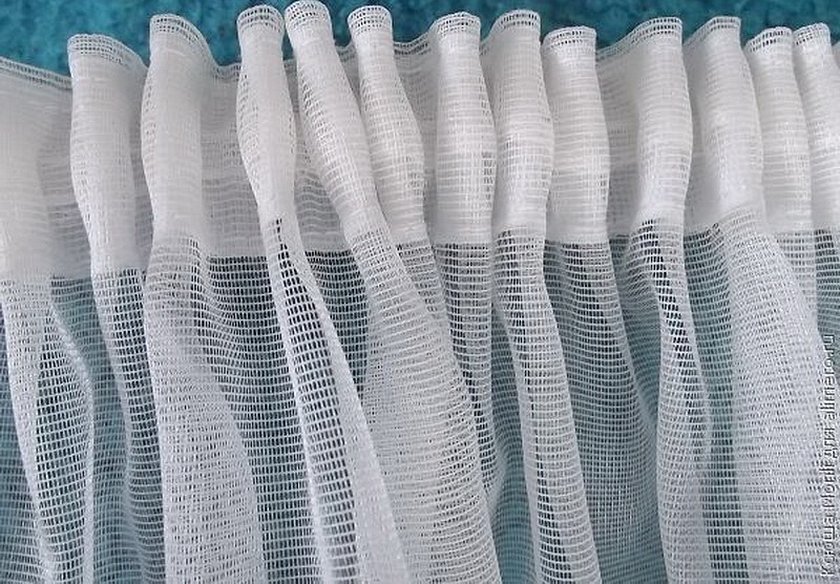
Step 5. Cutting and sewing the curtain top strip
Curtain tape is the "neck" of the curtain, where everything else is held. It is usually a white strip of fabric, similar to a ribbon. In the middle, along the entire length, there is a thick layer of fabric with loops, by which the tulle is hung from the cornice. Due to improper fastening, the entire structure can collapse. Guide to sewing curtain tape:
- Hem the top edge.
- Step back 0.5 cm from the edge and baste the curtain tape. It should lie without folds and tension.
- Machine stitch. The number of parallel lines should be equal to the number of cords in the tape.
- The edges of the curtain tape should be 1.5-2 cm shorter than the curtain.
- Turn the side edges and stitch. They should be loose.
- Pull the curtains to the desired width.
Please note! Do not cut the loose ends of the cords, it is better to tie them and hide them behind the curtain. When washing, the fabric should be stretched to the full length of the cords.
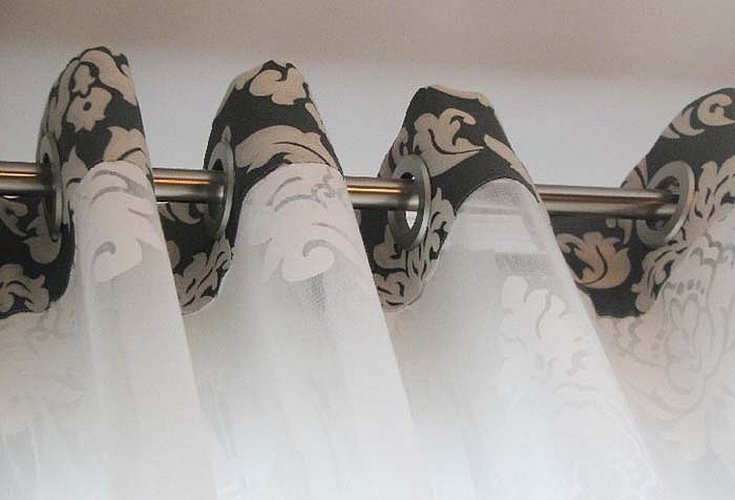
Sewing tulle on eyelets
Eyelets are sewing accessories. They are metal, wooden or plastic rings that are installed on the fabric. How to sew tulle on eyelets? Instructions below.
Tools required:
- fabric cuts;
- eyelets;
- eyelet tape;
- scissors;
- sewing machine;
- iron.
Important! First, sew a cuff from fabric 25 cm wide and the length equal to the width of the curtain. The eyelet tape should be twice as narrow as the fabric.
Master class on how to sew tulle on eyelets:
- Place the eyelet tape at a distance of 2-3 cm from the edge of the fabric and glue it, ironing it through a piece of fabric so that the iron does not stick to the tape.
- Place the tulle and fabric right sides together so that the edge with the ribbon is at the bottom. Stitch.
- Iron the stitched edge towards the cuff.
- Hem the outer edge of the cuff.
- Fold the cuff in half so that the tape is between the fabric and iron. Sew along the front side.
- Process the side edges.
Next, you need to correctly position and secure the eyelets:
- Using a ruler, evenly space the eyelet rings in the center of the cuff.
- Use chalk or pencil to trace them around the inner ring.
- Use scissors to cut out holes along the marks, leaving a small margin of 2-3 mm.
- Place the eyelet with the protrusion into the hole and “close” it with the second half until it clicks.
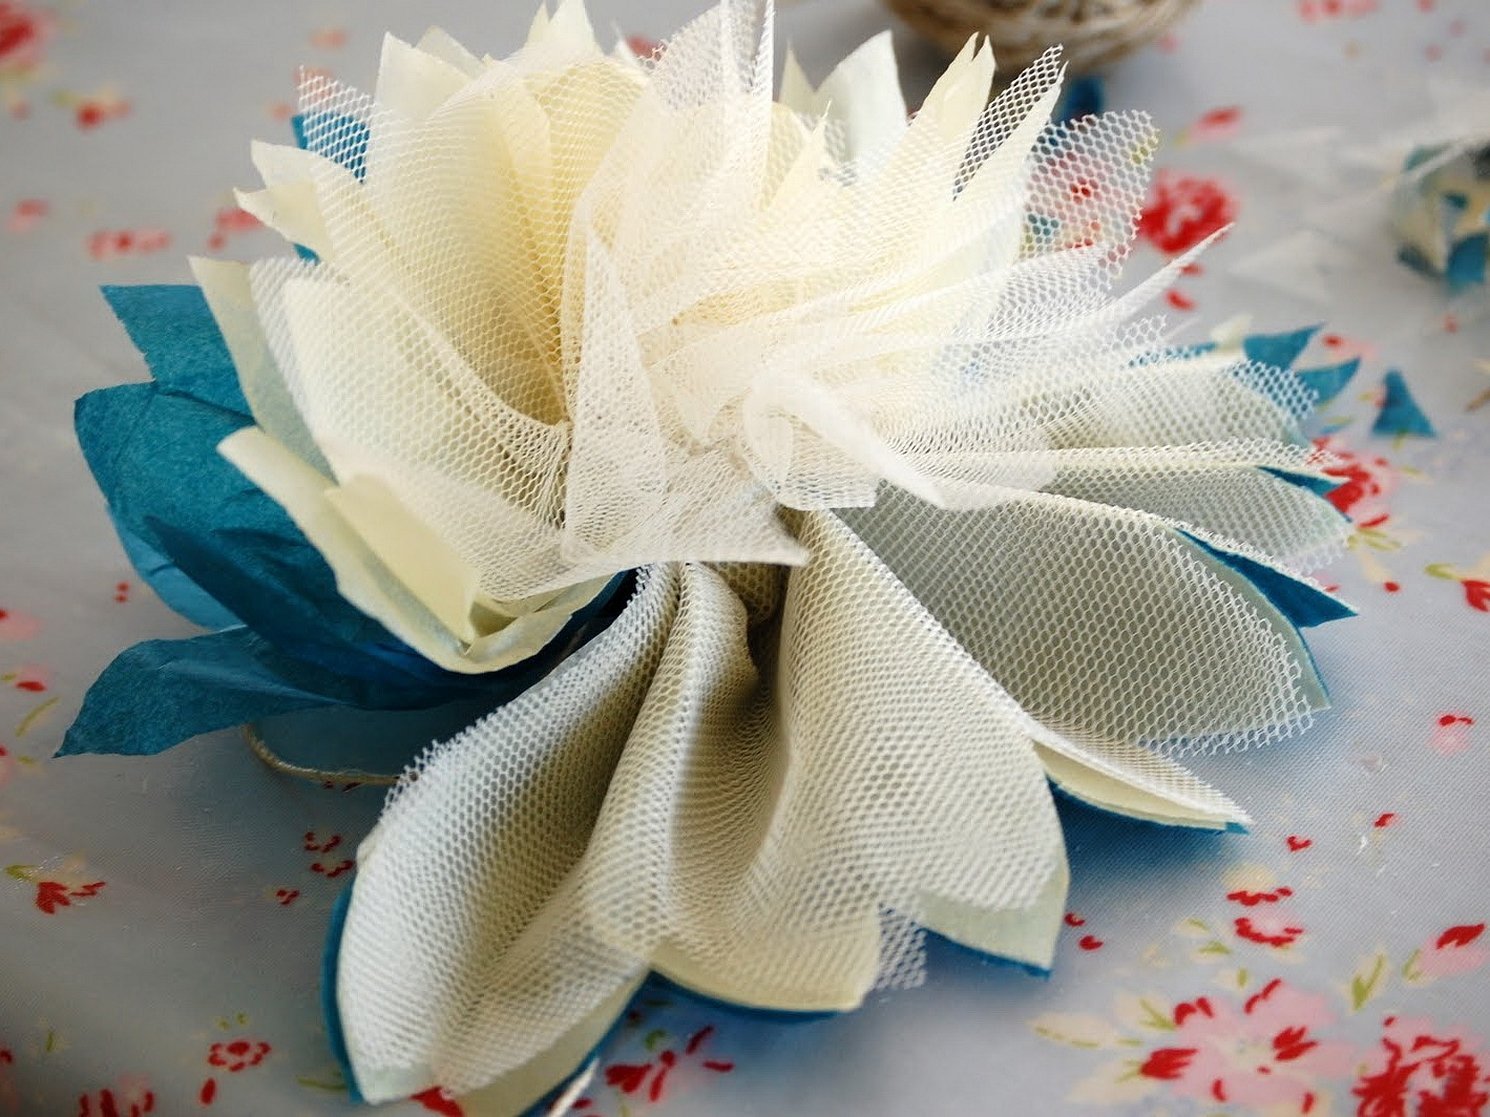
Using fabric scraps
What to do if there is extra fabric left after sewing? Anything that your imagination can come up with. Here are a few ideas to help you get your bearings:
- pillow covers. Decorative pillows in the living room will suit tulle covers. The pattern can be easily found on the Internet, or you can make it yourself from an old cover;
- decorative flowers, such as a water lily with tulle petals or a tulip made from a thick curtain stuffed with synthetic padding;
- napkins;
- lampshades.
For your information! Or you can use the remaining tulle to make additional decorations for the finished curtains.
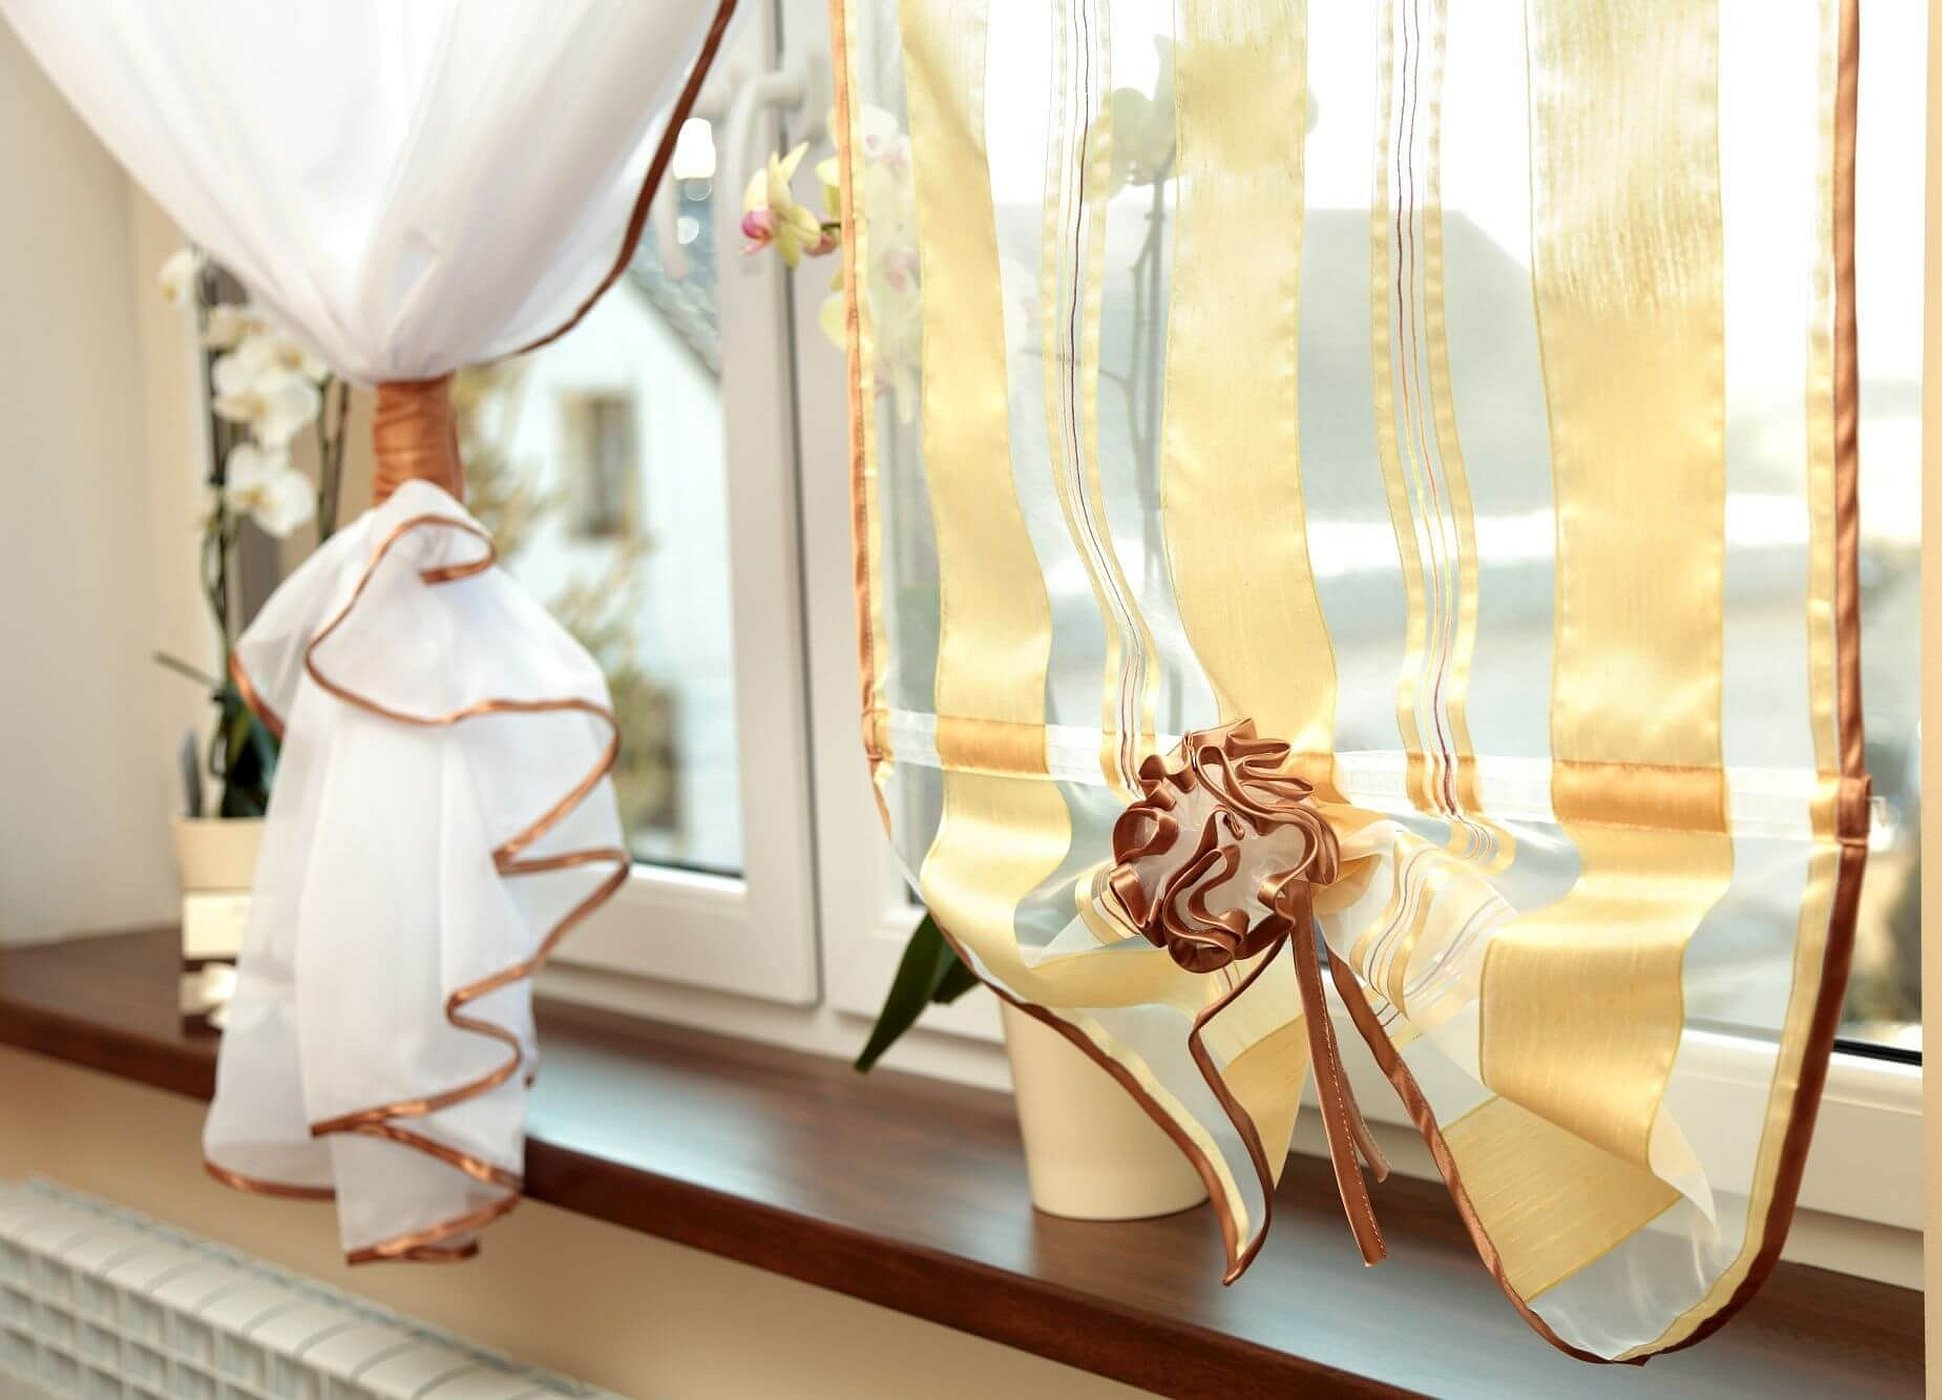
Decorating Curtains
In addition to sewing, there are several options for making tulle more beautiful. You can choose one or several depending on your wishes and the design of the room.
- side grabs;
- decorative knot or bow;
- gathering in the middle with a ring or garter;
- For closed windows, there is an interesting option: the tulle is attached not only from above, but also from below to the frame so that it does not dangle.
Thus, it is quite possible to sew tulle yourself, there is nothing complicated about it. The main thing is to have desire, fabric and a sewing machine.