Paper crafts are a very exciting activity for both children and adults. With their help, a child can reveal his or her creative abilities, find new friends in various clubs. Creativity also develops hand motor skills, thinking and imagination. The complexity of making a craft depends on the age of the child. Simple appliques are suitable for the smallest beginner craftsmen, and those who are older can already learn how to make a hare out of paper.
General principles of making paper crafts
Crafts are quite simple to make, as you only need paper of different colors for work. Also, this type of work is safe, toys can be made even for kids. The most important thing in this type of creativity is to follow the work scheme. If you follow it step by step, everything will work out.
Please note! Even such a harmless material as paper can harm a child. Therefore, it is necessary to monitor his work so that the child does not cut his hand with the sharp edges of the paper.
How to make a simple paper bunny
To make such a toy, you need to take a sheet of paper (it can be any color) and fold it in half to make a triangle. Then you need to do the following:
- Unfold the sheet back.
- Fold the two edges towards the center along the line formed after folding the paper in the first step.
- The free edge in the middle should be folded like a pocket on an envelope.
- Fold half of the pocket back.
- Bend the corner parallel to the pocket in the direction of it so that it extends just a little onto the pocket.
- Fold this corner back. There should be a line left.
- Bend the triangle lengthwise so that it is pointed.
- Fold back the bottom edge of the triangle to create the bunny's ear.
- The same must be done with the second side.
- Unfold the bunny to give it volume. The animal's ears also need to be unfolded.
The paper bunny is ready. Such a toy can be placed on a shelf as an interior decoration or given to a friend.
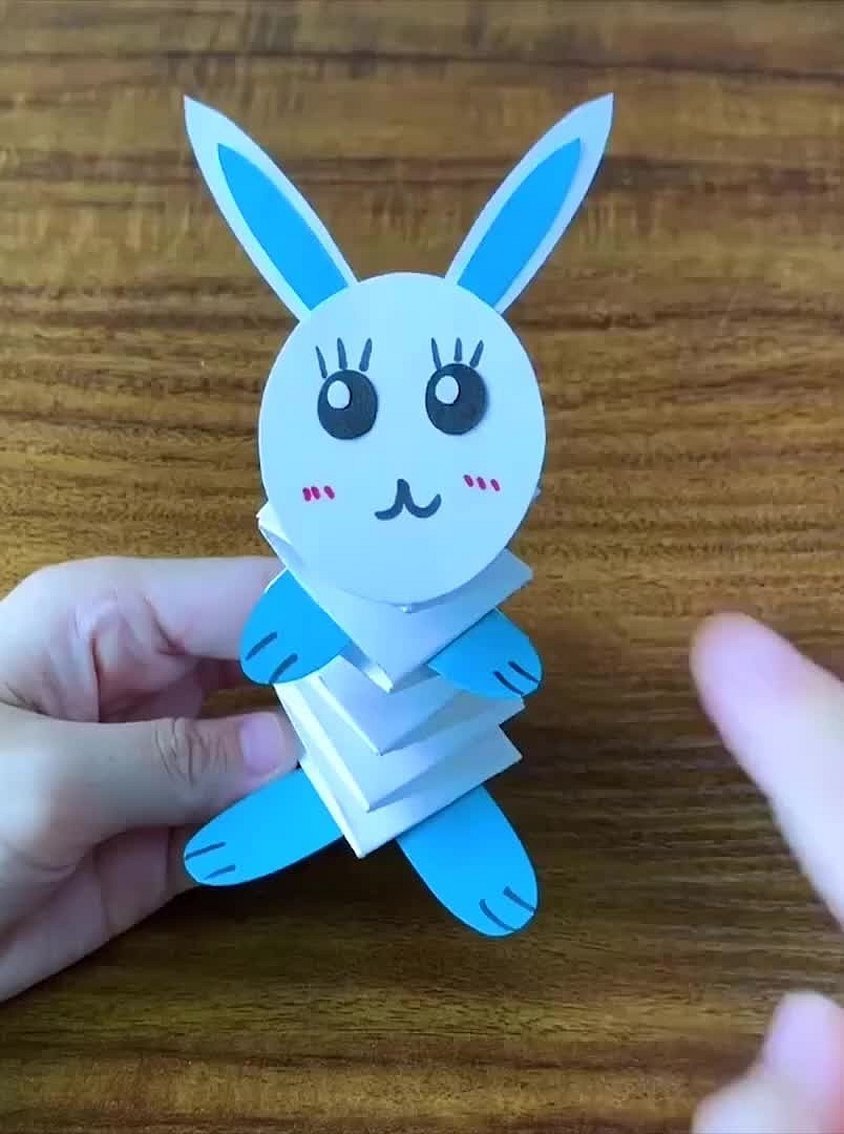
Hare from colored paper accordion
To make such a cute bunny you will need the following materials:
- colored paper (pink);
- ruler;
- scotch;
- scissors;
- felt-tip pens (pink and black);
- pom-poms that vary in size;
- paper glue;
- materials for making paper rabbit eyes;
- pencil.
The accordion bunny craft is made according to the following scheme:
- Cut a 5 cm wide strip from a sheet of paper.
- Mark the middle of the strip with a simple pencil.
- Fold half of the strip back so that its edge is in the center.
- Fold the second half in the same way.
- Glue the two sides together to form a house.
- Next, you need to make the bunny's paws. To do this, you need to cut a 5x5 cm square from paper.
- Fold the square like a postcard into two sides.
- Cut the top part into a semicircle.
- Unfold the paper back.
- The resulting paws must be glued to the workpiece.
- Draw the bunny's face and then cut it out with scissors.
- Outline the ears in the center with a brighter pink marker.
- Now you need to glue the eyes.
- You need to glue a nose made from a pompom using tape or strong glue.
- Use a black felt-tip pen to draw the bunny's whiskers.
- Now we need to make the hind legs. To do this, cut out a 5x7 cm rectangle.
- Fold the rectangle like a postcard into two sides. One side needs to be rounded.
- Now unfold and cut into two parts.
- Draw the bunny's paws in pink.
- Then glue these paws on both sides.
- To secure the head and body, you need to cut out a small rectangle and fold it like an accordion.
- Glue one end of the accordion to the bunny’s body and the other to its head.
- Glue on the fluffy tail.
The paper hare craft is completely ready.
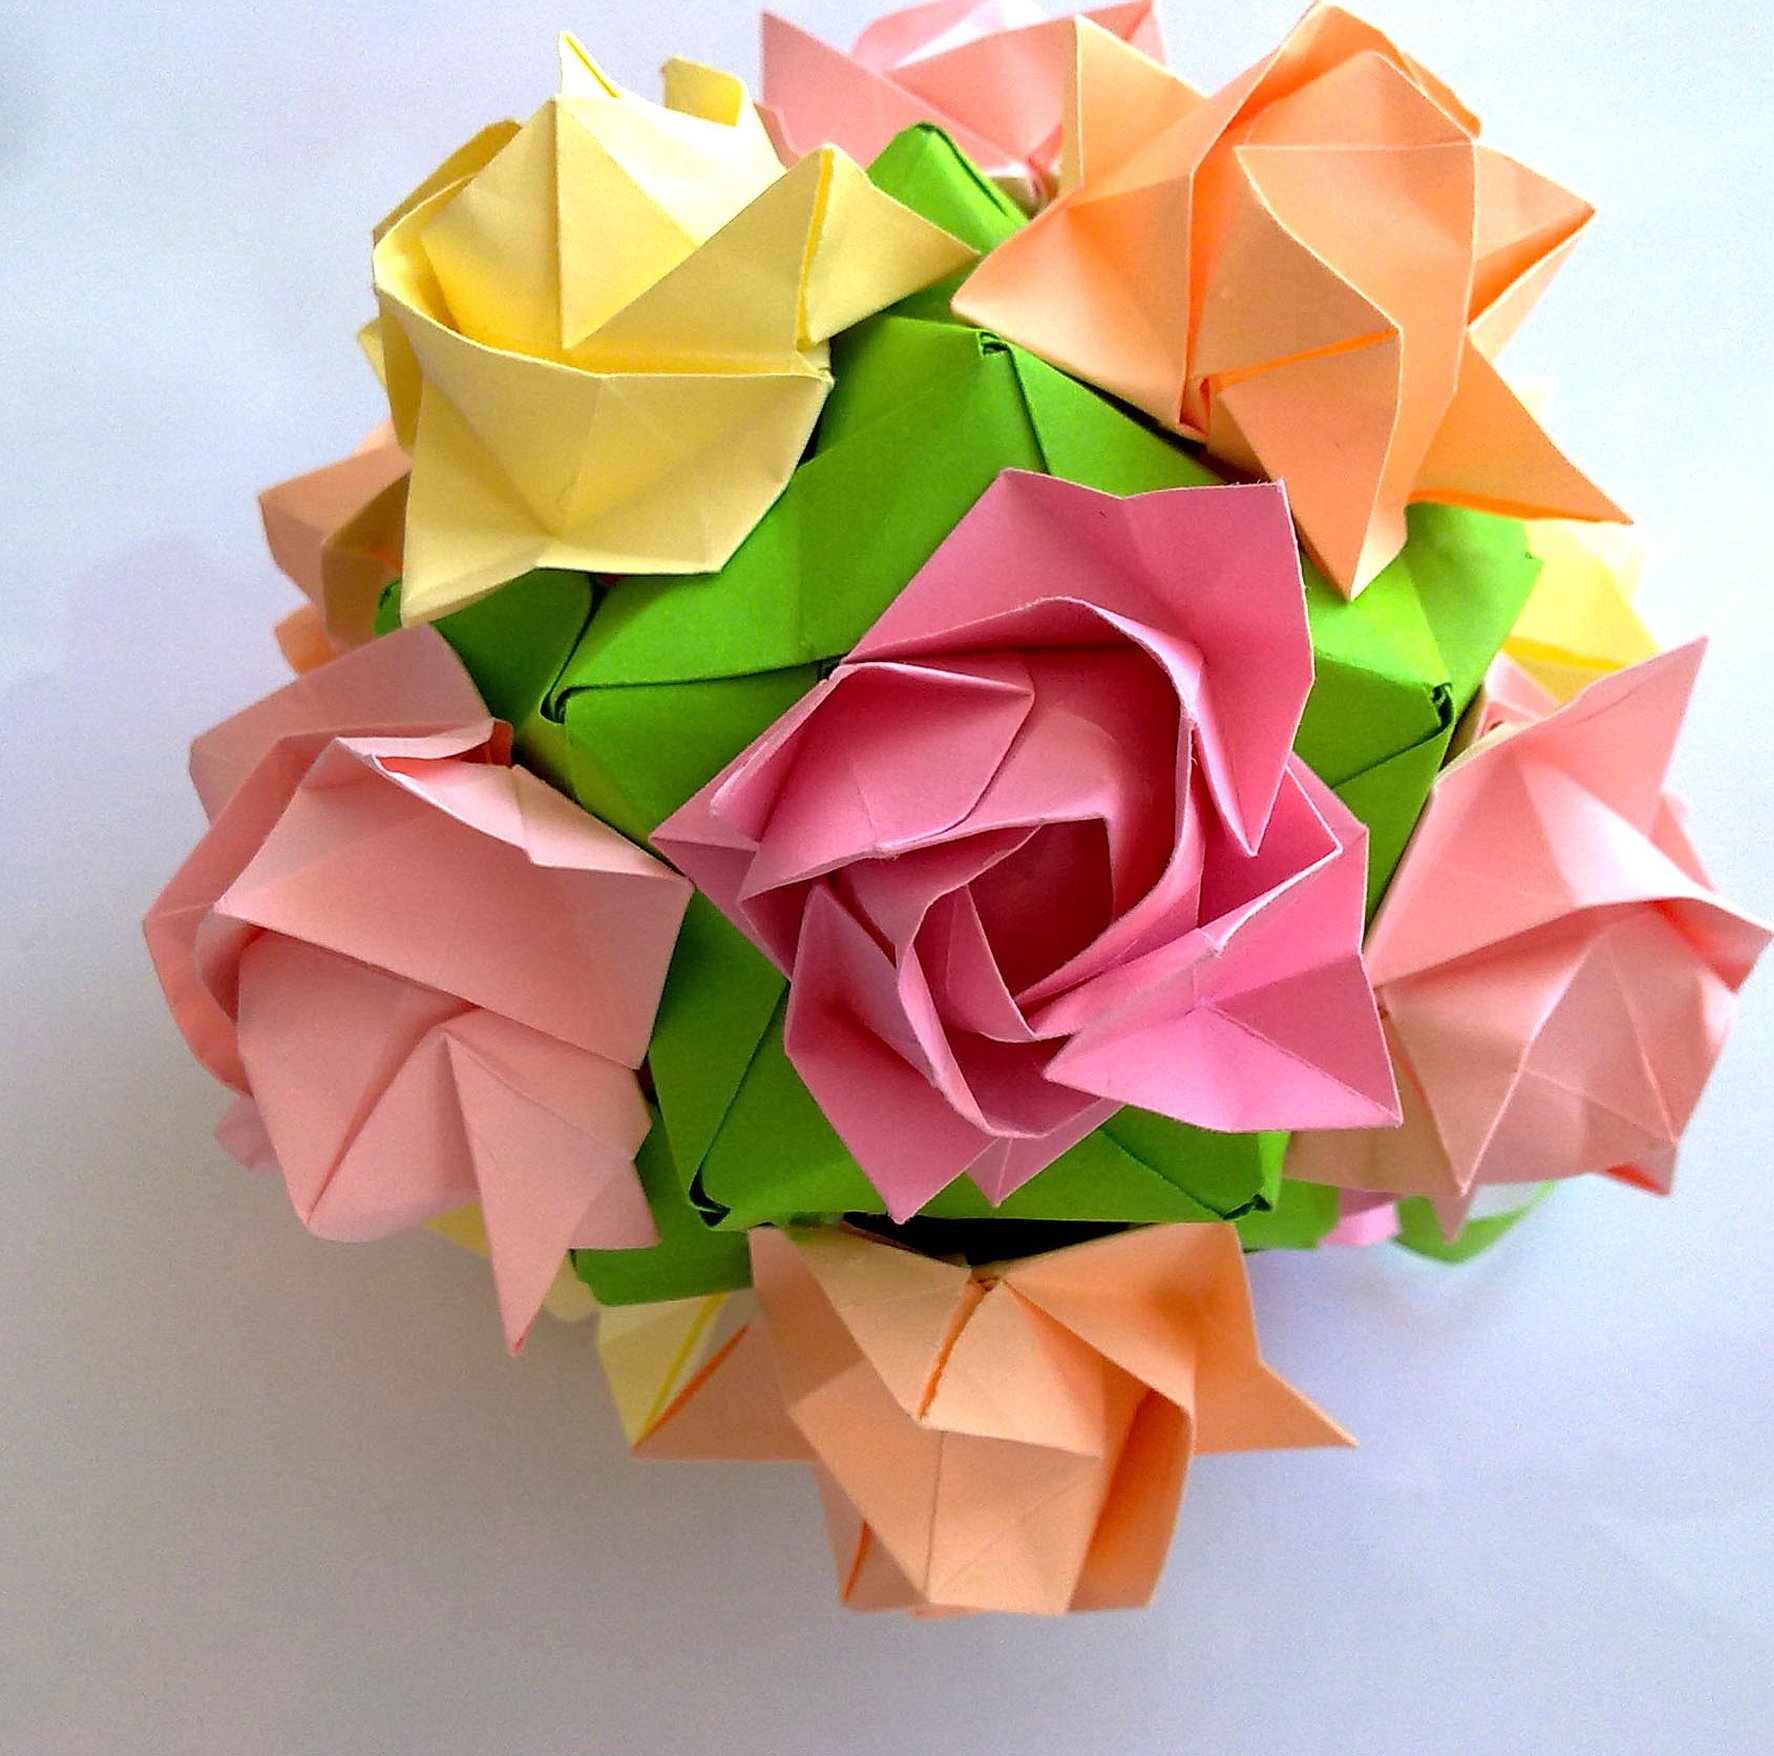
Options for volumetric crafts using ready-made instructions
You can create many interesting things from colored paper using a template. For example, a cute little animal or incredibly beautiful flowers that will decorate any interior.
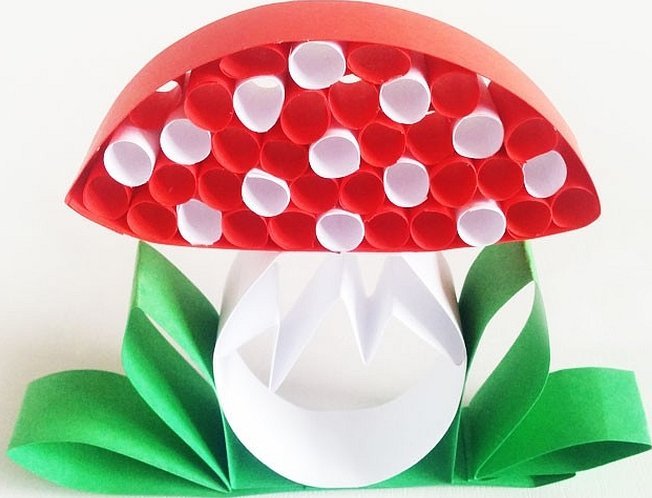
Fly agaric made of paper
To make a fly agaric, you will need the following materials:
- cardboard in red, white and green colors:
- multi-colored paper (red and white);
- scissors;
- glue;
- simple pencil;
- ruler.
First you need to make the mushroom cap:
- Cut a strip 22 cm long and 2 cm wide from red cardboard.
- The left side of the strip needs to be folded by 1 cm, and the right side by 9 cm.
- The ends of the strip need to be glued together. Then this circle will be filled with paper tubes.
- The tubes are made of white and red paper. You need to cut rectangles 3.5x2 cm and twist them. In total, you need to make about 40 tubes.
- The tubes need to be glued together, alternating two colors. Then they should be placed in the hat blank.
- To make the leg, you need to cut a 16x2 cm rectangle out of white cardboard.
- Fold the ends of the cardboard on both sides by 1 cm.
- The bent ends need to be glued to the cap.
- For the fly agaric skirt, you need to cut out a white strip 2x13 cm.
- Fold the strip like an accordion.
- Place the accordion inside the mushroom stem and glue it.
The mushroom craft is ready. But the fly agaric needs to stand on something, so you still need to make grass. For this, you will need a strip of green paper. On the right and left sides of the strip, you need to form two petals, and leave a platform for the mushroom in the middle. Attach the fly agaric to this platform with glue.
Jumping origami rabbit
To create a toy, take a rectangular sheet of plain paper. Fold the left side first, then the right side. Then unfold. As a result, a cross should be formed from the fold lines. Next, fold one part of the rectangle to the middle. Now the edges of the folded part should be folded inward to form a three-dimensional triangle. The top layer should be folded again on the sides. Now fold the entire rectangle to the center on the sides. Bend the body like an accordion so that the fast rabbit can jump. The craft is ready. But it will look more interesting if you glue on the ears and paint the animal as you wish.
Please note! A jumping rabbit will help a child have a great time. You can even organize a competition to see who can jump the furthest.
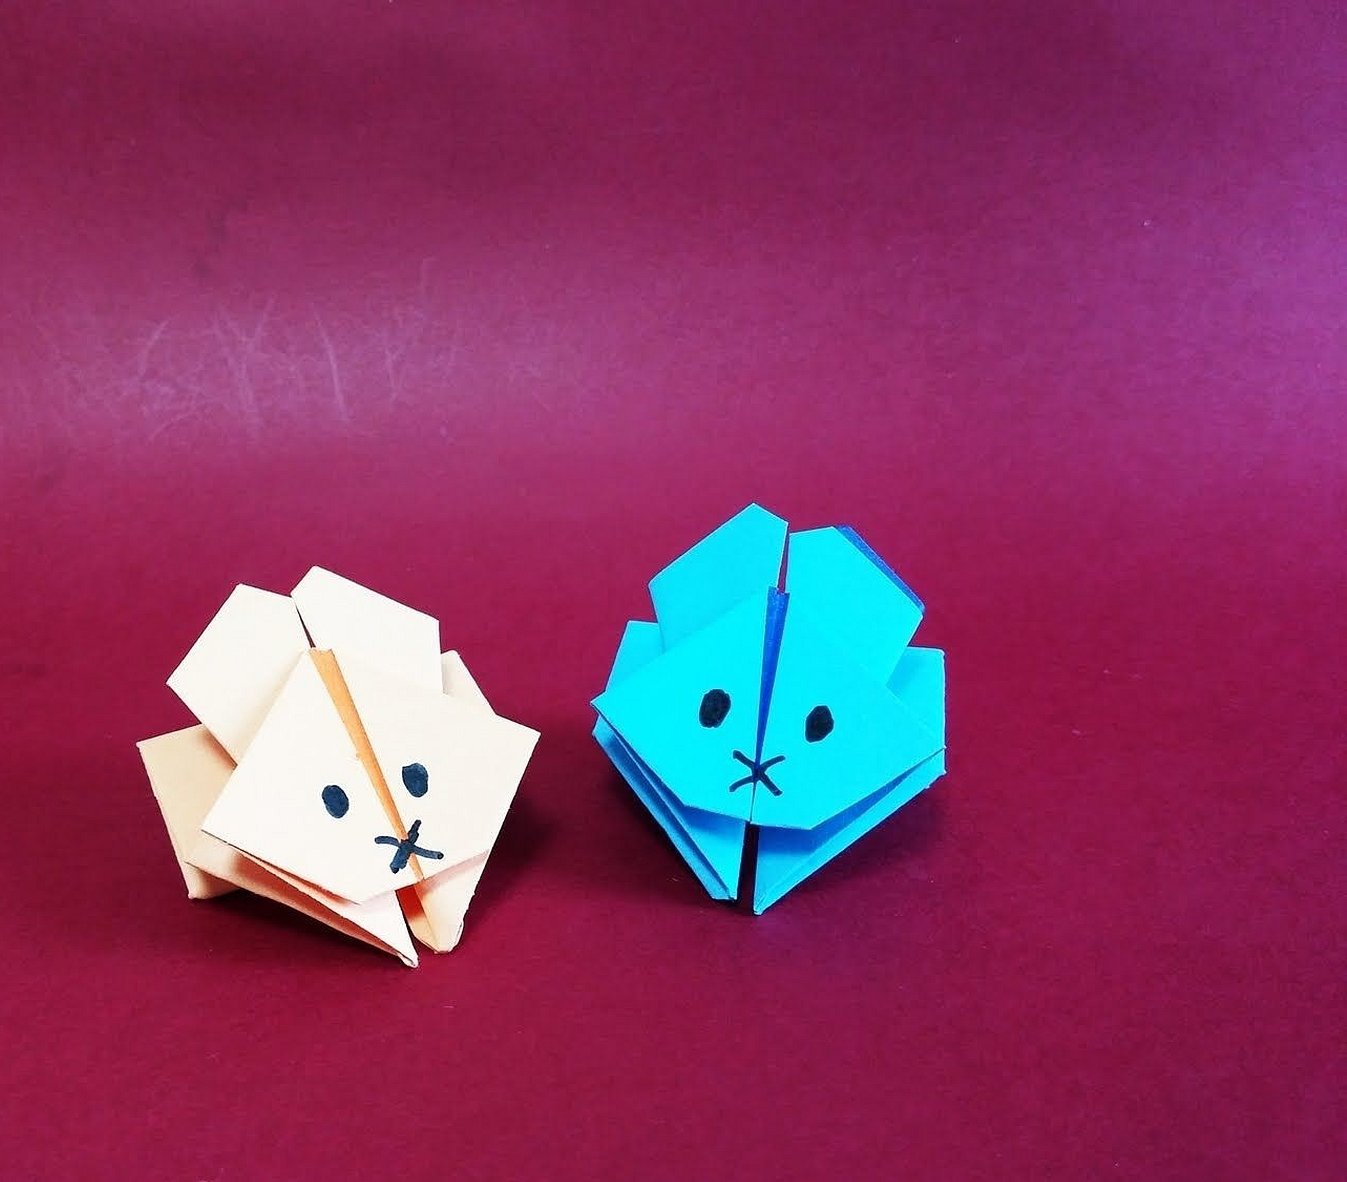
Inflatable rabbit
To make such an unusual toy, you need to take a square sheet of paper and follow this algorithm:
- Fold the sheet in half to form a cross from the folded lines.
- Unfold the sheet back into a square.
- Fold the sheet in half.
- Then fold the rectangle inward from both ends to form a three-dimensional triangle.
- Fold the two wide corners from the first layer into a square, lifting the edges up.
- Next, from the same square, bend the ends on the sides slightly towards the center.
- Fold the top of the square down to form a pocket.
- On the reverse side, also fold the two bottom edges upward, forming a small square.
- Fold the left edge completely, and on the right - only the top layer.
- Fold the edge of the second layer in the other direction.
- Fold the two side edges to form a shape that resembles an airplane.
- Unfold the edges of the “wings”, giving them the shape of a waffle cone.
After this, you can begin to turn the flat figure into a three-dimensional toy. To do this, you need to open it like a box. Now it remains to add a recognizable look to the rabbit using a felt-tip pen. You should draw eyes, a nose, a mouth and whiskers.
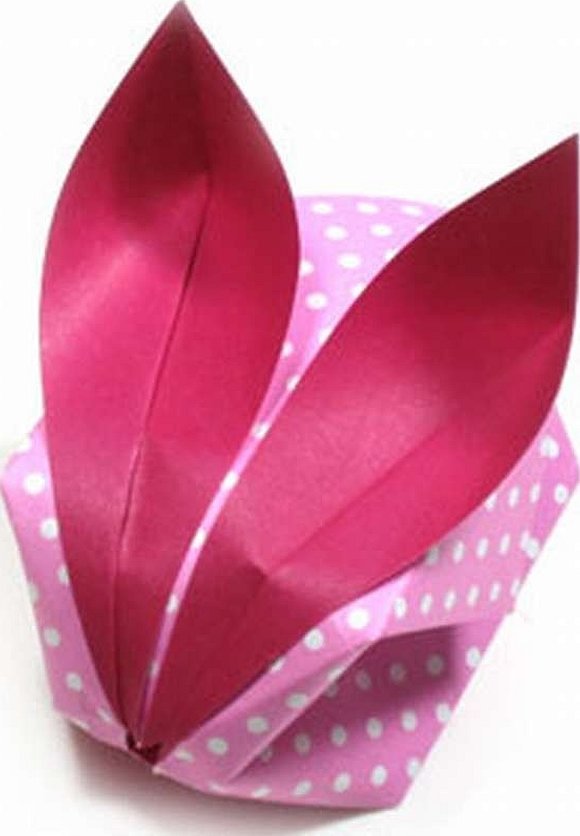
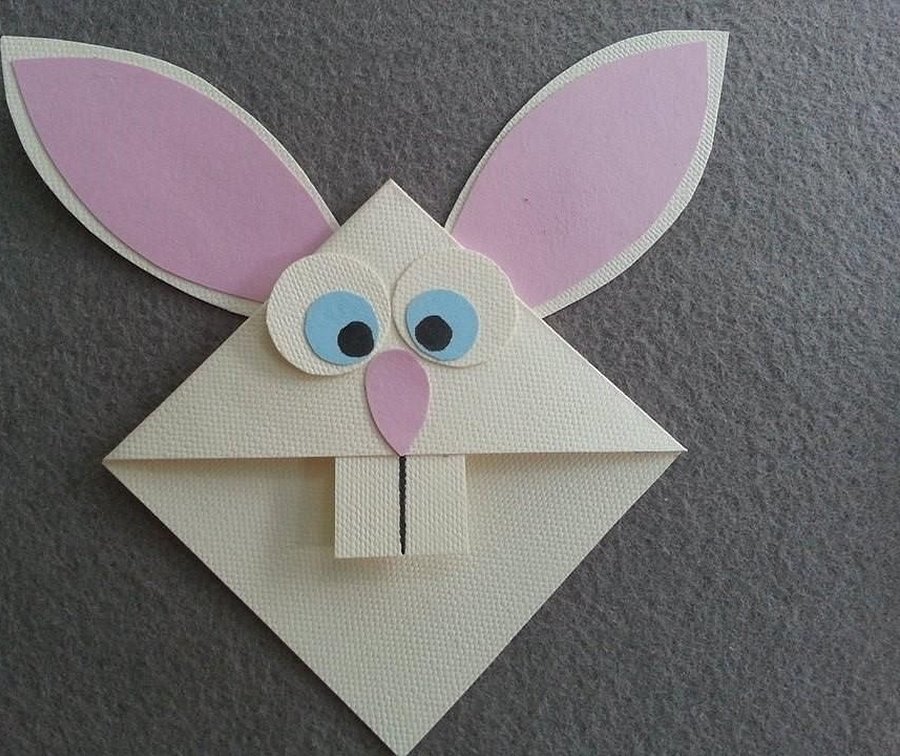
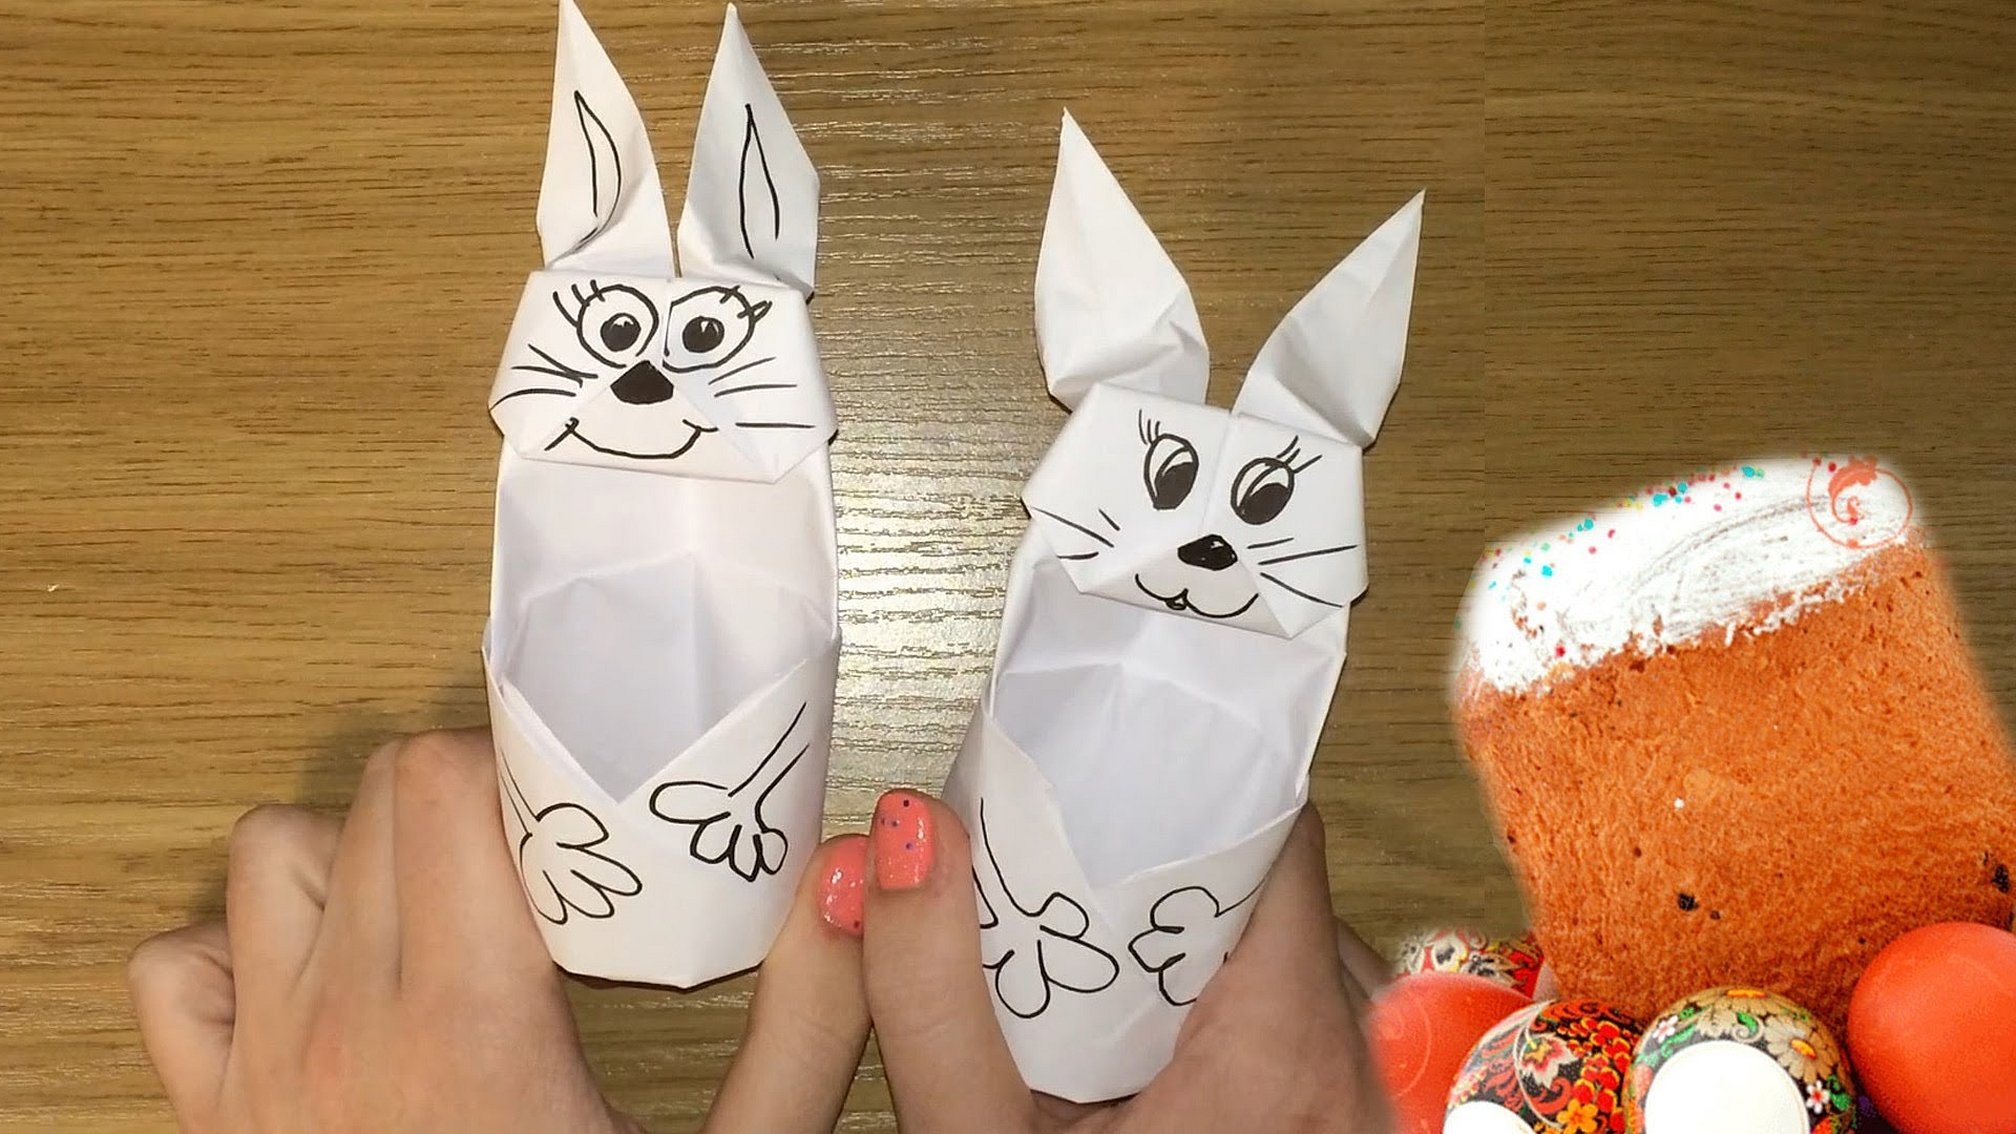
Easter paper bunny
Easter is a Christian holiday celebrated by all Slavs without exception. One of its main attributes is the Easter cake. Traditionally, eggs are also painted and blessed in church together with the Easter cake. The symbol of the holiday is considered to be a rabbit. Therefore, you can make not only a beautiful but also a useful paper craft in the form of an egg stand.
To make a rabbit stand, you will need two square sheets of paper:
- Fold a sheet of paper in half.
- Fold the corners on the sides towards the center.
- One layer needs to be lifted up.
- Fold the corner at the top back.
- Turn the figure over.
- The sides that are on the sides need to be folded inward into the shape.
- The corner that is at the bottom is folded to the top side. This should only be done with the first layer of the figure.
- Turn the figure over.
- The top part of the rabbit is ready. For the second part you need to take the same sheet of paper.
- Fold the sheet a couple of times so that a cross is formed in the center from the fold lines.
- All corners need to be folded to the middle. You should get a small square.
- The corners that are at the top and bottom need to be folded inside the figure.
- Bend part of the figure and place the rabbit in the gap of the first piece.
- The left corner of the bottom piece needs to be inserted into the right one.
The egg stand is ready. It can be placed on a beautiful festive towel or napkin. A craft made of ordinary paper will look harmonious on the holiday of all Christians - Bright Easter.
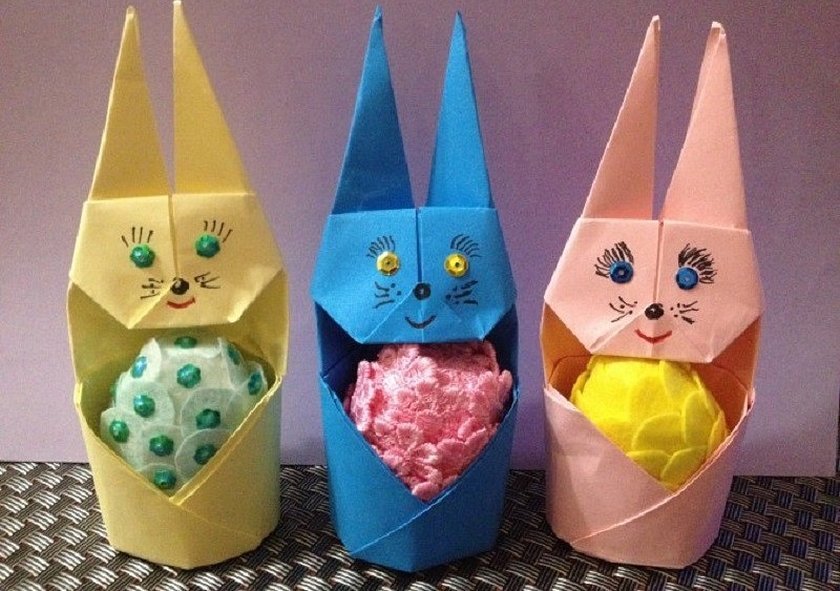
Additional information! A beautiful legend about the Easter bunny appeared in Germany. According to this legend, the animal lives in the garden and lays Easter eggs. So this hero became one of the symbols of Easter.
The article examined in detail several step-by-step schemes on how to make a paper hare. Therefore, now many have already understood that such a craft is quite simple to make. Even a child can cope with the task to please their friends or loved ones with an unusual gift.


