In modern stores you can find a toy for every taste and color. But it is more pleasant for a child to spend time with a doll that he made with his own hands together with his mother. And since it is difficult even for an adult to sew a toy from fabric from scratch, you have to use improvised materials, such as paper. Many do not believe it, but you can make beautiful and interesting paper dolls from it, with which the child will enjoy playing.
Necessary materials, tools for work
Before making a paper doll, you need to prepare the materials. Their choice depends on what kind of toy will be made.
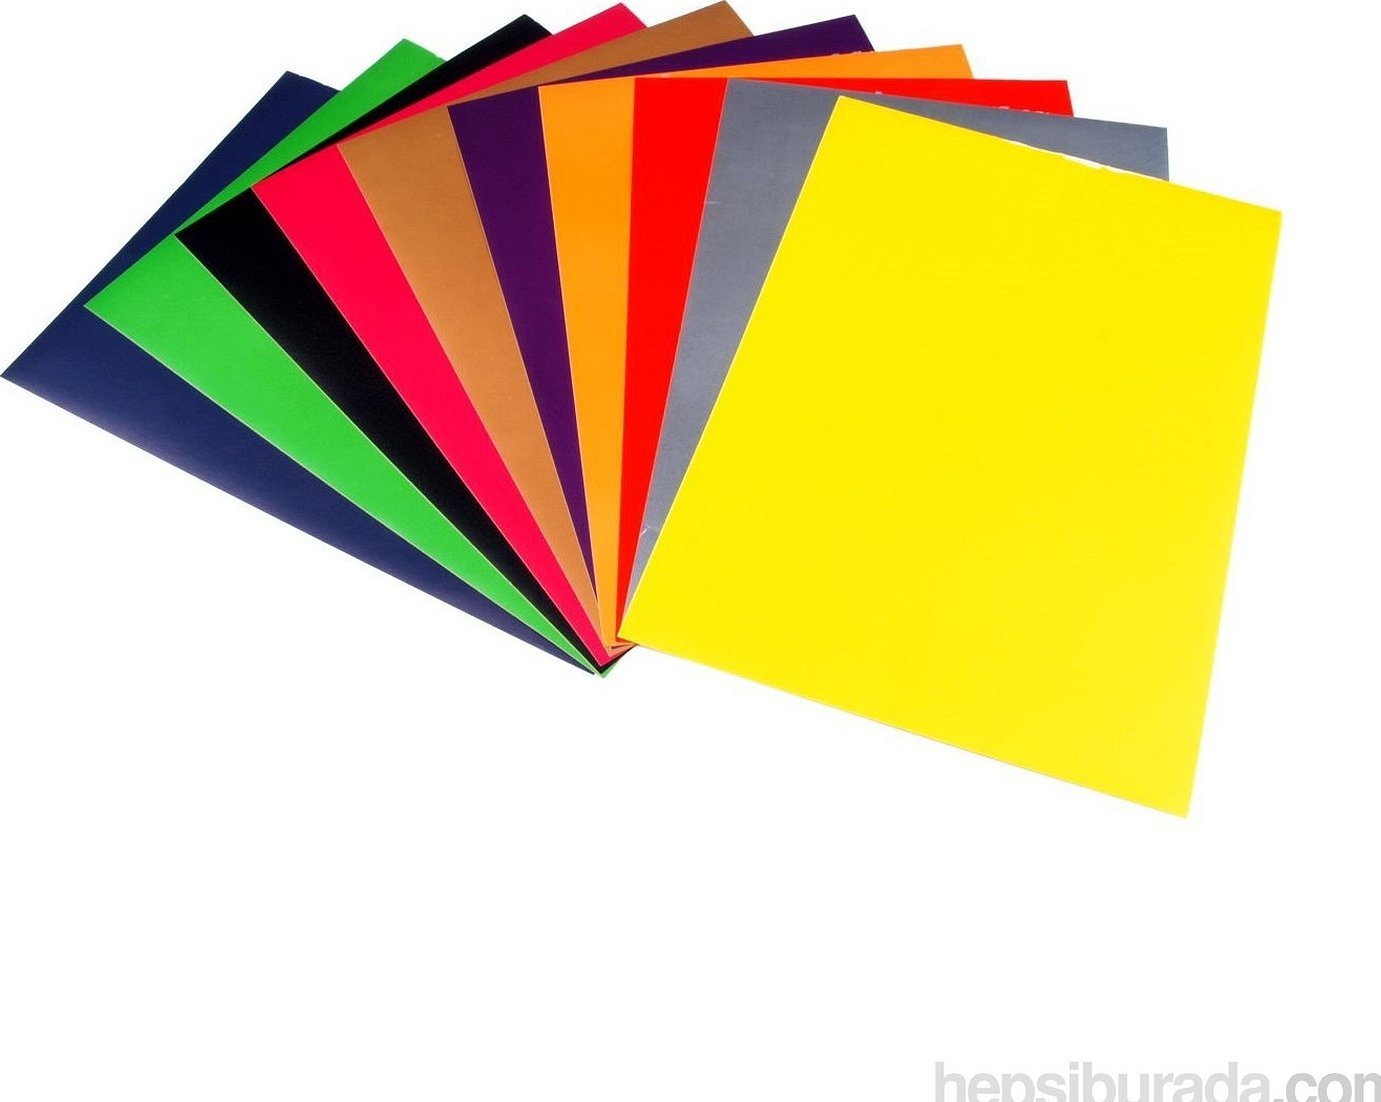
The basis for creating a toy can be:
- paper napkins;
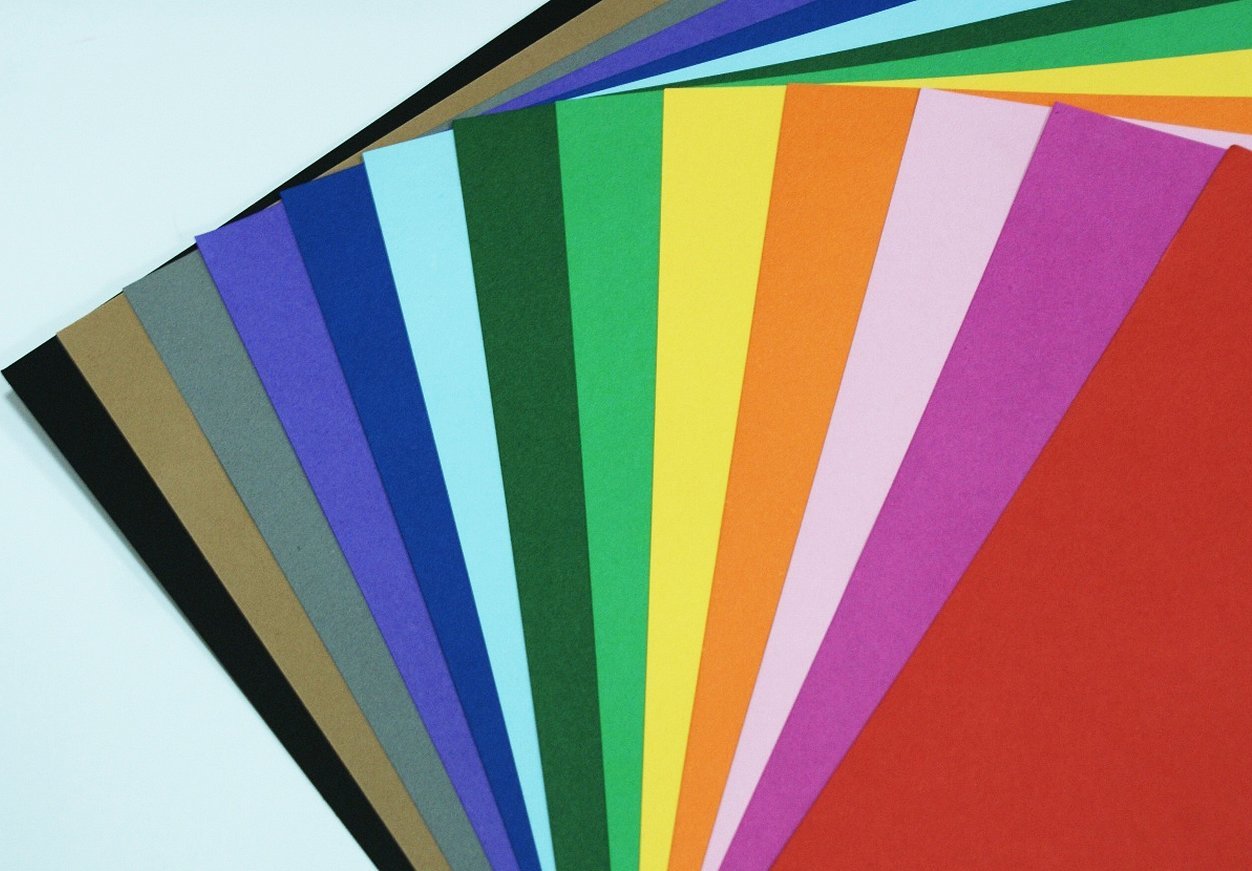
- colored paper;
- cardboard;
- corrugated paper;
- notebook or album sheets.
To make the craft, you may also need the following tools and materials:
- compass;
- simple pencil;
- cardboard to obtain a dense blank;
- felt-tip pens;
- eraser;
- dye;
- wooden base for applique.
- thin wire for volumetric crafts;
- wooden sticks;
- glue stick;
- office scissors;
- woolen threads;
- toothpicks.
Please note! To decorate the finished product, you can take any decorations you have. These can be beads, buttons, wiggly eyes, satin ribbons.
How to draw a doll yourself: general principles of work
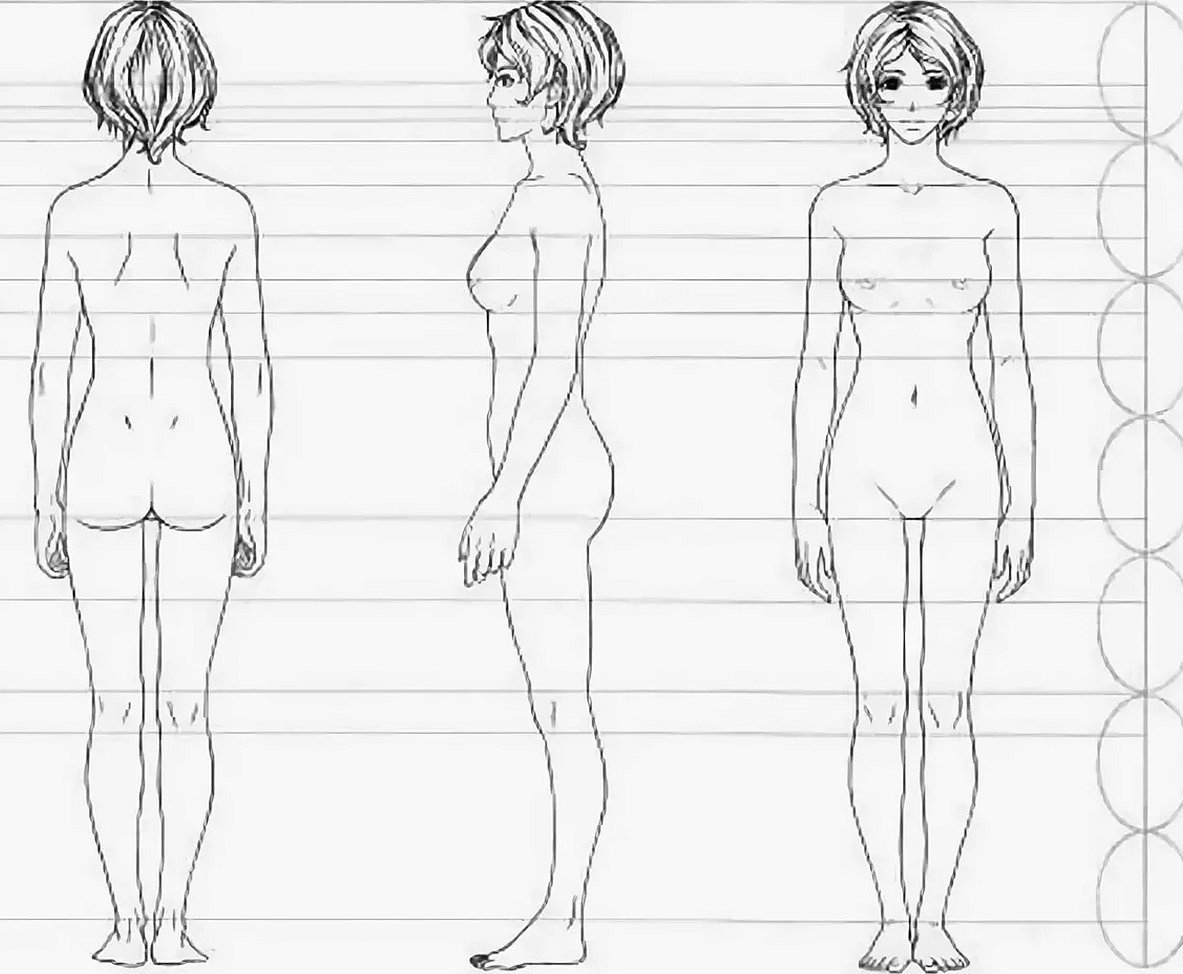
To draw a beautiful doll of the correct size, you don't have to graduate from an art school. It's enough to be able to use a simple pencil and master the basic principles of drawing.
There are 7 basic rules that you should know before you start drawing a figure:
- You need to start drawing with a circle as a guide for the head. Then outline the spine, on which the pelvis and rib cage are located.
- The main condition for creating a beautiful doll is to determine the dimensions immediately before starting to make the craft, in order to mark it out and outline the proportions.
- The first sketch of the doll is the so-called fore-sketch. With its help, the main image and pose of the doll, its full face and profile, details are outlined. The sketch does not need to be drawn very much, the lines should be soft, smooth, so that the initial version can be corrected.
- If the doll is made in a realistic style, then its proportions should be as follows: the figure is approximately 8 doll heads, of which 5 are legs. The arms are counted separately. They should be about 3 heads long.
- It should be remembered that the doll does not necessarily have to exactly repeat the proportions of a person. It can be made in the style of Blythe or LOL, then it is necessary to look at the proportions of the doll directly on the example.
- To ensure that the eyes are at the same level, a horizontal reference line is very lightly drawn, then divided vertically. Then the middles of the right and left halves of the horizontal line are marked. The eyes will be located exactly at these 2 points. Finally, the nose, eyebrows and lips are drawn.
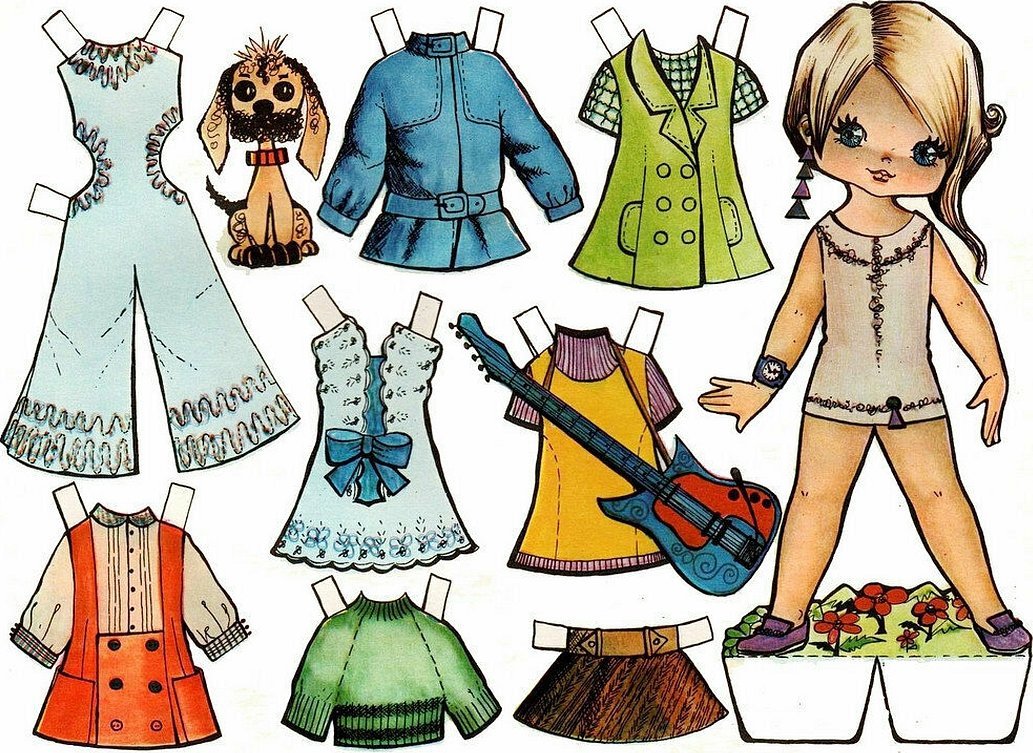
How to make a paper doll with clothes
Every girl loves to play with a paper doll. You can easily buy it ready-made, but it is much more interesting to make it yourself. In addition, a child can make a variety of clothes for his doll in large quantities.
To work you need to prepare:
- cardboard;
- office scissors;
- felt-tip pens.
The process of creating a paper doll with outfits is divided into several stages:
- The outline of the doll is drawn on a white thick sheet of cardboard. The hair and face are drawn. The doll is colored with multi-colored markers and cut out.
- The clothes are made according to the contours of the figure. The doll should be laid on an album sheet and the future thing should be given the appropriate length and width. If desired, you can make clothes of different countries with your child.
- A mandatory element of a paper doll's clothing is 2-3 fasteners. They can be used to attach clothing items to the doll. They can be drawn where clothing is attached to the doll's figure - in the waist, pelvis or shoulder area.
- The next step is to color the finished items with felt-tip pens and cut them out.
- If necessary, the toy can be placed on a stand, which is made from a thick cardboard circle. The element is cut out and glued to the doll's legs.
Please note! If the sketch was drawn with felt-tip pens and the cardboard is glossy, you should leave the workpiece for 5-10 minutes to dry. It is better not to rush to cut out right away, as the felt-tip pens may smudge.
You can also make a real house for the paper princess. To do this, use a notebook or a drawing album. You can simply fold the pages like pockets and color each room with felt-tip pens.
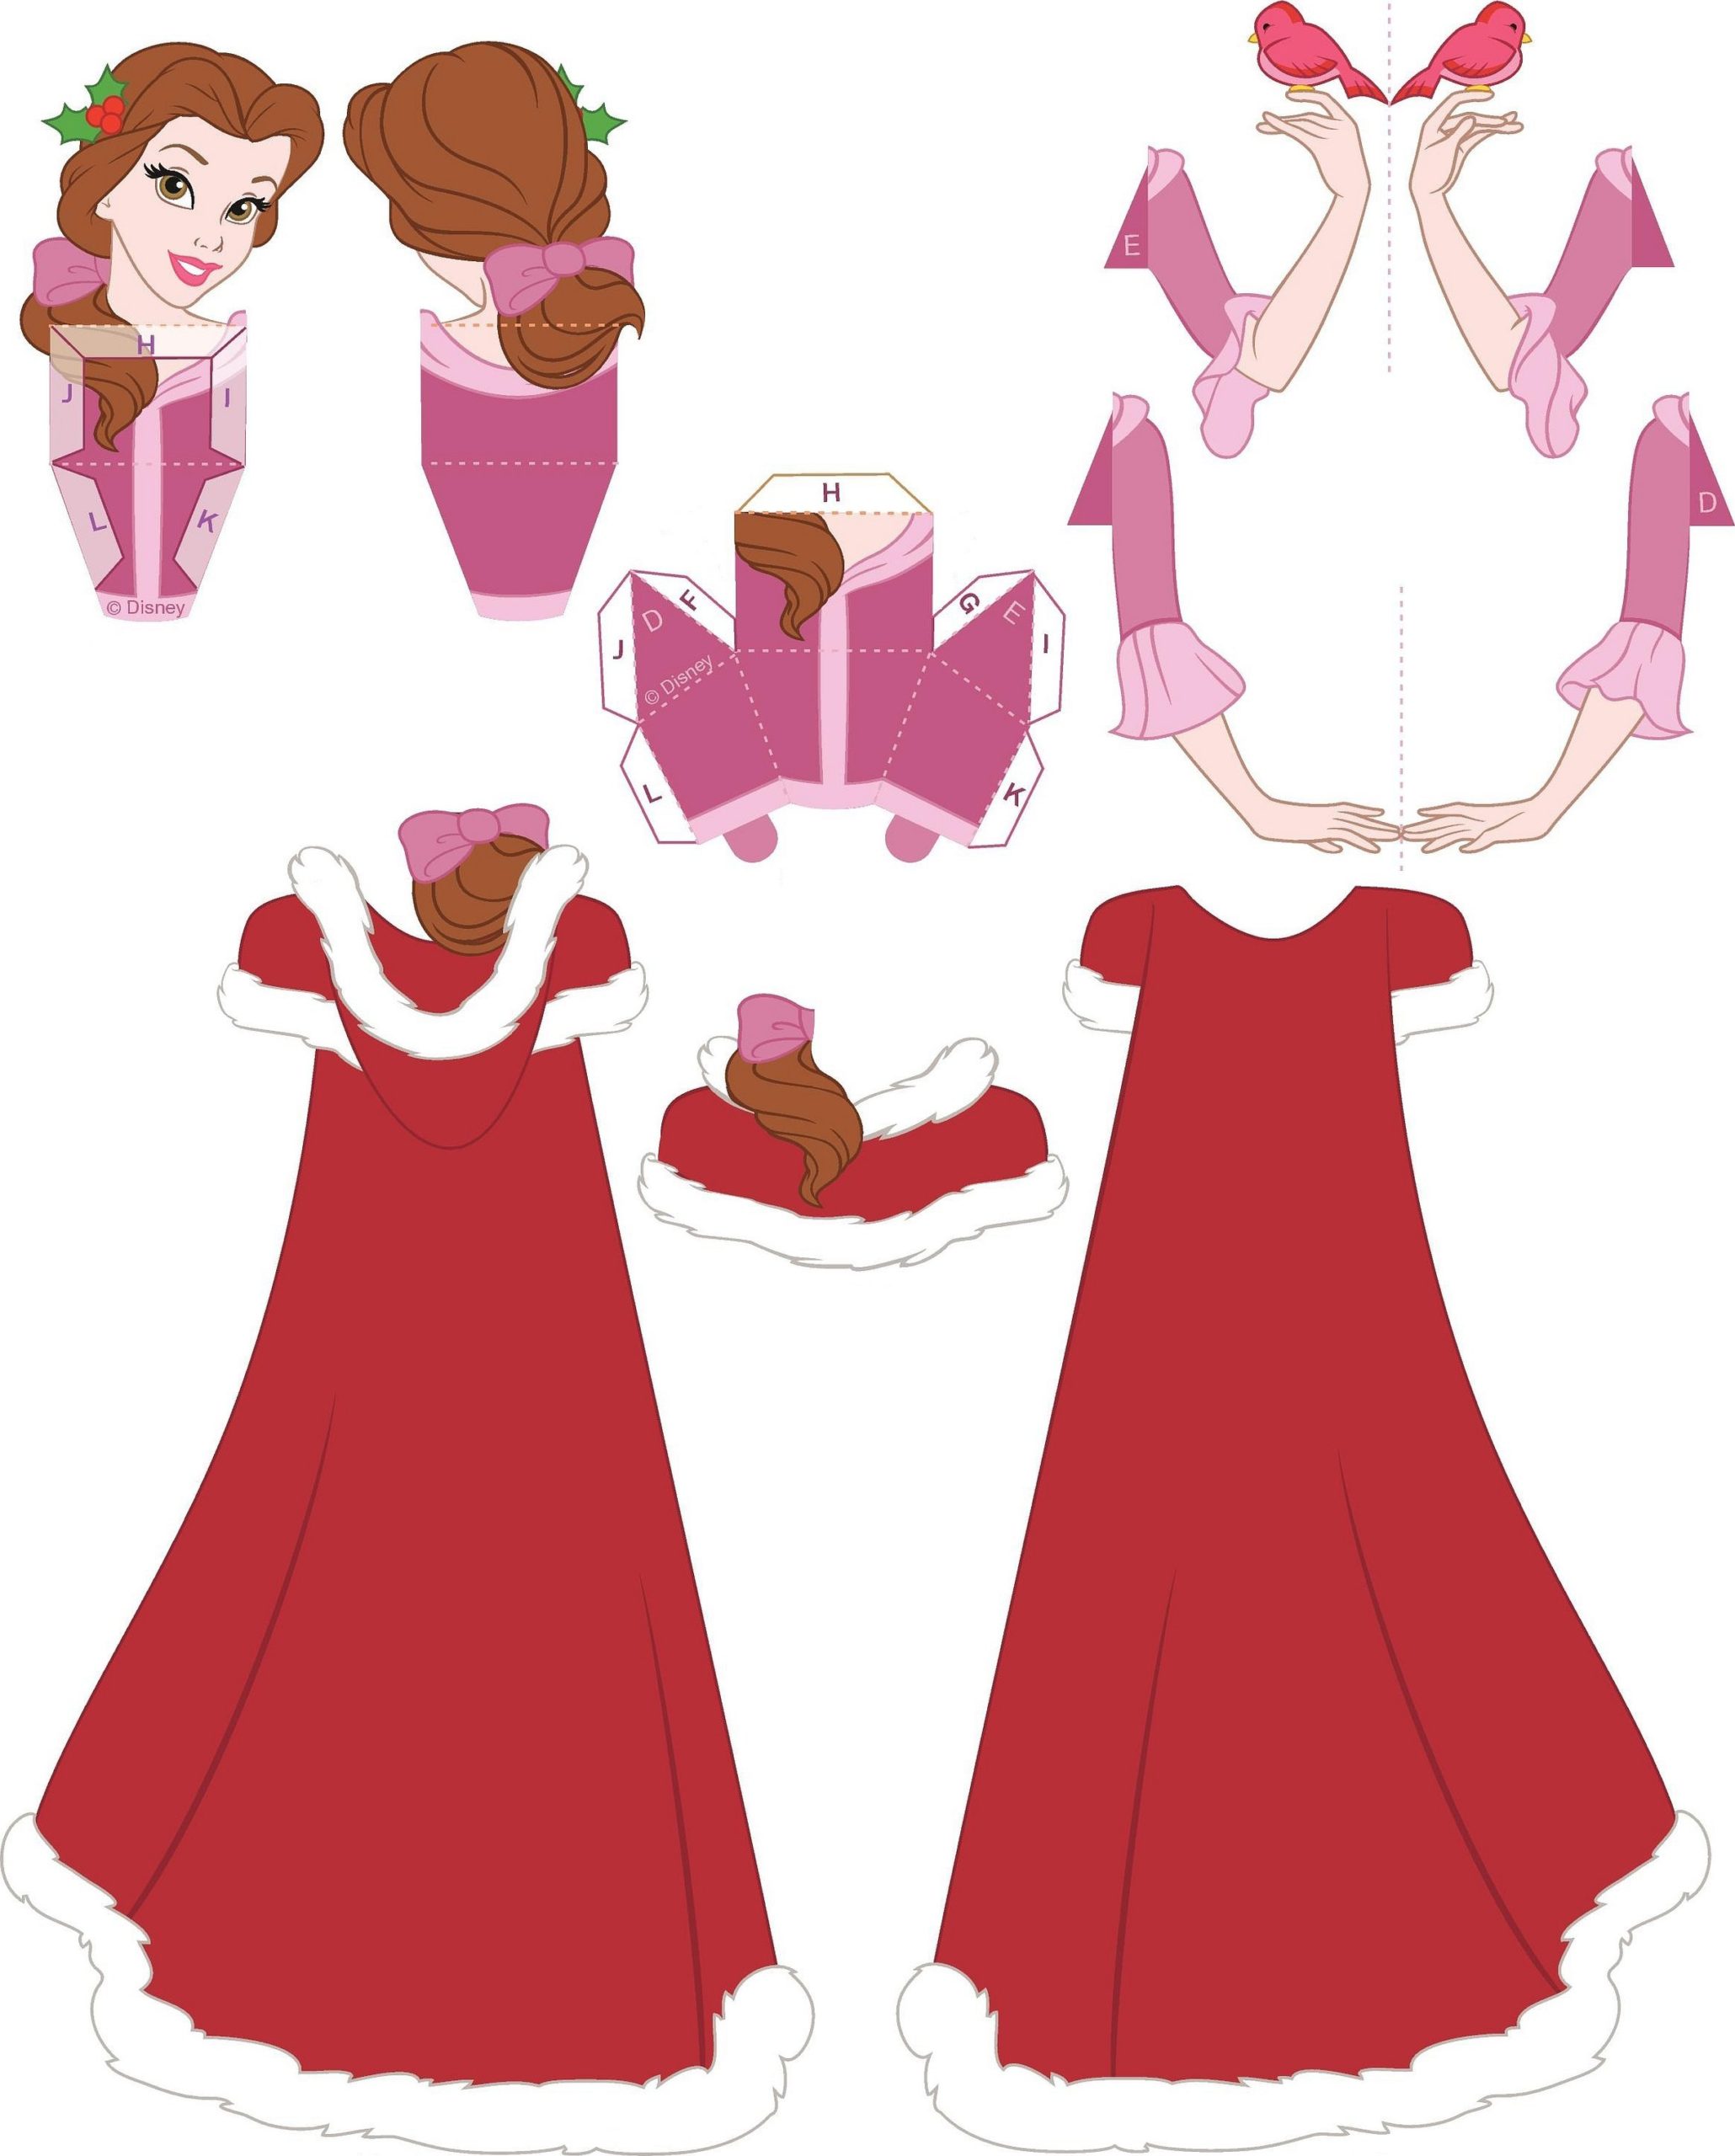
Making a 3D Paper Doll: Ready-Made Templates
A paper 3D doll does not require any special skills, it is very easy to make. For this you will need ready-made templates, where all the details are already drawn. You can find them in the public domain on the Internet.
Please note! If you use your imagination and decorate the doll's dress with colorful paper inserts, she can be even more beautiful and brighter.
To make this craft you will need:
- glue stick;
- sample;
- office scissors;
- felt-tip pens;
- thick colored paper.
Step-by-step process of how to make a paper 3D doll using a ready-made template of 6 parts as an example:
- Download the template, print it out or trace it from your computer screen.
- Cut out all the details from the template and transfer them onto thick colored paper.
- Roll the large piece into a cone, glue the edges, cut off all excess.
- Glue the remaining parts to the cone.
- Decorate the doll with markers.
Using this principle, you can make not only an ordinary doll, but also a cartoon character. Only for this you will need to print out a template with the upper part.
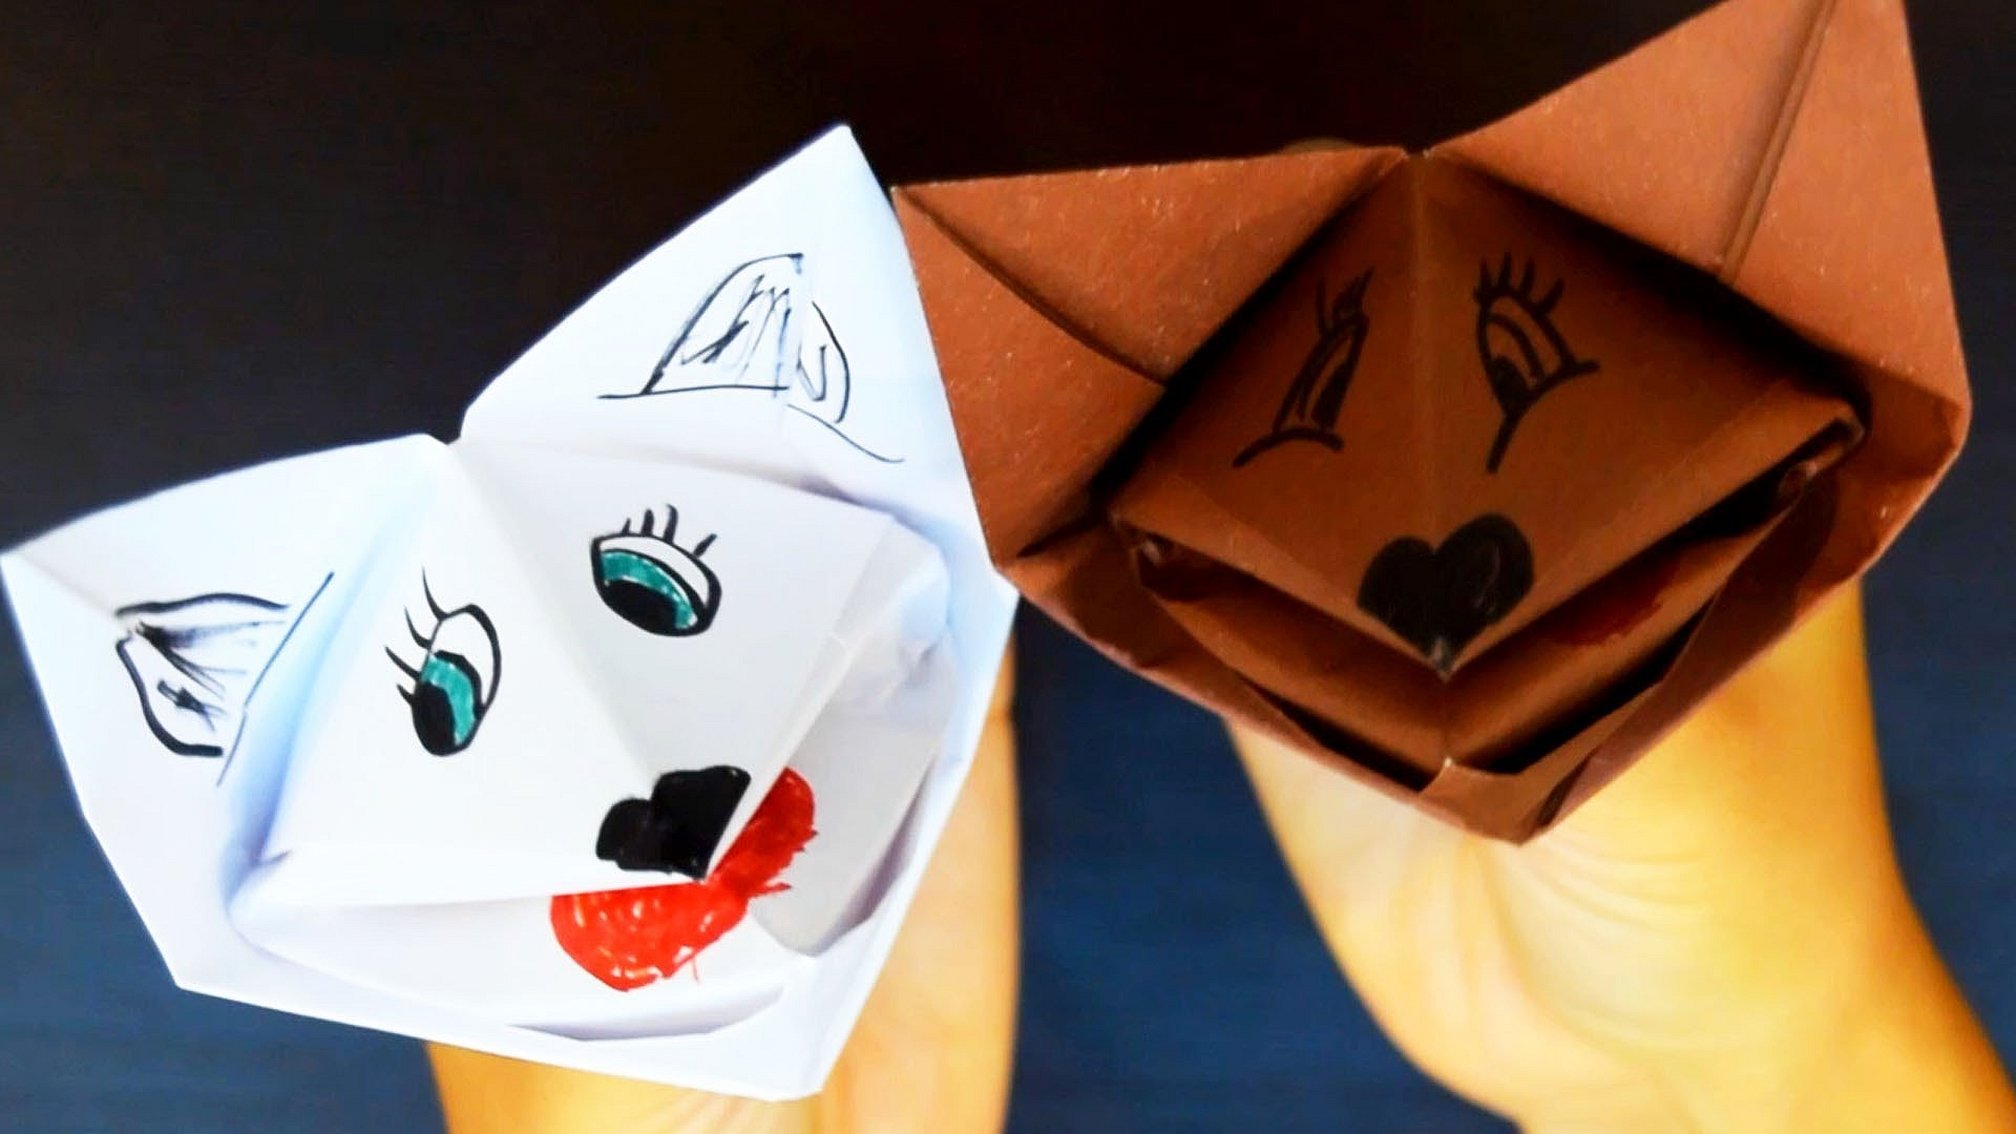
How to Make a Talking Paper Doll
Paper dolls are put on the fingers and with the help of their movements they can open and close the mouth. It is not difficult to make such a toy. Children can not only play with them, but also arrange a puppet theater.
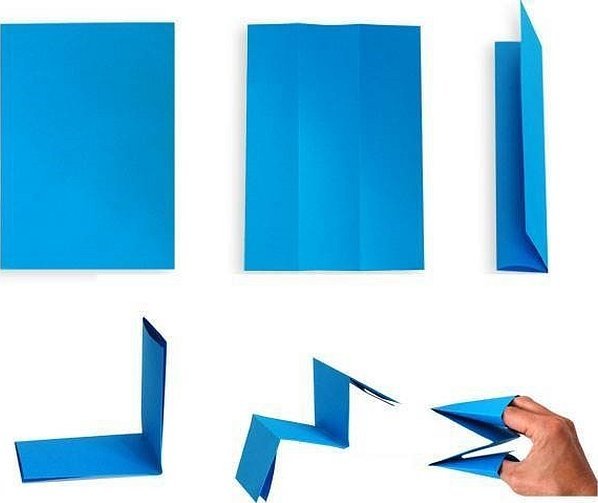
To make the base of the craft, you will need an A4 sheet of paper and auxiliary tools: a ruler and a simple pencil.
Step-by-step diagram of paper folding for making crafts:
- First, the sheet is divided horizontally into 3 equal parts using a ruler.
- Rolls along the marked lines.
- A fold is made in the middle and rolled up again.
- One part is folded towards the edge.
- The sheet is turned over and the same thing is repeated with the second part.
The base of the craft is ready. If desired, you can paint it like a coloring book or use your imagination and draw a face with markers.
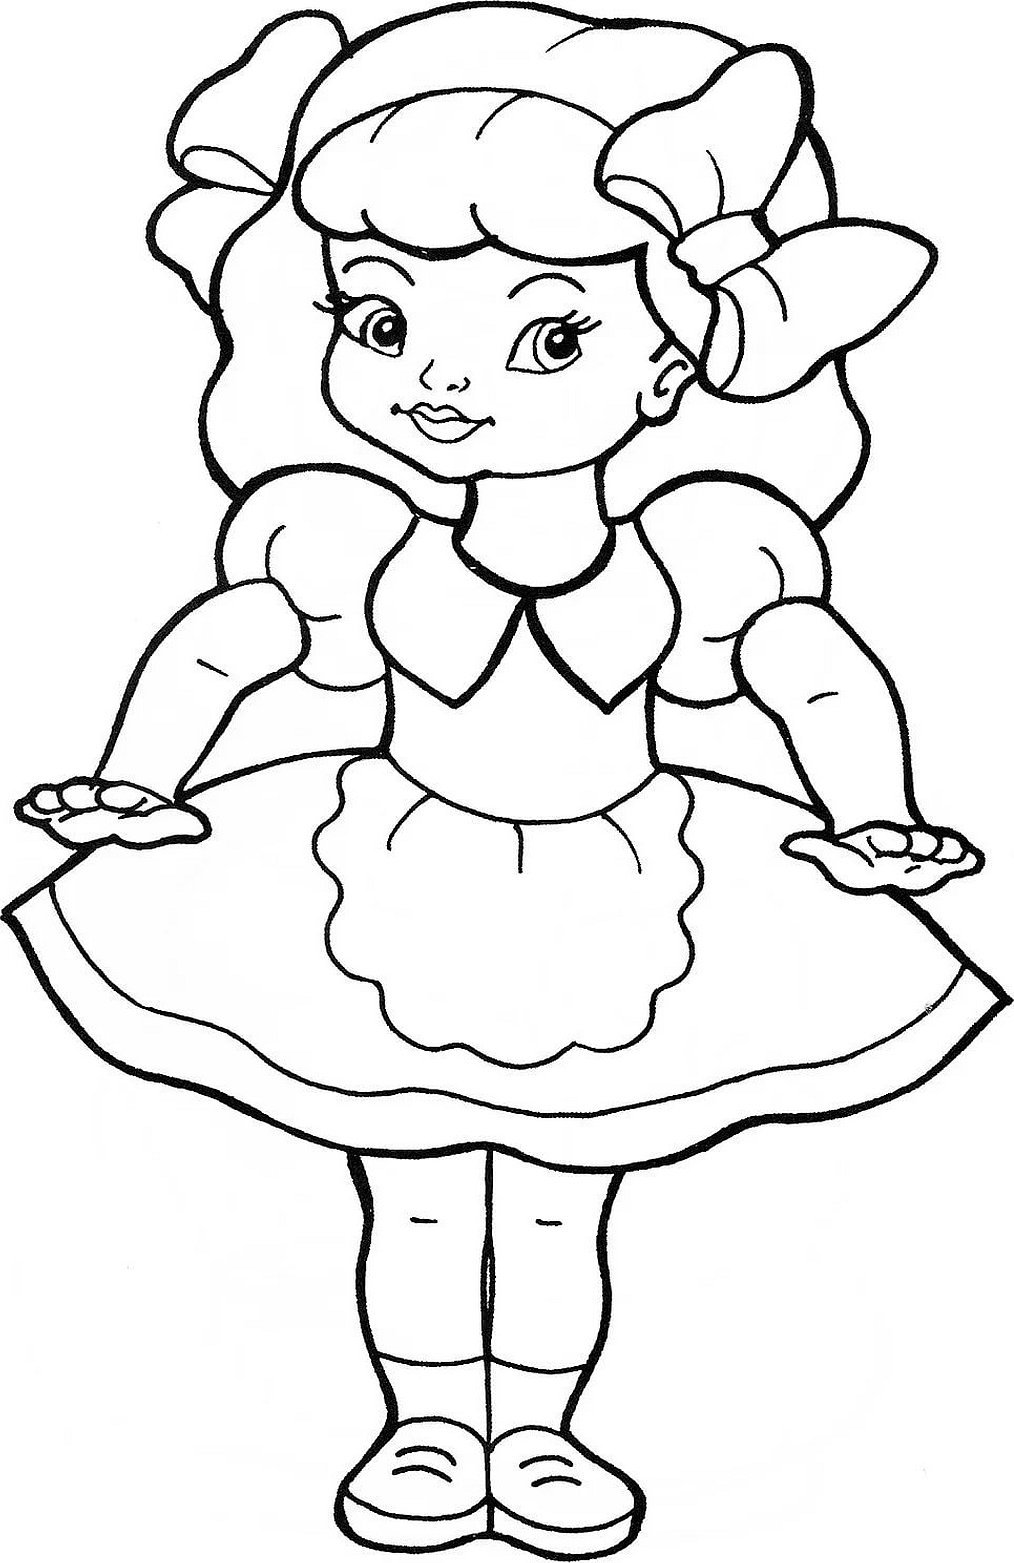
Making beautiful paper dolls
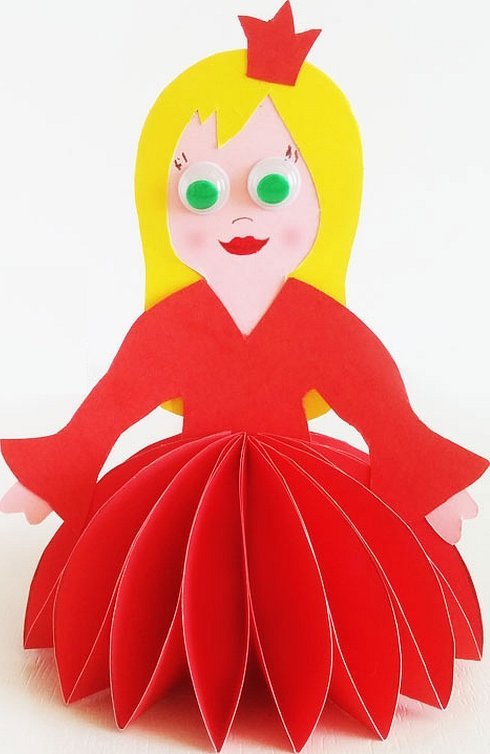
If the child loves everything royal and fairy-tale, then you can offer him to make a real princess. A cardboard doll is simple and quick to make, does not require any special materials at hand. The main thing in the craft is the skirt, and the top of the cardboard doll can be anything. The princess can be made different: thoughtful, cheerful, sad.
What materials will you need:
- colored cardboard;
- compass;
- glue stick;
- scissors;
- felt-tip pens;
- simple pencil;
- volumetric hinges eyes.
Master class on making a fluffy princess skirt:
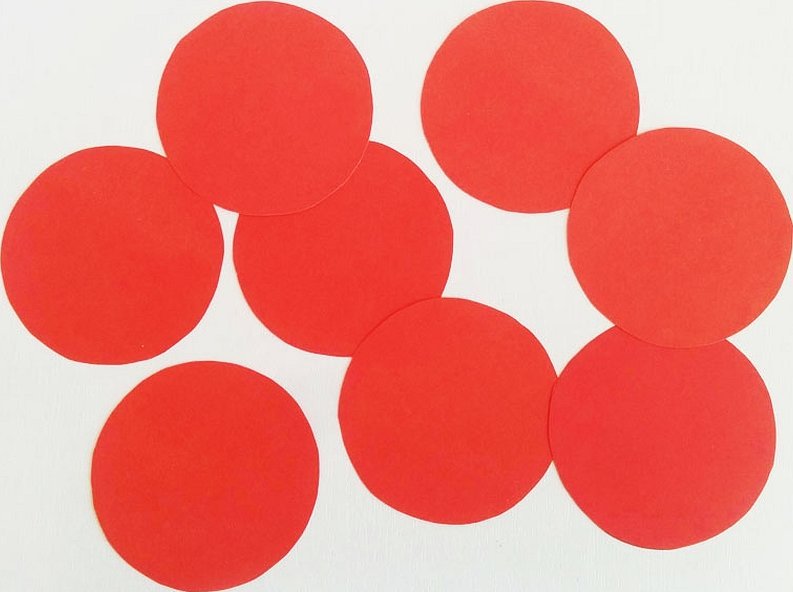
- Draw and cut out 8 circles on colored cardboard. If you don't have a compass, you can use a glass or any other object with a round surface.
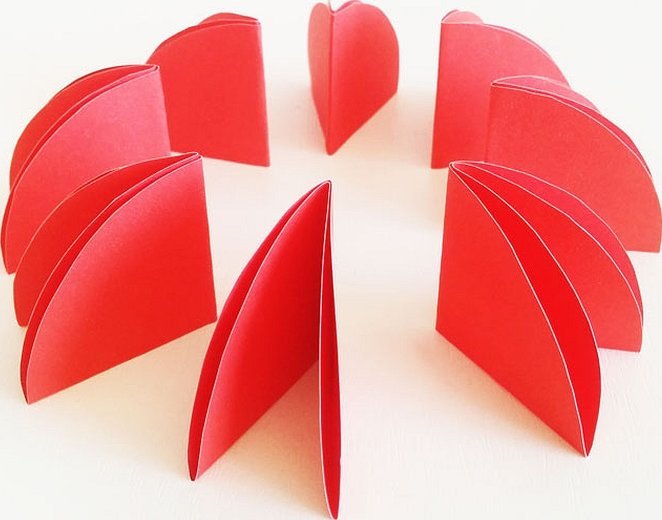
- Fold the circle in half.
- Repeat the action.
- Repeat the previous 2 steps with all circles.
- Glue all the resulting triangles together. They should be arranged so that they are divided into two parts at the bottom and there is an angle at the top.
- Stretch the skirt, glue the first and last pieces together.
- Straighten the skirt, make all the sections wider. To avoid gaps, it is better to apply glue between the sides of the triangle.
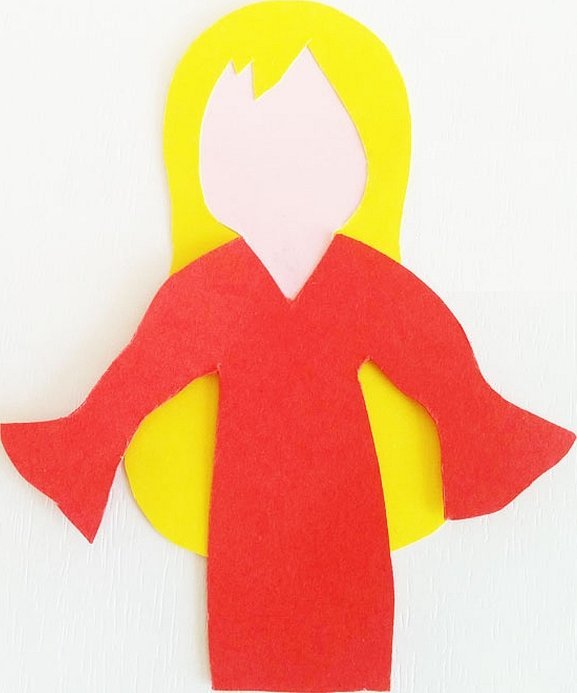
Once the bottom of the doll is ready, you can start creating the body and face:
- Draw a circle (head) on pink cardboard, and then a neck from it.
- Draw the top of the dress on colored paper. Wide long sleeves go well with a fluffy skirt.
- Cut out this part of the dress. It's okay if it's long, you can cut off the excess later.
- Glue the dress to the neck.
- Draw hair. To do this, you can first draw the same circle as for the head and frame it with hair.
- Glue the hair to the head.
- Draw the hands schematically and cut them out.
- Glue on the hands and eyes.
- Draw a mouth, eyelashes, and blush on the doll's face.
- Place the top part of the doll in a fluffy pleated skirt, secure with glue. You can slightly peel off the triangles in the right place if they are strongly glued.
Finally, you can complement the princess image with accessories. This could be a crown, a hat, a necklace or a bracelet.
If the child is not a fan of princesses in fluffy skirts, then it is better to make a village doll in a beautiful sarafan together with him. The same tools and materials will be needed for the work. But the manufacturing process will be significantly different:
- Draw a sketch of a dress on a sheet of paper - a triangle with a step down and sleeves with arms on the sides. Cut out the stencil of the craft.
- Trace the dress onto the cardboard, then step back 4 cm and trace the drawing again, aligning its bottom part with the previous drawing.
- Connect the parts of the doll and glue them in the area of the arms.
- Cut a circle out of white or any other light-colored paper, for example, light beige or soft pink.
- Cut 6 thin strips of colored paper for the doll's hair.
- Glue the hair to the sides of the head and add a bow or flower in the middle. Part of the ponytail can be turned over to the forehead to make bangs.
- Glue the head to the body, eyes to the face, draw a nose, smile, eyelashes, and blush.
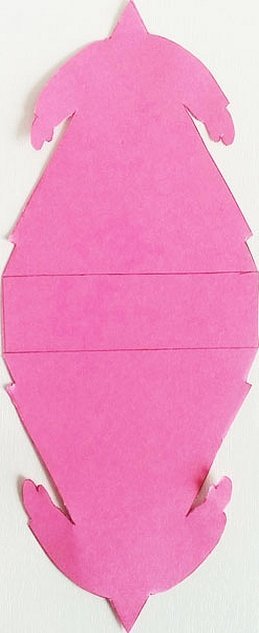
If desired, you can color the dress and add accessories.

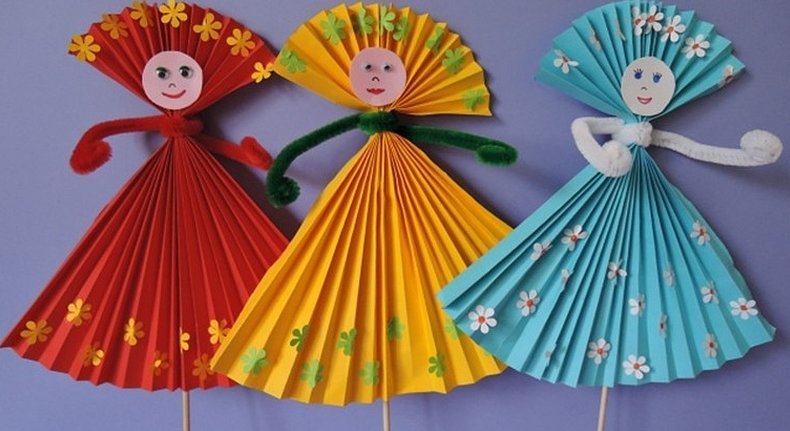
Colored paper dolls
If it is difficult for a child to make a three-dimensional craft due to his age, you can make a couple of dolls from colored paper and sticks together. Such products will become not only a beautiful toy, but also a great gift. A boy or a girl can give it to their loved one for any holiday as a talisman.
What you need to prepare:
- multi-colored paper;
- felt-tip pens;
- office scissors;
- glue;
- wooden stick;
- woolen threads;
- wire.
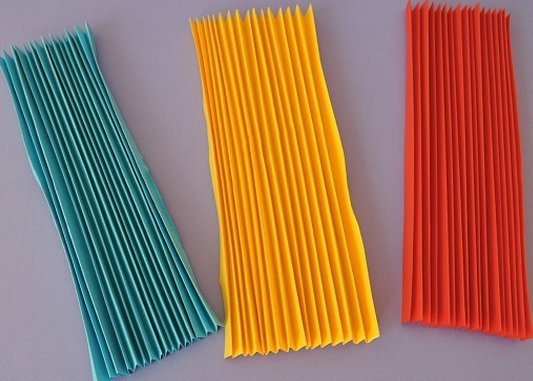
Instructions for making:
- Take any colored paper and fold it like an accordion.
- Cut a circle out of white paper and draw the details of the face on it: eyes, eyebrows, nose and lips. You can add freckles.
- Wrap the wire with woolen threads.
- From the end of the folded accordion, step back about 7 cm and make a mark with a pencil.
- Take a wooden stick, place it on the accordion and tie it using wire wrapped in thread.
- Turn the wire horizontally. These will be the doll's hands.
- Glue the doll's face onto the folded accordion using a glue stick.
- You can decorate the craft by adding a scarf to your head.
Parents don't necessarily have to spend money on developing craft kits. You can buy a couple of sheets of colored paper or cardboard and then make a homemade doll together with your child. Such a homemade craft will become a great new toy in your child's collection and will leave valuable memories in his memory.


