A self-knitted thing always brings joy. A handmade soft toy can become not only a pleasant gift and friend for a child, but also a decoration for your home. This article describes in detail how to select threads and gives a master class on how to create knitted toys from plush yarn.
What is plush yarn
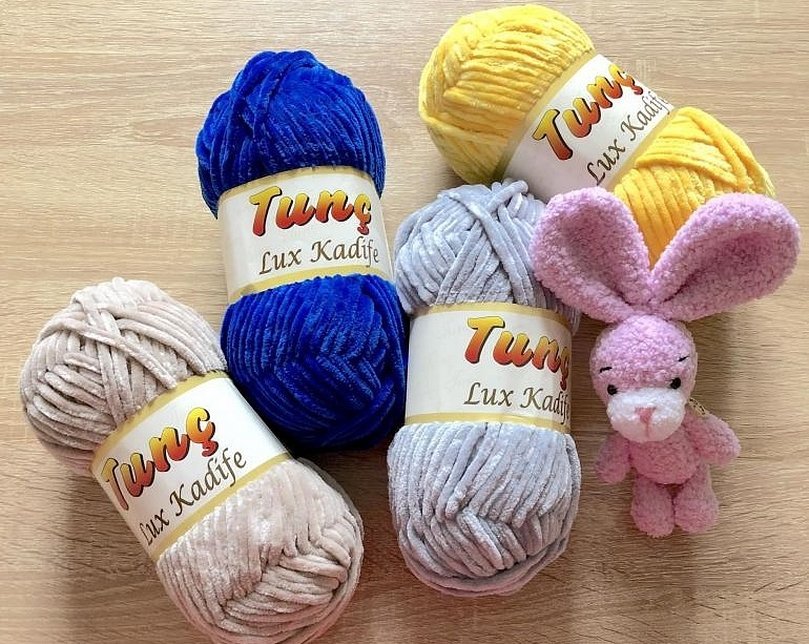
Plush threads or chenille (sinelle) usually consist entirely of synthetic fibers. Such yarn has soft, silky villi, tightly and evenly woven into the central base thread. In accordance with the quality characteristics, craftswomen call this yarn differently: velvet, velour or marshmallow.
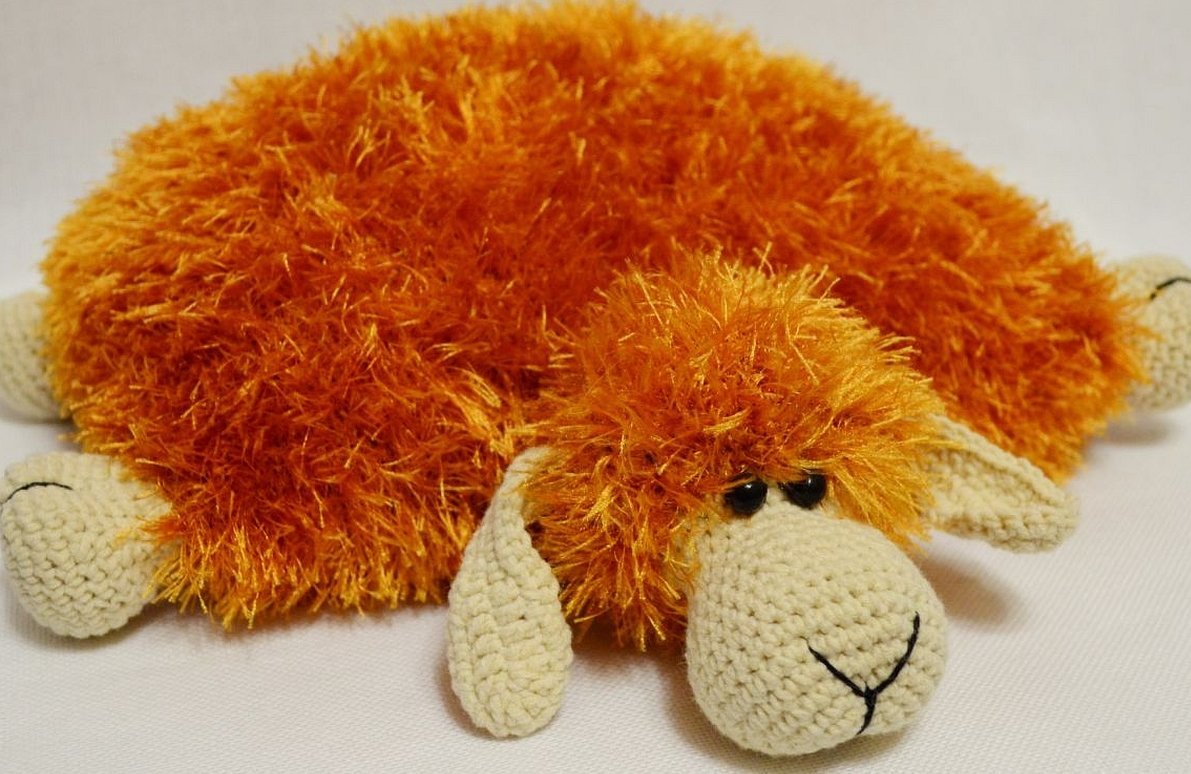
Most often, textured plush yarn is used to create clothes for children, as well as various interior items and toys. Funny figures made from velour threads are especially cute.
Types of Plush Yarn
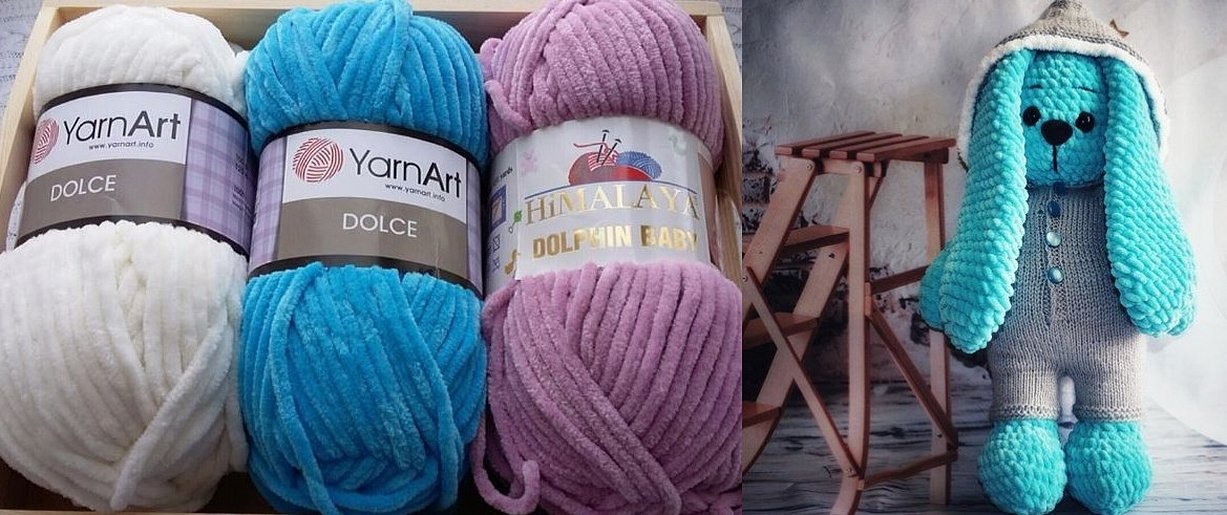
There are several varieties of fluffy velour threads, which differ in structure and color solutions. The yarn may contain several types of fibers:
- acrylic;
- cotton;
- viscose.
You can find brands of velour yarn made from mixed fibers on sale. Manufacturers can add some other artificial and natural materials to the threads, such as lurex or flax.
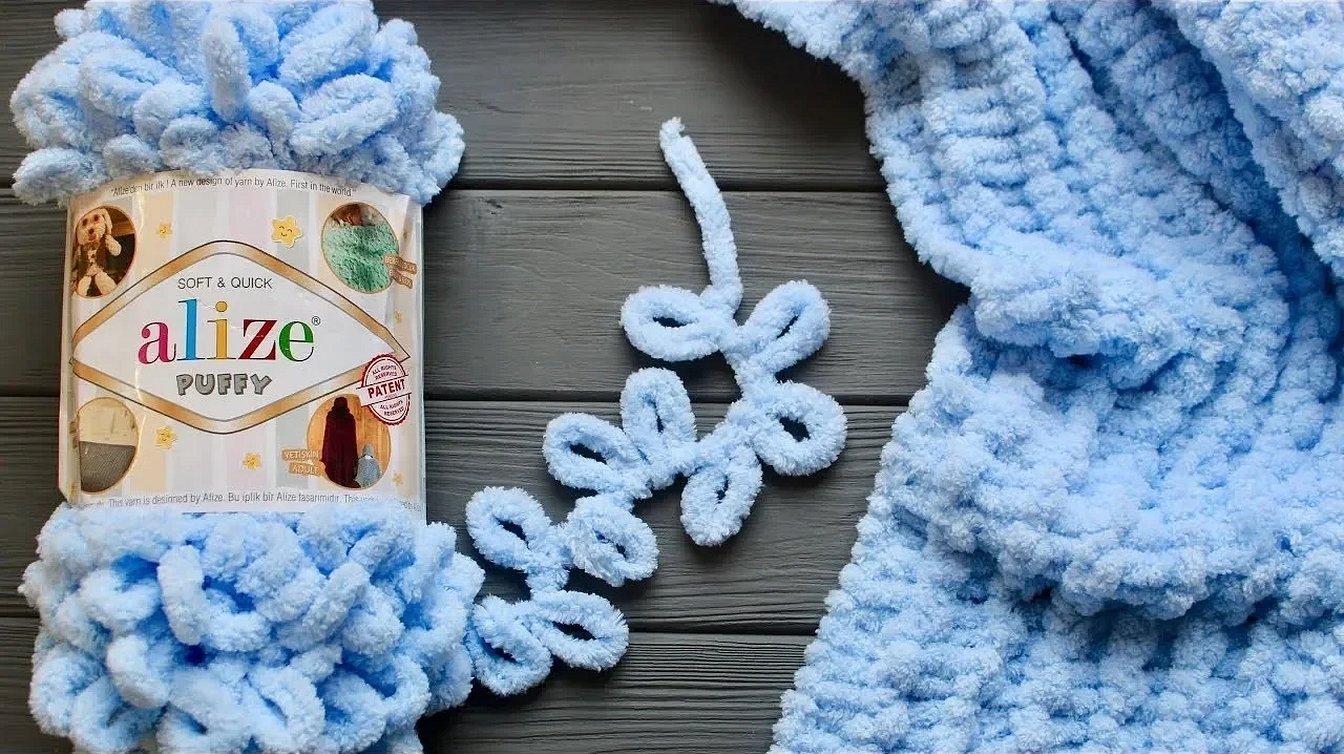
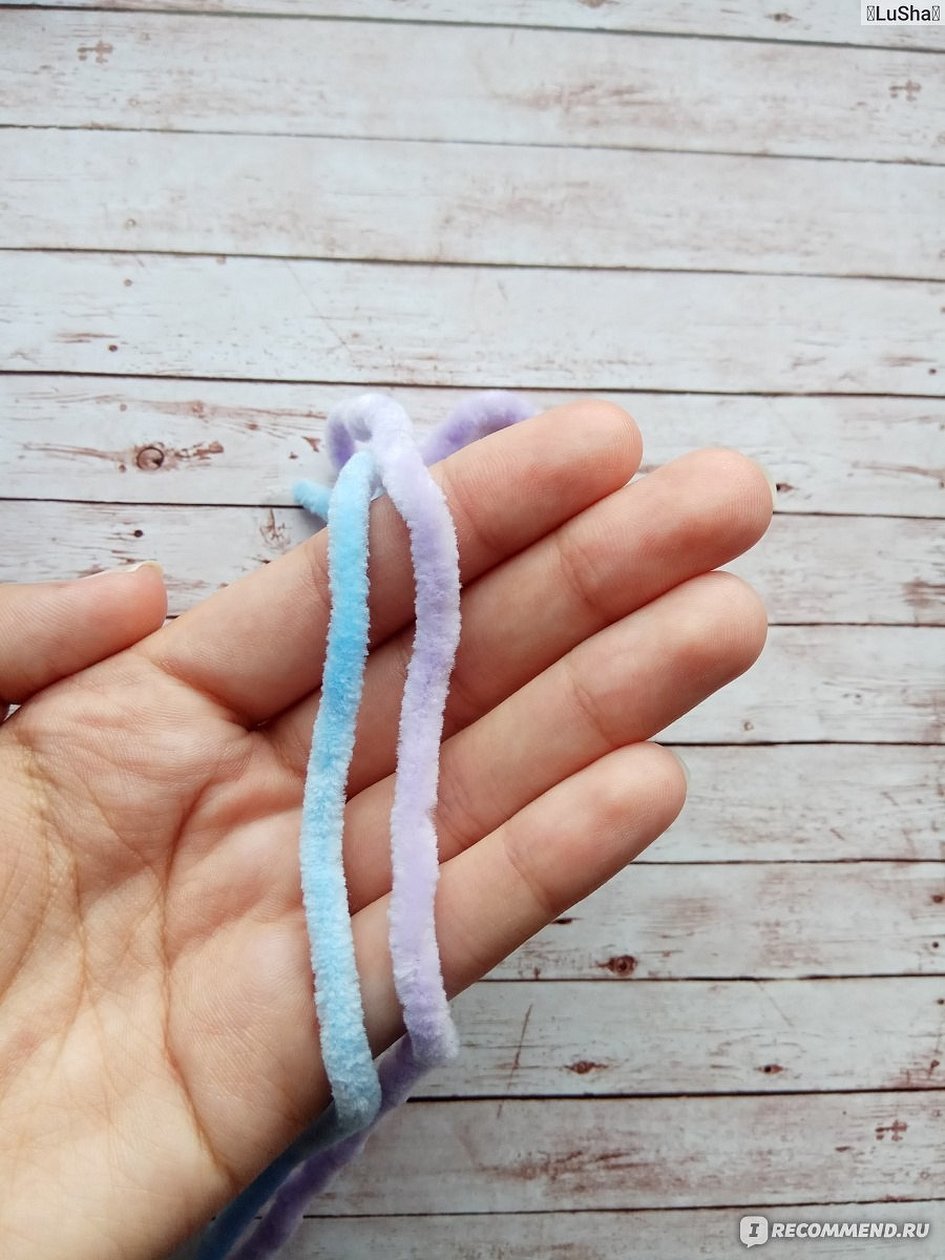
In addition to differences in composition, you can find names of plush yarn with a special thread structure and texture. Some brands have long and thick pile, others - shortened and thick.
As for the colors of velour threads, each brand can have its own color range. There are not only single-color dyed yarns, rich or soft caramel tones, but also melange yarns with gradual or contrasting transitions.
For reference! You can even find fantasy yarn on sale, supplemented with thickenings, pompoms, and beads.
What Plush Yarn Is Best To Use For Toys
The most popular are acrylic and viscose plush threads. These types of yarn hold their shape better and withstand washing. Cotton velour has similar external properties, but stretches faster under mechanical action.
Which velour yarn to choose for creating soft trinkets depends primarily on their purpose. If the composition is not so important when crocheting interior dolls, then in the case of slob toys it is better to give preference to artificial fibers that will not deform too quickly.
It is better not to knit figures for games or room decoration from threads with too thin and long pile. In the first case, long pile will constantly get into the mouth and eyes of the child, and in the second - collect a lot of dust.
Features of knitting with plush yarn
When working with fairly thick and loose velour threads, the correct selection of tools is important. Usually, when knitting, knitting needles or a large-sized hook (at least No. 4) are used.
For reference! Manufacturers often include their own recommendations on this matter on the labels attached to each skein.
When knitting with chenille on knitting needles, simple satin stitch patterns are most often used, familiar even to beginners. The yarn is very textured, and you do not need to come up with complex patterns to make the product look spectacular.

In crochet work, you also don’t need complicated patterns to get a beautiful thing. Regular double and single crochet stitches made with plush look much more advantageous than any openwork patterns.
Knitting patterns for plush toys for beginners with step-by-step descriptions
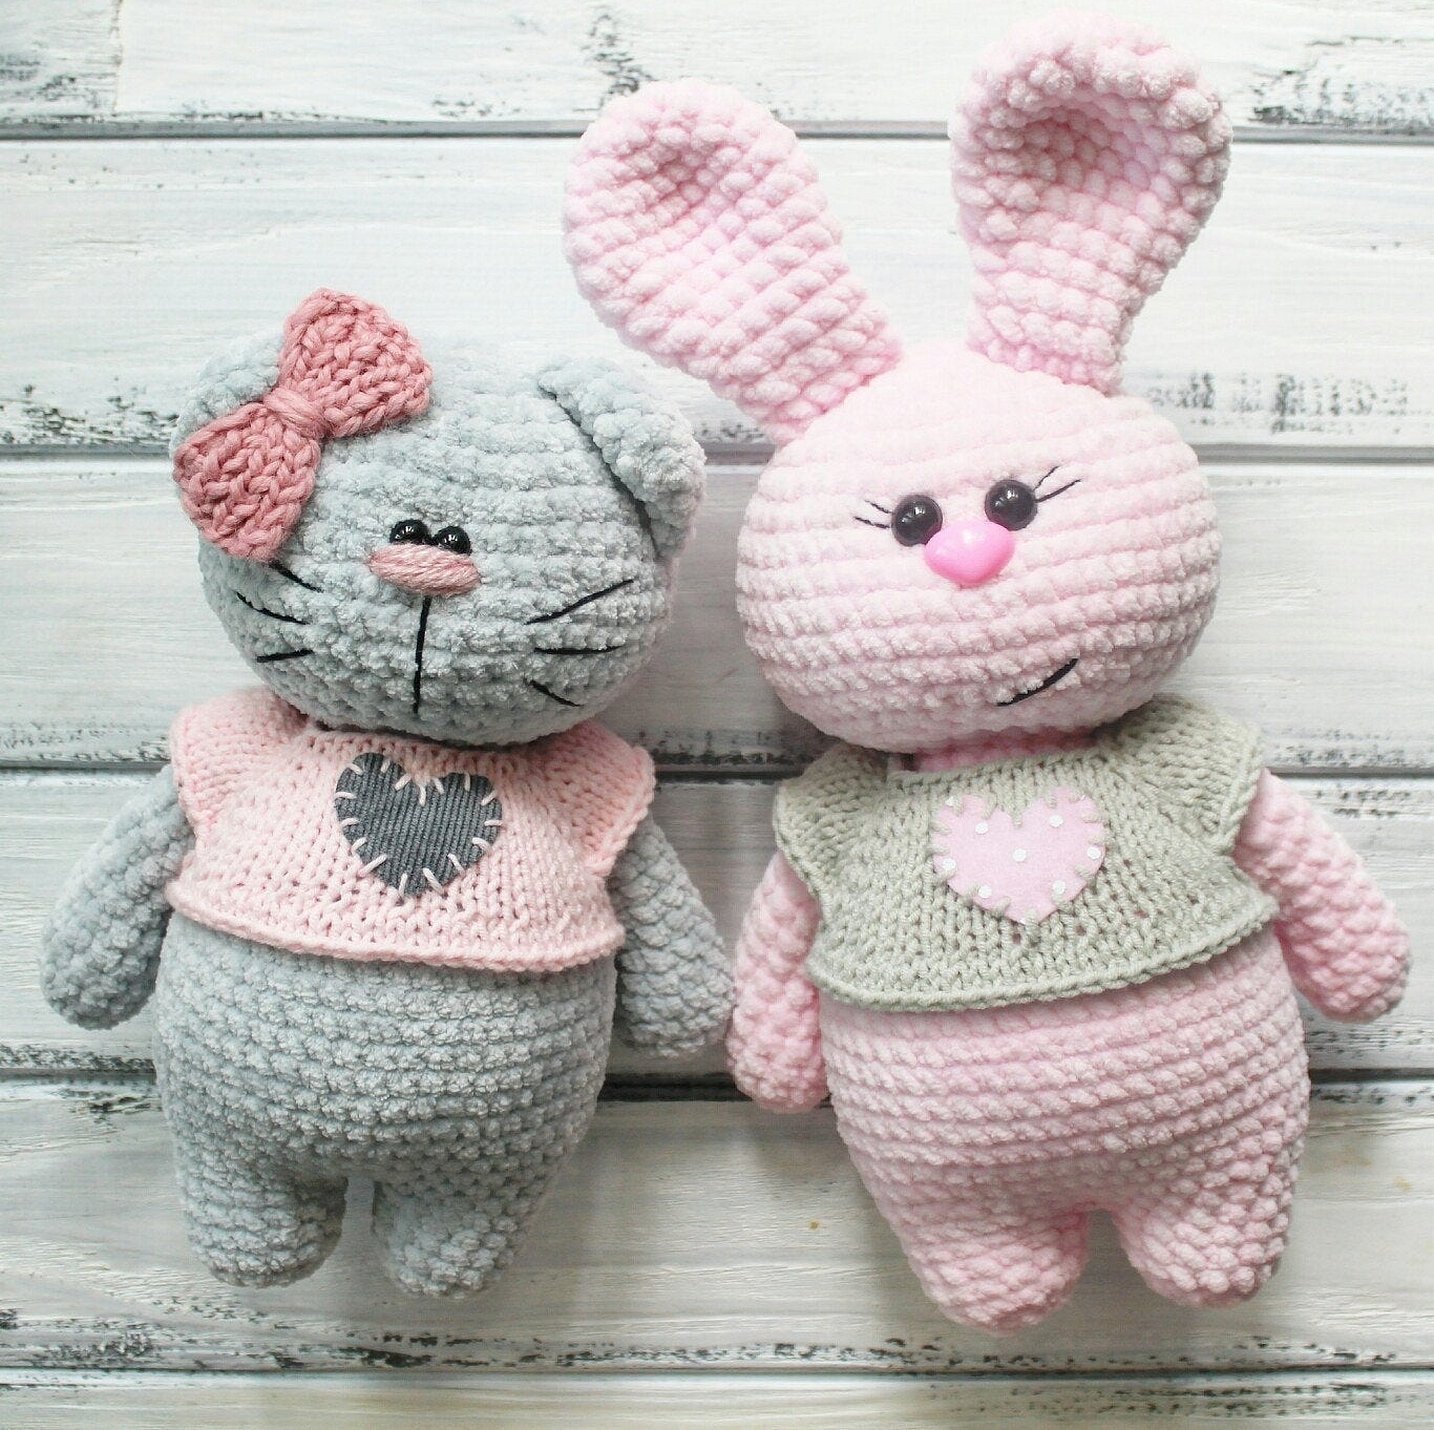
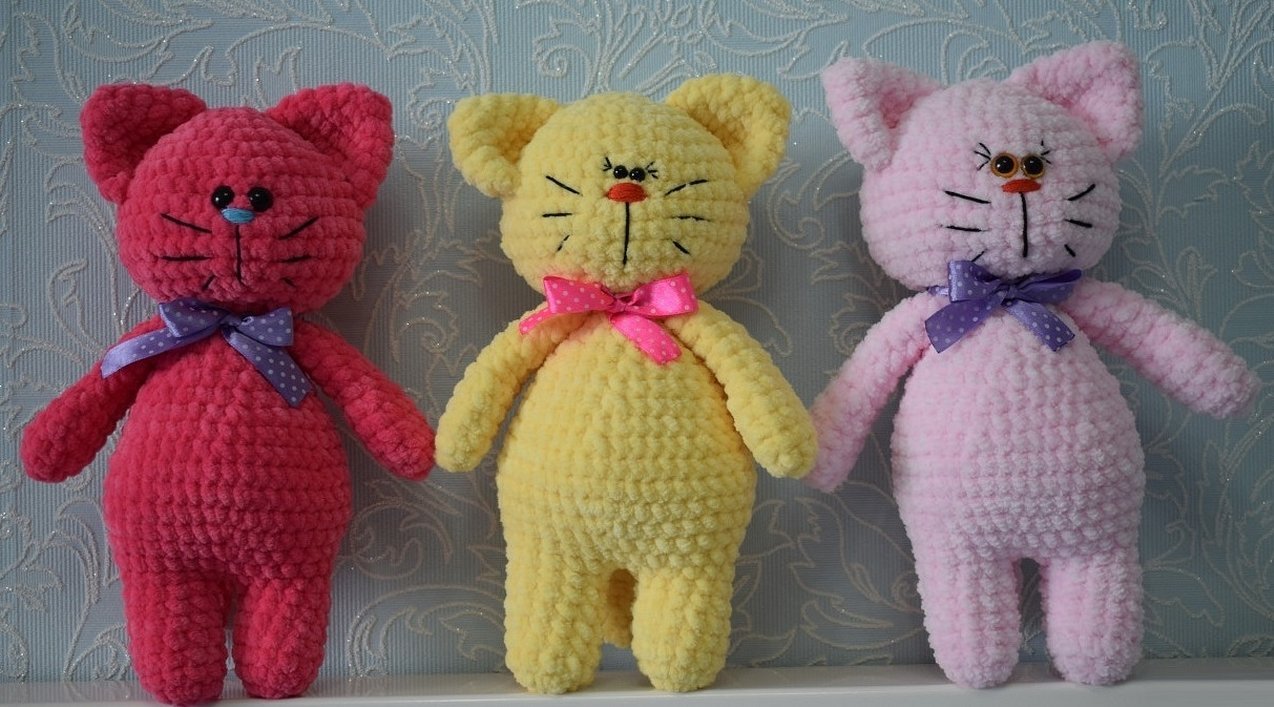
Amigurumi masters have come up with universal basic patterns that can be used to easily knit any toy. The head, body, and limbs are created using the same steps. The only difference is in making the ears and shaping the muzzle. This allows even beginners to quickly master the technique by knitting a small mouse, hare, or teddy bear using the same pattern.
The cat, crocheted according to the MK suggested below, is about 20 cm high. The exact dimensions depend on the chosen yarn and tool.
Legend:
- V - make an increase by knitting 2 sc from the loop of the bottom row;
- A - make a decrease by knitting 1 sc from 2 sc of the previous row.
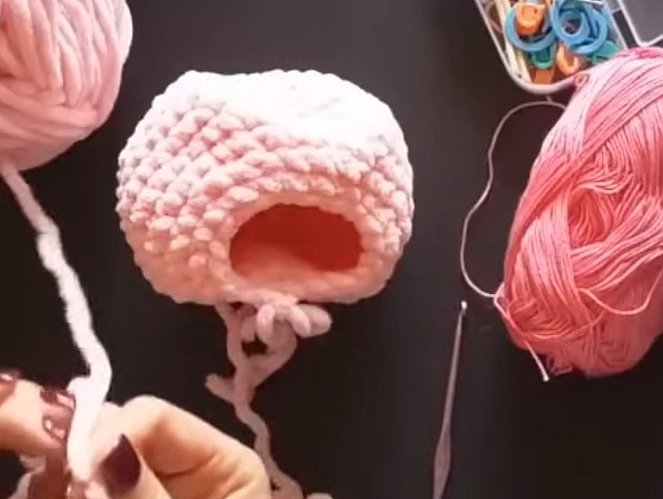
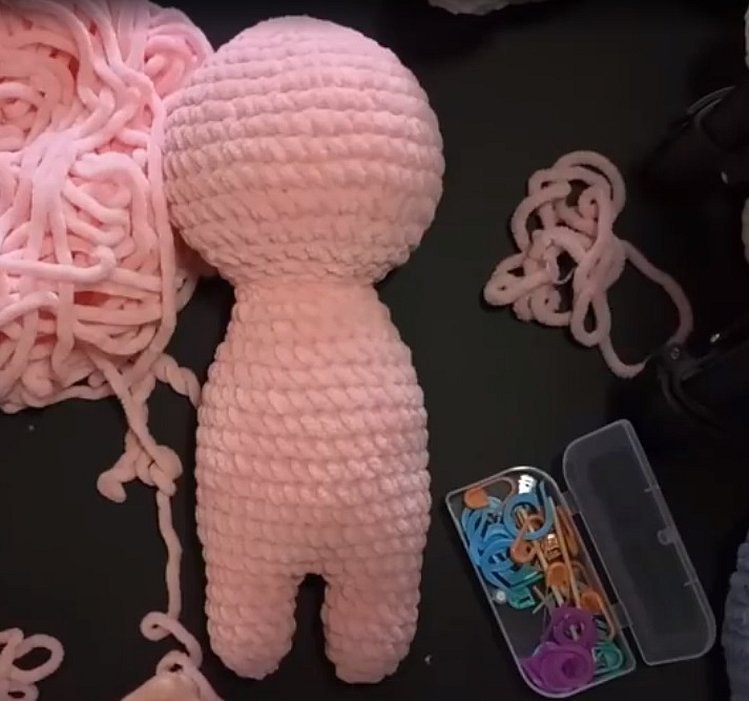
The head and body are knitted from top to bottom. The stuffing with synthetic padding or any other available material is carried out as the parts are formed:
- 1 row - 6 single crochet stitches;
- 2 rows - knit in a circle, evenly completing 6V = 12;
- Rows 3-6 - knit in a circle, evenly distributing 6V = 36 in each row;
- 7-10 rows - knit in a circle without increases or decreases = 36;
- 11th row - repeat 6 times 4 sc + 1A = 30;
- Row 12 - knit in a circle evenly, without increases or decreases = 30;
- Rows 13-16 - continue working, evenly performing 6A = 18 in each row.
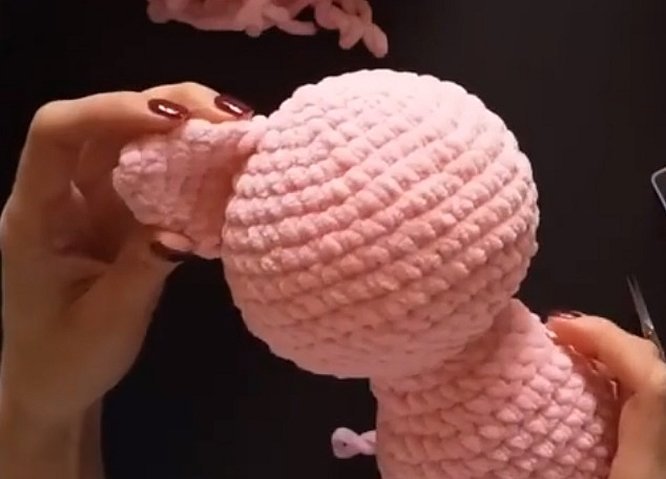
Next comes the second stage:
- Row 17 - knit in a circle evenly, without increases or decreases = 18;
- 18th row - repeat 6 times 2 sc + 1V = 24;
- 19th row - repeat 3 times 7 sc + 1V = 27;
- 20 rows - knit in a circle evenly, without increases or decreases = 27;
- Rows 21-22 - knit in a circle, evenly performing 3V = 33 in each row;
- 23-28 rows - knit in a circle of decreases and increases = 33;
- 29-30 rows - continue working, evenly performing 3A = 27 in each row;
- 31 rows - knit in the round without increases or decreases = 27;
- Row 32 - repeat 3 times 7 sc + 1A = 24.
According to this pattern, the lower limbs are knitted together with the body. Each leg should be finished separately. To do this, knit 10 sc and connect them into a ring with 1 sc. Then do 4 more rows without any changes. After that, knit 5A, finishing one of the legs.
The second limb is performed in a similar manner at a distance of 2 st.b/n from the first.
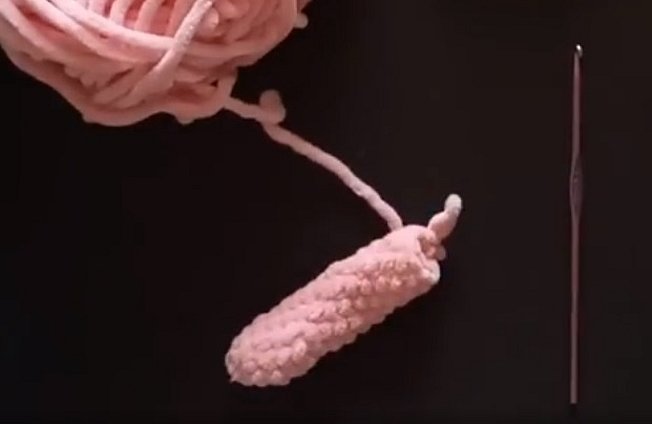
Next, we move on to creating the front paws. The stuffing is also placed in each piece as we knit, giving them shape:
- 1 row - 6 st.b/n;
- 2 rows - knit in a circle, evenly completing 6V = 12;
- Row 3 - knit evenly without decreases or increases = 12;
- 4 rows - 3A, 6 single crochets = 9;
- 5-10 rows - continue working without decreases and increases = 9;
- 11 rows - 1A, 7 single crochets = 8;
- Row 12 - fold the piece in half and knit 4 single crochet stitches, capturing the loops of the front and back sides of the limb.
The second arm is created in a similar manner.
Attention! If the last step is omitted, leaving an open hole, then the legs can be provided with hinges.
Cat ears are very easy to make. They are knitted separately and then sewn onto the toy's head:
- 1 row - 5 st.b/n;
- 2 p. - perform 5V = 10;
- 3 row - perform 1V = 12 on each side of the row;
- Row 4 - knit without changes, without decreasing or increasing = 12.
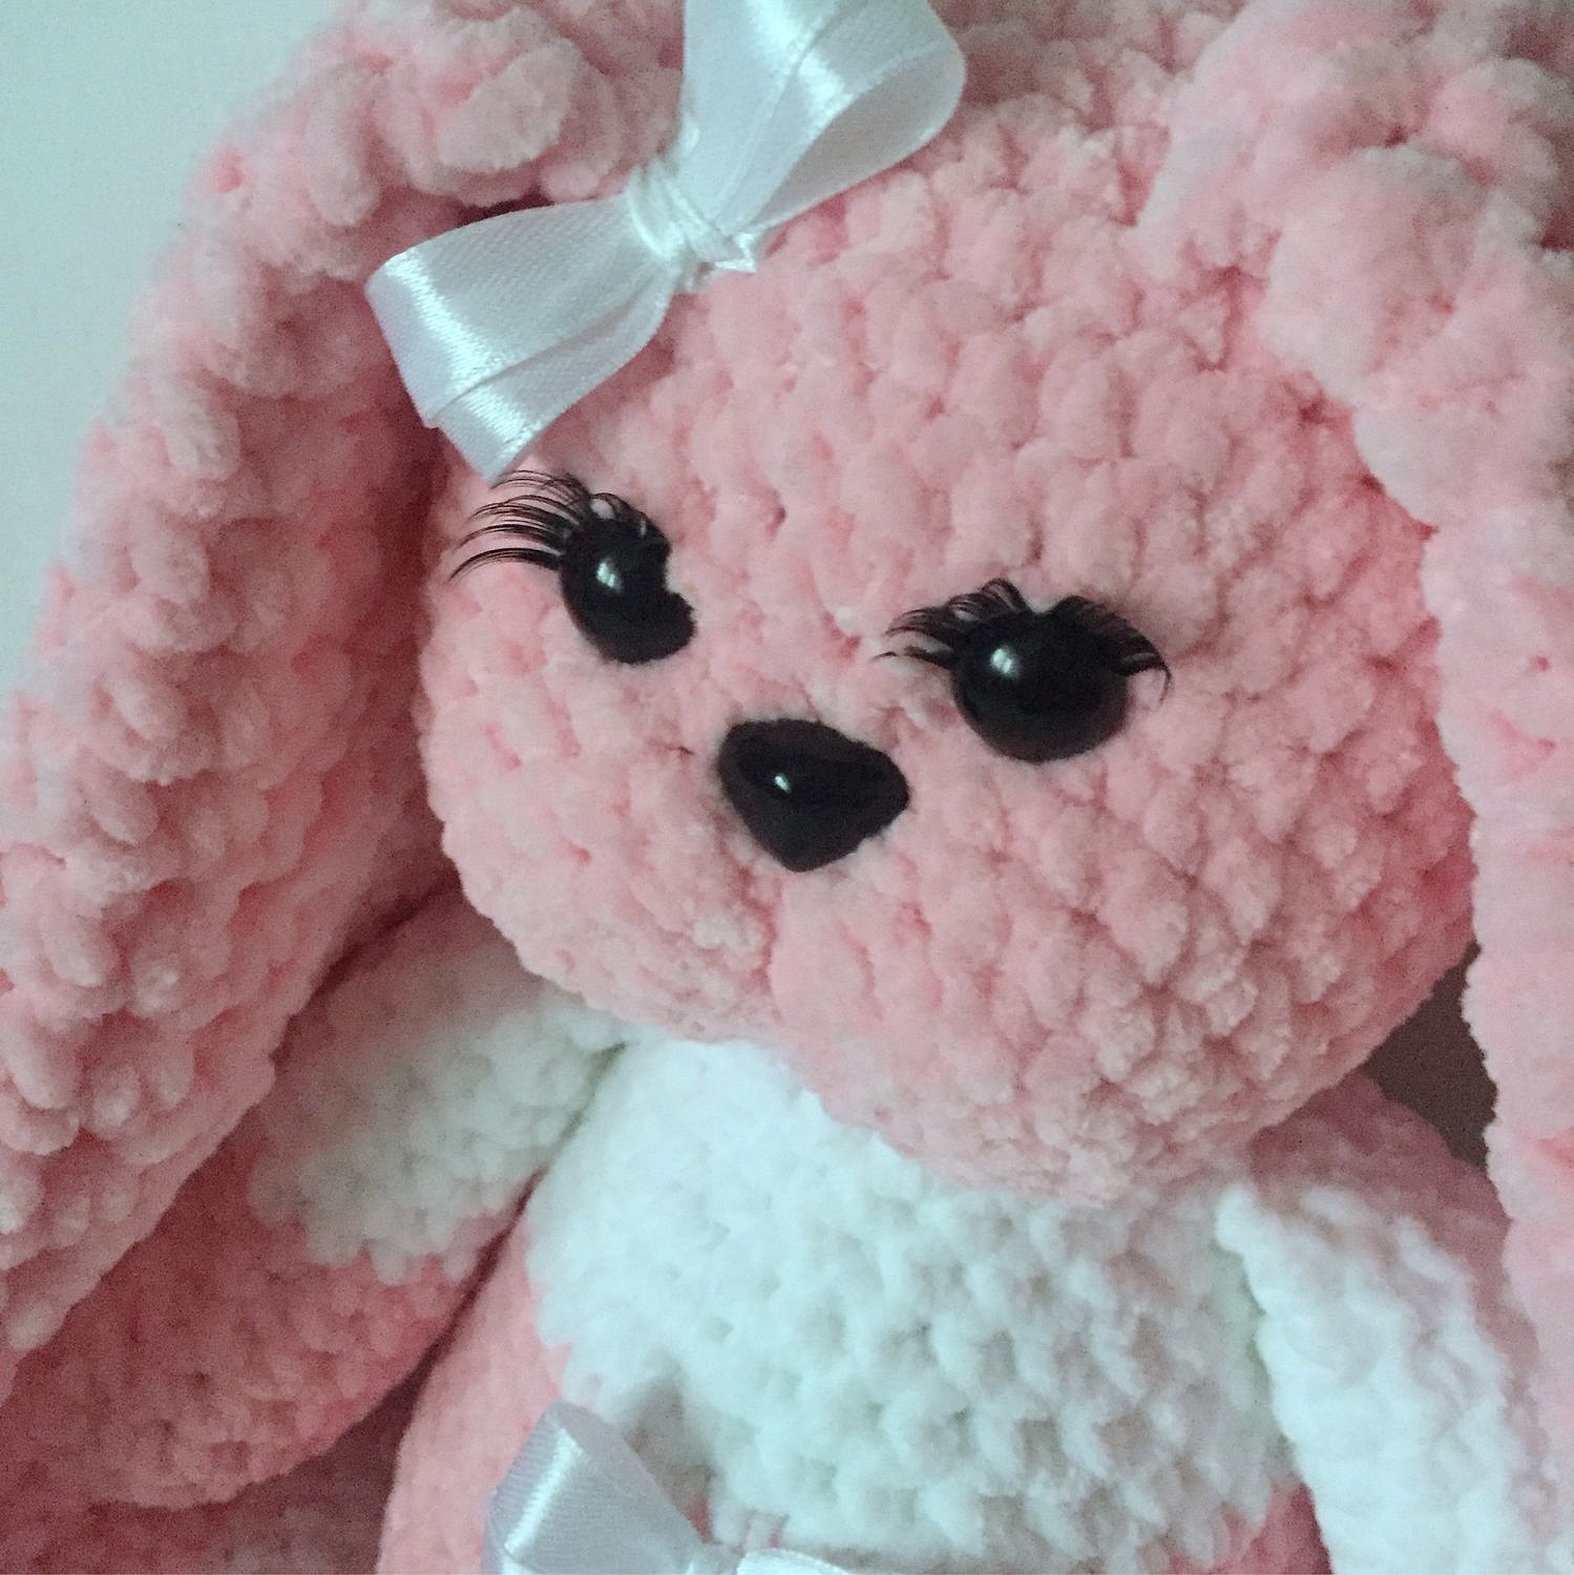
The bunny's ears are knitted in exactly the same way, but at the last step the number of rows is increased until the desired length is reached. When creating a toy mouse, you can knit a couple of round parts for the ears.
The cat's tail can be made striped by changing the thread every 1-2 rows. The work is done in a circle, stuffing is done as you knit. The sequence of actions is as follows:
- 1 row - 6 single crochet stitches;
- 2 row - perform 2 columns b/n + 1V twice = 8;
- Rows 3-12 - knit evenly, without decreases or increases = 8;
- Row 13 - fold the piece in half and make 4 single crochet stitches, capturing the loops on the front and back sides of the piece.
The finished parts are pinned to the body with pins and then sewn on. The animal's face is decorated with ready-made eyes or beads, embroidery, and other fittings.
Some tips on how to knit amigurumi correctly
In order for a soft toy made of velour or any other yarn to turn out well, you should pay attention to some nuances when working. Here are some tips for beginners:
- You should not neglect the correct selection of yarn and tools, otherwise unnecessary difficulties may arise when knitting, and the finished product will not have a very neat appearance.
- It is necessary to recount the columns and loops in each row so that the detail turns out to be the intended shape. For convenience, you can use special plastic markers.
- It is important to learn to distinguish between the front and back sides, then the appearance of the fabric will not be spoiled due to an error.
- Decreases should be done not by simply skipping the loop of the bottom row, but by knitting two columns with a common top. If this is not done, holes will form in the knitted fabric, which will not be possible to hide.
Knowing how to crochet plush toys, you can create many interesting dolls for children and home decorations. In addition, such a hobby is a great way to relax and spend time usefully. If desired, you can create a whole fluffy collection using the tips from the article.


