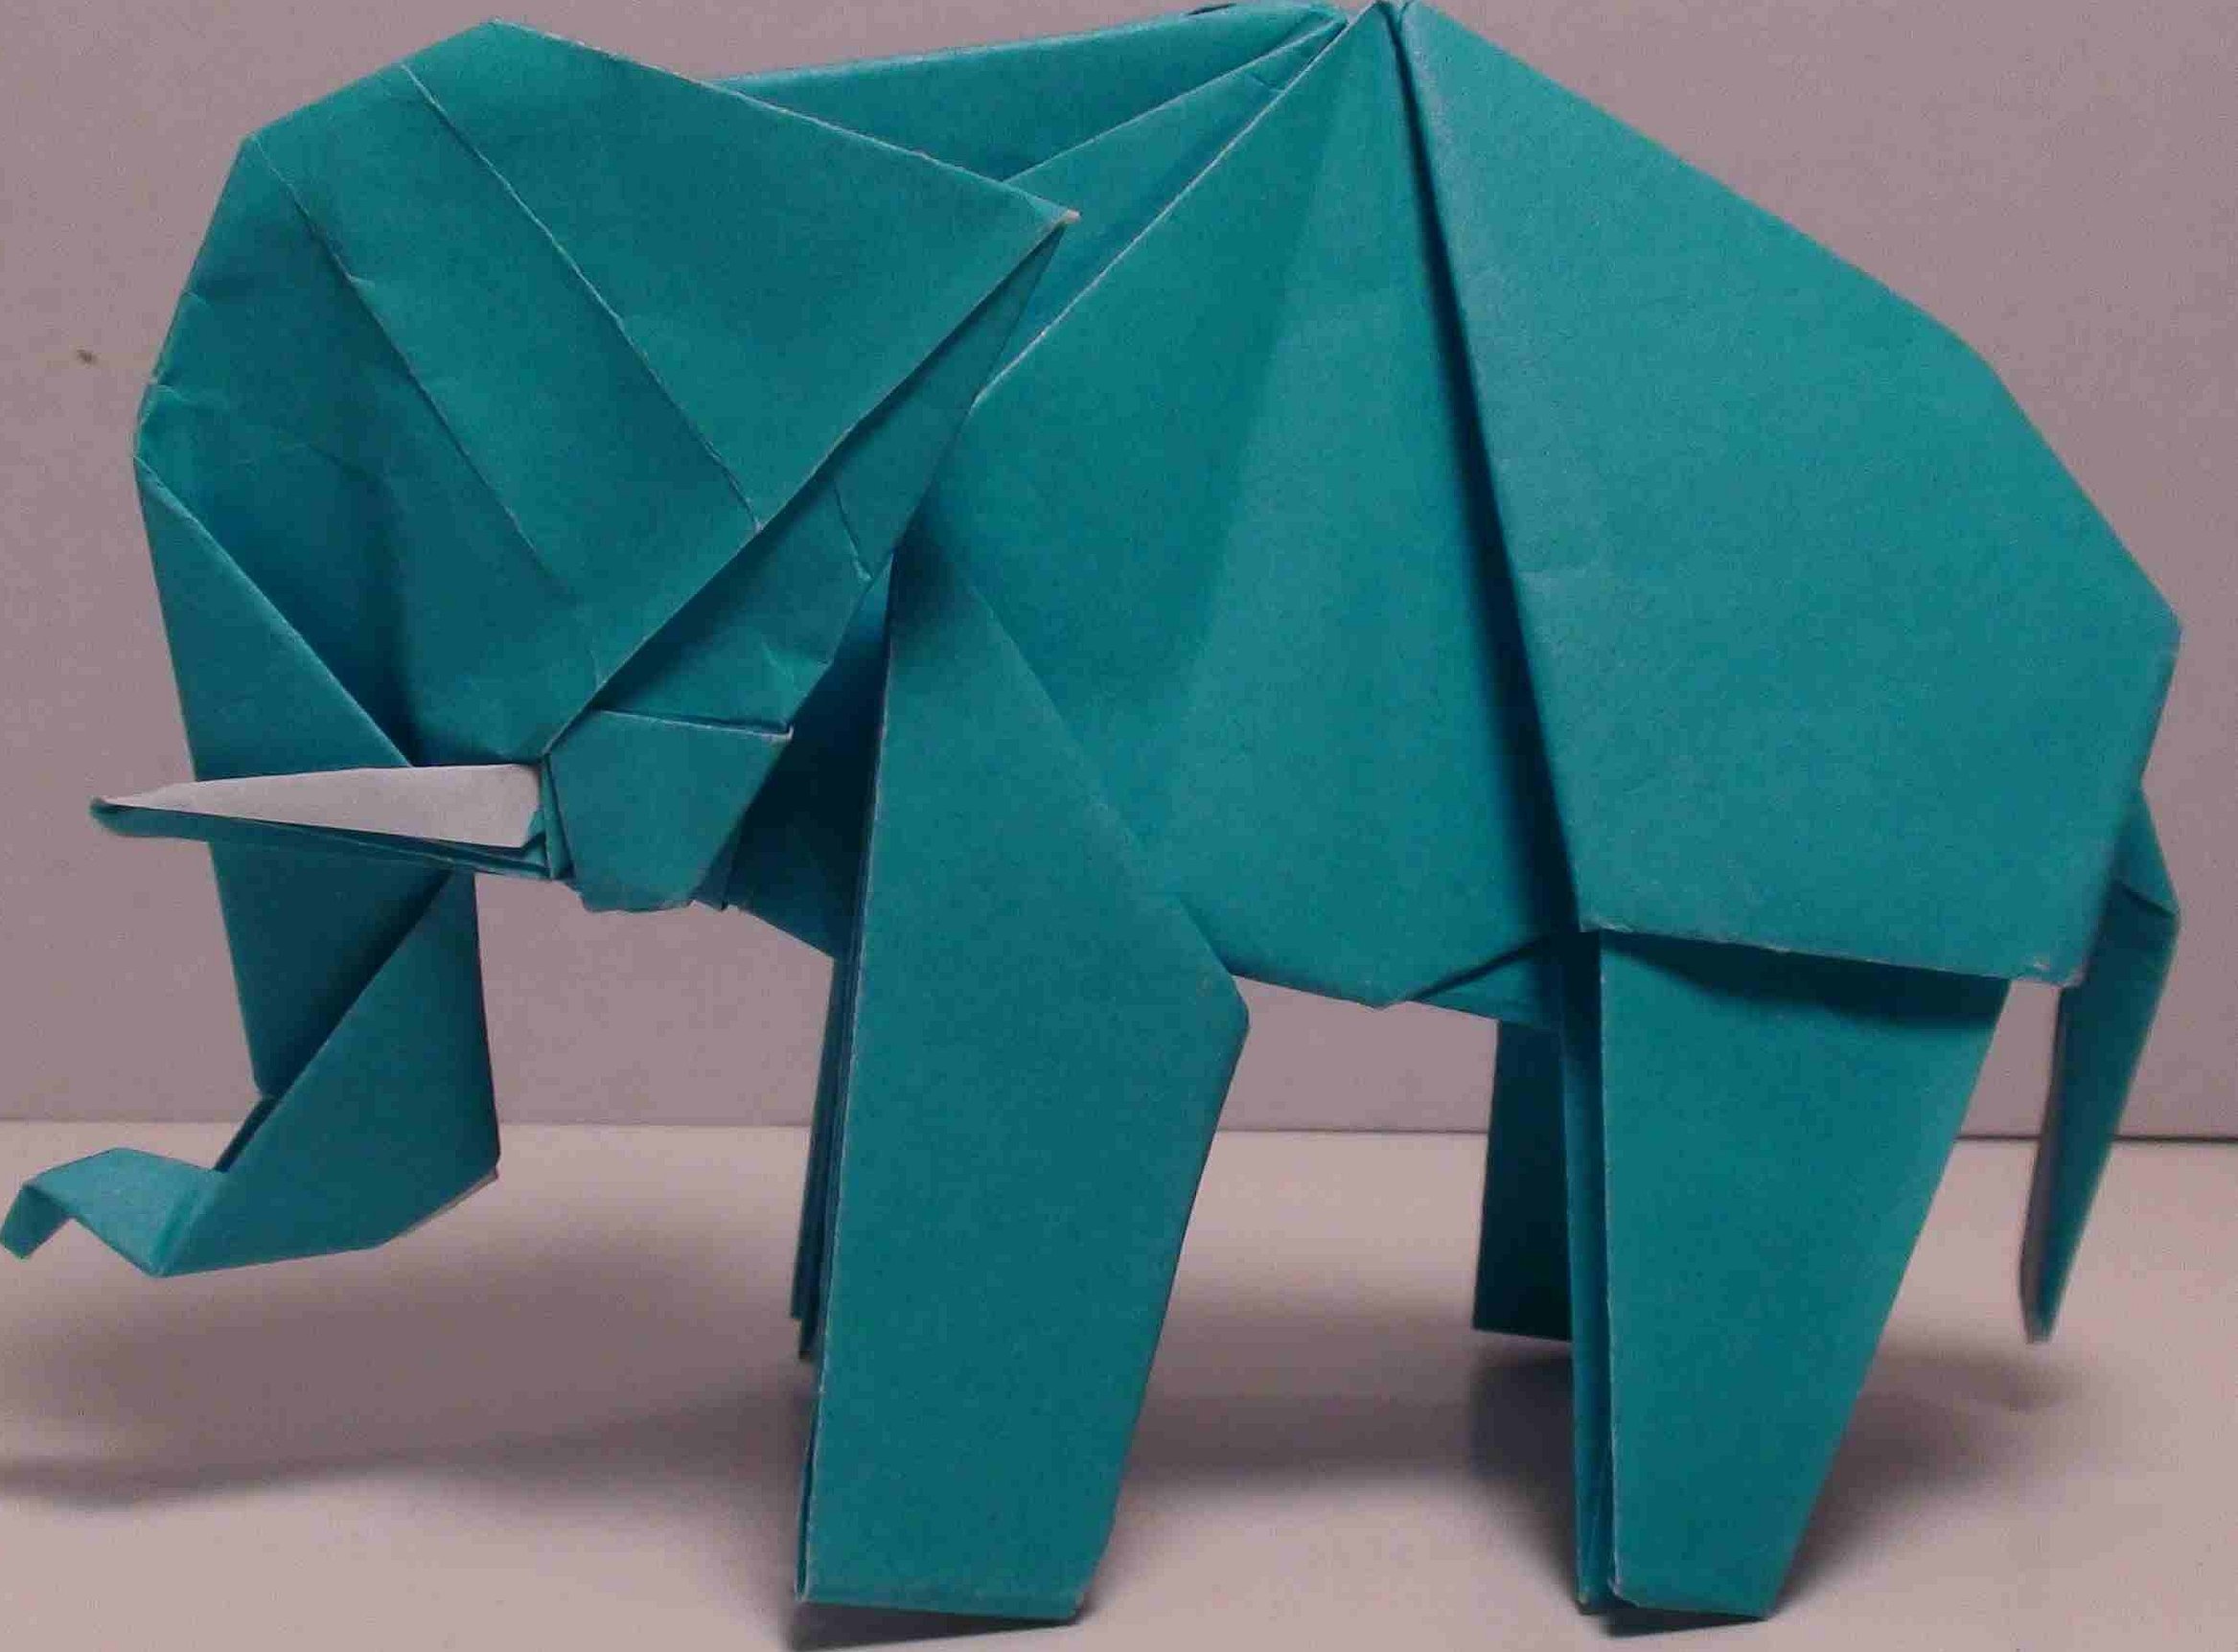
How to make an elephant out of paper in origami style - such a request is often entered into search engines by both adults and children. It is worth knowing that for such a craft you will not need any tool, it is only important to choose paper. A step-by-step origami diagram allows you to make any figure step by step.
Features of origami toys
Before making an origami elephant, it is worth learning more about the technique itself. It came from China and literally translates as "folded paper." The first toys were surprisingly simple, but then the technique became more complicated.
Interesting! In the early years, carving was done for religious purposes. Nowadays, the figures are used only for play.
If you look closely at the origami elephant diagram for children, you can find simple and modular versions of the technique. Crafts made using the second technology are considered voluminous and look more spectacular. The first ones are actively used in Britain.

To diversify the styles, wet folding is used. Regular paper is not suitable for these purposes. The material must absorb the glue well, since PVA is most often used during the work. Wet folding style figures look graphic. They have a large number of sharp corners. If you look at such elephants, they look expressive from the side.
The Kasidamy style is also suitable for assembling an elephant. Here you have to work not with one, but with several sheets of paper. They are placed inside each other and thanks to this, interesting shapes are obtained. The easiest way to make a star or a ball in the Kasidamy style.
General rules for working with paper
When considering the rules of working with paper, it is important to understand the template precisely. Sometimes you need to fold the sheet by eye. Depending on the chosen angle, the outline of the animal will change.
Masters draw the attention of beginners to the need to select high-quality material. A thin sheet rolls up well, but at the same time it is erased and does not hold its shape well.
Important! The density indicator should be at the level of 100 g per 1 sq. m.
There is special paper for origami, but it is not available everywhere.
Squares are supplied in different widths:
- 10 cm;
- 15 cm;
- 20 cm.
There are also large options for professionals and the smallest sheets, only 2.5 cm wide. The main requirement for the material is low weight.
A foil sheet is also considered as an alternative. It can be labeled as a sandwich on display cases. The name makes it clear that it involves gluing two materials: a sheet of foil and paper (it can be on one or both sides). Its advantages:
- rigidity;
- variety of colors;
- a suitable option for small toys.
For some types of origami, squares are not suitable, and then rectangles, triangles, circles or polygons are used.
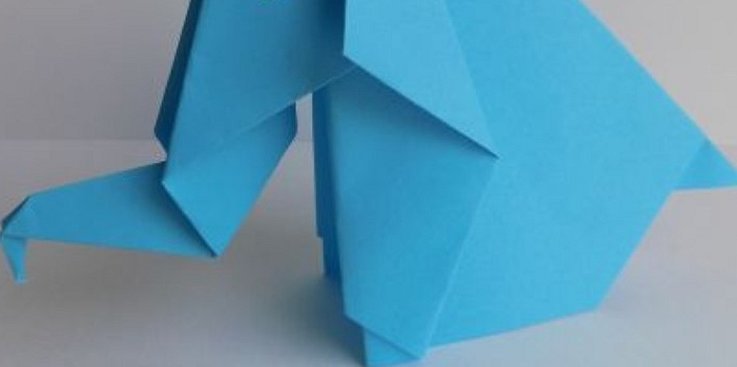
How to make an origami elephant: diagram with step-by-step description
A simple algorithm for making an elephant includes the following steps:
- Preparing a sheet of paper.
- Double folding.
- Forming a triangle.
- Fold.
- Stretching.
- Unfolding the sheet.
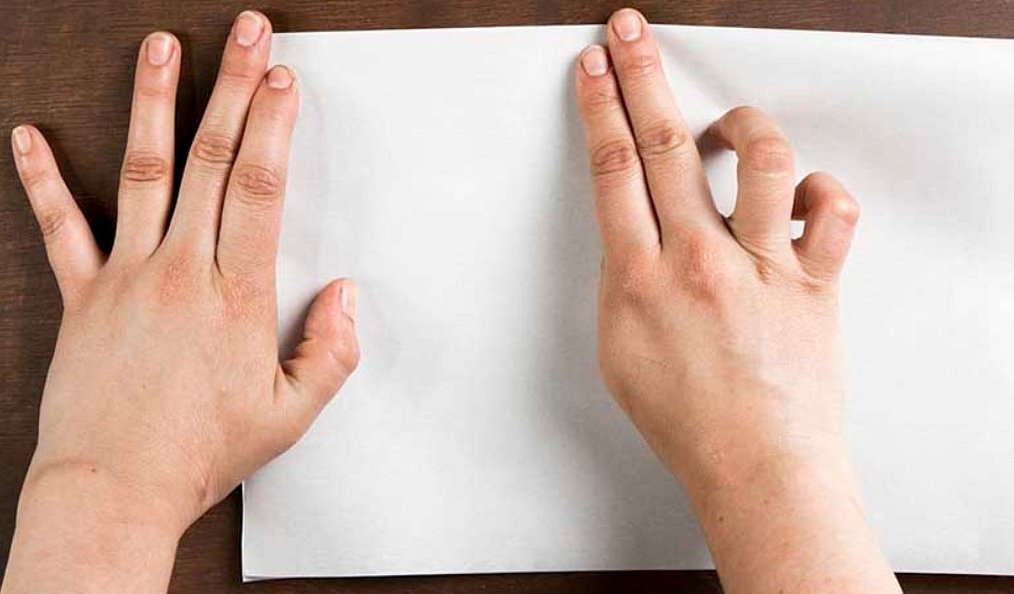
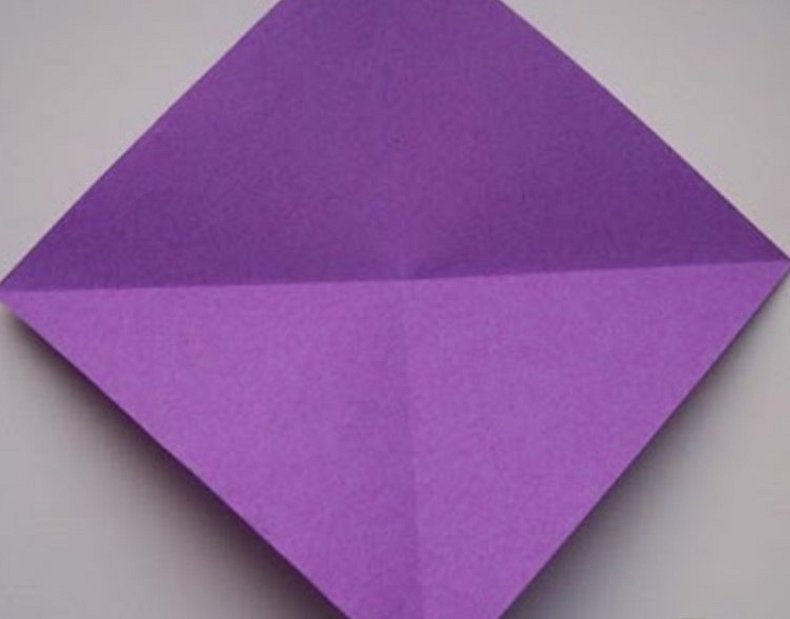
You need to take a regular paper square. You need to mark the center of the sheet and fold any two edges that are opposite each other. If your hand is shaking, you can use a ruler. The corners when folding should fall exactly in the center of the square.

The template is ready. Next, you should mark the diagonals. After the triangles are formed, you should show them at the center. The previously bent triangles need to be moved to new points.
Important! The figure must look symmetrical, otherwise the elephant will not work.
Next, the sheet is folded in half. The result is a trapezoid that can be turned over. The figure should be marked so that the short side is at the bottom. A thin strip is marked in the middle on the upper edge. A fold is made at this point. The sharp corners then move to the bottom. However, do not rush to do the same operation on the other side.
The triangle needs to be brought to perfection. It currently has an acute angle, but this is not enough. If you fold it in half, you will be able to reduce the width. At this stage, you should shift the lower triangle, which was previously prepared on the trapezoid. Then the miracle begins, as the first outlines of the animal are drawn. In order for the baby elephant to look complete, you need to turn the trapezoid over and turn the triangle inside out. As a result, two folds are formed. The sheet of paper becomes more like a zipper. A lot of work has already been done, but the finish line is still far away.
It's time to outline the baby elephant's legs. The inverted triangle should be turned with its sharp corners towards itself. The protruding small part should be folded in half. As you can easily guess, this will be the animal's tail. The triangle is folded towards the limbs. This way, the tail will look down, not up.
The next step will again require marking the center and drawing a diagonal. This time the head is being formed, so the side farthest from the tail is chosen. If the center point is between the legs, then the calculation is correct. You should mark the diagonals and then turn the third triangle inside out.
After this, one problem emerges - this is the hump on the back. It can be removed using a technique called a hem. It should be tucked in so that it is not located above the ear. The large triangle protrudes, but it looks wide.
The next task is to show the trunk. To do this, the triangle is folded in half. To prevent the elephant's forehead from looking sharp, it is necessary to bend it at the top at a slight angle.
Interesting! The last step is to form the limbs. They look sharp now, so they need to be bent.

This procedure is performed on the inside. You should focus on the front limbs. If everything is done correctly, the figure will be able to stand. Sometimes the trunk goes beyond the boundaries and reaches the legs. The situation can be easily corrected by double folding. To do this, a diagonal is drawn from the outer edge at the bottom of the trunk. The nose should look forward a little, but not have the appearance of an acute angle. Otherwise, the trunk will look like it is broken.
At the finish line, the figure must be completely painted in the desired color. Then you can mark the eyes and draw folds.

It is better to use watercolor or gouache for work. Some people like acrylic and oil paints. You can choose gray as the main color. A blue or red elephant will also find its place in the room if it is made with soul. The eyes should be in the center of the head. It is better to mark the folds with black paint on the trunk and limbs.
Important! It is worth saying that the most difficult thing in this technique is to achieve symmetry. Therefore, there is no need to rush here.
It is not necessary to use office paper for work. In Japan, for example, they use washi. It contains a special tree bark. Its main advantage is considered to be its low weight and ease of forming folds. Bends appear only when pressing and thanks to this it is possible to fold small figures.
In this work, beginners may make the following mistakes:
- using a rectangular blank when the master class requires a square;
- folding the sheet of paper not in half, but with distortions in one direction or another;
- incorrect marking of the middle of the figure.
Above is a detailed description of how to make an elephant out of paper in the origami style. If a person follows the instructions, he can easily turn an ordinary sheet of paper into an amazing figure that can become a toy for a child or a decoration for a room.


