Many beginner knitters want to learn how to create Tilda-style toys with their own hands. Detailed master classes help them with this. This article provides useful recommendations, as well as a diagram and description of how to crochet a Tilda bear.
The peculiarity of knitted toys in the Tilda style
A toy in the style of Tilda cannot be confused with any other. These unusual dolls have their own unique features and execution characteristics:
- The figurine is made from fabrics or threads based on cotton and linen fibers.
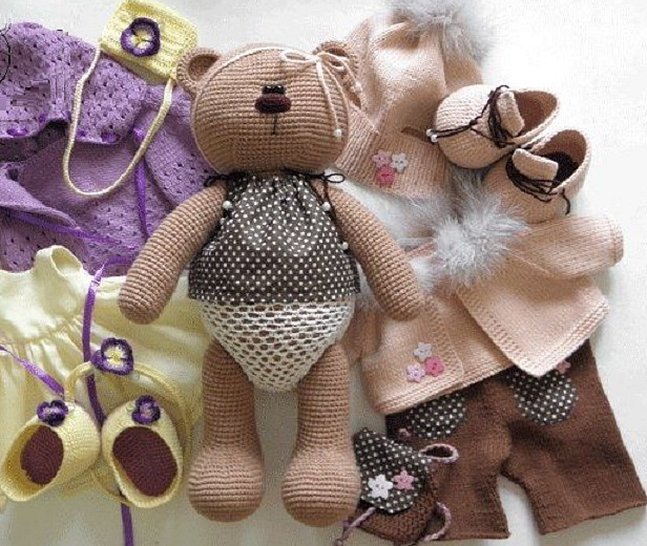
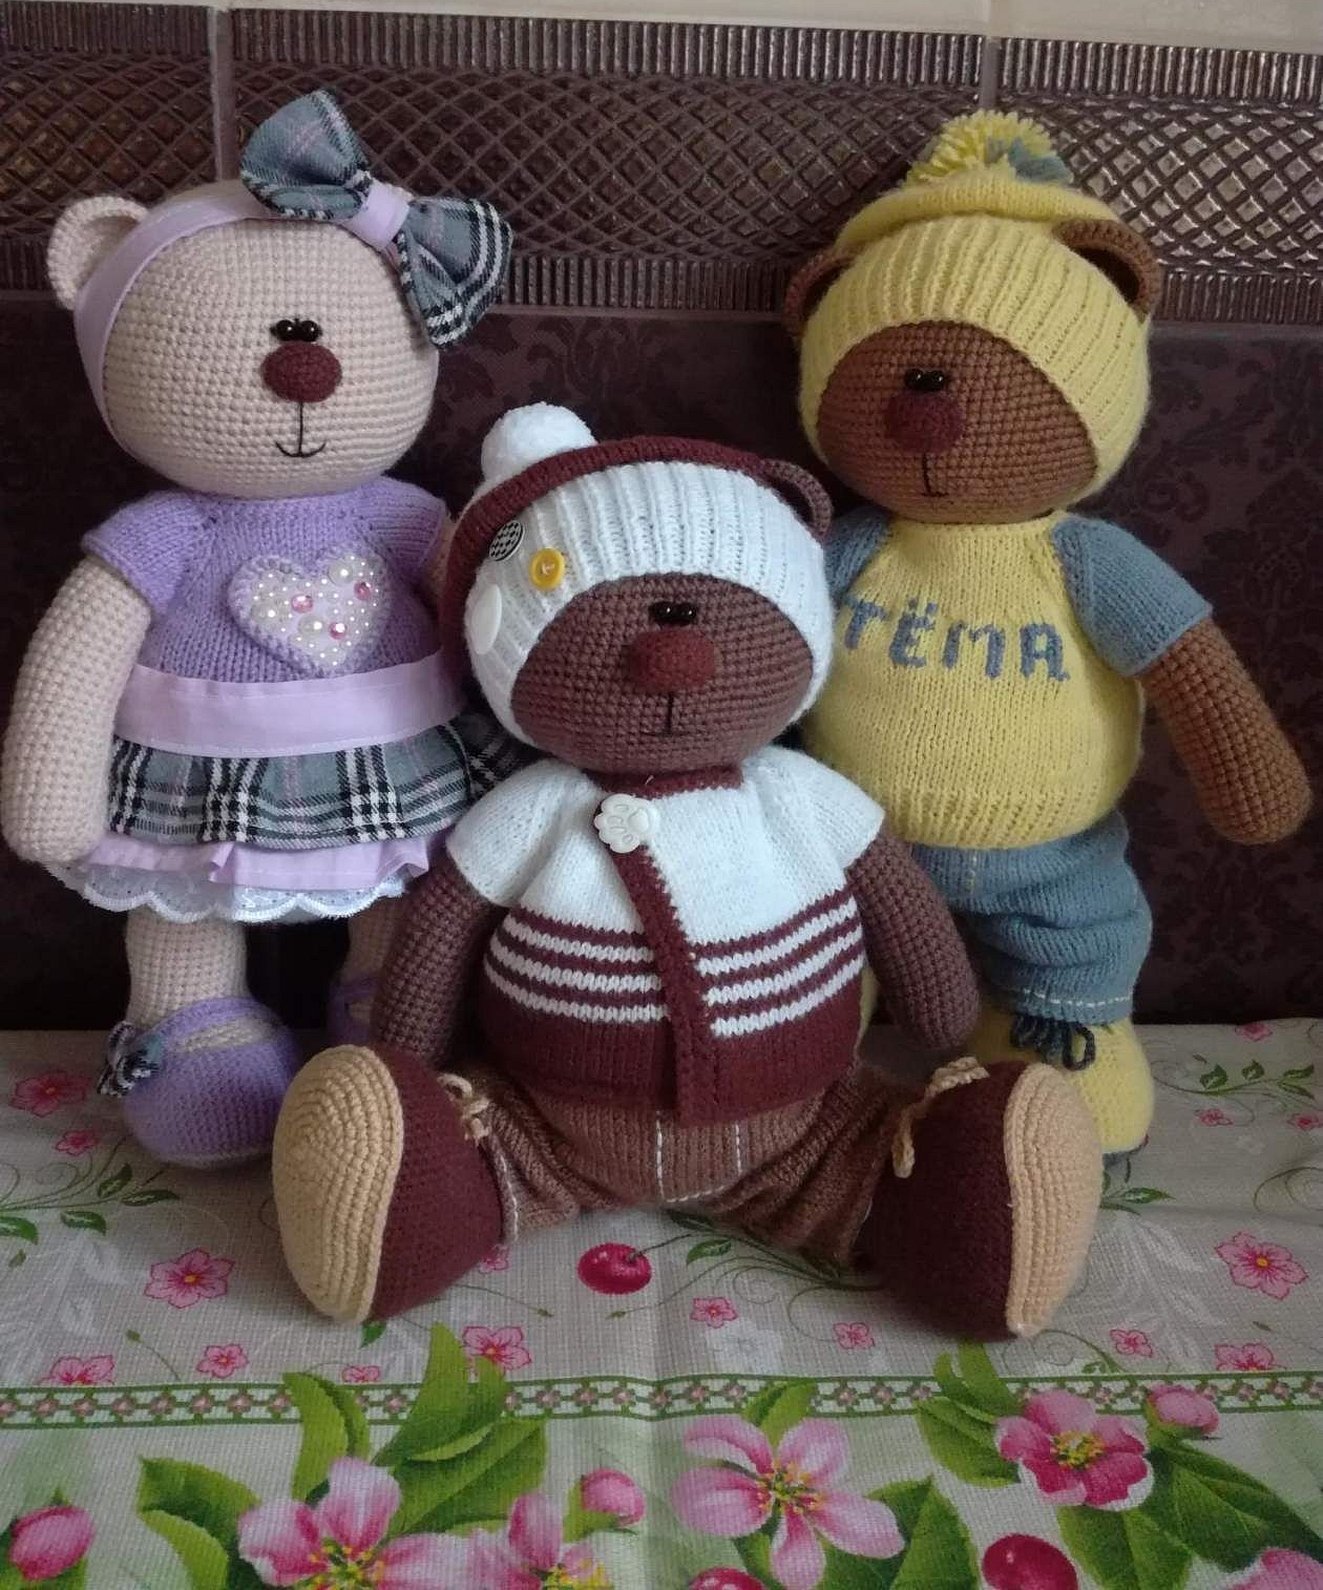
- The toy is dressed in an outfit in pleasant pastel colors, decorated with delicate lace and ribbons.
- The doll is complemented with many cute accessories, such as bouquets of flowers or handbags.
In addition to tilde toys sewn from fabric, there are also versions of the famous doll that are crocheted or knitted.
For reference! Tilda is an interior textile doll created by Norwegian craftswoman Tone Finnanger in 1999. The technique of execution differs significantly from the canons and has become widespread throughout the world.
What you need to create a Tilda bear toy
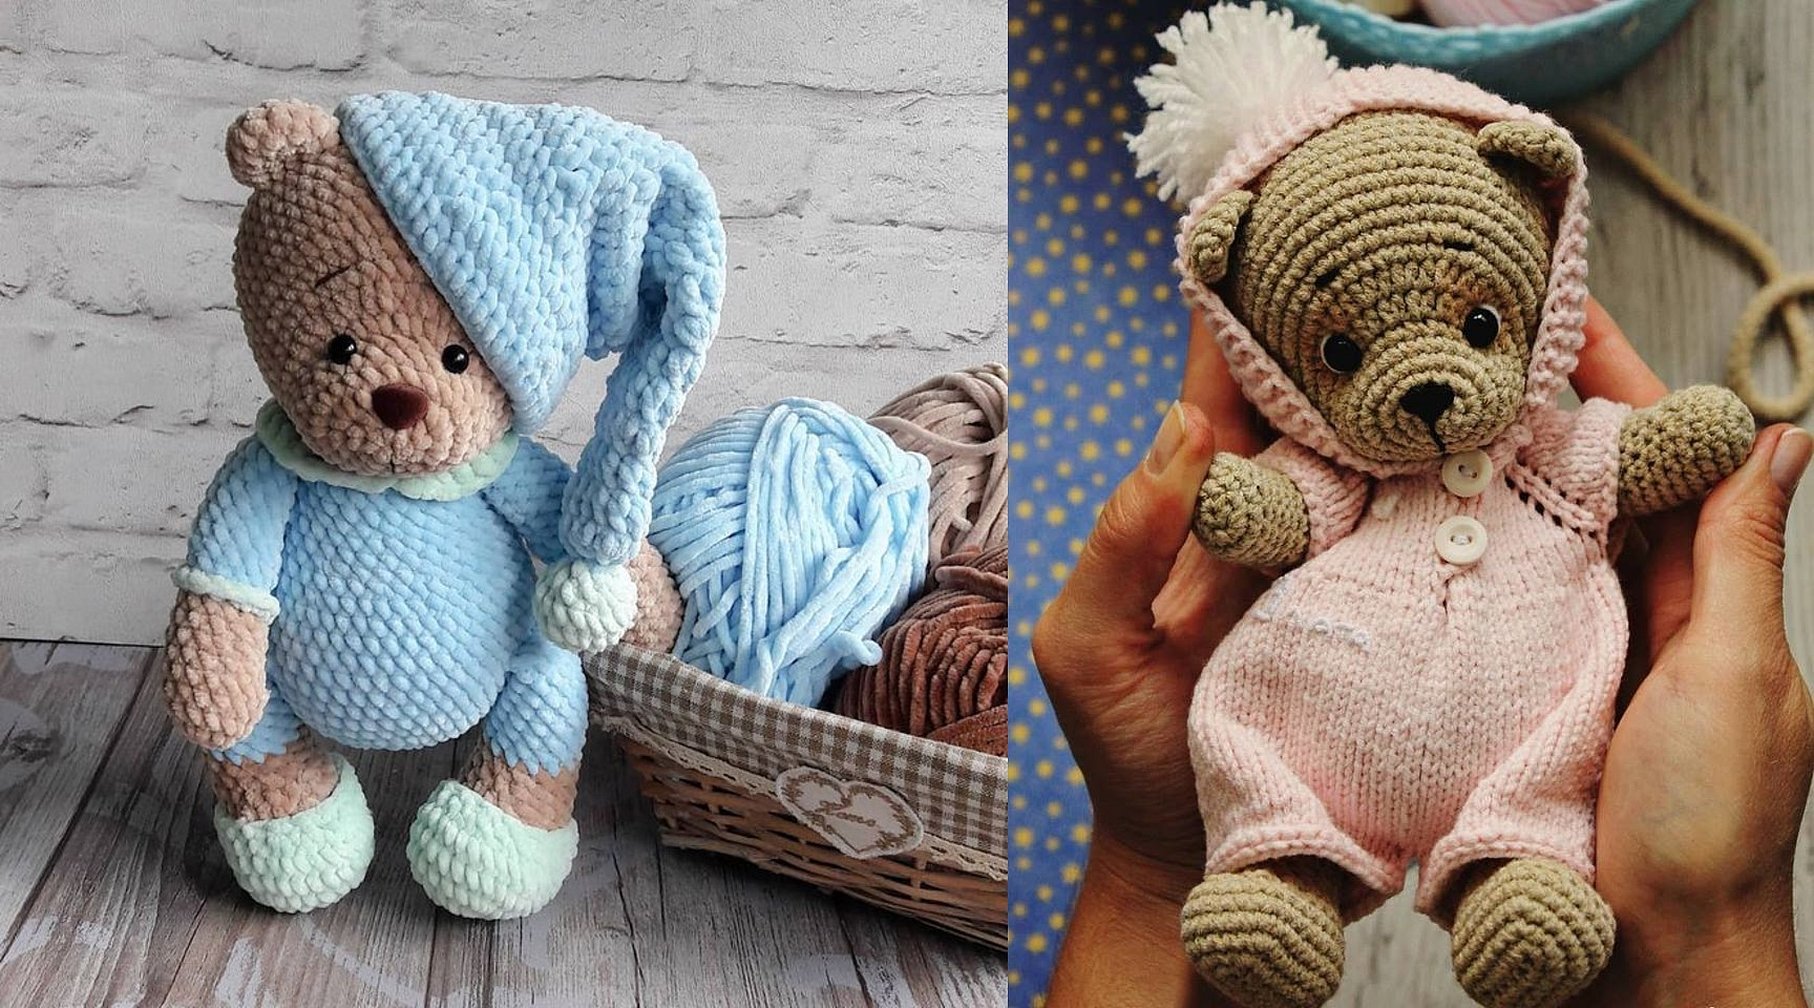
Interior knitted Tildas are made from natural yarn - cotton, bamboo or flax. The thread should be smooth and even, although it is allowed to use plush thread with fine pile. The coloring of the selected threads should be calm, light tones. Bright juicy colors are not suitable for working in this technique.
The diameter of knitting tools is usually selected based on the thickness of the yarn. Yarn manufacturers usually write the parameters of the recommended hooks and knitting needles on the labels for each skein.
In addition to yarn and tools, you will also need filler. You can take any artificial material, such as holofiber or synthetic fluff. Small foam balls or crushed foam rubber are an excellent alternative.

From the finishing accessories for the Tilda costume you can use lace and ribbons, various buttons, beads and seed beads. The toy's head can be decorated with hair made of yarn or artificial strands.
Knitting a Tilda Teddy Bear: A Detailed Knitting Pattern with Description
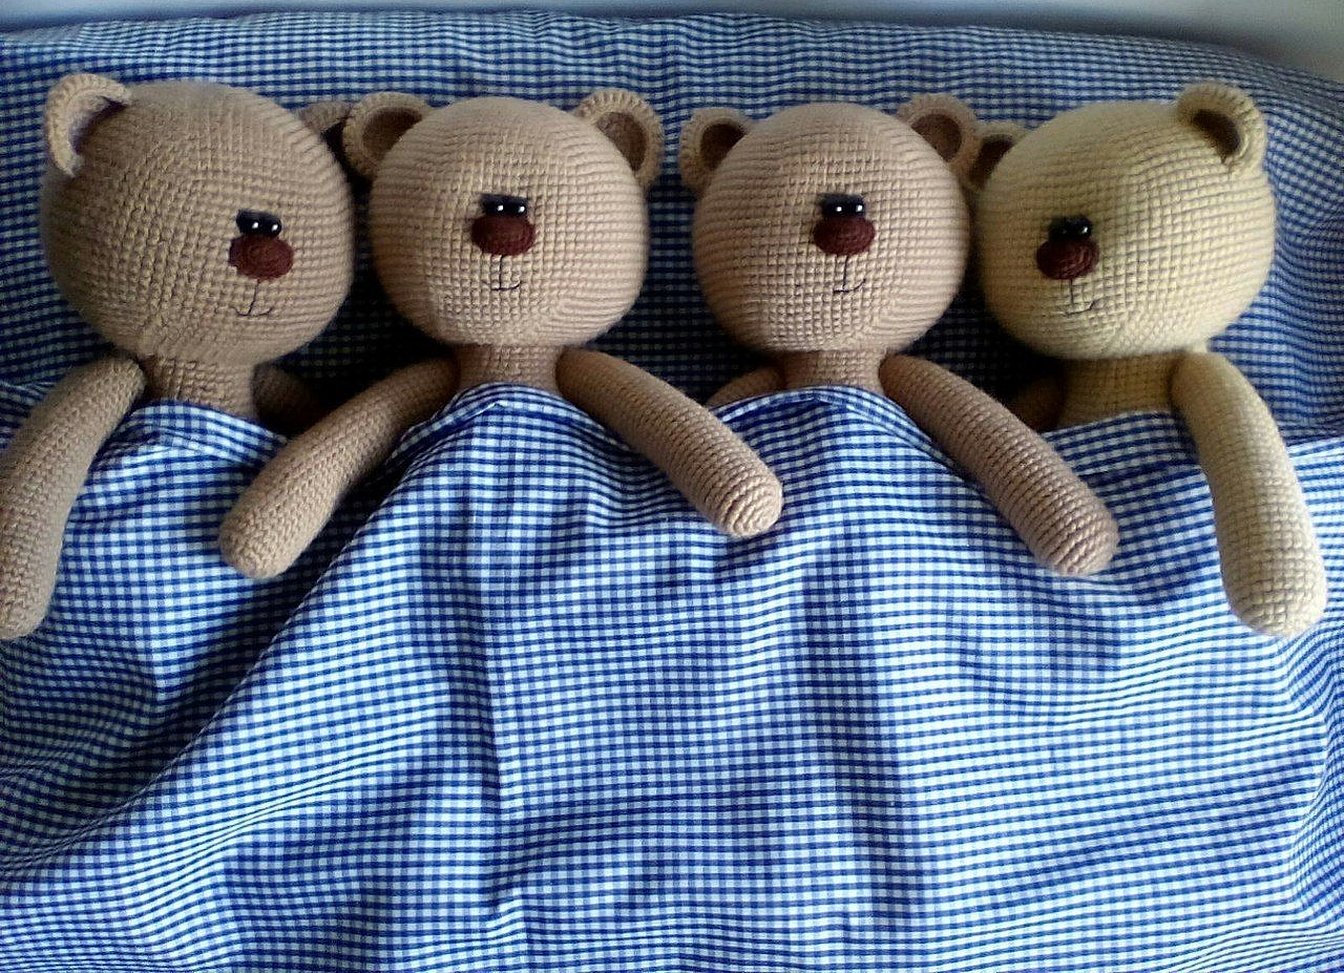
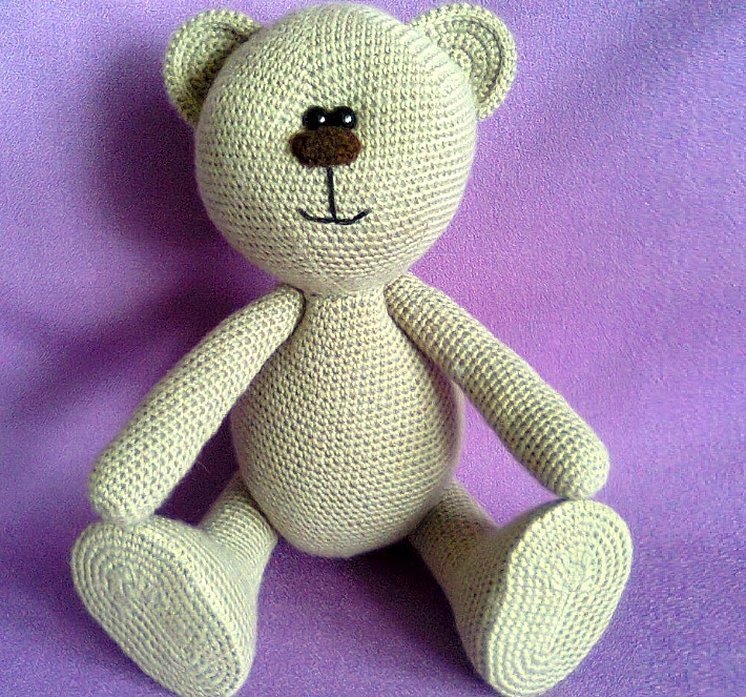
The Tilda teddy bear is not so difficult to make. The toy can be crocheted using a universal pattern that is suitable for most figures created using this technique.
Each detail is worked in a circle, the entire fabric consists of many single crochets. The stuffing is done gradually, as the rows are knitted.
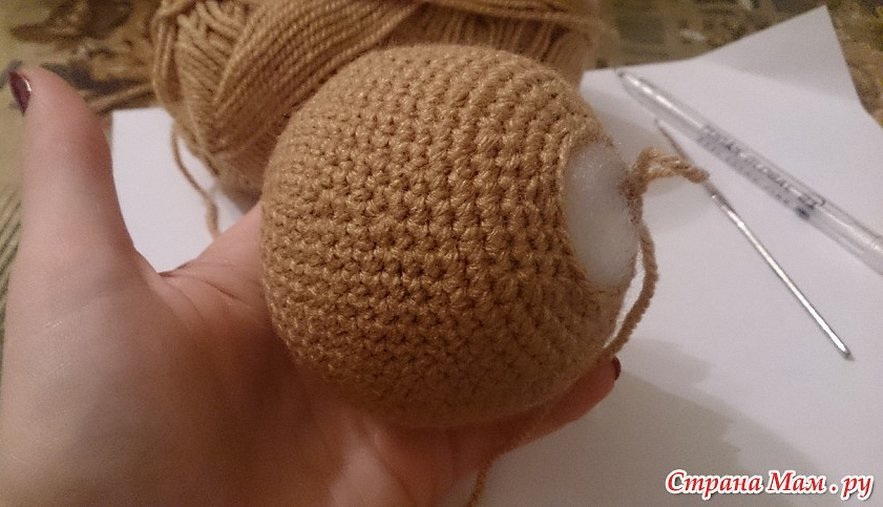
Head
The bear's head is made from top to bottom. Work begins from the crown:
- 0 p. - connect 3 ch into a ring;
- 1 row - 6 st.b/n;
- 2-10 p. - at equal distances make 6V = 60;
- 11-19 p. = 60 st. b/n;
- 20-26 rows - at equal distances make 6A = 18;
- 27-29 rows = 18 st.b/n.
This completes the work on the head. The part is tightly stuffed through the hole in the lower part of the part.
Body
The body from the bottom up towards the neck. The sequence of steps for creating the bear's body is as follows:
- 0 p. - connect 3 ch into a ring;
- 1 row - 6 st.b/n;
- 2-10 p. - at equal distances do 6V = 60;
- 23-26 = 60 st.b/n;
- 27-40 p. - at equal distances do 6A = 18.
Fill the body with stuffing and sew it to the head along the neck line.
Upper limbs
Next, knit the upper legs. The step-by-step execution of the work will be as follows:
- 0 p. - 3 ch close into a ring;
- 1 row - 6 st.b/n;
- 2 p. - at equal distances make 6V = 12;
- 3 rows = 12 st.b/n;
- 4 rows - at equal distances make 6V = 18;
- 5-26 rows = 18 st.b/n;
- 27 p. - at equal distances make 6A = 12;
- 28 rows = 12 st.b/n;
- 29 p. - at equal distances make 6A = 6;
- Row 30 - decrease on all stitches, finishing the foot.
Break the thread, secure it and hide it. Knit the second arm-paw in exactly the same way.
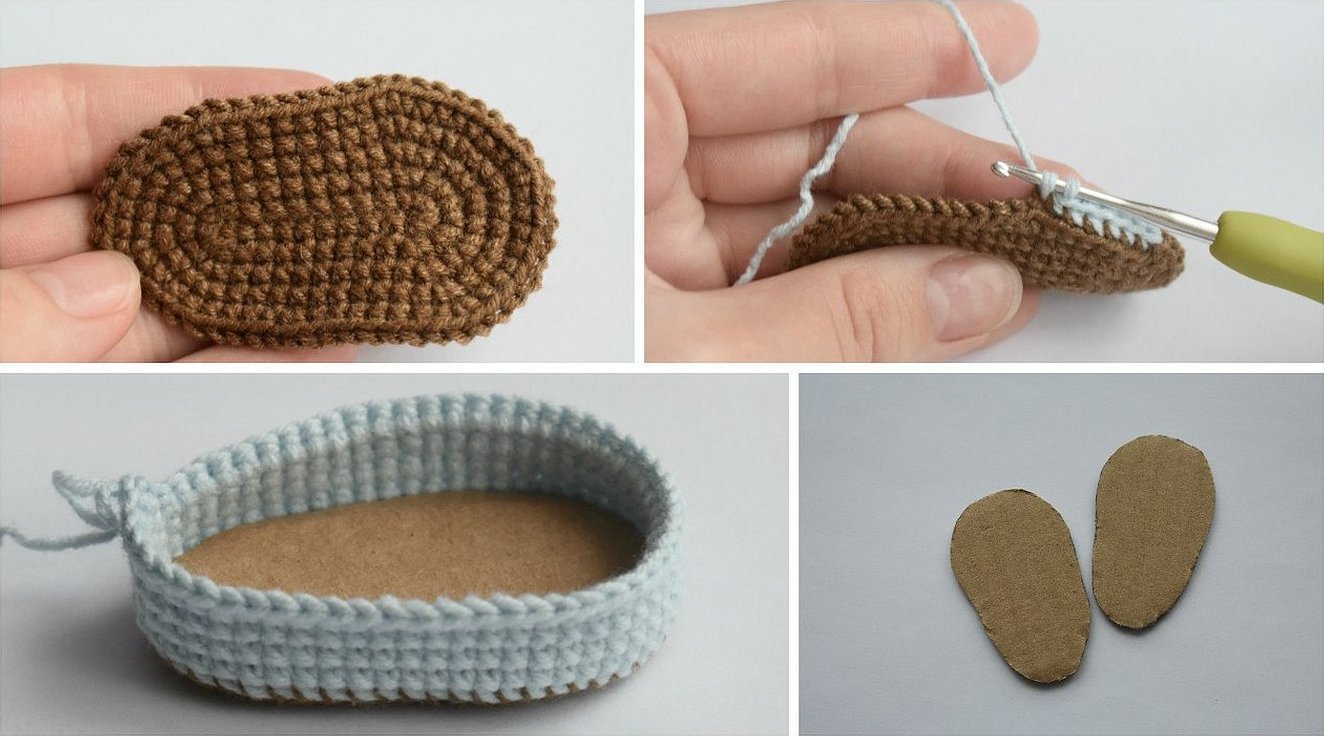
Lower limbs
The feet of the bear are made according to the principle of the soles of booties. First, knit according to the given pattern, and then like this:
- 3 r. - 1 tbsp, 1V, 7 tbsp, (1V + 1 tbsp) * 7, 1V, 6 tbsp, 1V, 1 tbsp = 42.
- 4 rows - at equal distances make 6V = 48;
- 5 p. - at equal distances make 6V = 54;
- 6-8 rows = 54 sc;
- 9-18 p. - above the front part of the foot at equal distances do 3A = 24;
- 19-26 = 24 st.b/n.
- 27-30 - at equal distances do 6V.
Stuff the finished paw-leg as you knit the rows. Make the second lower limb in the same way.
Ears
These parts of the bear's body do not need to be stuffed, but to ensure that they hold their shape well, they are knitted in 2 threads.
The piece itself is a semicircle of double crochets and is knitted in turning rows.
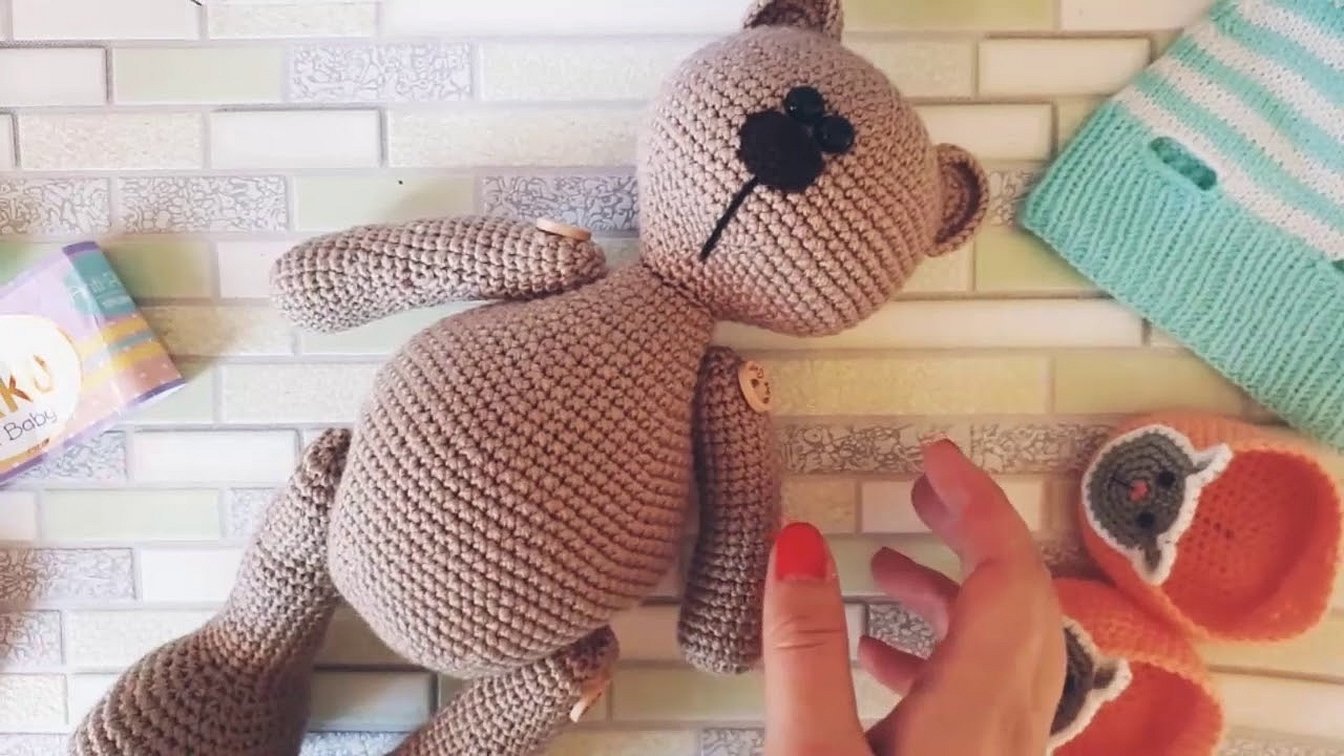
Assembling and decorating the muzzle
Before sewing the parts together, they are pinned together. If the result is satisfactory, then all parts of the body are swept with the same threads that were used to do the work.
The nose can be decorated with simple embroidery, and black beads can be sewn on instead of eyes.
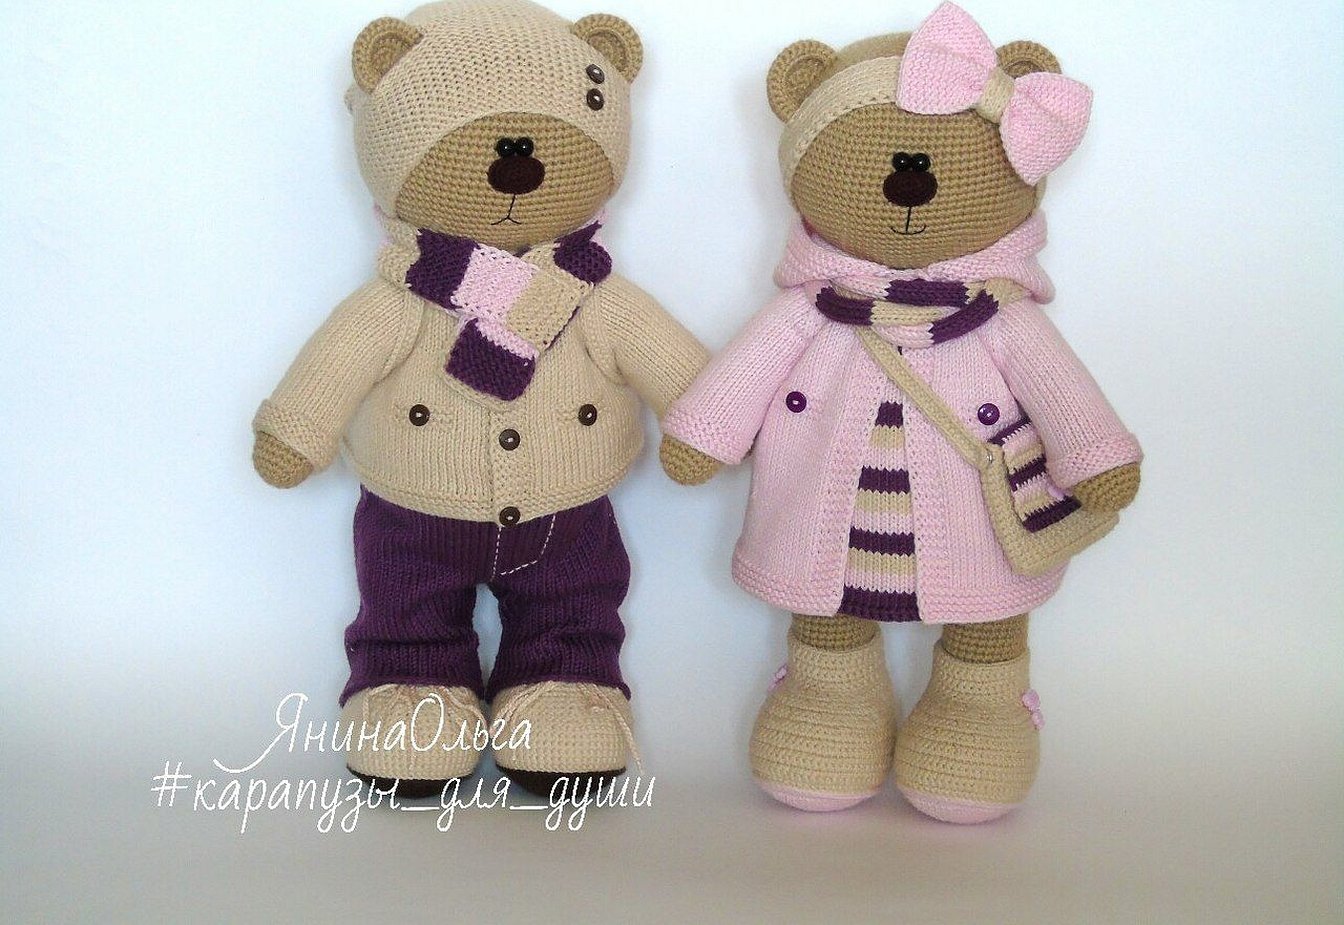
For reference! To give your Tilda bear some originality, you can knit him a dress, a coat or a whole wardrobe.
Knitting master class by Tamara Lashina
The famous toy maker Tamara Lashina offers many paid MK and lessons on making various figurines using the Tilda technique. Among her works you can find a selection of openly available step-by-step video lessons on knitting a teddy bear:
- Creating the head - https://www.youtube.com/watch?v=g8YKMiJDFSg;
- Formation of the body and muzzle - https://www.youtube.com/watch?v=4soqvbjXY90;
- Making the nose and ears - https://www.youtube.com/watch?v=goaVe39JyWA;
- Knitting handles - https://www.youtube.com/watch?v=2aV6vQ9z-ZE;
- Making legs and assembly - https://www.youtube.com/watch?v=91RJDynl8EE.
In addition to instructions on how to make the bear itself, Tamara recorded several videos on how to make a whole set of clothes for it, including a sweatshirt, shoes, and a coat.
Knitted teddy bears will be a great addition to the interior and a wonderful gift not only for children but also for adults. By following the described techniques, you can create a whole collection of such toys.


