There are very few people who are indifferent to animals, especially cats. These are very cute little animals that lift the spirits of their owners. Fluffy pets play or sleep funny, curled up. Their purring has a calming effect on the nervous system. Therefore, images of cats began to appear on household items. Recently, the crochet cat pillow has become the most popular product among children and adults.
Product Description
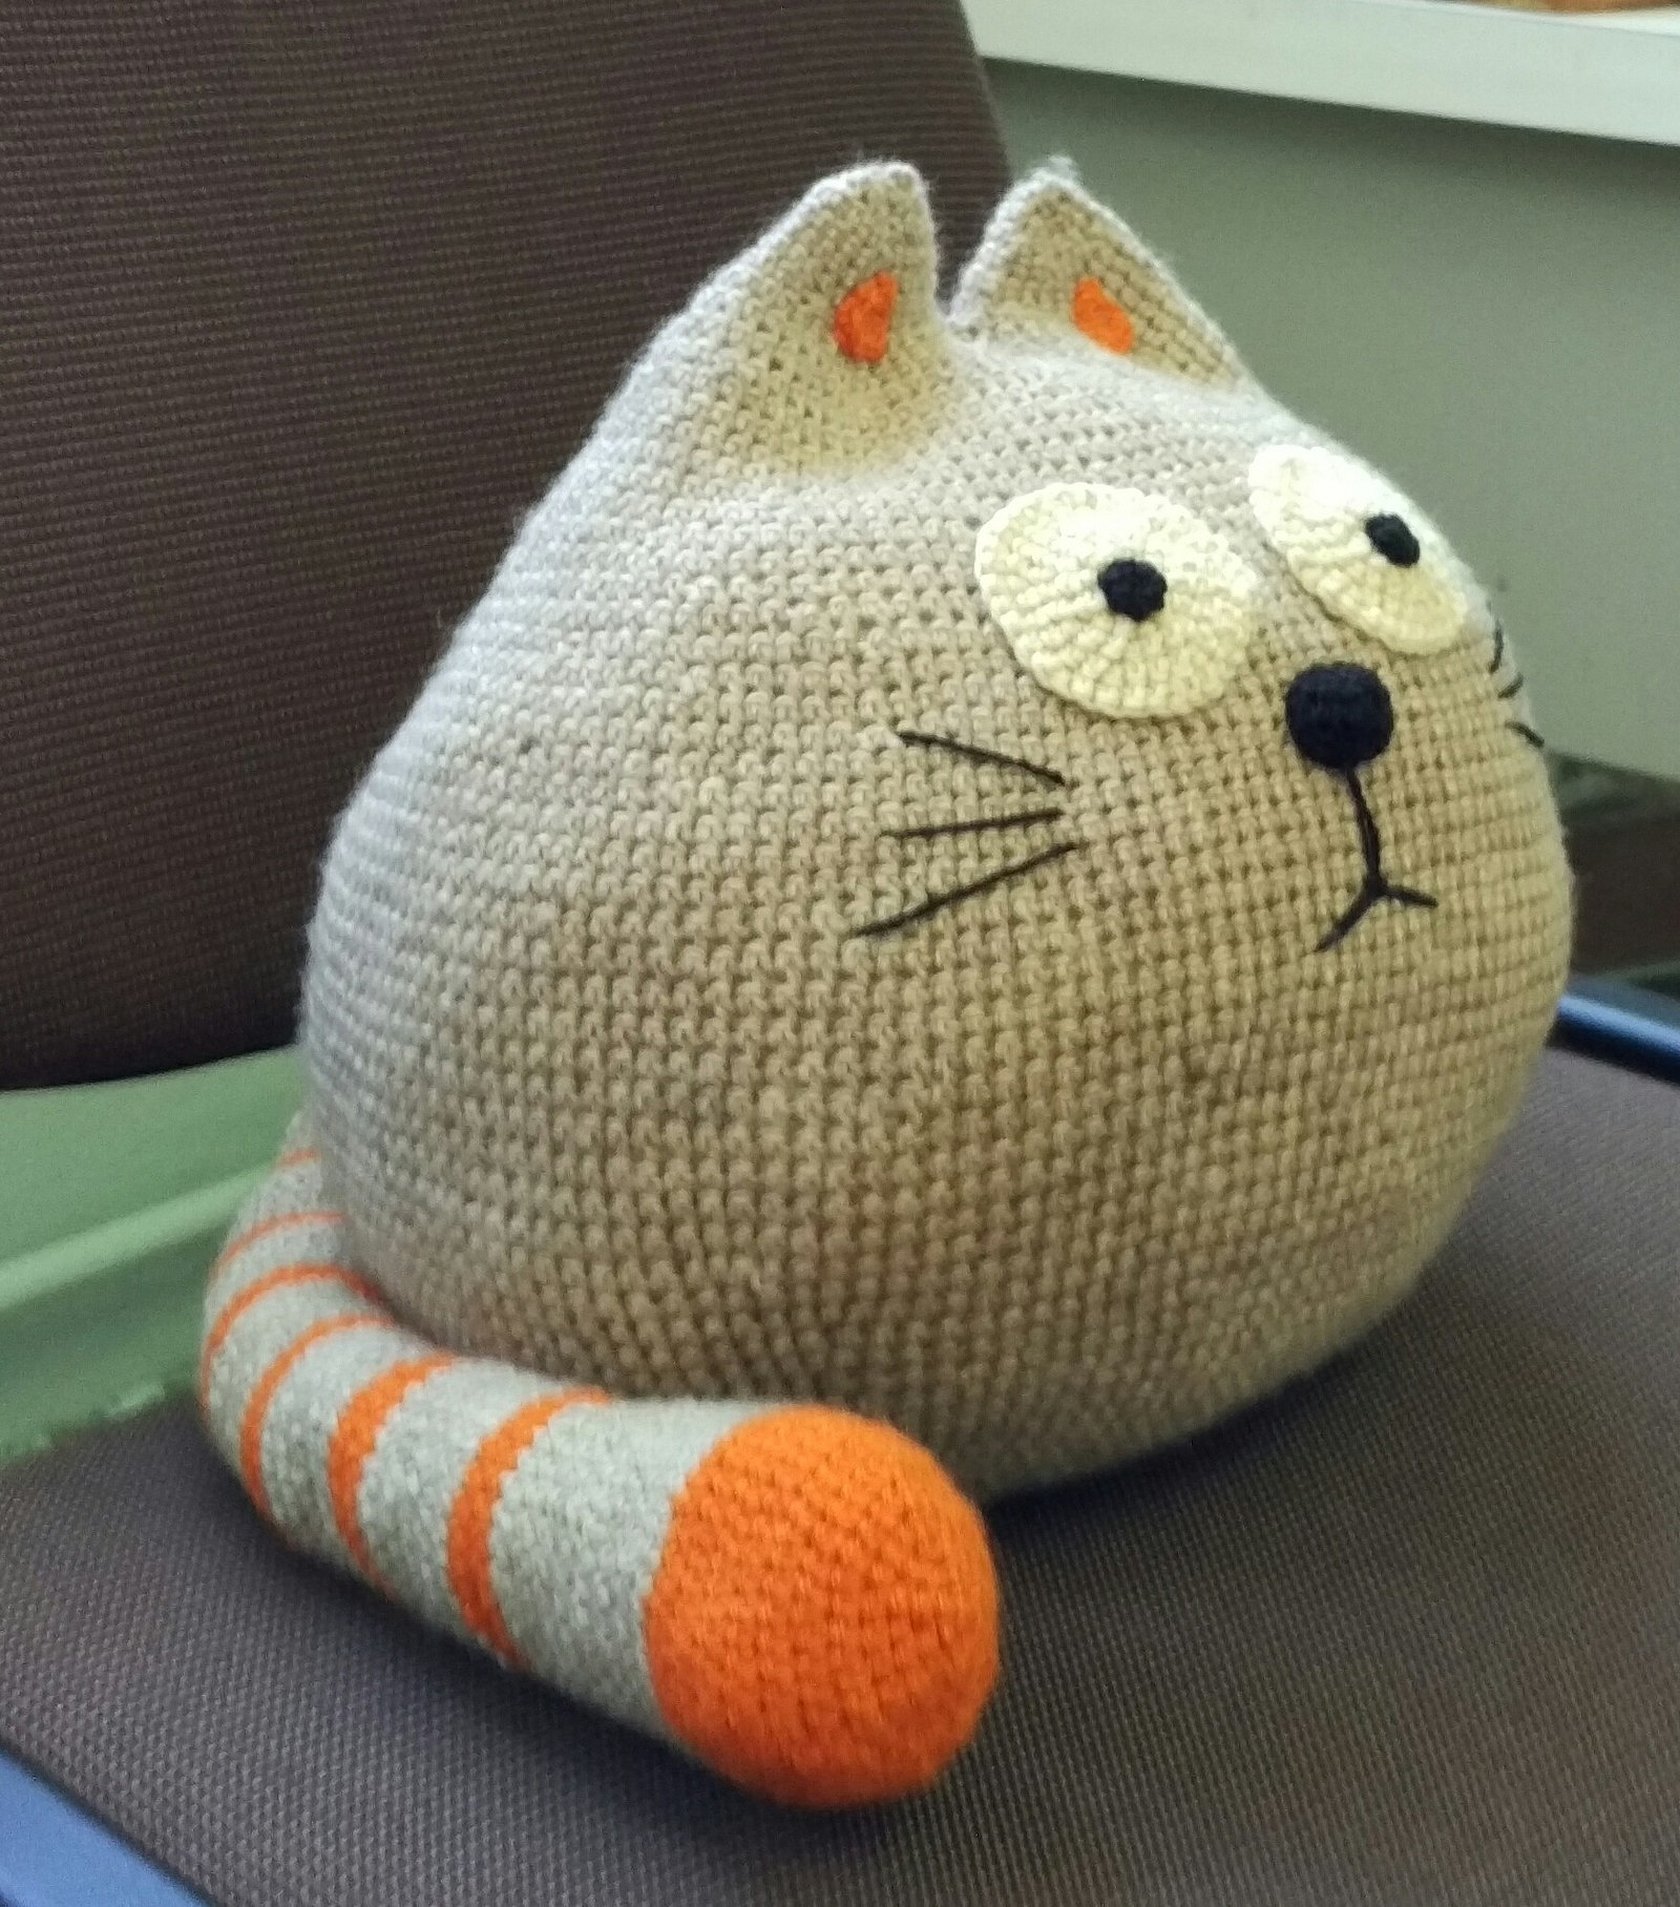
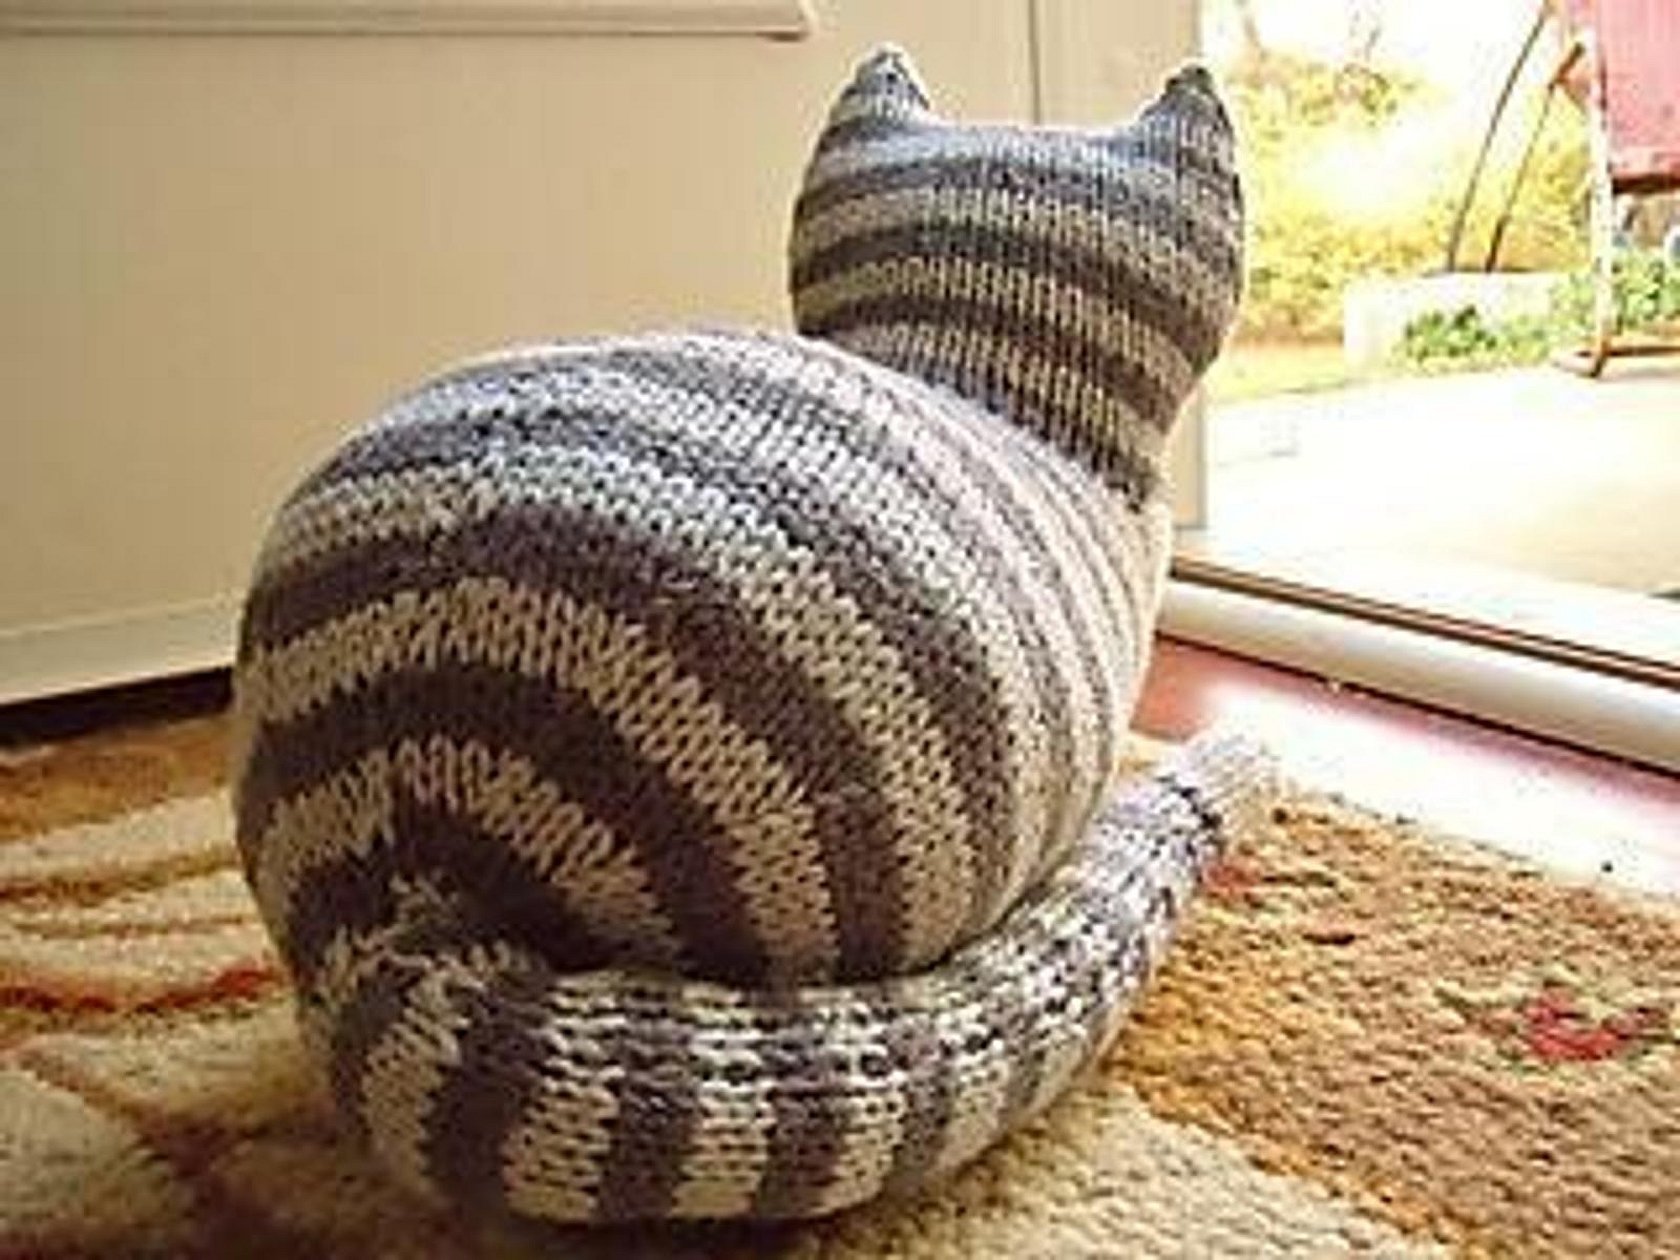
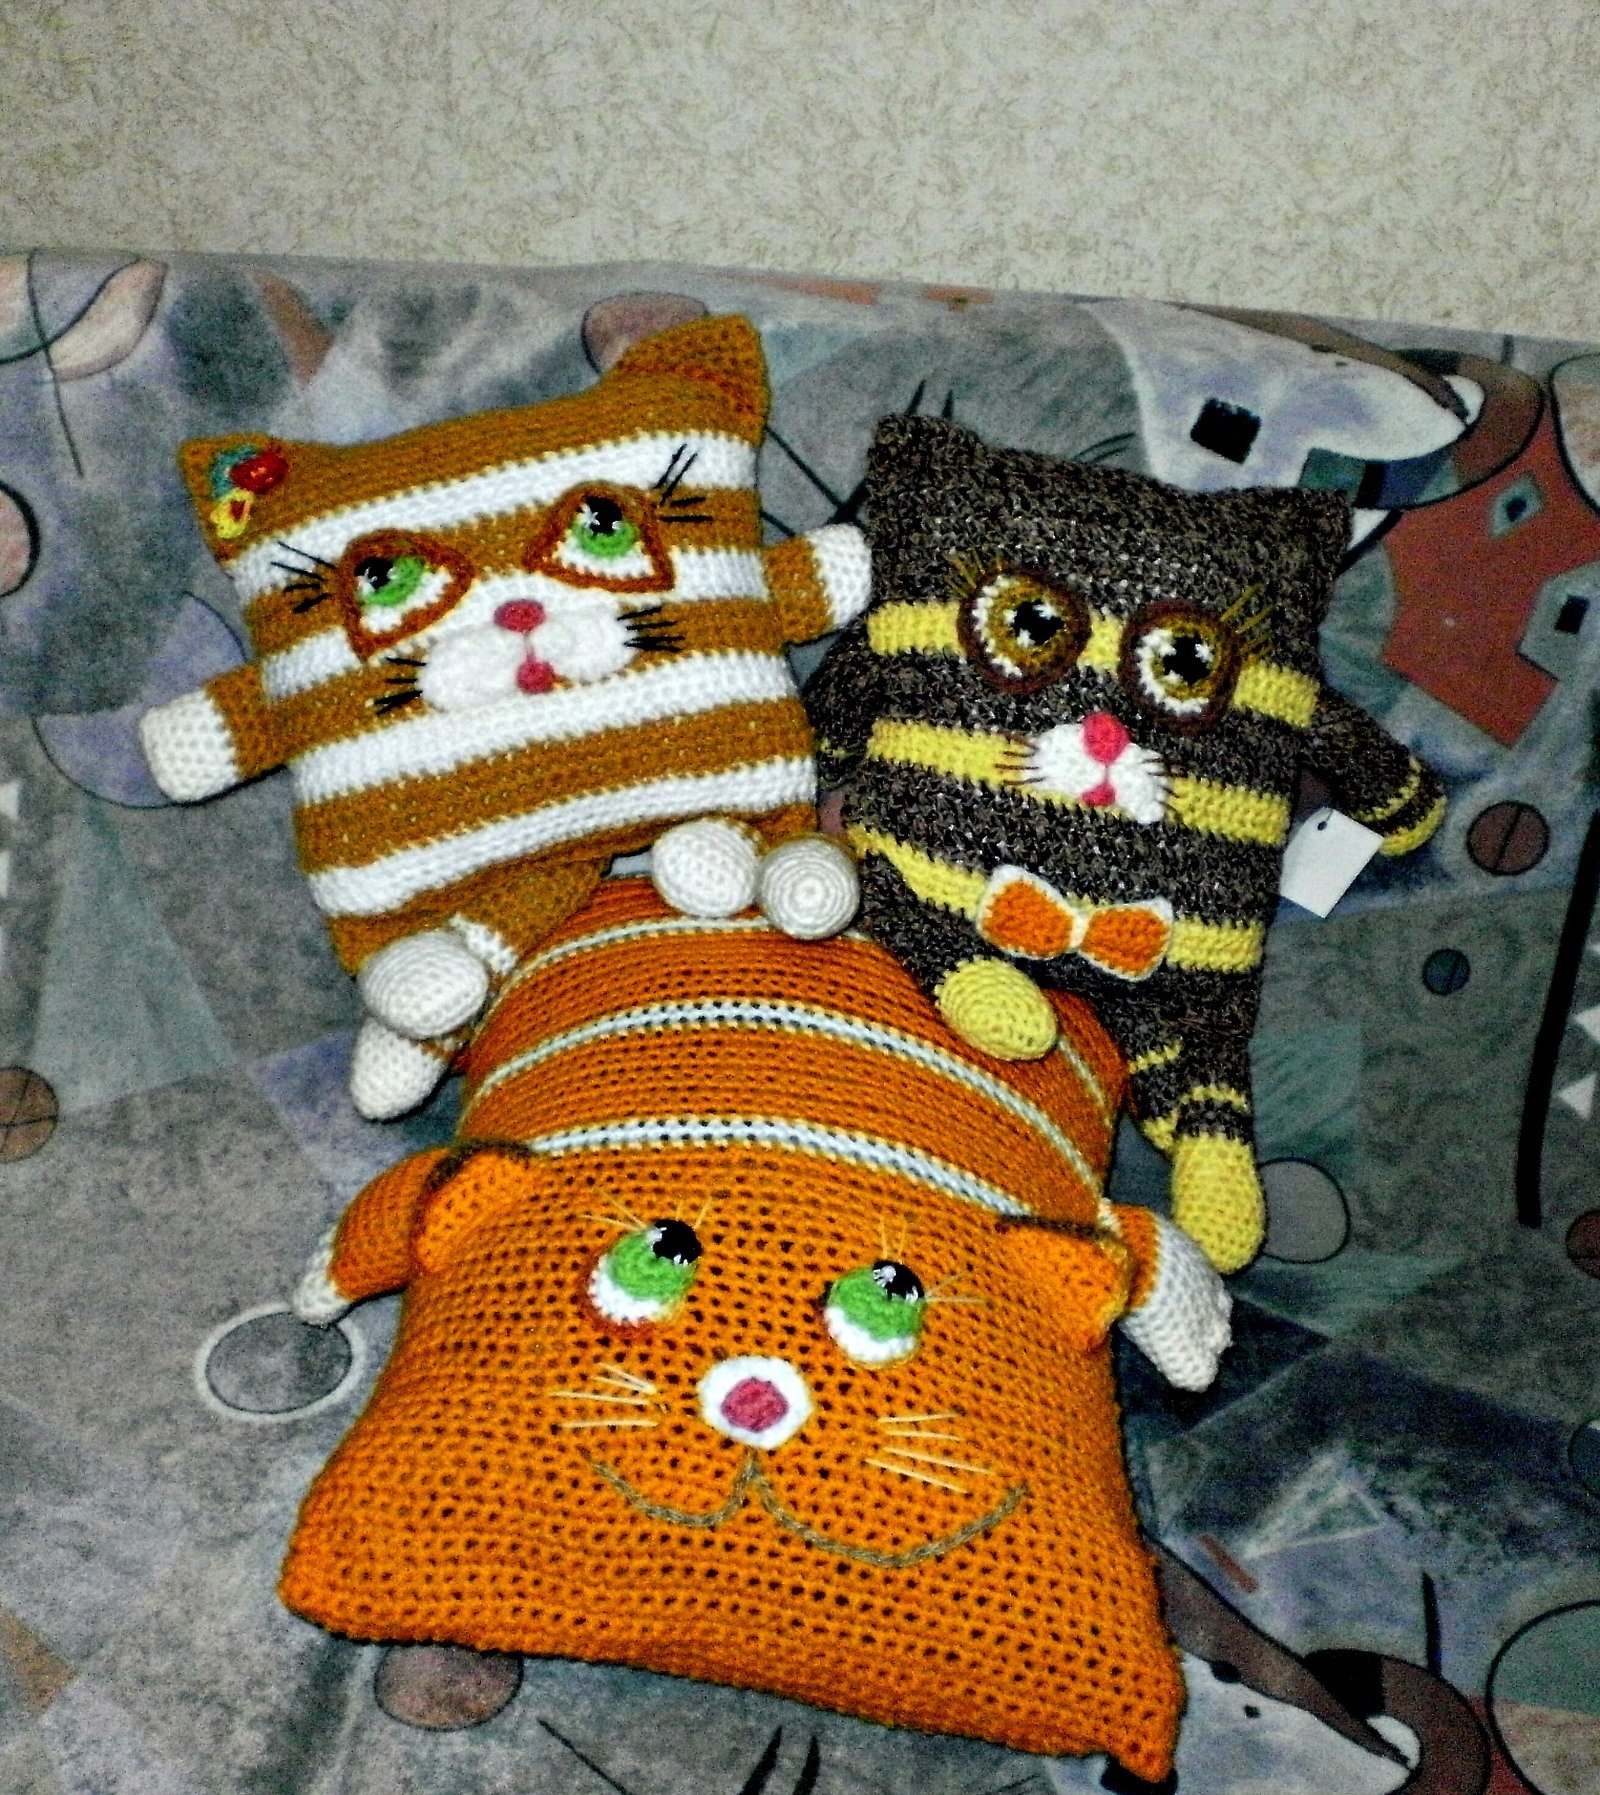
A knitted pillow in the shape of a cat will decorate any interior. The soft to the touch product will gently lull the owner and warm him during sleep.
In addition, such a cat has many advantages. It does not run around the apartment, does not scratch furniture and does not steal food from the table. No one will refuse such a gift.
Knitting a toy will bring a lot of pleasure from the process itself. The work calms the nerves, relaxes and lifts the mood. How to make a cat pillow with a crochet hook, the diagram and description will be given in the article below.
Necessary tools, materials
The knitted cat pillow will be 50x20 centimeters in size. For work, you need to prepare the following materials:
- Velour yarn of several shades: light pink, beige, gray, white, brown, mix.
- Balls made of synthetic material.
- Brown buttons for eyes.
- Brown embroidery threads.
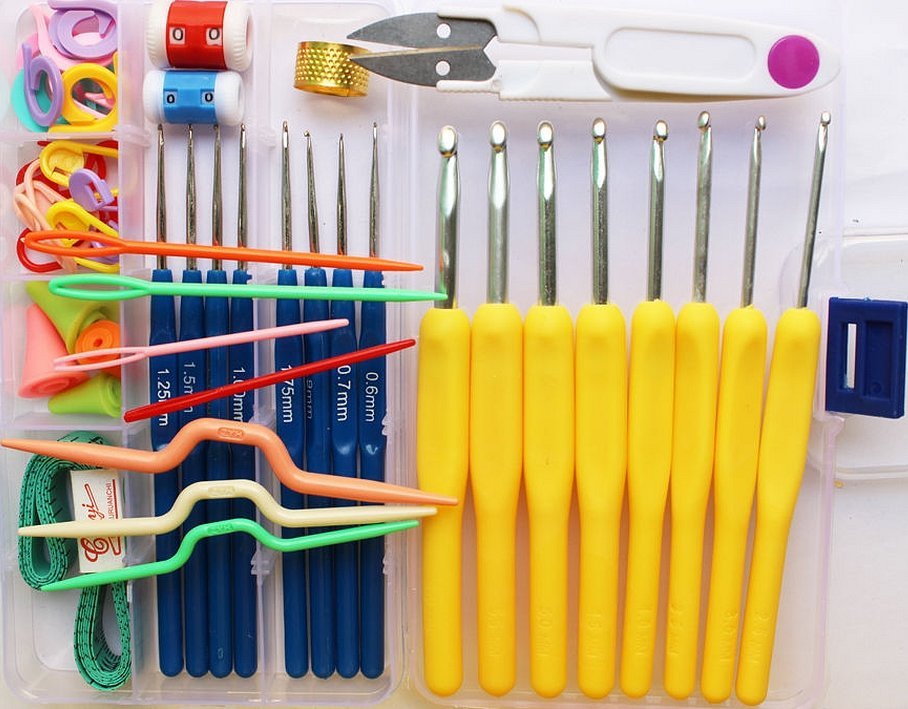
- A set of crochet hooks with a diameter of 3 and 4 millimeters.
- Needle.
- Pins.
- Scissors.
The following abbreviations will be used in the diagram:
- Sbn — single crochet;
- Vp — air loop;
- ps — half column;
- ssn — double crochet;
- R — row.
Master class on knitting a crochet cat pillow
The crochet cat pillow is knitted following the step-by-step instructions. The work begins with making the head of the toy cat.
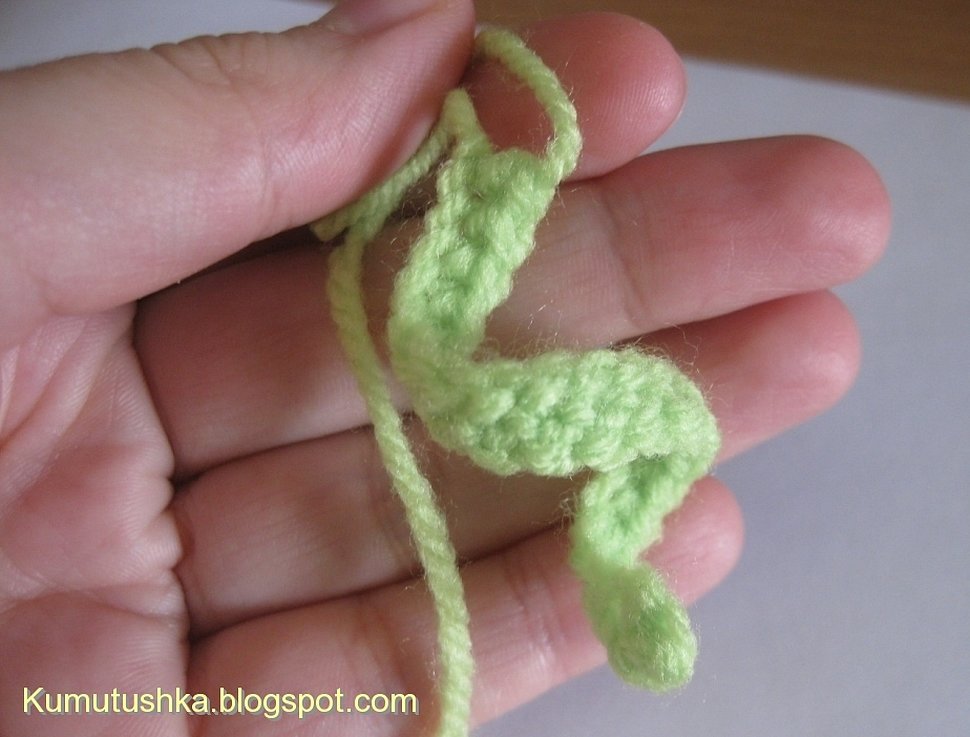
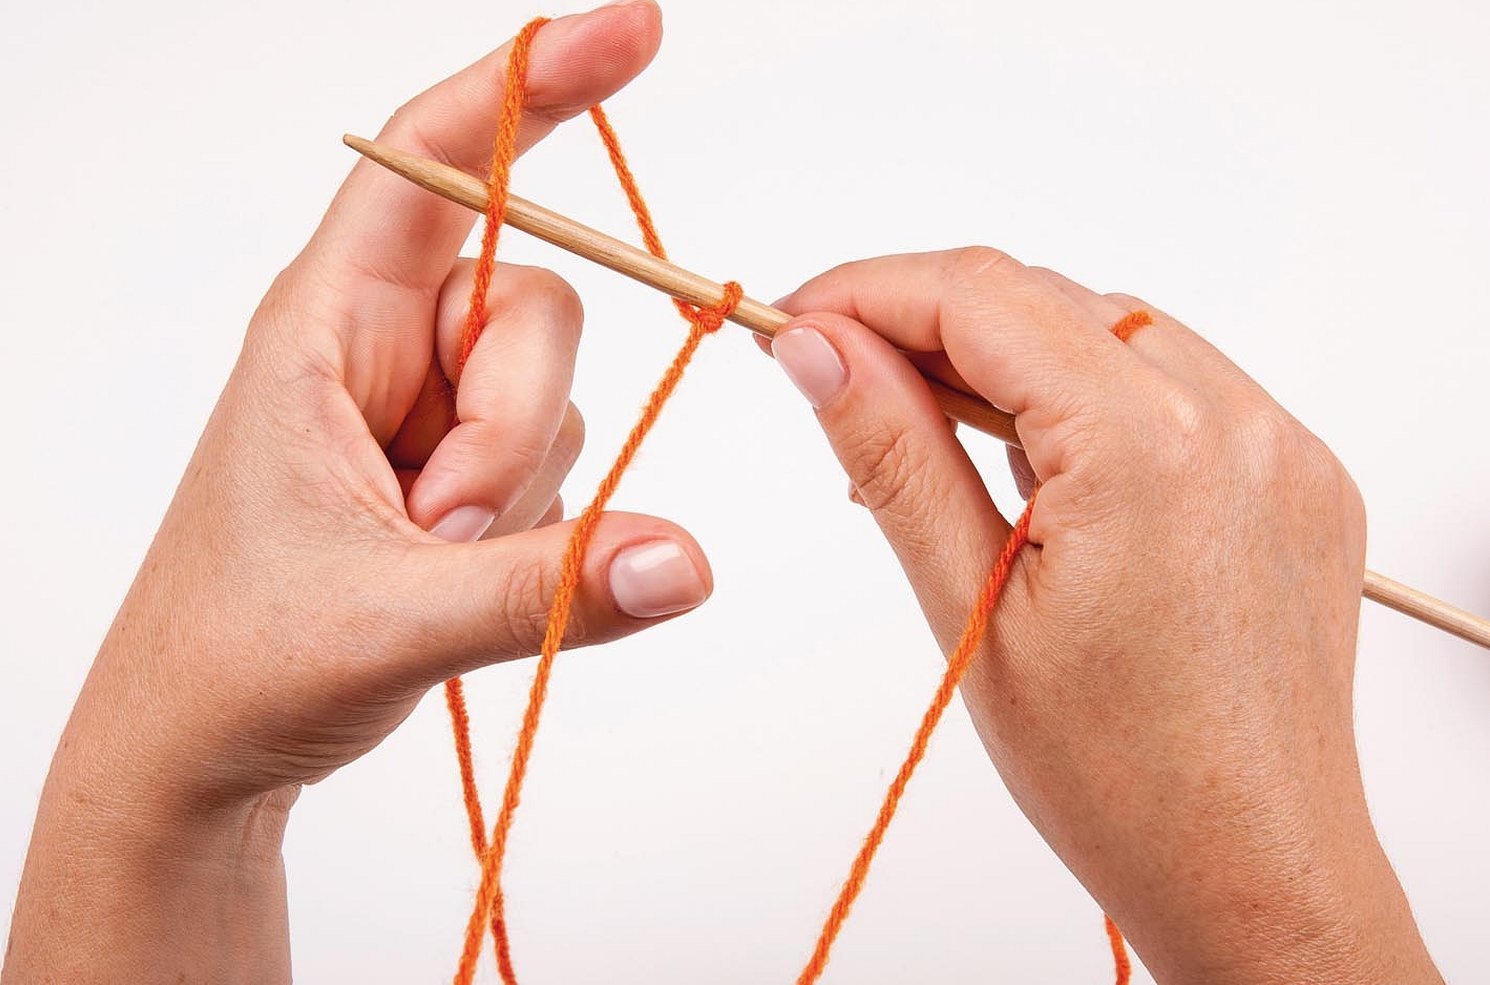
- At the initial stage of work, you need to make a "sliding loop". To do this, you need to use your index finger. The thread is wound around it in two embraces and the hook is inserted under it.
- After this, the working thread is pulled into the center of the formed ring. This operation is repeated once more and the thread is pulled through the formed loop on the hook, thus creating the first Sbn.
- Around the slip stitch, another six Sbn are knitted, after which the loop is completely tightened.
- The head of the cat pillow is knitted in the form of a spiral. Only Sbn are used. In the process of work, you will need to use other color shades, following the recommendations.
Important! Each change in color shade must be accompanied by securing the end of the thread, which must be cut off.
The muzzle is made according to this pattern.
Gray shade:
- 2 R - knit Sbn without skipping a single loop;
- 3 R - knit Sbn, while simultaneously making 2 Sbn through the loop;
- from 4 to 6 R knit 2 Sbn at a time, knitting 2 regular Ssn;
- 7 R - 2 Sbn over 3 regular Ssn;
- 8 R - similar knitting through 4 single Sbn;
- 9 R - knit the same as the previous rows, only through 5 Sbn.
Changing the shade to white:
- With this color you need to knit from 10 to 12 R, making 2 Sbn at a time through 6 single Sbn.
Beige threads:
- from 13 R, knitting in beige begins, now 2 Sbn are knitted every 7 Ssn;
- from 14 to 17 R the increase is done through 8 Sbn;
- 18 R is knitted similarly to the previous ones, but add after 9 Sbn.
Again the color changes to gray:
- starting from 19 R and ending with 22 R, columns are added after 10 Sbn;
- from 23 to 25 R the color changes to a mix, and you need to knit in the same way as the gray rows;
- from 26 to 28 R rows the color palette changes to brown, and the knitting process itself remains unchanged;
- 29 and 31 R are again knitted in a mix of colors using the same pattern;
- The increase is made in the last 32 and 33 R according to the usual pattern, only in white.
At the next stage, the work continues without adding new loops. At the same time, the alternation of the color scheme continues. Only two shades are used - beige and gray.
- from 34 to 43 R the color beige is used;
- 44 - 45 - changes to gray;
- 46 - 55 beige;
- from 56 to 64 columns are knitted in gray;
- 65 - 66 again in beige;
- from 67 to 76 there is a change to gray;
- 77 and 78 are knitted with beige threads.
Balls of synthetic material are used as a pillow filler. They must be distributed over the canvas in such a way that there are no empty spaces or compactions.
After stuffing the pillow, knitting continues. From row 79, use a smaller diameter hook to reduce the fabric of the toy. The yarn should be gray.
Every 5 rows, the number of stitches is reduced by knitting two stitches together. At the end, there should be only one stitch left, in which the thread is fixed, the excess is cut off, and the end is completely hidden.
After finishing the main part of the crochet cat pillow, it's time for the tail. This part is crocheted with gray threads, adding columns according to the following pattern:
- 1 R - in each loop make 2 Sbn at the same time;
- 2 R - 2 Sbn through each Ssn;
- from 3 to 7 R, 2 Sbn are knitted through every 2 Ssn.
The subsequent knitting is done according to the spiral principle, using Sbn for 12 R. After this, there is an alternation of color shades in 2 rows: brown, mix, brown. After which knitting with gray threads continues. It is necessary to knit another 19 rows, after which the loop is closed, fixing and cutting the thread.
Advice! The tail blank also needs to be tightly filled with synthetic material and pulled together a little. Only then sew it to the main part of the pillow.
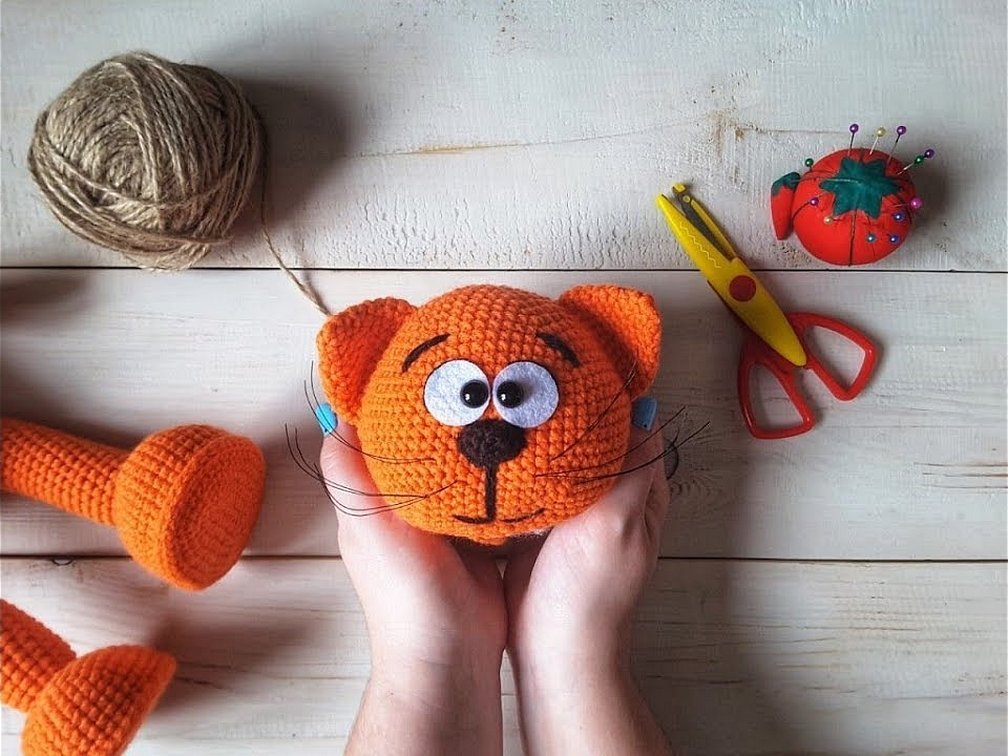
Now it's the turn of the muzzle. This part is made of white plush yarn and starts with an amigurumi ring. To do this, again make a "sliding loop" with the index finger on your hand, in which 6 Sbn are knitted. Then the process follows the spiral principle. 6 R are knitted in each of them, you need to make an increase of 2 Sbn in one loop, through 5 Sbn.
At the next stage, 4 more R are knitted in a spiral, without adding, the last loop is closed, the thread is fixed and the excess is cut off. The muzzle also needs to be filled with balls and sewn to the pillow.
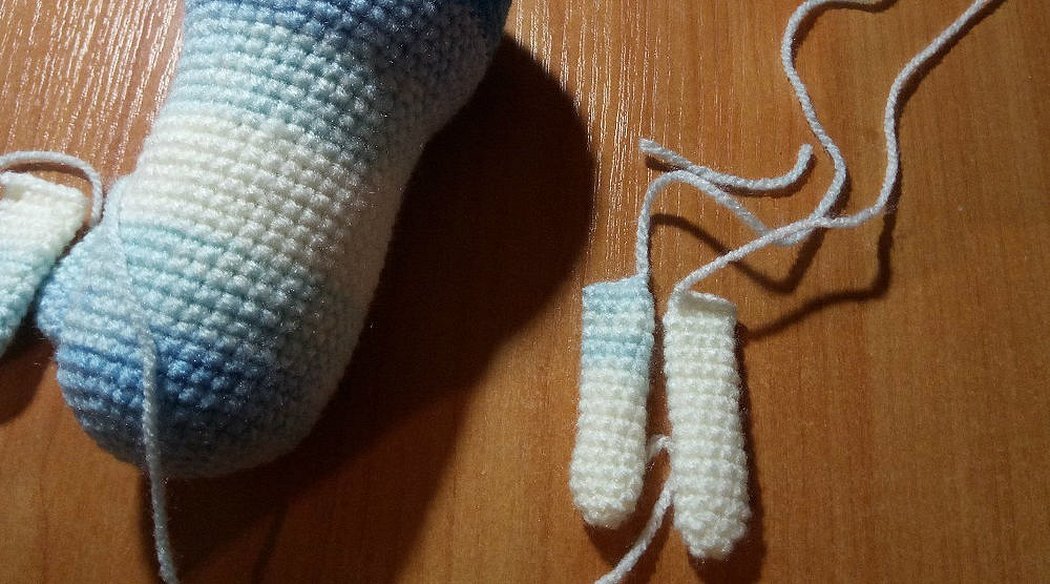
You can't do without the paws, which are knitted from white yarn. Work begins with a set of 5 Vp. After that, you need to knit as follows:
- 1 R - 2 Sbn knit into one loop, 3 Sbn, 2 Sbn into one loop, Vp, 4 Sbn, 3 Sbn into one loop;
- 2 R - 2 Sbn in one loop, 5 Sbn, 2 Sbn in one loop (x2), Vp, 6 Sbn, 2 Sbn in one loop (x2);
- 3 R — Sbn, 2 Sbn in one loop, 5 Sbn, 2 Sbn in one loop, Sbn, 2 Sbn in one loop, Sbn, Vp, 8 Sbn, 2 Sbn in one loop, Sbn, 2 Sbn in one loop.
Then 4 spiral turns are knitted without adding columns. The row is closed and the thread is fixed. The remaining paws are knitted in a similar way. The blanks need to be filled with synthetic down balls and sewn to the main part of the cat.
And the final details are the ears. They will have to be knitted from two parts, one of which is brown, the other is white.
The knitting pattern looks like this:
- From the beginning of the knitting, two Vp are made, after that Sbn;
- 1 R - 3 Vp for lifting, 5 Ssn in one loop;
- 2 R - 3 Vp for lifting, 2 Ssn in one loop, ps, Sbn, ps, 3 Ssn in one loop;
- 3 R - 3 Vp for lifting, 8 Ssn, 2 Ssn in one loop;
- 4 R - 3 Vp for lifting, 2 Ssn in one loop, 3 ps, 3 Sbn, 3 ps, 3 Ssn in one loop.
The white part remains knitted according to this pattern. The brown part of the detail must be knitted with 9 Sbn on both sides in two rows. Both parts of the ear are sewn together and sewn to the pillow.
You need to embroider fingers and claws on the paws. After that, improvised eyes are sewn on above the muzzle and a nose is made. It can be embroidered on the muzzle or knitted separately, using a simple pattern of air loops and double crochets. After that, sew it in place. Whiskers are made from embroidery threads. The cat is ready. It can be placed on a sofa or in a chair to decorate the interior.
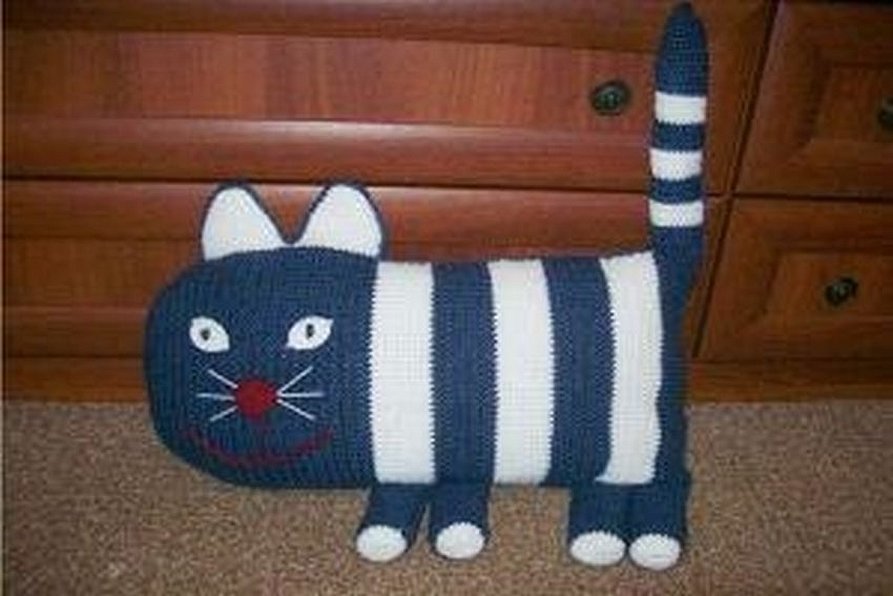
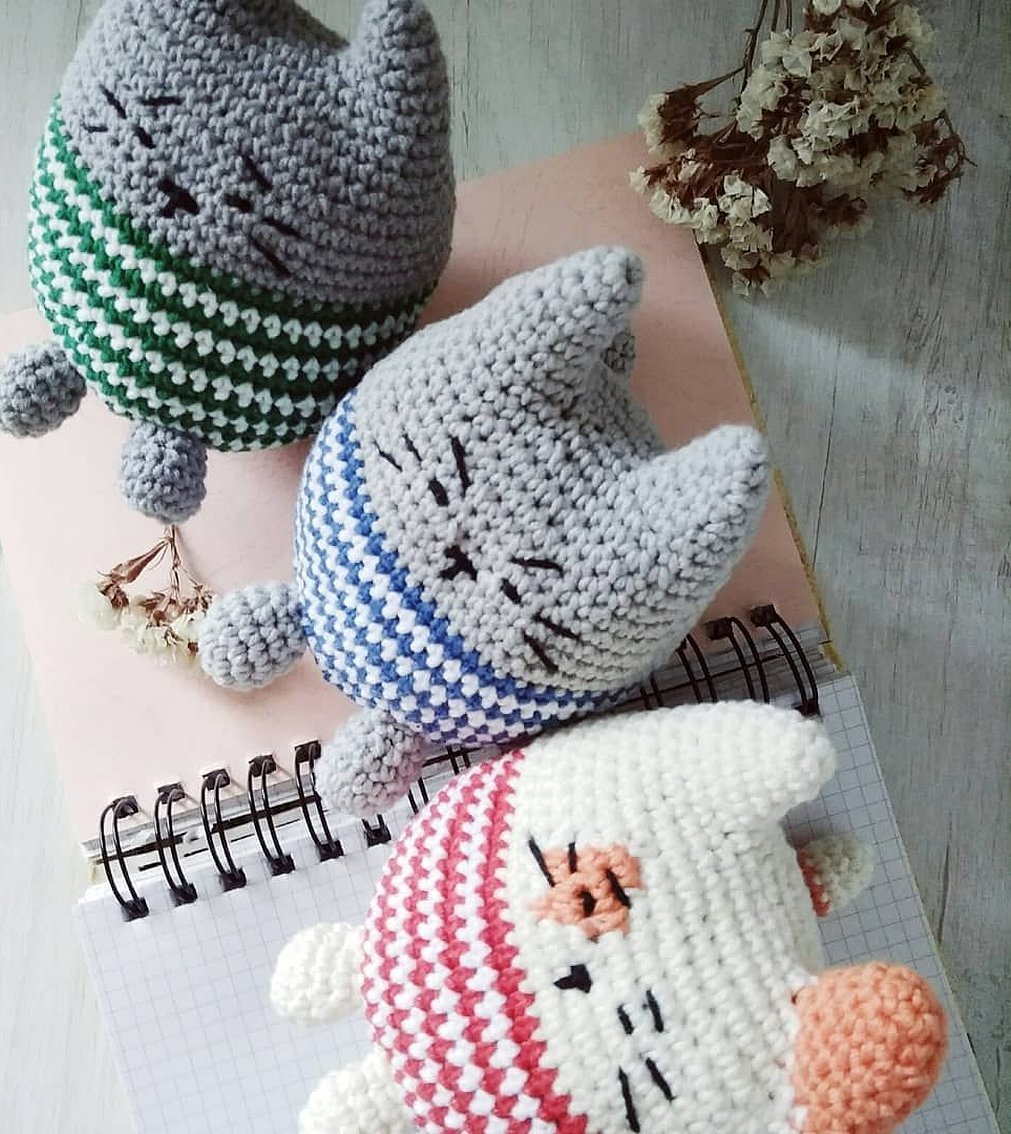
Master class on knitting a cat pillow with knitting needles
A pillow like this can be knitted not only with a crochet hook, but also with knitting needles. A master class on this type of work is presented below.
First of all, prepare the necessary materials for work. You will need:
- blue and white threads,
- knitting needles No. 3,
- synthetic fluff,
- Brown buttons for eyes.
In order to obtain a smooth surface from the front loops, it is necessary to knit only front loops on the front side, and only back loops on the back side.
To make the body, you will need to cast on 36 stitches and knit them with face stitches to a height of 5 R. In 6 R, two stitches are knitted from one and the other edge. The remaining number of stitches are knitted three more times and in 10 R, a similar decrease is made again. Up to 17 R, knitting is done with the front surface and again in 18 R, stitches are decreased. The following rows are again knitted without changes, and in 26 R, 2 stitches are again knitted along the edges. Up to 33 R, the work is done according to the usual pattern and only in 34 are the outer stitches removed again.
It's time for the ears. They need to be done one by one. For one piece, take only 10 loops, which are knitted with a purl row. From the second R, the decrease begins, which is repeated in each paired front row. In the last 13 R, the last two loops are knitted together.
Attention! For the second ear the knitting process will be similar.
The paws for such a pillow will have to be knitted separately. For the lower paws, you will need to make a row of 32 loops. 5 rows in a row are knitted in the main method of the front surface. From 6 to 22 R in each purl row, loops are reduced. This is done along the edges and in the middle of the fabric. 23 R will be the final one and therefore it must be closed. The thread is fixed and the necessary length is left for sewing the part. The second paw is made in a similar way.
For the front paws, a row of 28 loops is cast on. The beginning of knitting is done according to the same principle as the lower limbs. In each purl row, starting with 6, the number of loops decreases. In this way, you will have to knit up to 17 R. 18 R is the final one, so the loops are closed, the thread is secured and the required amount is left for assembling the parts.
For the tail, you will need only 26 loops, which are knitted without any changes when using the stocking stitch to a height of 7 R. Starting with 8 R from the wrong side, decrease three loops per row. You need to knit 34 R, then close the loops and secure the thread tightly.
Important! The parts need to be sewn from the inside out so that the seam is not visible later.
The part is turned inside out and tightly stuffed with filler. Then the paws are sewn to the body, strictly observing symmetry both in height and in distance from each other. Buttons are sewn onto the cat's head, which will function as eyes. The nose and whiskers are embroidered with embroidery threads.
The nose of the cat pillow can be knitted and sewn to the muzzle, or you can use a button or a ready-made part.
The cat's mouth is embroidered and improvised whiskers are made.
The toes and claws are embroidered on the paws. The toes can be crocheted. The following pattern is suitable for this:
Along the edge of the paw, 14 loops are cast on, in which 14 Sbn are knitted. In 2 R, Sbn is made, 2 Sbn in one loop, ps. Thus, the knitting must be repeated three times. The paws will turn out very beautiful.
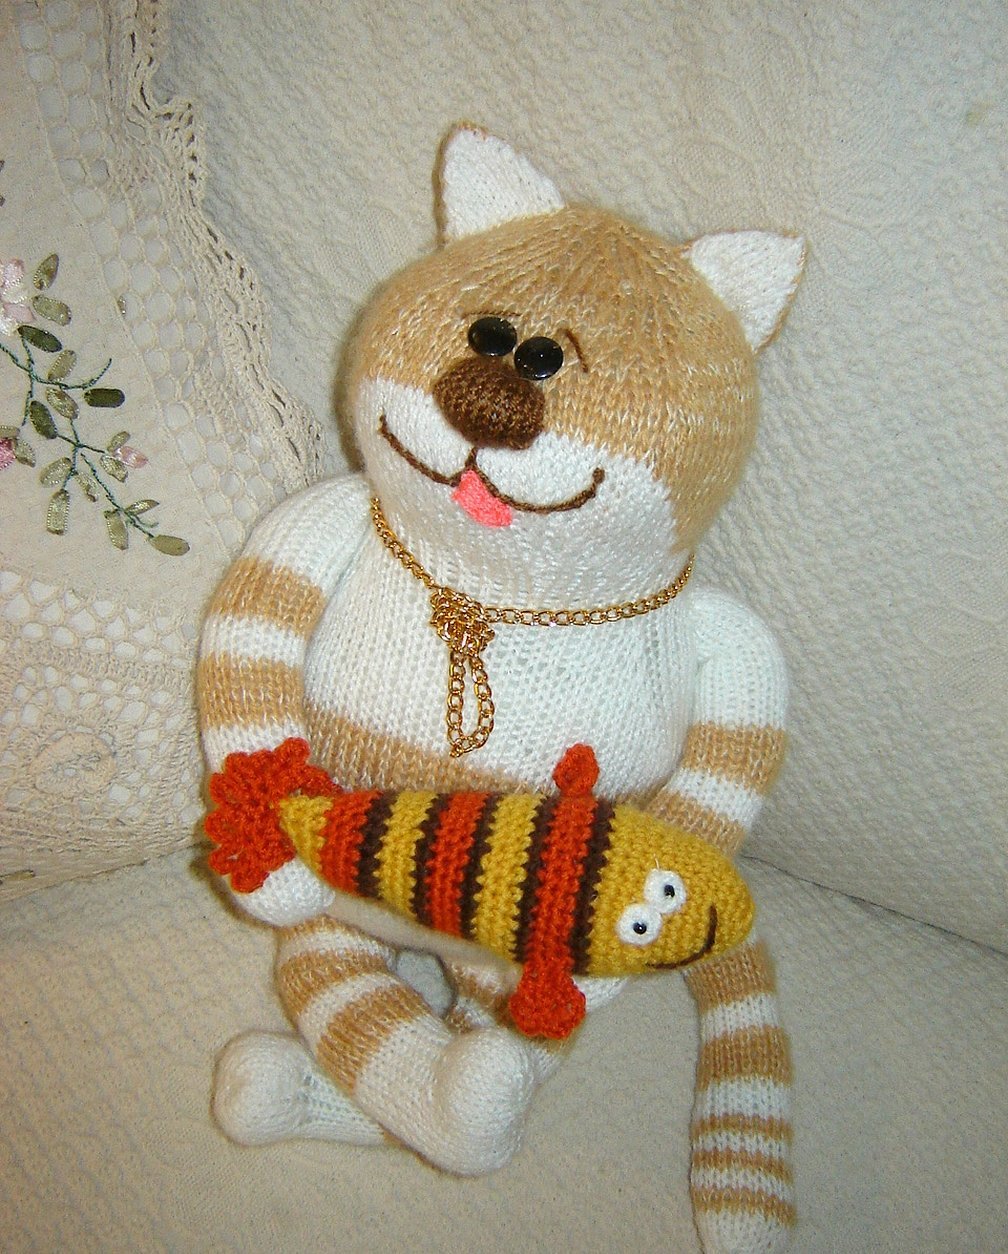
Advice! For the pillow, you can knit a fish or a mouse. Also, additional accessories are embroidered on the cat's body, which will be square.
Thanks to the master class, any girl or woman can handle such work, even if she has no skills in needlework. The main thing is to learn how to read the pattern and choose a convenient tool for yourself, since some people find it more convenient to crochet, and others - knitting needles. Little children love a pillow in the shape of a cat. They like to sleep on such unusual things, especially if the product is made of plush yarn, which is gentle and soft to the touch. The baby's sleep will be calm and sound.


