There are a huge number of master classes on creating both simple toys and real masterpieces. Crafts can be made from paper, fabric, threads, wood and other materials. Felt occupies a special place in this list. To create a craft, you can use a template, or you can show your imagination and create something of your own. Felt toys can be purely decorative, or they can be functional.
Benefits of Felt
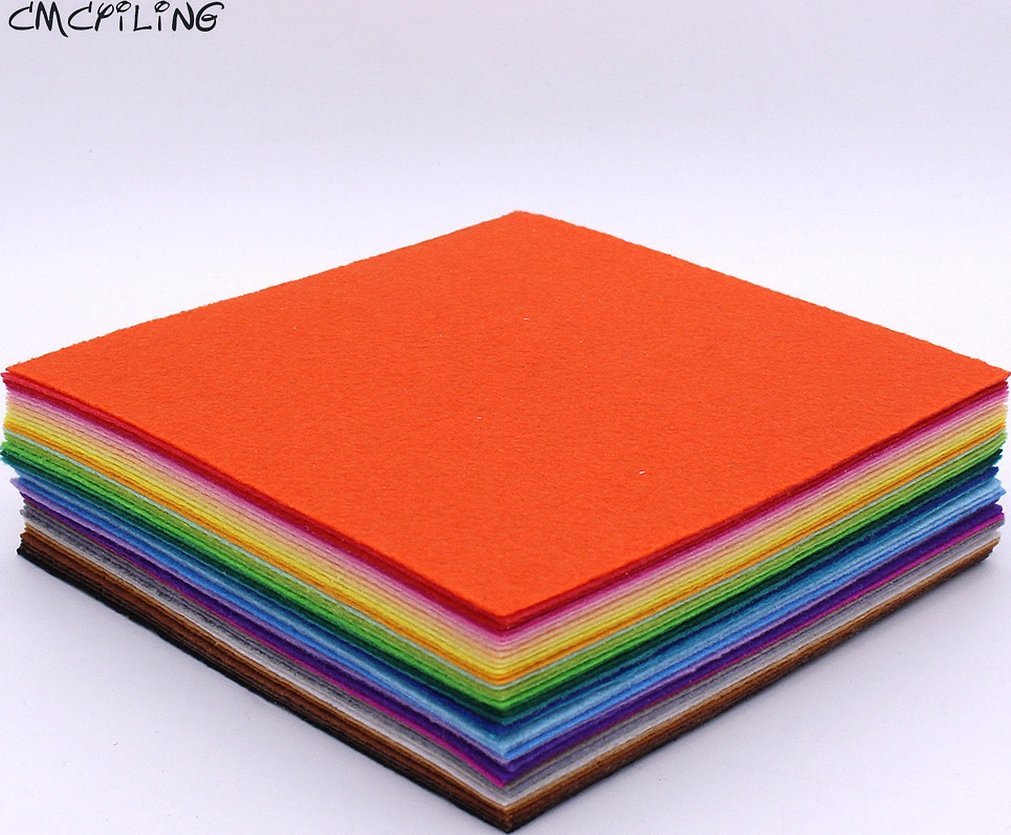
Most often, experienced needlewomen recommend using felt as the material to start your creative journey with. It is very pliable, withstands washing well and practically does not fade. And its softness will be “to the taste” of both adults and children.
There is a huge range of this material in handicraft stores. The fabric varies in thickness (from 1 to 5 cm), size and is presented in a wide range of colors. The initial density of felt allows you to create even detailed products. The material can take almost any shape, so it is loved by craftswomen who sew voluminous toys and even entire compositions. Another quality of felt is that it can be fluffed, and it will retain this state for a long period. Most often, the fluffing technique is used to make voluminous products.
Note! When working with this material, paper stencils are often used, which are prepared in advance by hand or printed out. They serve as a kind of pattern, making it easier to cut out the figure.
Tools and materials required for work
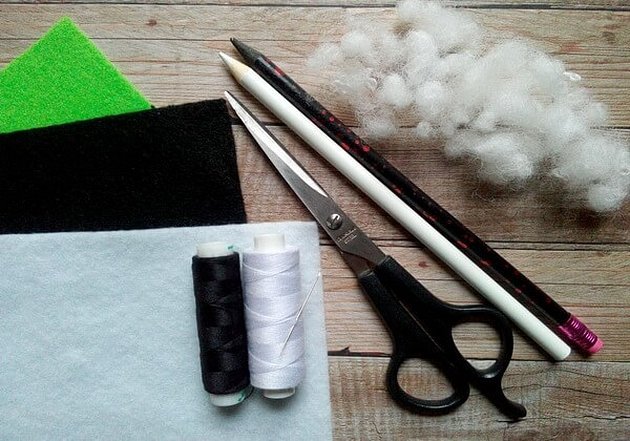
Since creating felt toys involves sewing, you need to prepare the following tools and materials in advance:
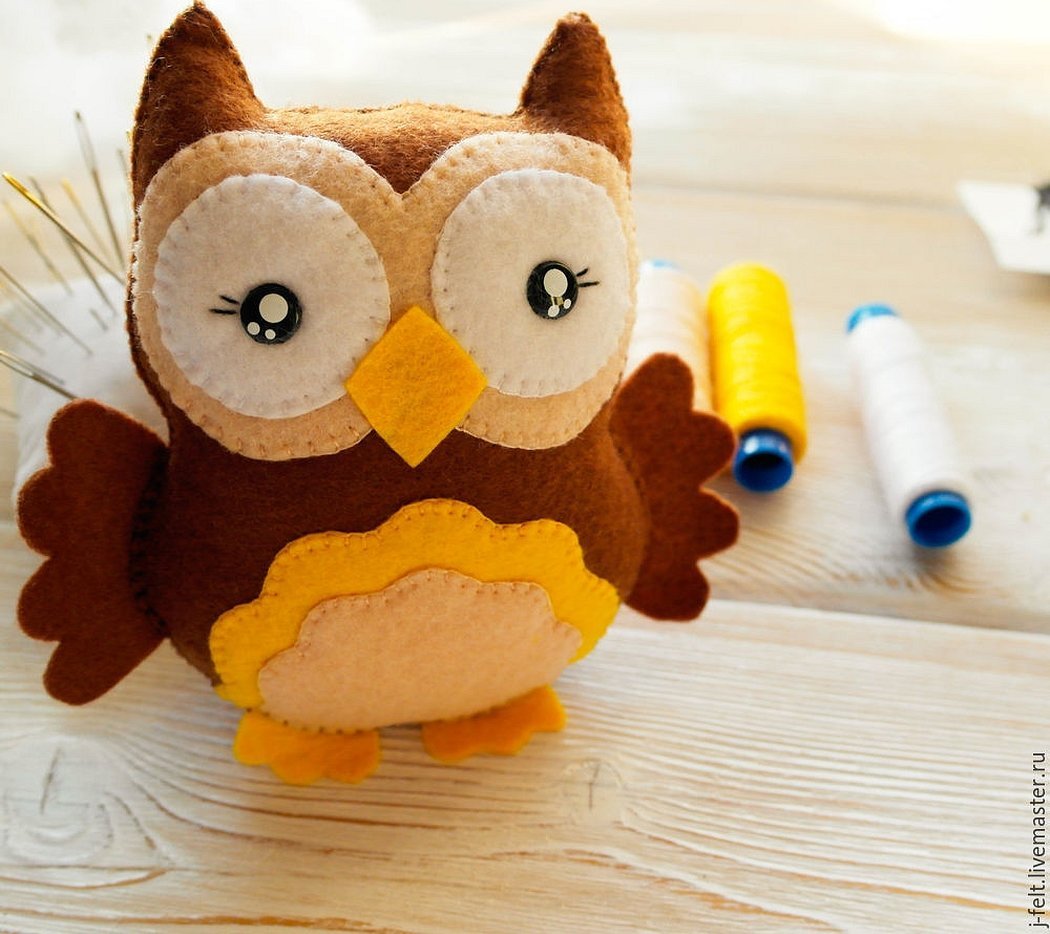
- Felt of the required colors. The larger the color palette, the brighter and more interesting the owl will be from this material.
- Sharp scissors.
- Mouline threads of various colors.
- Needles of different sizes, preferably for different fabrics.
- Materials for making eyes (optional).
- Filler. In principle, absolutely any will do: cotton wool, synthetic padding, pieces of fabric.
- Glue. It is best to use super or hot glue.
Please note! Joint creativity with a child requires caution and attentiveness.
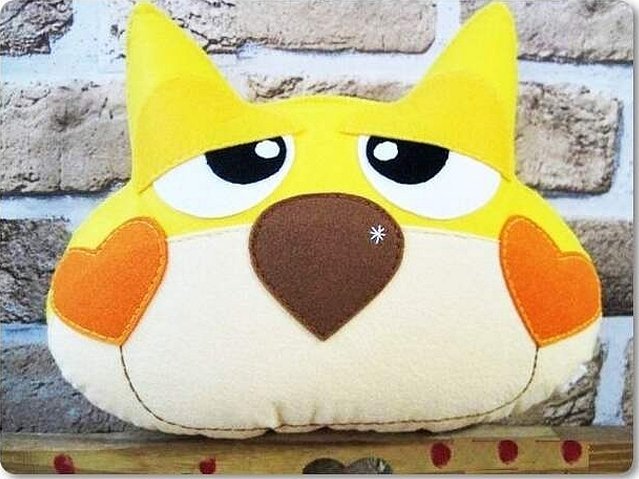
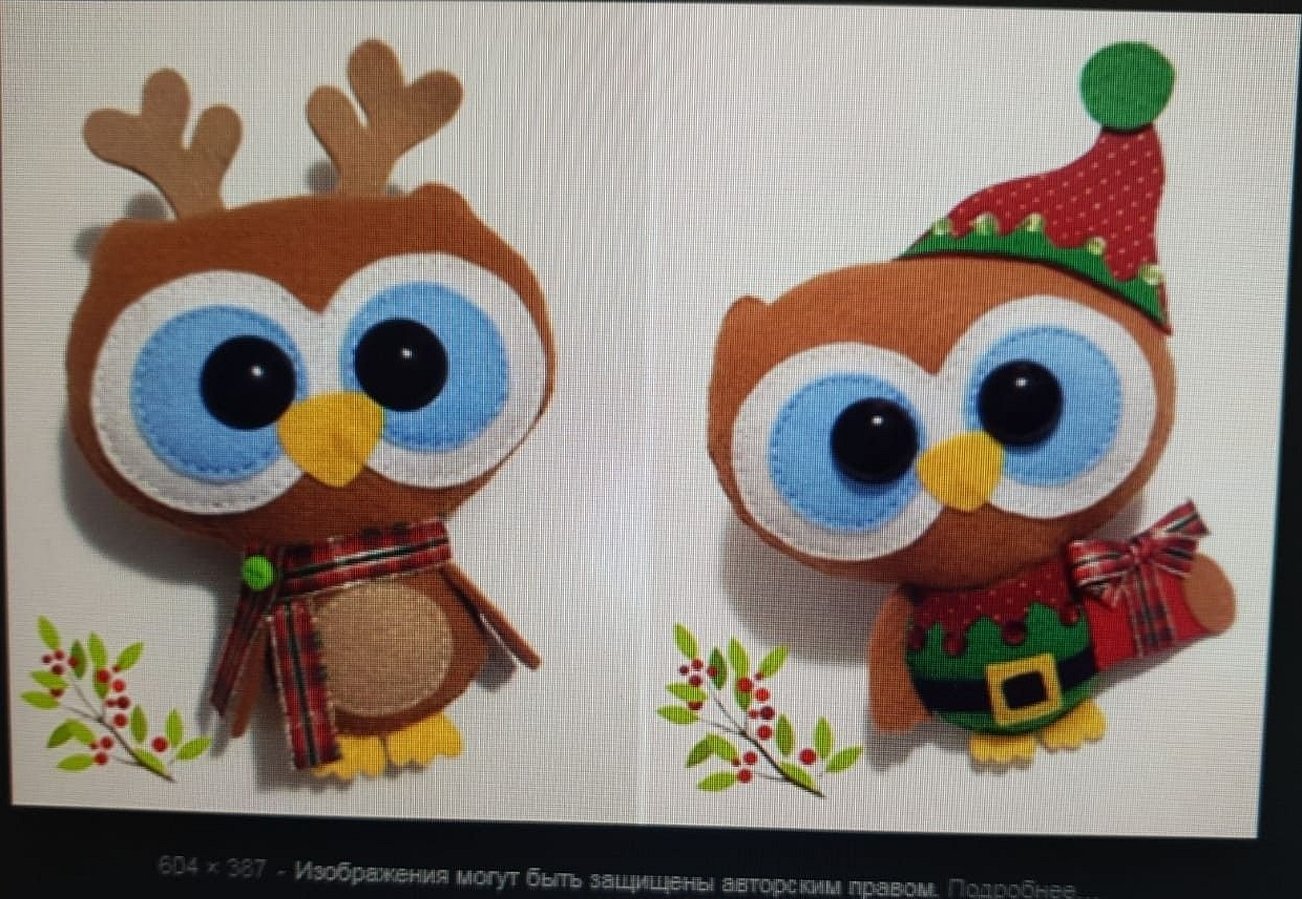
A felt owl can be complemented with various accessories. A smart bird can be made using glitter or beads. A hat or scarf can be sewn onto the New Year's toy. It is not at all difficult to make a felt pillow or a mobile for a baby's crib in the shape of an owl.
Rules for transferring a pattern onto fabric
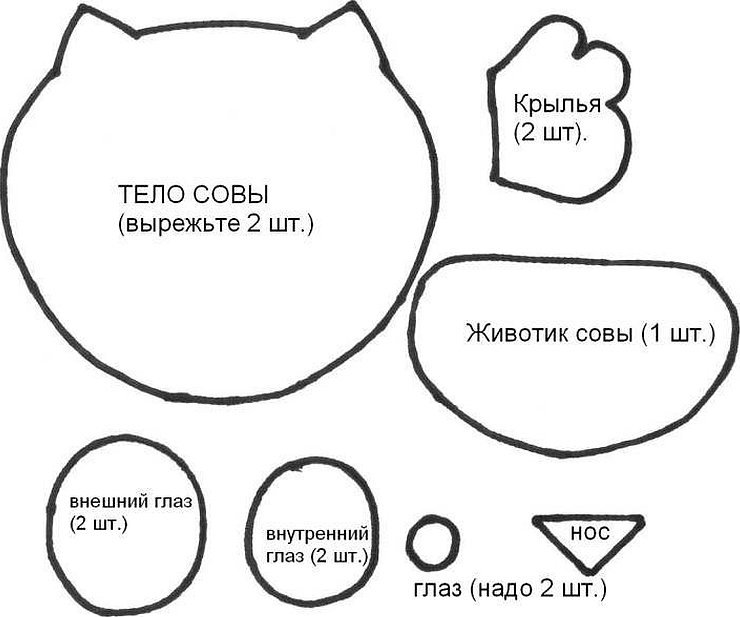
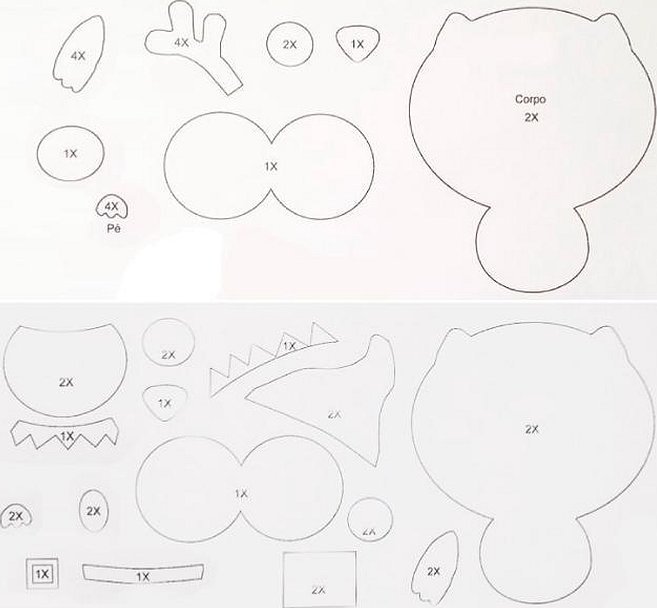
To sew a felt owl with your own hands, you must first make a pattern. This step will allow you not to spoil the fabric and do everything clearly and neatly. To do this, you need to draw the outline of the future toy on a sheet of paper or cardboard. To get an owl made of felt, the pattern must be divided into parts. The ears, muzzle, body, and so on are drawn separately. After transferring the pattern to the fabric, you should cut off the excess edges.
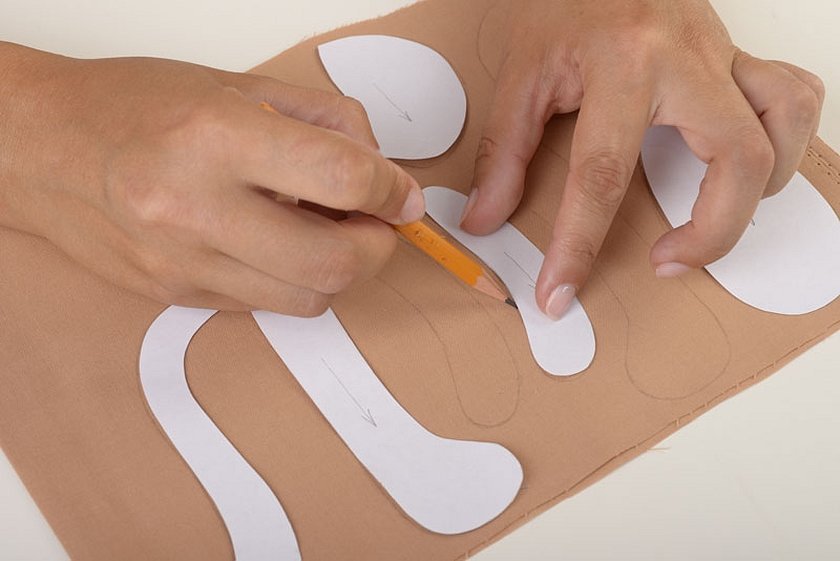
If you plan to sew the toy later, you need to remember about allowances. Experienced craftswomen use glue to connect all the parts, it allows you to spend less fabric and significantly reduces its consumption.
Note! If the toy is intended for a child, it is better to use a sewing machine. In this case, it is preferable to use synthetic padding as a material for filling the toy. It perfectly retains its shape and can withstand active use.
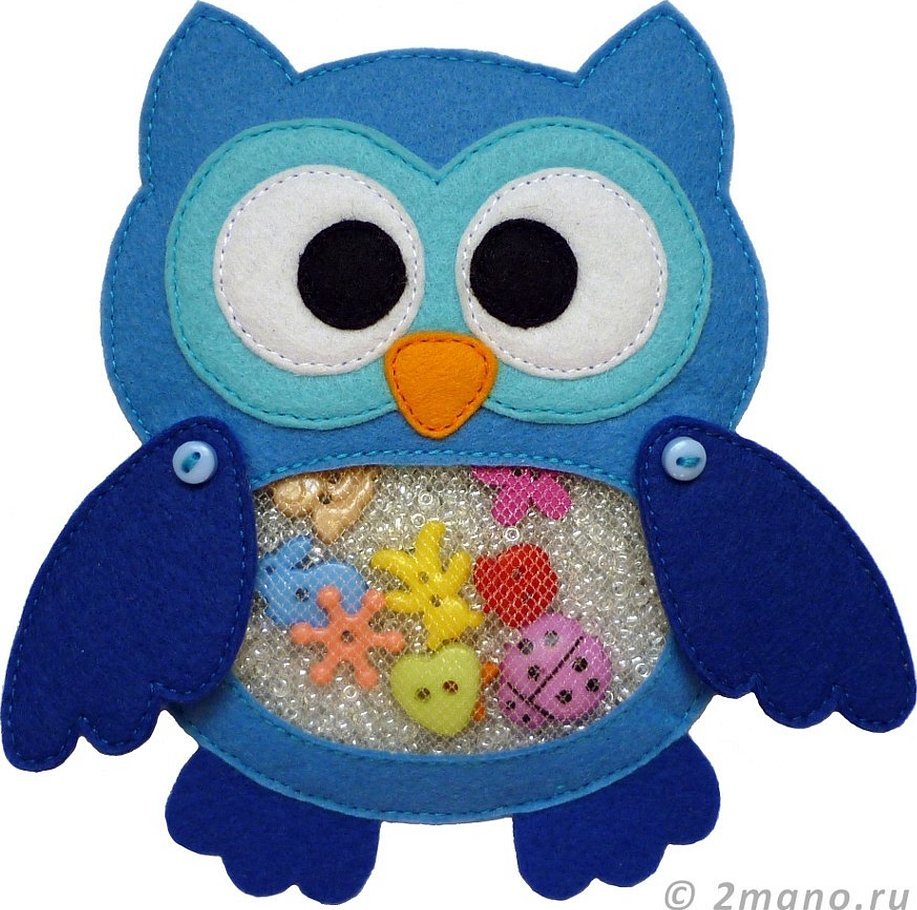
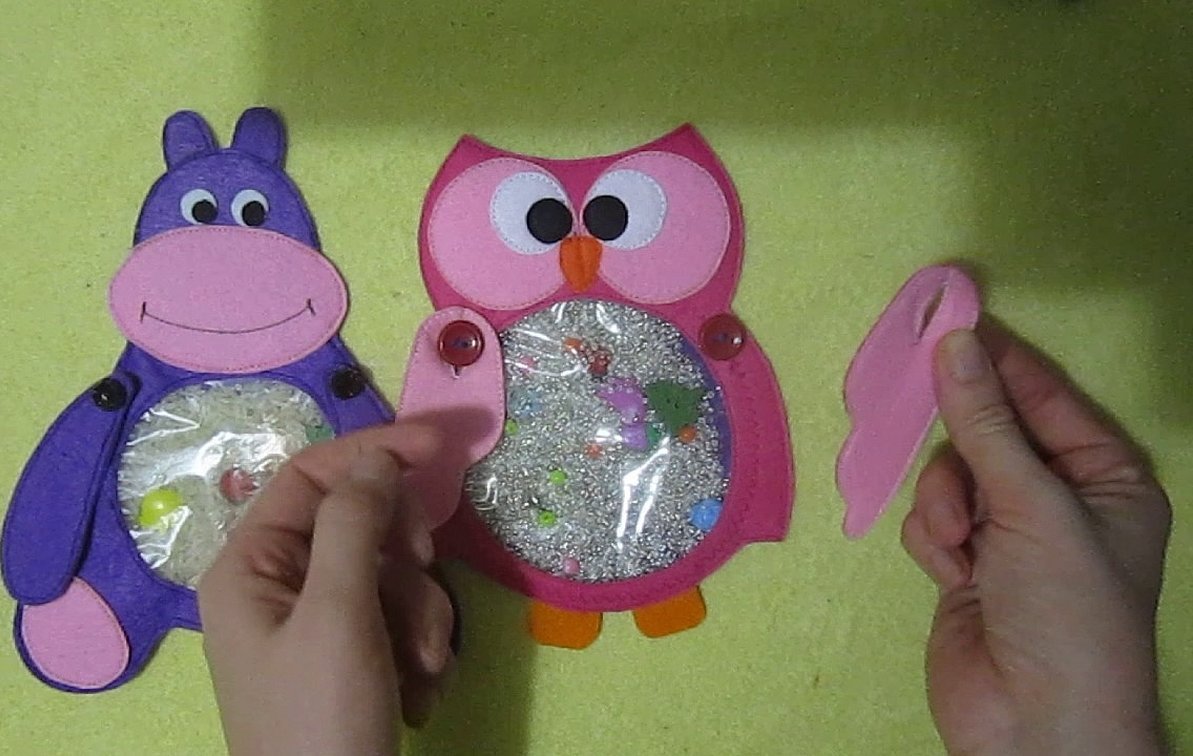
Ready-made templates for work
As a ready-made template, you can use a stencil of a toy-hide and seek. The toy is intended for toddlers. It promotes the development of fine motor skills through sensory sensations. The principle of operation is that the child sorts through the filler with his fingers and looks for surprise toys hidden in the owl's tummy.
The following materials must be prepared:
- felt of different colors;
- transparent plastic;
- beads or small figures;
- ball filler; you can use beads, special granules and even cereals;
- buttons.
All the details of the future owlet are cut out according to the template suggested above. Then it is necessary to pre-assemble the toy. This is done in order to determine the final result before sewing. First of all, it is necessary to assemble the eyes and sew all their parts. Then the nose is sewn on. When the muzzle is assembled, you can start forming the body. Transparent plastic or thick polyethylene is sewn to the tummy. Having connected the front and back parts of the body, the remaining details are sewn in parallel - paws and wings. The hole is sewn up and the owlet is ready.
Important! Don't forget about the hole for filling and surprises.
Another template for creating a mobile for newborn babies is presented below. The principle of its production is practically no different from other patterns for creating animals.
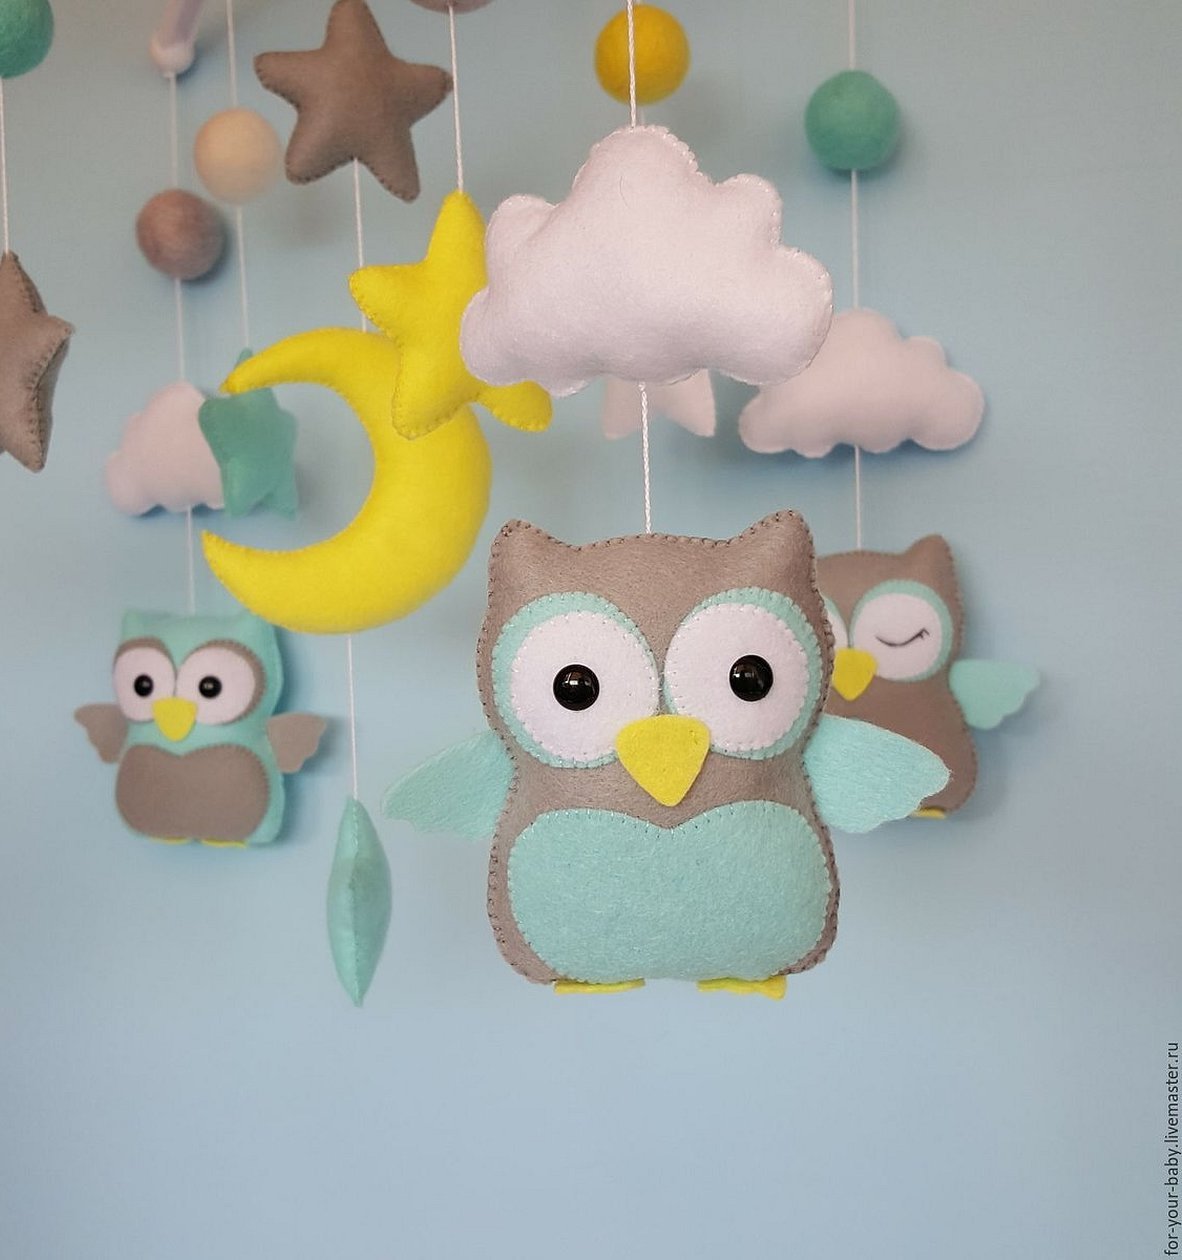
The template details are cut out in two copies. This is necessary to give the figure volume. Additional accessories can make the composition complete. These can be stars, the sun or natural materials in the form of cones. You can also play with shades of felt.
The presented craft can be used with other toys, or it can simply hang on the tree. The final result directly depends on what elements are added. The main thing is to prepare high-quality glue. Super or thermal glue is most convenient for this. You can find a template on the Internet, or better yet, draw it yourself. Then you will get a completely individual toy made with your own hands.
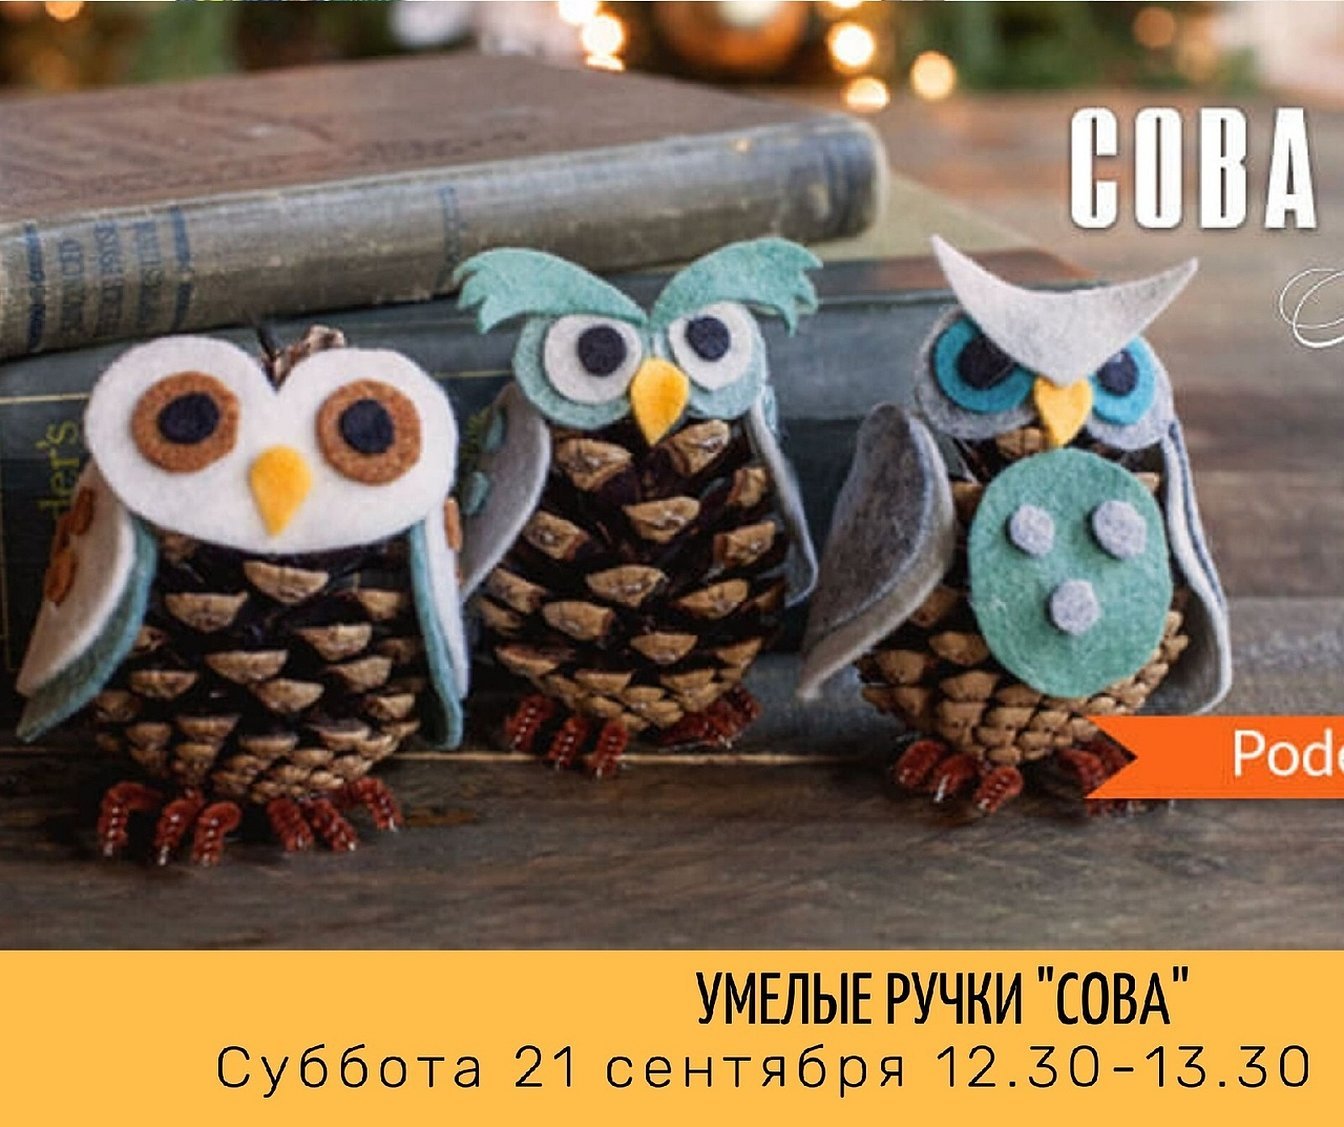
Advice! If you use cones of different sizes and from different trees, you will be able to create a whole family of various birds. In this matter, everything depends on the approach and imagination of the master.
DIY Felt Owl: Step-by-Step Procedure
Important! A huge advantage of working with felt is its resistance to stretching and fraying when cutting.
To create a carousel, you must follow the following sequence of actions:
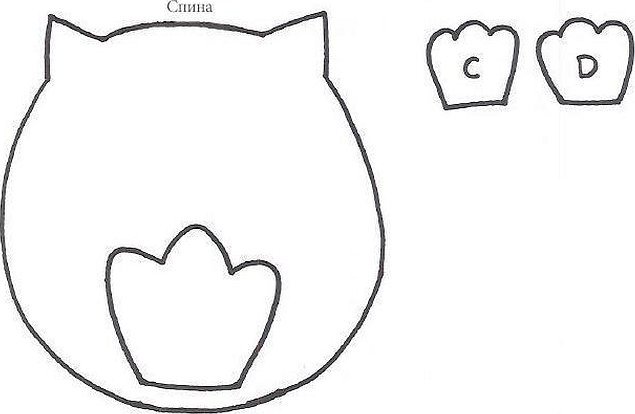
- The printed or redrawn stencil must be made in 2 copies. All details are transferred to the fabric and cut out.
- The eyes are sewn onto the body. To look natural, they should consist of at least two parts and a button in the middle.
- The nose is attached with glue or sewn into the center of the head.
- Next, sew on the tummy. It is better to make it from felt of a different color.
- You can start assembling the body. In the process, you need to sew the wings and legs into place. At this stage, you must not forget about the hole through which the padding polyester will be stuffed.
- After filling the toy with a special material, the hole should be carefully sewn up.
- To use the toy as a mobile for a small child, you need to sew a ribbon or thick thread into its top point.

Please note! To maintain balance, it is necessary to think about the crosspiece, which is the bookmark - the basis of the future toy. Sewn owls are attached to the top, and the composition is assembled.
You can vary the height and size - this will add volume and make the craft complete.
Making felt toys is a great way to develop creativity and spend time with your child. Once you have trained your hand, you can start creating real masterpieces. The variety of felt toy options makes it easy to find one that suits a specific person or even an event. And step-by-step diagrams and master classes will help you make them.


