A blouse is a product that can be made with your own hands quickly, with or without a pattern. How to sew a blouse with your own hands quickly and without a pattern and how to make a batwing model, a loose blouse and a blouse for the plump according to a pattern? About this and more below.
How to sew a simple blouse without a pattern
You can sew a blouse without a pattern, in response to the question of how to sew a simple blouse with your own hands for beginners. In this case, you will need to take an old product and cut it along the seams into separate pieces. These pieces will serve as a template for creating a new thing. This simple advice will be useful for those craftsmen who are just learning to model. In the future, you can redraw the prepared templates and create sweaters without any measurements.
Basic pattern
Before you start sewing a blouse for a girl or woman, namely a bodice with sleeves, you need to decide on the style. Choosing a model or style of the product is not at all difficult. To do this, you can be guided by your own intuition, fashion trends and existing simple master classes.
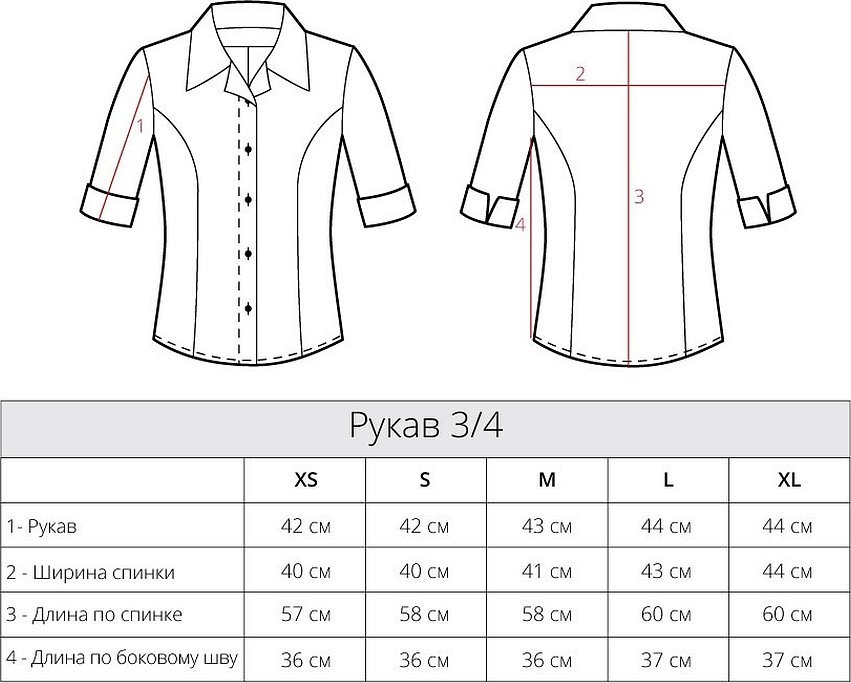
Next, you need to decide on the overall dimensions of the product. To do this, you need to take measurements. You need to measure the length of the back, chest, waist, shoulders, neck, chest area, hips and other things that are provided for by the design of the product. Then take the finished pattern and make adjustments in accordance with the size.
Please note! The basis for the pattern of a chiffon blouse made by hand is the measurement of the half-girth of the neck, chest, chest and hip area, or half-girth.
As the paper template is formed, it needs to be cut out and applied to the fabric. It is best to make a blouse from one-piece cotton or linen. Silk and chiffon are the materials that needlewomen try not to work with because of their mobility, friability, and transparency. In addition, the difficulty of working with them lies in the visibility of needle punctures and sensitivity to water and detergents.
Preparatory stage - grid
To make a grid in an hour, you need to draw a rectangle or swing on a sheet of paper with the sides of the MNPK. MN is equal to the sum of the chest half-girth, regardless of the size. For example, the length of the sides will be 55 centimeters. This is the width of the future thing.
MN and NP — the sum of the back length to the waist. It is equal to 18 centimeters, regardless of the volume. The length of the sides will be equal to 58 centimeters with a back length of 40 centimeters.
Next, you need to draw the depth of the armhole of the peasant blouse. It will be equal to the sum of 1/3 of the chest half-girth. With a calculated value of 40 centimeters, the armhole will be equal to 21 centimeters. It is easy to indicate. It will be equal to the segment MK and the distance to M. From it, you need to make a segment MK and call point J.
Then you need to find out the waist level. To do this, measure the length of the back from the end of M and along MK and make point B. From it, parallel build a rectangle and make another mark B1.
Construction of the blouse back pattern
The back is the element of the pattern that usually contains darts. This is where the blouse is assembled. Therefore, it is especially important to make these darts carefully and observe all the dimensions.
To construct the back pattern, you need to make a segment from point J, which is equal to the sum of 1/3 of the chest half-girth. The created rectangle will be equal to 20 centimeters. The end of the formed rectangle should be designated J2. From it, make a straight line up parallel to MK, until the intersection with MN is made. There, put point O. This will be the width of the blouse.
Next, from J2, make a right segment, which will be equal in width to 1/4 of the chest semi-girth. It will be equal to 13 centimeters. This will be the armhole width.
From J1, you need to make a segment upwards, which will be parallel to MK and formed along the second semicircle of the chest. The end of the segment will be point P.
Then you should make the side line of the blouse. It will be in the segment J2-J3 and be perpendicular to the other segments.
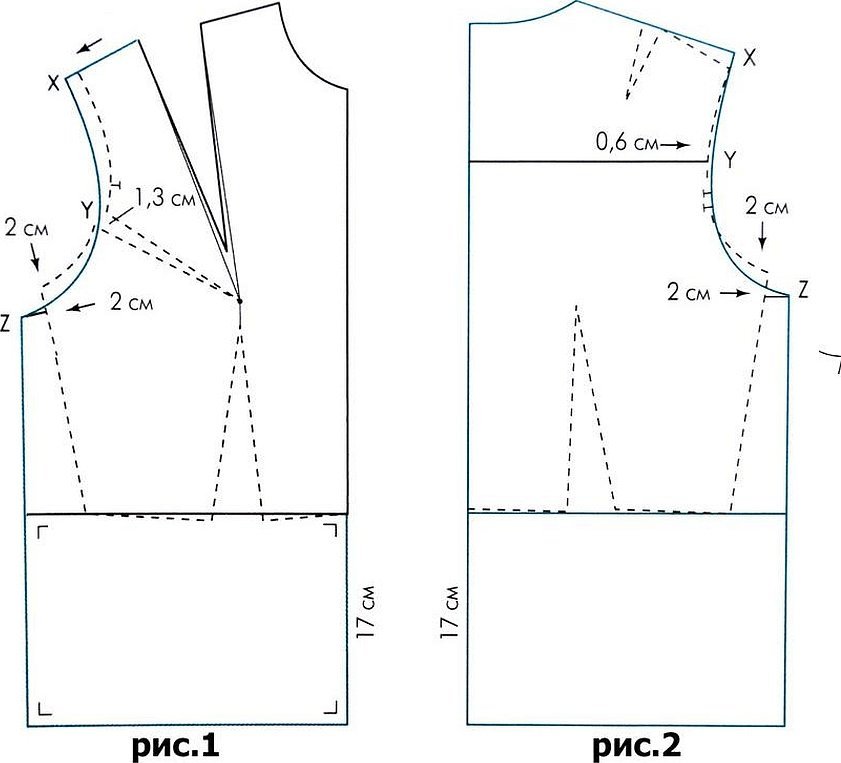
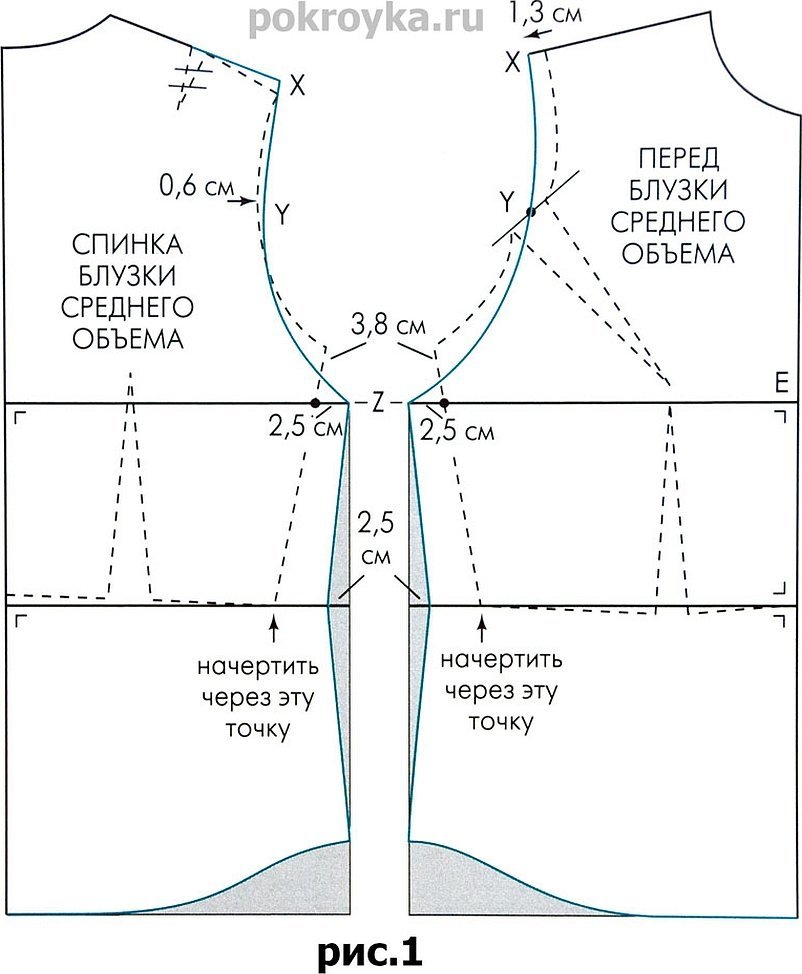
Then you need to mark the back neckline. Measure a segment to the right from M, which is equal to 1/3 of the half-girth of the neck. For this model, it will be 6.5 centimeters. Make a smooth bend from it. Next, measure a line down from O. This will be the slope of the shoulders, along which the shoulder bevel will be created. Then, from the neckline, step back through two points and draw a segment that will be equal to the sum of the lengths of the shoulders. This will be the shoulder cut.
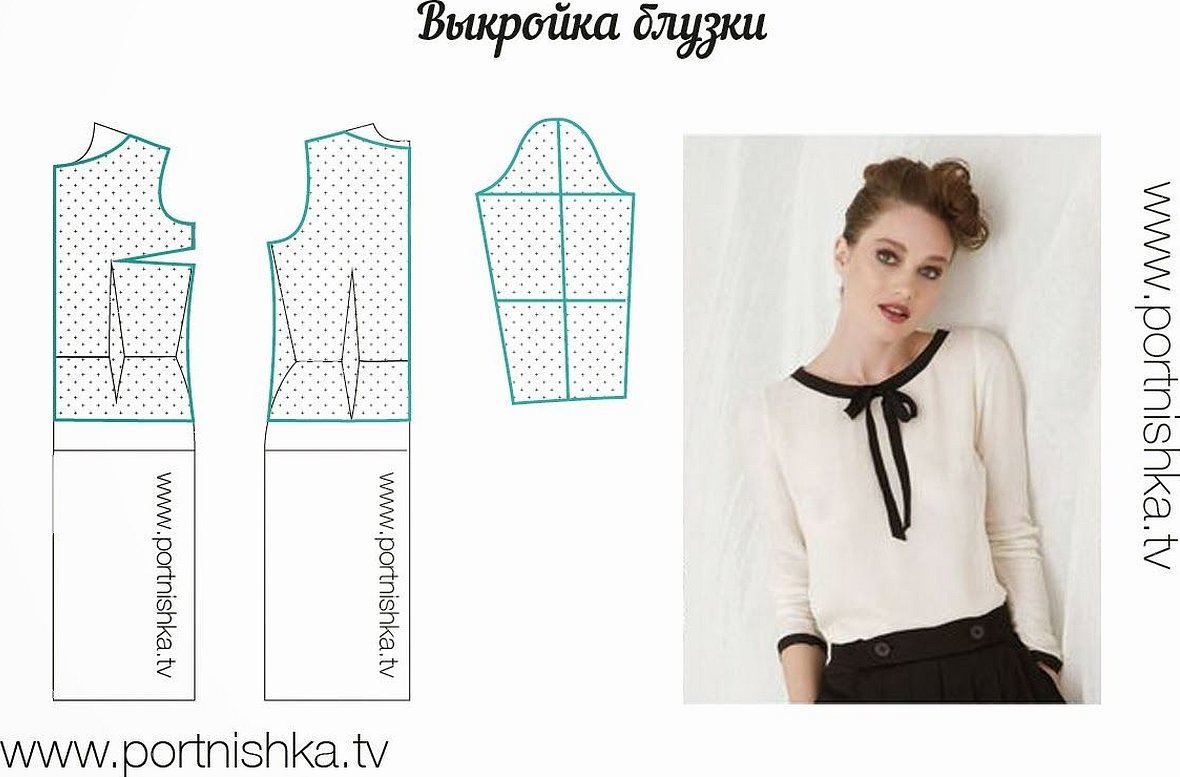
Front pattern drawing
It is not difficult to make a pattern for the front based on existing master classes and step-by-step instructions. The most important thing is to think about how the front will look in the end and take into account the location of the seams. To construct the front, you need to measure a segment from point P that will be equal to 1/3 of the neck half-girth. Then make a segment, going down, that will be equal to the same value. Connect the resulting points on the segment and make a rectangle. Then draw a smooth line and a bend. This will be the neckline.
To construct the length of the shoulder from the shaping to the dart, you should connect the points shown above and draw a rectangle from Ji1, which will be equal to the neckline and neckline to the dart on the chest.
To mark the length of the shoulder from the dart on the chest to the armhole, it is worth combining the segment obtained above with the point Ji2. To make the armhole line, find the middle of Ji2 and put a point in the middle, making an angle. Then divide the angle into several parts. Next, design the level of the waist and hips, build the neckline. Extend the resulting values for the fastener.
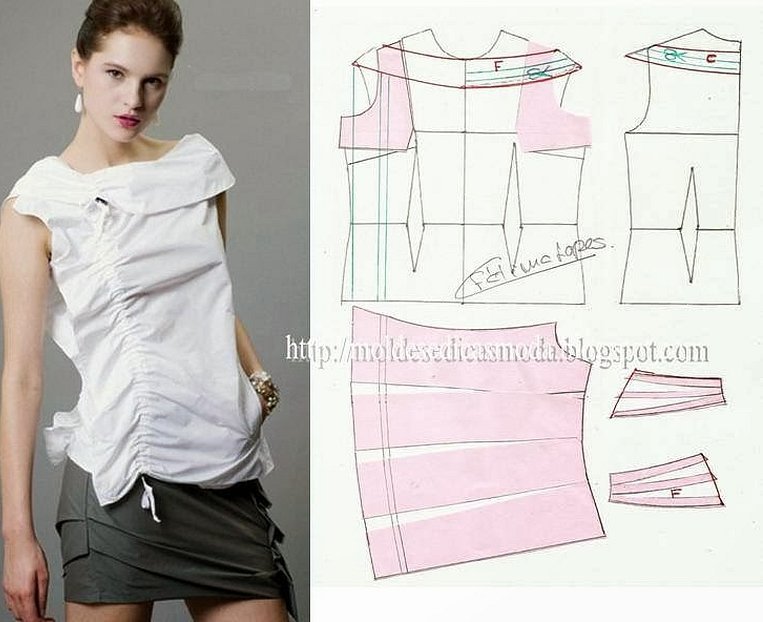
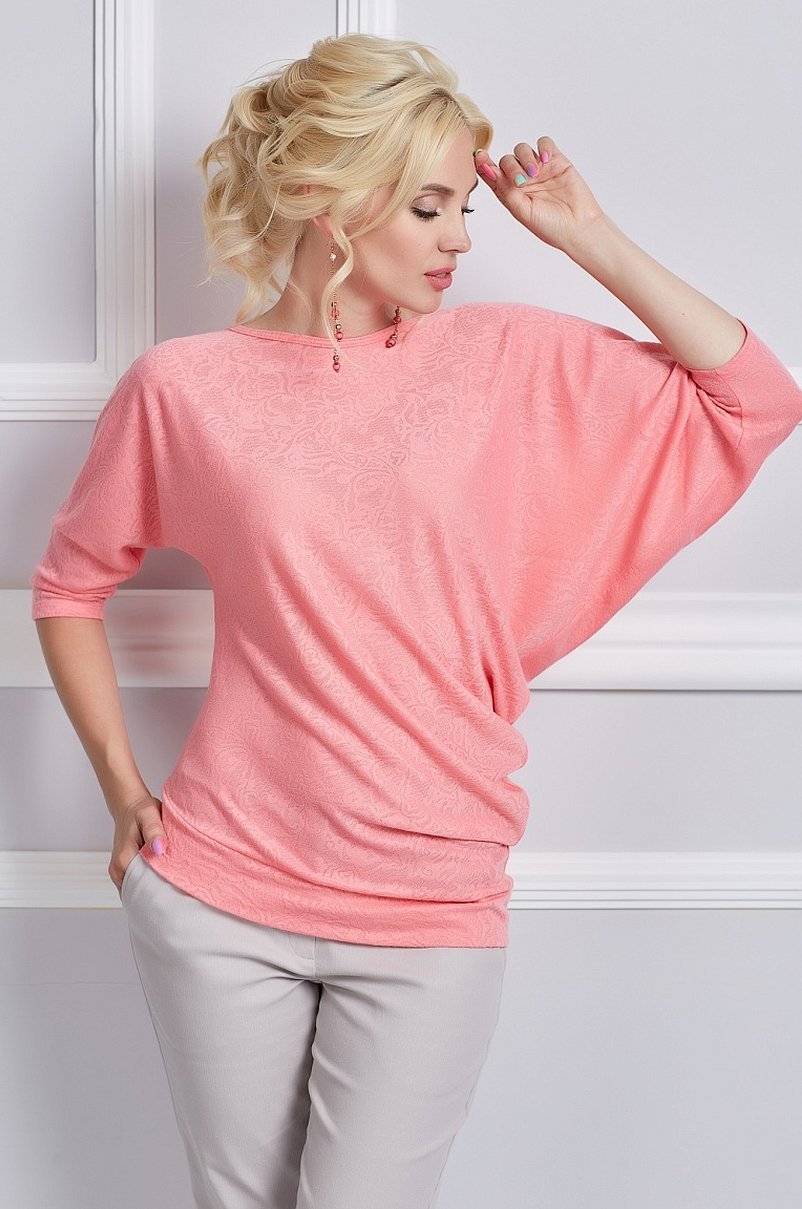
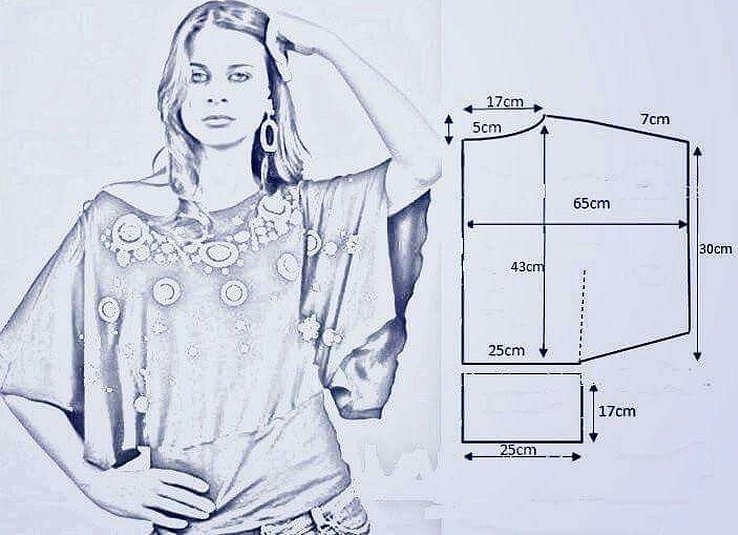
Batwing Sleeve Blouse
A batwing sleeve blouse sits loosely and does not restrict movement. Such models will create a feminine and gentle look with the help of fabric curves. They give a special accent to girlish hands. A loose cut will suit any type of figure. The sleeve of such a model can have different lengths. As a rule, a shorter sleeve is taken for summer, and vice versa for cool weather. A universal model is three-quarters. It looks more advantageous on models with an accent on the wrist.
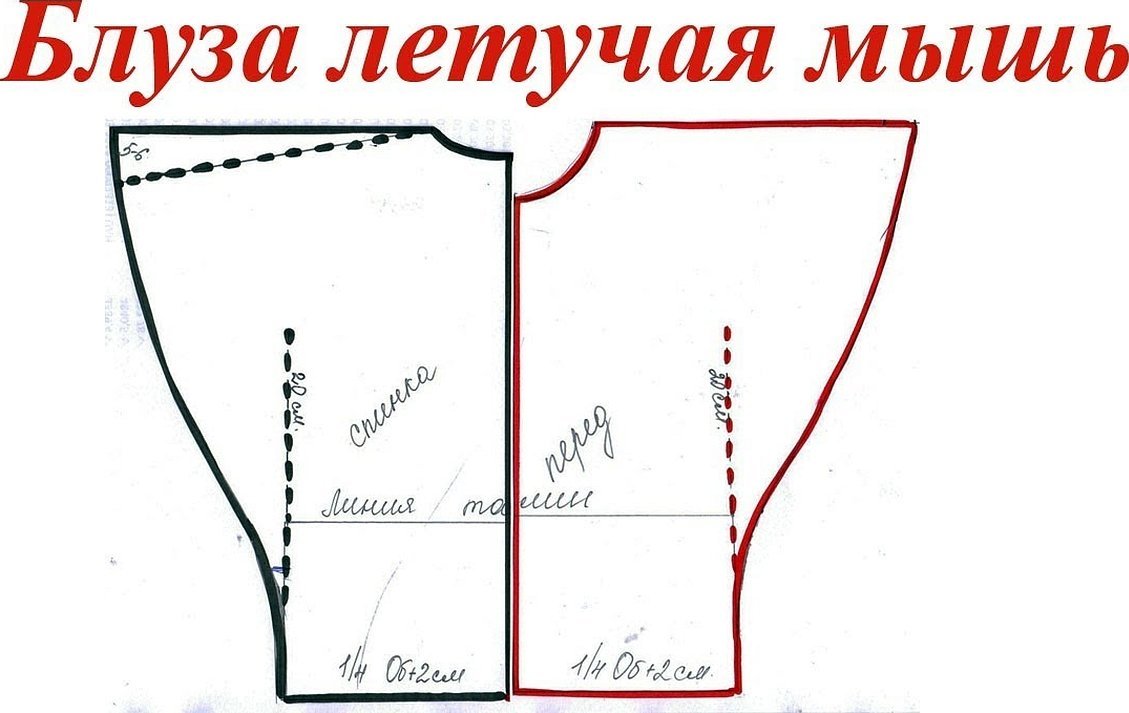
It is worth noting that you need to sew the parts together directly according to the pattern from the network or the master class inside out. In this case, it is worth making a double stitch so that the resulting product is as reliable as possible and does not come apart at the seams. This is especially true for those models that are made of adjacent synthetic material.
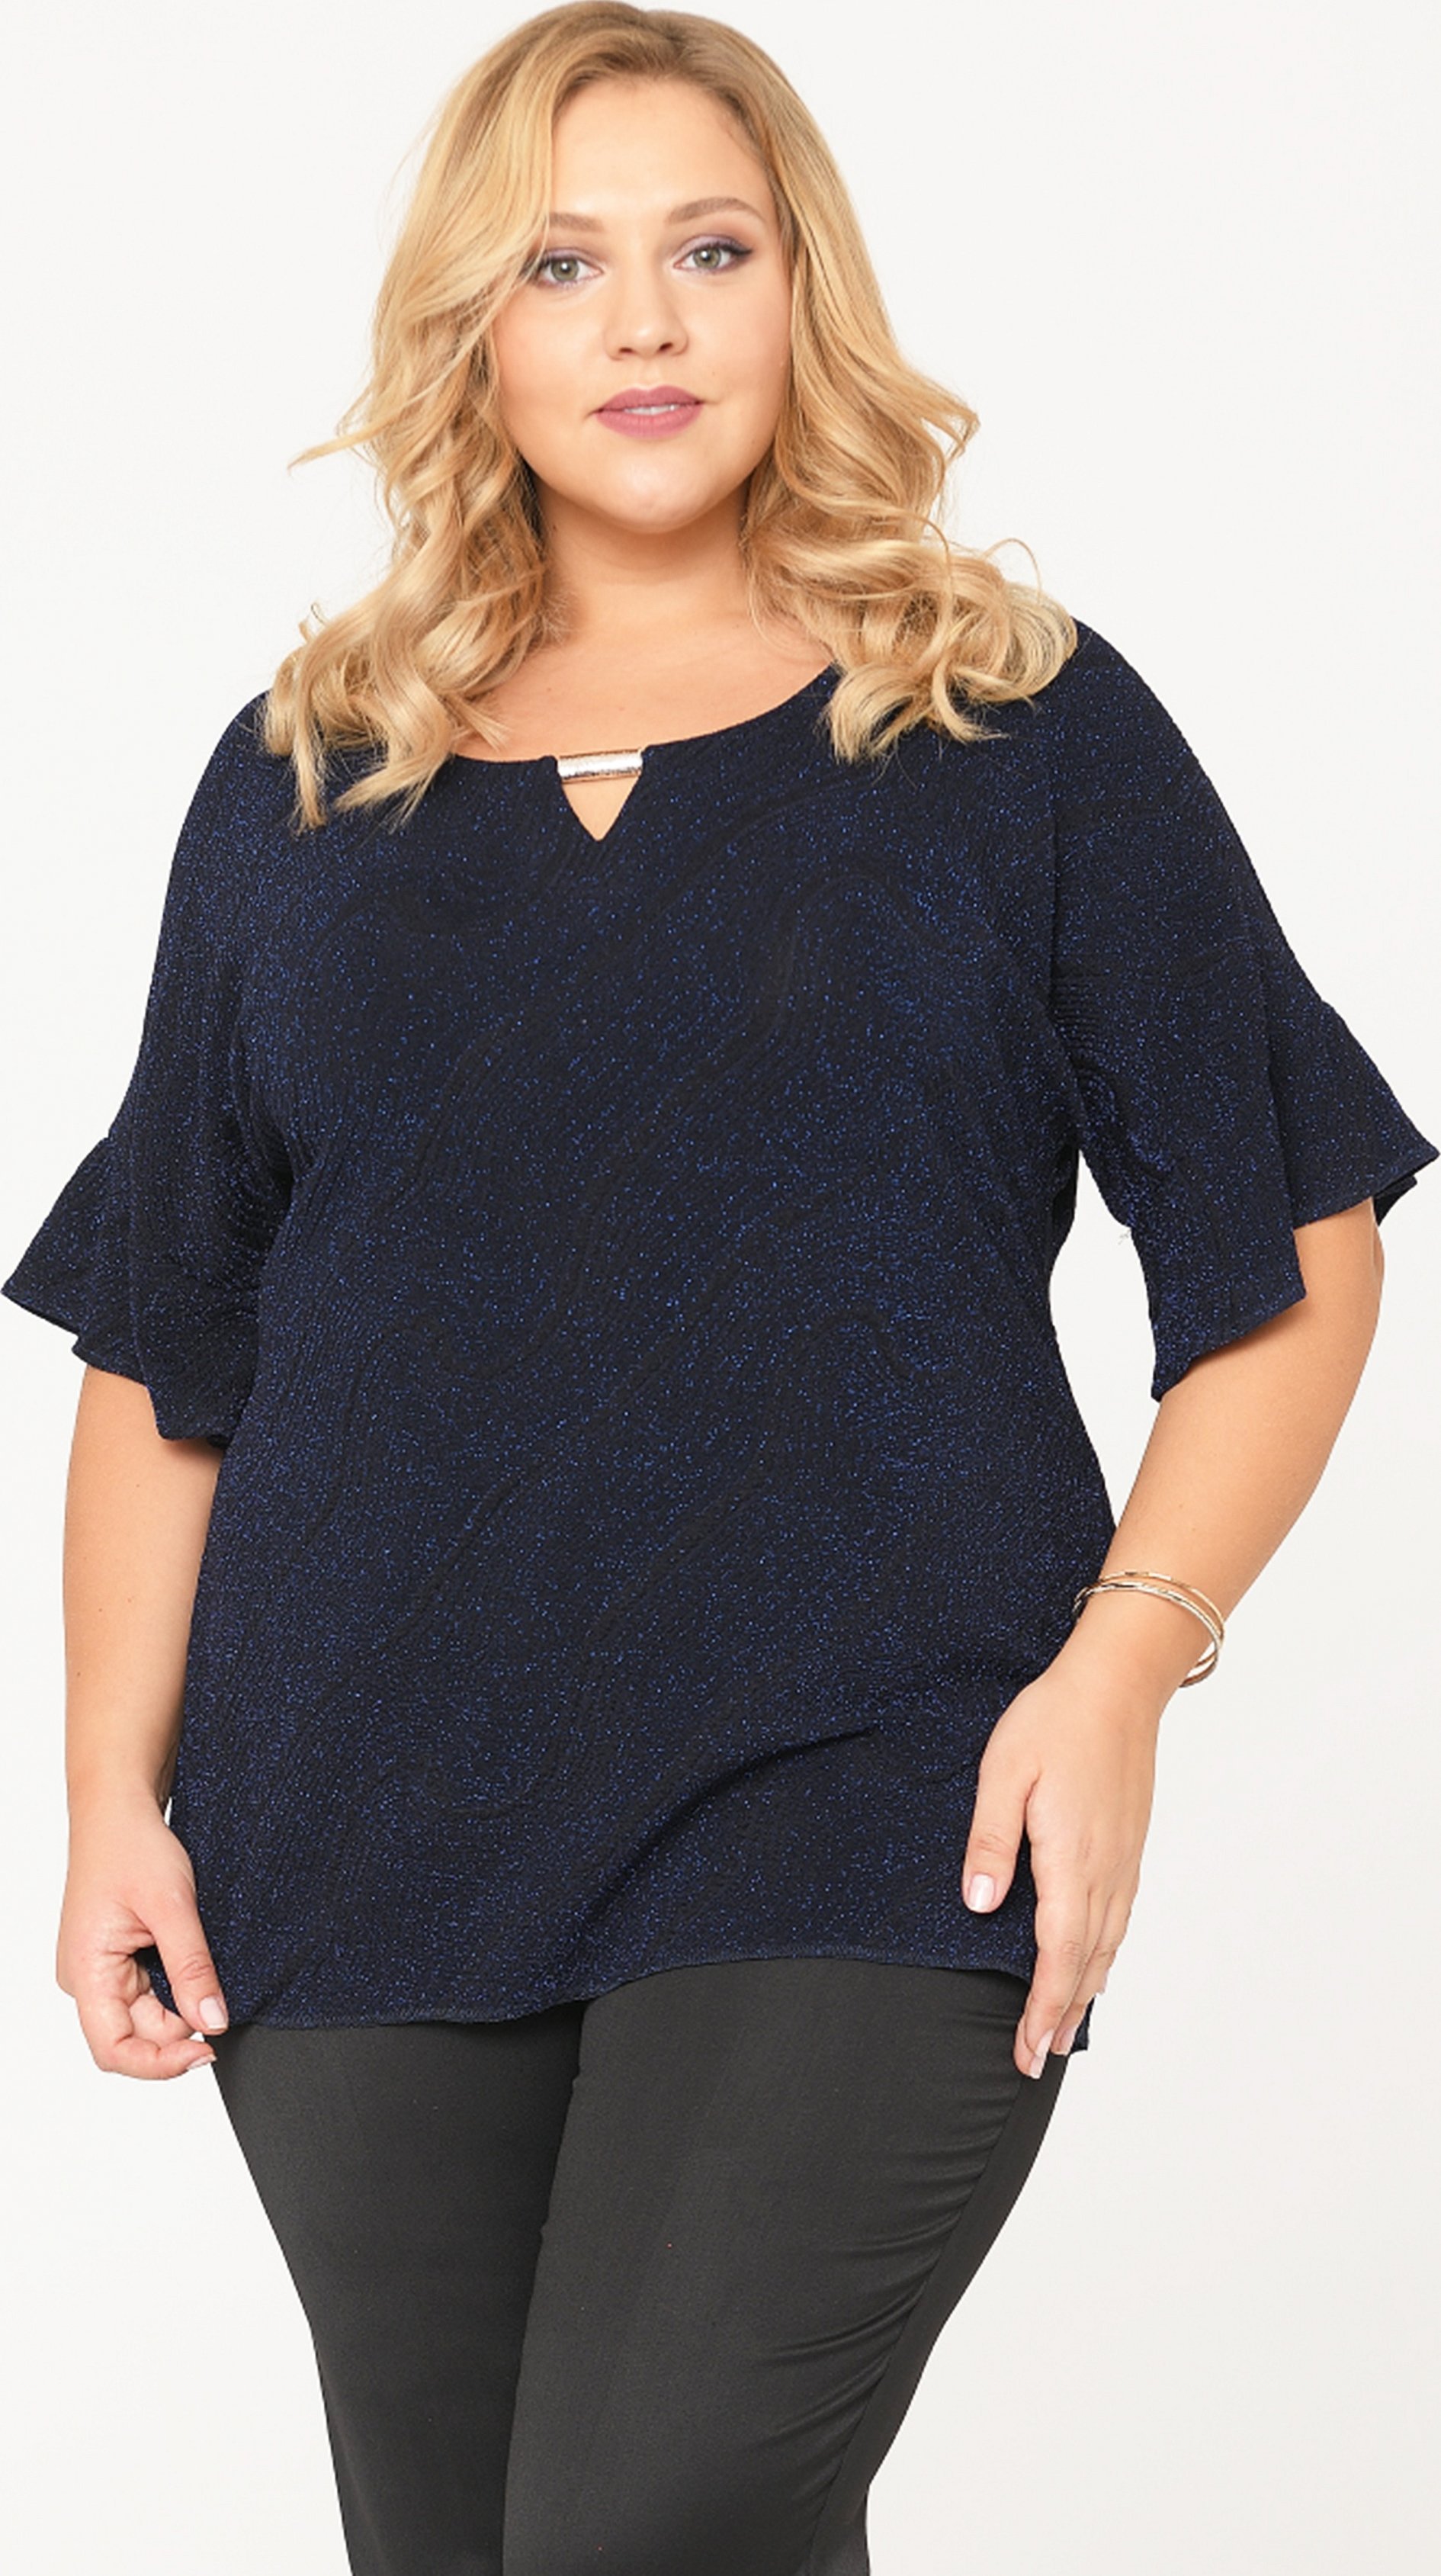
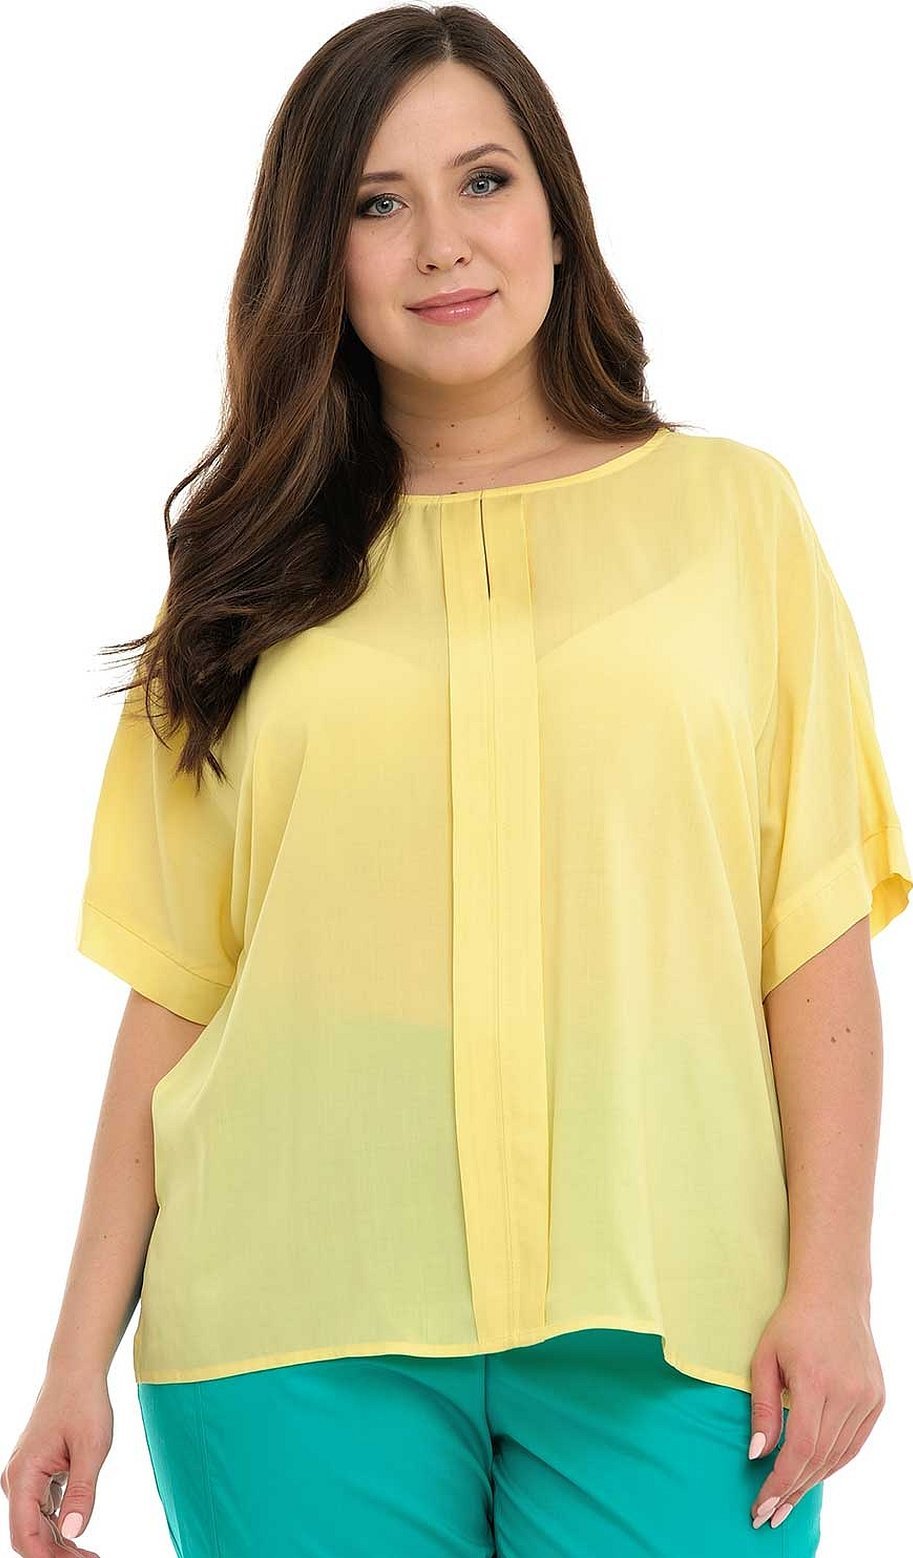
Blouse pattern for plus size women
A blouse for plump ladies is something that will be difficult for a non-professional craftsman to create on his own, especially without a pattern, since first you need to take the appropriate measurements, and then templates. Then transfer the template onto the fabric and cut out the blank with an allowance for seams and folds.
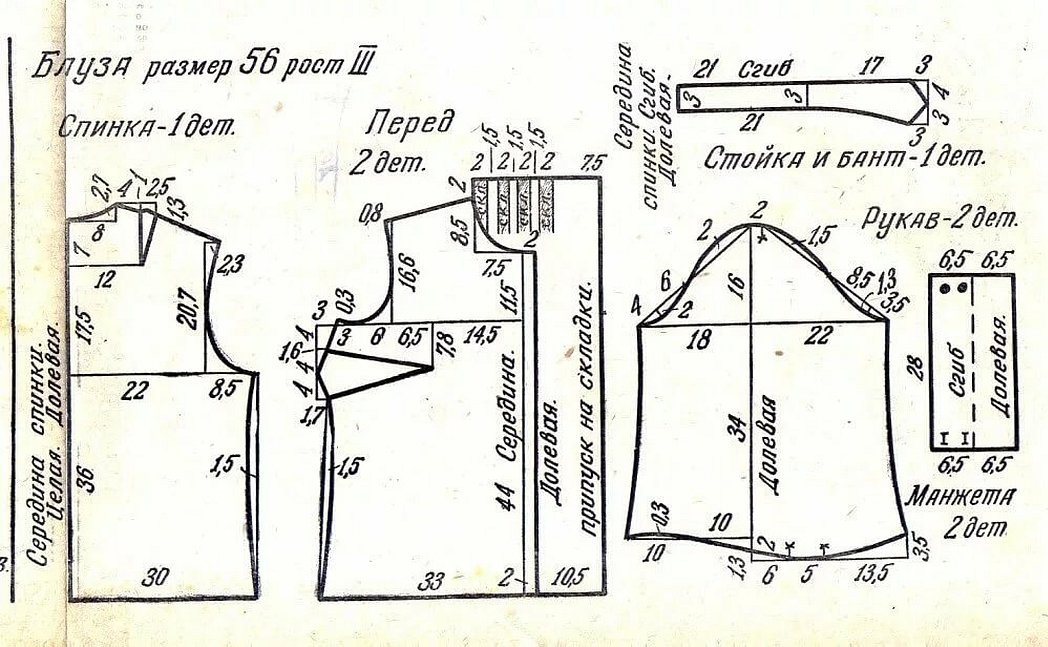
It is also necessary to take into account such a moment as making patterns based on the properties of the fabric. The lesson can be simplified only by the fact that the blanks will be taken from the Internet and all that remains for the novice craftswoman is to redraw them on the fabric. If desired, the model can be supplemented with a peplum. A peplum is an element with flounces. It can be modeled based on a dress or skirt.
Sleeveless blouse
To create a pattern for a sleeveless blouse yourself, you don't need to put in a lot of effort. Even those seamstresses who can be called beginners are capable of this. You need to model the item based on the dress pattern. If desired, after finishing the work, you can decorate the item with rhinestones, sequins and other accessories.
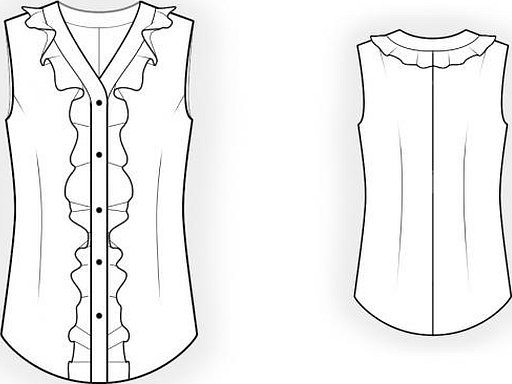
There are only three important points to consider. Thus, it is necessary to close the waist dart. The flounces should be the same width and turned into the side seams. On both halves of the pattern diagram, volumetric types of seams and reliefs should be constructed. They will be able to hide all the darts.
Loose blouse
A loose blouse is a model that has not lost popularity since the beginning of the century. It is easy to make, based on patterns from old items or those presented on the Internet. It is also easy to design it, studying a step-by-step master class from other experienced craftswomen.
All you need is to take quality fabric, needles, cotton threads, a sewing machine and chalk for drawing. You can also take accessories for decoration. Many needlewomen advise to refuse such materials as silk, guipure and chiffon at first, until the sewing technology has been mastered perfectly. They recommend giving preference to wool with the addition of polyester, since it is easiest to hide possible flaws there and such a model stretches well in case of failure with the size.
The whole sewing process looks like this: first, the patterns are created and swept together. The preliminary blouse is tried on and if everything fits perfectly, the final stitches are made using a sewing machine.
Next, you need to process the seams and edges and do a control fitting. The fitting is necessary to quickly redo any possible details before decorative finishing. You may want to make additional details.
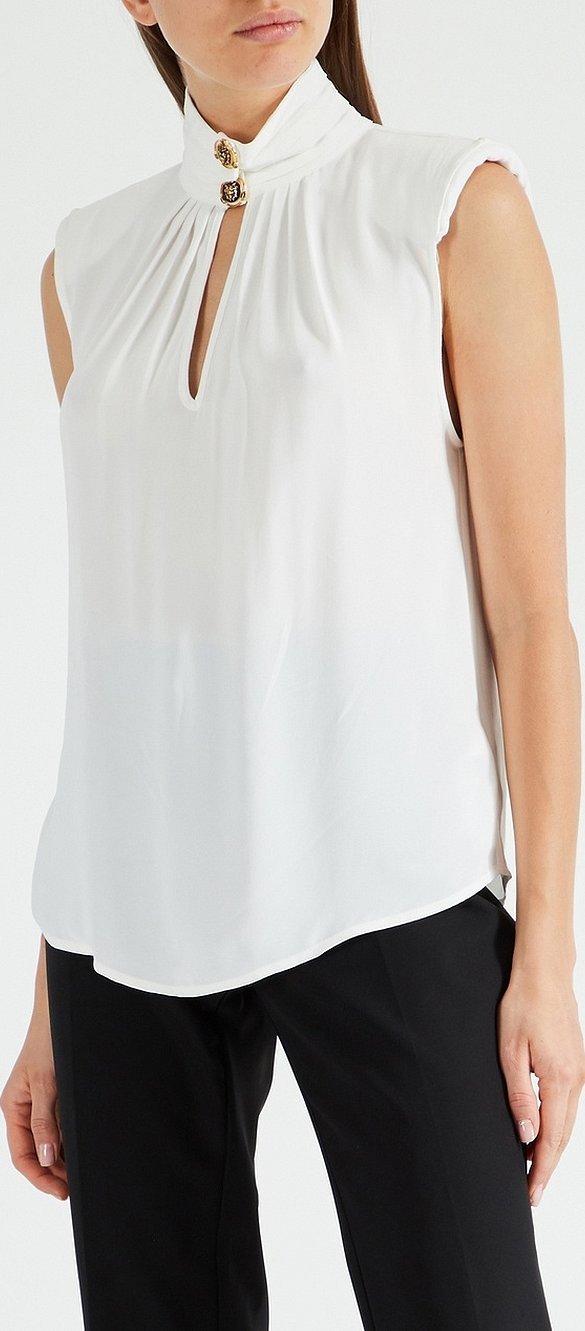
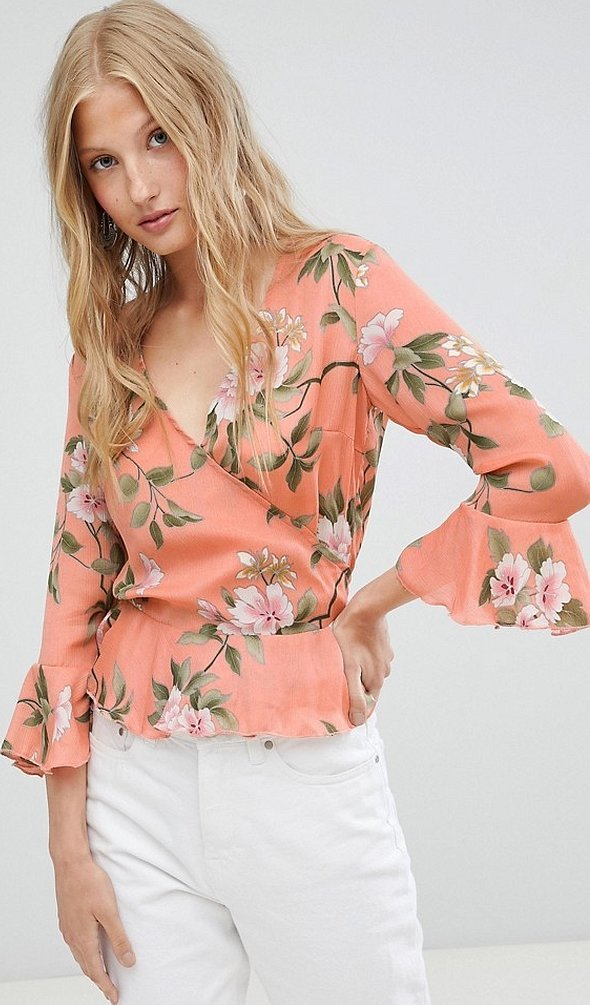
Wrap blouse
A wrap blouse will look good with both a skirt and jeans. Usually, such a model is embroidered with long sleeves due to a fairly deep neckline. Cuffs can add a discreet and neat style.
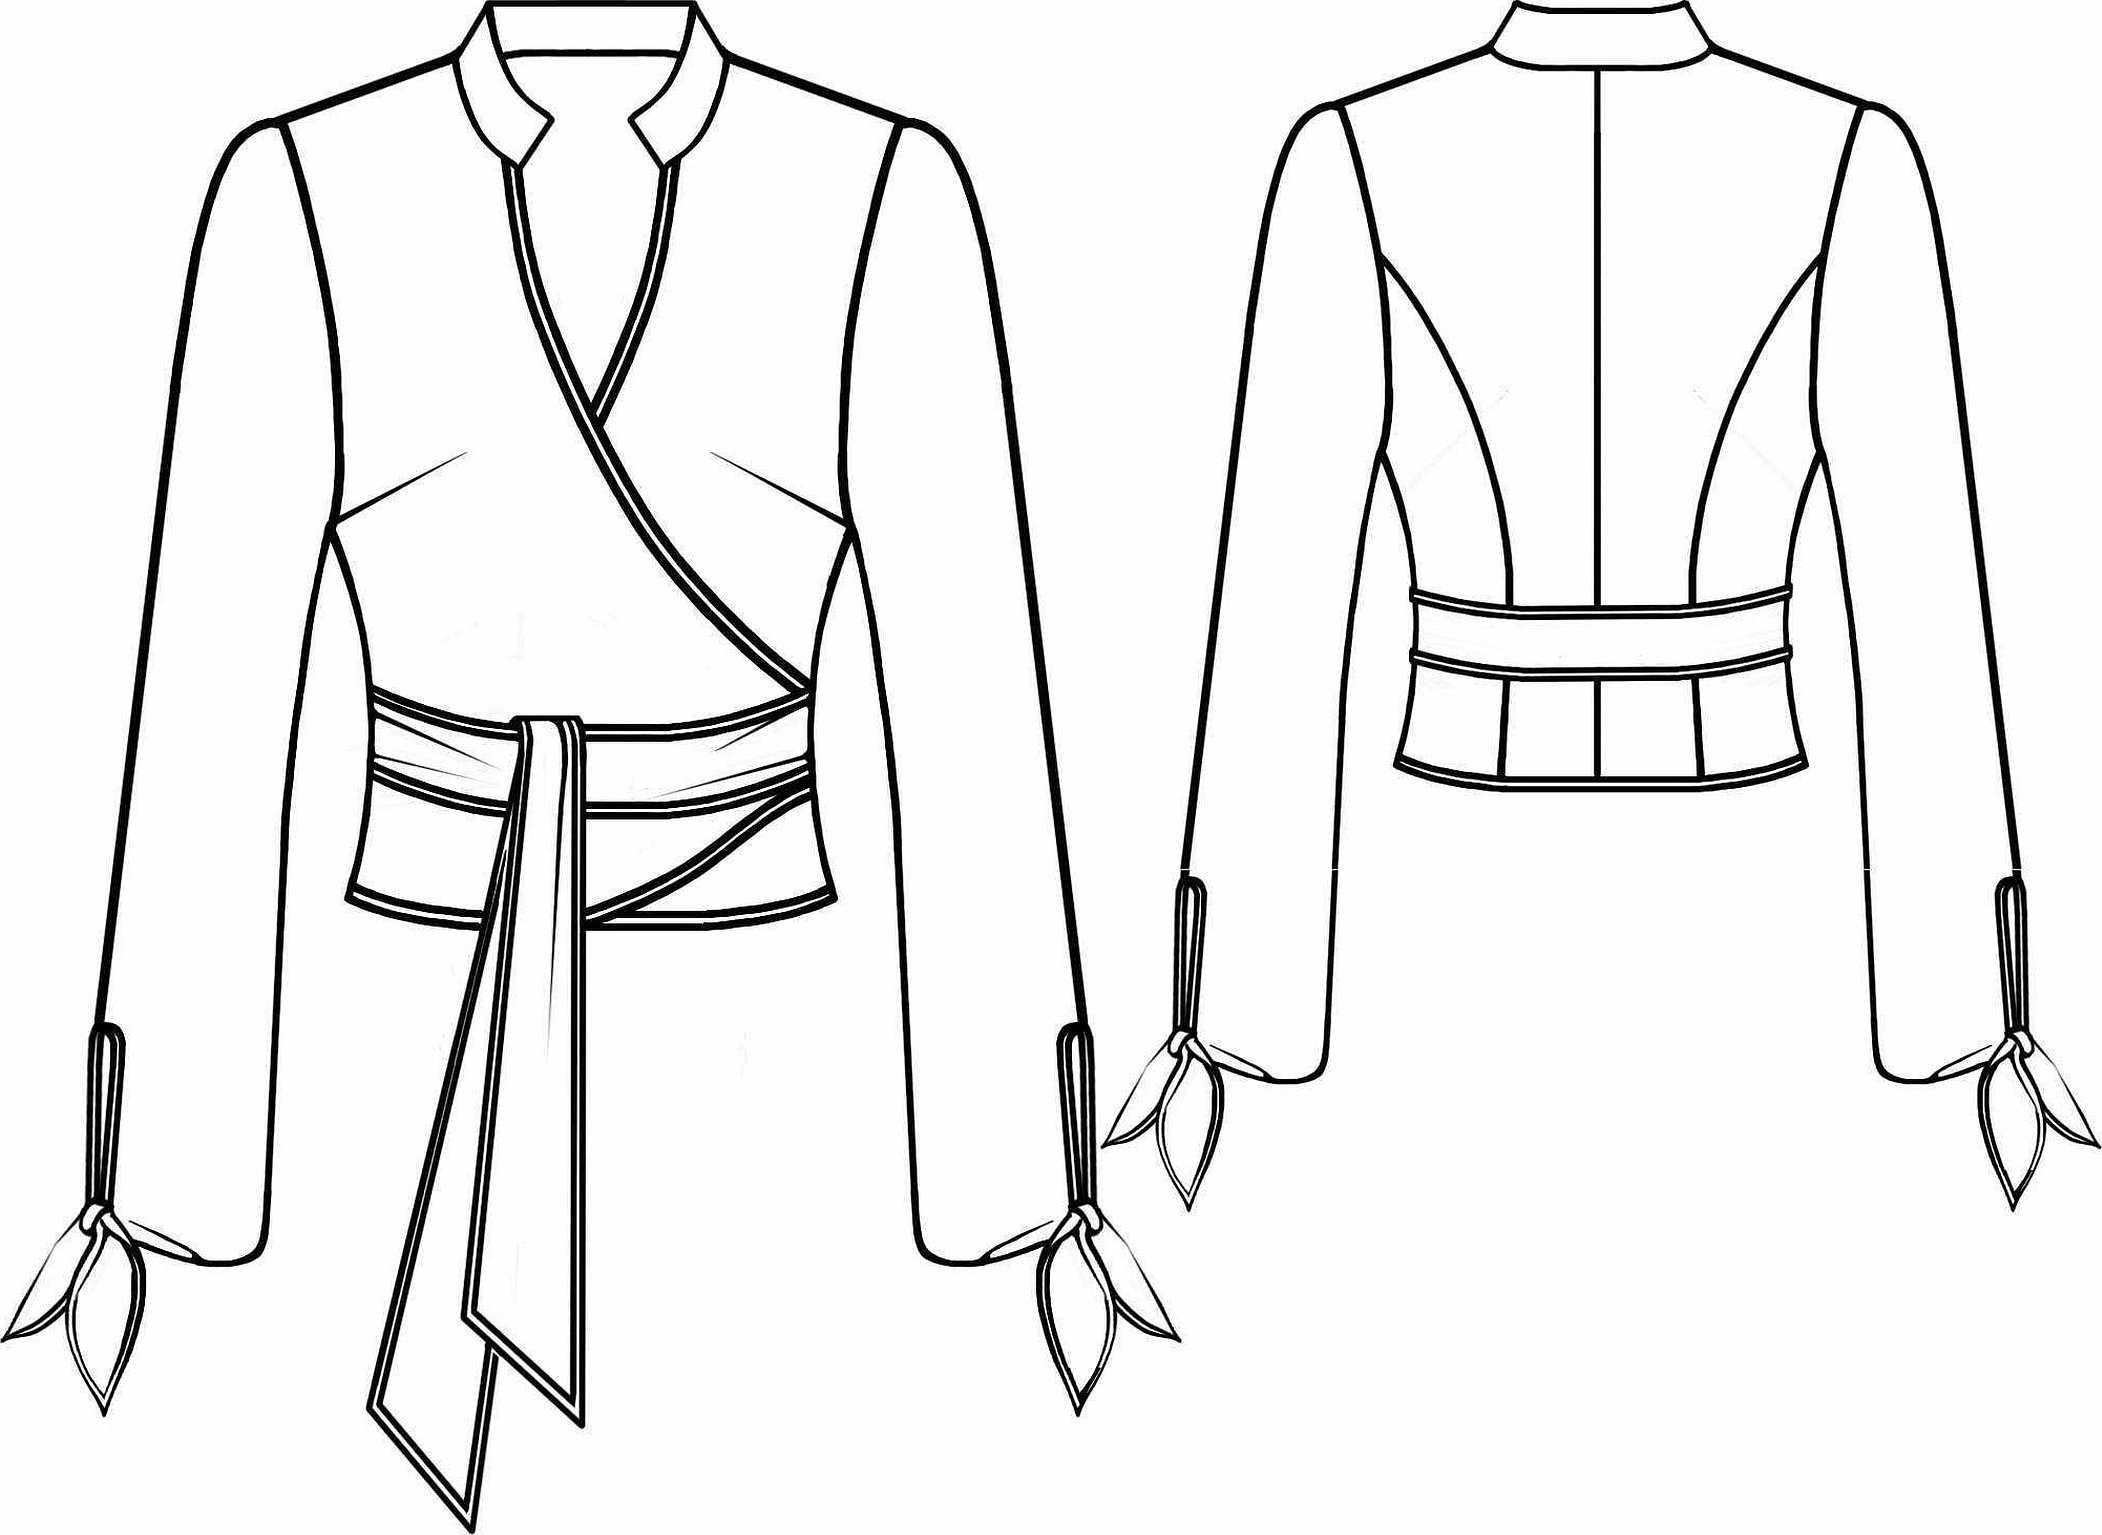
The main element of this thing is the smell. It is created together with the fastener, since it is not designed to keep the closed shape and can be opened at the time of construction. The back can make the blouse a classic shirt. In front there will be an elastic seam for free placement of the fabric.
If you add a couple of functional elements to a simple pattern, you can get an extraordinary and multifunctional item that will fit into any woman's wardrobe.
In general, you can make a blouse with a batwing sleeve, a model for plus-size women, a sleeveless item, a loose model, and a wrap blouse using a ready-made pattern or without one. In the first case, you need to take measurements, construct the back and front, draw the details, and think through the allowances and darts. In the second case, you need to make patterns from a ready-made old blouse, having previously cut it into pieces. The first option is suitable for more experienced craftswomen, and the second - for beginners. The most important thing in both cases is to fully follow the step-by-step master class and perform all actions extremely carefully.


