When hearing the word "sew", most people remember things: pants, a sheet, a pillow, a pillowcase, a jacket or even a soft toy. Few people realize, unless, of course, they are office workers, that you can also sew documents. Sometimes this is much more important than sewing a duvet cover. As you know, almost all organizations and enterprises have already switched to internal electronic document management when collaborating with contractors and even when filing tax returns on income and court decisions.
Despite the general computerization, paper documents are still important for legal entities. To prevent papers from getting lost or mixed up, they need to be stitched. Despite the apparent simplicity of the process, it is very important, so everyone needs to know how to properly stitch documents by hand, how to file cases. More on this below.
- What documents are stitched in office work
- Materials needed for stitching documents with threads
- How to Stitch Documents Properly: Step-by-Step Instructions
- In two holes
- In three holes
- In four holes
- In five holes
- Features of document flashing: useful tips
- How to number sheets
- How to certify a stitched document
- Regulatory acts on document flashing
What documents are stitched in office work
Documents need to be stitched together so that they are not lost or replaced, and also because of the huge amount of documentation, they are stitched together as needed, which helps to avoid confusion.
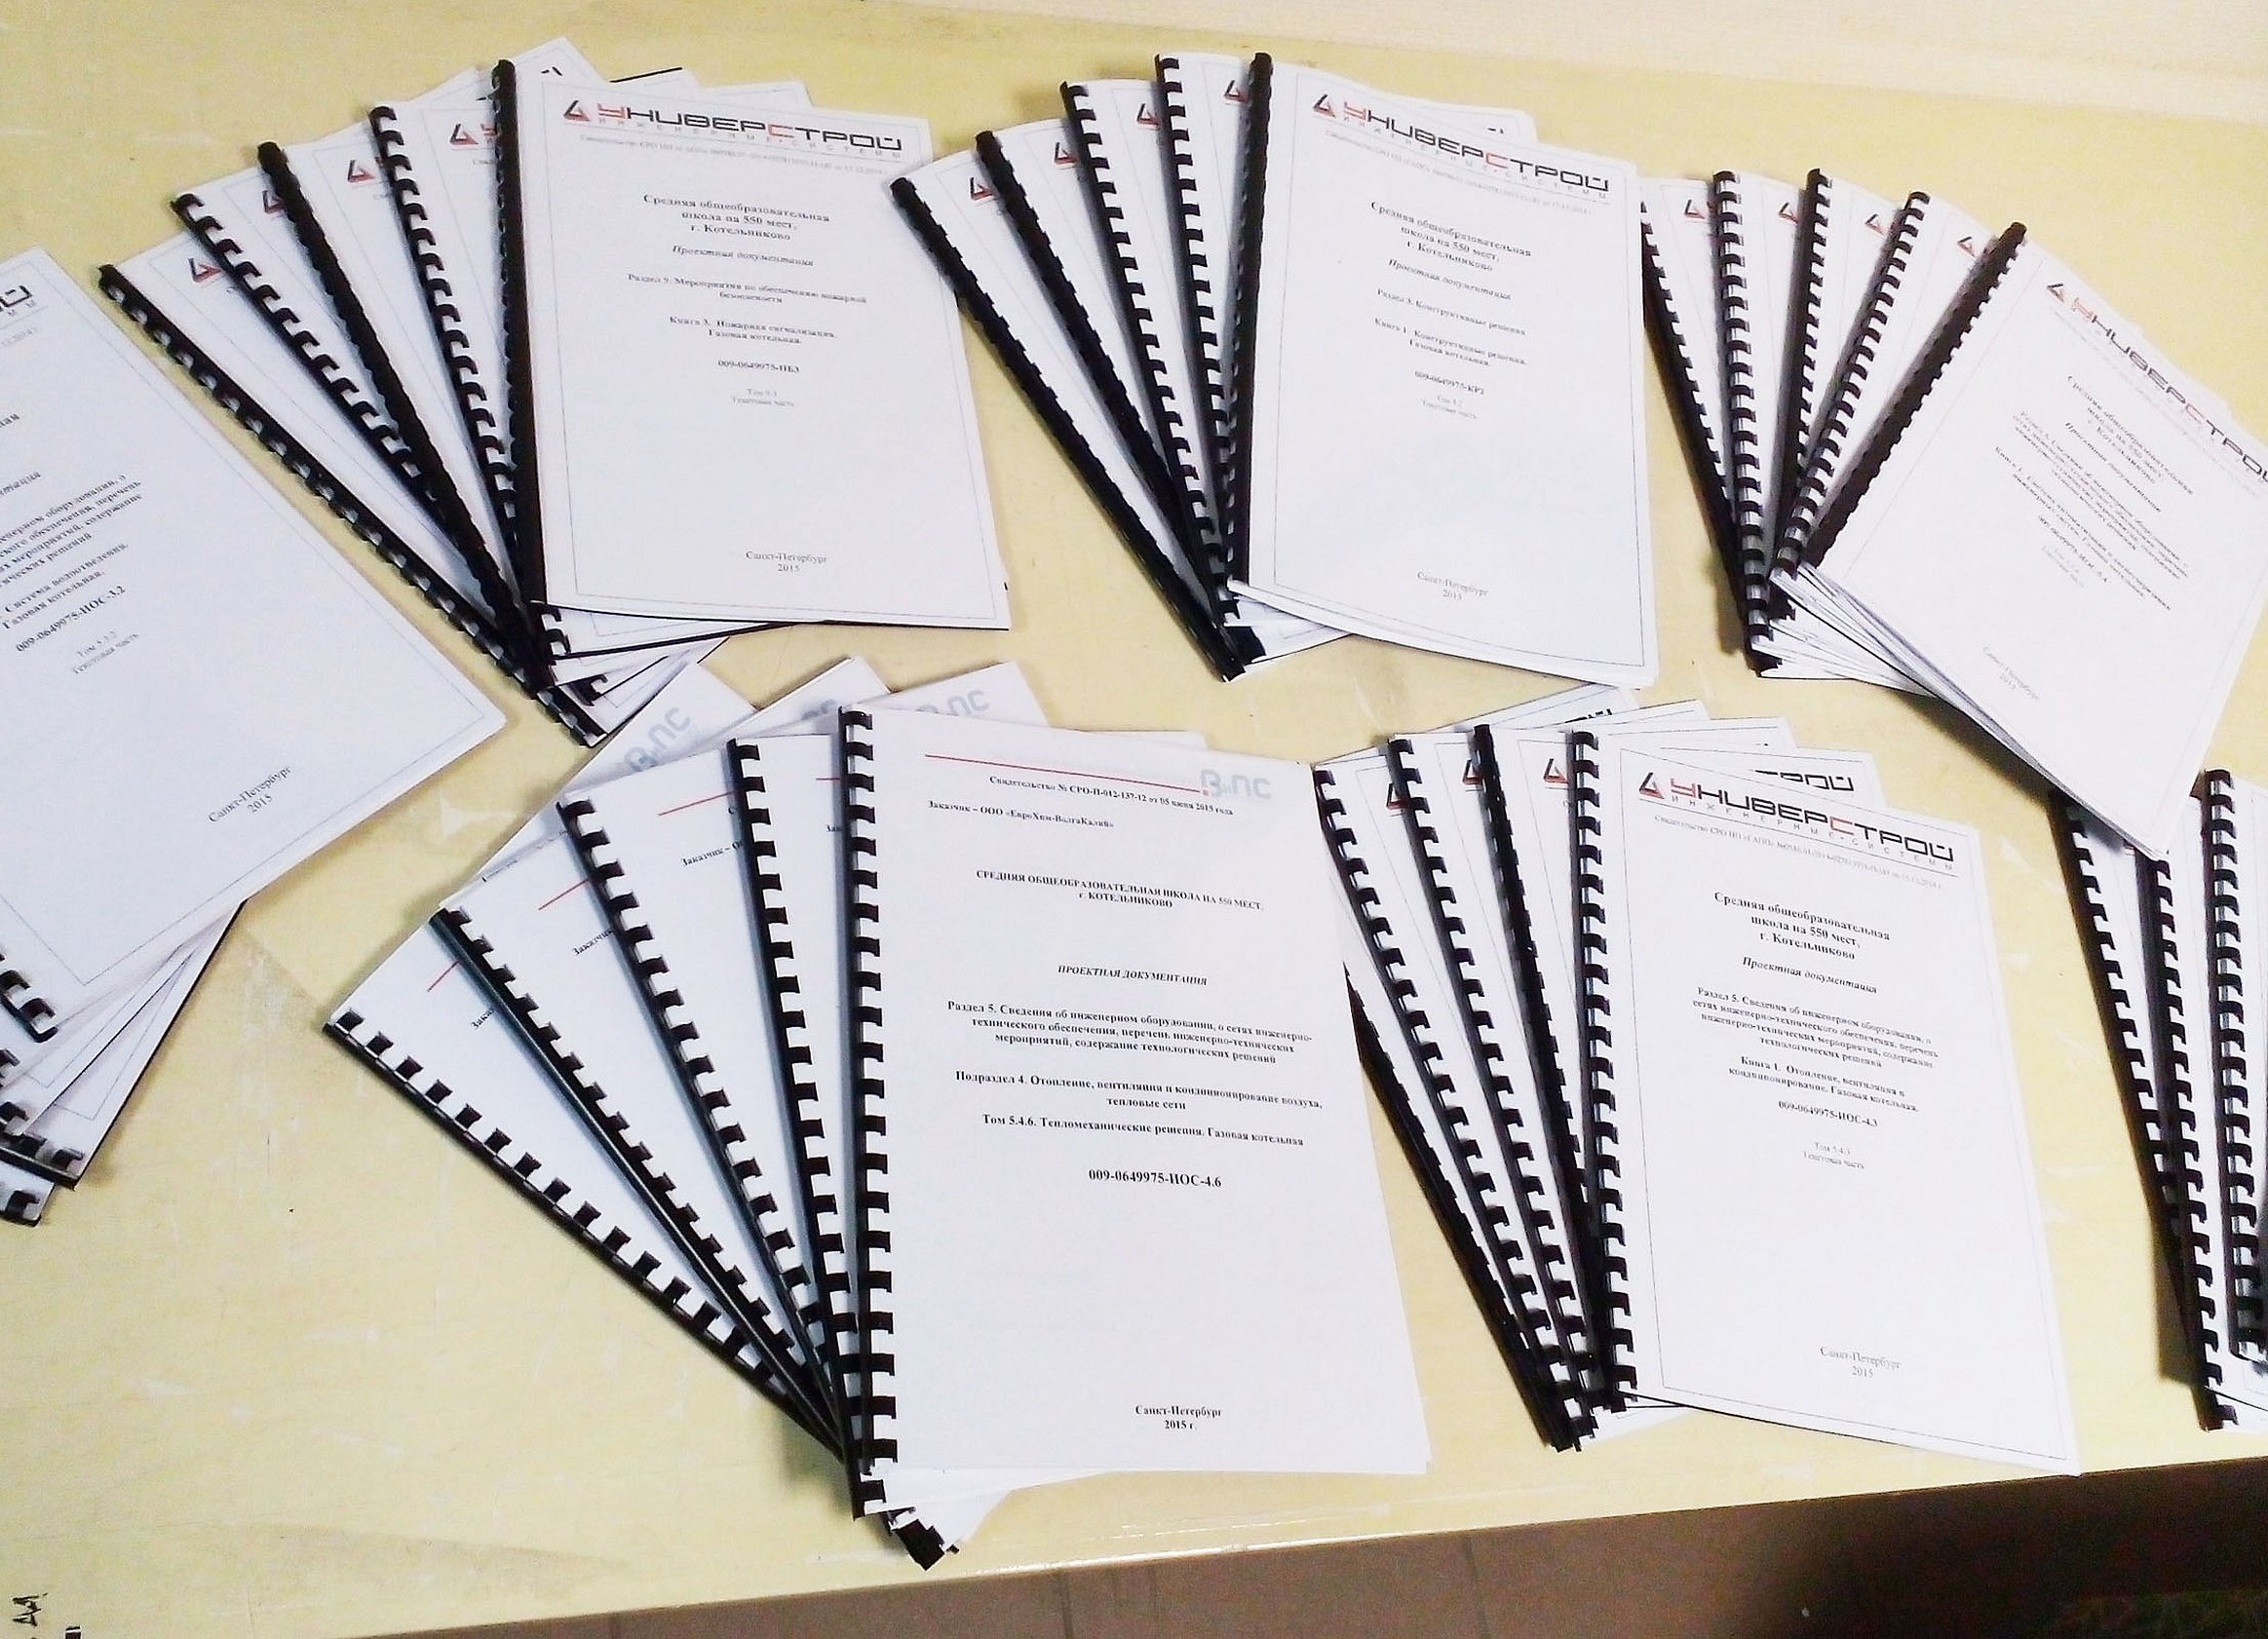
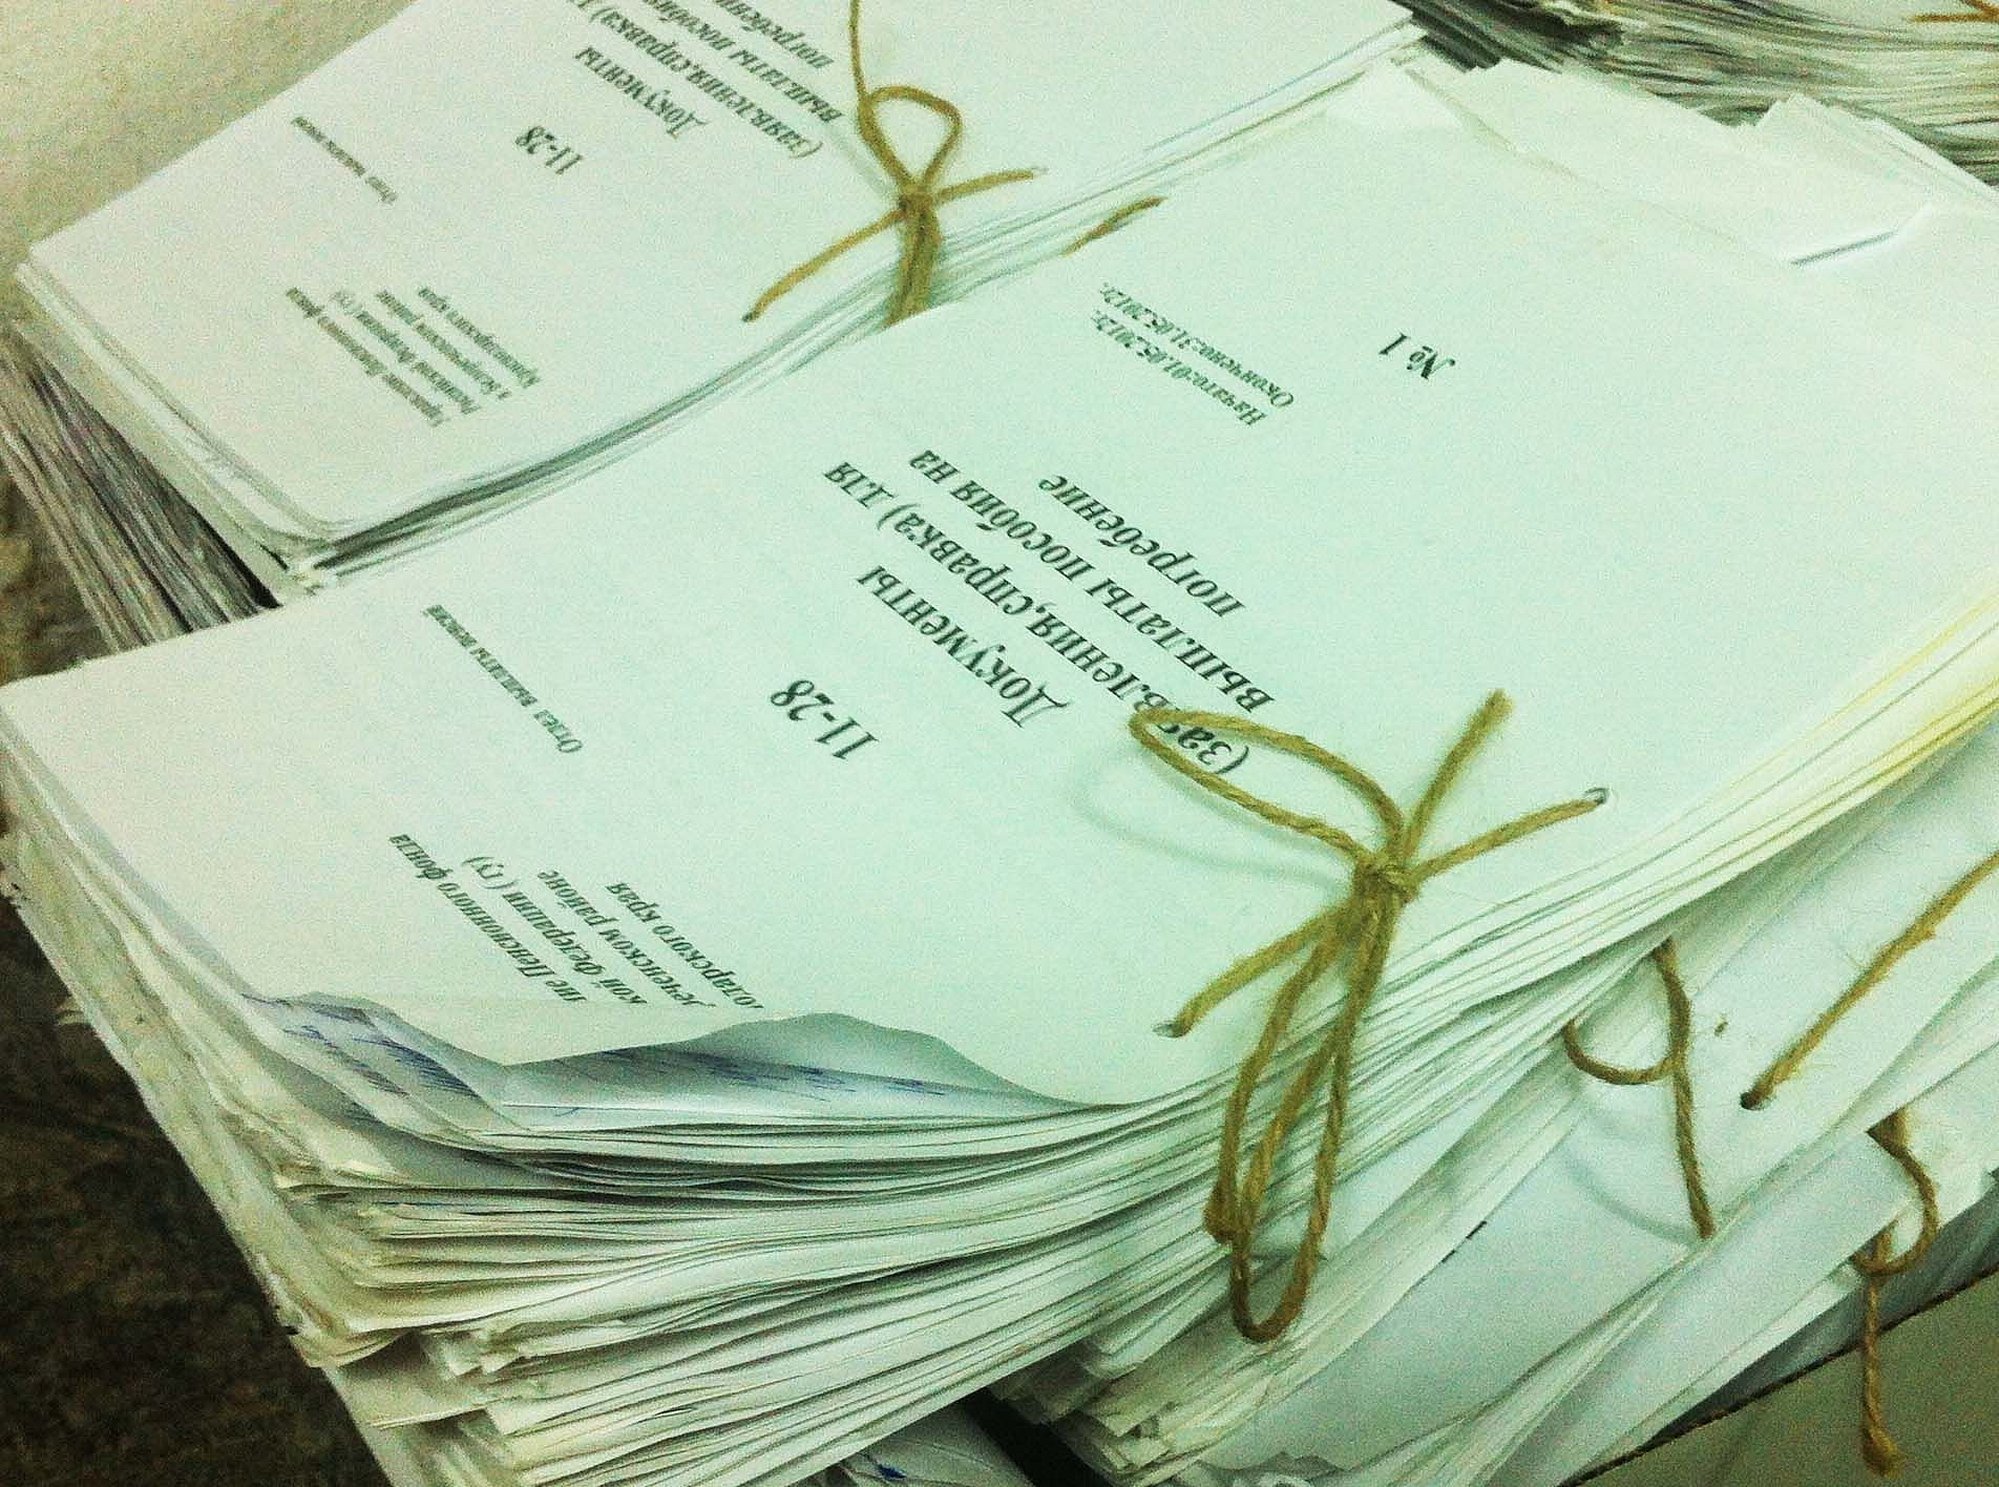
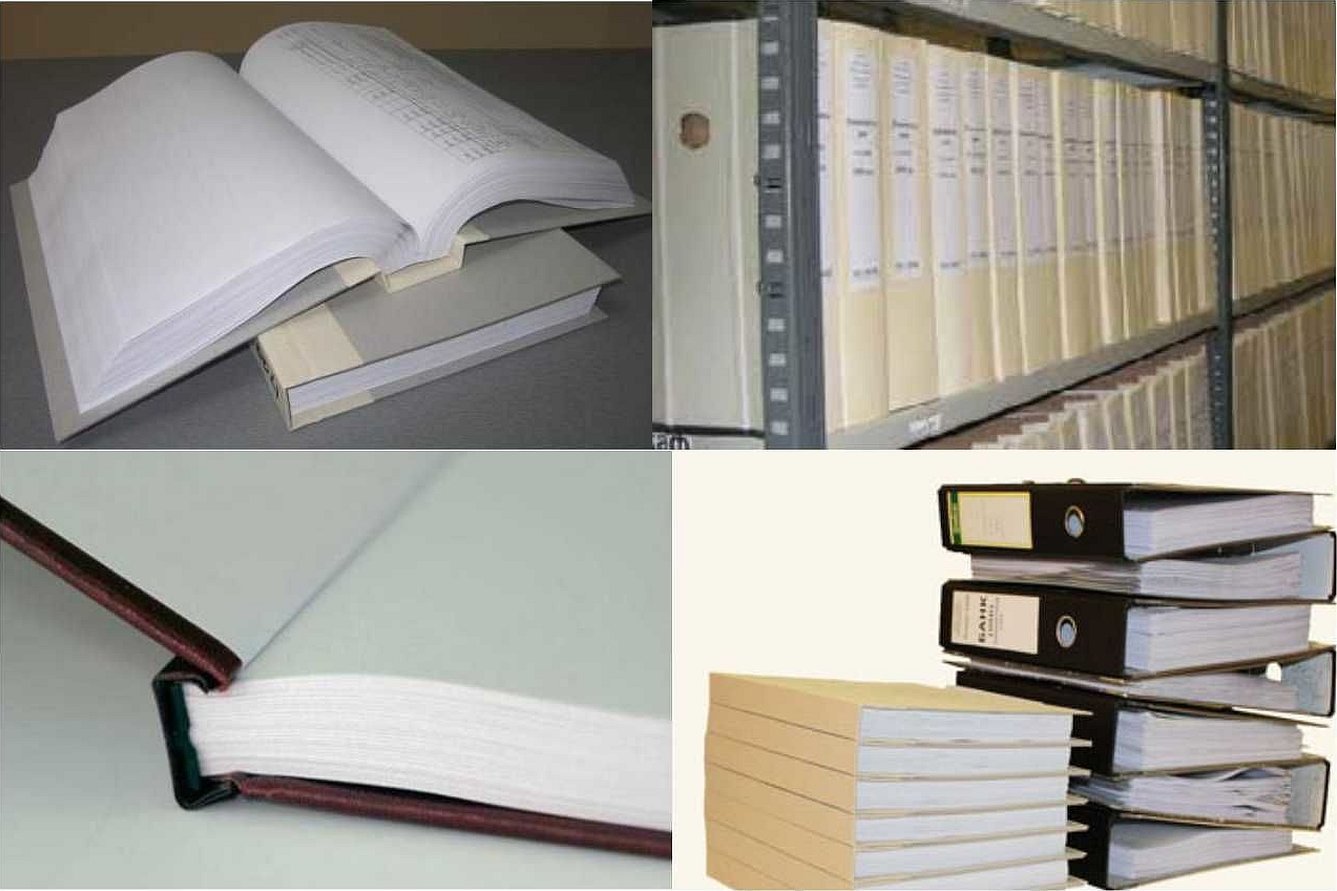
Usually, those documents that are to be submitted to archives, sent for reporting, or that have special value to the owner are stitched.
List of papers that must be stitched without fail:
- Verification;
- Archival;
- Accounting;
- Personnel.
Materials needed for stitching documents with threads
If you stitch documents using the classic method, you need to have the following materials with you:
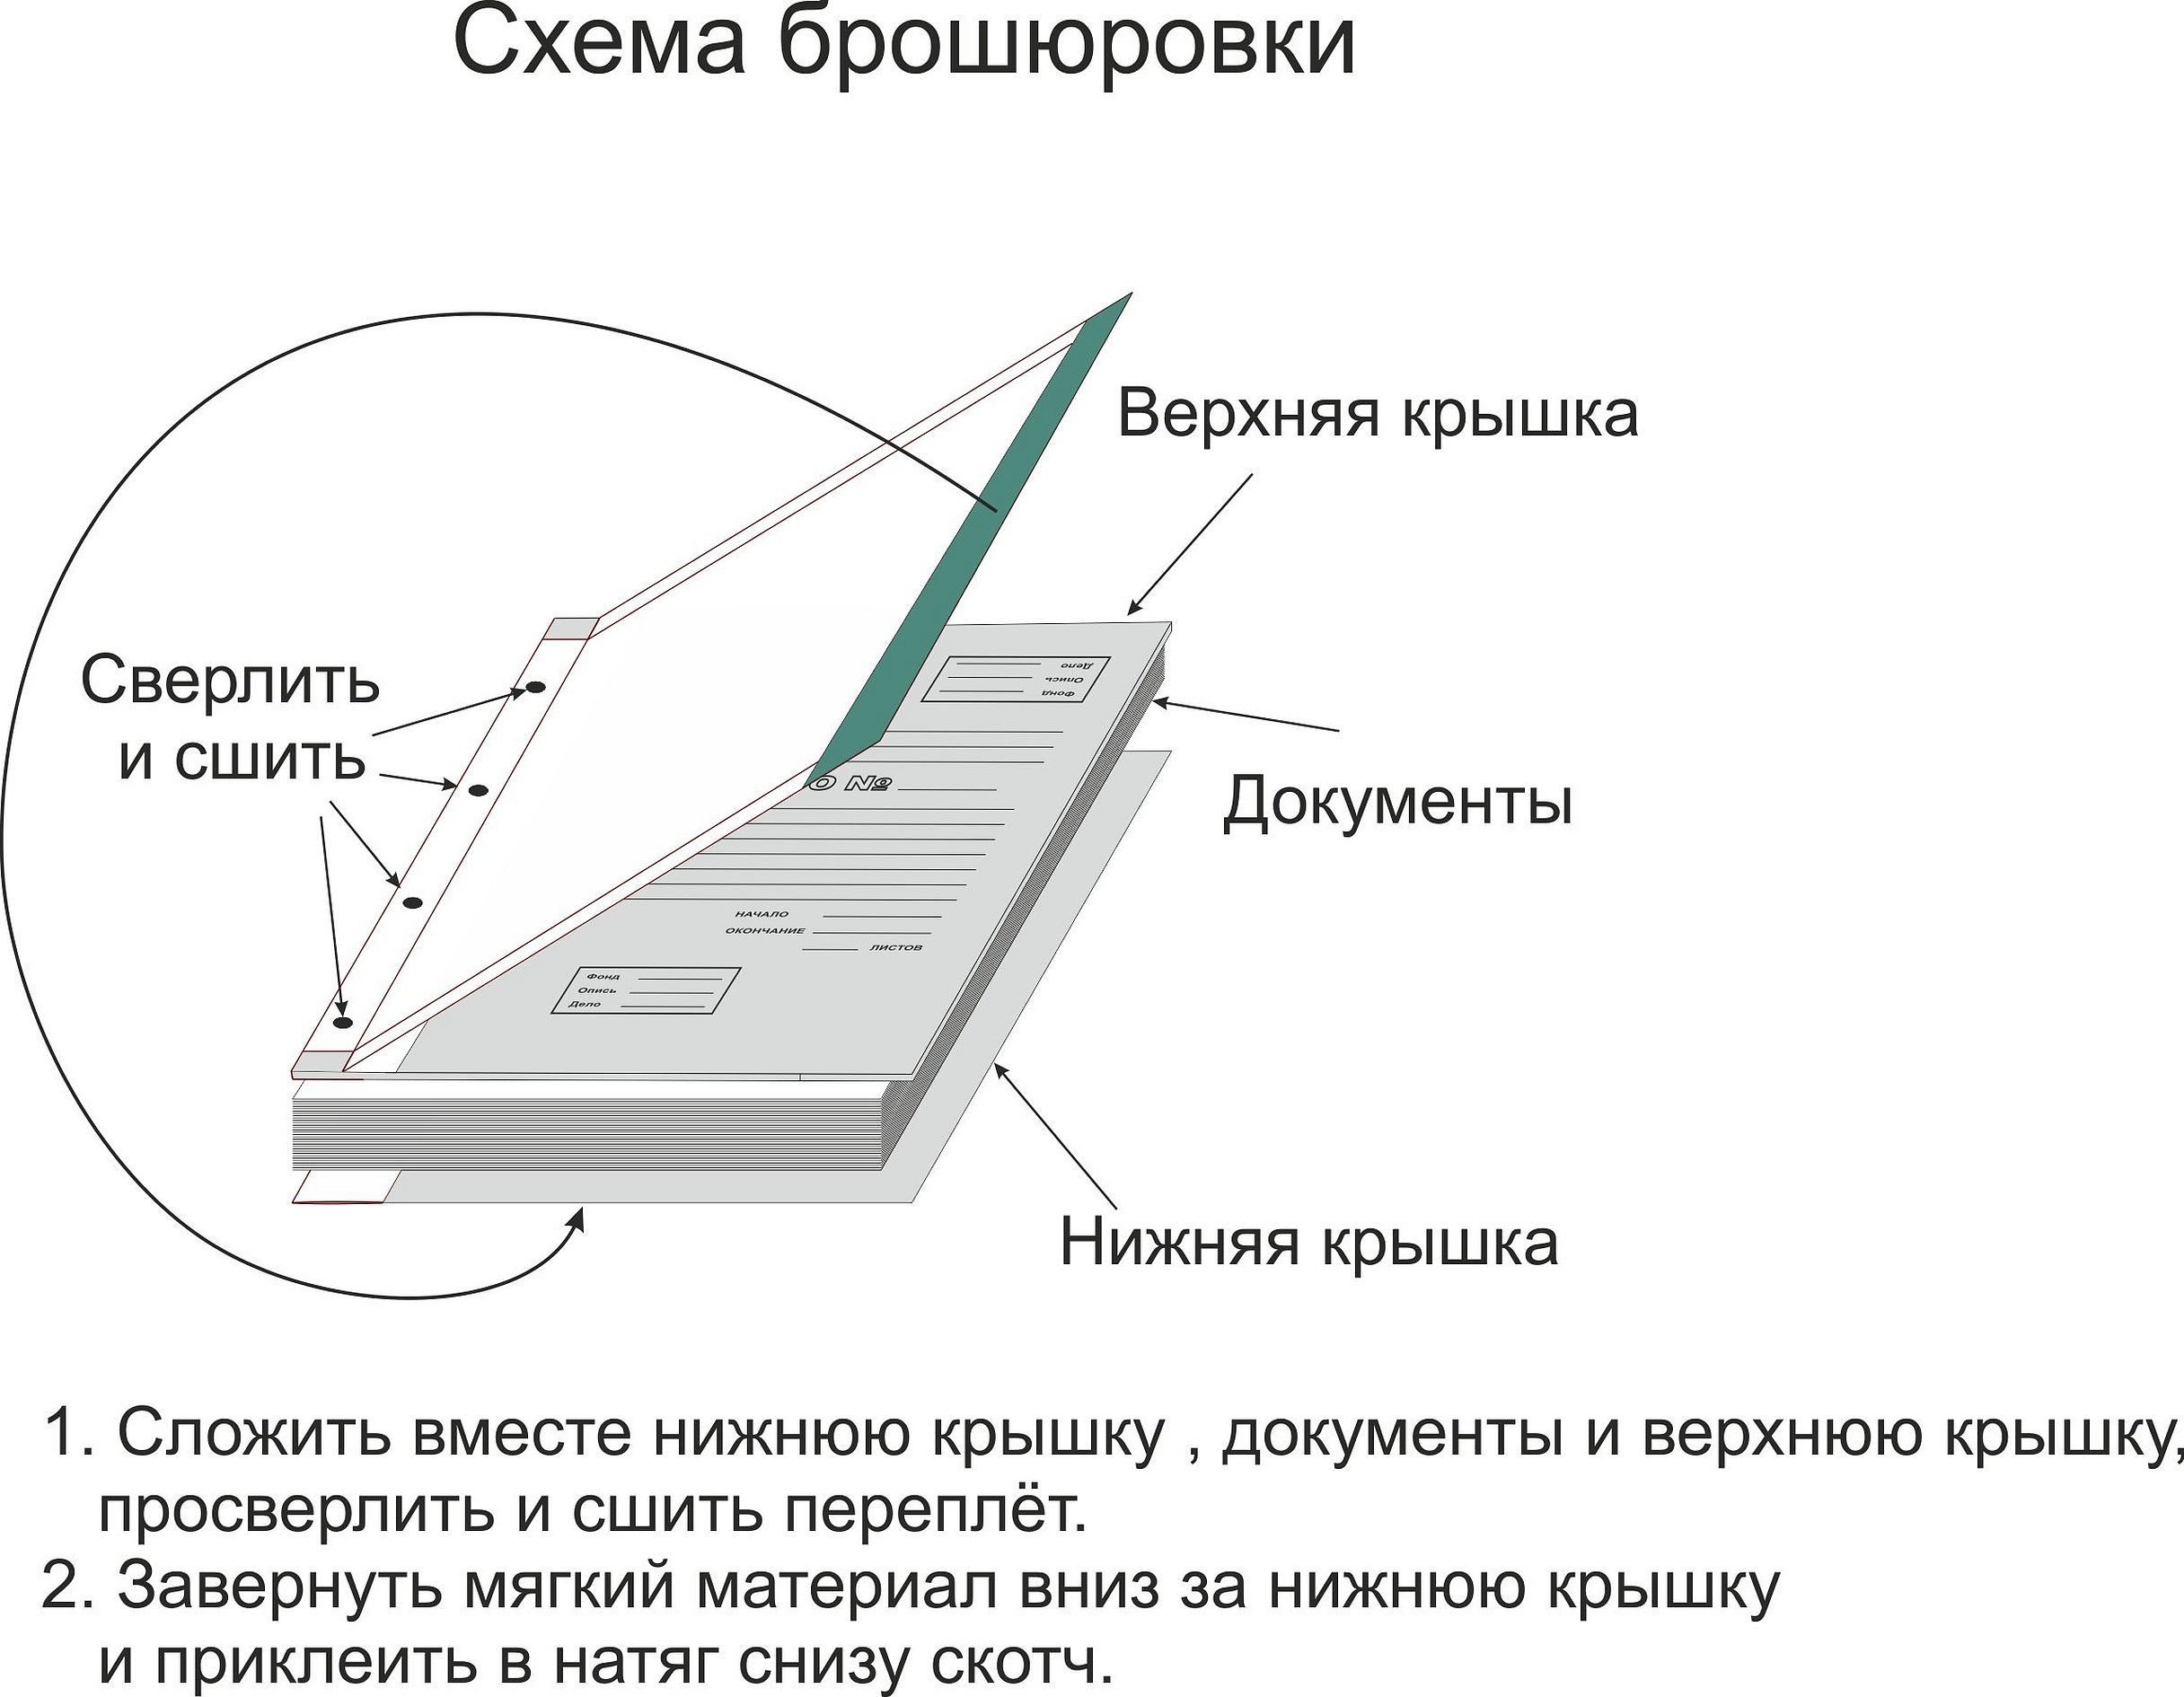
- Covers. There are three types: regular - the size of such covers is 22.9 by 32.4 cm (this size is suitable for standard A4 size documentary paper); non-standard - covers of this type are used when the size of the papers differs from the standard; for archival storage - such covers are produced in a large number of formats (they are made of very hard cardboard and this contributes to the long-term storage of documentation).
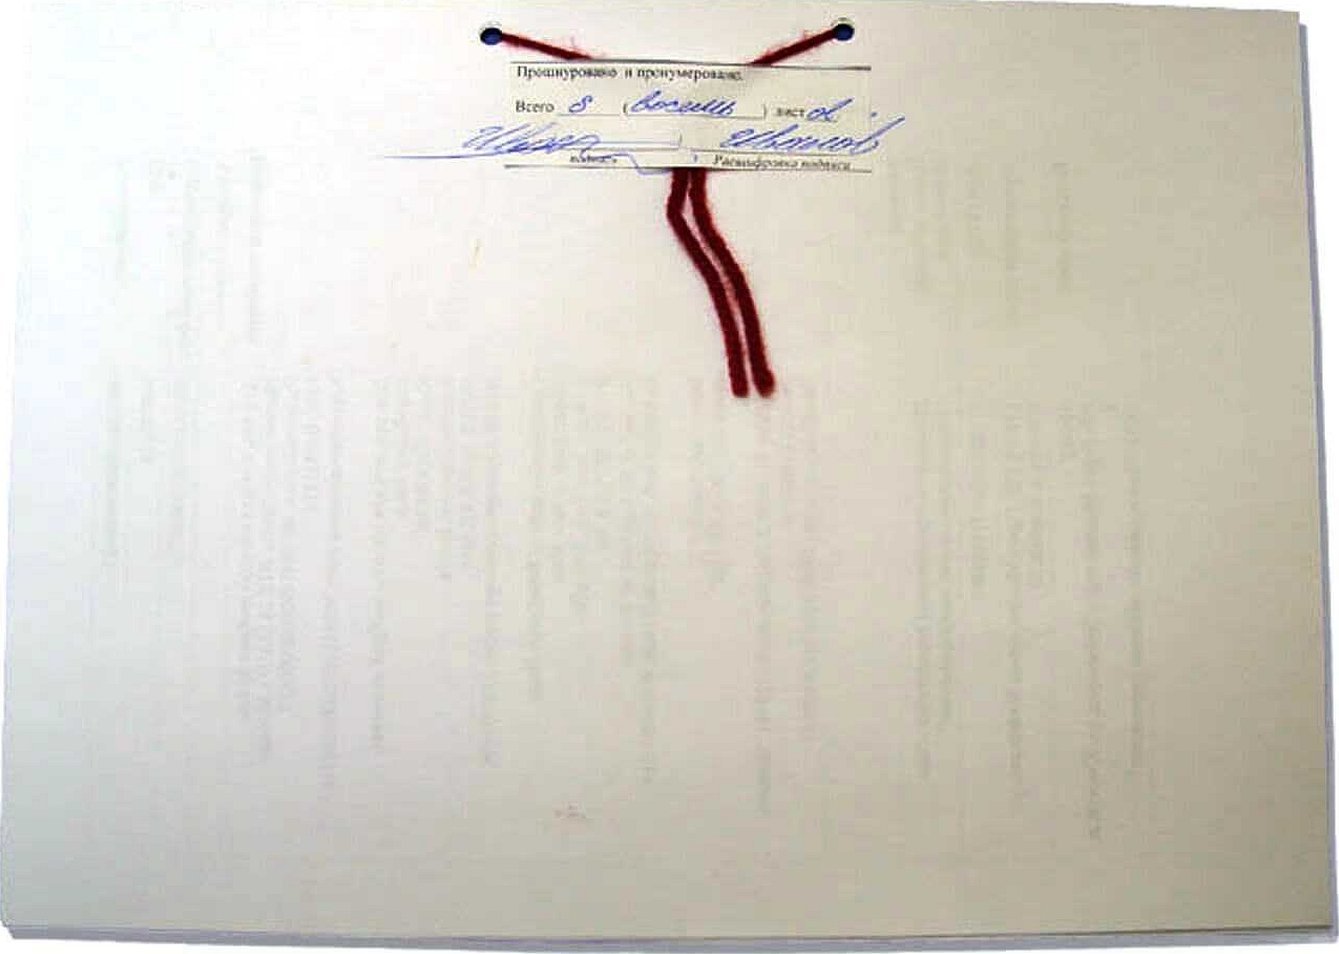
- Certification sheet. When the documentation is completely stitched and numbered, it is necessary to make a certification inscription. It is done on a separate sheet of paper and is located on the back of the last sheet of the folder. The note must be glued with special glue so that it does not fall off over time.
- Scissors and glue.
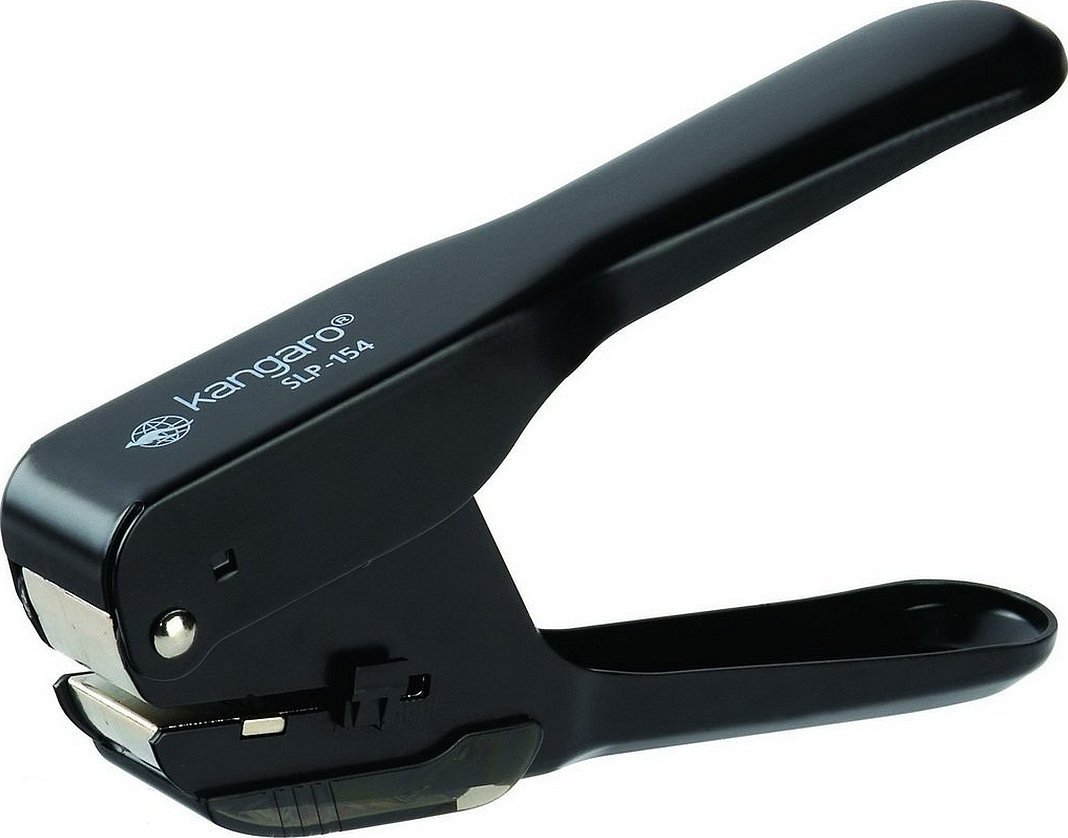
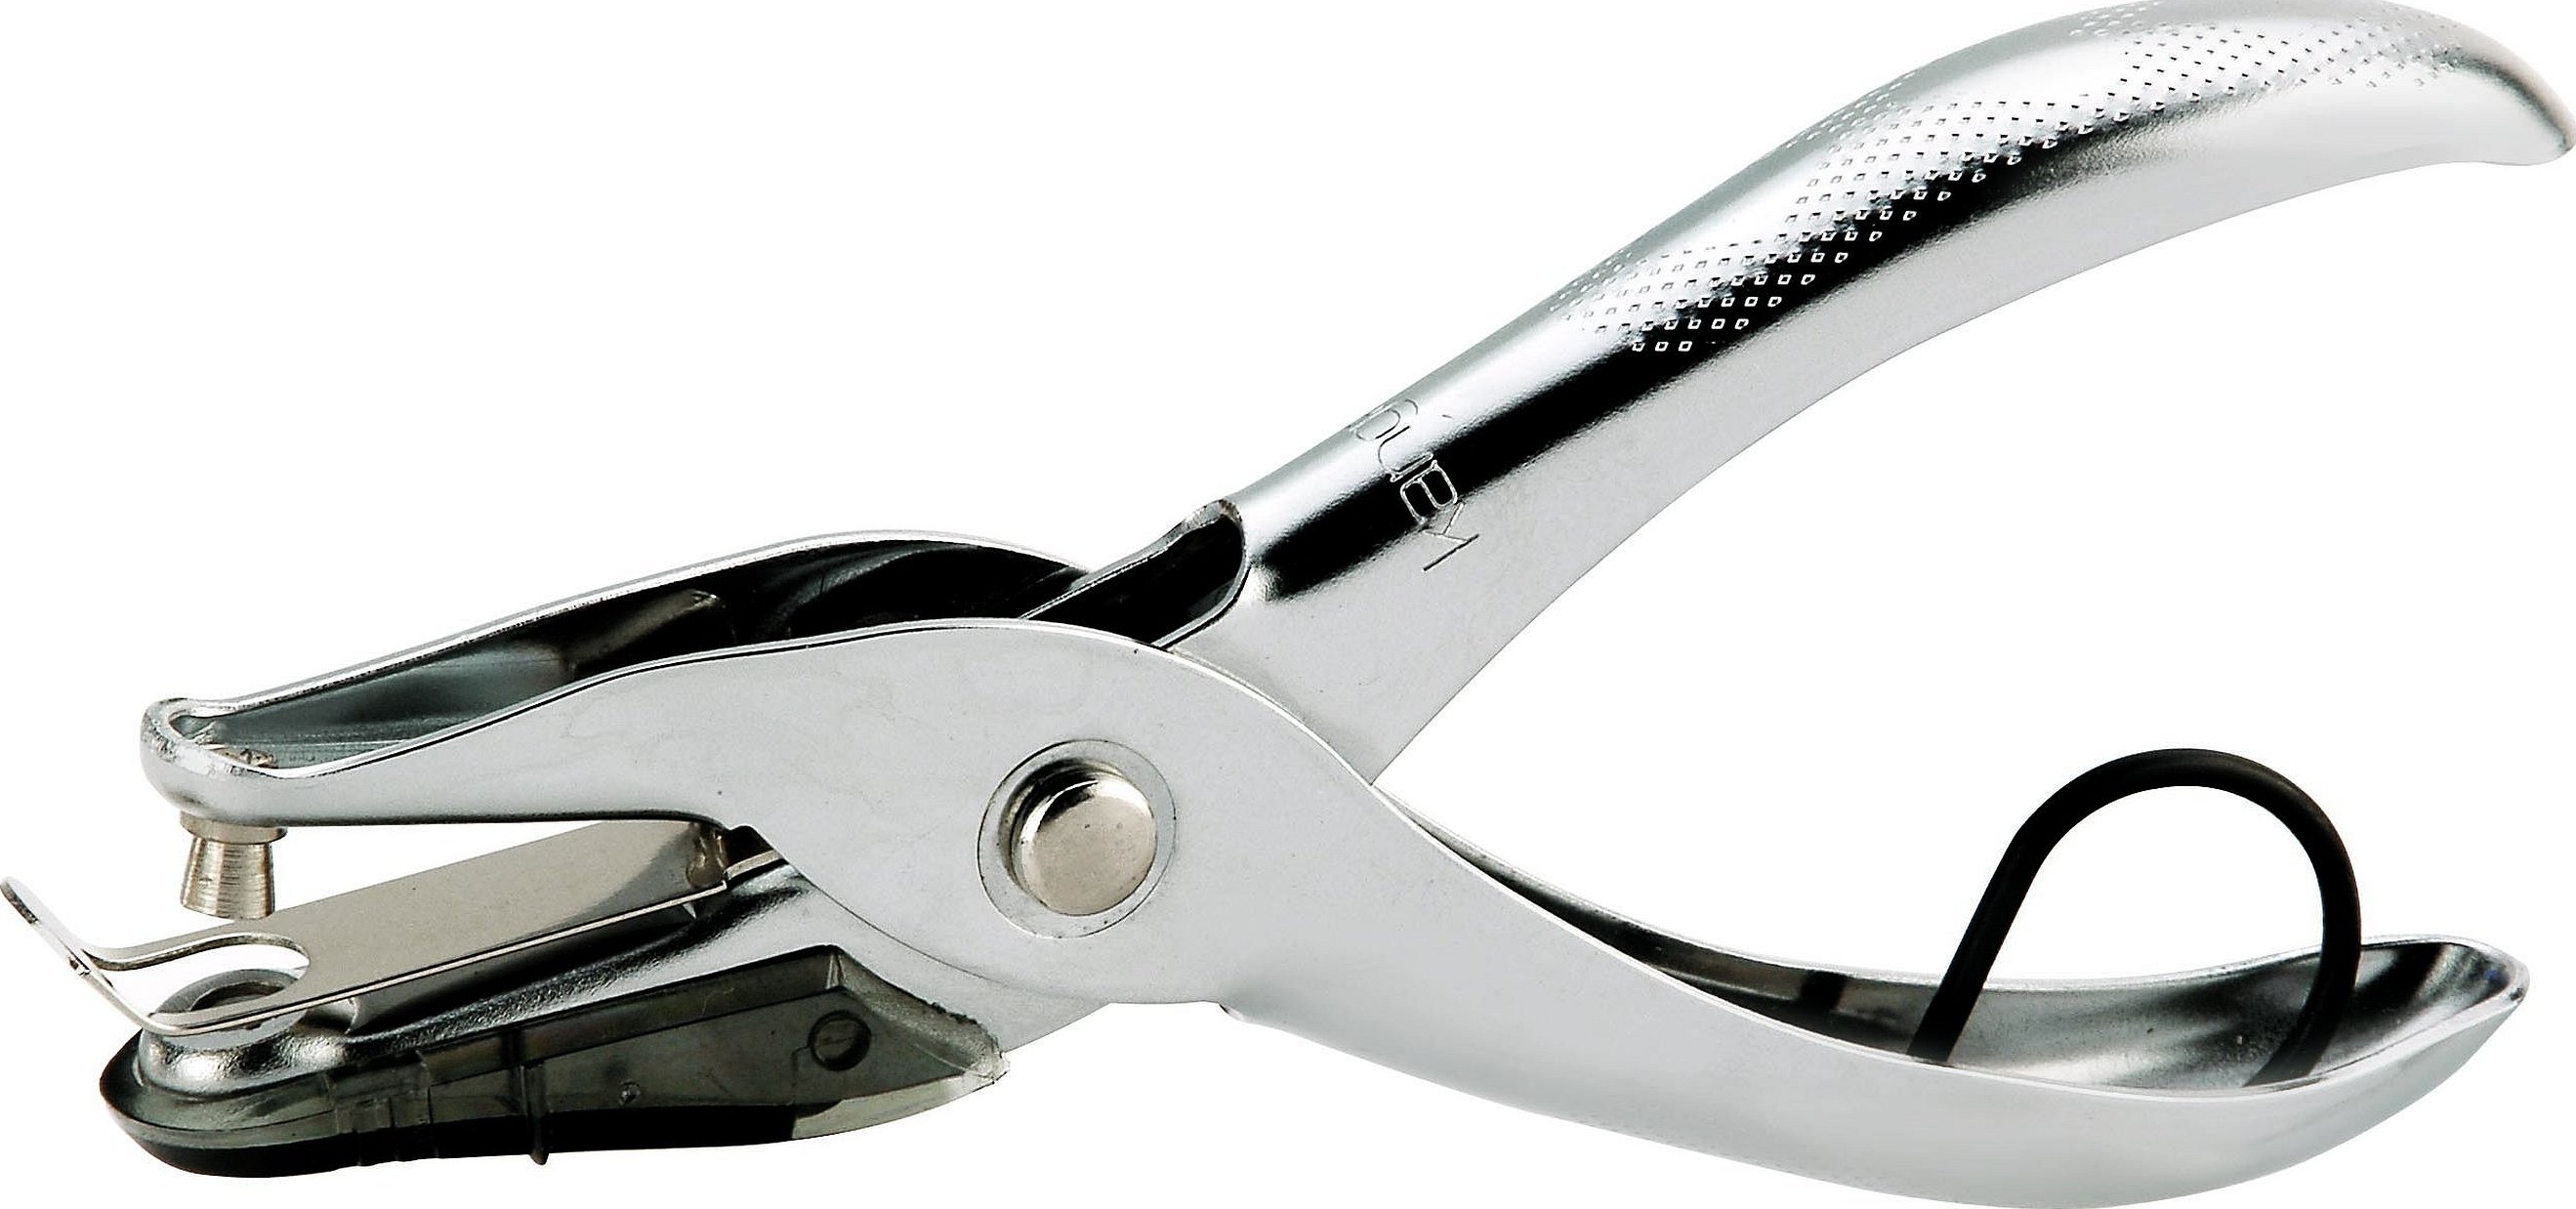
- Hole punch.
- Needles of various sizes, thread, awl, rope or twine.
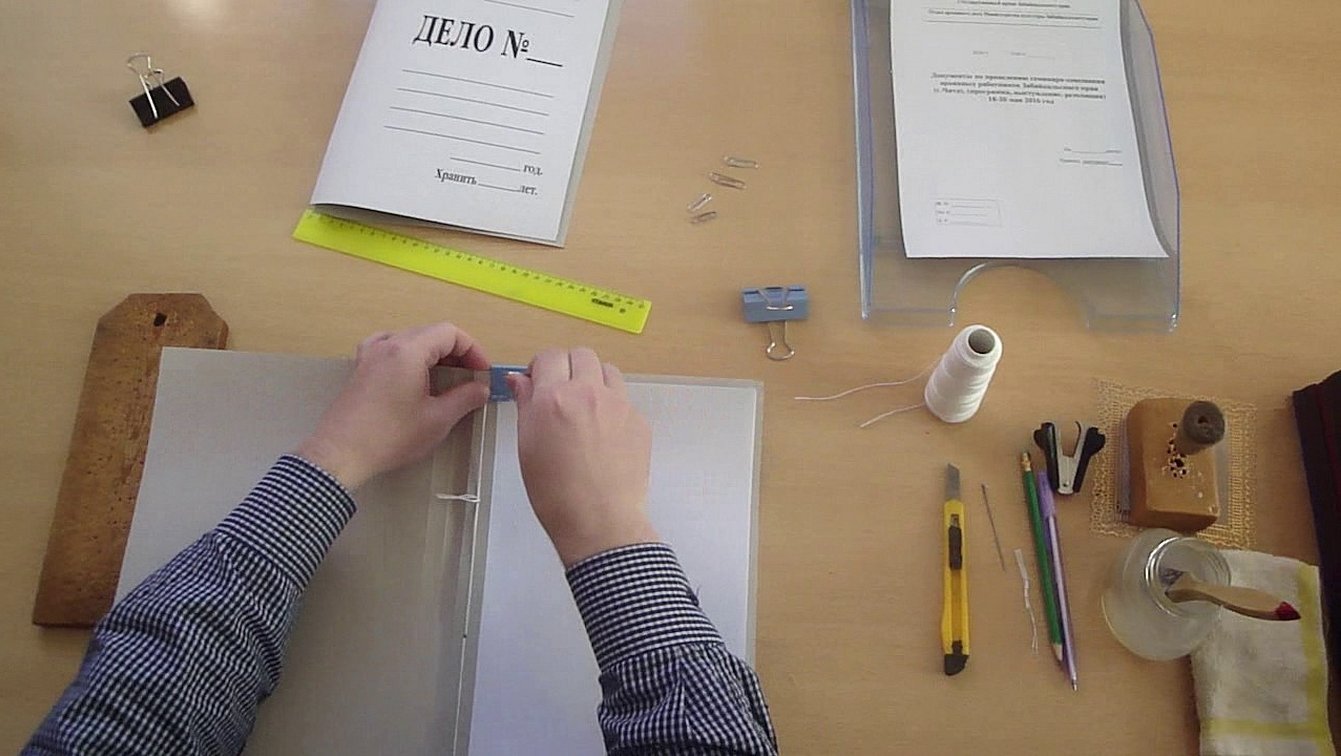
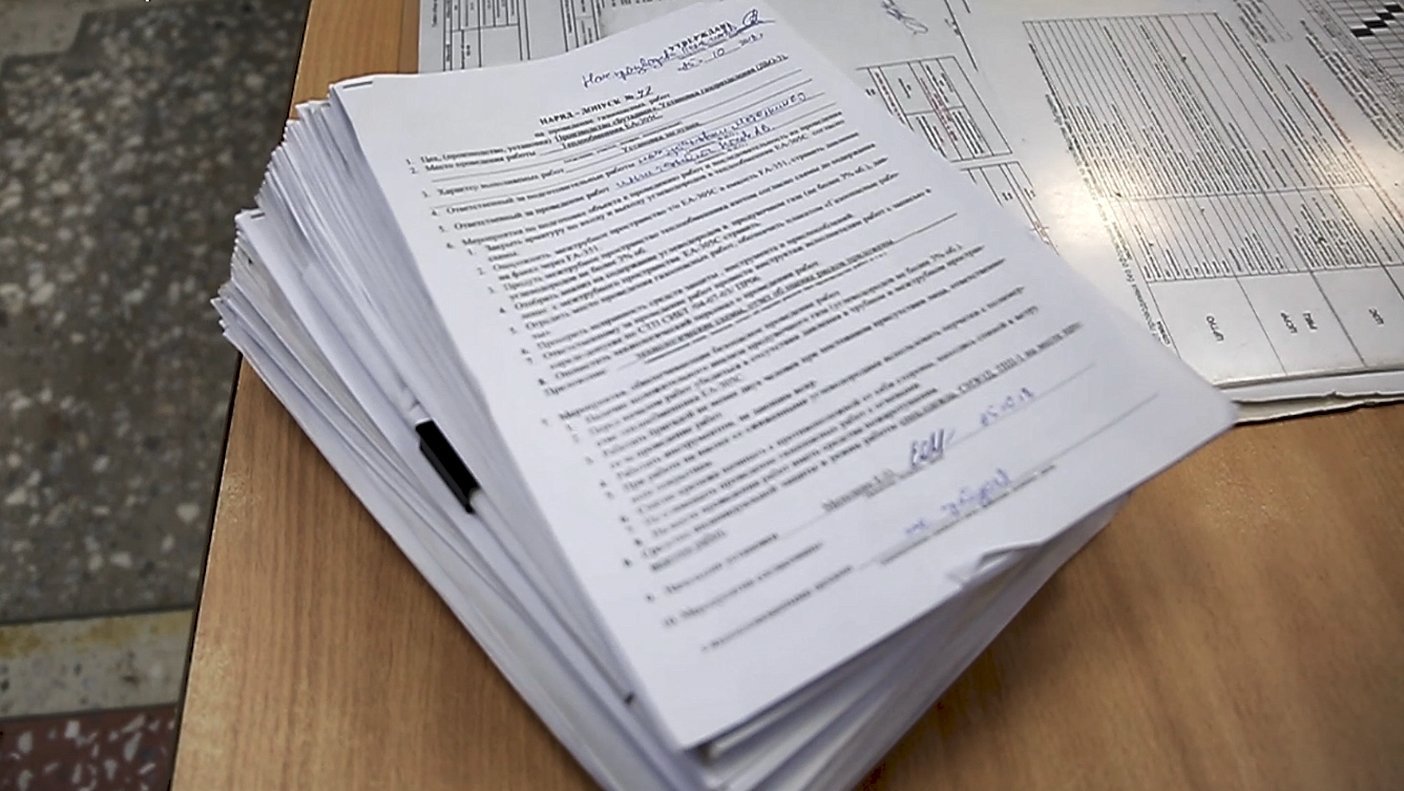
In the usual case, the document sheets are fastened with threads. This is how a small stack of paper is connected. For this type of stitching, a needle and a stationery hole punch are usually used, after which the thread is secured with a signature sticker indicating that the documentation has been certified. To fasten many sheets of paper, a thick twine or a screwdriver is used.
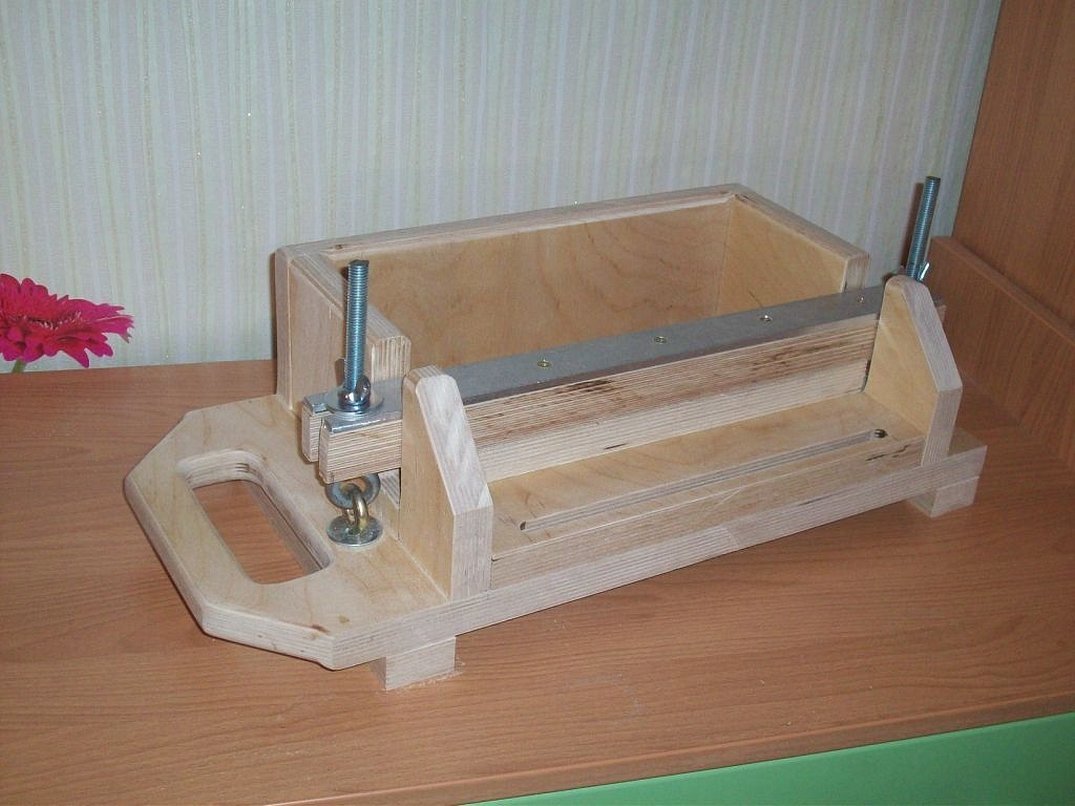
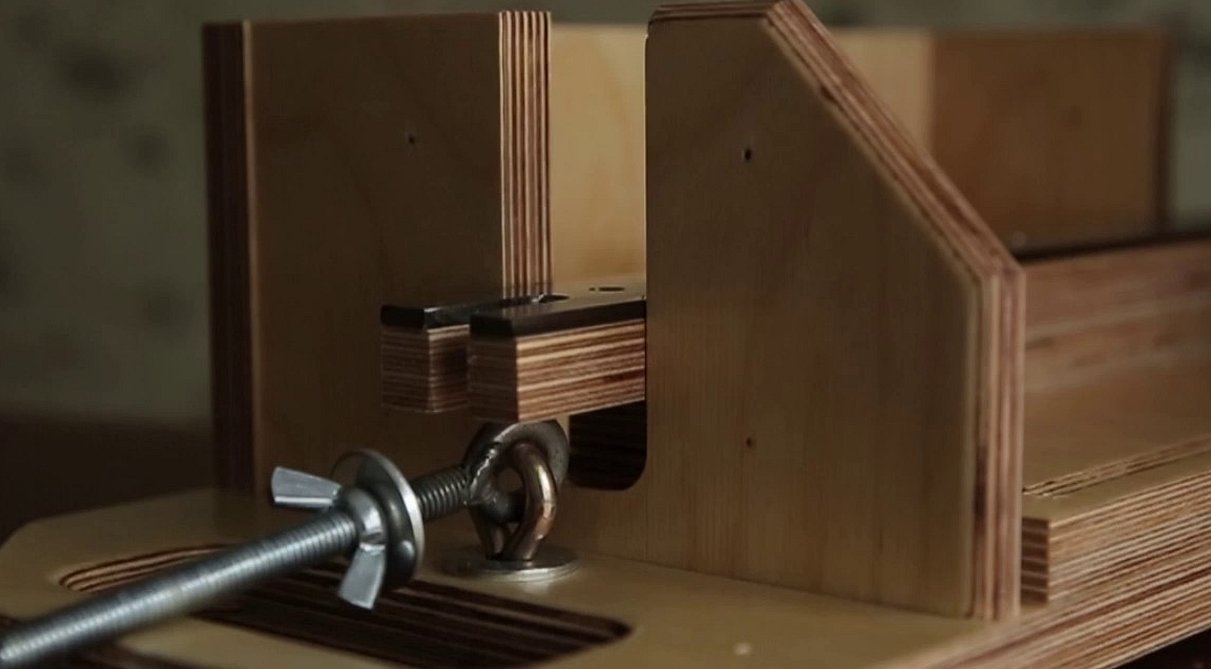
Important! If possible, it is worth using special equipment, such as a stitching machine or a bookbinding machine.
How to Stitch Documents Properly: Step-by-Step Instructions
There are several options for stitching files and documentation. The differences between them are that all methods have a different number of holes and the distance between them.
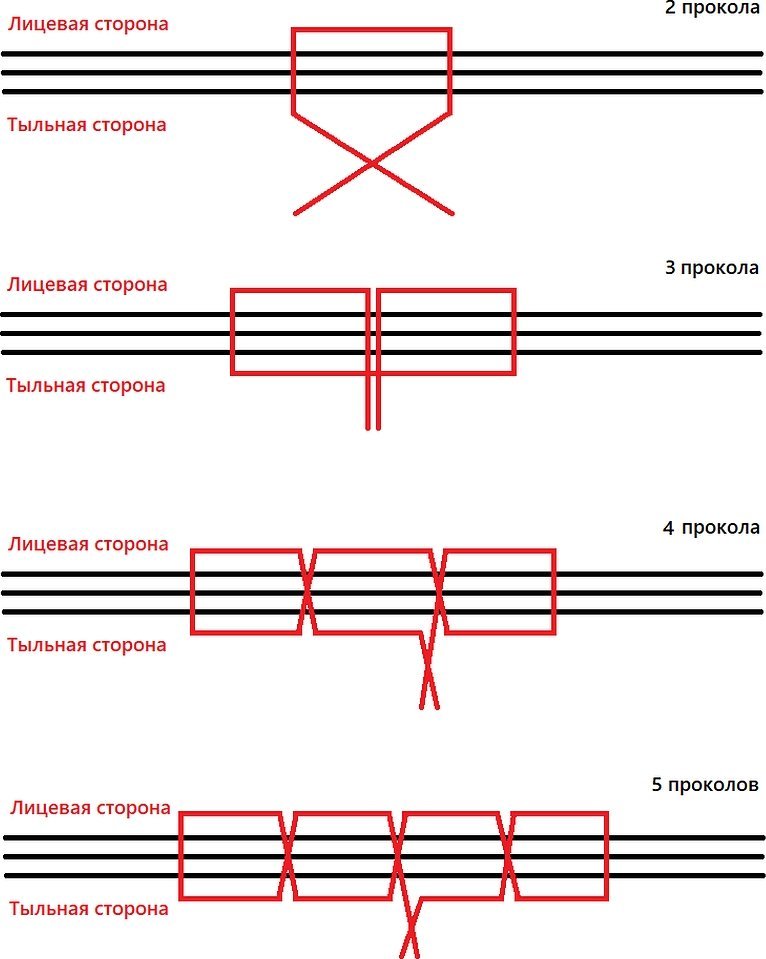
In two holes
The most simplified method. It is suitable for papers that will not be submitted for consideration later. To do this, you need to do the following:
- Print and fold the sheets in order;
- Use a hole punch to create small holes;
- Thread the thread through the holes so that there is room for a knot on the front side;
- Cut a small sheet from the stitching sheet and glue it on top of the knot so that the ends of the thread stick out from underneath it.
Important! If there is no stitching sheet, you should cut out a small piece of white paper measuring 3 by 5 cm, glue it and sign “stitched and numbered”.
In three holes
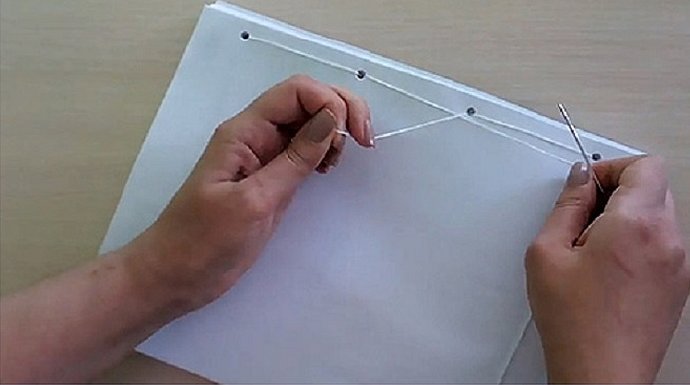
First, mark the locations of the holes you need, preferably in the middle, unless otherwise required. The holes should be spaced equally apart and along the left edge of the documentation. After that, do the following:
- Use a needle to make a hole in the middle of the left side of the sheet so that the needle enters from the back side and exits from the front side.
- Make a second puncture. The needle must enter from the front side and exit from the back side.
- Make the third hole. The needle should enter from the back side and exit from the front side.
- Thread the needle through the first hole again and tie a knot, leaving a tail of about 7 cm.
- Paste the firmware sheet.
- Subscribe.
In four holes
Often they require sewing in more than 3 holes. The question arises, how to sew cases with threads in 4 holes. The sequence of actions, if you need to figure out how to sew cases in 4 holes, is as follows:
- Make holes with a needle;
- Insert the needle from the wrong side through hole number two;
- Pass the threads through the first hole on the right;
- Afterwards the needle goes into the two holes on the right;
- Then the needle goes into the third hole from the right;
- After which the transition to the left protocol occurs;
- Moving on to the third hole;
- It is necessary to make an output on the reverse side and secure it with a knot.
In five holes
This method is rarely used. Usually, 3-4 holes are required. Increasing to 5 holes indicates that such documentation is very important and requires strict reporting.
The algorithm for threading the needle depends on the hole number:
- 3–4;
- 4–5;
- 5-4;
- 4-3;
- 3-2;
- 2-1;
- 1–2;
- 2–3.
- The last step is to secure the thread with a knot.
Features of document flashing: useful tips
Before starting work on stitching documents, you need to familiarize yourself with all the rules and subtleties, as well as study the standard requirements for this procedure. The certification sheet is glued to the knot and thread, using a glue stick or PVA for this. After this, the signature of the head of the institution, the date of stitching and the seal of the enterprise are put on the sheet.
Important! If there are additional sheets of documents attached with staples or glued in the corner, they are also given page numbers, but this is not mentioned in the table of contents.
There is a huge amount of different documentation that also needs to be bound. This includes photographs, drawings and diagrams. Such documents take up the entire area of the sheet, and that is why they should be numbered on the back. In the case of maps and drawings, two A4 sheets are used, but they are numbered with the same number, and each sheet used is listed in the note.
How to number sheets
Before you start numbering sheets, you need to study several conditions:
- Numbering starts from one, using Arabic numerals;
- If there is an envelope with letters, then the envelope itself is numbered first, and then all the other enclosed papers;
- When other papers that already have numbers are attached to the documentation, they still need to be marked in order;
- Sheet numbers must be placed in the upper right corner of each sheet, without damaging the text of the document;
- Numbering is not required for the inventory;
- Non-standard format sheets must be unfolded and only then numbered in the upper right corner;
- In the case of maps and drawings, two A4 sheets are used, but they are numbered with the same number, and each sheet used is listed in the notes;
- When photographs and certificates are pasted on only one side, they are numbered separately.
How to certify a stitched document
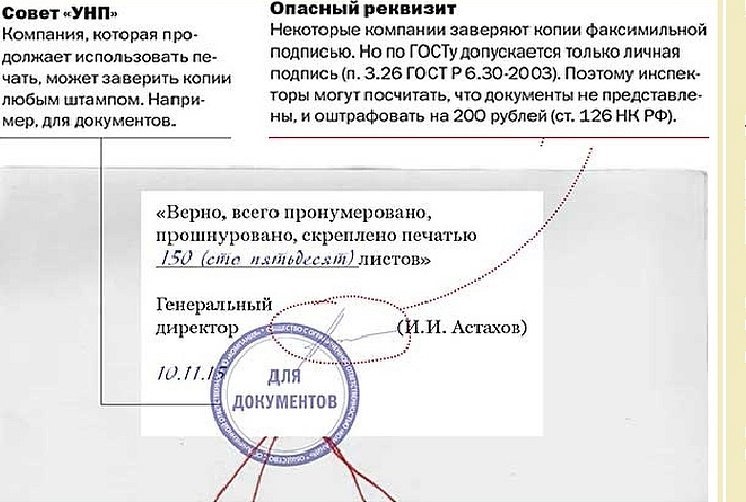
After the procedure is completed, a certification inscription should be made. It should be drawn up on a separate sheet and placed on the last sheet of the already prepared papers. The note should contain the number of all numbered pages that were stitched, as well as describe notes on the condition of the documents, possible blots or torn sheets. The inscription is signed and certified by the head of the organization, indicating his position and the decryption of the signature.
The certification inscription should be glued with high-quality glue so that it remains reliable even after a long period of time. A seal is also required, which should capture not only the inscription, but also part of the document sheet.
Regulatory acts on document flashing
In some cases, for example, if there are additions, it is allowed to use letter numbering. It is important to remember that the numbers are placed in the upper right corner. According to the classic method, sheets are fastened with a thread if it is a small volume of papers. In this method, a hole punch or a needle is used.
The trust sticker cannot be glued using self-adhesive material and silicate glue or glue stick. In addition to these recommendations, there are a number of other industry regulations that establish the rules for stitching business papers.
So, we have considered how to properly sew files by hand with a needle and thread and sew sheets with 4 holes or more. Learning how to sew folders and other documents with hidden stitches is not difficult.


