Wearing masks helps people solve important problems. One of the most important is protection against the penetration of pathogenic microbes into the body. How to sew such a necessary accessory is described in detail in this article.
- What types of masks are there?
- How to make a cotton-gauze bandage for the mouth
- Interesting masks-decorations for carnival
- Leather cat mask
- How to Make a Modern Ninja Mask
- Step by step procedure for making a papier mache mask
- A simple cardboard face
- How to Make a Scary Mask with Your Own Hands
- Sleep mask
- How to make a special forces mask at home
- What material is better to use?
What types of masks are there?
One of the most well-known uses is medical. However, this accessory has a much wider use. Its scope of application covers the following areas:
- Most often worn to improve protection against the spread of infection. Surgeons use them during surgery to protect the patient. They should cover the nose and mouth. Citizens can significantly reduce the risk of catching a cold or flu in this way.
- Carnival masks are very diverse. Their use is limited only by the imagination of the participants of such events. Here, a large number of different materials and models are used for beauty.
- When doing sports, they help increase the load when performing exercises.
- Sometimes they are worn by those who want to match a certain image (for example, a bear or another animal). They are suitable for those who want to emphasize their independence or match the chosen style (this may well apply to cyberpunk).
- Sometimes wearing a mask to hide the face is a rule of religion. This applies, for example, to Islam.
- They help to hide your identity. In this case, they are made in such a way as to reveal a minimum number of details.
Modern life sometimes contributes to the depersonalization of a person and the desire to psychologically isolate oneself from the surrounding world. Hence the desire to wear a mask.
How to make a cotton-gauze bandage for the mouth
This bandage is useful to protect against infection in the respiratory tract. It can also be used by a sick family member to protect their loved ones from possible infection.
Before you begin, please consider the following:
- The cotton wool must be 100% cotton. It is not allowed to use cotton wool that contains synthetic materials or has been bleached with chlorine. Cotton wool that contains short fibers is not suitable. When used, they can get into the respiratory tract.
- It is necessary to use sterile materials.
- It requires 4 to 8 layers.
- The dimensions of the resulting product are universal. Its width is 14–15 cm, length (without ties) is 25–30 cm. For ties, you need to use 30–35 cm of material on each side.
- These masks can be reused after they have been washed.
For your information! When the risk of illness increases, it is usually difficult to buy a mask at a pharmacy due to the excitement that has arisen. In this case, it is not difficult to make it yourself according to the following instructions. The pattern of the mouth mask does not contain complex details.
Before starting work, you need to prepare the necessary tools and materials. You will need:
- cotton wool;
- gauze or medical bandage;
- ruler;
- scissors;
- threads and needles.
There are several ways to make them. The first one is as follows:
- you will need two pieces of bandage, 7 m long and 14 cm wide;
- a pack of sterile cotton wool weighing 100 g.
You need to sew like this:
- Place evenly spread cotton wool on the edge of the bandage. It should be laid out in the form of a square 14 by 14 cm wide.
- The bandage is wrapped three times. This is done in such a way that the cotton wool is located in the central part.
- The second bandage is cut lengthwise into two strips. They are twisted and threaded through the sides of the mask, then sewn up.
Now the accessory is ready for use.
The second way to sew a mouth mask:
- You will need two pieces of bandage 70–90 cm long. Each of them is folded separately three times and stitched along the edges.
- Make a rectangle out of cotton wool measuring 14 by 25 cm.
- Place cotton wool between the folded pieces of bandage and stitch along the edges with a basting stitch.
- The edges are folded inward by 1 cm, then stitched.
- Bandage straps are sewn onto the mask along the top and bottom sides and stitched.
This completes the production.
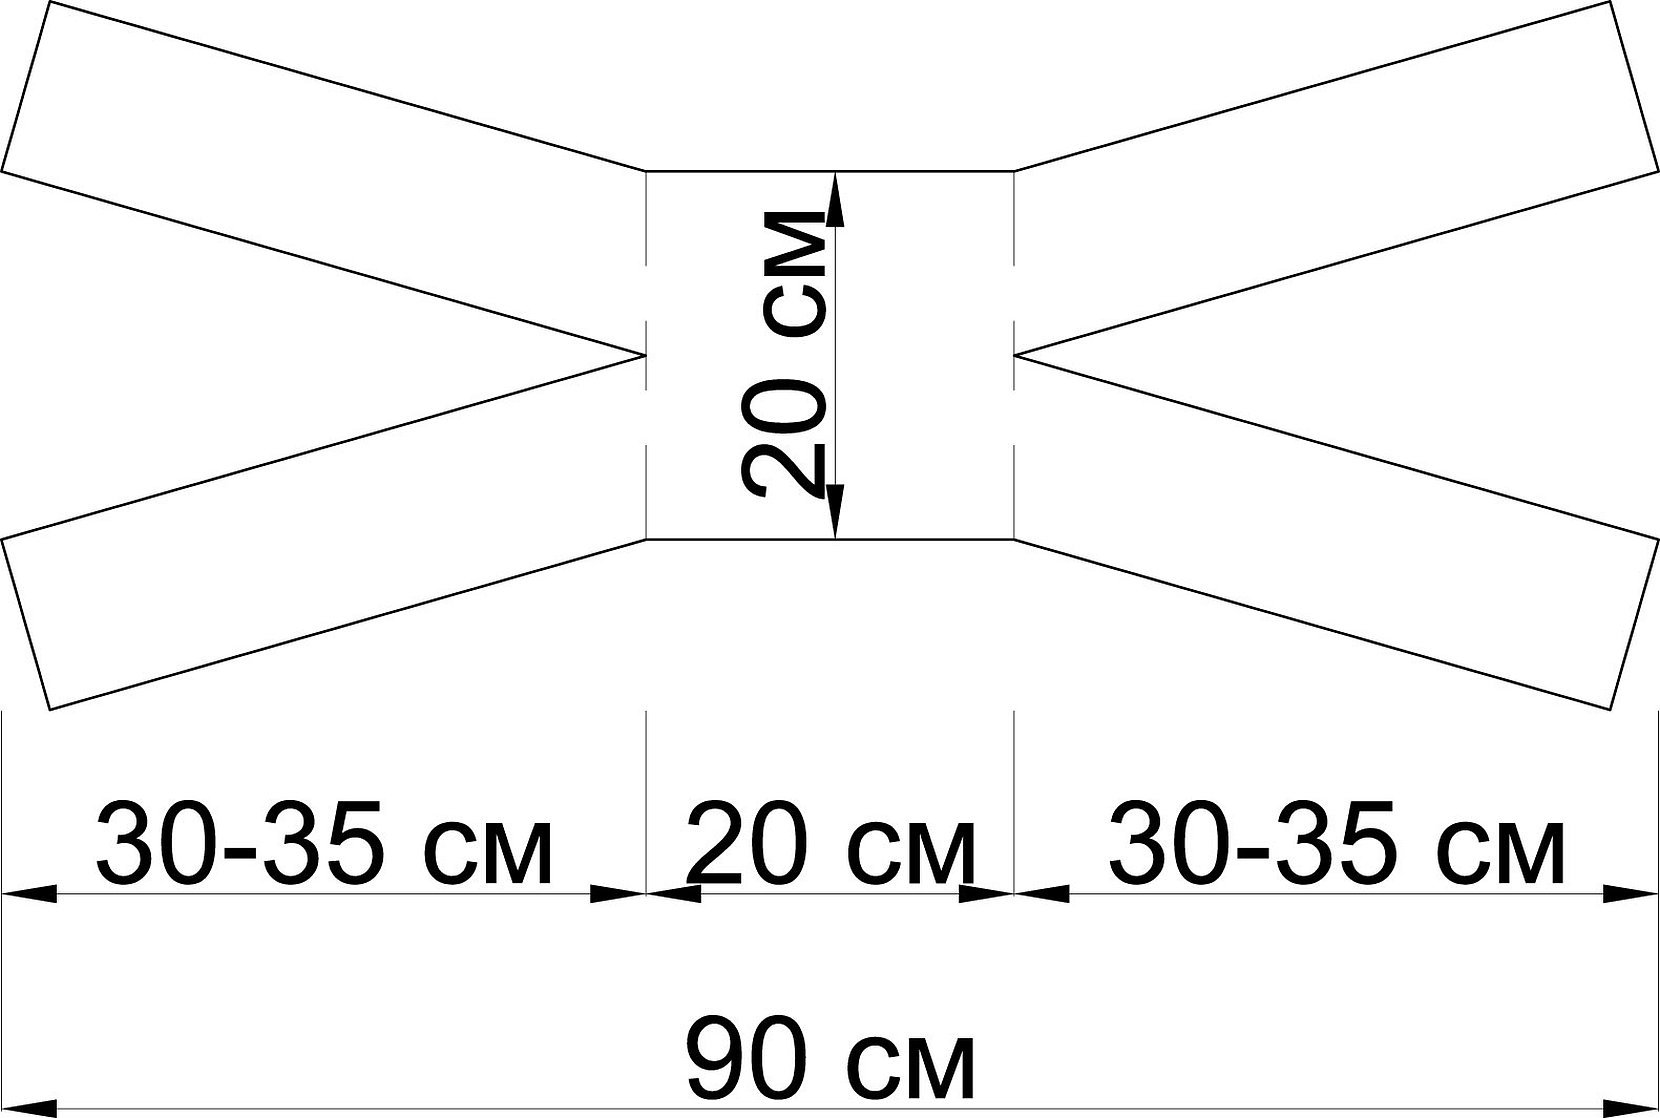
To make a bandage in the following way, you need to use a piece of gauze measuring 100 by 50 cm.
The following steps must be performed:
- Make a rectangle of cotton wool measuring 20 by 30 cm of uniform thickness.
- It is placed on the central part of the gauze piece. The upper and lower parts are folded so that they embrace the cotton wool, and sewn on all sides.
- The edges of the gauze are cut lengthwise to form ribbons 30–35 cm long.
The bandage is already ready.
When making and wearing, the following should be taken into account:
- The mask should cover not only the mouth, but also the nose.
- When wearing, the product should be tied tightly, but not too tightly. It is important that the mask does not cause discomfort when worn for a long time.
- It is especially important to wear it when entering crowded places. In particular, it will be appropriate when entering a store or when you have to get on transport.
- When staying in crowded places for a long time, you need to change your mask at least once every two hours. Otherwise, bacteria will accumulate on the product and it may become a source of problems.
For your information! Cotton-gauze bandages can be used repeatedly, provided they are thoroughly washed and ironed for the purpose of disinfection and decontamination.
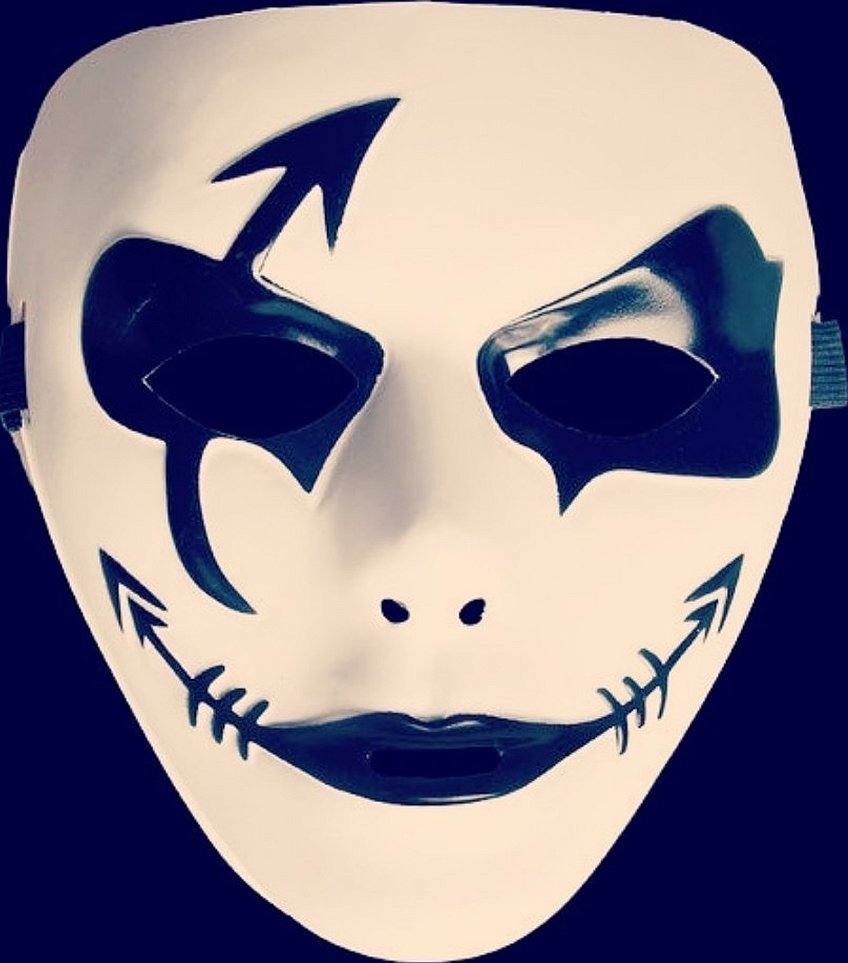
Interesting masks-decorations for carnival
Carnival decorations should combine not only high quality of execution, but also originality of the image. They can be used for various festive events, if you want to celebrate stylishly and originally. You can, for example, make the face of a panda, other animals or cartoon characters.
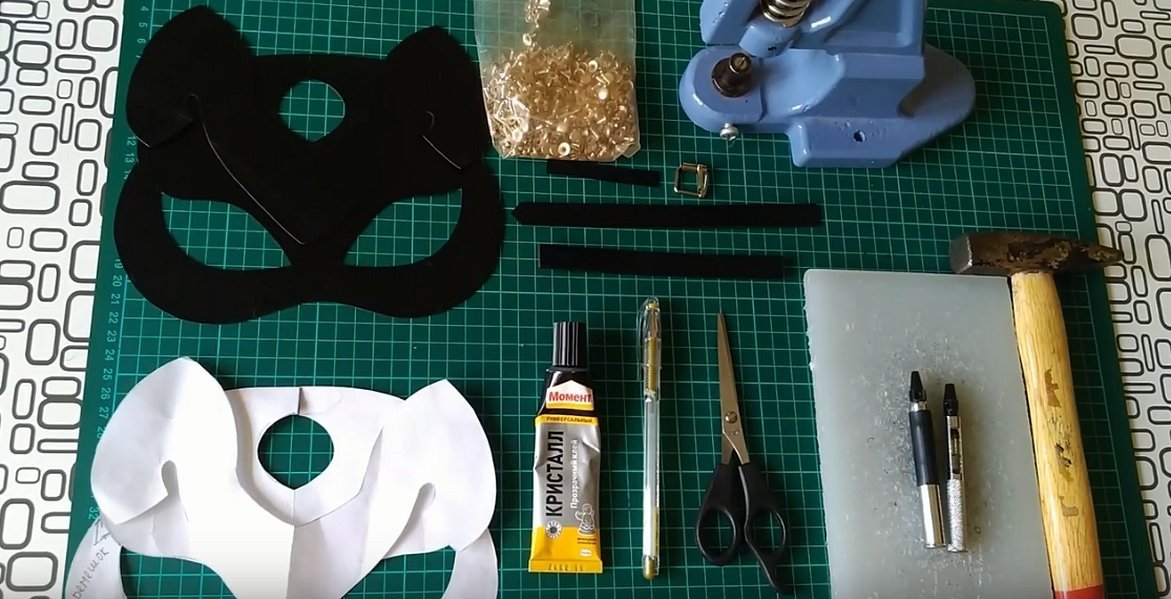
Leather cat mask
To make it you will need:
- leather pattern;
- thick black leather of suitable size;
- transparent glue "Moment";
- light-colored gel pen;
- hammer and leather punches;
- rivets and a device for installing them.
The master class on making it looks like this:
- When creating a leather cat mask, the pattern must be transferred to the material used. Then the necessary parts are cut out and straps are made.
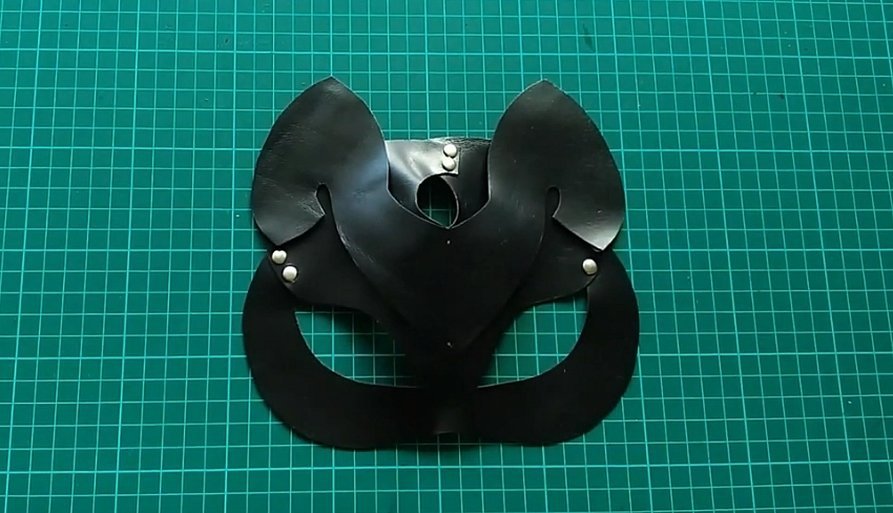
- Cuts are made on the product in the outer corners of the eyes. The lower part is placed under the upper part by 1 cm and glued. This is necessary to create the image of a cat. Two rivets are placed at the joints.
- A cut is made above the top hole and the sides are aligned by 1 cm. They are then glued and connected with rivets, completing the image of the cat's face.
- The second part is placed so that the ears protrude upwards and the middle touches the upper opening from below. Glue and rivet.
- Leather ears are glued on. To add volume, the outer part is glued with a slight downward shift and secured with rivets.
- The straps with the buckle are glued and secured with rivets. Holes are punched in them.
The production of an interesting accessory is complete.

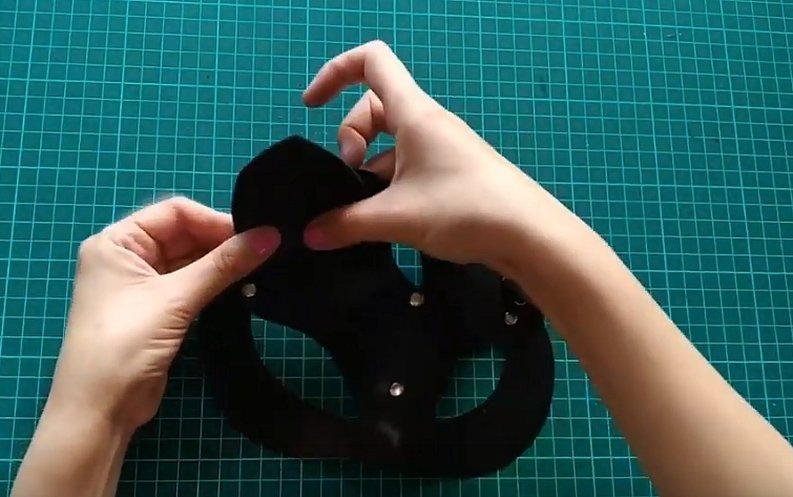
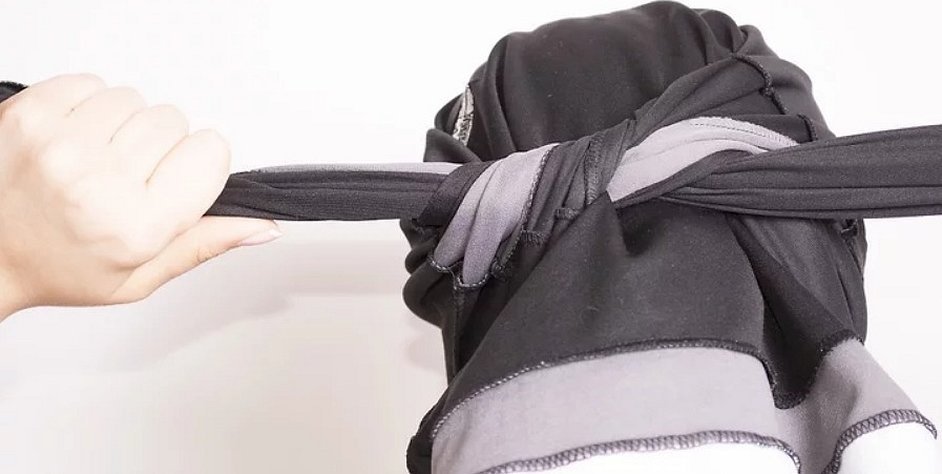
How to Make a Modern Ninja Mask
It can be made from a T-shirt. To do this, put the T-shirt on, but do not lower it onto the shoulders. In the ninja mask, the hole is located at eye level, and the sleeves are tied at the back of the head. This completes the accessory, such a mask can be easily put on and quickly removed by a boy.
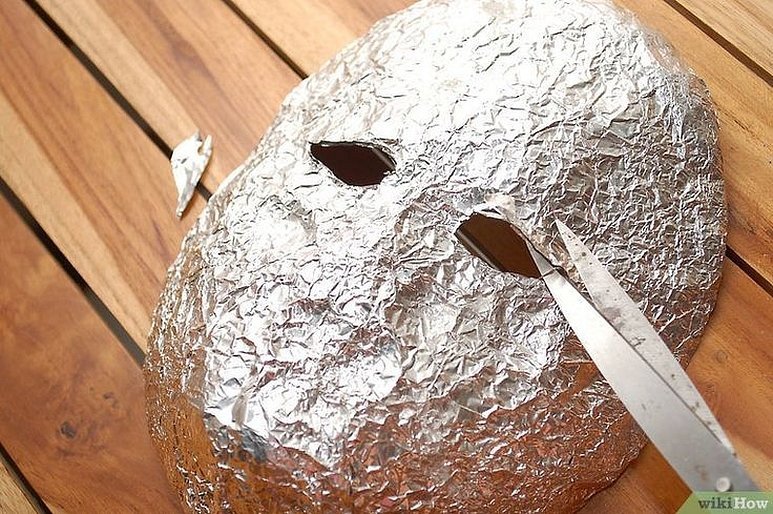
Step by step procedure for making a papier mache mask
To create a mask for an adult or a child, you need to do the following:
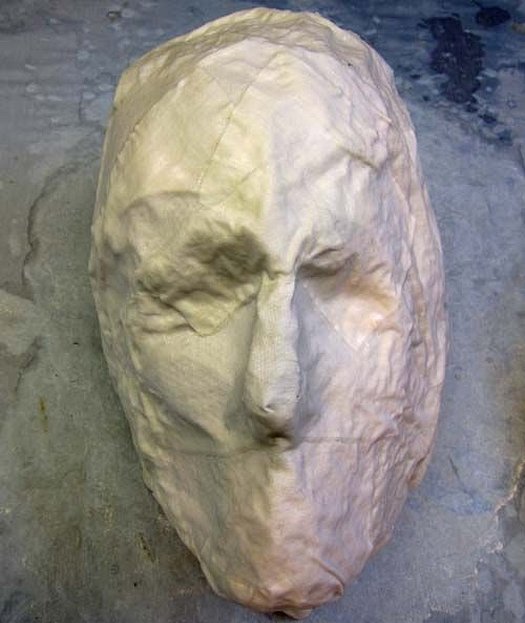
- First, make a base. You can use crumpled foil here. Cut holes for the eyes in it. The template needs to repeat the relief of the face.
- The paper needs to be torn into strips and thoroughly moistened. You can use PVA or wallpaper glue.
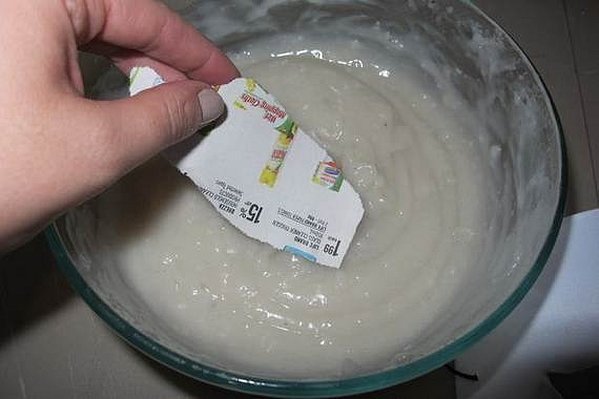
- The first layer on the form is made of wet paper. Then the paper is moistened with glue and placed on the form. Make 2-3 layers. Each one is carefully smoothed out to prevent the formation of voids. After each one, the model needs to dry.
- The thickness of the finished product should be such that the mask is strong and durable.
- The last layer is made of thick white paper or cotton.
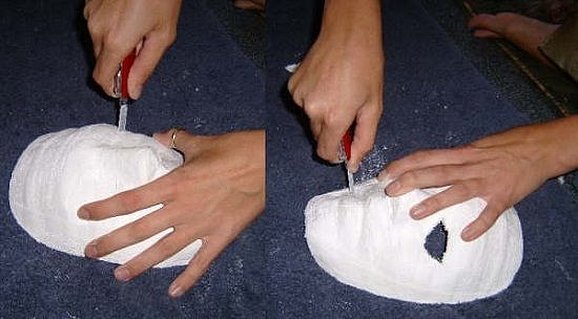
- The holes are made while the mass is still wet. Holes are made on the side at eye level for the ribbons.
- The mask should dry for at least two days.
- The dried product is processed with sandpaper and a file.
- Priming is done with water-based paint. A water-based primer can be used for this. Sometimes it is necessary to make several layers.
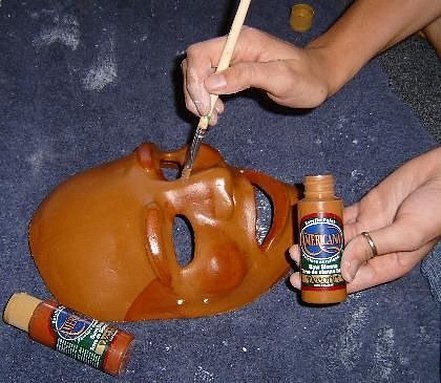
The final stage is painting the mask. You can use acrylic paints or gouache for this. Sometimes beads, rhinestones or other similar materials are used for decoration. The mask can be black or any other color.
A simple cardboard face
To make such an accessory, you need to cut it out of cardboard according to the face mask pattern. You need to make side holes and thread an elastic band or ribbons through them. Such a mask is designed to cover the upper part of the face.
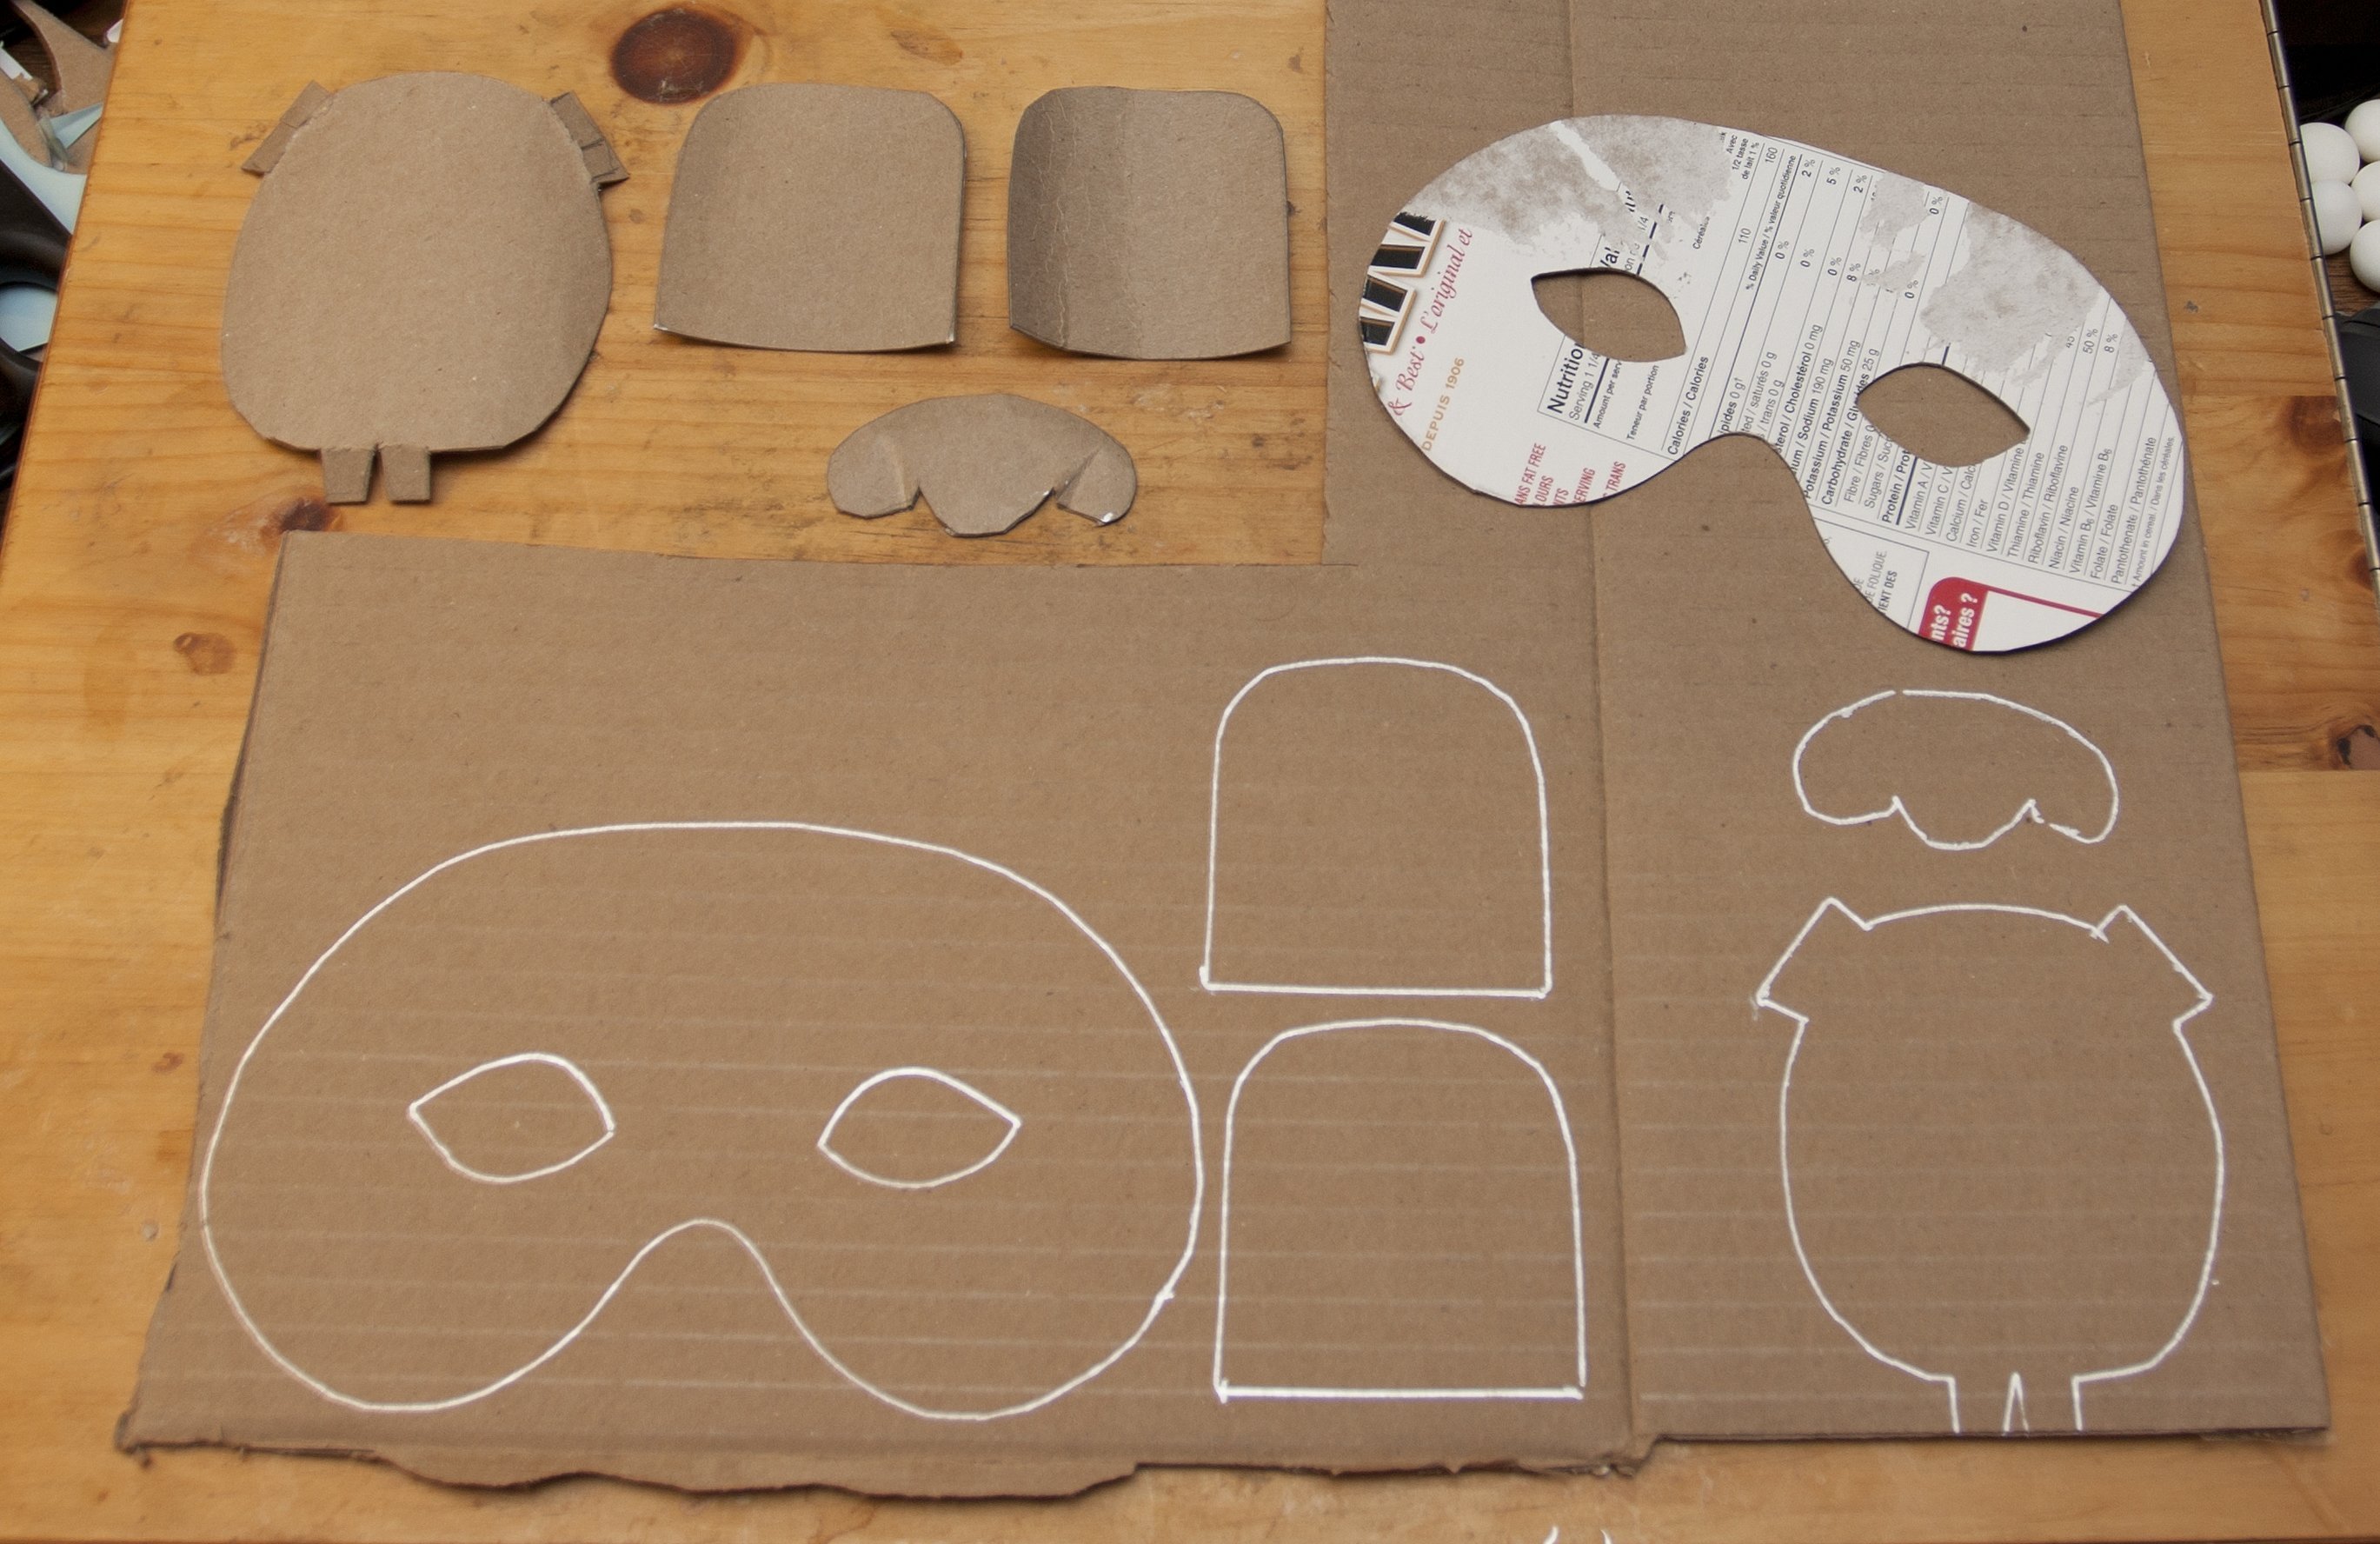
Cardboard can be used to make not only simple masks, but also cool volumetric shapes. In this case, the parts are secured with glue or a stapler.
How to Make a Scary Mask with Your Own Hands
To make it, you first need to decide how it should look. You can come up with a suitable picture yourself or find it on the Internet. It could be a spider or another image that evokes certain feelings.
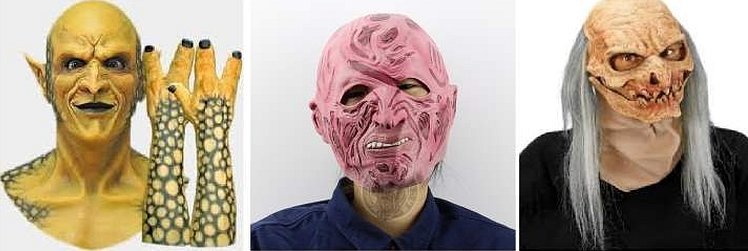
A papier-mâché mask, painted in a suitable manner, can be used as a base. In this case, it is possible to make cuts or indentations on it, made in a naturalistic style. If necessary, additional volumetric details can be provided, glued to the base.
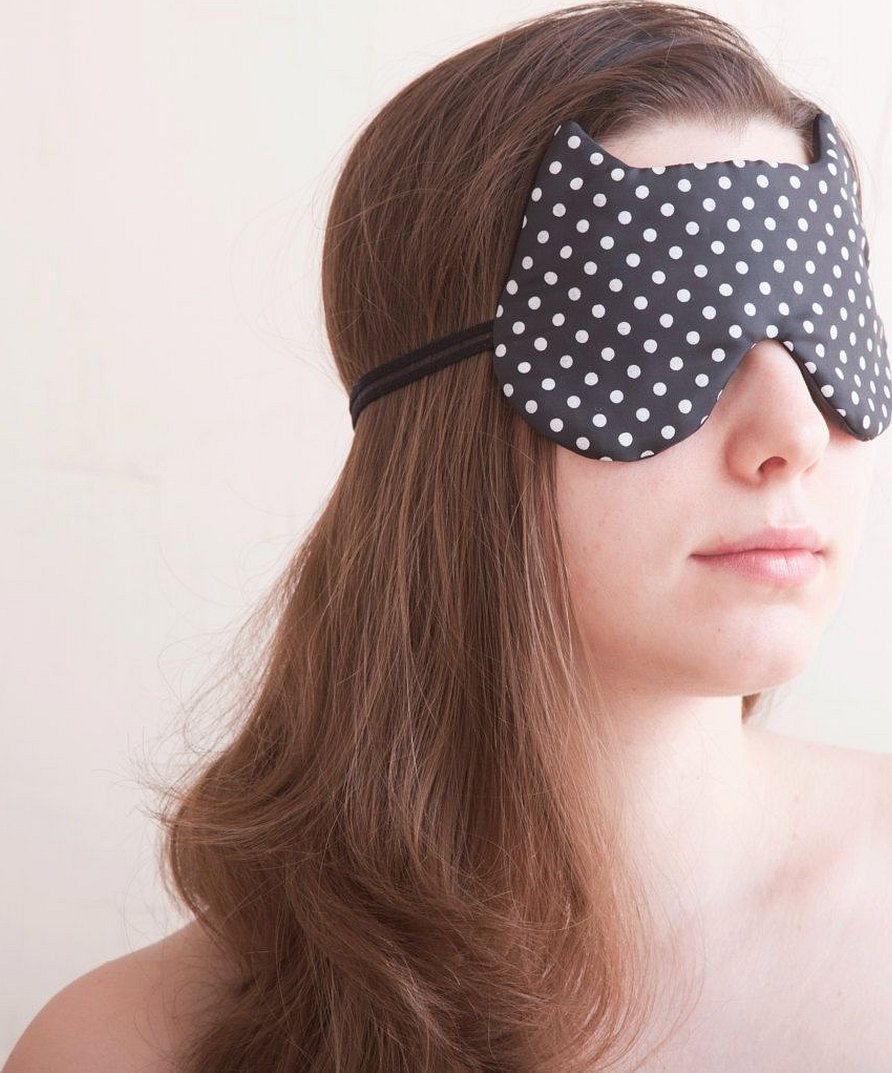
Sleep mask
By making a blindfold, you can ensure a good night's sleep even in bright light. The pattern of the blindfold for sleep provides for the light not to get into the eyes. The mask consists of an outer and inner layer. The latter should be sewn from a soft material. It can be put on with an elastic band or ribbons.
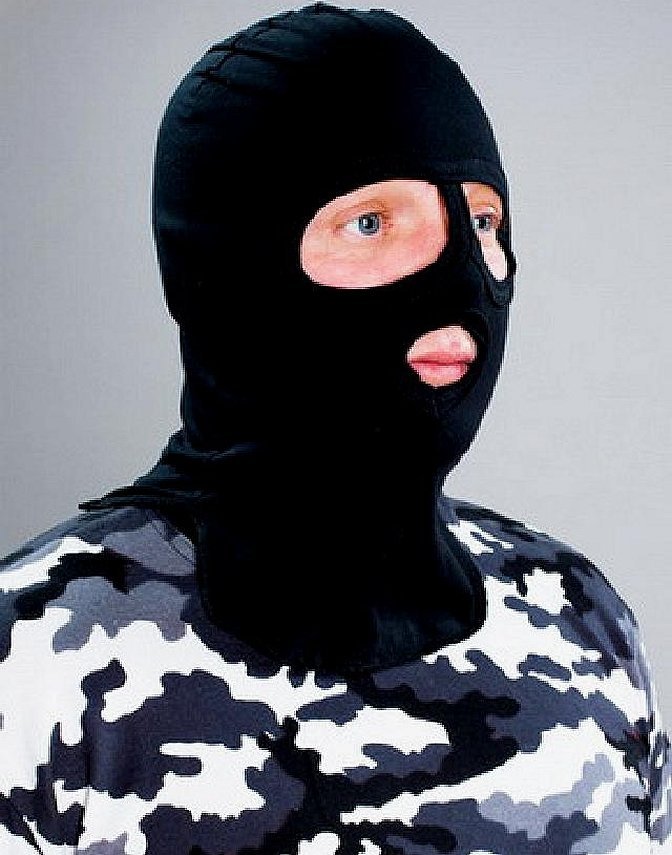
How to make a special forces mask at home
There are several ways to sew such a mask. The easiest is to buy a knitted hat at the market or in a store. It is important that it is long enough to reach the neck. Then you need to cut holes for the eyes and mouth.
For your information! To prevent threads from sticking out at the cuts, it is recommended to lightly burn them with a lighter flame or carefully stitch them.
What material is better to use?
Since masks have a variety of uses, the most suitable material depends on the function they perform:
- For medical protective masks, the filtration properties and sterility of the material to be sewn are important.
- Those that are intended to preserve the privacy of the individual, and whose owners want to have the most standard appearance, are sewn, for the most part, from knitwear.
- Carnival can use various materials: fabric, leather, cardboard, etc. The choice of the most suitable is determined by the expressiveness of the image that a person wants to use.
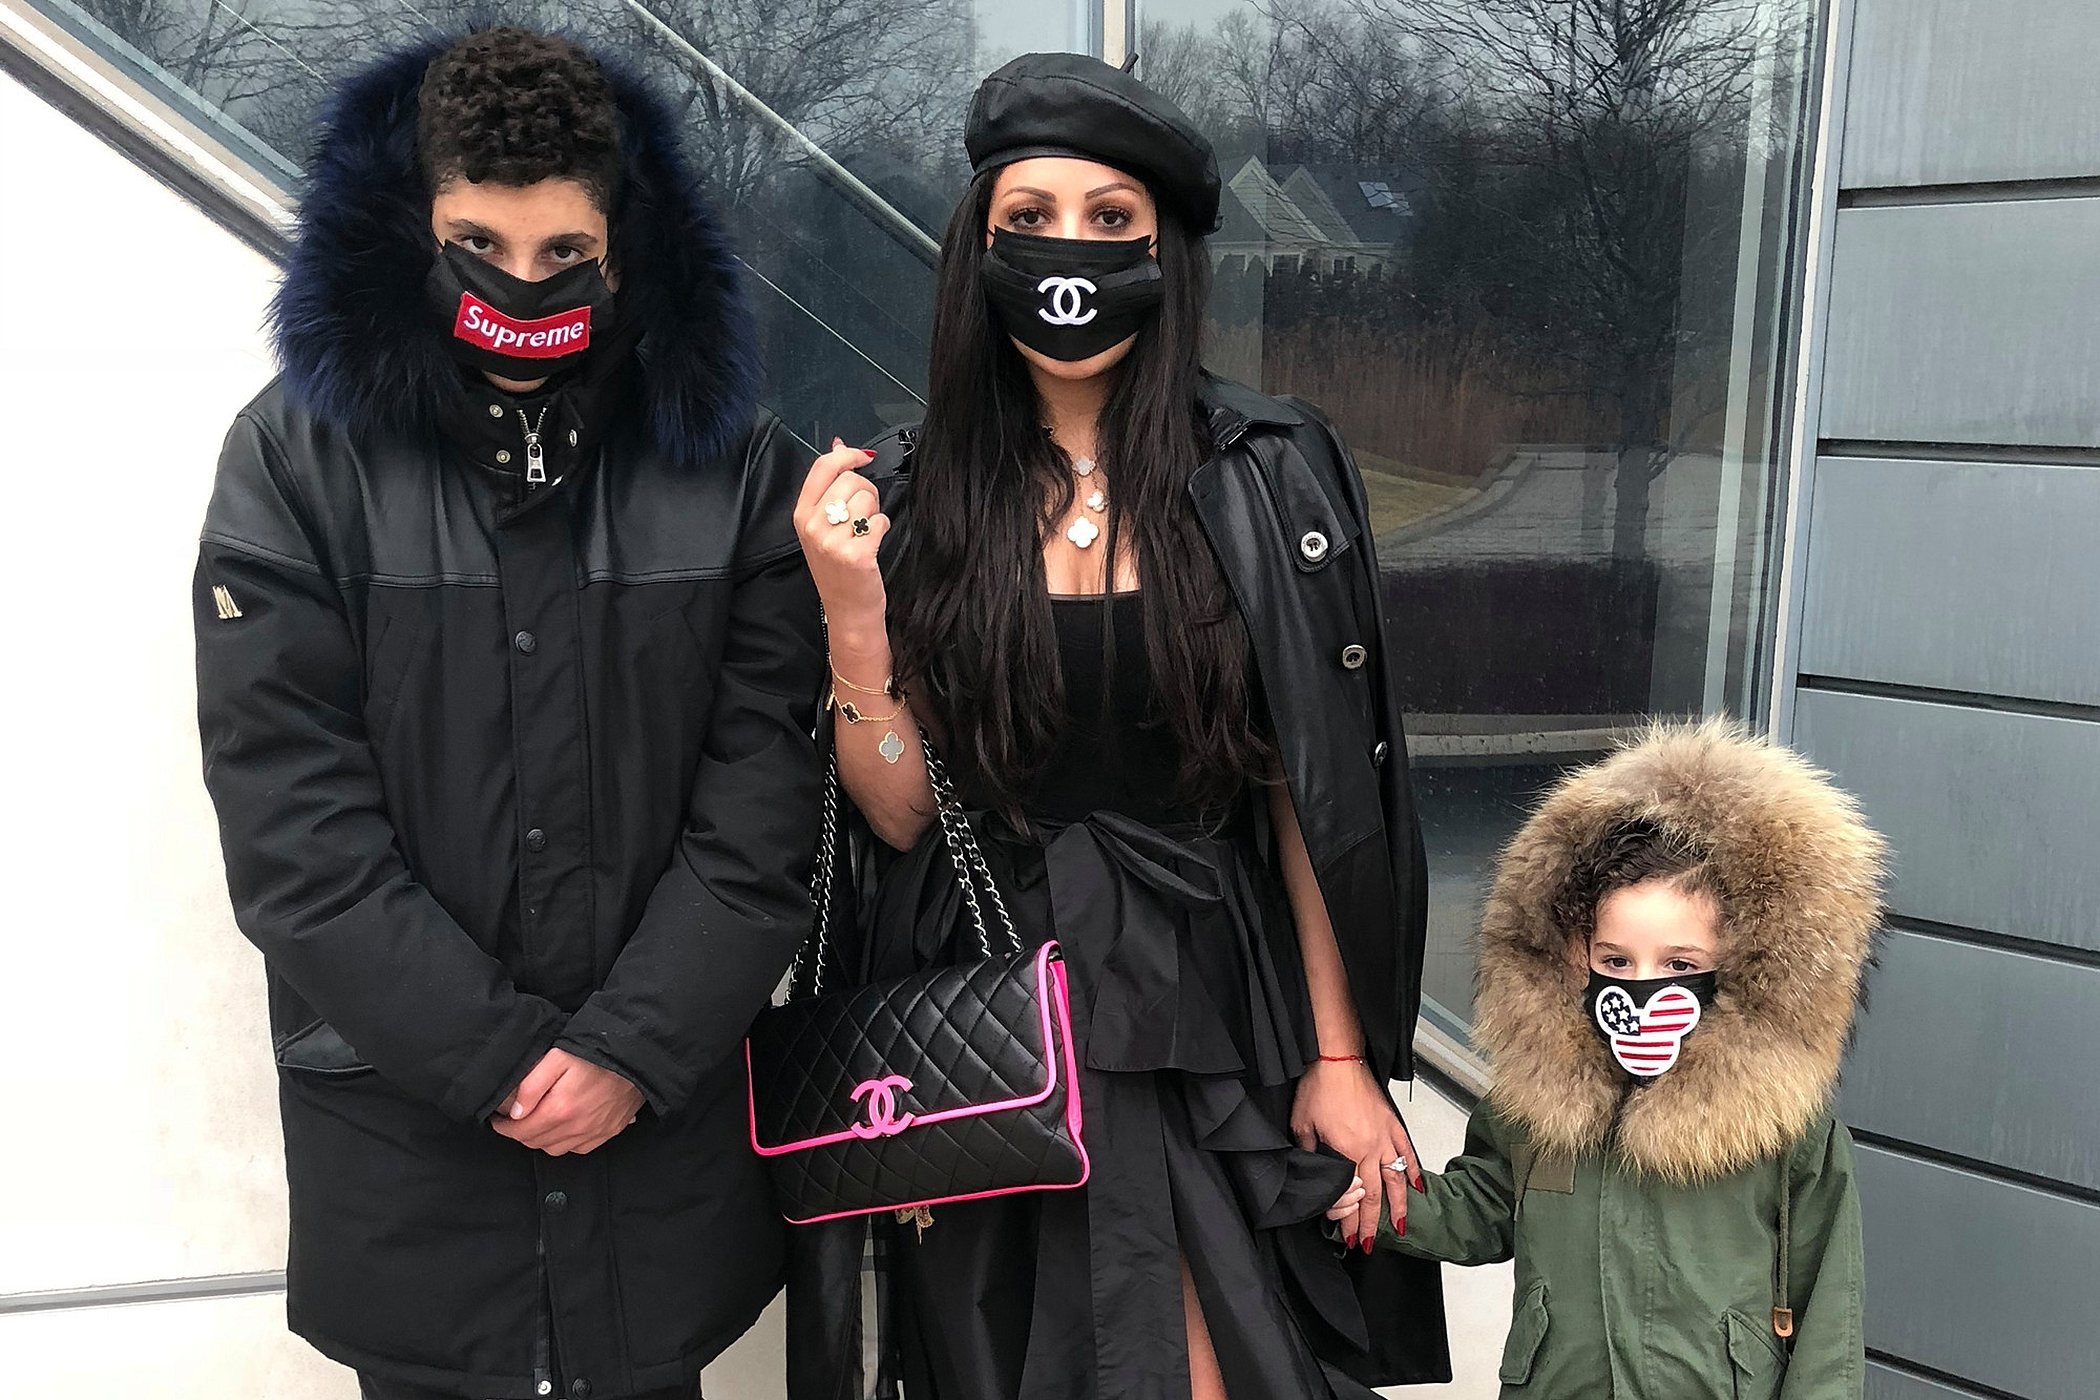
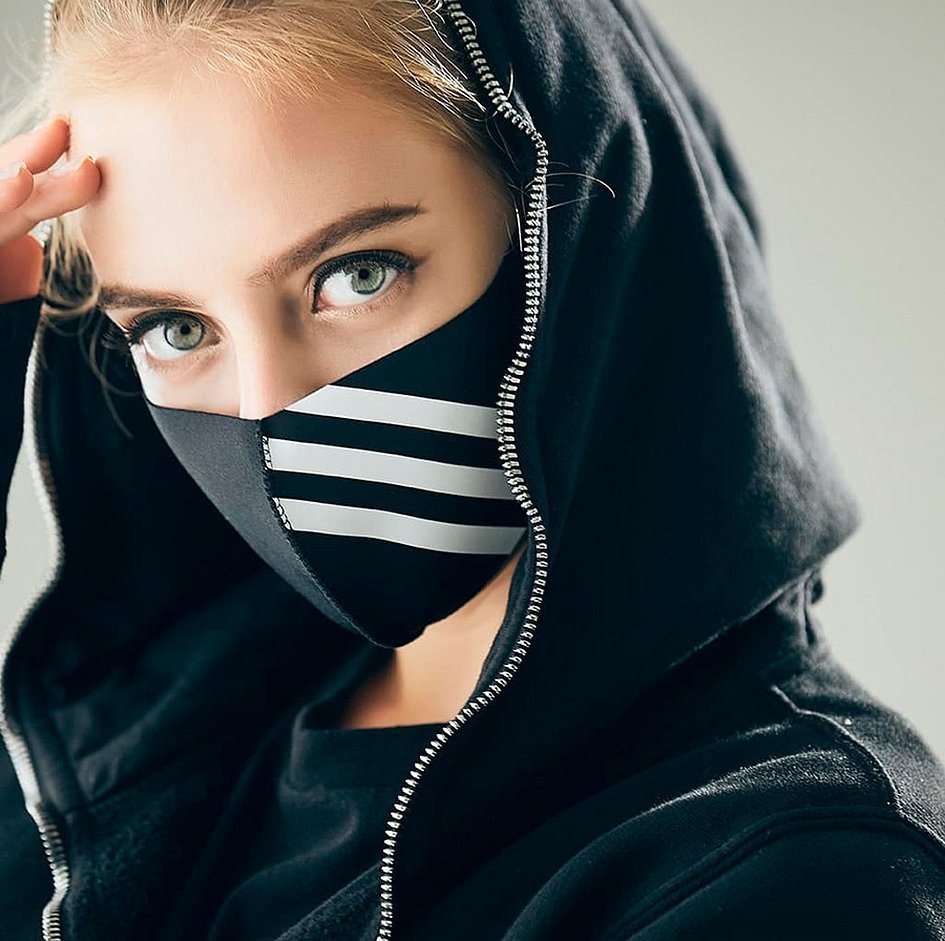
For your information! Sometimes masks are worn in accordance with new fashion trends. In this case, the method of its manufacture depends on the chosen style.
Masks are used for various purposes. They can be made by hand according to the purpose. When creating masks, you can follow the methods given in the article.


