Modern gloves come in many types. They can say a lot about their owner: their wealth, habits, lifestyle, preferences, and so on. Some argue that even the pattern of hands and fingers is transferred to the gloves, and it can be seen under a microscope. This element of clothing has always attracted attention, and today it has become an integral attribute. If it is made with your own hands, in addition to all the other advantages, the high quality of the product and originality are added. This material will tell you how to sew gloves, how a pattern for leather gloves is created and what types of them exist. So, let's sew gloves ourselves.
- What kind of accessory is this, what types are there?
- Calculating the pattern sizes
- How to sew gloves: features of creating a pattern
- Construction of a pattern for short gloves
- Pattern for the thumb
- No fingers
- How to Make Fingerless Gloves with Your Own Hands from Knitwear
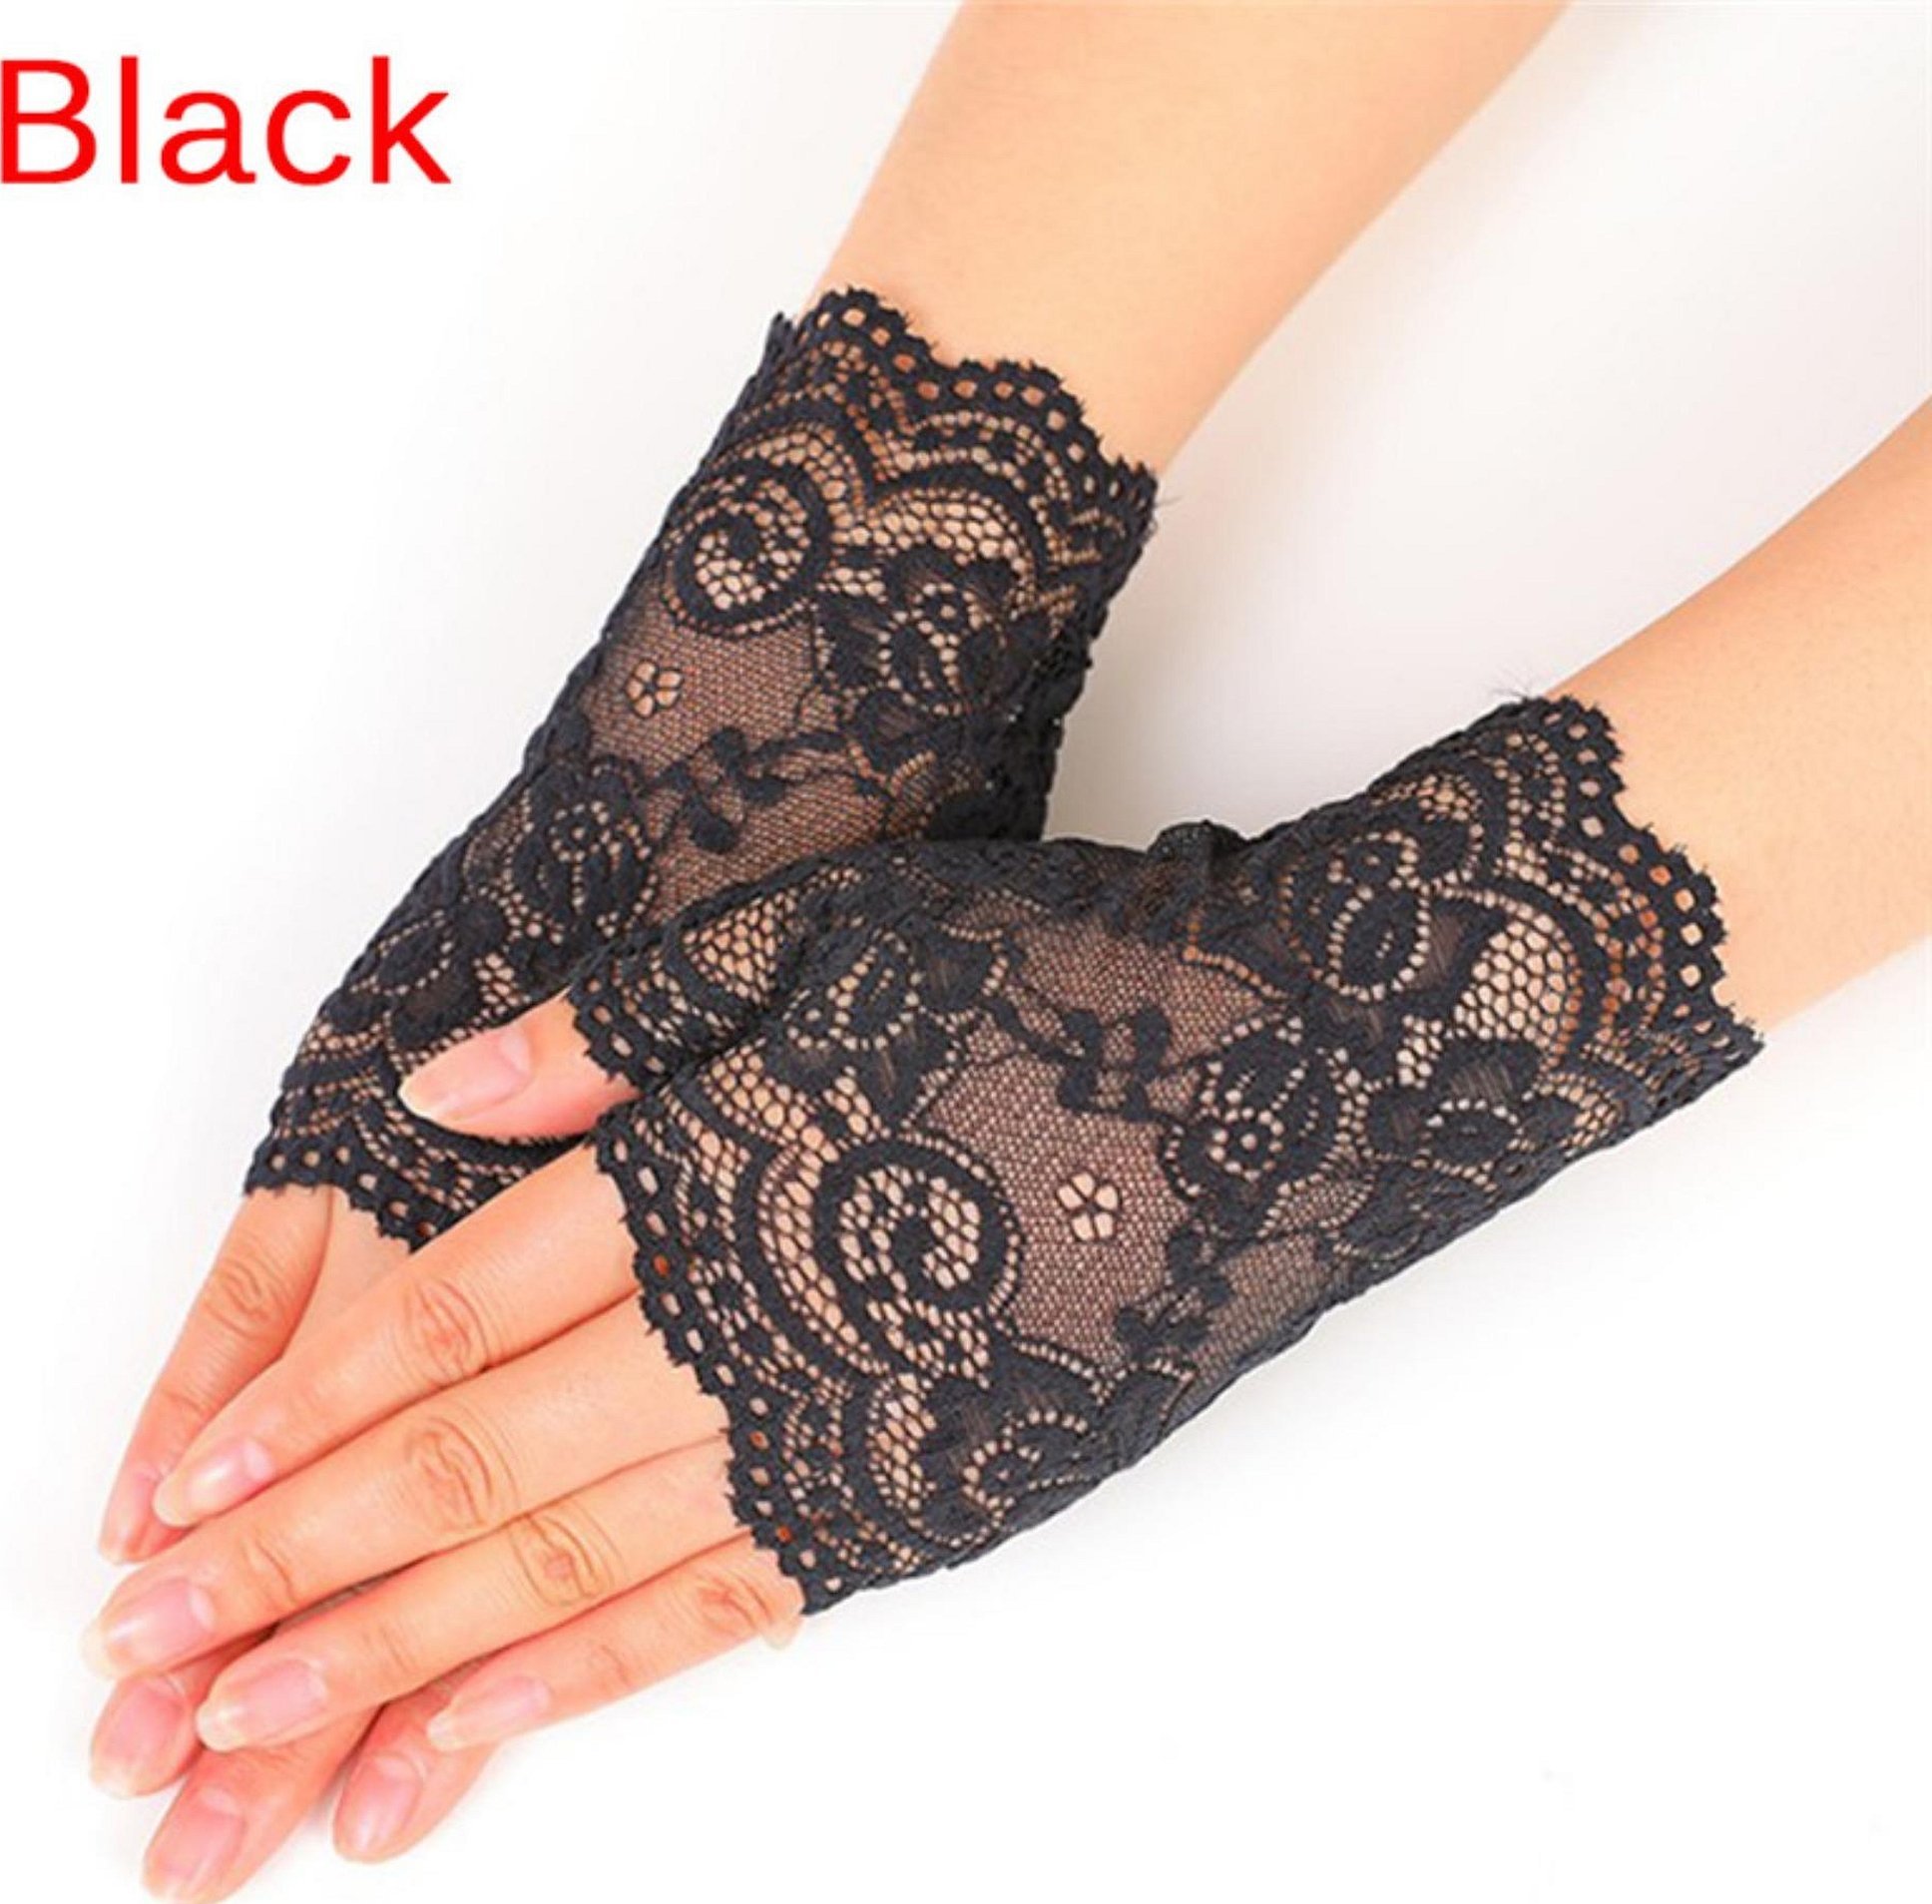
- Lace gloves
- Technology of sewing leather gloves
- Making a pattern
- Preparing the skin
- Sewing gloves
What kind of accessory is this, what types are there?
Unlike mittens or gauntlets, gloves have sections for each finger. This helps to partially preserve their mobility and motor skills. These products are made from a huge number of materials: leather, latex, rubber, fabric, etc.

Important! The history of these clothing accessories goes back to very ancient times. Even in Ancient Egypt, you could see a person with this kind of clothing on his hands. It always caused respect and showed his position in society.
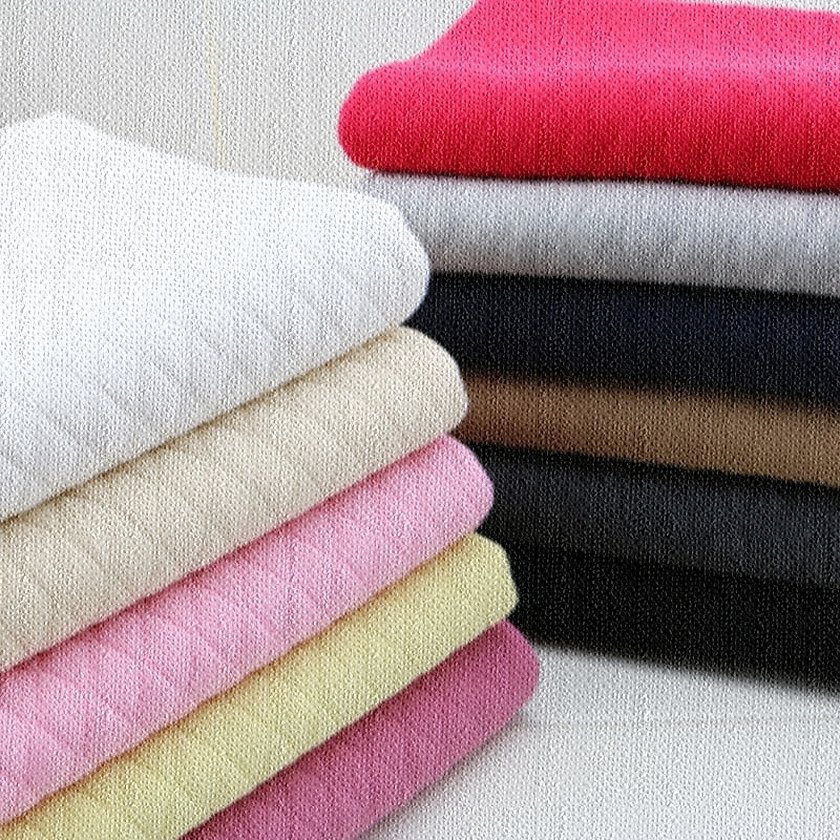
There are many types of gloves. If we do not consider boxing, medical, repair and various types of work gloves, then women's and men's accessories are divided by purpose, width and length, by the material from which they are made. The purpose can be absolutely different - for everyday wear, for social events and going to the theater, for sports and physical exercise. The length can also be different: short, long, fingerless or like "mittens". There is no need to talk about the material. Gloves are made of leather, knitwear, suede, fleece, textiles and are knitted on special machines.
Calculating the pattern sizes
Before you start sewing gloves, you need to make a pattern for the future product, and for this, calculate the dimensions of the drawing and the final accessory. The calculation is made as follows:
- The width of the product along the pads should be 3 centimeters greater than the width of the hand.
- The width of all fingers should be doubled for each of them.
- The section for the thumb is made 2.5 times larger than its width. If it is narrower, it will be harder to remove the glove.

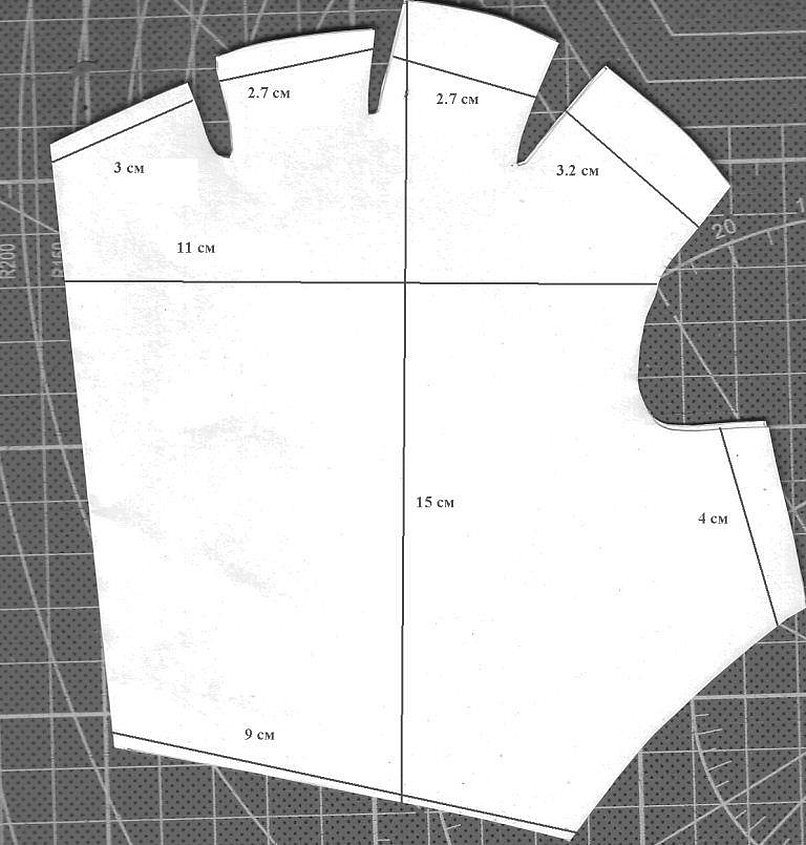
How to sew gloves: features of creating a pattern
Each type of gloves has its own characteristics not only when worn, but also when manufactured. Different products require different approaches when constructing a pattern and choosing a material. Below we will discuss the pattern of short gloves, the manufacture of accessories without finger protection, and a separate construction of a pattern for the thumb.
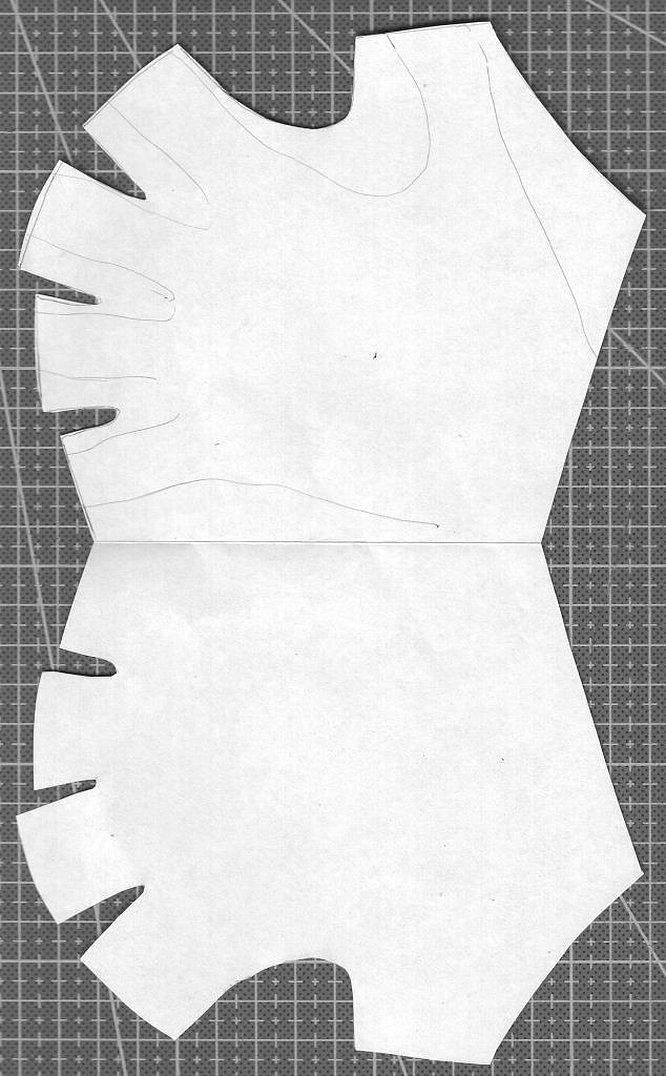
Construction of a pattern for short gloves
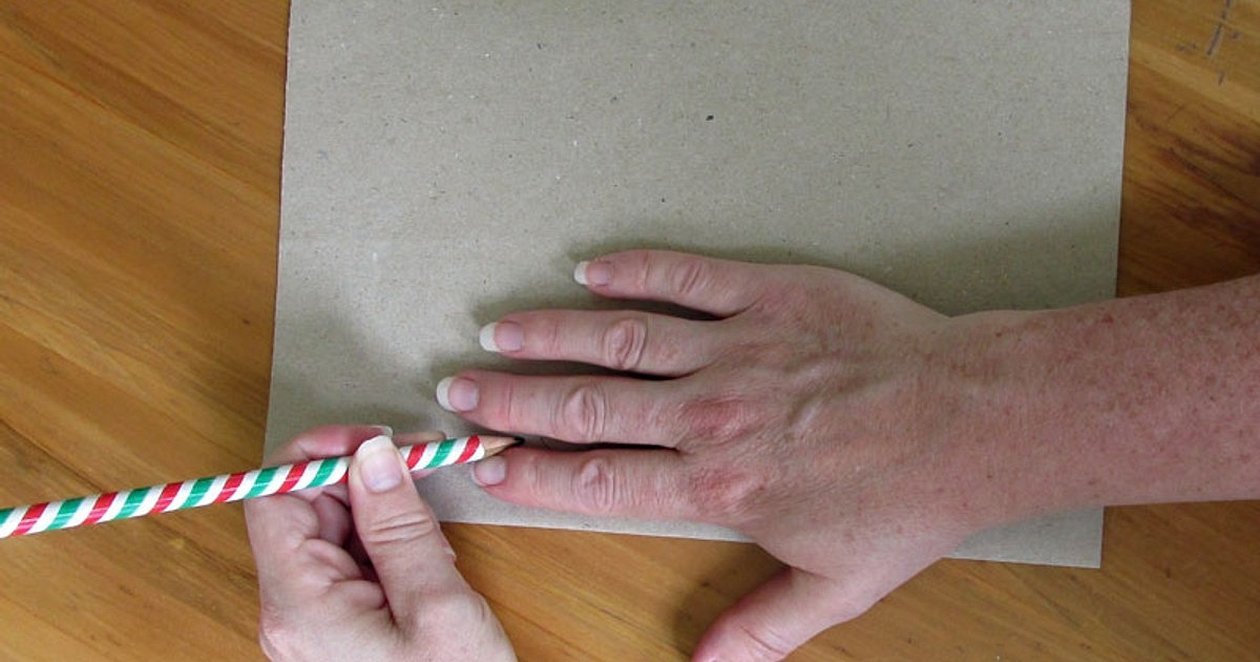
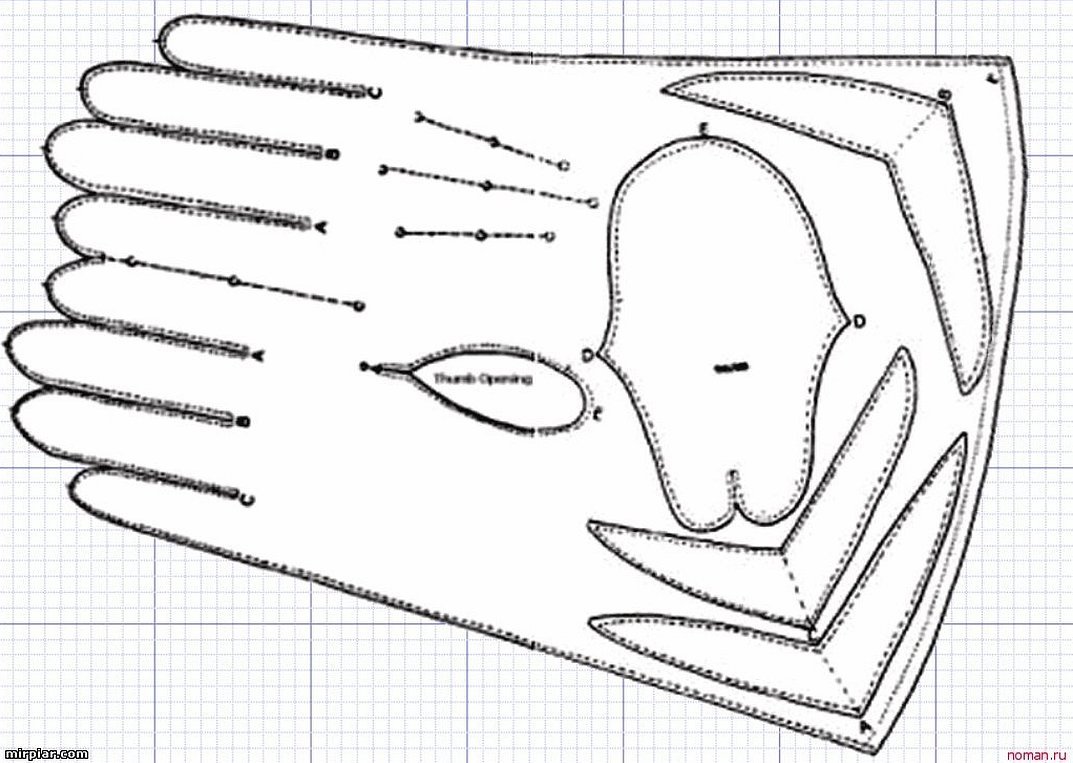
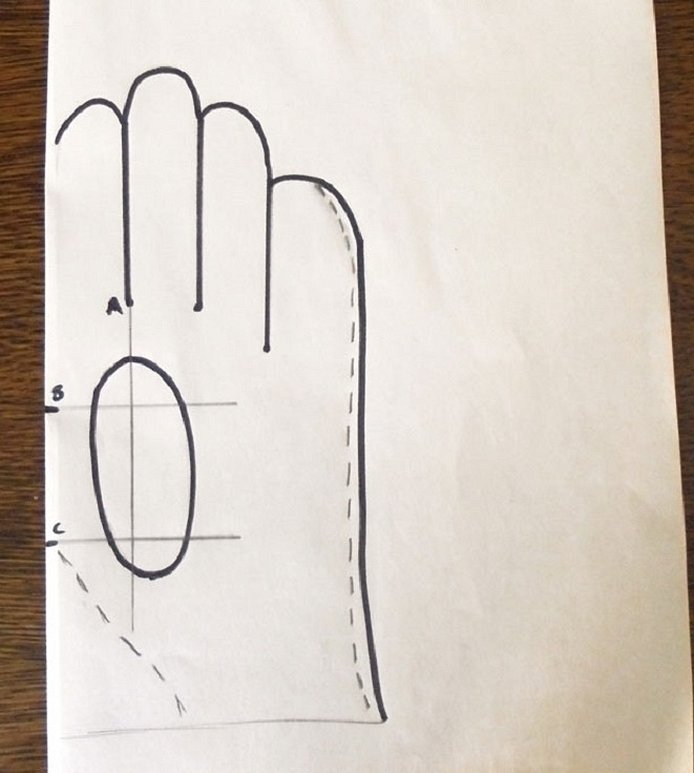
You need to take a sheet of paper and fold it in half. Then place your hand on the folded edge so that your thumb is not on the sheet. You also need to leave a small distance between your index finger and the edge of the paper. Spread your fingers a little and move the entire hand away, leaving 3 millimeters above the tops. It is advisable to start with the little finger, gradually spreading your fingers for more comfortable tracing.
Important! The lines between the fingers must be strictly parallel, otherwise the whole product will be crooked and will sit awkwardly on the hand.
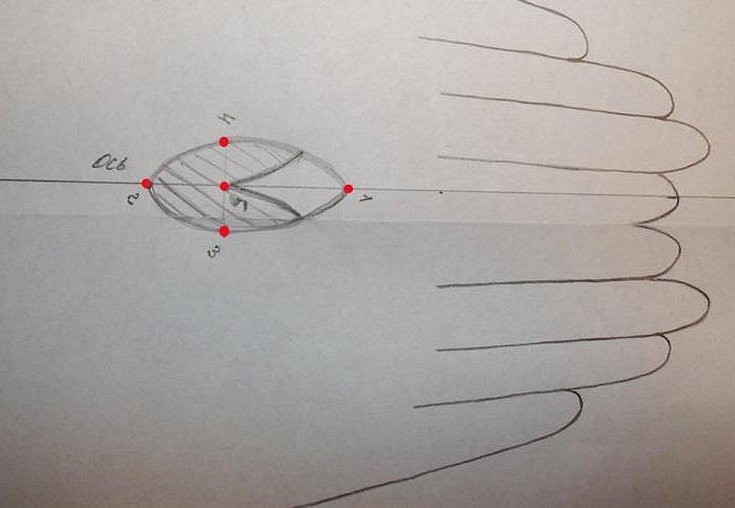
Next, points B and C mark the place where the thumb will be and draw a vertical line from the point of the gap between the index and middle fingers (point A). Lines B and C are also drawn in the form of horizontal stripes. A circle or oval is marked for the future thumb. All this is shown in the diagram. After this, the pattern is cut out, placed on the fabric or leather, which should also be folded in half, and cut out.
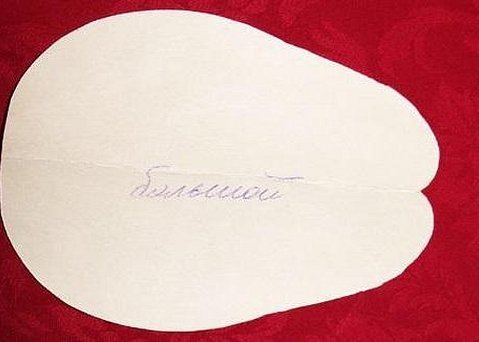
Pattern for the thumb
It is made separately and is needed for maximum comfort when wearing. The process is simple:
- Take a sheet of paper and fold it in half.
- Place your finger on the sheet and trace it to the points where you made the palm pattern.
- Transfer the contours to the other side symmetrically.
- Unfold the sheet and draw the pattern.
No fingers
The fingerless pattern is made similarly to all the others. The hand is placed on a sheet of paper, which is folded in half and traced. In the case of making hard leather gloves for work or riding a motorcycle, you can not bother with an additional pattern for the thumb, but immediately place it with all the others. Do not forget about the indents on the sides and top. This is especially true for rough leather. The finished laughter is shown in the picture below.
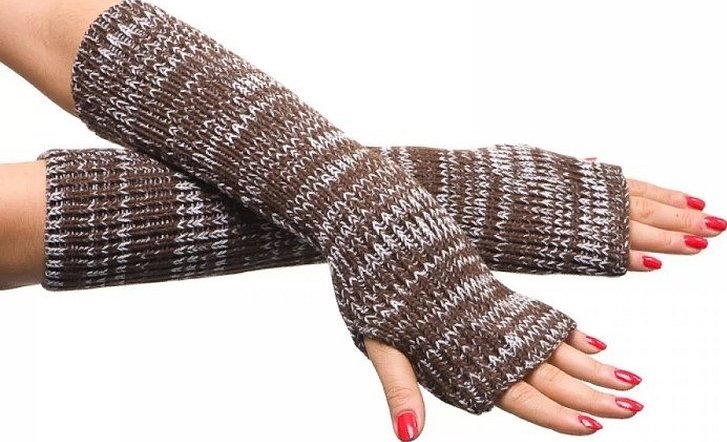
How to Make Fingerless Gloves with Your Own Hands from Knitwear
First of all, you need to take measurements. There are only two of them: the height of the product and the girth of the hand. To make them, use exactly the same patterns that were presented above. An experienced person will need about two hours to make them according to all the rules. A beginner can use ready-made blanks for these purposes.
It is easy to make fingerless gloves using old or classic options. To do this, simply cut off all the sections for the fingers to the length that will be comfortable for a person. This can be done with products made of any material, including knitwear.
Important! Excellent fingerless gloves and gloves with sections are also made from old but beautiful knitted or crocheted socks. They are also cut to fit under the fingers, and the big one, as usual, comes out on the side through a special hole.
Lace gloves
Lace mittens are also common. Experienced people from the world of fashion recommend wearing them with dresses and sarafans, the length of which is above the knee. They will suit jackets or wedding or evening dresses, ball gowns.
Lace gloves are made in a similar way for all products, but are usually much longer. They are great for recreating the vampire image. For this, lace gloves, a long dress and high-heeled shoes are selected. You can complete the image with a lace necklace on a ribbon. It is also possible to use them in a sports environment. However, the style will be different.
Technology of sewing leather gloves
Making leather gloves is quite simple. They don't always turn out perfect the first time, but they don't take much time or effort to sew. To create them, you need to make a pattern, prepare the material, and do the sewing itself.
Making a pattern
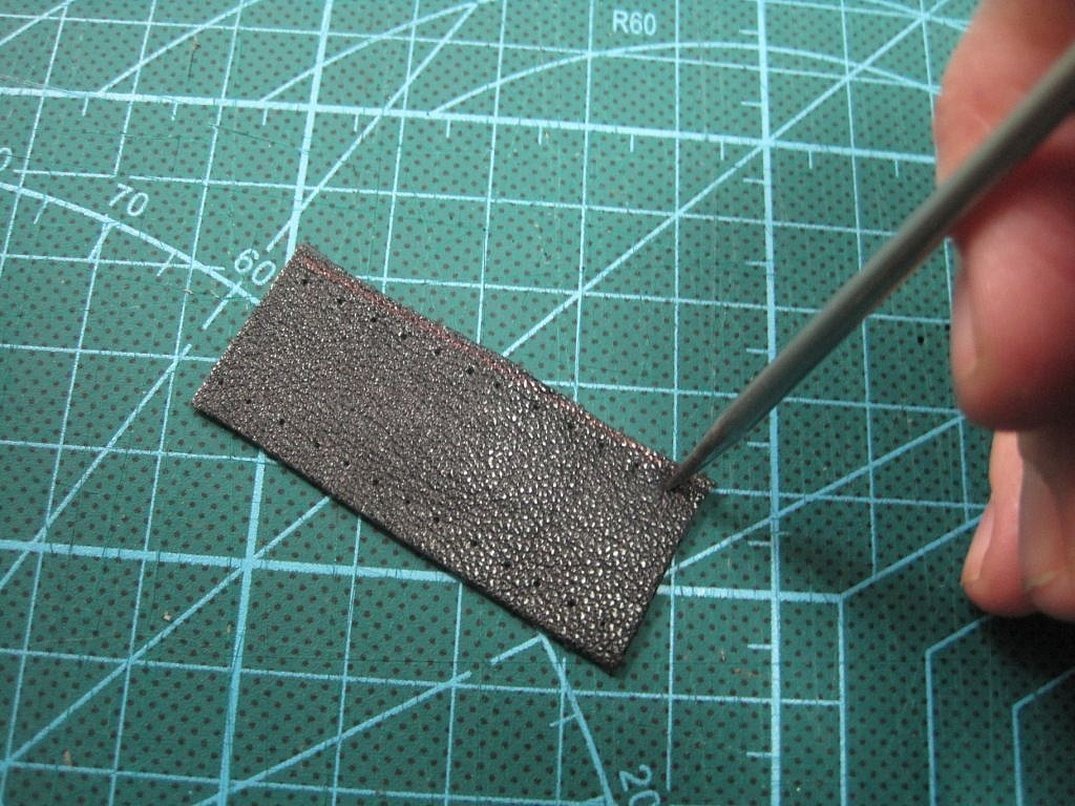
First of all, a pattern of the future product is created. To do this, either use your skills and knowledge, or simply find drawings in the public domain on the Internet. Constructing a pattern for leather gloves is not fundamentally different from all other types. The only thing is that you should take large allowances, since the leather can be quite rough. After all the details are marked on paper and cut out, you should transfer them to the leather.
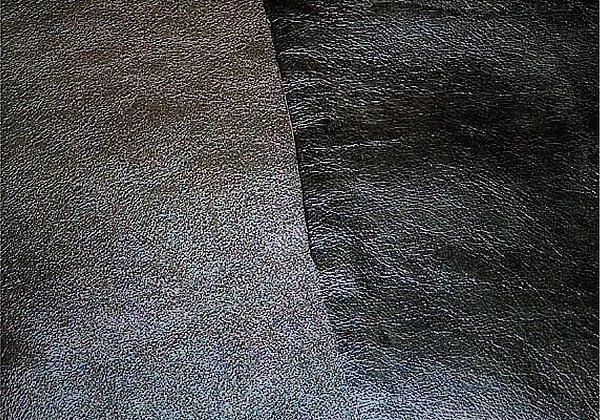
Preparing the skin
Before the actual transfer, you need to choose the material itself. It is easiest to work with thin substitute or genuine leather. If it is smooth or evenly grained, this will provide increased flexibility of the gloves.
Next, you should check the leather for stretchability. To do this, pull it evenly in different directions. If it stretches well and quickly takes its original shape, then no further preparations are needed. If the leather sags, then its density should be increased.
Important! The final step is to moisturize and stretch the leather. The latter is done with force. If the material tears, it means that the leather is of poor quality.
Sewing gloves
The most important moment is the step-by-step sewing process. It looks like this:
- Sew the rib in the middle of the “face” with a stitch through the edge.
- Place the rounded edge of the product and make a couple of small stitches.
- Turn the fur towards the front and hem it, if there is any.
- Sew the wedges and toes in pairs along the bottom from the inside.
- Sew in the thumb.
- Sew the wedge from the end of the cut to the finger. Do the same with the wedges for the middle and index fingers.
- Sew the side seam of the product from the little finger and below.

Thus, here it was described in detail how to sew fingerless gloves, and how to create a pattern for gloves of any kind. There is nothing complicated about it. It is enough to select the material (guipure, knitwear, leather), create a pattern, including for a girl or a boy, and perform step-by-step sewing of the product.


