Women's headbands are becoming popular again. Today, they are one of the main global trends. Some famous clothing designers call the headband a real women's "must-have" for the spring and summer season. It is quite possible to make it yourself, the article provides detailed information and a description of the process.
- Solokha on the head with your own hands: pattern and production
- Historical background
- How to make a beautiful headband
- What is needed for work
- Patterns (bandages) of solokha on the head
- How to sew a headband "Solokha"
- Romantic Solokha Headband
- Denim Headband
- Pin-up Headband
- "Solokha" with wire
- With frame
- Who is it suitable for and for what cases?
Solokha on the head with your own hands: pattern and production
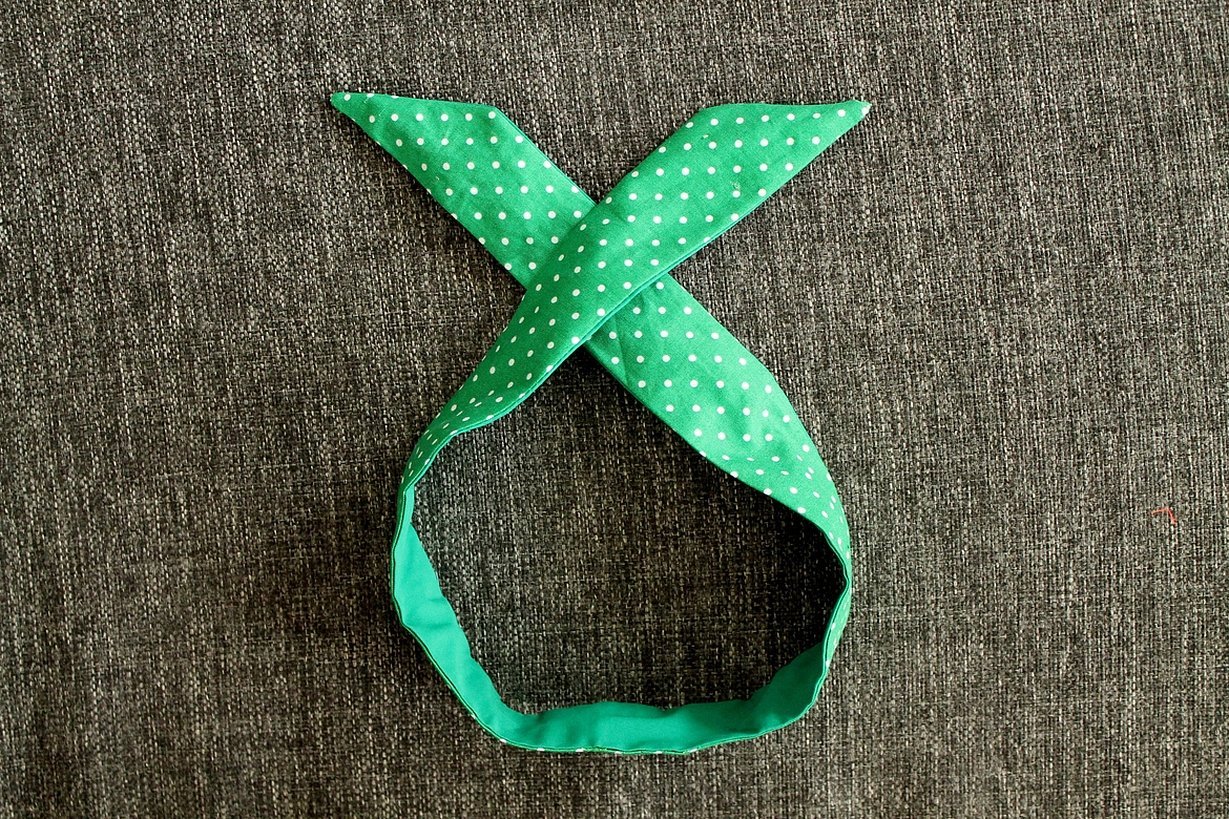
Solokha is a women's hair accessory in the form of a headband. Inside the headband there is a wire that supports the shape of the hairstyle. With its help, you can quickly style your hair. To create a hairstyle, you just need to twist the edges of the solokha. The accessory for women is presented in a wide range and style: for everyday outings, for work, for evening events.
Solokha is a universal accessory that suits women with different haircuts. It suits any look, helps to emphasize individuality and make the look stylish. From the ends of the decorative headdress, you can weave bows, knots, and also complement the hairstyle with various invisible hairpins, hairpins, clips.
Historical background
Solokha is one of the types of headbands. The accessory got its name from the heroine of N. V. Gogol's "Evenings on a Farm Near Dikanka" - Solokha, who was famous for her bad character and hung out with devils. The main character wore an unusual headdress - she folded an ordinary scarf several times and tied it around her head, leaving small tails on top.
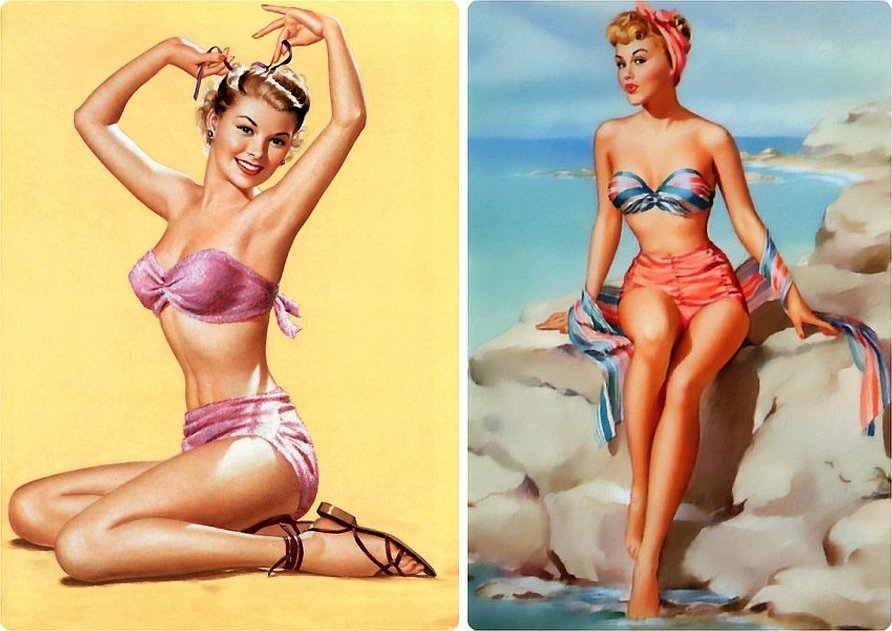
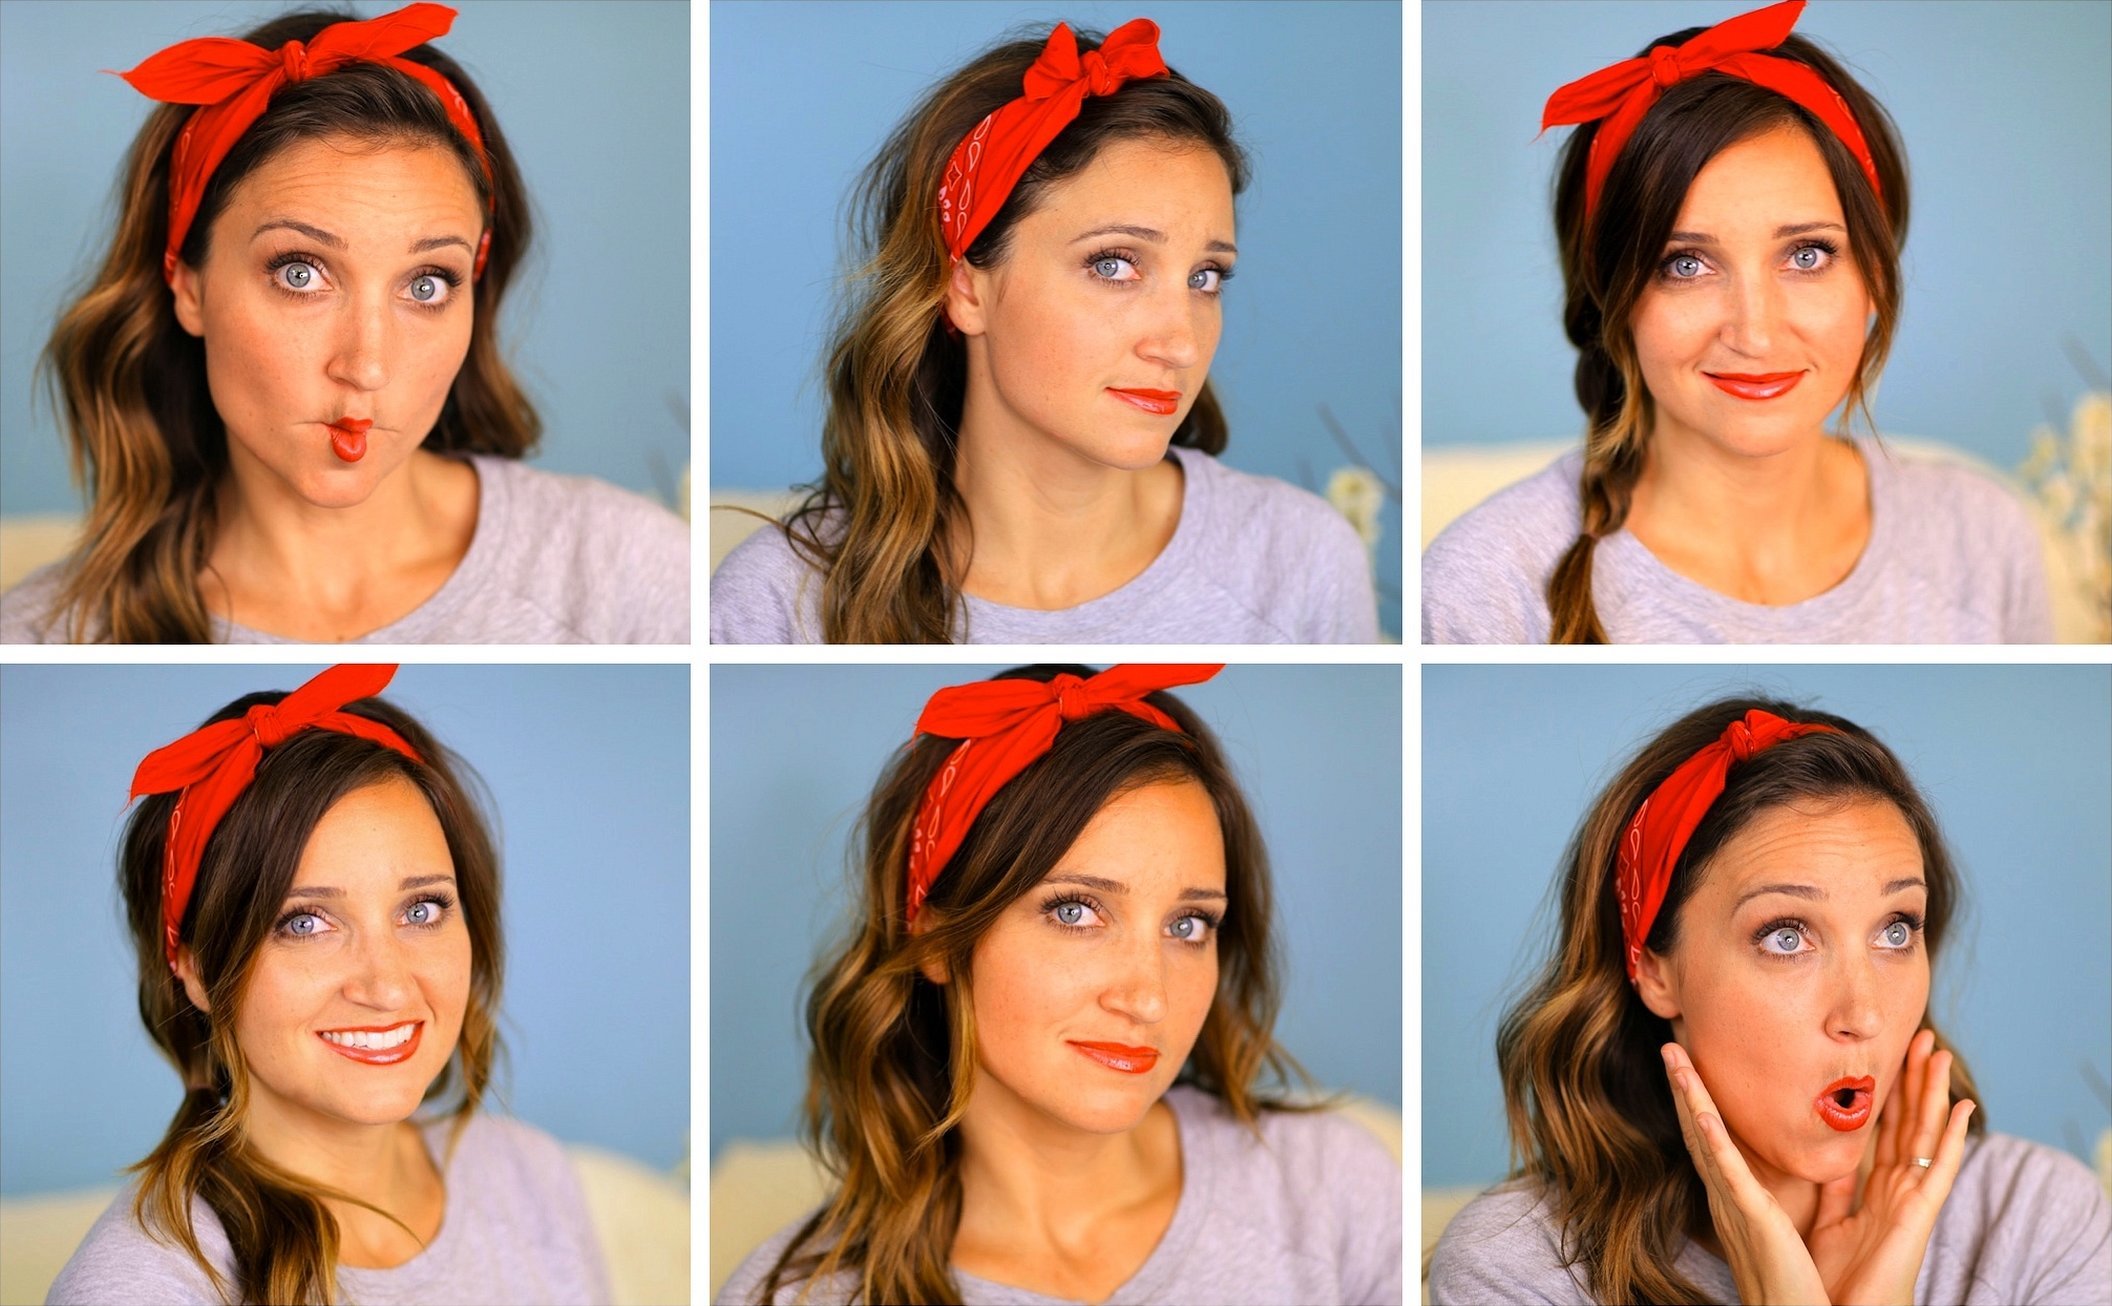
Such accessories were most popular in the middle of the last century. This can be seen if you look at old pin-up photos, where all the famous models pose in a stylish solokha. However, in later years, the unusual headband was widely used by many fashionistas. In the 21st century, the accessory has become popular again, many world stars wear it at various events and ceremonies.
Important! Today, solokha can be purchased in many stores, but you can also sew it yourself, based on your taste preferences.
How to make a beautiful headband
A beautiful headband can be made from a ready-made scarf. You can also use loose fabric pieces as a base. Preferred materials for children's and adult headbands:
- silk;
- chiffon;
- atlas;
- cotton;
- denim;
- lace materials.
For your information! Solokha is also made from wool and knitwear.
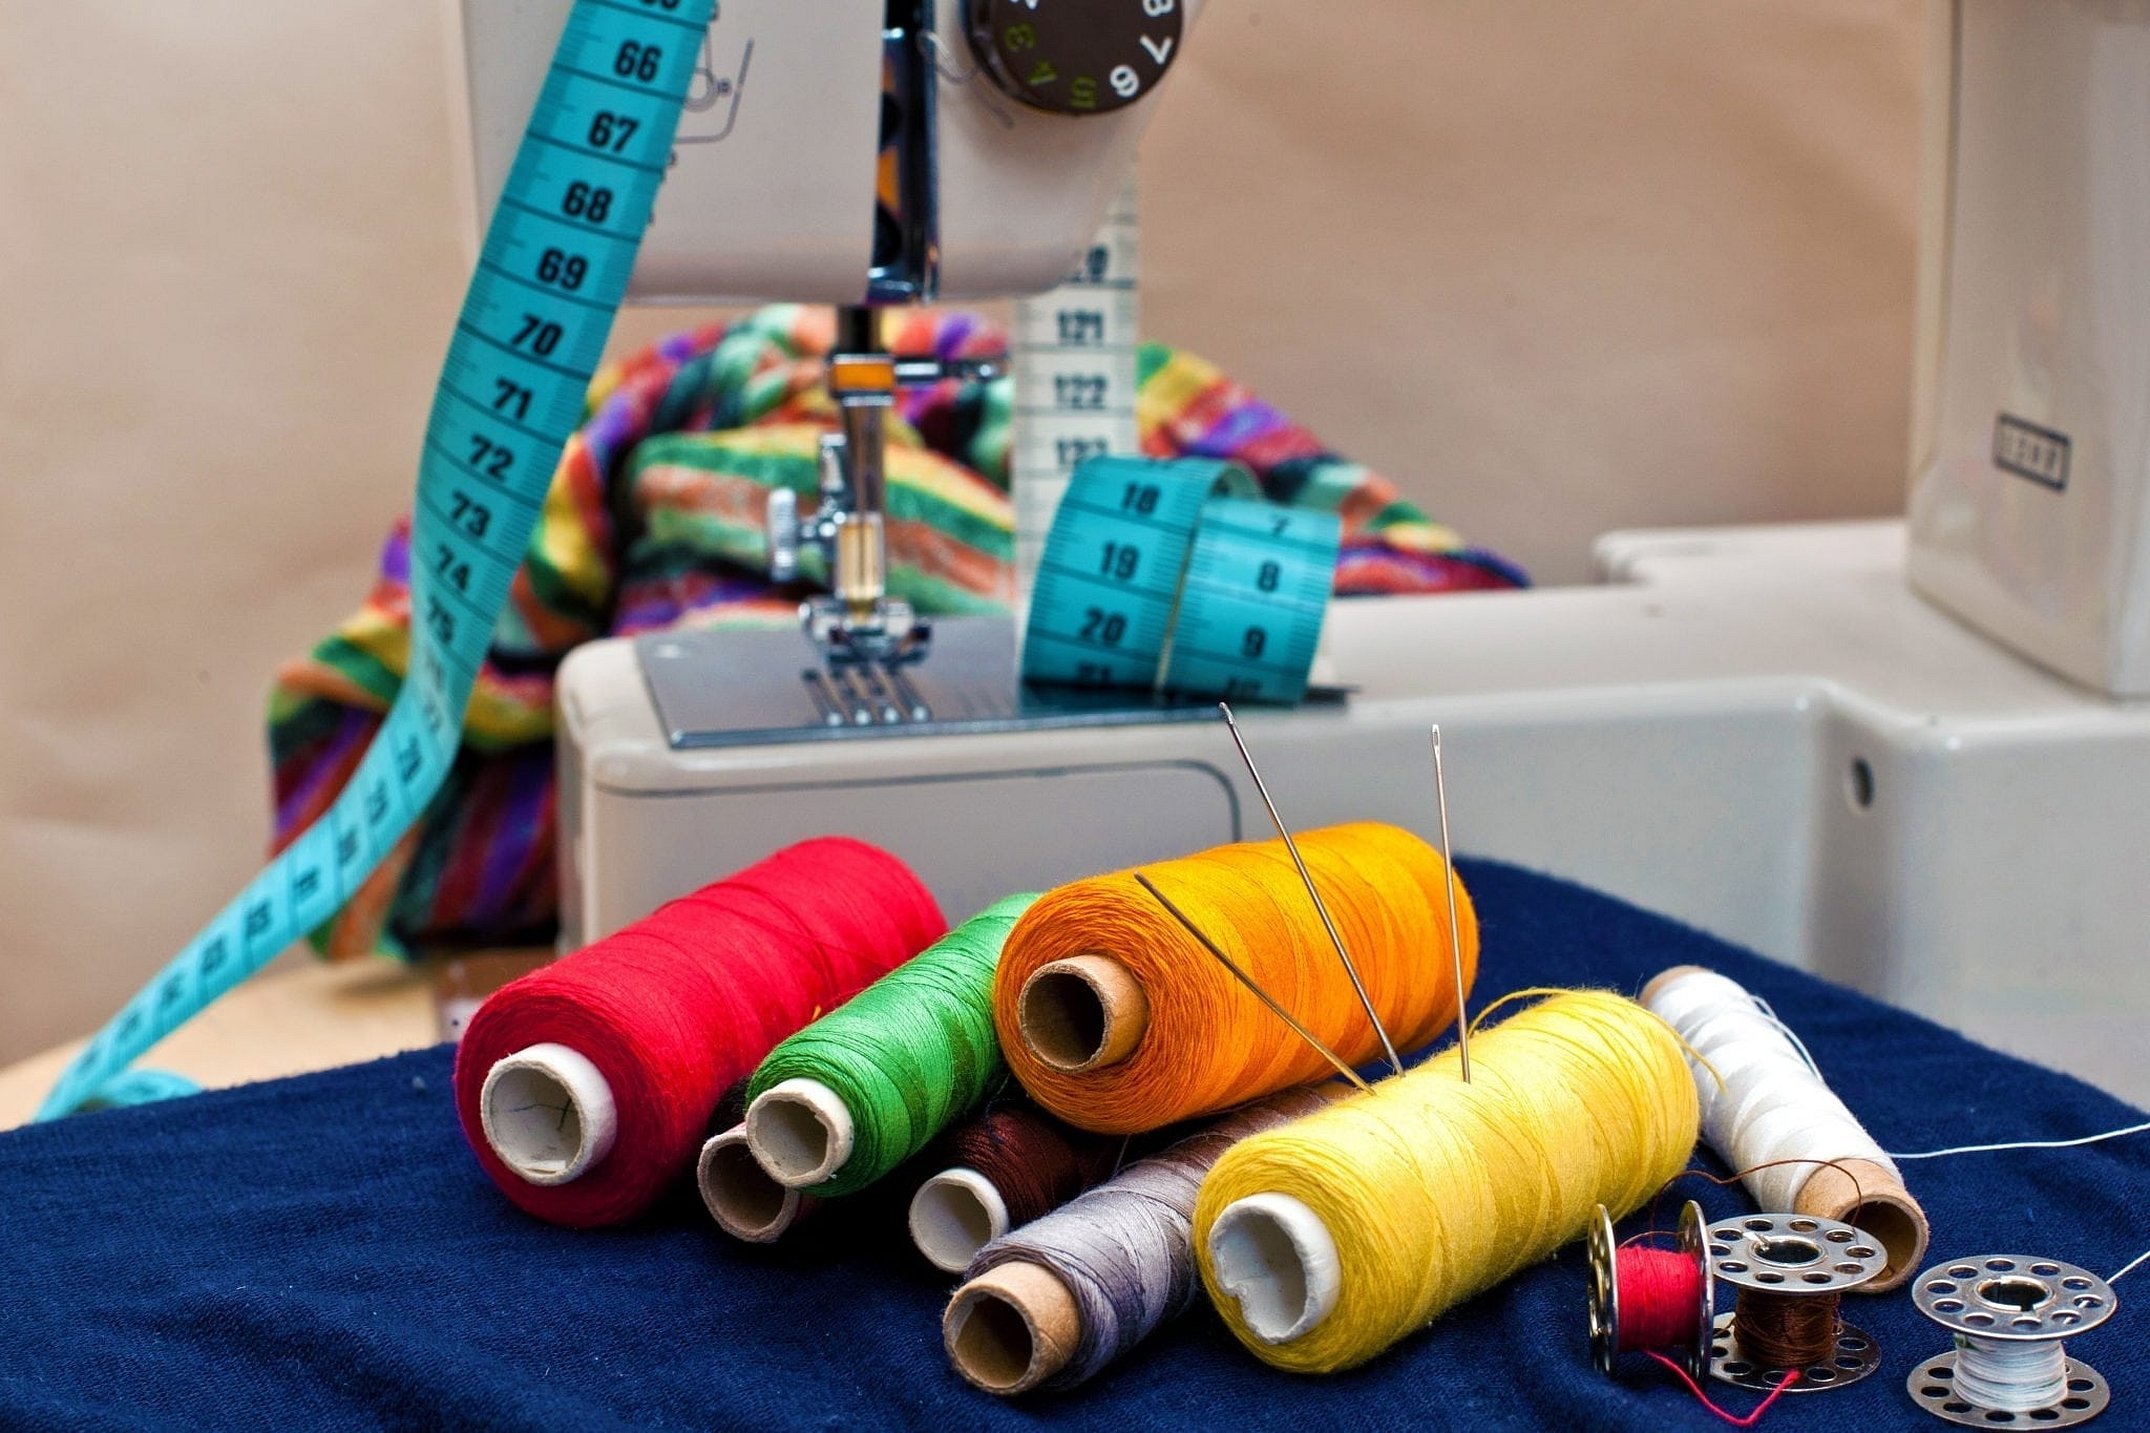
What is needed for work
Before work, it is necessary to prepare auxiliary equipment;
- a piece of fabric up to 90 cm long and up to 15 cm wide (the exact dimensions depend on the head circumference). If the bandage is double-sided, you will have to take two pieces of fabric up to 7 cm wide and up to 90 cm long;
- scissors;
- strong threads, needles;
- a piece of wire up to 170 cm long, its diameter should be within 2 mm;
- cardboard (for creating samples);
- simple pencil;
- measuring tape.
Important! To decorate the fabric headband, you need to prepare beads, rhinestones, seed beads, and sequins.
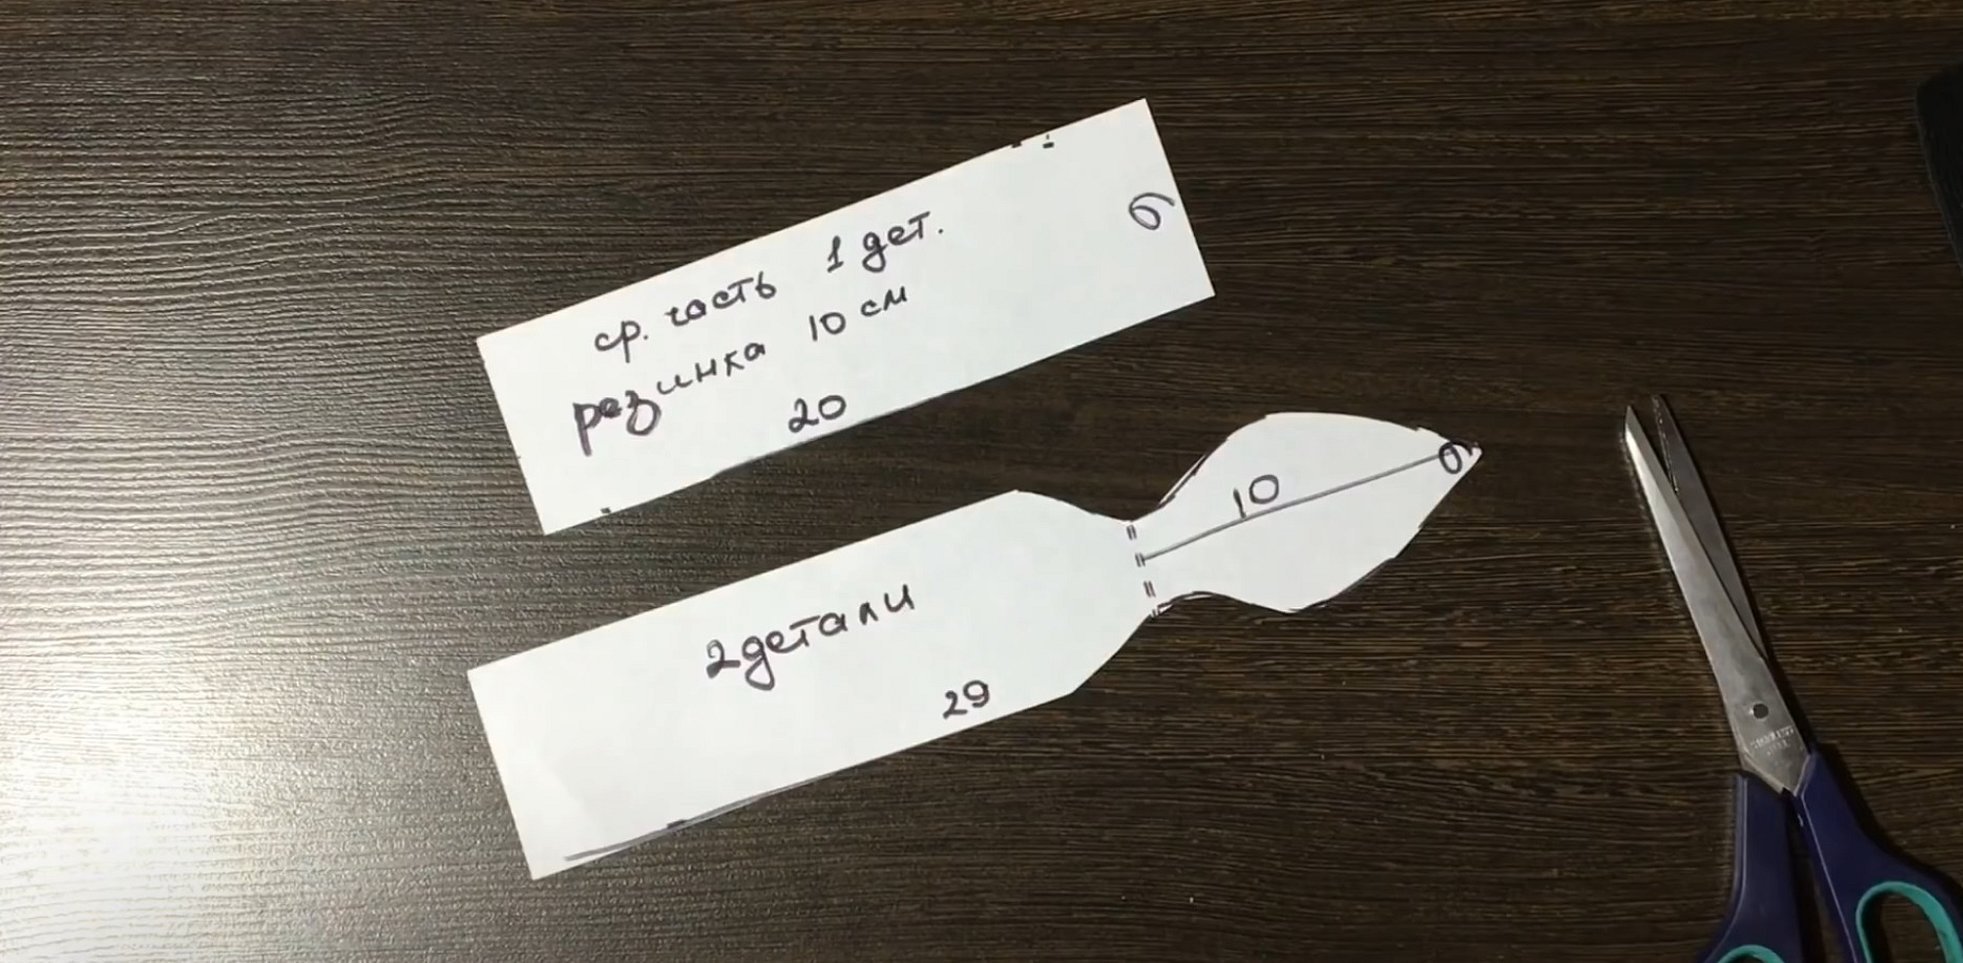
Patterns (bandages) of solokha on the head
Solokha: the pattern and sewing diagrams are presented below. They can be printed and used in the process.
How to sew a headband "Solokha"
The headband is sewn according to various patterns, depending on the style and material used. Below are step-by-step stages of sewing a solokha in a romantic pin-up style, as well as options with wire and a frame.
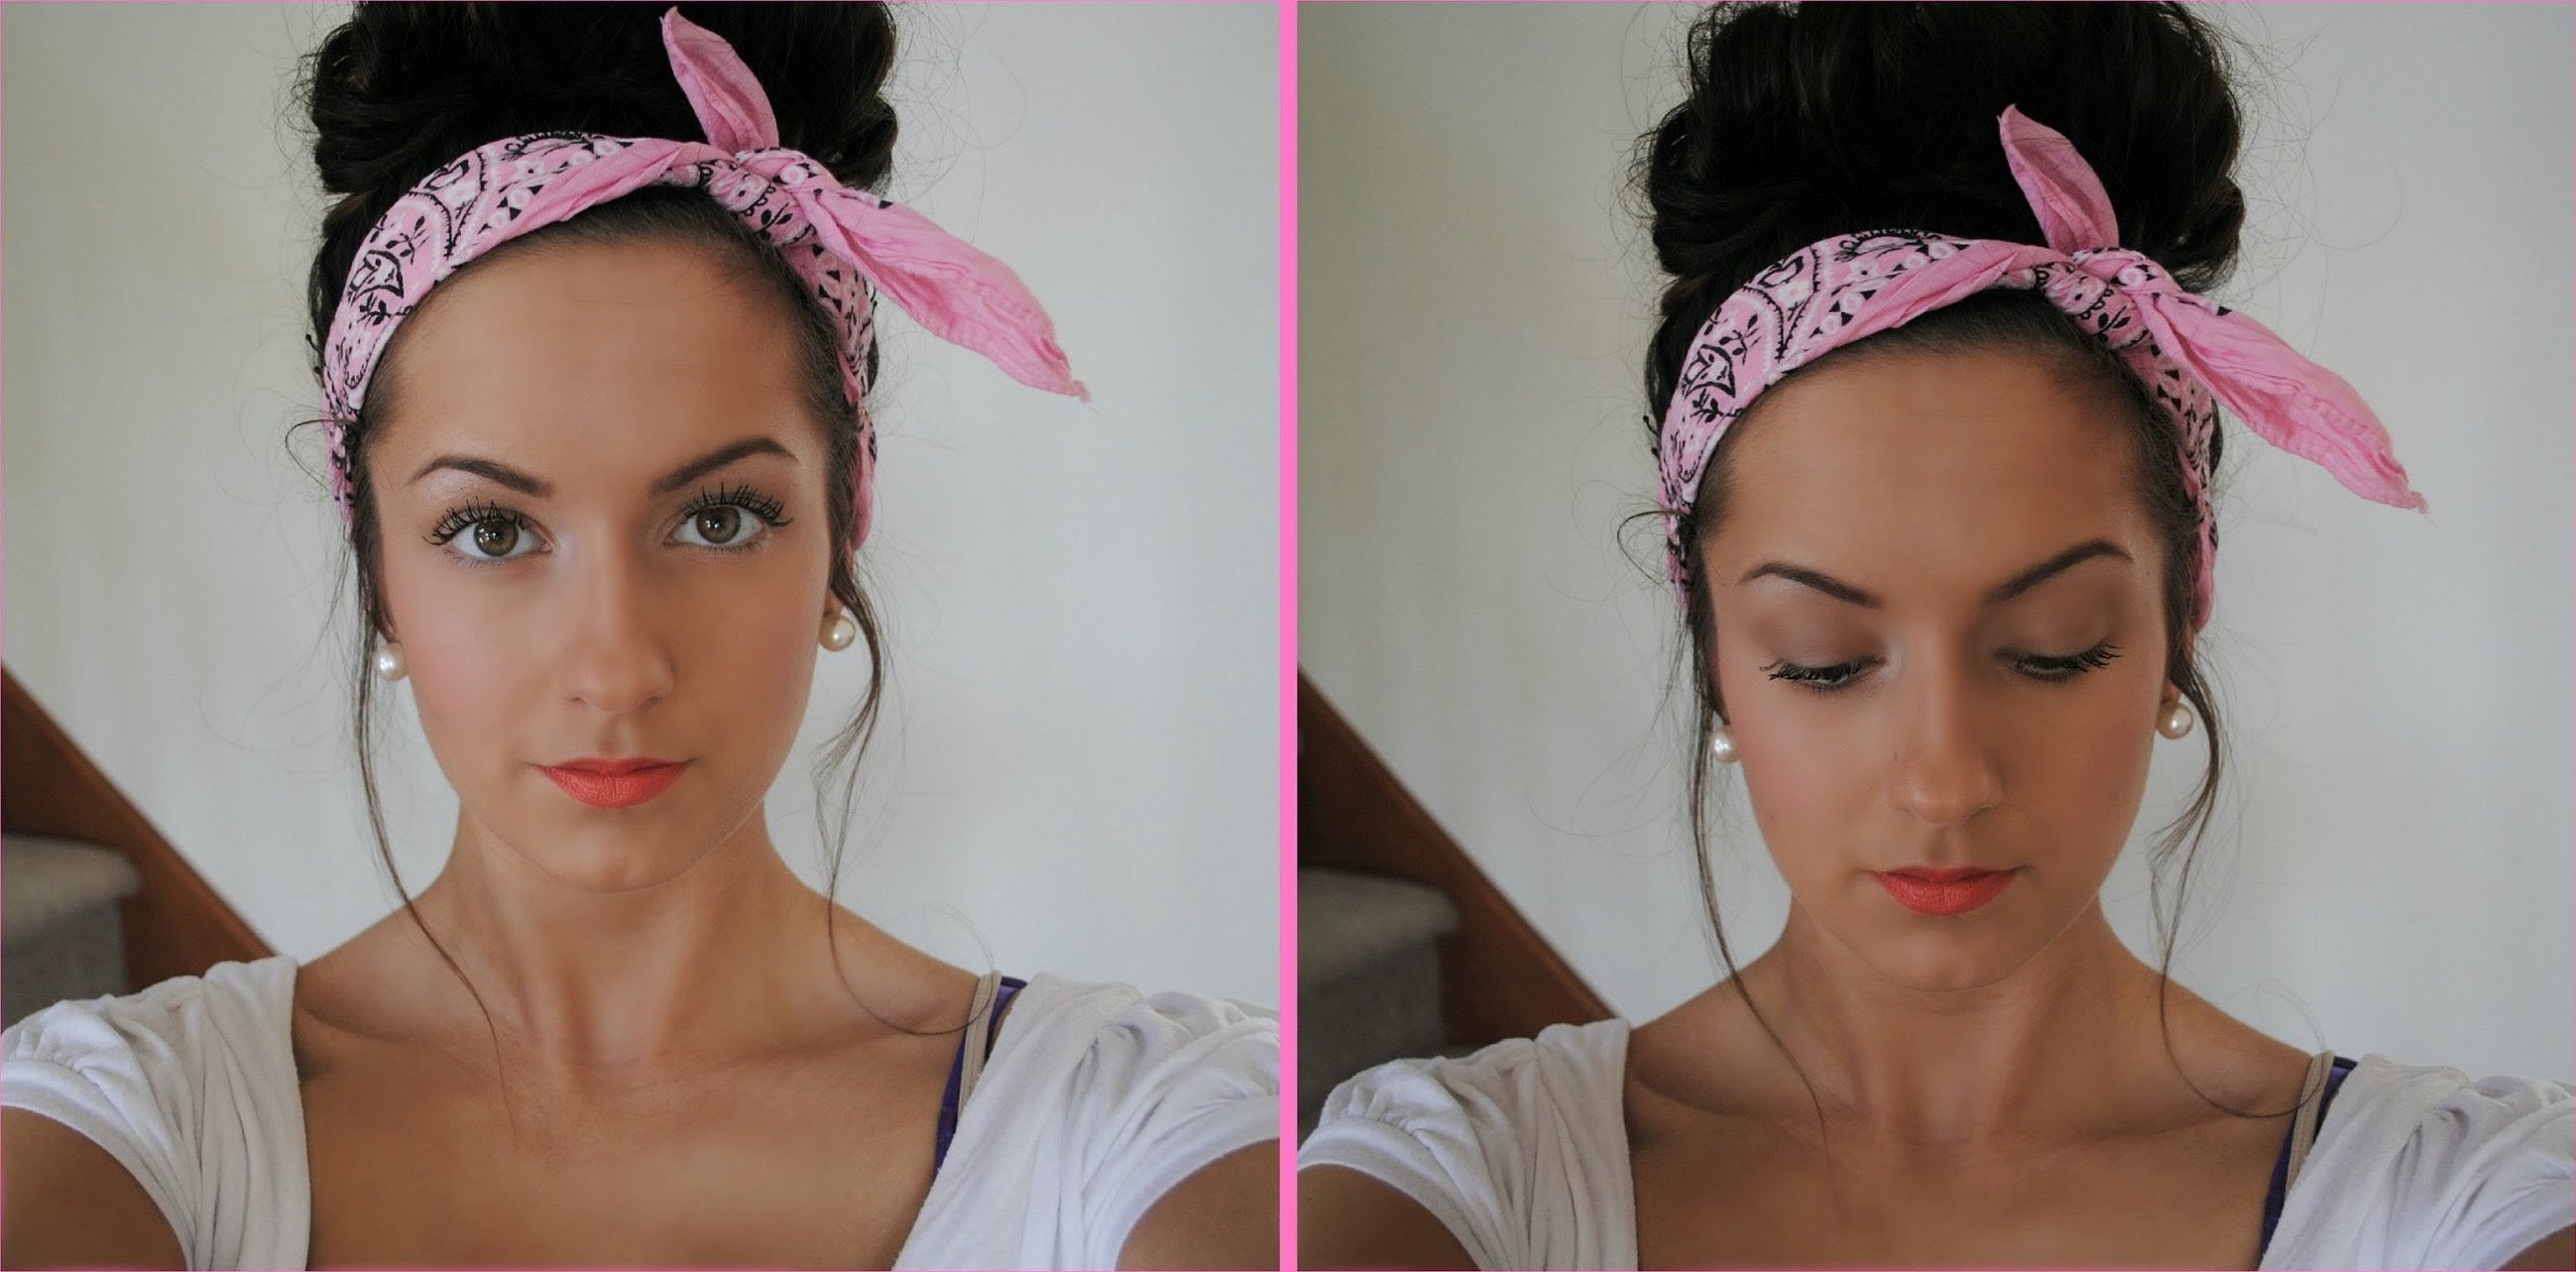
Romantic Solokha Headband
To create a romantic headband, you will need to prepare a fabric of a delicate and natural shade: light pink, beige, white. To decorate the solokha, you need to take beads or beads.
Once the materials are ready, you can start sewing:
- First of all, you will need to create a pattern for the "solokha" headband. To do this, take a sheet of cardboard, draw a rectangle up to 9 cm wide on it, the length should be equal to half the head circumference;
- draw two rectangular pieces 13 cm wide and 40 cm long;
- draw a droplet on cardboard, the shape of which should resemble half a flower petal. Its width should be within 13 cm, length – up to 40 cm;
- sewing should begin with two long strips. They should be folded in half along the entire length, with the wrong side facing up;
- apply a cardboard template in the shape of a petal to the fabric and make markings;
- repeat the steps with another piece of fabric;
- sew the part along the sketched lines;
- turn them through the free edges to the front side;
- iron lightly;

- Now you can start with the shortest part. It should be folded in half and stitched lengthwise;
- turn right side out and iron;
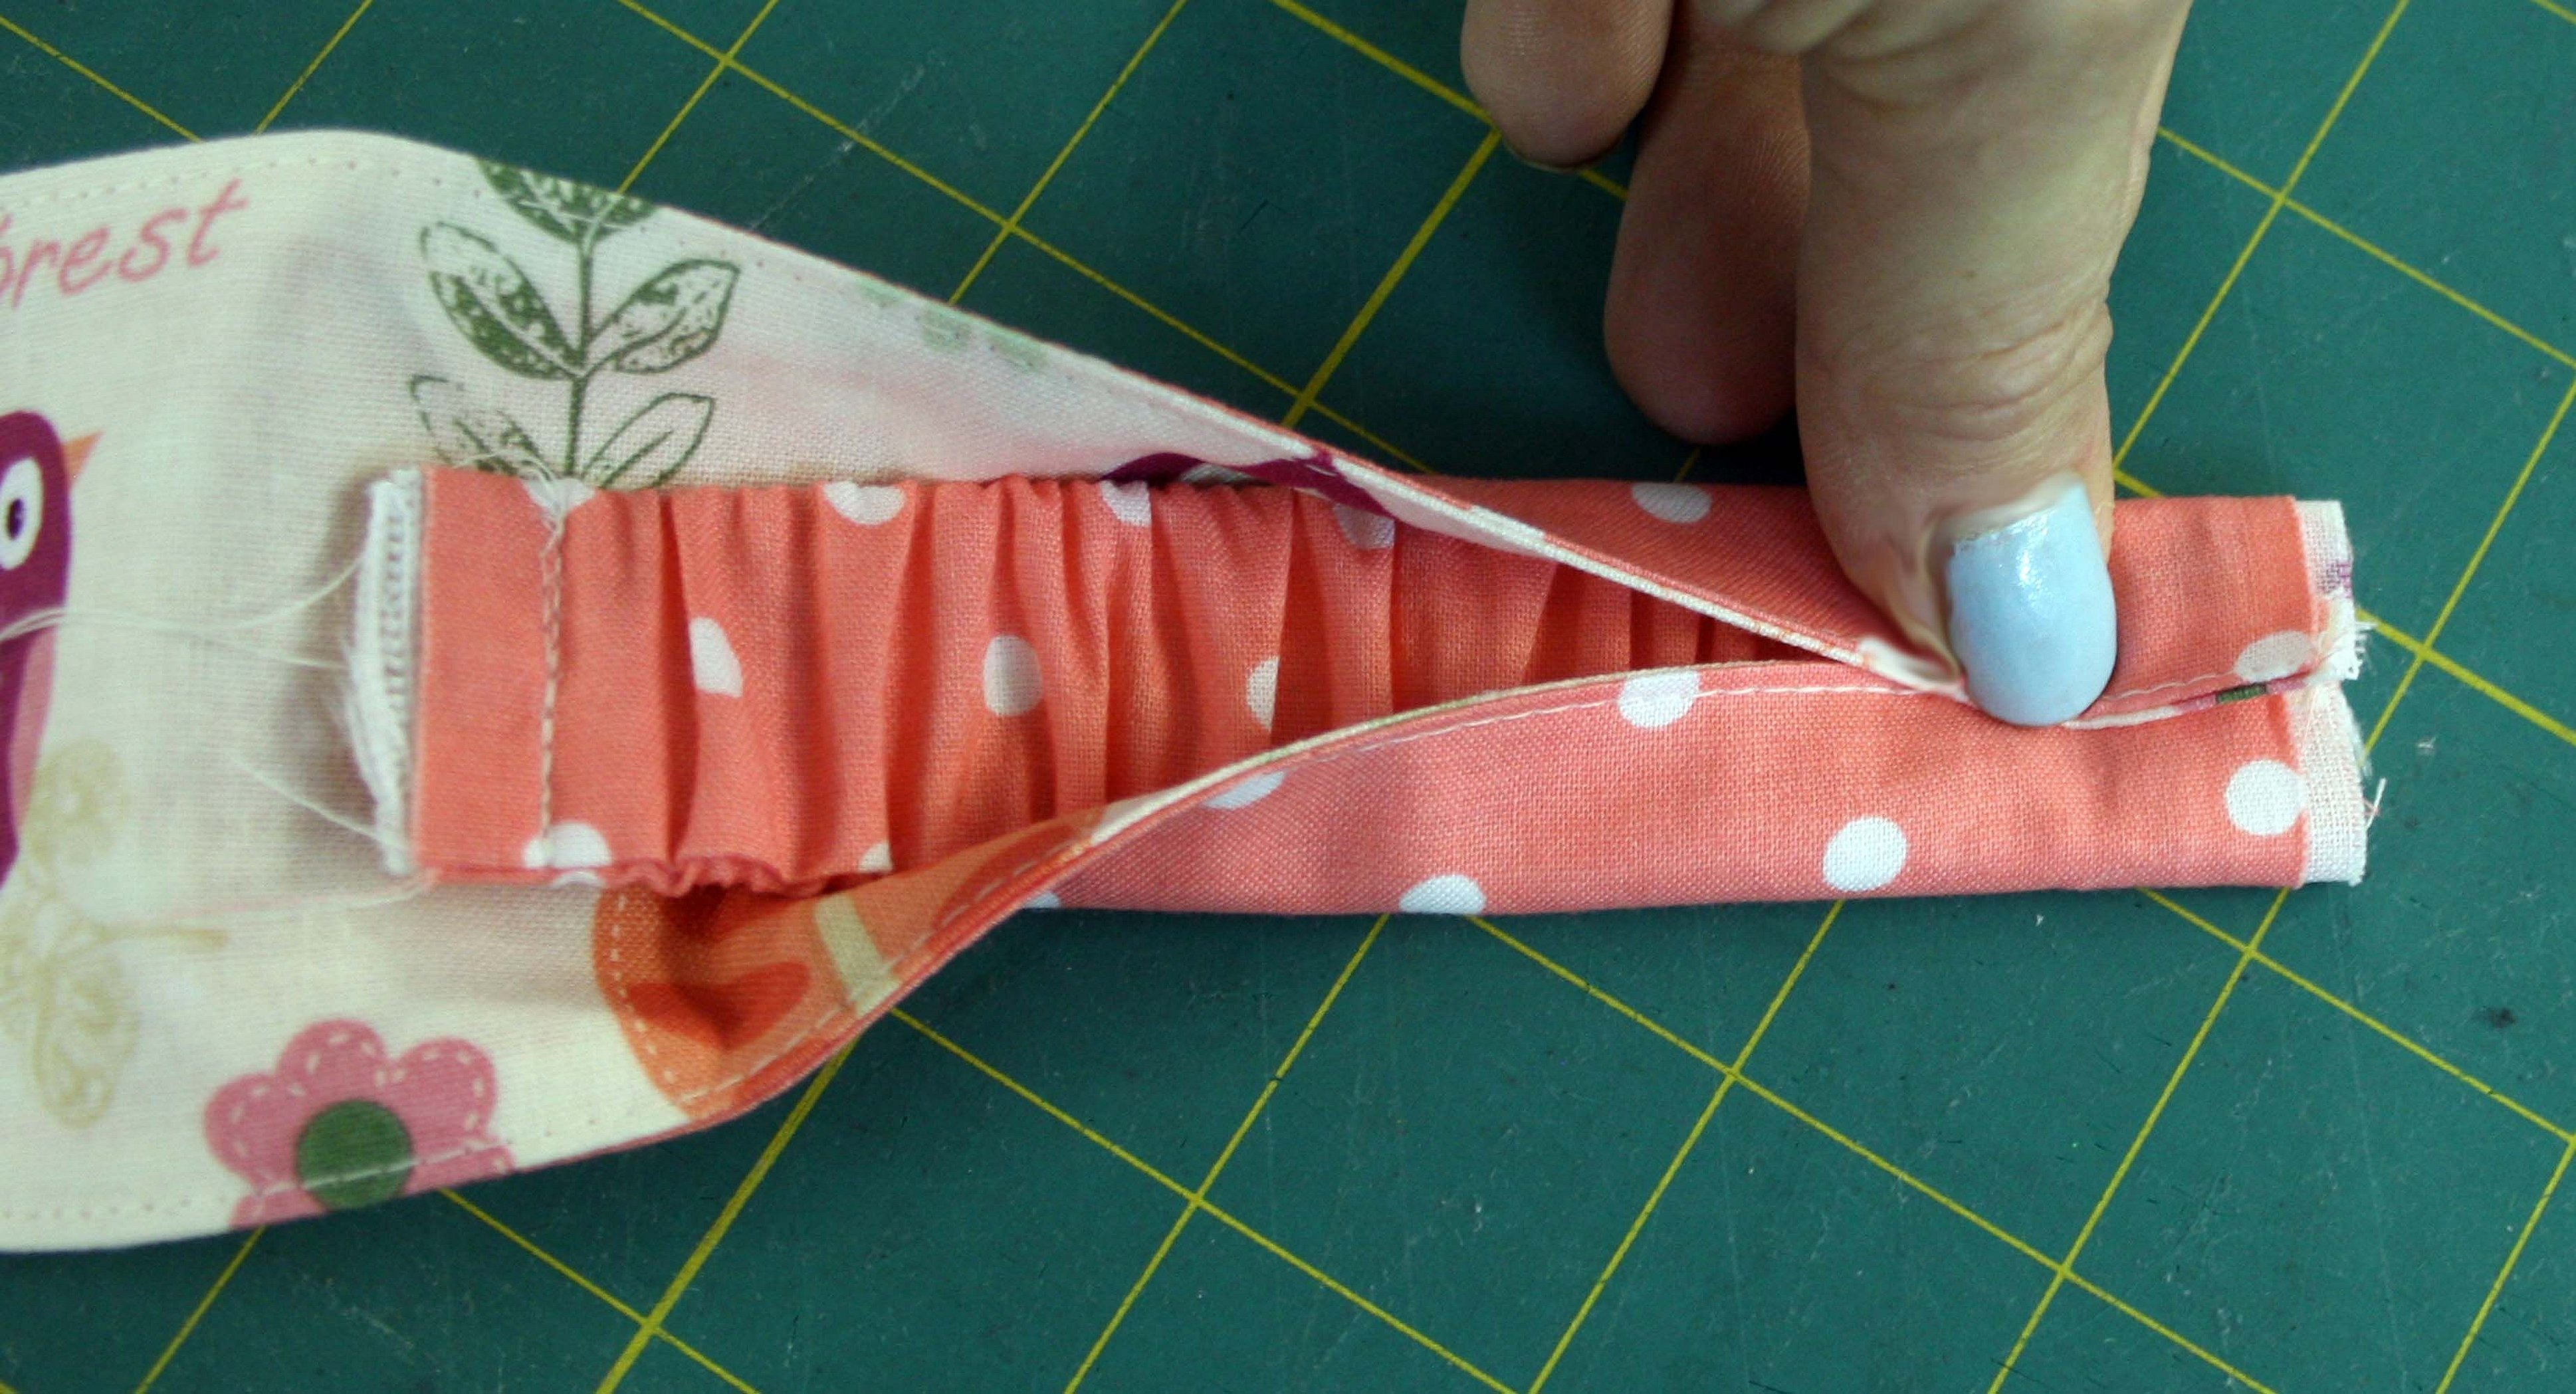
- all the parts need to be assembled. To do this, insert a piece of rubber into the small part;
- the finished structure with the elastic band must be inserted into one of the large parts and deepened inside by 2 cm;
- the edges of the long strip should be folded and sewn to the small piece;
- The opposite edge with the elastic band is also sewn with the remaining long strip using the same pattern.
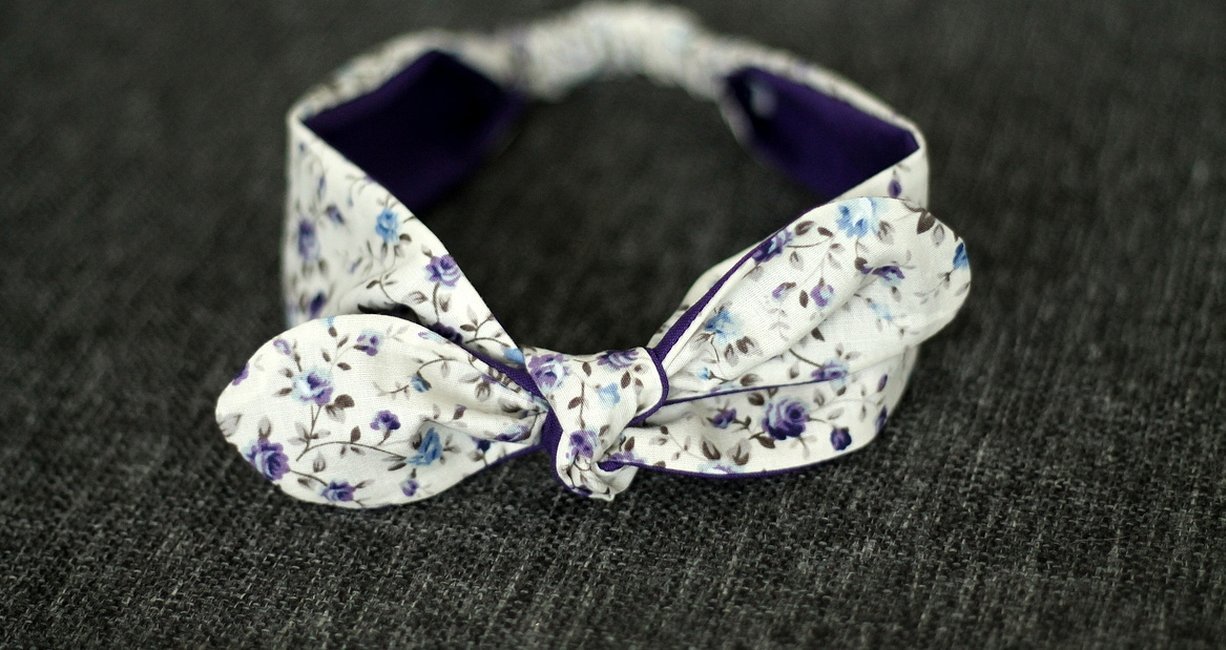
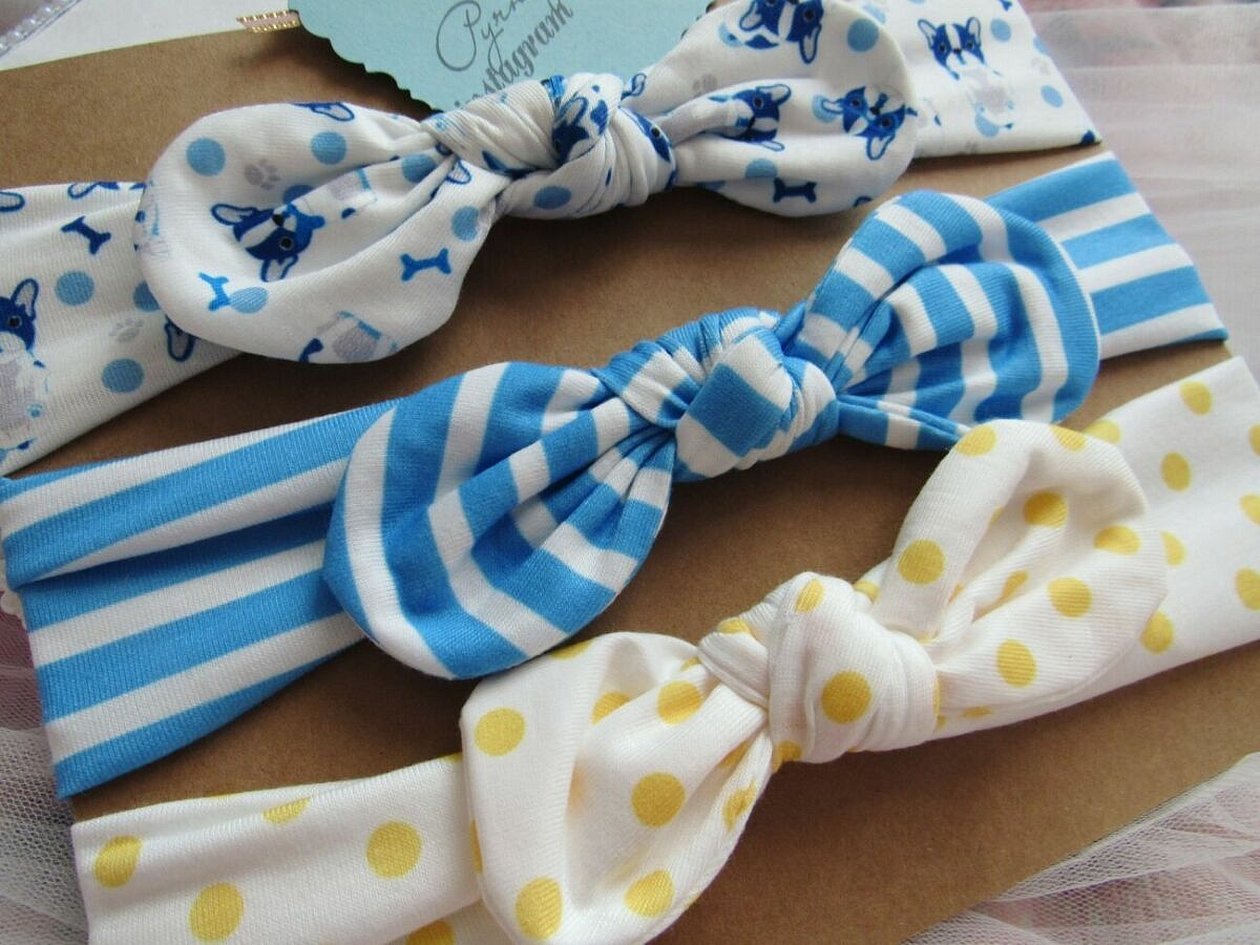
The end result should be a long headband with tapered ends and an elastic band in the middle. Bows, beautiful knots, and flowers can be tied from the ears of the Solokha.
Important! To decorate the accessory, use beads or beads, they can be sewn on with thread or glued with special fabric glue.
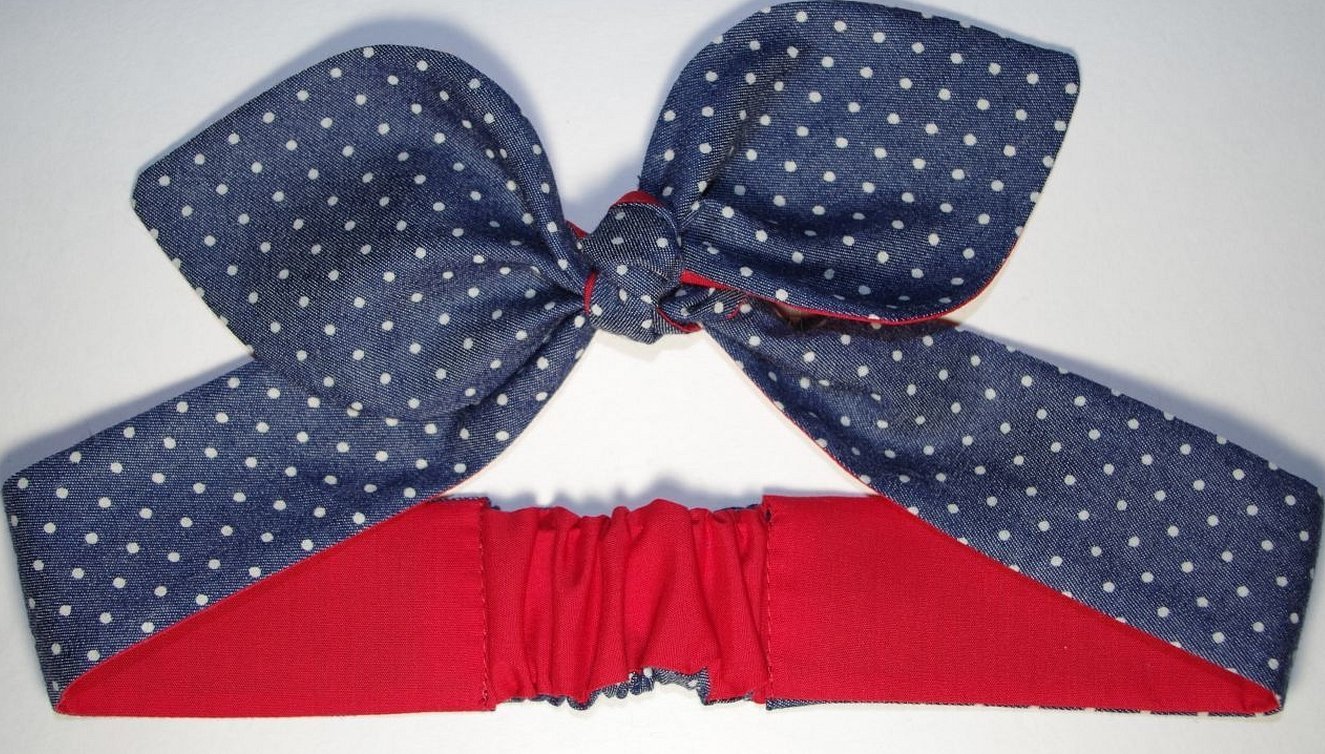
Denim Headband
To sew a solokha with your own hands for a child or an adult, you need:
- cut out two strips of denim fabric up to 10 cm wide and up to 60 cm long;
- On the cardboard, sketch a drop shape to create rounded ends;
- Place the strips on top of each other, with the wrong side facing up;
- sew the fabric around the perimeter without touching the bottom part;
- repeat the steps with the second part of the bandage;
- prepare another strip of fabric 20 cm long and up to 10 cm wide;
- fold the strip face to the main part of the structure and sew along the edge;
- turn all the parts inside out and iron them;
- take an elastic band up to 15 cm long, insert it into the middle piece;
- fold the edge by 2 cm on the long part and insert the element with the elastic into it so that it overlaps;
- stitch the structure along the edges;
- repeat the steps at the other end of the straw.
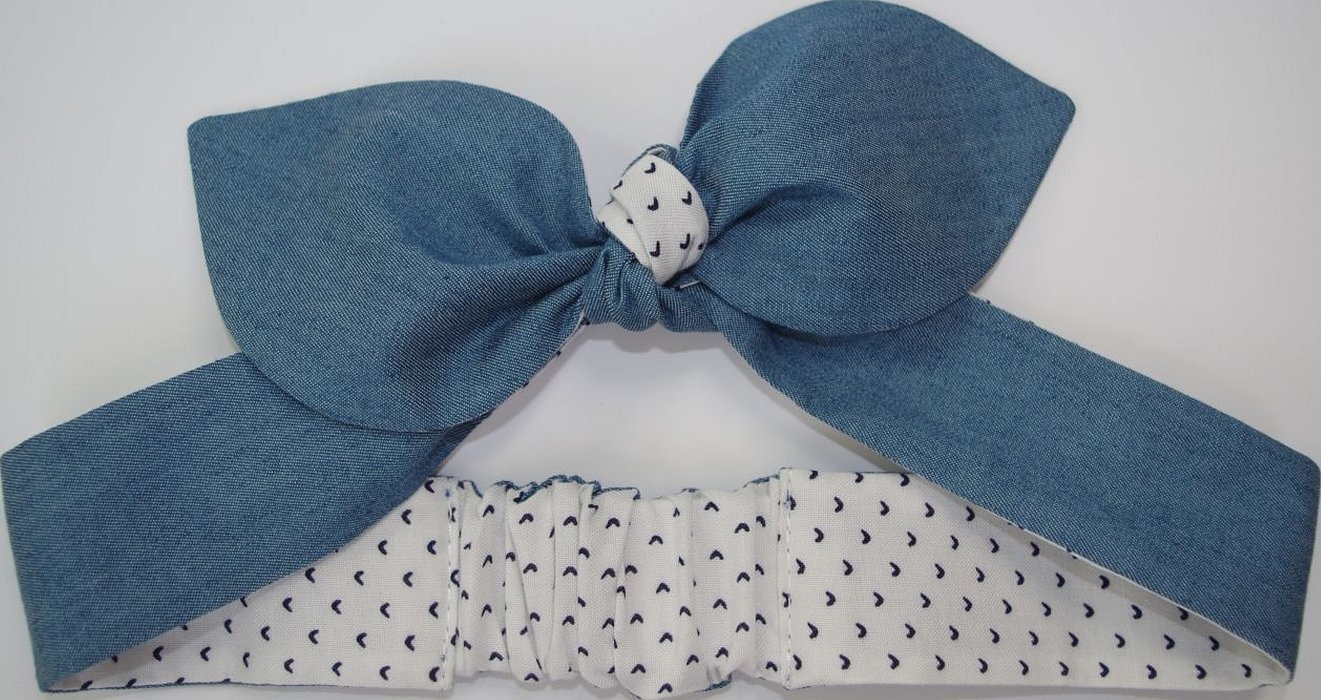
You can also tie beautiful corners and bows from the edges of denim solokha.
Pin-up Headband
DIY headband "Solokha": pattern and making, step-by-step instructions:
- prepare a piece of fabric, fold it in half with the right sides facing each other;
- make a pattern of identical strips 10 cm wide and 40 cm long with a figured rounding of the ends for tying a bow;
- cut out strips;
- stitch them along the perimeter with an indentation without the bottom edges;
- turn the straw inside out and iron it;
- Using a blind stitch, treat the open areas of the bandage.
Important! The pin-up headband is tied in a bow shape at the front of the head.
"Solokha" with wire
How to sew a solokha for girls and women:
- prepare a piece of fabric 11 cm wide and 80 cm long;
- find a wire 180 cm long;
- cut out two identical pieces, decorate the ends to your taste;
- stitch the rim around the perimeter, leaving a 6 cm section on one of the strips;
- lay the wire strictly along the line;
- stitch it around the perimeter manually, while the threads should fit tightly around the wire;
- turn the accessory inside out and iron it with gentle movements;
- hand stitch the edges.
You can make various patterns from a wire headband. It can be used not only to style your hair, but also to secure it firmly.
With frame
This accessory is sewn according to the same principle, only before sewing the ends into the area of the ears of the product, a wire frame is inserted (diameter no more than 2 mm), which will hold the shape and make the edges of the solokha more voluminous. At the very end, the wire will need to be stitched from the inside of the product. The finished ears of the headband can be given any shape, and it will not fall apart.
Who is it suitable for and for what cases?
Due to the abundance of species, solokha can be worn under any clothes and for any event:
- parties;
- Job;
- city walks;
- Summer holidays in hot countries.
The accessory looks appropriate on women with any hairstyle: both on long and straight hair and on cascade haircuts. Using an elastic band or wire, you can create voluminous styling that is suitable for any event.
Important! The product is also used for newborn girls.
Solokha is a stylish head accessory that gained popularity in the last century. You can sew the product yourself. All you need is fabric, some wire or elastic, and decorative elements. It will take only 30–50 minutes to make a stylish headband.


