A bedspread made from quilted elements looks very impressive in the interior of a bedroom, children's room, or living room. With this sewing technique, you can make an original canvas from the most ordinary fabric. A quilted bedspread can be made with your own hands quite simply and quickly. For this, various sewing technologies can be used.
Quilting a bedspread
To decide how to sew a quilt, you need to know its structure. Any version of the product consists of 3 layers:
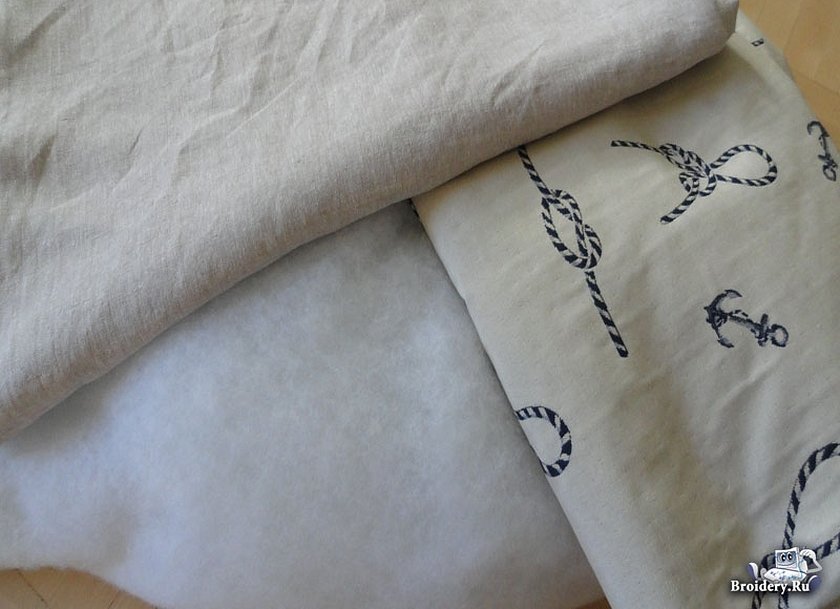
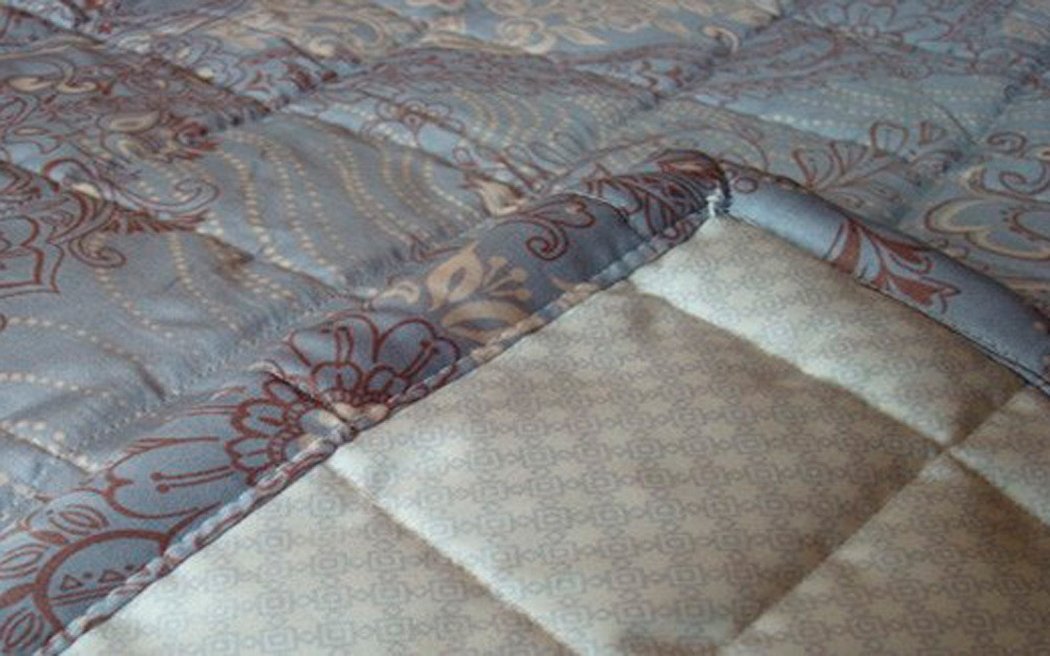
- Front side. To form such a layer, a beautiful, and most importantly, high-quality fabric is selected. It is advisable to stock up on plain, smooth, jacquard or satin material. It is on such canvases that the stitching looks especially embossed and impressive.
- Filler is the second layer located inside the product. According to the standard, synthetic padding is used for this. It is advisable to choose the most voluminous option to increase the relief of the stitch pattern.
- Lining layer (base) - for this part, it is worth choosing a non-slip fabric. In order not to have to adjust a bedspread that has slipped off the bed or sofa, it is better to choose even more fleecy materials.
Additional information! You can buy already quilted fabric and just trim it beautifully with piping. But the appearance will largely depend on the quality of the product.
In addition to the appropriate fabrics, you will also need other tools and materials for sewing:
- sewing machine;
- threads of a suitable color;
- scissors, safety pins;
- for products with piping - piping for finishing the edges.

You can sew a bedspread from curtain fabric using the same kit.
Taking measurements and cutting
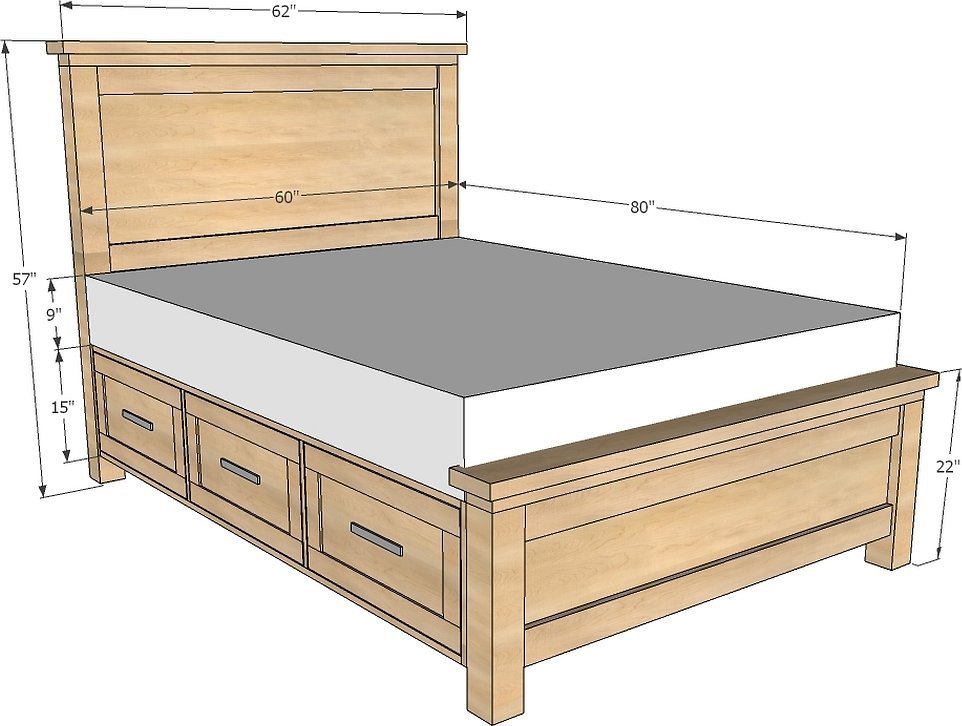
Before you start making the bedspread, you need to determine the size, thickness and design of the fabric. First, take measurements from the bed/sofa. To do this, use a measuring tape to measure the length and width of the bed. These parameters are necessary to determine the exact size of the bedspread.
Next, it is worth considering some allowances for the design of seams and overlays. To determine the shrinkage of the material, use a practical method - a piece of fabric must be washed, dried and ironed, and then assess how much it has shrunk. In addition to the measurements obtained, add 1.5-2 cm for the fit. It is also necessary to take into account the shrinkage of the fabric, which occurs due to the quilting of the pattern - it is recommended to add another 5-6 cm.
Please note! The finer the quilting pattern is formed, the greater the shrinkage will be at the end. Therefore, you need to add more than 6 cm.
It is necessary to use the basic instructions for forming the increases. When taking measurements, it is not recommended to sew a square blanket. The shape of the product should be rectangular. This shape will visually make the pattern more large-scale.
The size of the blanket may decrease after quilting.
When taking measurements of a bed/sofa, you should immediately decide on the size and frequency of the quilted pattern.
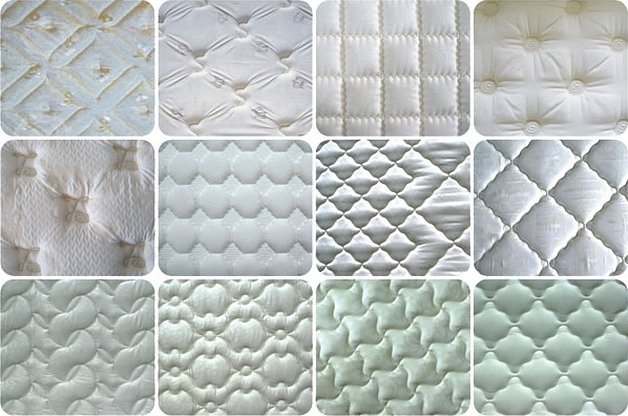
The degree of shrinkage of the material will depend on this. If you want to cover the largest possible part of the surface with stitches, then the shrinkage can be about 20-30 cm. If the stitching is "rare", then it is worth adding about 6-10 cm on each side to the basic parameters.
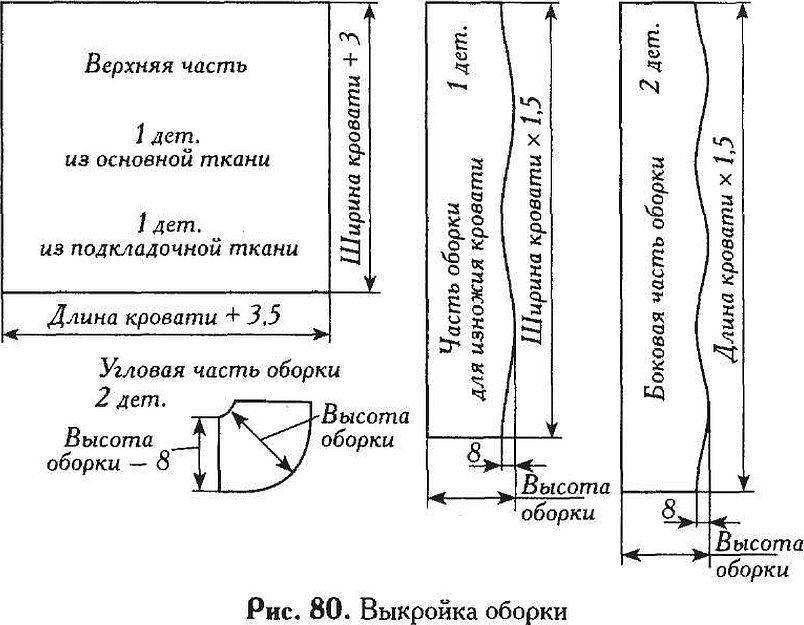
Bedspread pattern
Even a child can cope with the pattern of this type of bedspread, since the product is related to sewing options for the initial skill level. If you are not confident in the success of the event, then you can first try to sew this option for a doll.
Step-by-step instructions for making a pattern:
- Taking into account all shrinkage, edging and bed parameters, calculate the required amount of material for the top layer, filler and lining.
- Make appropriate marks on the material sheets.
- Cut out textile pieces.
- Prepare the material that will be used to form the edging.
All parts are ready for sewing. On the top layer, you can draw a pattern with chalk that was chosen for quilting. Below we will describe how to quilt a patchwork blanket on a machine.
Sewing process
Home sewing of a quilted bedspread is not difficult, but it is still better to decide on the sequence and principle of work. It remains to consider a master class on how to sew a quilted bedspread with your own hands:
- Overlock all the cuts of the future product parts. This will prevent the threads from untangling along the cut.
- Place the two bases, namely the top and lining pieces, with the right sides facing inward. Align all edges and corners. Fix the position of the panels relative to each other with safety pins.
- Sew three sides, leaving one open. It is better to leave one of the narrow sides unsewn.
- Place the padding polyester on the resulting cover. Make a baste in the corners of the product, attaching the padding to the fabric.
- Turn the cover inside out and carefully straighten the filling so that it lies flat. To do this, you can initially attach the padding polyester to the bottom layer with a few stitches.
- Turn over the open edges and stitch. Stitch along the very edge of the fabric. Sometimes you have to use an awl.
The base of the bedspread is ready. The next question is how to quilt the bedspread on a sewing machine. The procedure is simple, but it is worth considering some nuances. It is better to make a pattern line on the back side - on the lining. When doing the stitching, it is advisable to try to slightly pull all the layers of the bedspread.
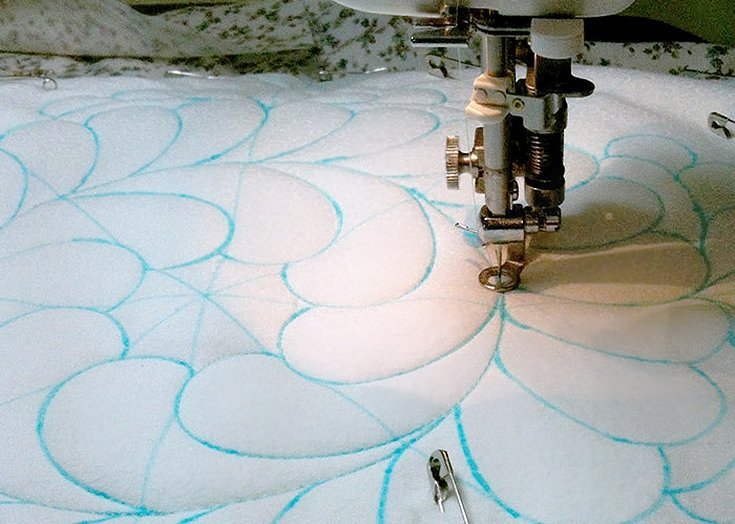
Important! The larger the stitch, the neater and more even the product and the pattern itself will look. This size of the pattern being made is relevant for beginner needlewomen.
The blanket stitching on the sewing machine is done with the help of a special platform, foot, and needle. Additionally, you can use special templates that are distinguished by the accuracy and symmetry of all parts of the pattern.
Finishing the edge of a bedspread without a frill
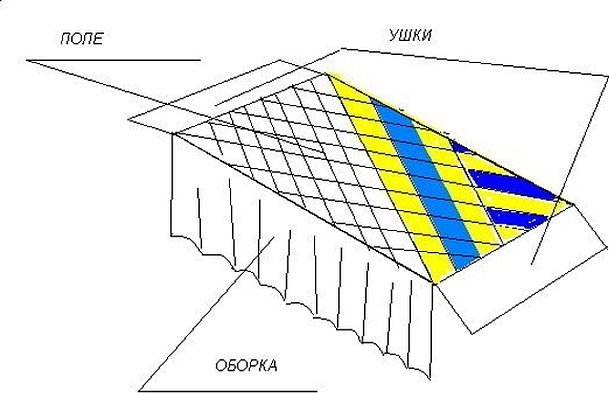
To make each patch stand out against the background of the blanket base, you can process the edges without forming a frill. The principle of such processing can be traced in the figure with the following processing scheme:
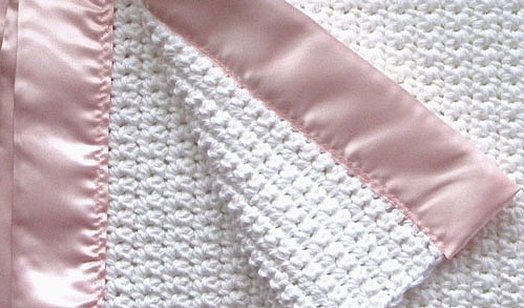
It is enough to simply fold the edges of the bedspread and carefully stitch or sew them to the lining side with a hidden seam. Additionally, you can frame the edges by applying a satin ribbon or piping and stitching the element to the base of the top layer.
Bedspread frill
Not only can the stitching of a blanket on a sewing machine be difficult, but also the formation of a lush frill. There are several options for making this part of the product. You can immediately form a small frill when cutting the base. But more often this element is made and then sewn on separately.
If the frill for the bedspread needs to be sewn separately, then you will have to form a kind of skirt. Such a frill-skirt is sewn to the base of the product and is its non-removable part, which is largely justified by the functionality and design of the bedspread. Any frill simplifies the technology of processing the edges of the bedspread. In addition, even neat folds will help hide the flaws of the stitching if your diamonds are far from geometric symmetry.
To make a beautiful frill you will need:
- Cut out a frill of the required size and hem the element, sewing a hem stitch.
- Having folded the top edge of the part, you need to attach it to the bedspread and carefully sew it with safety pins. At this stage, folds of the required size are formed. It is recommended to pay special attention to the corners. In these parts, the fabric should not be stretched or deformed.
- Sew on the frill, remove the safety pins and iron the finished product well.
It is not difficult to sew a patchwork bedspread for a bed or sofa. The main thing is to be patient, carefully think through the pattern and approach the matter with enthusiasm. The finished product will definitely become a unique element of the bedroom and will delight you for many years.


