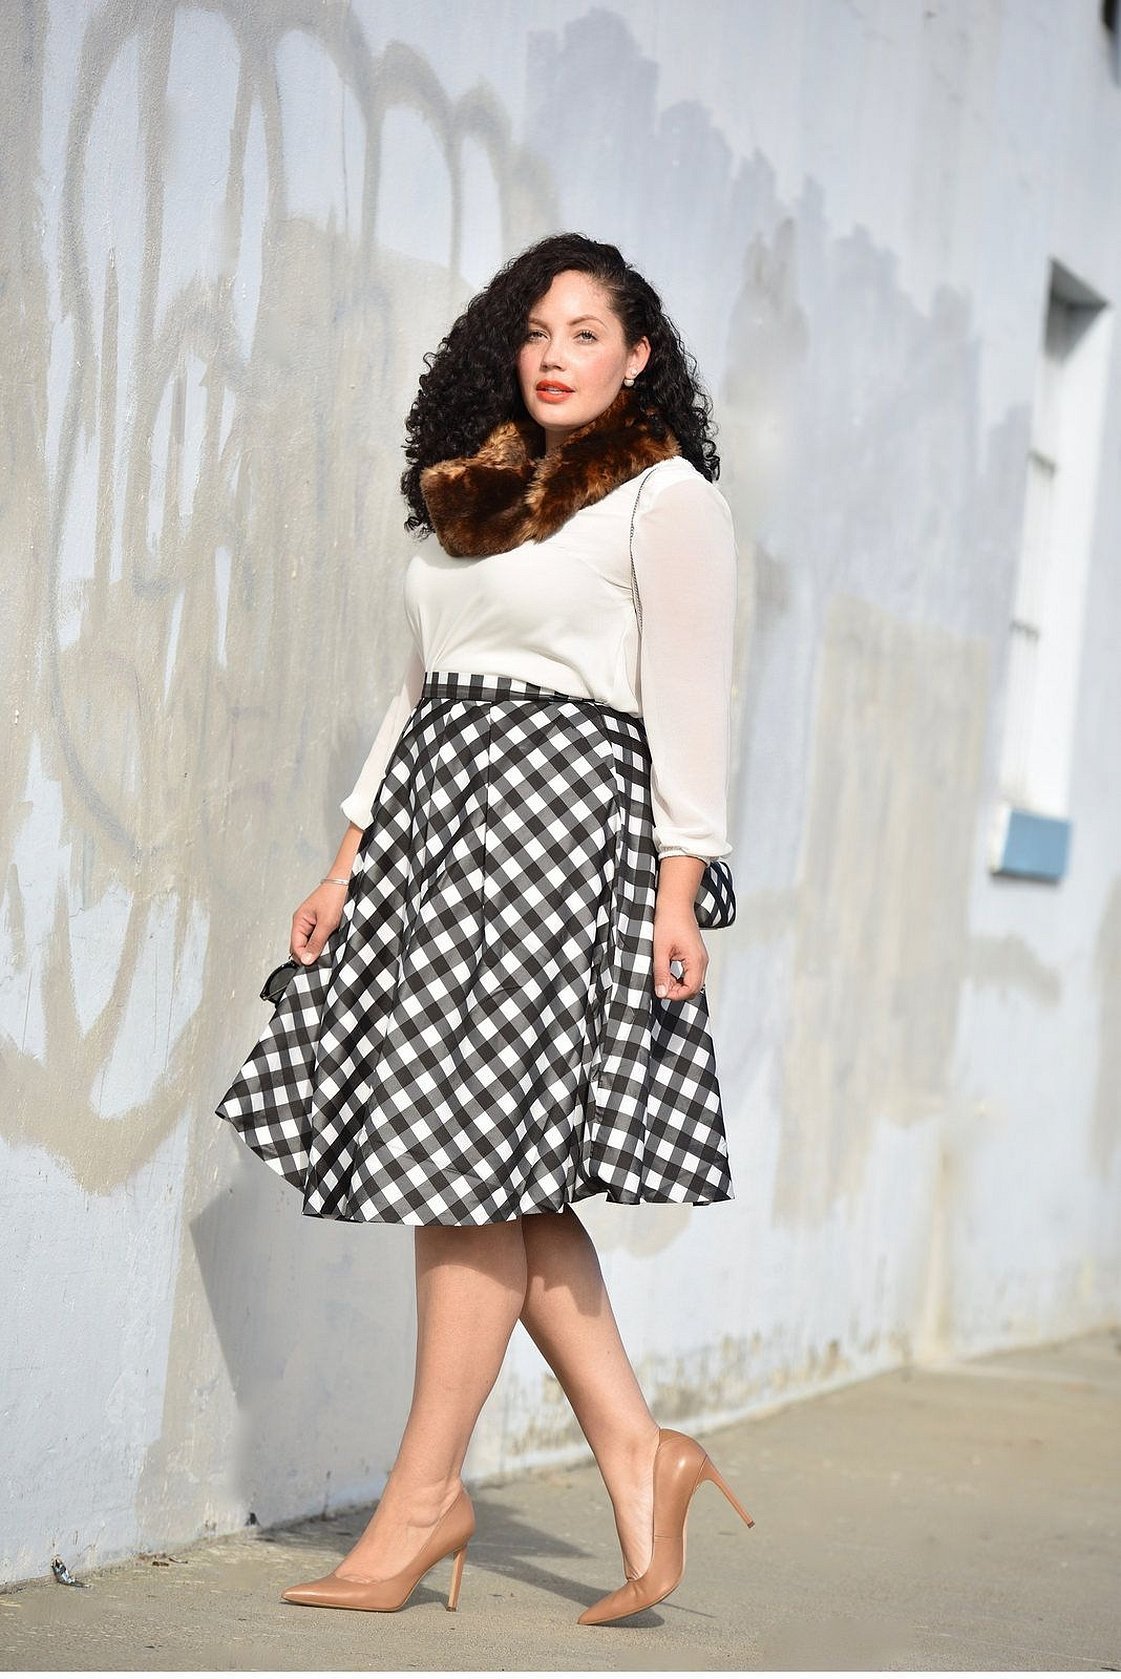
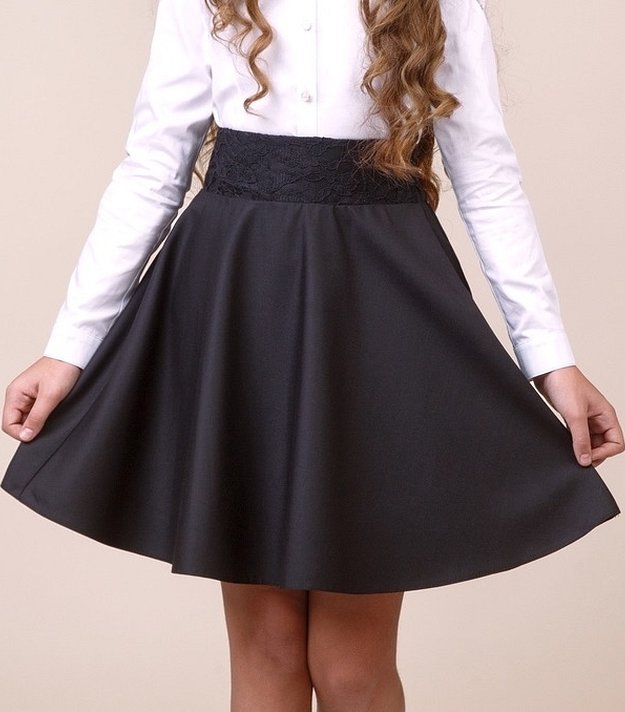
It is difficult to imagine a single modern woman whose wardrobe does not include such a simple, feminine, romantic and versatile skirt as a half-sun.
An accentuated waist, hidden volumes, a proportional figure - what else does any girl need to create a successful image!
- Who is it suitable for?
- Half-sun skirt styles
- Choice of fabric
- Tools for cutting and sewing
- Measures
- How to calculate the amount of fabric
- Building a Basic Pattern
- How to draw a bottom line
- Peculiarities of pattern construction
- Construction of a pattern for a half-sun skirt with pleats
- Construction of a half-sun skirt on a yoke
- Half-sun floor-length skirt
- With one seam
- With two seams
- With elastic band
- With lightning
- How to cut a half-sun skirt
- Sewing
- How to sew a belt to a half-sun skirt
- How to hem
Who is it suitable for?
It is safe to say that this model suits all types of female figures. It corrects the shortcomings and emphasizes the advantages of its owners. Thus, for girls with a weakly defined waist it emphasizes it, for girls with a pear-shaped figure it balances the top and bottom, and for a T-figure, on the contrary, it adds volume in the missing places.
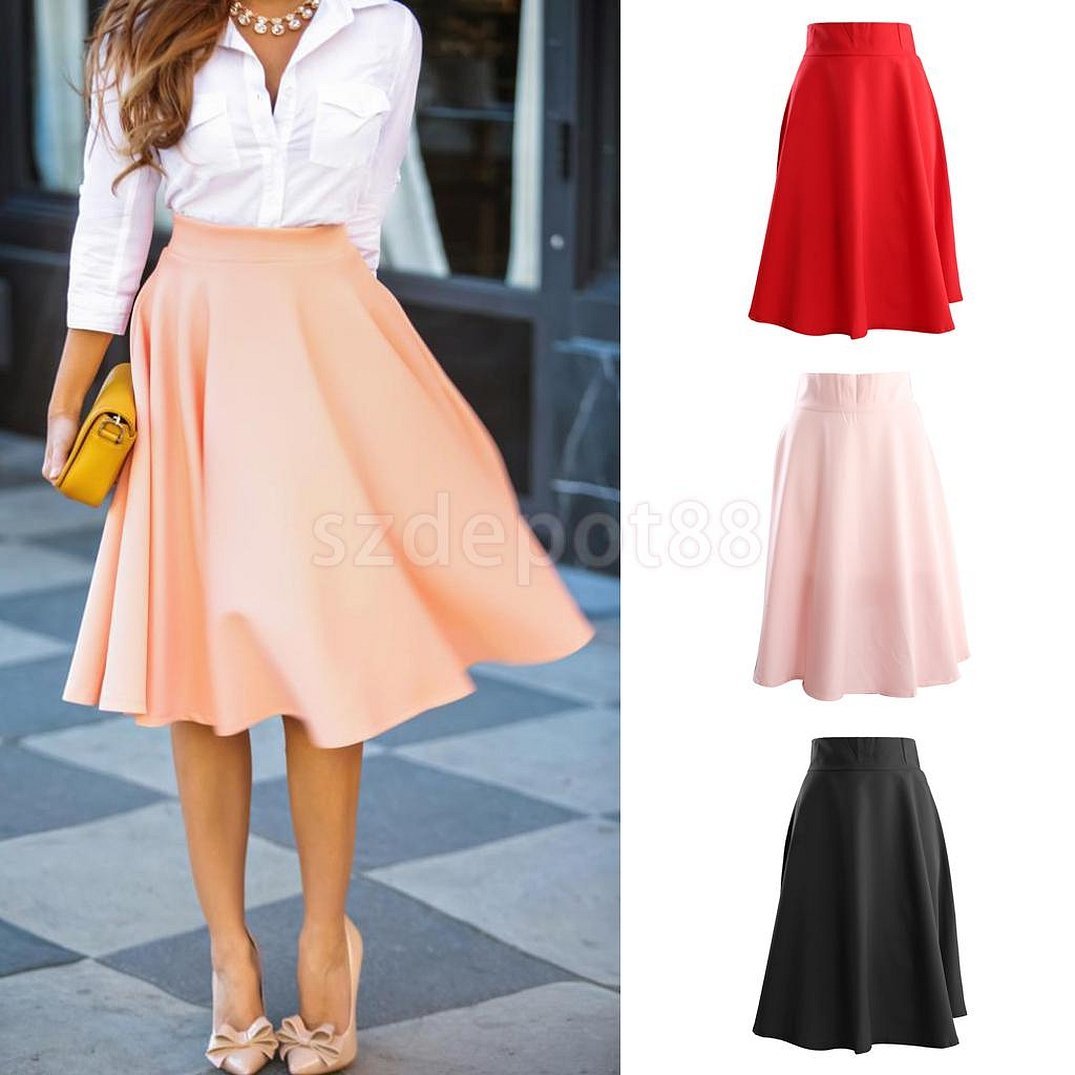
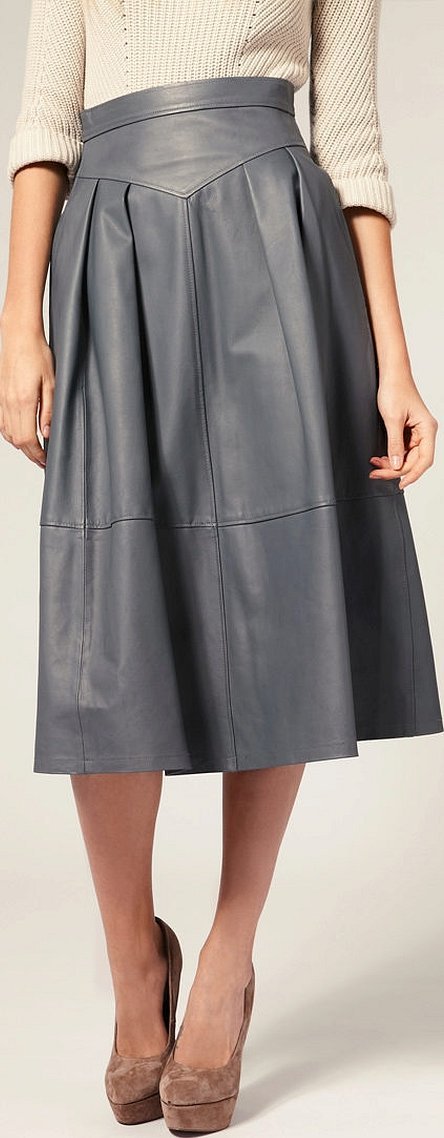
Half-sun skirt styles
This is truly a universal and most common model. The following styles are distinguished:
- High waisted;
- With folds and pleats;
- With smell;
- Half-flared;
- With ties/zipper;
- Summer/Winter
- With/without belt;
- With/without pockets.
Depending on the length, models are divided into mini, midi, maxi.
The list can be continued indefinitely, all skirts have a simple pattern in common. They are sewn using one, maximum two seams.
Choice of fabric
In this matter, craftswomen are limited only by their skills, since most fabrics are suitable for constructing the model - knitwear, leather, denim, wool, chiffon, linen, satin, satin, silk, tulle, tweed, jacquard, viscose, polyester, etc.
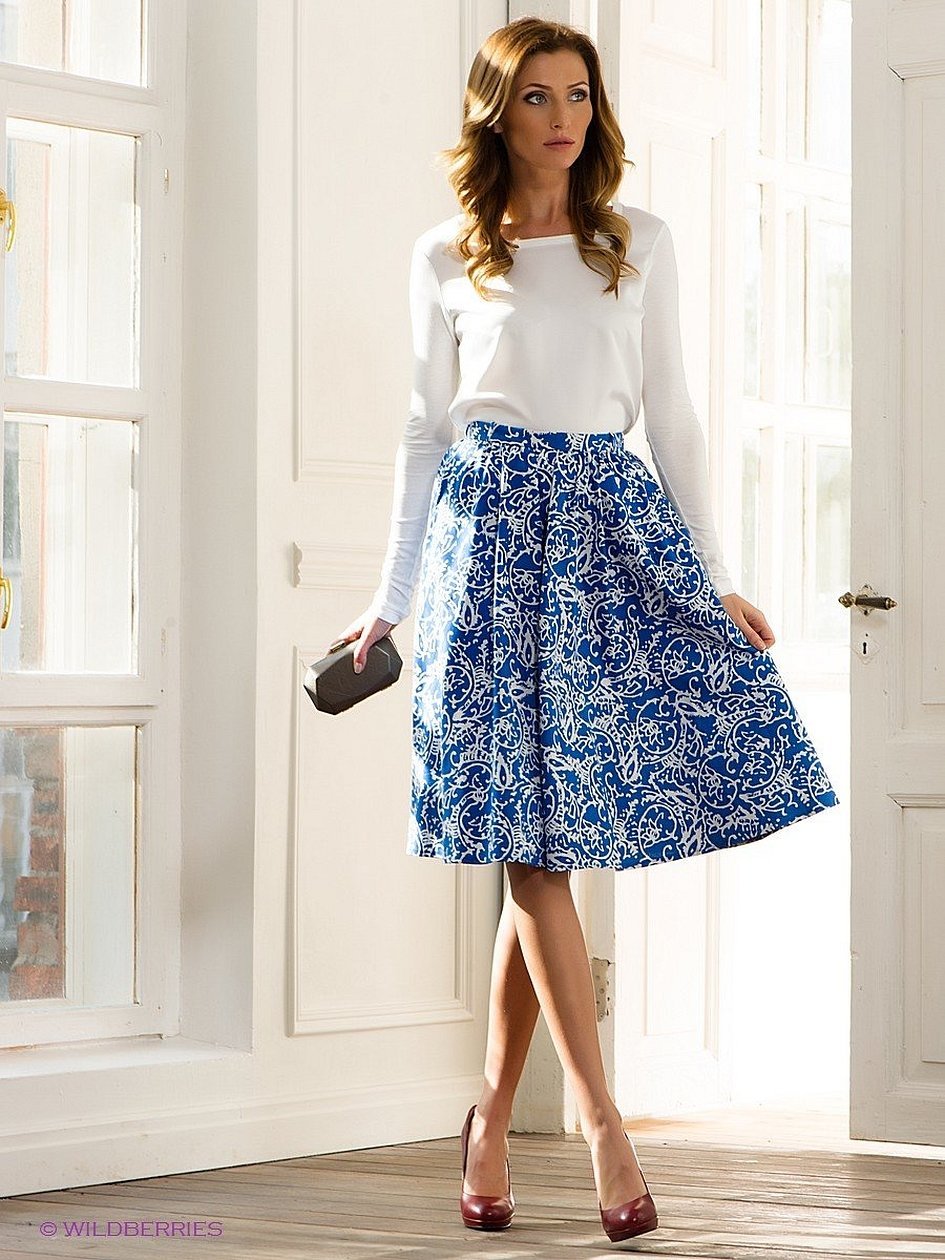
Products made of plain fabrics look chic. Popular prints when sewing half-sun skirts are checks, flowers, polka dots.
For beginning needlewomen, it is not recommended to choose “complex” fabrics - leather, silk, satin, chiffon, etc.

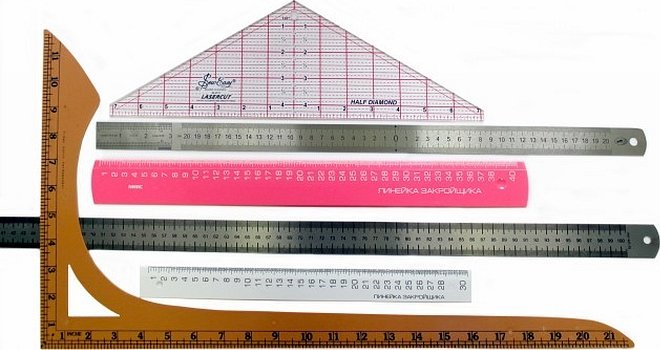
Tools for cutting and sewing
The standard set of tools for sewing a product looks like this:
- Tailor's rulers;
- Measuring tape;
- A set of sharp scissors of different sizes;
- Graph paper;
- Pattern chalk;
- Pencil, eraser;
- Sewing machine;
- Iron/steamer.
Measures
You should start taking measurements only after you have decided on the length of the product. Only two indicators are enough to cut out the model:
- Waist circumference (WC);
- Length.
The waist should be measured at the narrowest point, at which level the skirt is planned to be worn. The measurement is made with a measuring tape, while it should not be too loose or too tight.
To calculate the length, you need to stand up straight, distributing the center of gravity evenly between both legs. The length is measured along the side seam from the waist line to the place where the hem of the skirt is planned. You also need to take into account about 1.5 cm for processing the hem.
How to calculate the amount of fabric
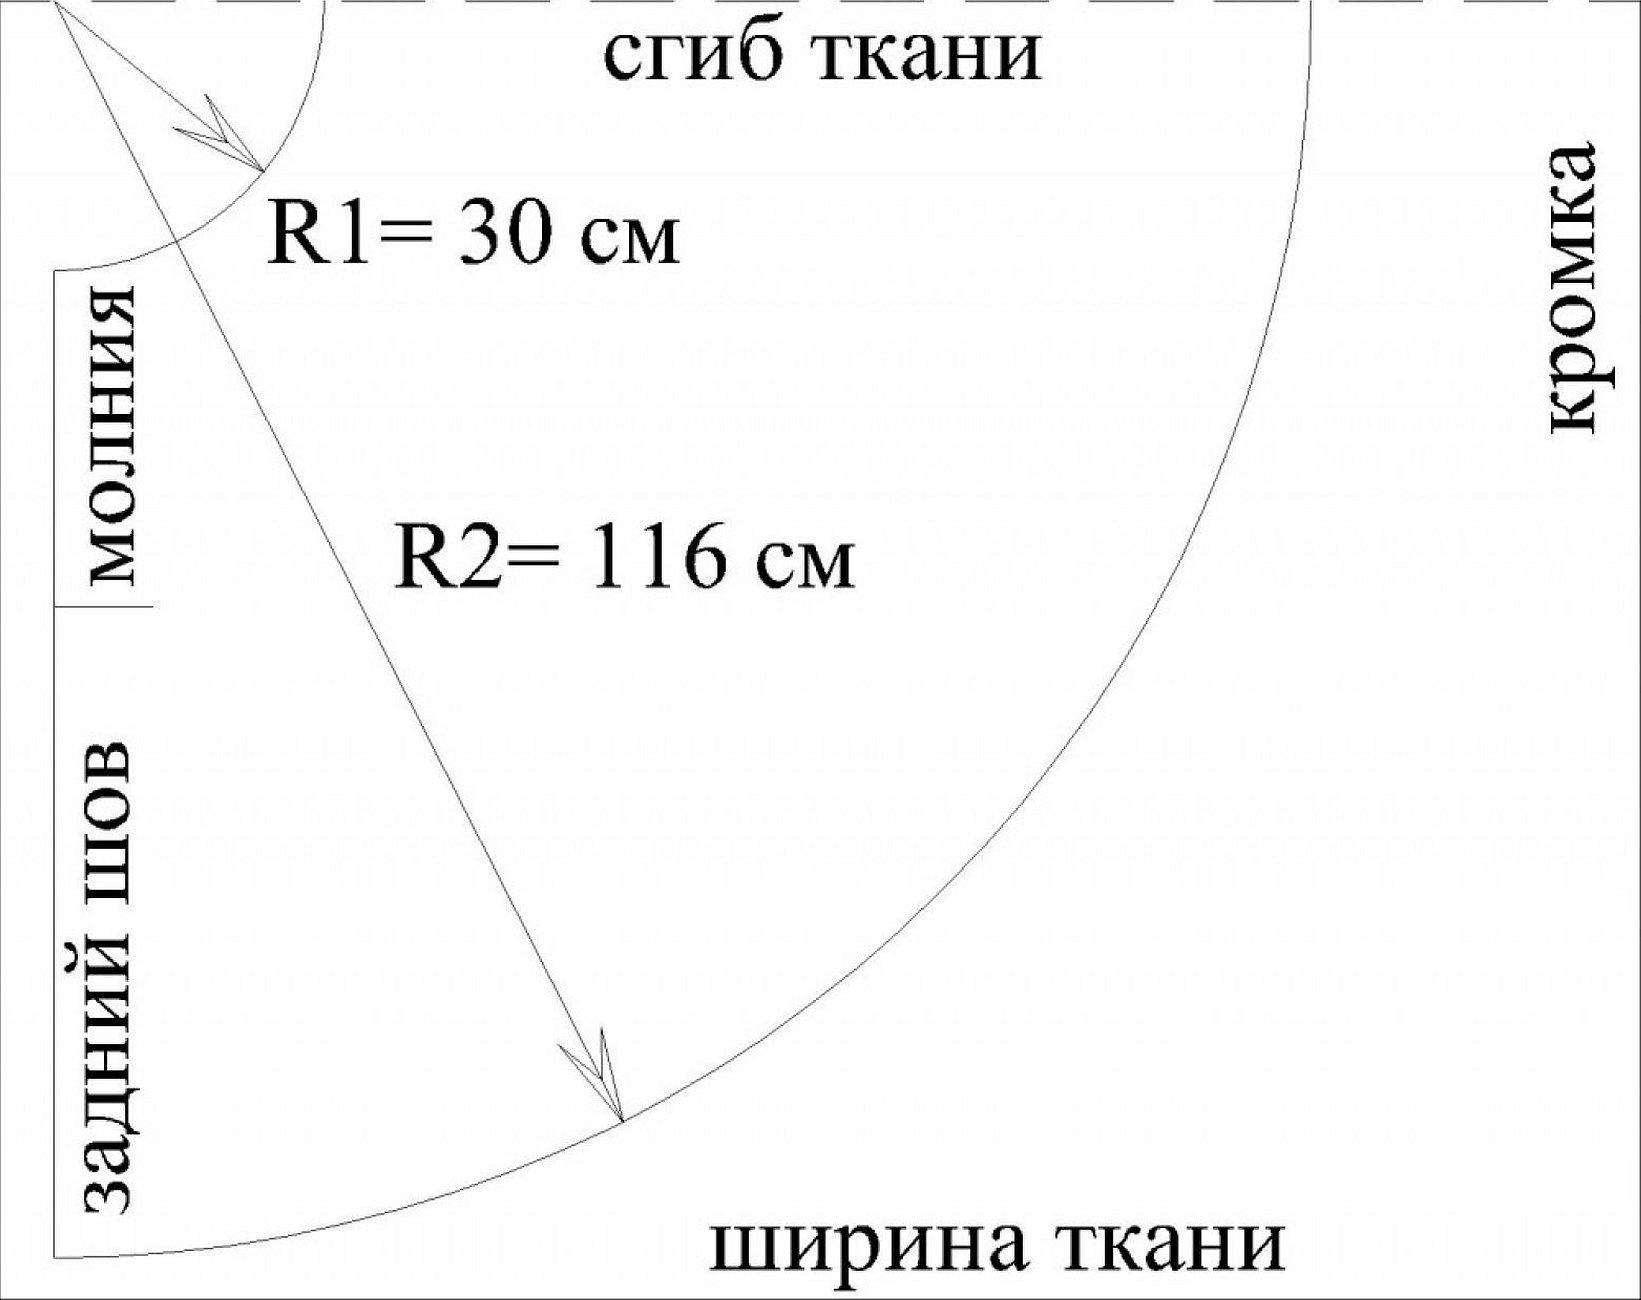
The fabric consumption can be calculated mathematically using a special formula. To do this, you must first calculate the radii of two arcs:
P1 = OT 3;
P2 = P1 + skirt length.
The amount of fabric is calculated as follows: (P2 2) + 10 cm.
Example: Waist circumference 66 cm, length 87 cm.
P1 = 22cm
P2 = 22cm + 87cm = 109 cm
Amount of fabric = (1092) + 10 = 228 cm.
Important! The width of the selected fabric cannot be less than P2.
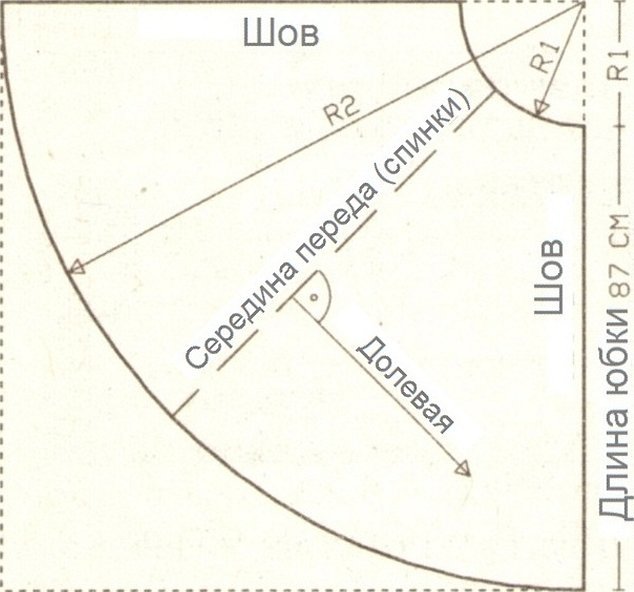
Building a Basic Pattern
The construction of the pattern for a half-sun skirt begins with creating a right angle on paper.
Next, you need to mark step by step:
- Waist line (P1);
- Hem line (P2).
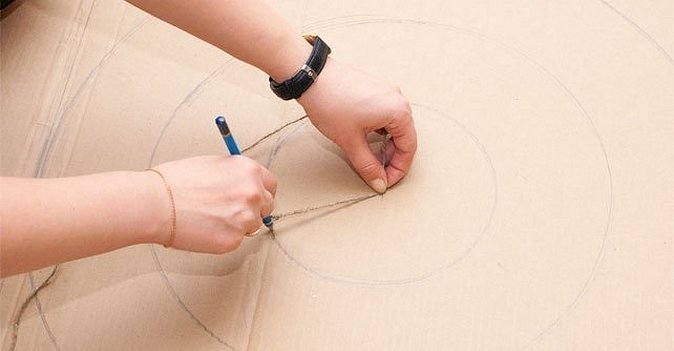
How to draw a bottom line
An easy way to draw a hem line is to take a ribbon or string and attach a pencil to the end at a length of P2. Secure the beginning of the ribbon at the head of the corner and draw a hem line at a distance of P2.
Peculiarities of pattern construction
The pattern of this type of product is multivariant. Sewing a half-sun skirt with your own hands will not be difficult using ready-made work patterns.
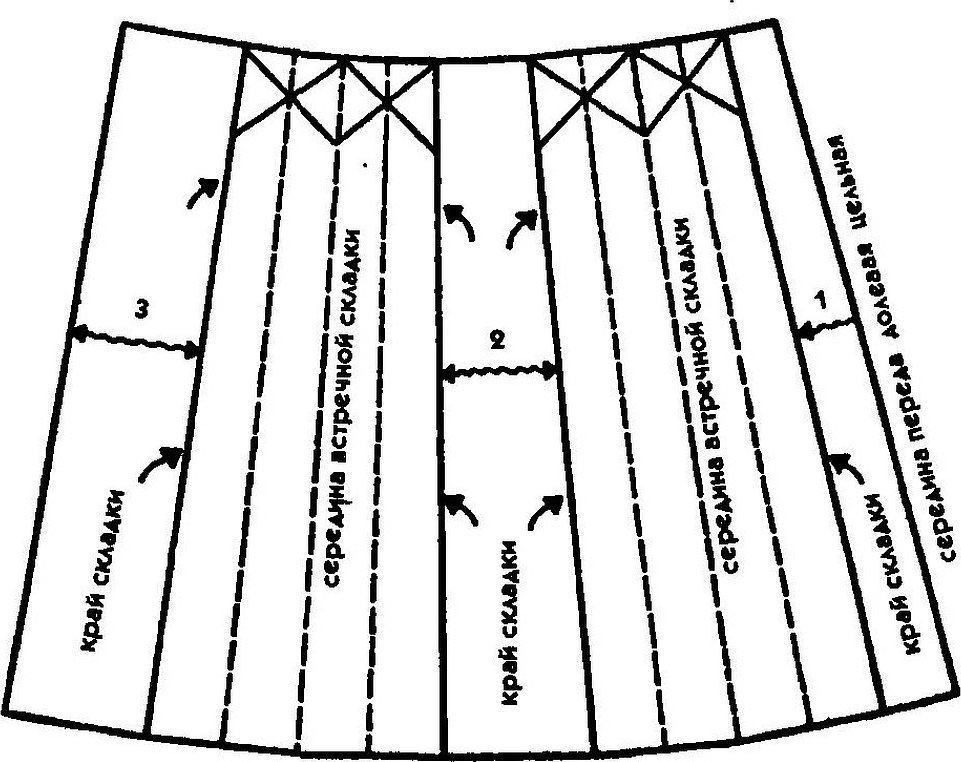
Construction of a pattern for a half-sun skirt with pleats
Before constructing, it is necessary to decide on the number and type of folds. They can be one-sided, counter, internal, external. It is important to understand that each fold takes on a certain length of fabric. Therefore, the length of the folds must be included in the waist circumference.
Example: OT = 66 cm, the project includes 8 folds. If the fold is small, for example, 3 cm, then 6 cm must be included for each fold. 8 6 = 48. 66 + 48 = 114 cm. This value is used to calculate the radii of the circles (formulas above).
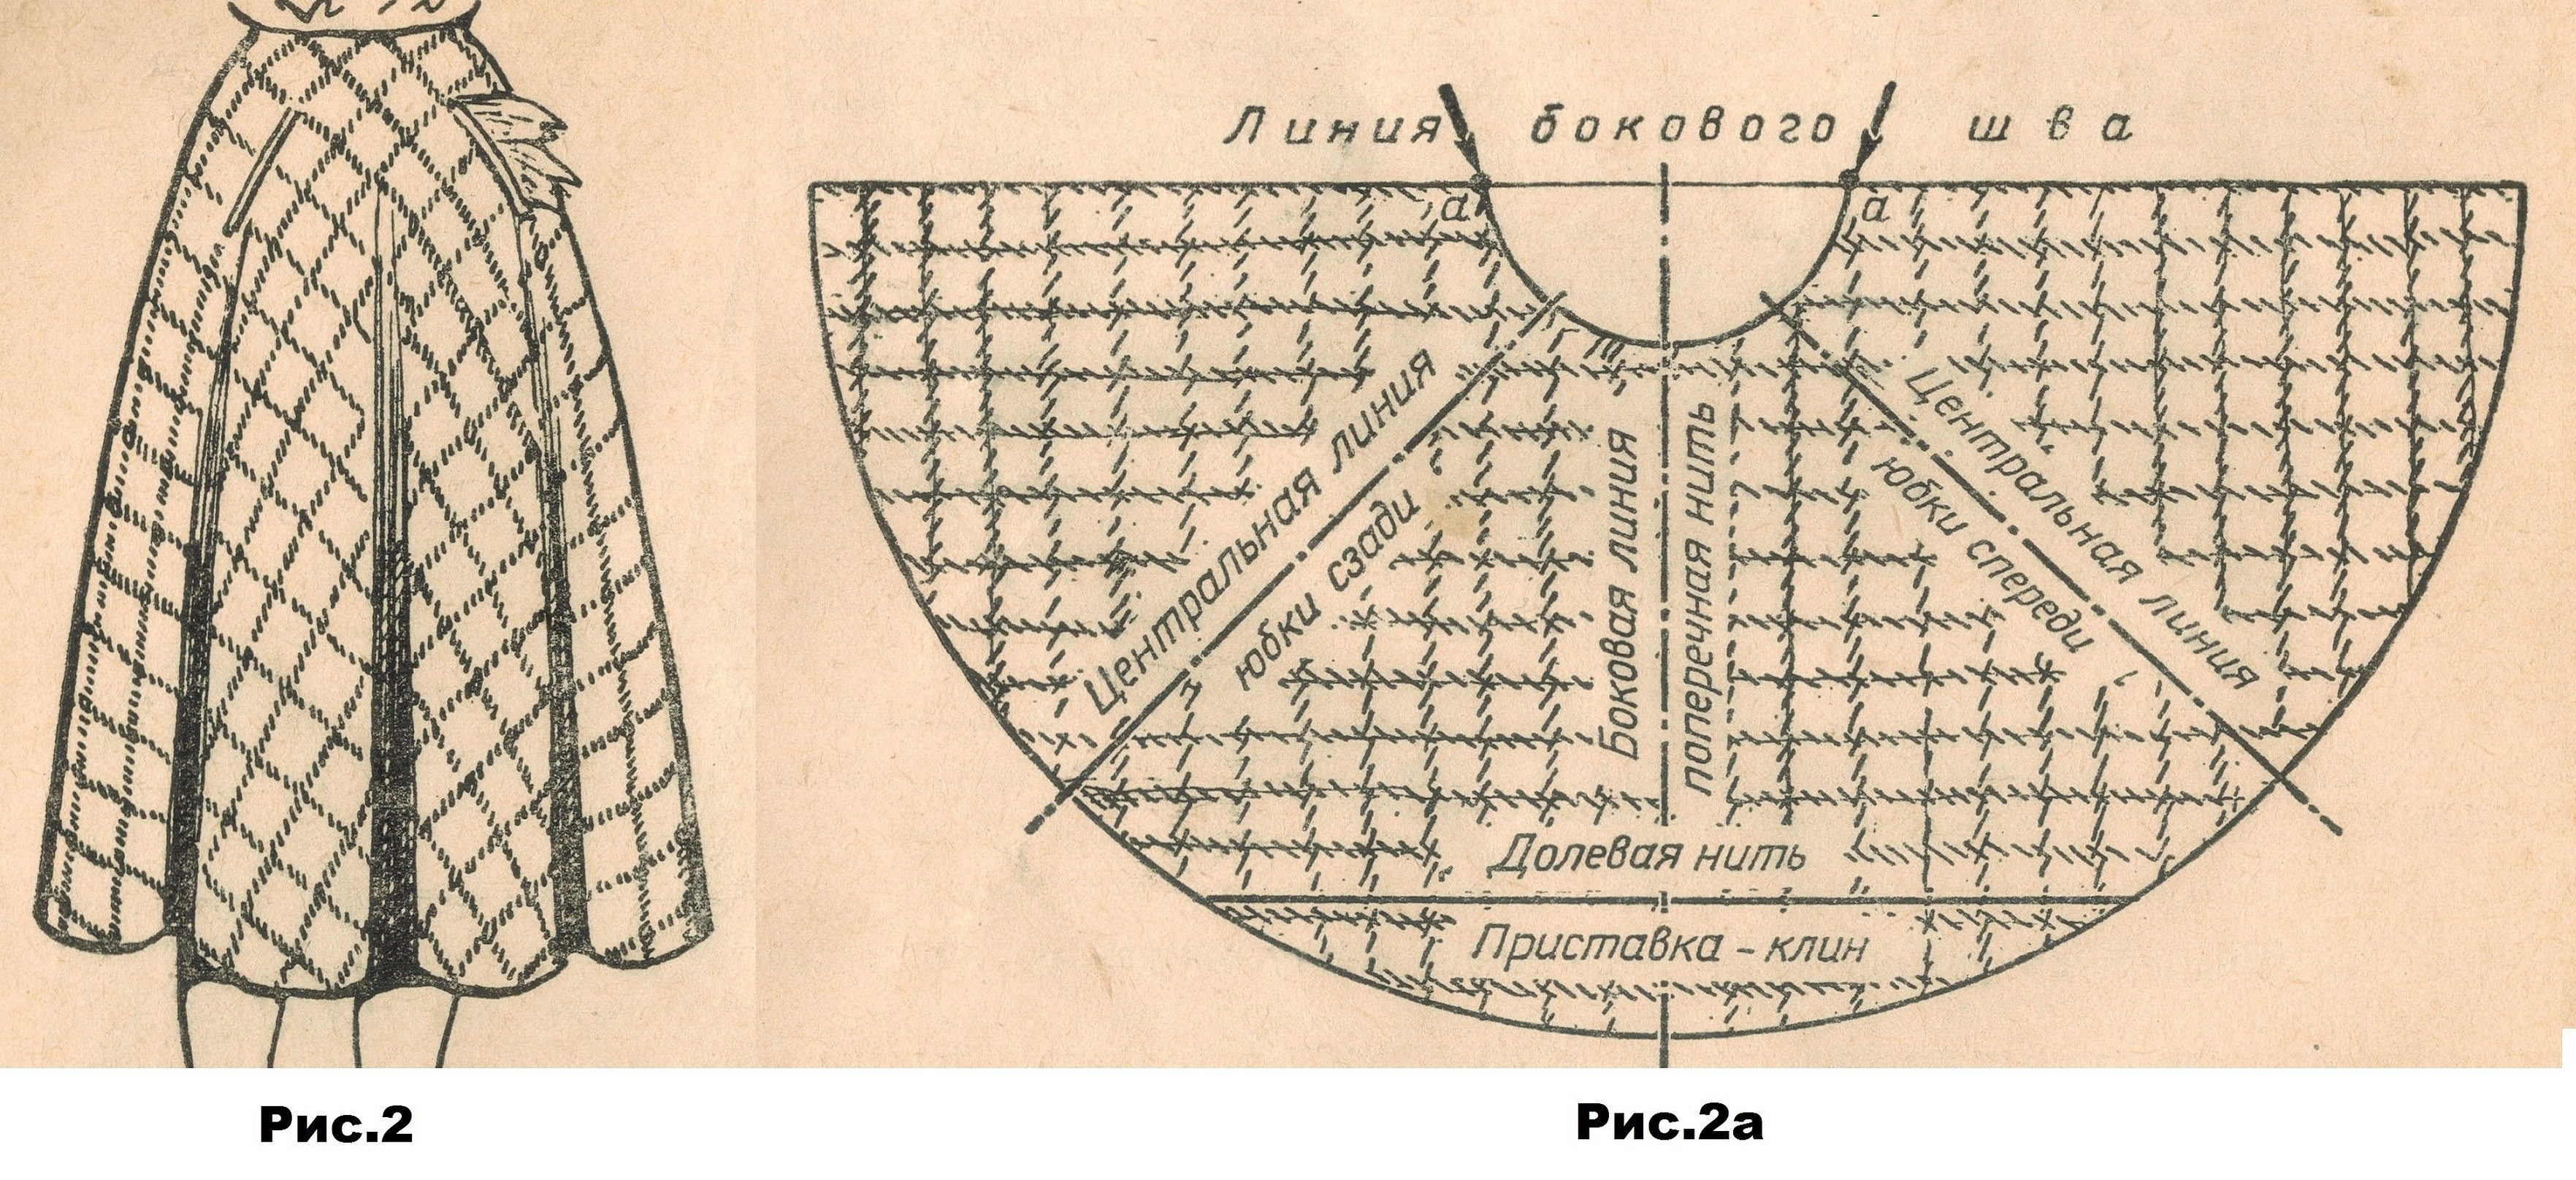
Construction of a half-sun skirt on a yoke
The peculiarity of this pattern is that the yoke itself is made on the basis of a straight skirt pattern, and the hemline is built on the basis of a half-sun skirt.
Step-by-step algorithm for constructing a yoke:
- Take the basic pattern of a straight skirt and transfer it to graph paper.
- Determine the length of the yoke. From the waist line, set aside segments equal to the length of the yoke. In the drawing, these are T1K1, T2K2, T3K3. Lines TV are dart lines.
- Cut out the pattern.
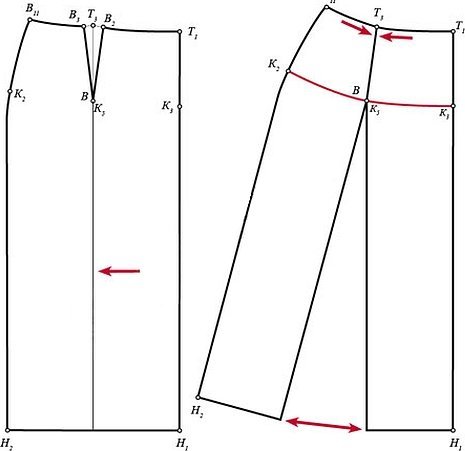
Step-by-step instructions for constructing the lower part:
- Instead of the value OT, take the length of the yoke bottom (on the drawing - the lines connected by points K). Multiply by two.
- Draw an angle on graph paper and mark off the length of the radii.
Important! When drawing the second radius, the length of the yoke must be subtracted from the total length of the skirt.
- Transfer all patterns onto fabric, cut out, sew.
- At the end you can insert a zipper.
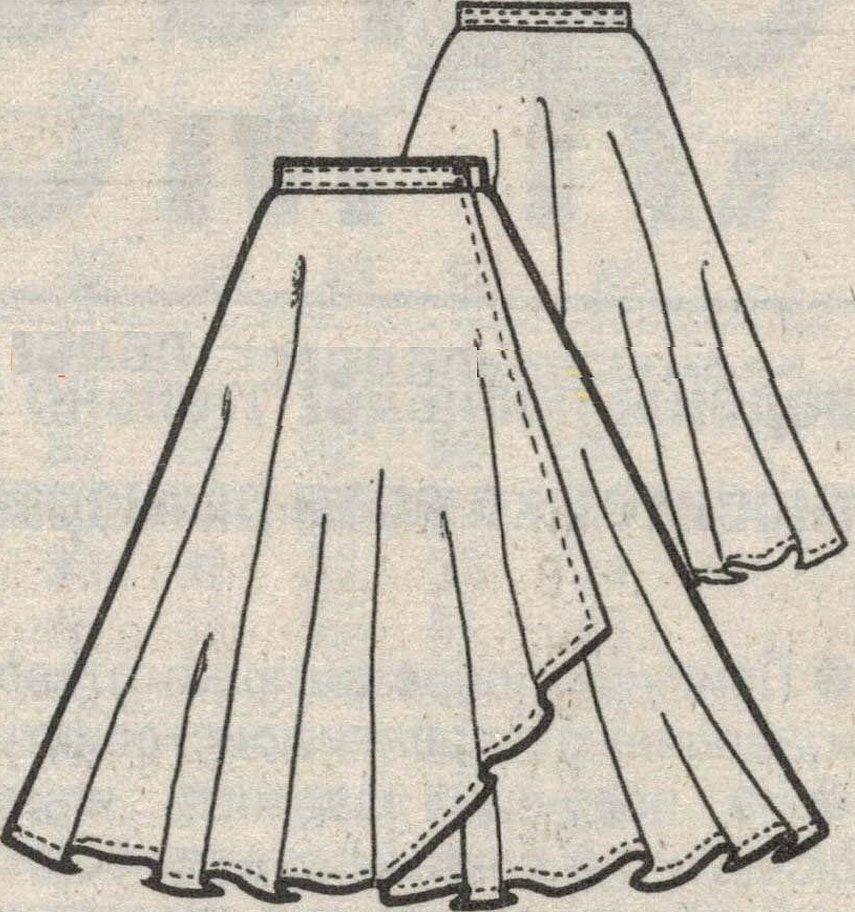
Half-sun floor-length skirt
The construction of a floor-length model is not more difficult than the production of skirts of other lengths. In this case, it is necessary to decide on the desired length. It can reach right to the floor, hiding the legs, to the level of the feet, without touching the floor itself. The hem can also reach the ankle. The pattern is based on the basic scheme (see Fig. 8)
With one seam
This is a classic type of cutting, recommended for beginners. It is also recommended to work with printed fabrics, such as checkered, polka dot, etc., according to this principle. Such prints are difficult to fit, so choosing a basic pattern with one seam makes the task much easier.
The fabric must be laid out so that the grain line is at a 45° angle to the center line.
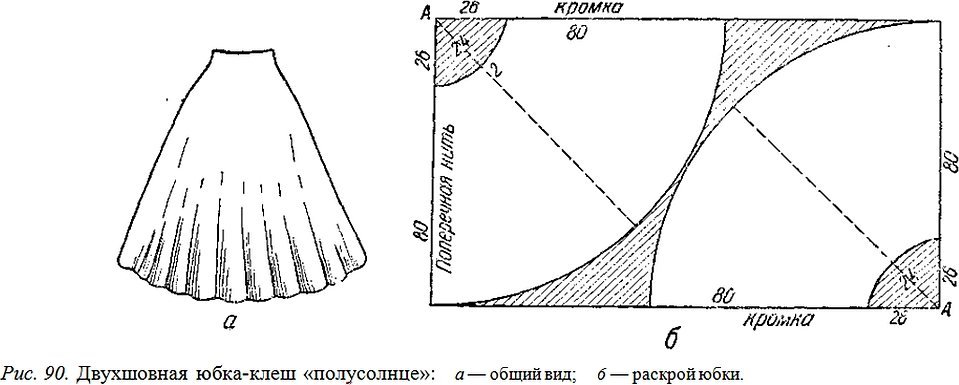
With two seams
Place two seams on the sides, parts in mirror order. Cutting is done on fabric 80 cm wide. This type of pattern is recommended to use if the length of the skirt is relatively small, for example, for a girl. Or the task is to save material.
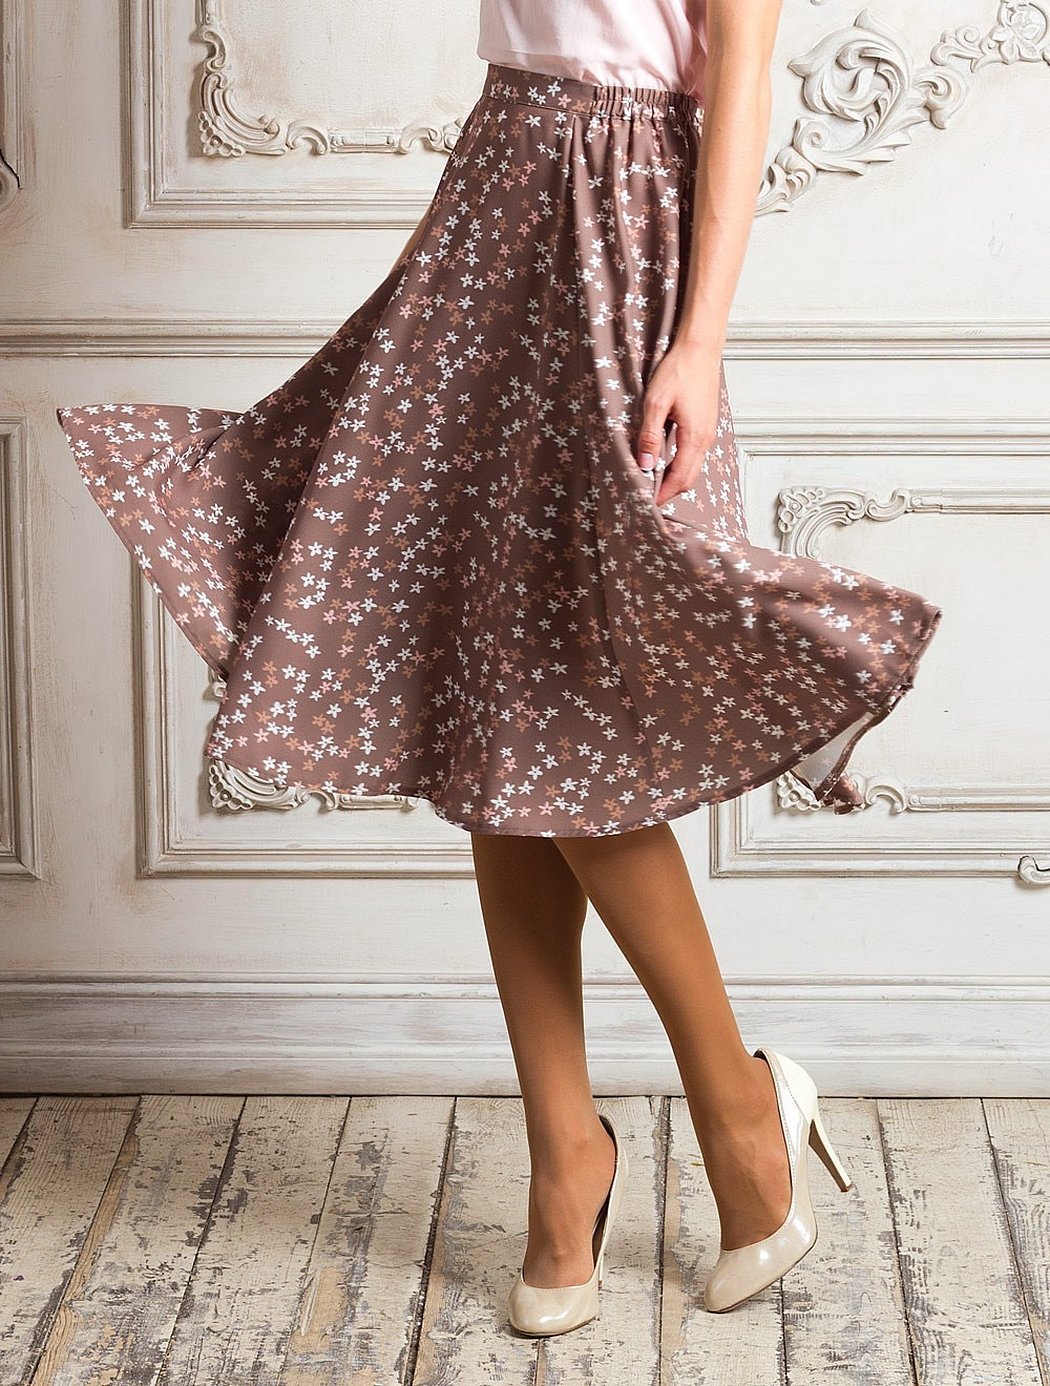
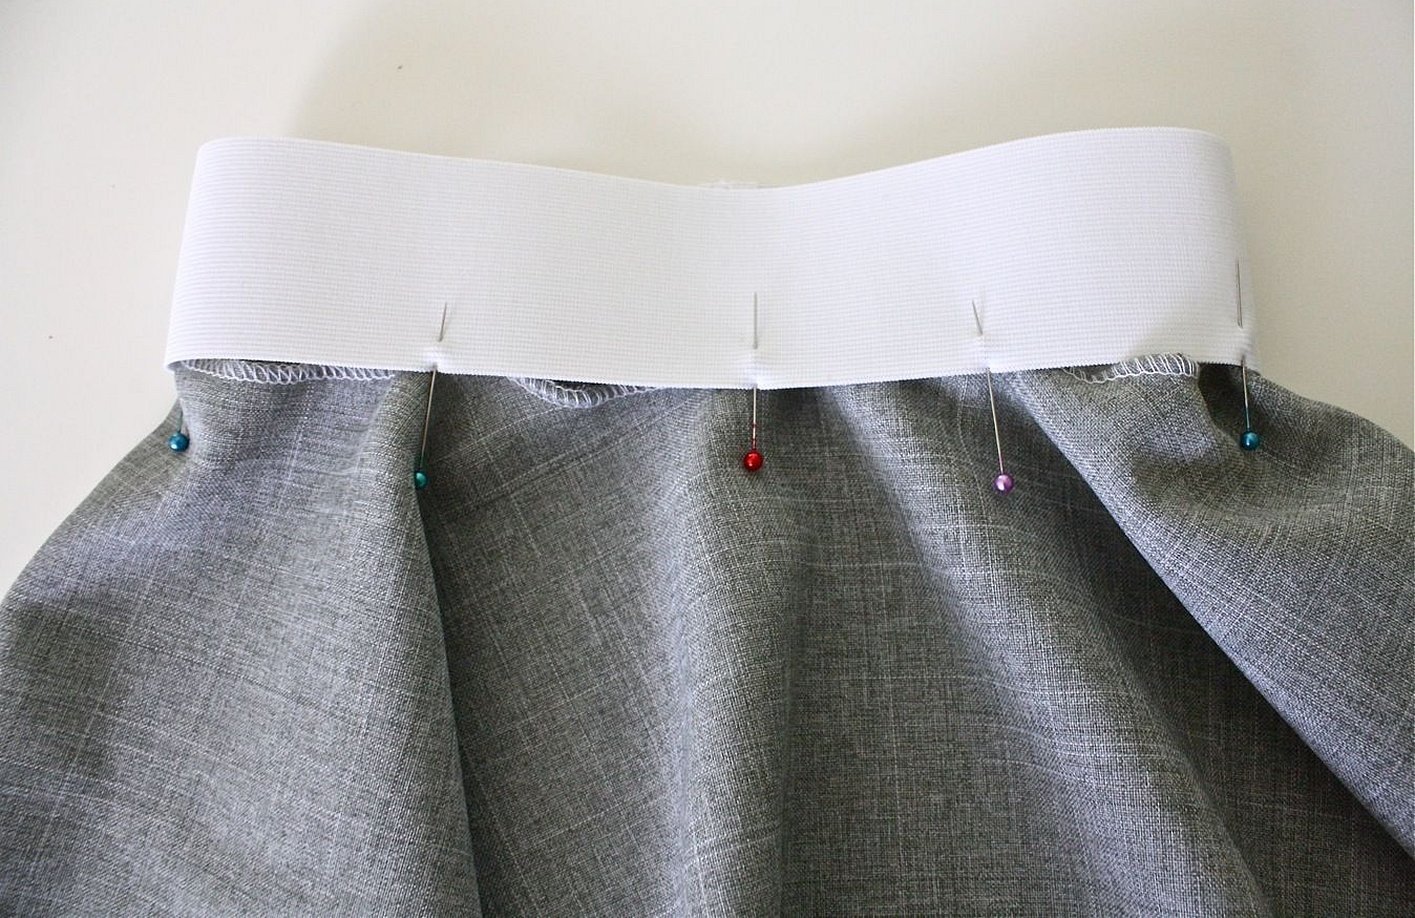
With elastic band
The cutting is done according to the standard scheme (see Fig. 8), but the radii will be calculated using the hip volume instead of the waist circumference. They need to be calculated and inserted into the formula. It is also worth remembering that when cutting, you need to set aside a section for laying the elastic. The width of the elastic is chosen according to personal preference.
With lightning
The zipper should be located at the seam along the edge of the fabric. It is necessary to remember about seam allowances and lay 1-1.5 cm for them. Later, when cutting, the processing of the seam line begins with this detail. The zipper must be sewn on, carefully ironed, and only then the seam at the bottom of the hem must be processed.
How to cut a half-sun skirt
Once all the patterns are ready, they need to be transferred to the fabric. Cut out the waist and bottom lines step by step. The hem line in the middle of the product should be adjusted by 1 cm. It needs to be shortened so that after sewing the skirt does not sag, the folds are distributed evenly.
Experts recommend letting the fabric hang for about 3 days before sewing.
It is necessary to cut out a belt for the skirt. For this, take a fabric of length OT + 7 cm. The width is at your discretion.
Sewing
- Overlock the side seams of the skirt and iron thoroughly.
- Sew in the zipper, iron and finish the side seam to the hem of the skirt, iron.
- Overlock the hem and one side of the waistband.
- Next, proceed to the procedure of sewing the belt and skirt.
How to sew a belt to a half-sun skirt
- On the waist line, you need to find the side seam and the centers of the front and back parts. On the belt cut, set aside 1-1.5 cm for the seam allowance. Next, set aside a distance equal to the waist length and divide this segment in half. This will be the second side seam. The resulting 2 segments must be divided in half again - the center of the front and back parts of the skirt.
- Align the belt and waist at these marks, pin. Stitch 1 cm from the edge.
- Mark the fold line on the belt with chalk or soap. Bend, pin, sweep.
- If desired, you can insert loops to make it easier to hang the skirt in the future.
- Place a stitch along the front side so that it is not visible.
How to hem
- The easiest way to hem items is to use pre-prepared templates. These can be regular cardboard cutouts. To hem, mark 1.5 cm on the cardboard.
- Sweep and be sure to iron.
- Lay a line.
The hemline is ready!
Using the provided patterns, you can independently make a wardrobe item for both a child and a woman. It cannot be said that the patterns are difficult in practice. The total time for making the items is about 3-4 hours.


