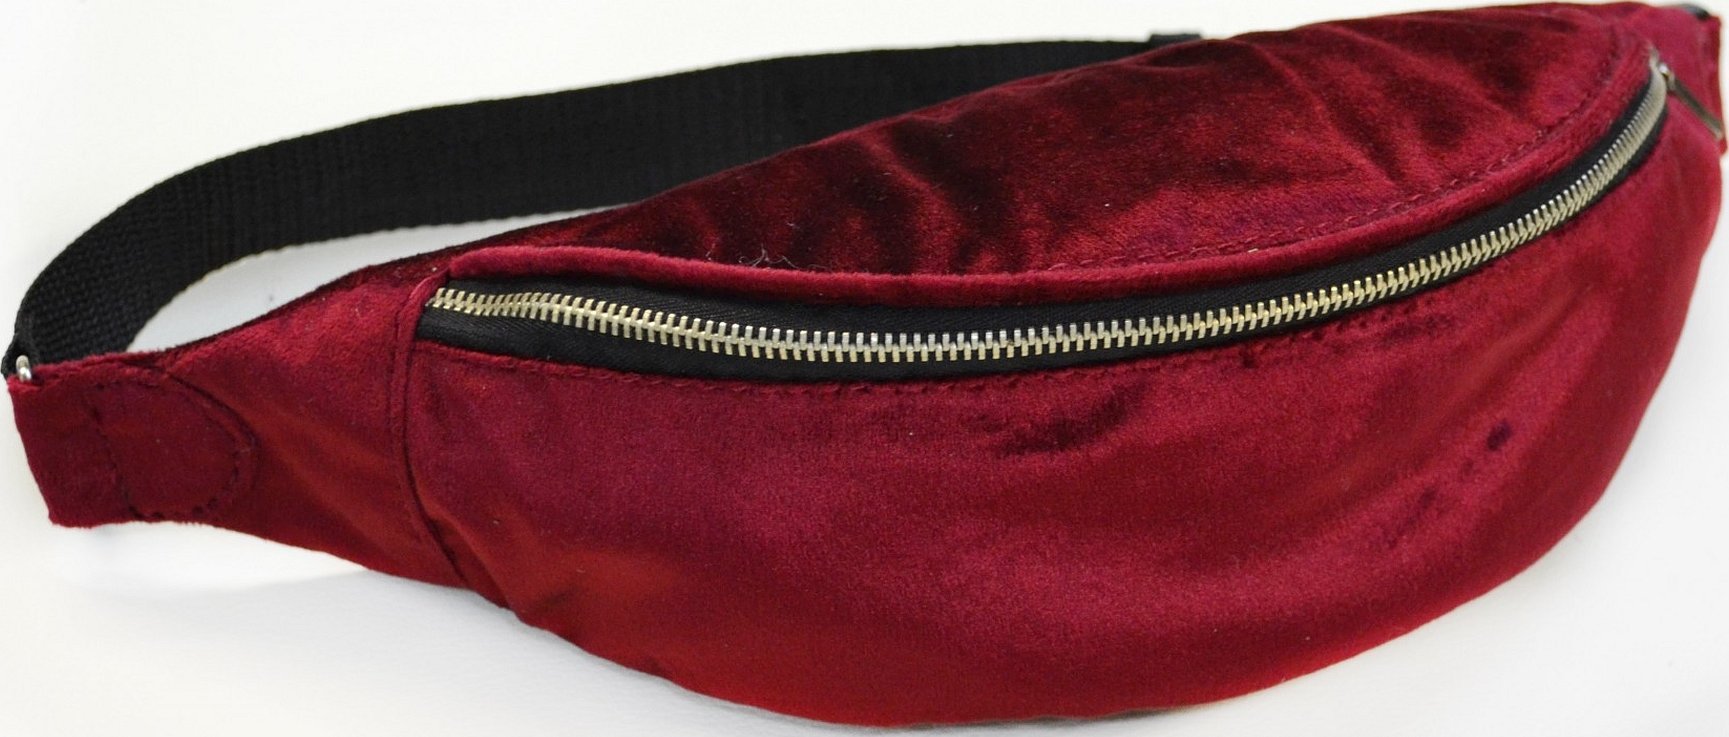
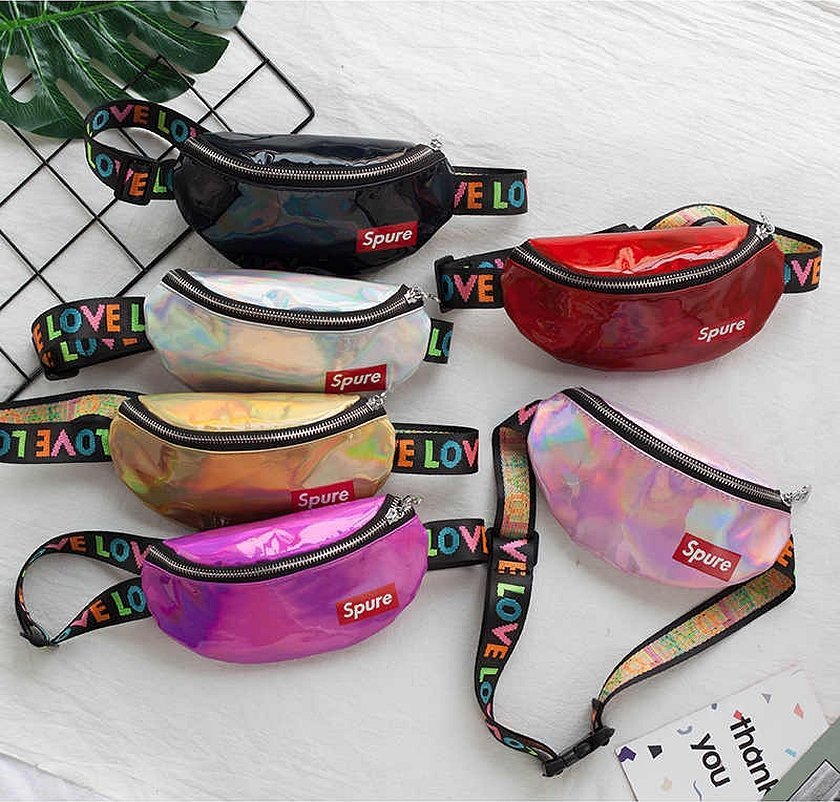
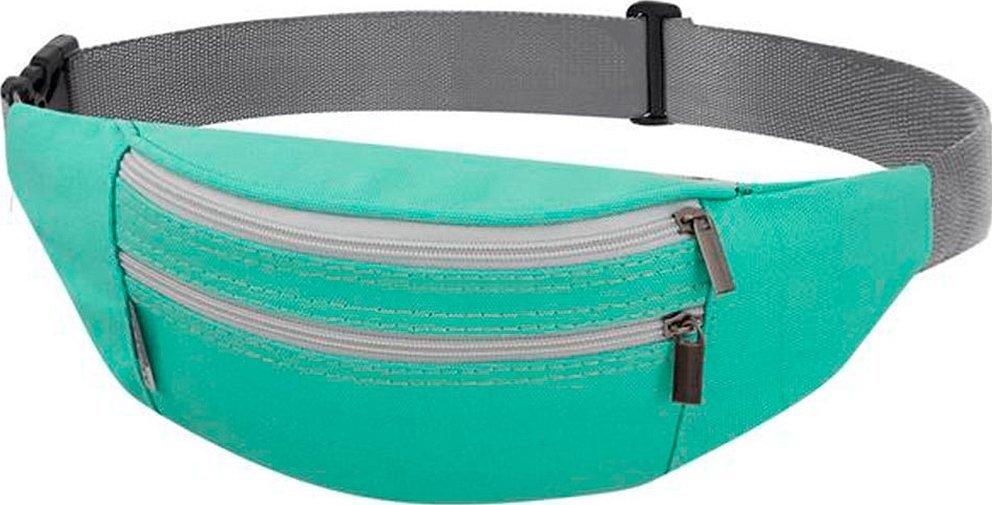
A waist bag is a versatile accessory that can be worn on your waist or back. It is convenient to take it with you on a walk when you want your hands to be free and small items to be safely hidden. The modern market offers a large number of accessories made of different materials, with different volumes and designs. In addition, you can sew a waist bag yourself at home. To do this, you do not need to additionally attend master classes on cutting or sewing, but it is enough to arm yourself with the necessary materials and tools, as well as show patience and imagination. This article will tell you how to sew a waist bag with your own hands.
- Tools that will come in handy for sewing
- Fabrics for work
- How to Make a Bag from a Leather Skirt
- How to Make a Burlap Bag
- How to calculate the material correctly
- Correct formation of the bag
- DIY Belt Bag Pattern and Sewing
- Algorithm of actions for self-sewing
- Detailed instructions for sewing a pocket:
- How to sew a belt fastener correctly
- How to put the button on the lid
- Painting of parts
- How to sew the side parts of a bag
- Tips for choosing fittings
- How to install fittings on a bag correctly
- How to do it without a machine
Tools that will come in handy for sewing
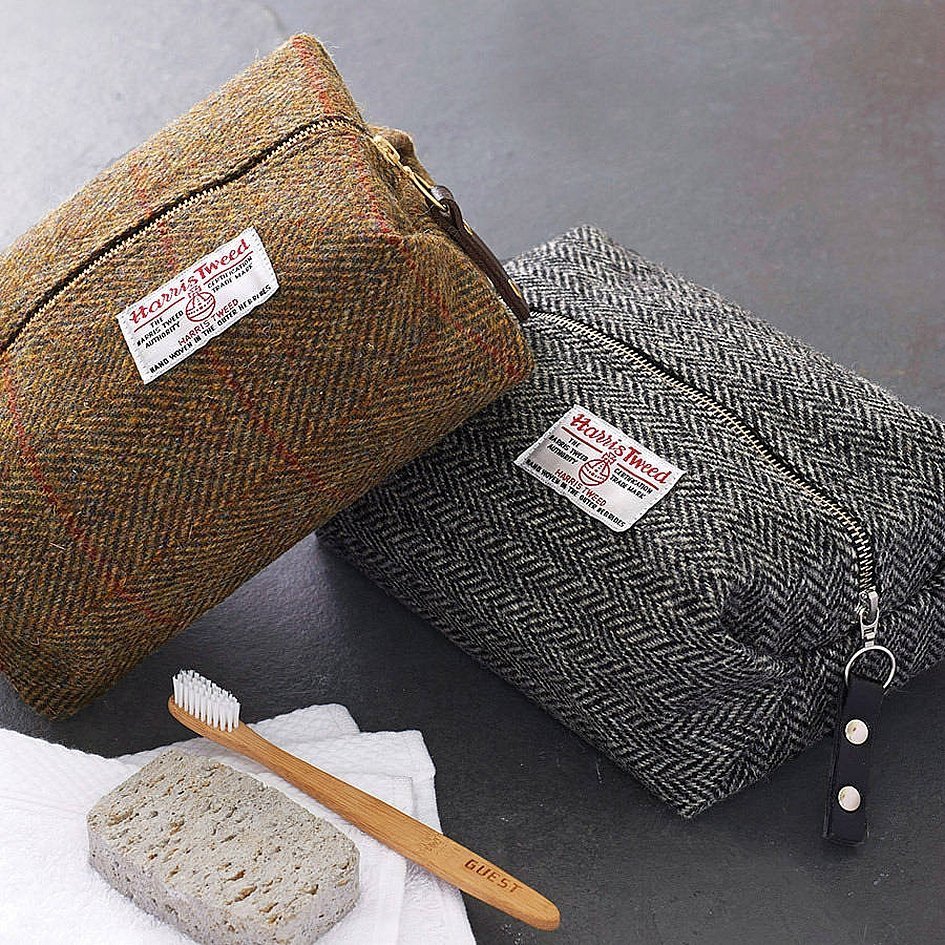
To create a beautiful belt bag, you will need to purchase a small amount of material. The fabric can be old clothing items or new canvas. The design, coloring and type of material are selected independently to your taste. It is recommended to use a denser fabric, such as cotton, raincoat fabric, leather or denim.

Fabrics for work
An important element, without which the bag will not last long and will quickly become unusable, is the lining. The fabric serves as a sealant that protects the main material from the inside. Usually, during the creation of the pattern, several necessary parts are made, and then their copies are created from the lining fabric using the same templates.
How to Make a Bag from a Leather Skirt
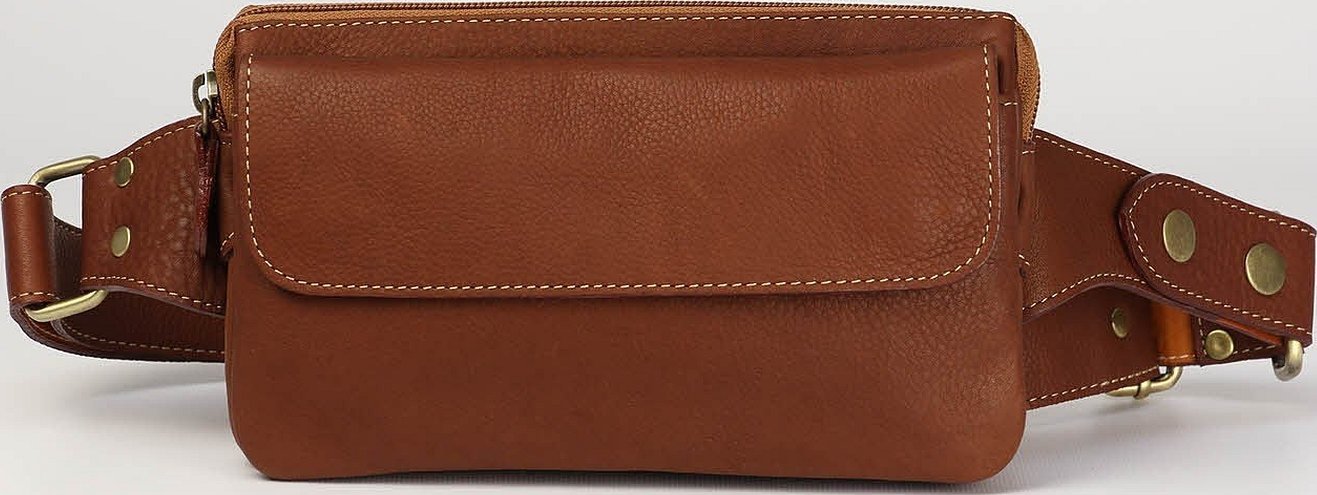
Leather products always look stylish and elegant. They suit both women and men. You don’t have to buy any additional material to make a belt bag, but instead, be practical and use an old skirt, boots or jacket that you just don’t want to throw away.
Genuine leather is a fairly dense material that is not easy to work with. Therefore, you should be careful and strictly follow the instructions when sewing.
To create a pattern for a belt bag, you need thick cardboard or paper, and for the bag itself - leather, 2 zippers and fittings for fastening.
A ruler, a leather knife, an awl, scissors, a compass and a sewing machine will be the auxiliary tools. The product can also be sewn manually if the person is familiar with the technique of working with such material.
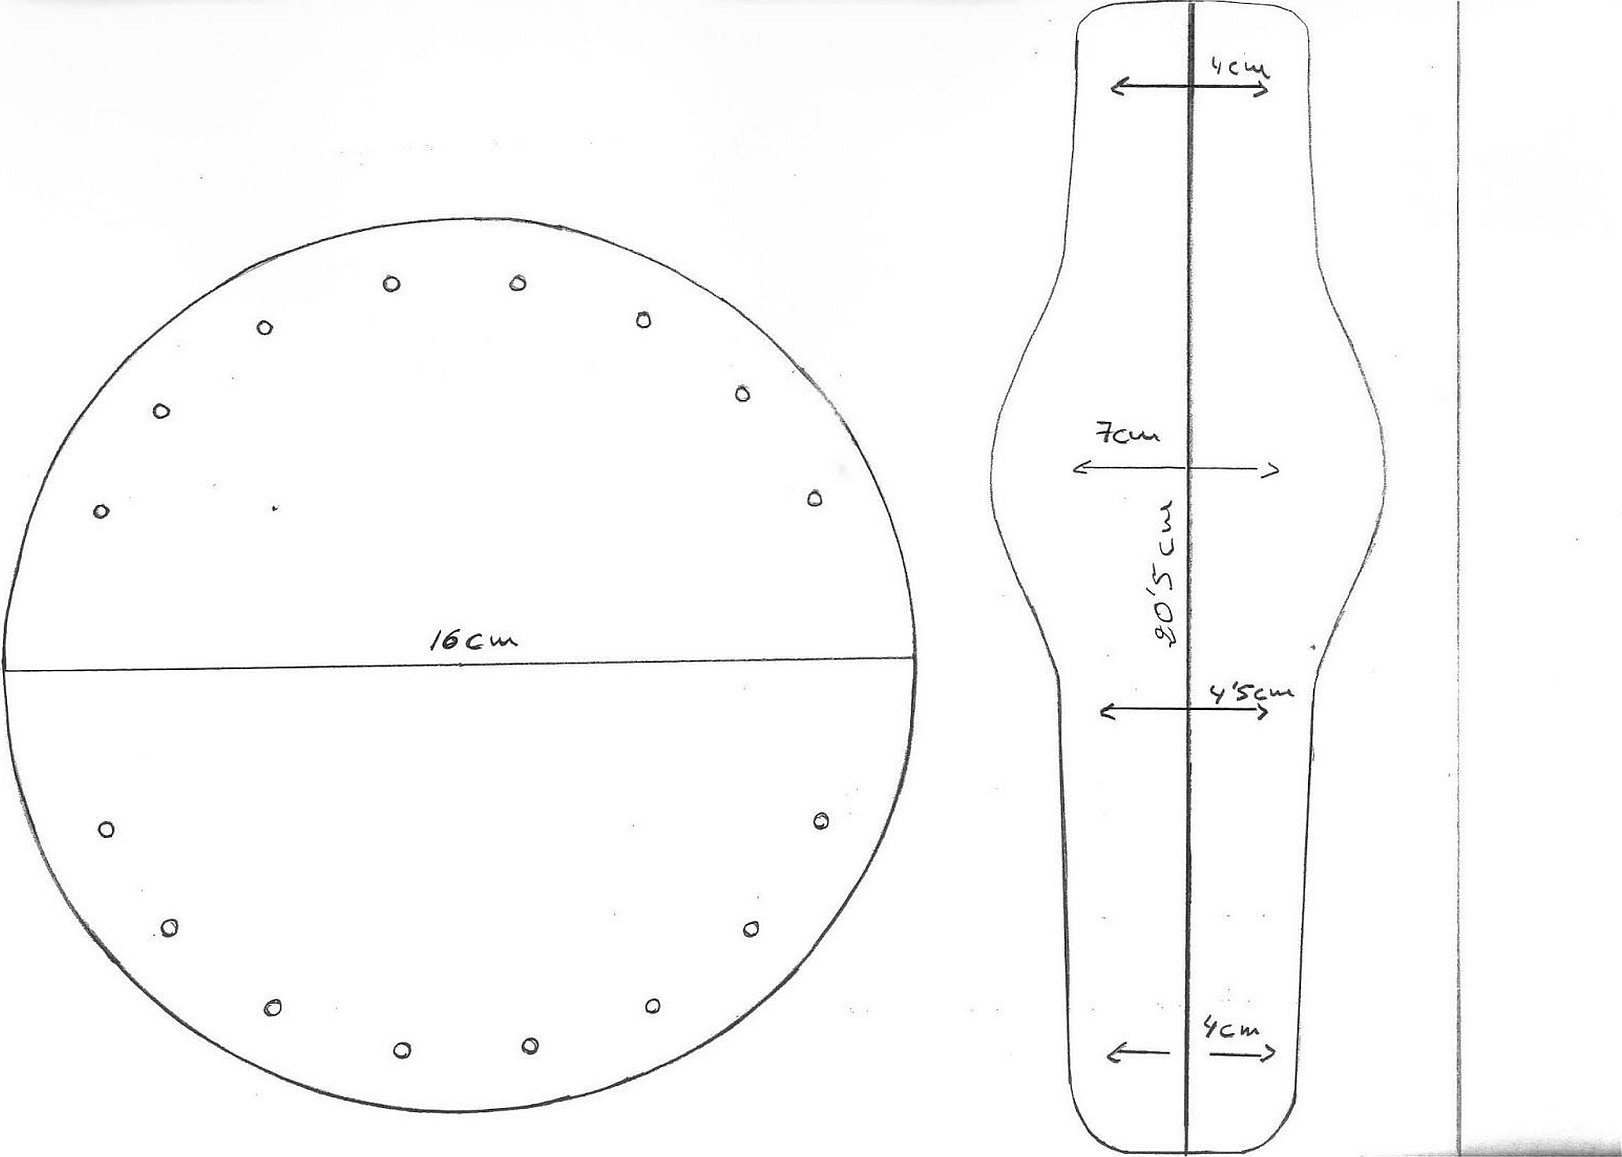
Creating a pattern:
- Draw a circle with a diameter of 27 cm on cardboard.
- Draw a horizontal line AA1 2 cm higher than the center of the circle.
- Thus, the bag will be divided into two components - the lower and upper parts. The smaller part will act as a lid, and the second side will become the back wall.
- Measure the length of the smaller part of the circle from A to A1 and remember the result. Set point B in the middle of the arc.
- Do the same step with the second part. Set point B1 in the middle of the arc.
- Draw the front wall. Take a suitable sheet of cardboard, fold it into two parts, placing the fold vertically. Mark half the length from point A1 along the top edge and put a mark there. Measure 13 cm down the fold and put a mark. Connect the dots with a smooth line along the template, the length of which will be half the length from point B1.
- Cut out and use as front wall.
- Make markings for the zipper on this piece.
- Transfer most of the circle to paper and cut it out. The top left will be point A, the top right will be point A1, and the bottom, in the middle of the arc, will be point B1.
- Cut out the back wall from leather and sew a zipper into a special hole.
- Sew the back pocket wall along AA1.
- On the pattern, below points A and A1, that is, on the sides of the zipper opening, points ГГ1 are installed. The details for attaching the zipper need to be sewn into them. Rings can act as these.
- Sew the pieces together from the back, matching points A-A, A1-A1, B-B, B1-B1.
- Turn the product inside out through the zipper and enjoy the result.
Tassels on a runner are a good choice for a woman's wallet. To do this, take a rectangle of leftover leather, make a few cuts, roll it into a roll and secure it with glue. This will create an imitation tassel that will look harmonious with the product.
Important! This bag can be worn on the belt, over the shoulder or on the chest. It will look appropriate when creating a business image or a casual option.
How to Make a Burlap Bag
Burlap is a coarse fabric that is durable and wear-resistant. It is obtained by interweaving thick threads and is used in the manufacture of bags and packaging. In addition, the material has found wide application in the field of clothing and accessories. The products are durable, strong and long-lasting.
Burlap has not bypassed belt bags either. They are comfortable to wear and suitable for storing any small items.
Attention! To create such an accessory, you need to make 3 parts from burlap and lining material. The principle of sewing the parts is identical to the method described at the beginning of the article. The result is a single-color product that can be beautifully decorated with ornaments, using your imagination.
How to calculate the material correctly
To calculate the amount of material, you will need to decide on the dimensions of the accessory. Usually, a hip bag is something small, so you will need a little fabric. It is recommended to buy material with a reserve, since you may need to spend a couple of centimeters on seam allowances.
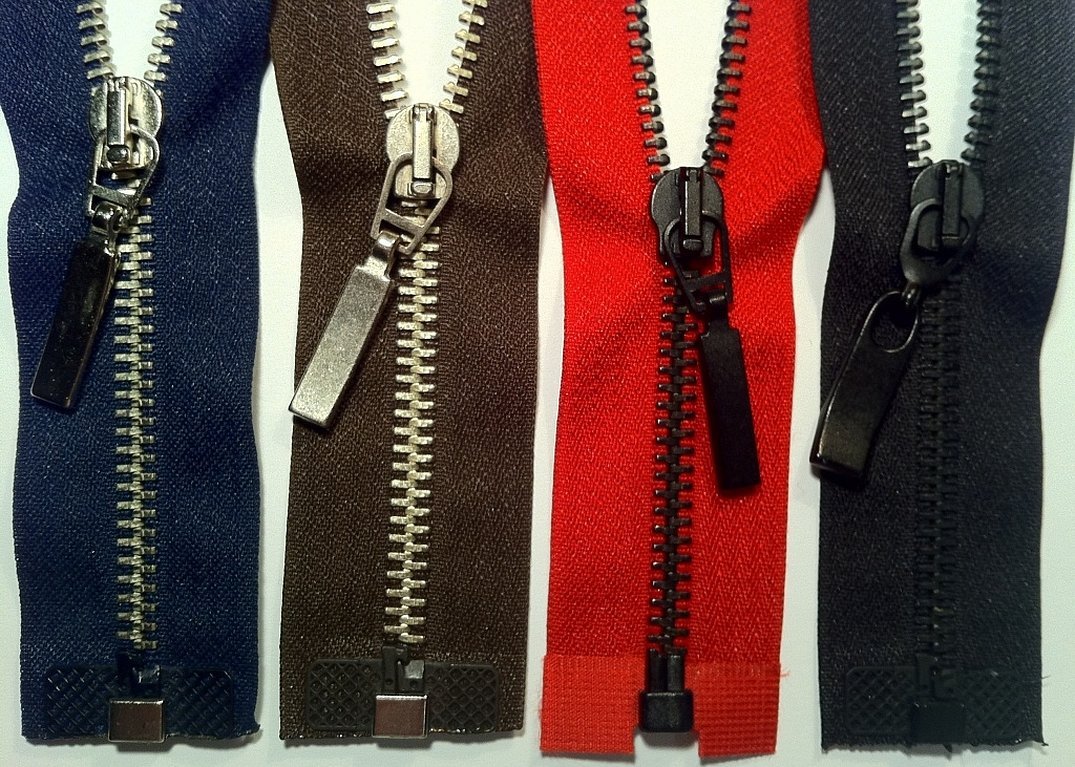
As for the zipper, you should take a strip up to 30 cm long. This size will be too much for a standard belt bag, but in this situation it is better to buy with a reserve and cut off the excess than to worry about the fact that the zipper is not long enough to implement the plan.
Correct formation of the bag
At the final stage of sewing, the bag is formed. To do this, you need:
- Edge the edges using any edging fabric.
- Turn the garment inside out through the zipper and make sure it looks attractive.
A button can be used instead of a zipper. It consists of two parts: the button itself and a hole where the convex part fits. The first part is attached to the cover of the product, and the second one is attached in such a way that it is possible to close the bag.
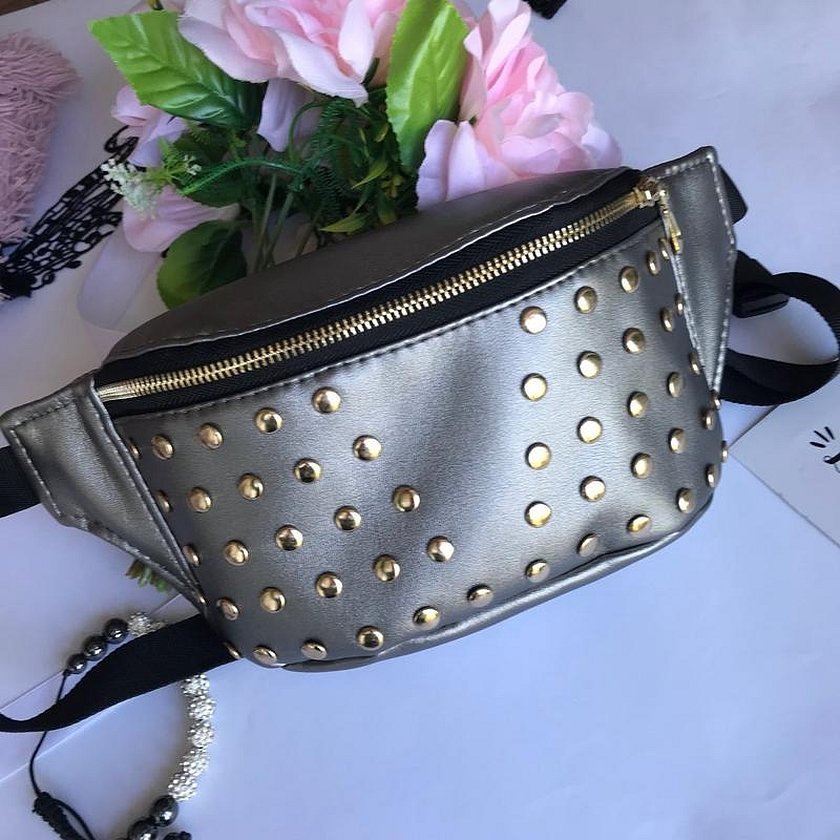
Interesting. In addition, the zipper and other elements of the accessory can be painted to your taste. The finished model can be supplemented with badges, glitter, beads, rhinestones, embroidery and other decorative elements.
DIY Belt Bag Pattern and Sewing
To sew a belt bag, you need a pre-prepared pattern. You can create it yourself, based on your own wishes, or find a ready-made template on the Internet, for example, on the Burda website, and print out the version you like.
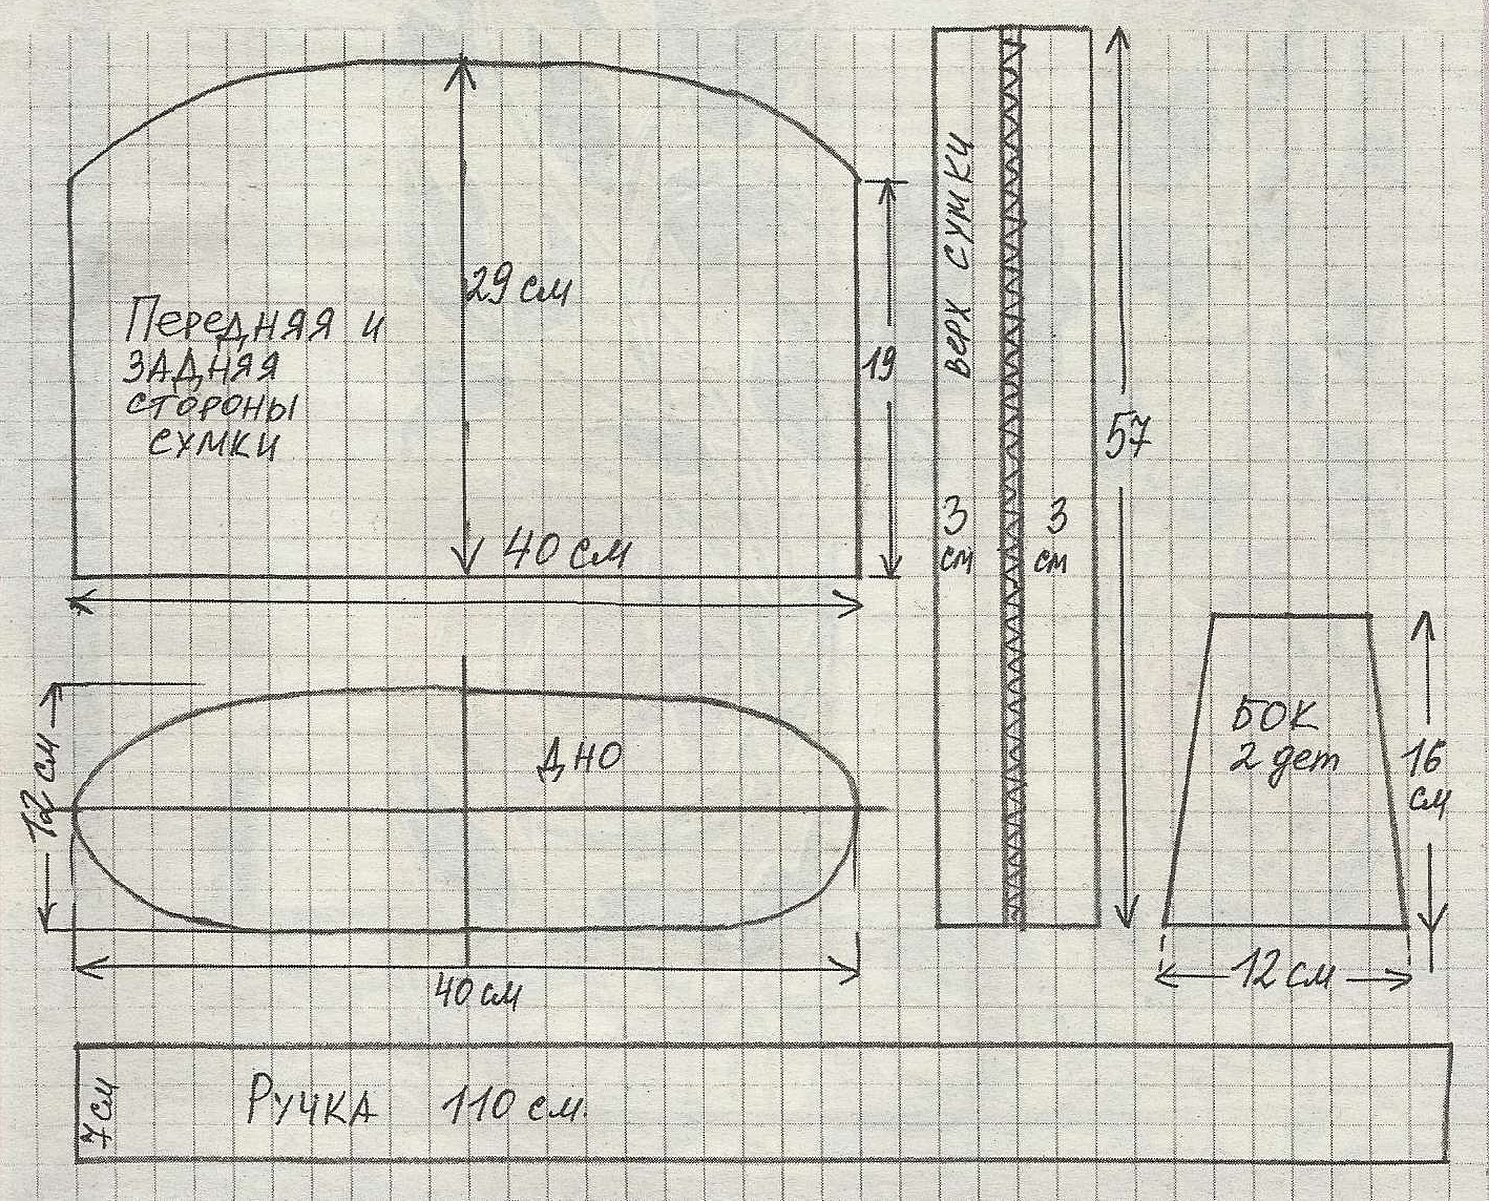
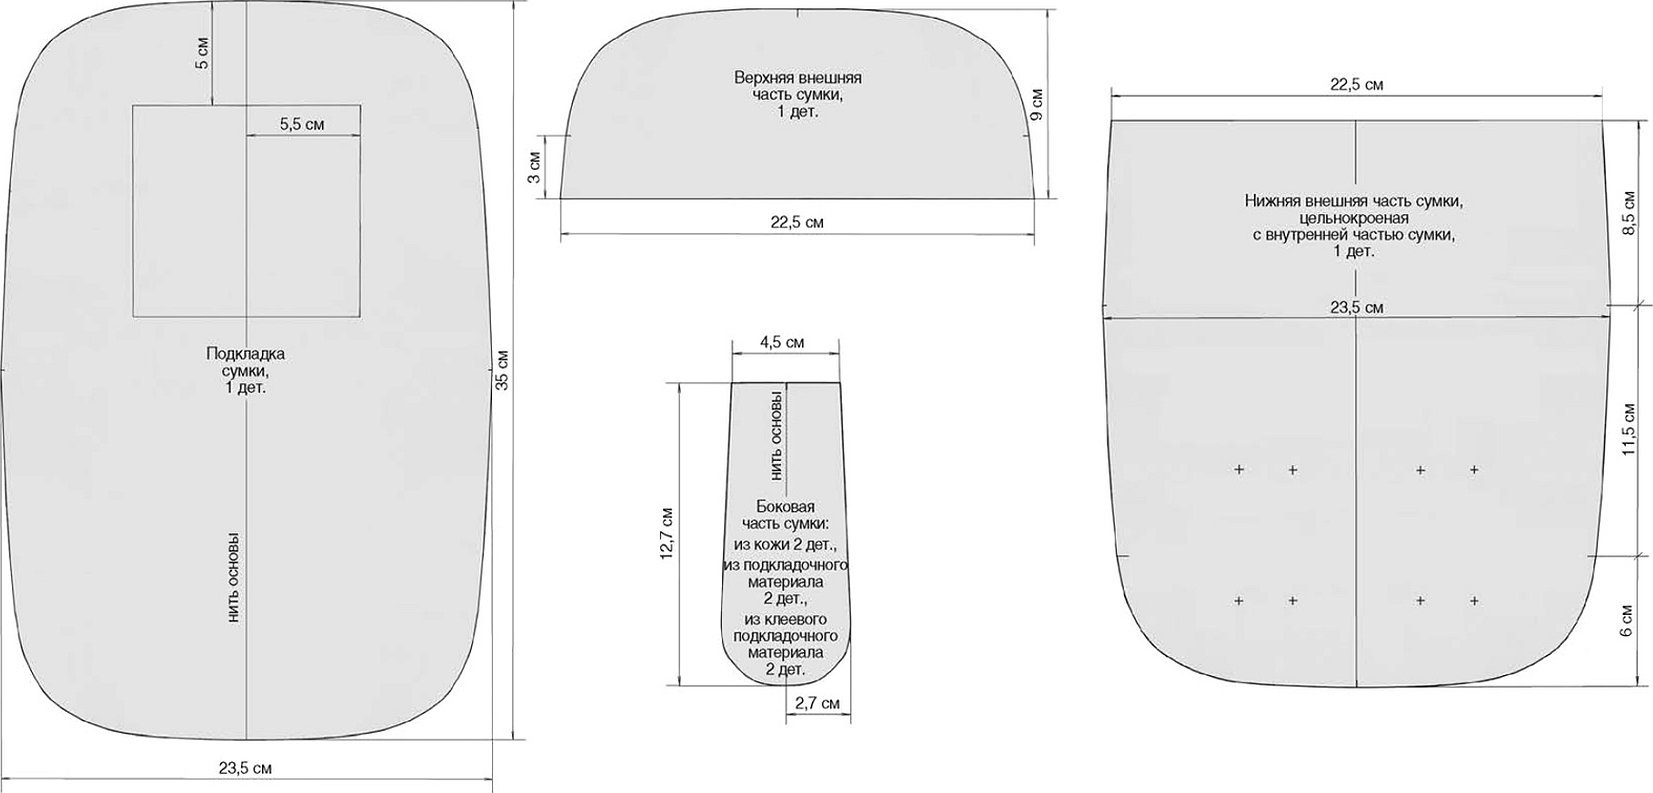
Usually, for a belt bag, you need to cut out 3 main parts - the front and back parts, as well as the lid. In addition, do not forget that you need to cut out not only the main fabric, but also the lining of all 3 elements.
For a children's handbag, it would be relevant to make a bag in the form of a geometric figure, a cartoon character or an animal.
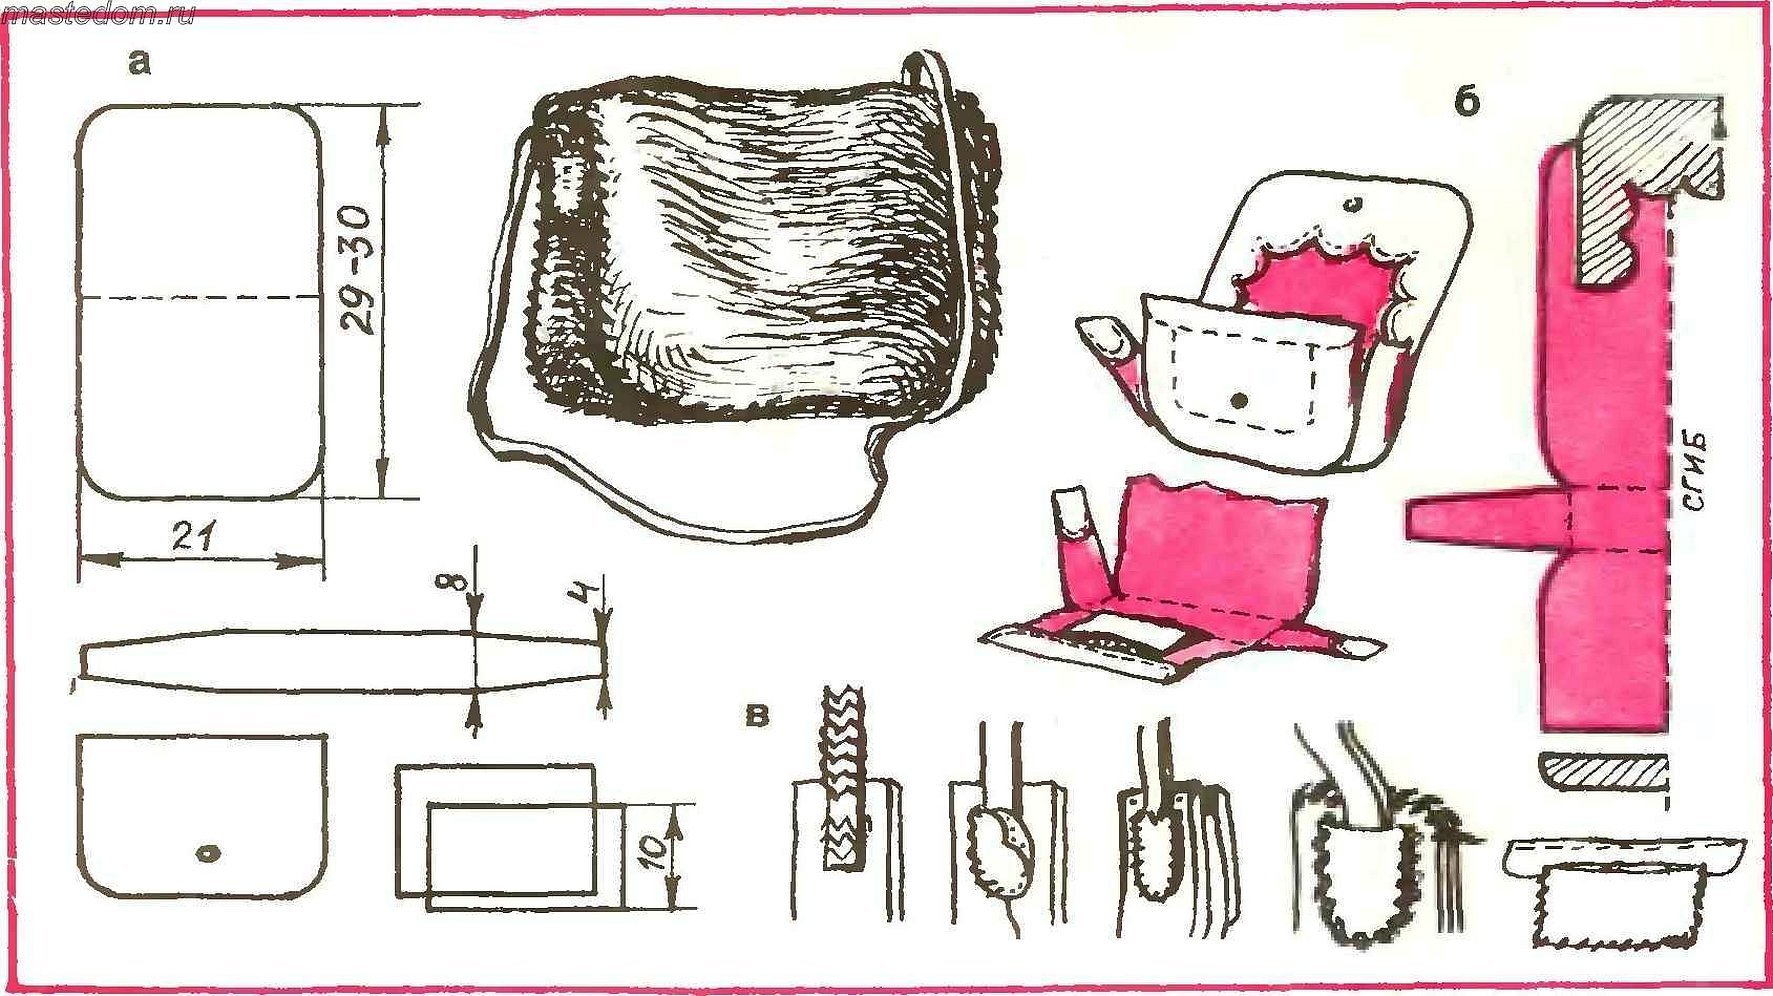
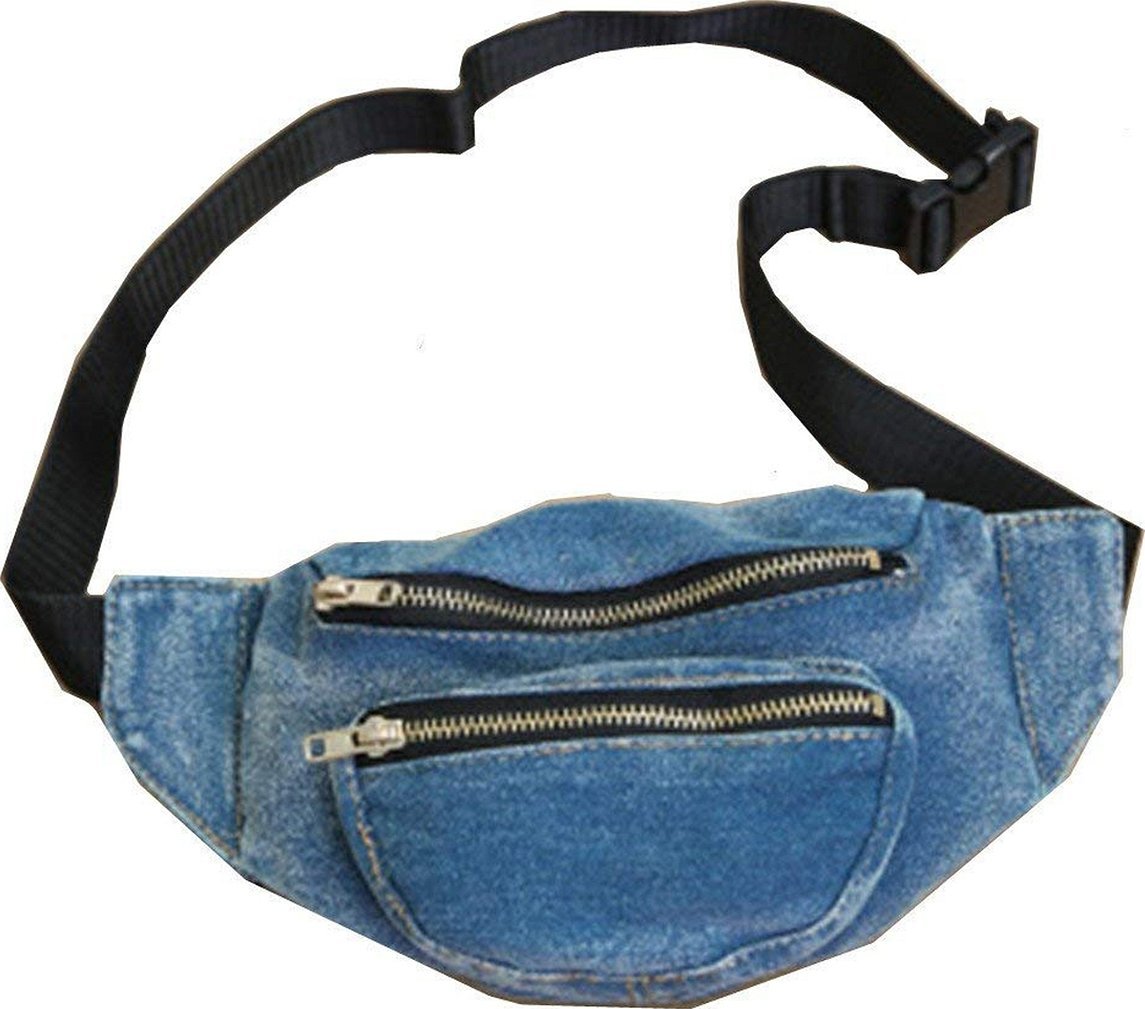
This article will discuss the method of sewing a fanny pack, which can be sewn from thick cotton material. A fanny pack is a waist bag, the pattern for which is created from 3 parts.
Algorithm of actions for self-sewing
Sewing a belt bag is a quick process that will take a small amount of time.
First of all, cut out all the necessary details from the main and lining fabrics.
After this, start creating a pocket on the front of the product.
Detailed instructions for sewing a pocket:
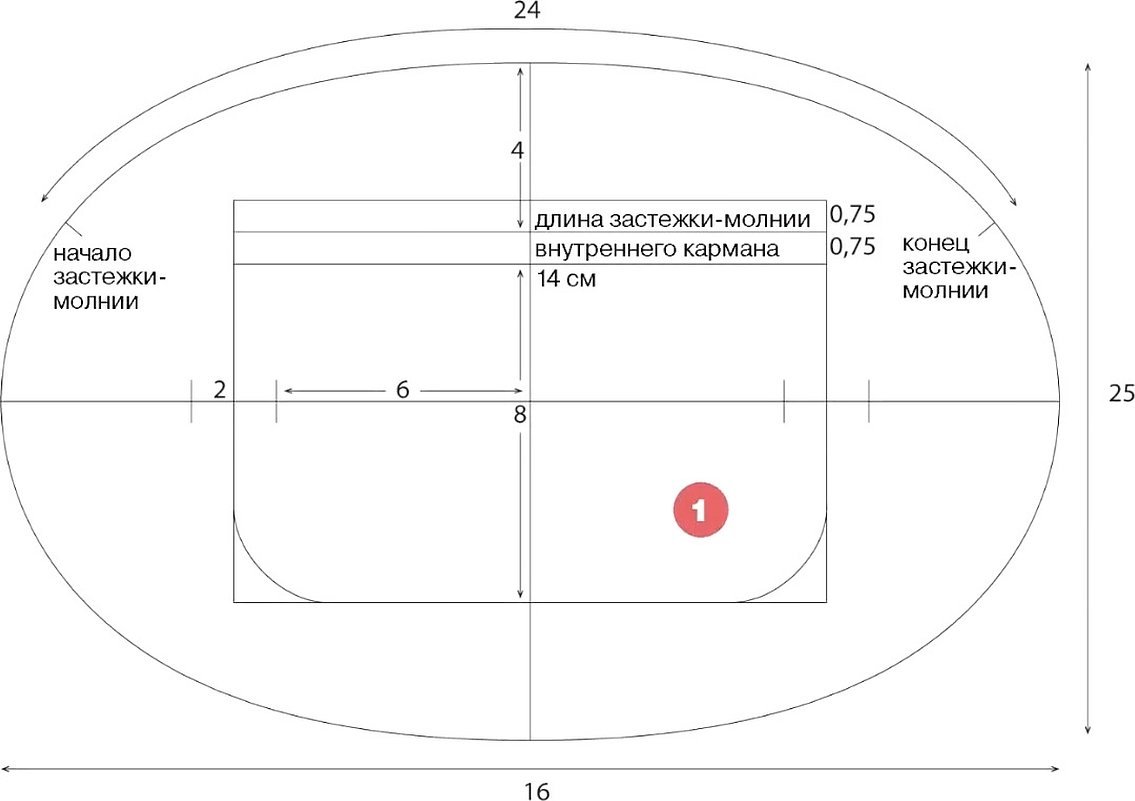
- Draw a rectangle measuring 21 x 5 cm and inside it make a rectangular frame measuring 15 x 1.5 cm. 15 cm is the length of the pocket zipper.
- Place the facing on the right side of the lining fabric. This should be a copy of the lining fabric for the front.
- Use a regular stitch on a sewing machine to sew along the small frame you drew.
- Cut the seam with scissors, moving from the middle to the corners.
- The result will be a line from which you need to turn the piece inside out and then iron it or pin it in place.
- Prepare a zipper strip, the length of which will be equal to the length of the facing. In this case, it will be 15 cm.
- Sew the zipper to the frame using a regular stitch on the front side.
- Sew (optional) the burlap or, as needed in this case, the back of the product. The front side is located down, and the seam goes along the entire perimeter.
This completes the creation of the pocket on the front part of the bag.
Please note! When sewing, you need to make sure that none of the layers are bunched up, otherwise the seam will be crooked, “bubbles” will appear, and the product will be unsuitable for wearing.
How to sew a belt fastener correctly
Algorithm of actions:
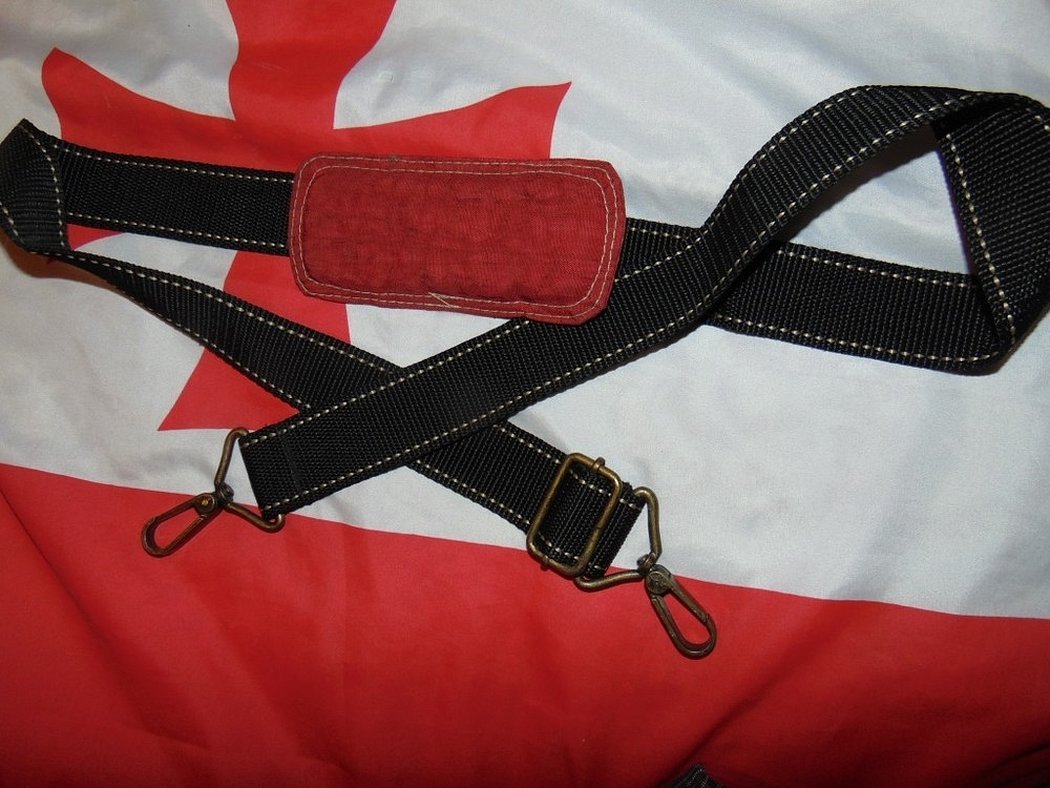
- Take a small rectangular piece of webbing and form a ring out of it. Attach the ring to the sewing machine and thread an 80 cm long webbing into it. Sew the long part to the ring.
- Thread the belt buckle through the free part where there is no ring.
- Make a similar ring on the other side.
- Sew the strap into the edges of the bag.
How to put the button on the lid
Put runners on the zipper if there are none.
Cut the corners of the product on both sides with scissors and turn them inside out, then stitch them on both sides.
Topstitch along the entire length, pulling the fabric in different directions as you go to avoid swelling.
Sew the lid to the product. Fold the workpiece in half so that the zipper is folded in half, and make a notch in the center.
Proceed to sewing the main fastener. Place the front face down, and place the zipper on top with the links facing down. Place the lining fabric on top face down and start sewing a regular stitch, stepping back 1 cm from the corners. Then proceed as follows:
- Place the front piece face up. Connect the center of the zipper to the center of the lid, and then start sewing from the center to the edges. First, do the action on one side, then on the other.
- Cut the bottom part and turn the product inside out.
- Topstitch above the zipper to create a slightly raised detail.
- Place the back and front pieces together face to face.
- Cut the seam and sew in the strap.
Painting of parts
Apply a little paint to a sponge or thick cloth and use gentle circular motions to treat the entire surface. Go over the seams and joints twice – they may produce a less expressive shade.
How to sew the side parts of a bag
Next you need to make the sides correctly:
- The parts are placed on the seal and sewn together.
- The seams are ironed out and the sealant is cut off from the seams.
- Sew the side panel to one of the front parts of the bag.
- Now the free edge of the side is sewn to the second front part of the bag.
- The front part of the bag is ready.
- Cut off the seal from the seams, iron, and turn inside out.
Tips for choosing fittings
Much attention should be paid to the fittings, as much depends on the correctness of their choice. Of these elements, you will need to buy a zipper, runners, if they are missing, a belt buckle and edging.
In addition, you will need to take threads of the desired color, pins, needles, a pencil, paper and scissors. A belt bag is not a very voluminous accessory, so it is easily made on a sewing machine.
Decorative elements act as additional material. Everyone has the right to independently choose beautiful beads, rhinestones, appliques, brooches, stripes and other decorations.
How to install fittings on a bag correctly
For the harness fittings you will need:
- Carabiner. Attaches very easily, insert a belt into the wide eye and sew on the machine.
- Choke buckle. Inserted similar to a carabiner. Can serve not only as an important part of the belt, but also for decoration.
- Half rings. They are fixed on the sides of the bag using a needle and thread.
Attention! For accessories and decoration you can use beads, embroidery, labels. All this is easily attached with glue or self-sewn.
How to do it without a machine
You can sew a belt bag without a sewing machine. It is quite possible to make the seams by hand, using a thread and a needle. In this case, the process will take a little longer.

A fanny pack is easy to make yourself using a pattern. The universal accessory is suitable for everyday wear as well as for creating a romantic or business image. It can be made from a large number of different materials. The main thing is to approach the matter with imagination. The item can be a great gift for a man, a girl or a child.


