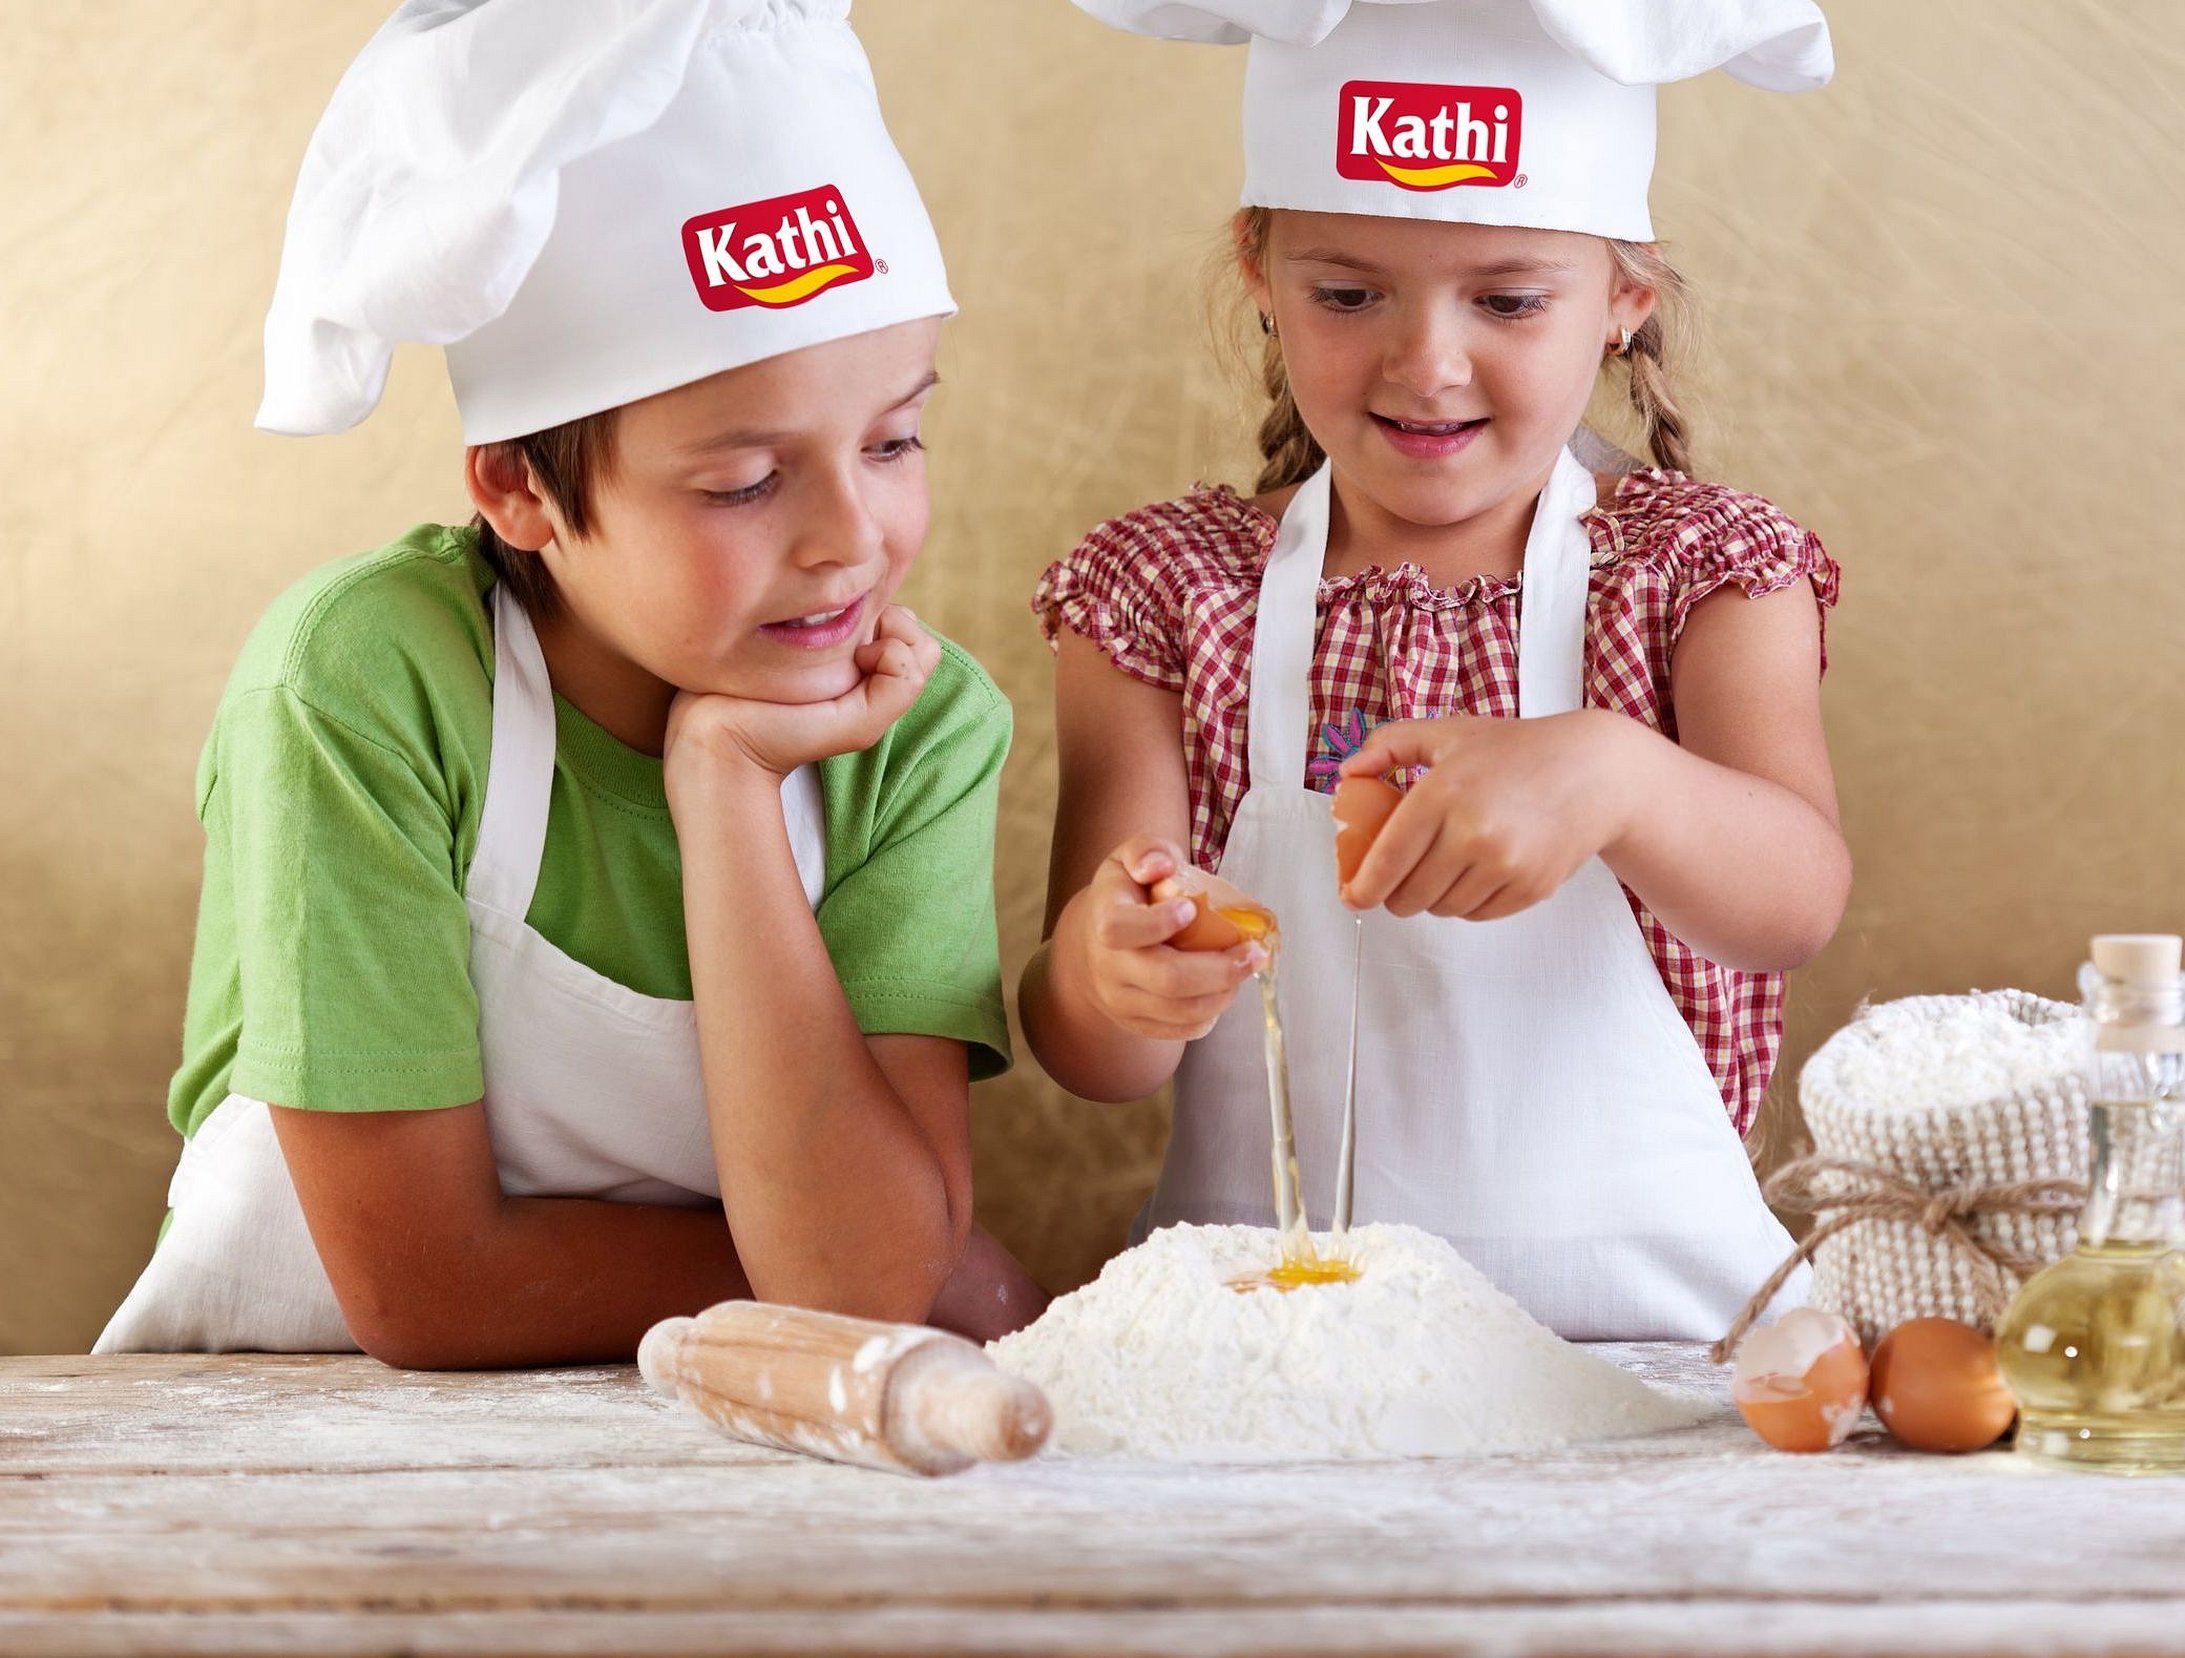
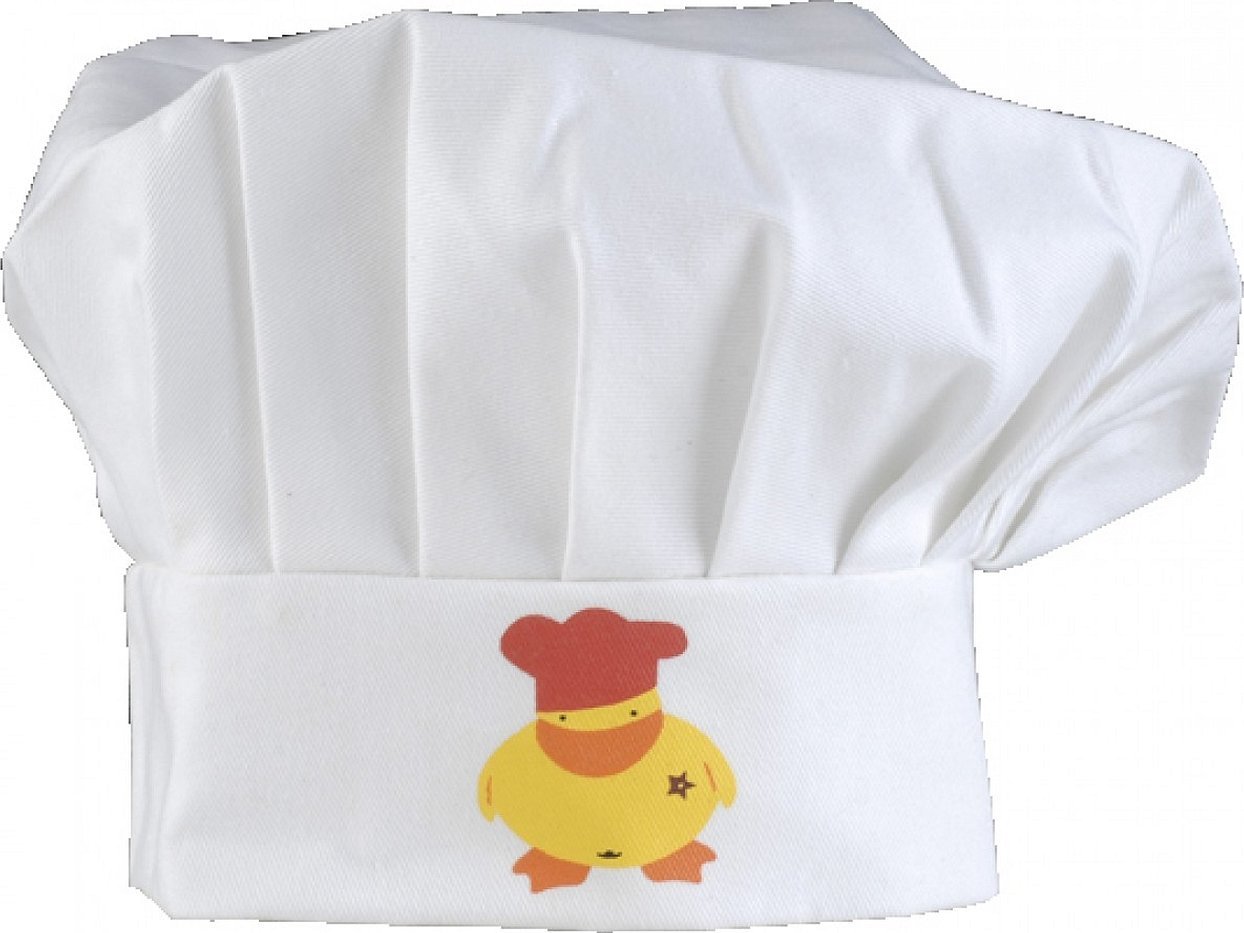
Playing with children is an exciting pastime for all moms and dads. Often they take place in the kitchen, where the baby is interested in literally everything. They especially like to mold something from dough, cut vegetables into cubes and much more. To make it even more interesting for the baby to spend time in the kitchen, you can sew a chef's hat and apron for your little helper. This will create a special festive atmosphere and turn the game into a real, long-remembered event in the child's life.
Materials and tools
First, you need to decide on the style of the hat, its shape. The lower part can be wide or, conversely, narrow. It depends on the tastes and preferences of the mother-seamstress, as well as on whether the baby will wear the hat at home or in the garden. The upper part can be gathered or laid in neat folds. When the main features of the future product are completely formed into a clear, distinct picture, you can start working.
Before you start making a chef's hat yourself, you should stock up on all the materials and tools you need for the job. It is advisable to choose a simple fabric for the hat: cotton or linen. The latter holds its shape especially well and also has excellent air permeability. The product will not steam your head and create discomfort in a hot kitchen, where the air temperature during cooking is already higher than in all other living spaces.
If there is no suitable piece of fabric, you can use a white or colored pillowcase. The hat itself will consist of two parts: the top and the bottom. They can be made the same or use fabrics of different colors. If you sew a children's chef's hat as part of a carnival costume for a child in kindergarten, you can choose any material. For example, artificial silk or other synthetic fabrics will do.
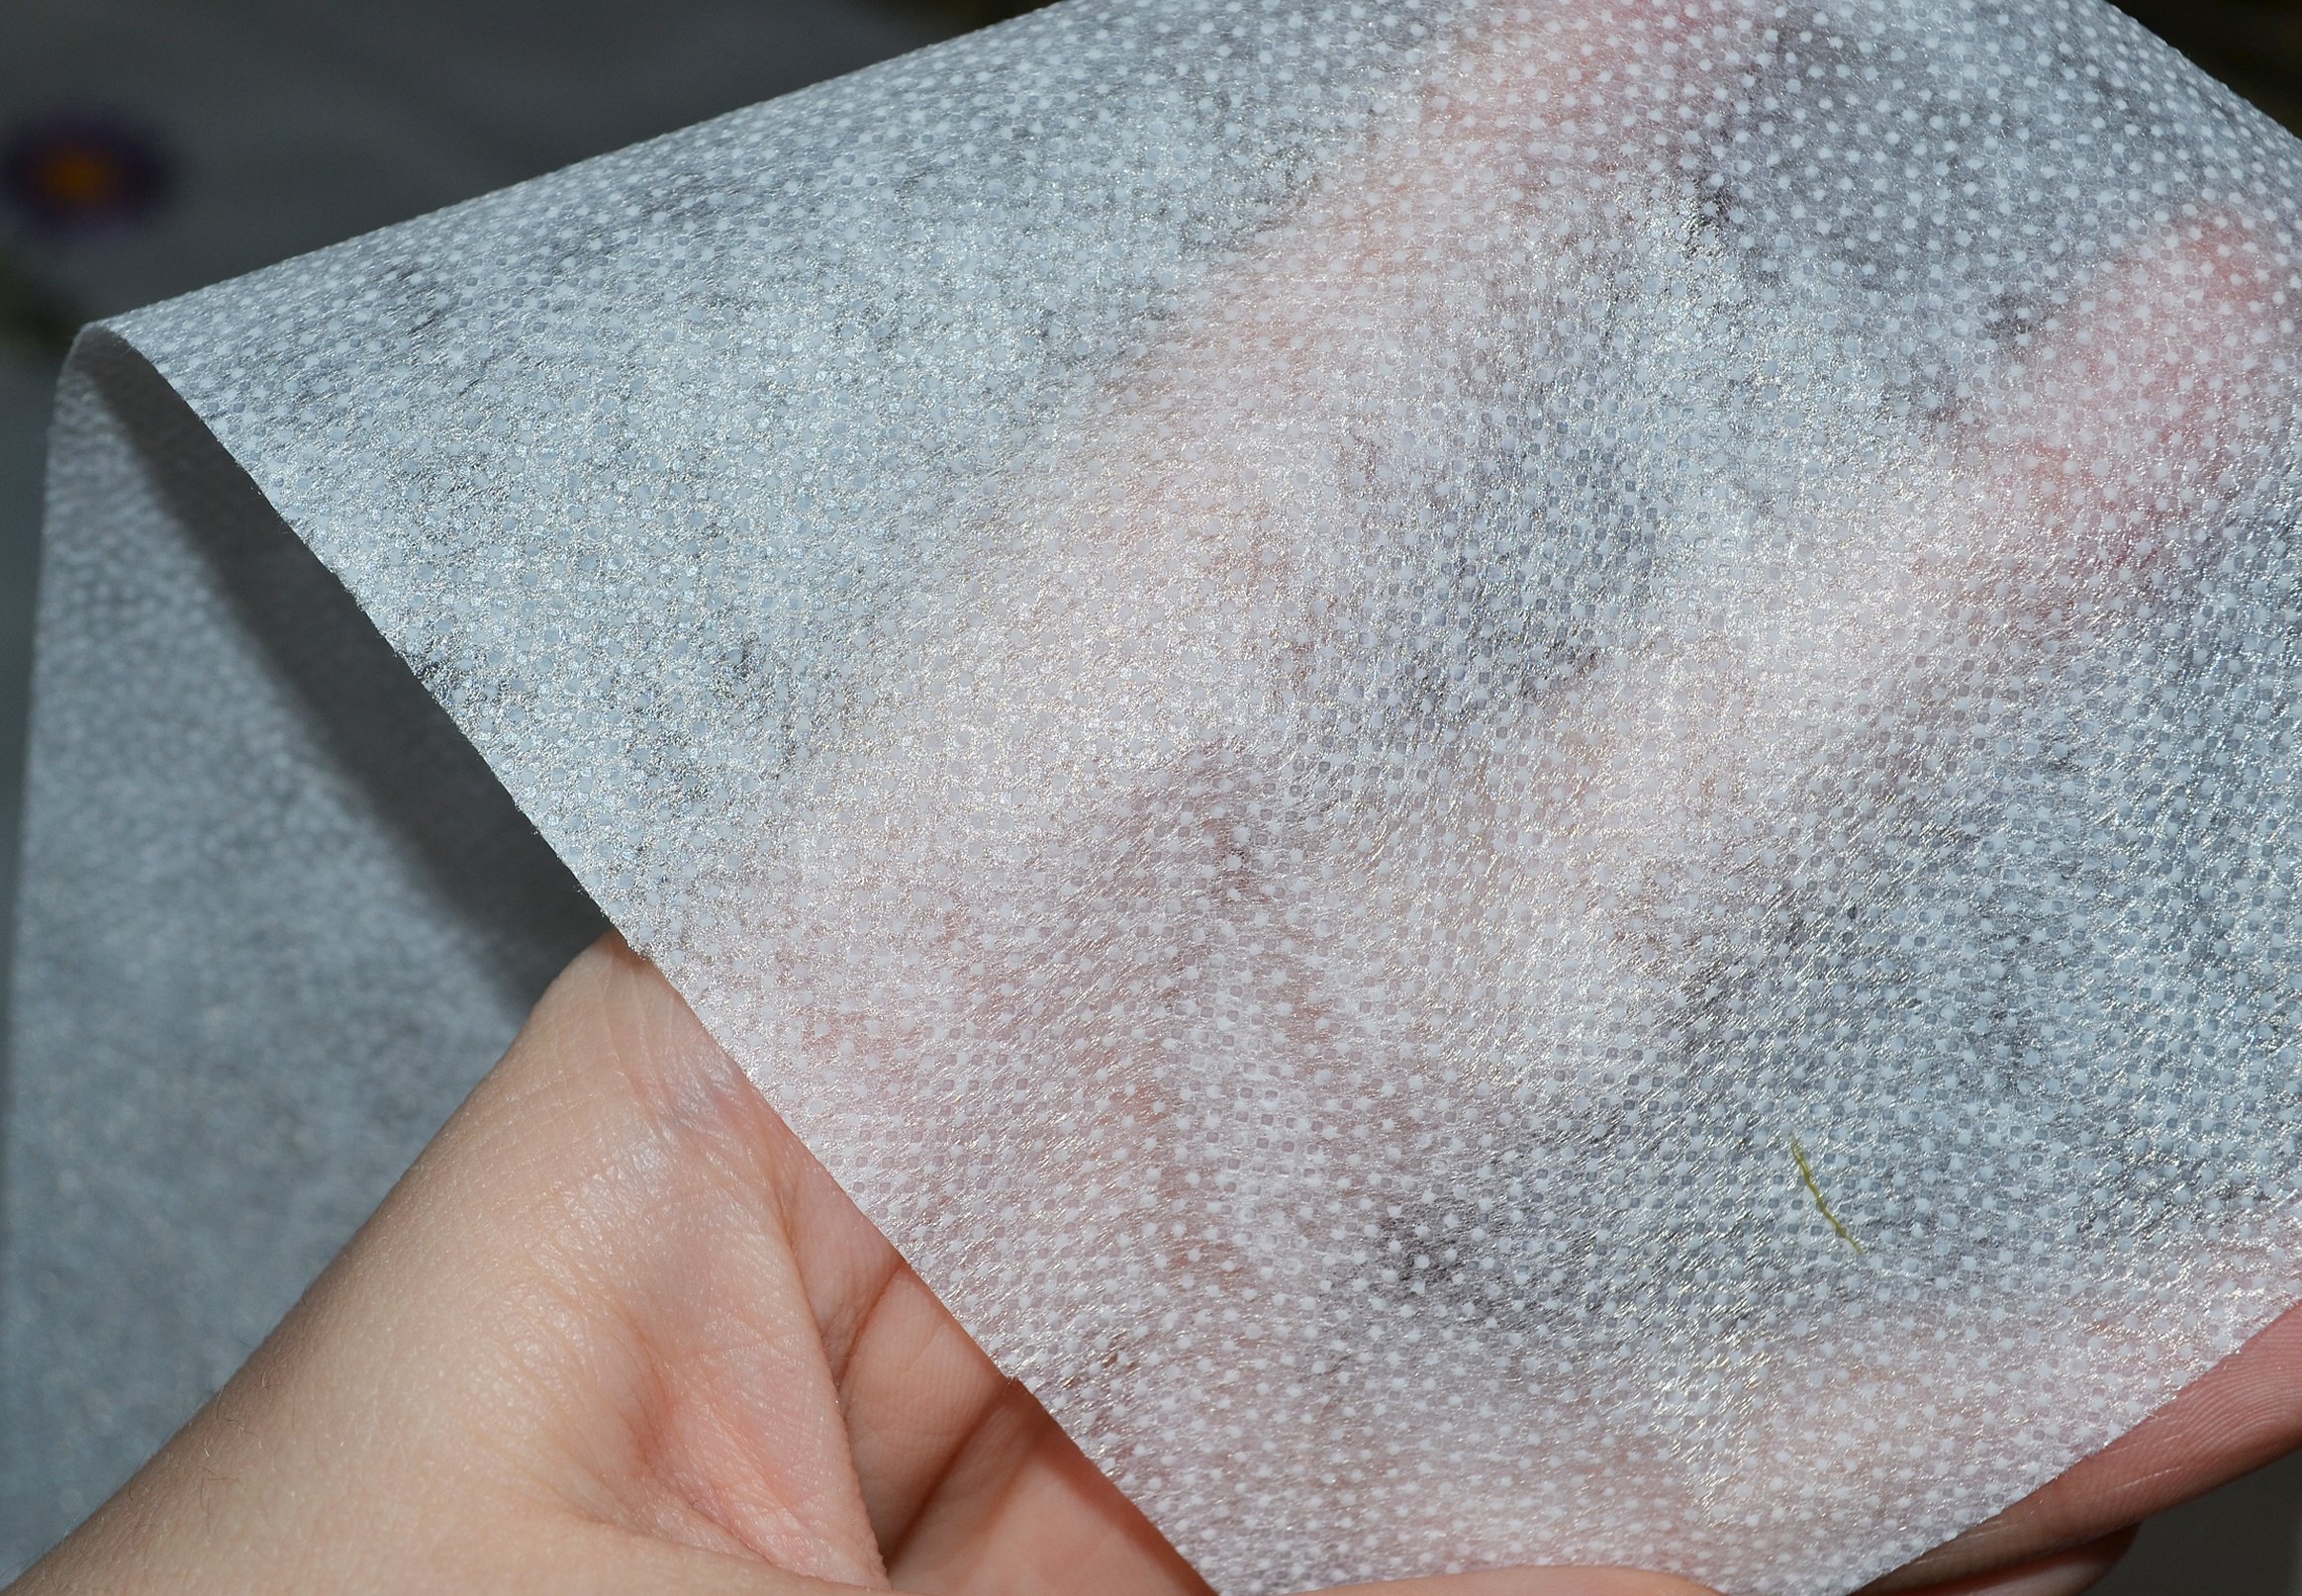
The bottom of the chef's hat should be dense. This can be achieved with the help of some auxiliary materials known to every seamstress. Duplication or thickening of the fabric is carried out with the help of interlining or interlining. Interlining, a cheaper material, comes in different densities, adhesive and non-adhesive. Since the cap will be sewn from light fabric, the interlining should be the same. It is desirable that it be adhesive. It is easier to work with such material, and the appearance and shape of the product will be much neater and more stable.
If interlining is a transparent non-woven material, then interlining is a woven material obtained by plain weaving, on one side of which glue is applied in dots. Interlining is much denser than interlining, it sticks better and holds stronger. Accordingly, its price is higher.

In addition, you will need:
- cotton threads (to match the fabric);
- scissors;
- iron;
- pencil;
- pattern paper;
- ruler;
- measuring tape;
- hand basting needle;
- awl;
- sewing machine for stitching and overcasting seams.
It is necessary to prepare the work surface. It is most convenient to construct the pattern on a table, well lit by a table lamp. General light is often insufficient, especially when sewing.
Taking measurements
So, how to sew a chef's hat? This article provides step-by-step instructions, as precise and comprehensive as possible. After reading it, the reader should have no questions left.
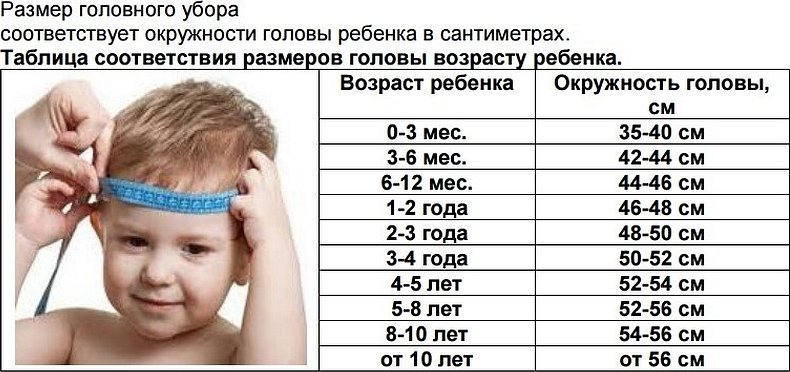
First of all, it is necessary to construct a pattern of the product. This is the basis of any sewing product. To do this, it is necessary to know the size characteristics of the child. Since we are talking about a children's pattern of a chef's hat, it is necessary to measure the head circumference or use the data in the table (see below).
Measuring the circumference of a child's head
The volume is measured with a flexible tape measure. It should go around the head through the forehead above the brow ridges and along the most prominent parts of the back of the head.
How to sew a chef's hat for a child using a pattern
The pattern of a children's cap consists of two parts: the bottom and the band. The height of the latter can be arbitrary 7-20 cm, depending on preferences. At the same time, it is desirable not to go beyond the specified limits. Since the band consists of two parts - the upper and the inner, that is, double - two height values are set aside on the pattern. The length of the band is equal to the circumference of the child's head.
Attention! The chef's hat, the pattern of which is presented below, is sewn without ties. If you need a hat with an adjustable size, you need to add a few centimeters to the head circumference for a loose fit. Excess volume will be adjusted with sewn-on ties.
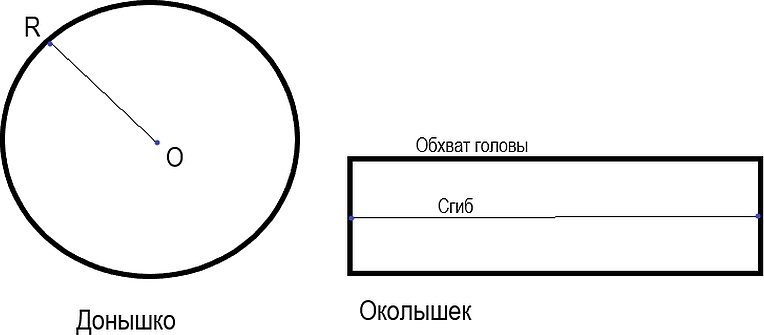
To construct the bottom, you need to draw a circle. Its radius is taken arbitrarily, depending on how lush the top of the product will be. There are recommended values that can be adjusted as desired. Some of them are listed in the table:
| Head circumference, cm | Bottom radius size, cm |
| 51.5 | 21.7 |
| 52 | 21.8 |
| 52.5 | 21.9 |
| 53 | 22 |
| 53.5 | 22 |
| 54 | 22.1 |
| 54.5 | 22.2 |
| 55 | 22.3 |
| 55.5 | 22.4 |
| 56 | 22.5 |
Place the paper pattern pieces on the fabric and secure with pins or weights. Trace the outlines with a simple pencil or coloured chalk for cutters. Remove the pattern from the fabric, add 1 cm on each side for seam allowances and cut out the pieces with scissors.
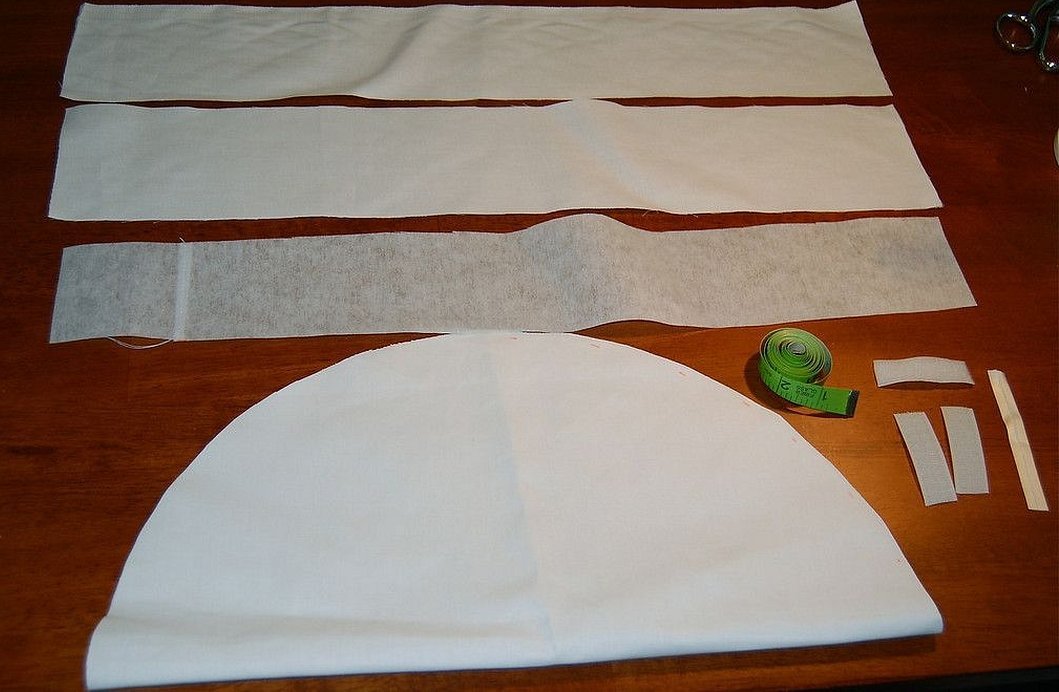
Glue the band with interlining. It should be the same size as the piece itself. Do this with an iron. Run your finger along the interlining on both sides. Apply the interlining with the rough side (adhesive) to the fabric. Press it with a hot iron from above until the material is firmly glued in all areas.
Fold the band piece with the right sides facing inward and baste it along the height. Then fold it in half lengthwise with the wrong sides facing inward. Try it on and adjust the size. If necessary, loosen the allowances a little or, conversely, remove excess volume. The band should not squeeze the head too much, but only fit it.
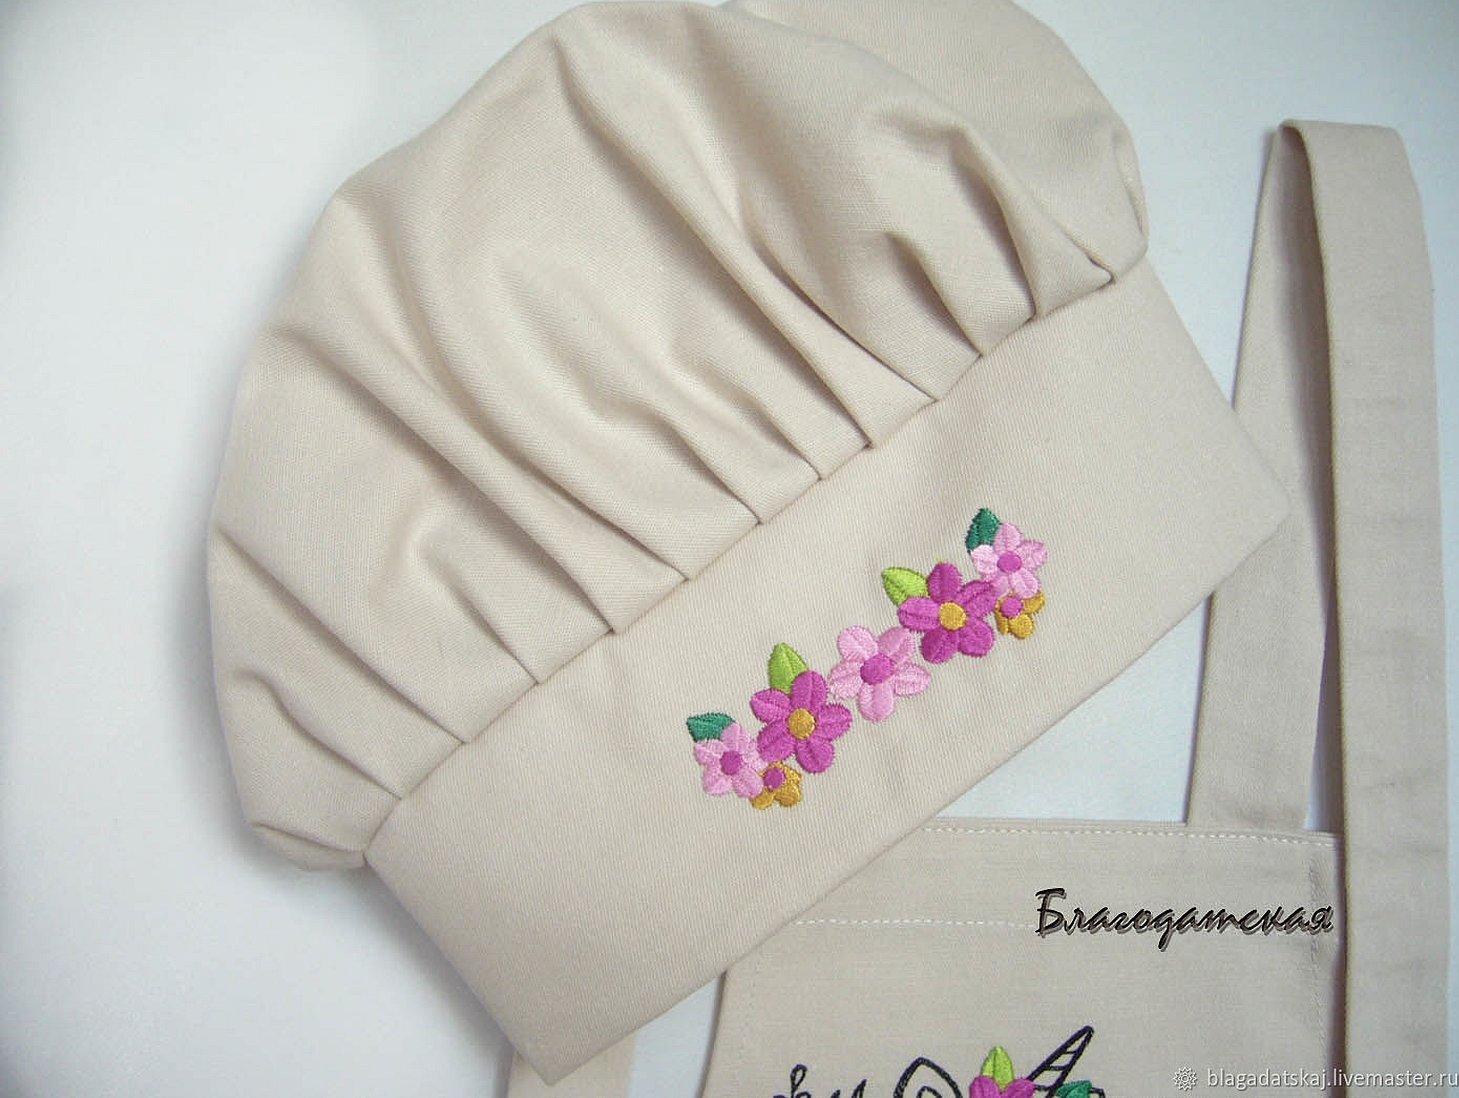
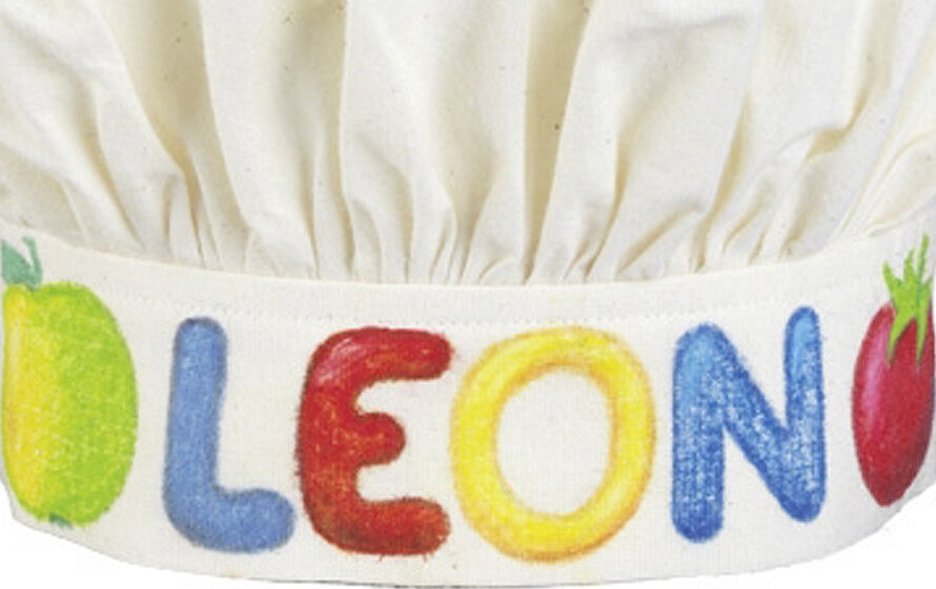
Next, you can do some artistic finishing of the lower part. For this, you can use the following:
- embroidery;
- braid;
- application.
After artistic design, stitch the band along the seam. Remove the basting. Press the seam open with an iron. Fold the band in half, inside out, and press. One piece is ready.
The bottom must be gathered in gathers along the entire circumference of the part or laid in shallow one-sided folds. The length of the gathered upper part (bottom) must correspond to the circumference of the finished lower part (band).
Place the bottom inside the band, facing each other. Connect the two pieces so that the seam ends up inside the product. Baste or pin first, and only then sew on the machine. Remove the basting threads. Neaten the resulting seam. This can be done in the following ways:
- manually with an overlock stitch;
- on a household overlock machine (if you have one);
- on a sewing machine in zigzag mode;
- with a thin bias tape.
At the end of sewing, iron the product slightly. For any woman, sewing a costume for a cook will bring a lot of pleasure. From the remains of the fabric, you can make a cap for your favorite doll.
Attention! If you decorate a chef's hat with various embroideries, stick-on pictures on culinary or just children's themes, the baby will be incredibly happy, and the whole family will rejoice with him.
The gathering can be done with a needle, by laying two parallel rows of hand stitching, and then simultaneously pulling their ends to the required size. Distribute the gathering evenly.
It will be easier and faster if you do this operation on a machine. You need to loosen the upper thread, increase the stitch and in this mode lay two machine lines. Pull the ends of all the threads at the same time. Pull to the specified dimensions, gather evenly around the entire circumference.
The folds can be made by eye, laying them out randomly and fixing them manually or by machine. But it is better to calculate the number of folds and their location in advance and mark them on the fabric. To do this, you need to measure the lengths of two circles:
- bottom;
- border.
Subtract the smaller value from the larger value. Determine the desired depth of the folds (2-3 cm). Double the selected value - this is how much fabric will go into the fold. For example, 2 × 2 = 4 cm. Divide the difference between the two circumferences by 4 cm and you will get the number of folds that need to be made. Apply a pencil to the fabric, make markings. Lay the folds, secure them with pins or a stitch (machine, hand).
Attention! If the length of the bottom and the band do not match, you need to adjust (increase, decrease) the depth of the folds.
Care of the product
A chef's hat should be distinguished from other items by its snow-whiteness and impeccable shape. After washing with special bleaching agents, the headdress must be starched. This is the only way it will retain the necessary shape.
Any mother, armed with all the necessary materials, tools and knowledge, will be able to sew a chef's cap and please her baby with new entertainment in the kitchen. Thanks to such games, over time, the little fidget will grow into a good assistant for his parents.


