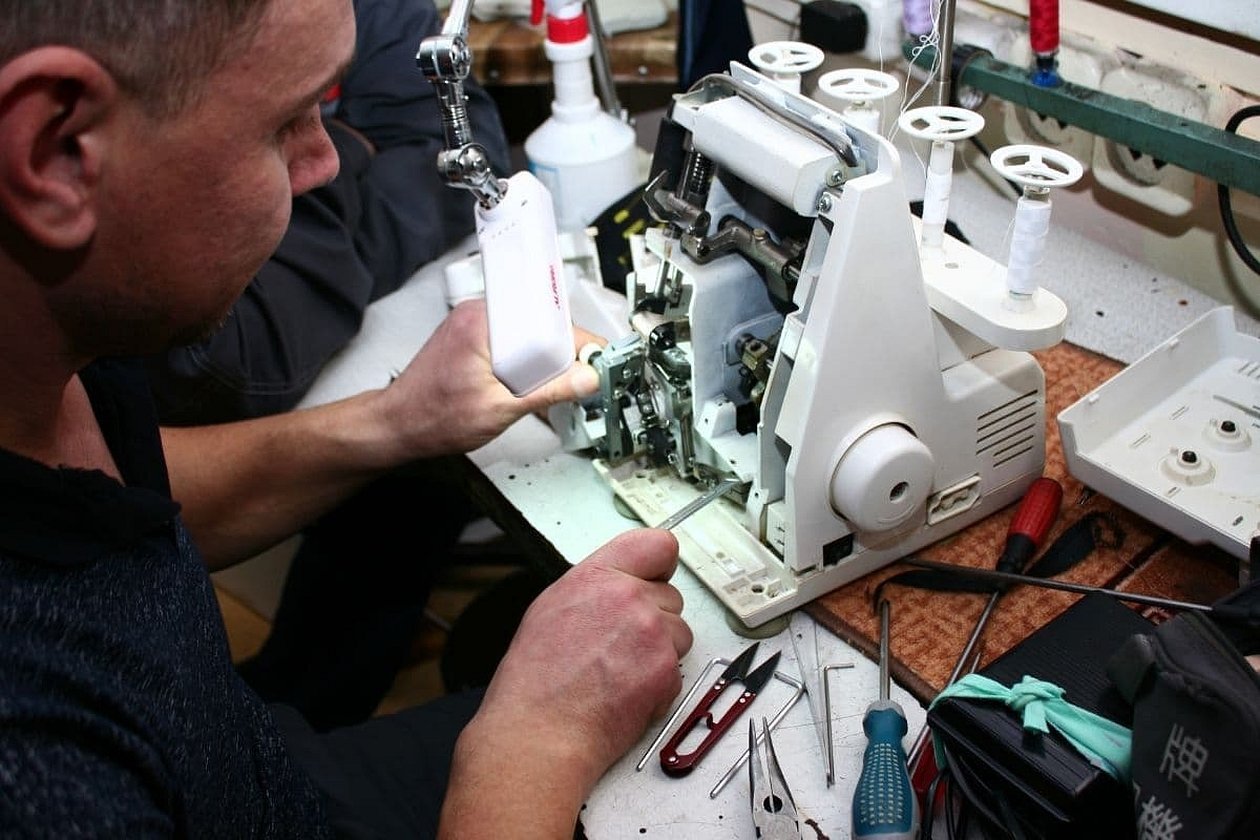
If a sewing machine breaks down seriously, only an experienced craftsman can fix the situation. But you can often repair a sewing machine yourself if you adjust and set it up.
Main faults of sewing machines
Most often, at home you can encounter the following types of problems:
- the stitching is unstable, gaps appear in the line, the stitches may be of different lengths, and thread breaks occur in places;
- the stitching is disrupted, the fabric is pulled into an accordion, either a weakening or strong tightening of the loop is observed, the stitching is skewed;
- the running speed changes, the machine makes an unusual noise, it jams.
If any of the listed malfunctions are observed, this means that it is necessary to pay attention to the operation of the machine in order to determine the cause.
Please note! If you make adjustments and settings in a timely manner, you can solve the problem without much effort and large financial investments. If the sewing machine does not work properly for a long time, this may lead to the need for expensive repairs.
Self-tuning principles
You can set up the device yourself if you follow a certain plan:
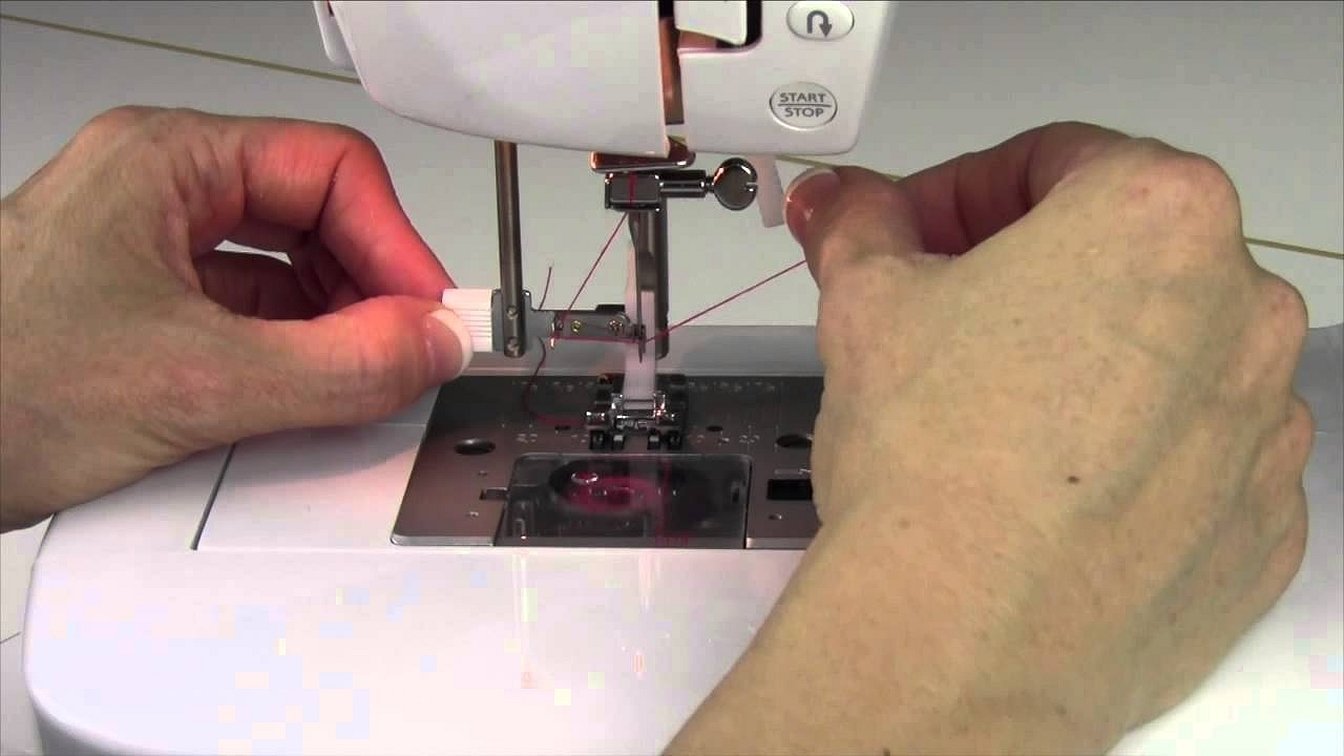
- First of all, you need to adjust the springs that lift the threads. They should be wound in such a way that the wound loop does not unwind, but is held by the bobbin cap.
- It is important to achieve the correct thread tension. For this purpose, the machine has a special mechanism located on the side of the body and in the shuttle's underline screw. To tighten the lower thread, you need to tighten the underline screw.
- After adjusting the thread, you need to test the work on a piece of material. If hanging loops are formed, then the upper thread needs to be loosened.
- Next, you need to set the foot pressure. This is done by adjusting the springs with a special bolt. In most modern models, it is located in an accessible place so that it can always be easily adjusted during work. It is important that the spring is not too tight, but not too loose either. If the foot presses the fabric too tightly to the surface of the body, this will increase the pressure and can lead to a tear in the fabric. If, on the contrary, the foot does not clamp the material sufficiently, the seam will be sloppy. The foot needs to be adjusted every time a new type of material is used. The thicker the fabric, the greater the foot pressure should be.
- Check the operation of the electric drive. Often, sewing machine malfunctions occur because the speed is set incorrectly. It is set by a special regulator, which is located in the pedal. If the sewing speed is disturbed, you need to disassemble the pedal, clean it and put it back. If this procedure does not help, you need to replace the contacts in the pedal.
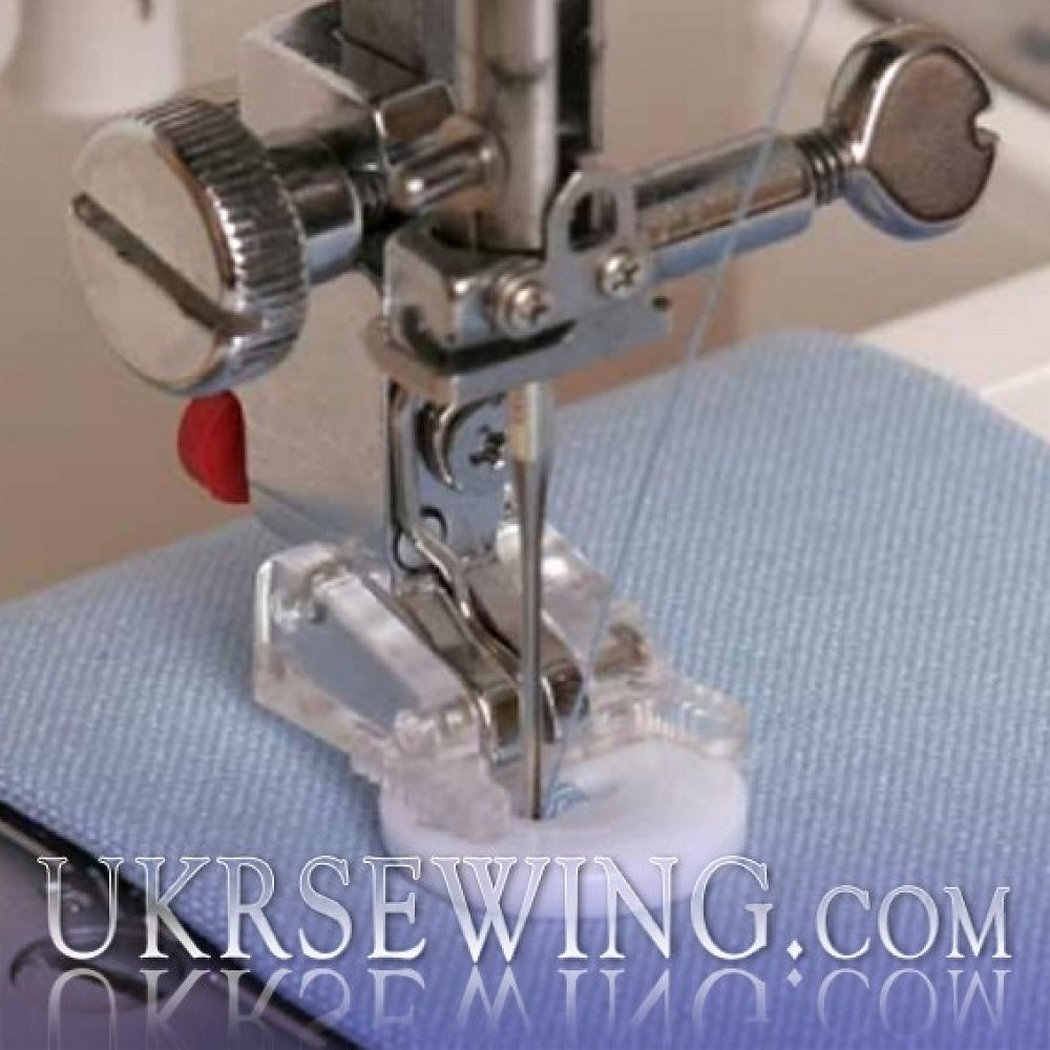
- Check the condition of the needle holder. The needle should be firmly installed until it stops, the large groove should be turned to the left.
Before work, it is also necessary to set the stitch length. This is an exact value that is set for each type of fabric in accordance with the instructions. The average value is from 1 to 2 mm, if the material is thick, the parameter can reach 3 mm.
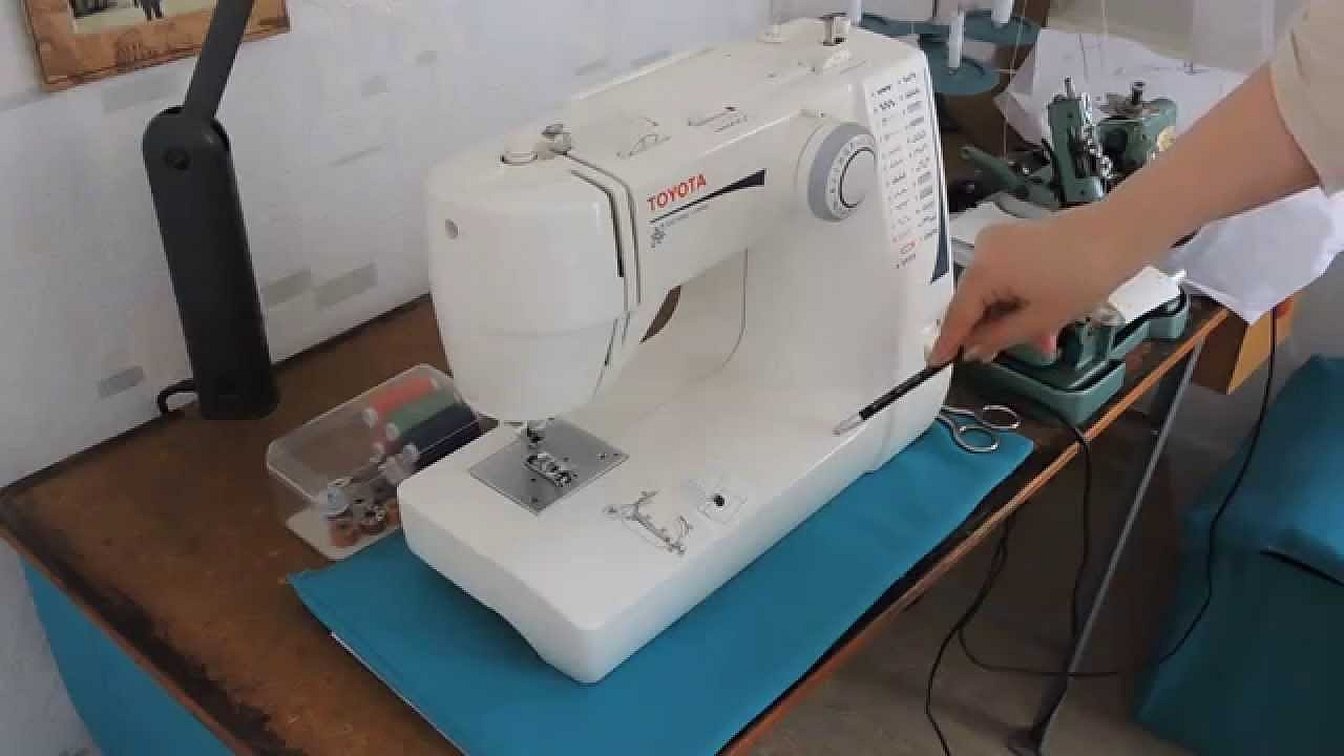
Troubleshooting and troubleshooting on your own
A certain number of faults can be identified and repaired by the user of the machine independently if he understands the principle of operation of the machine.
Fastening the needle bar and tensioner
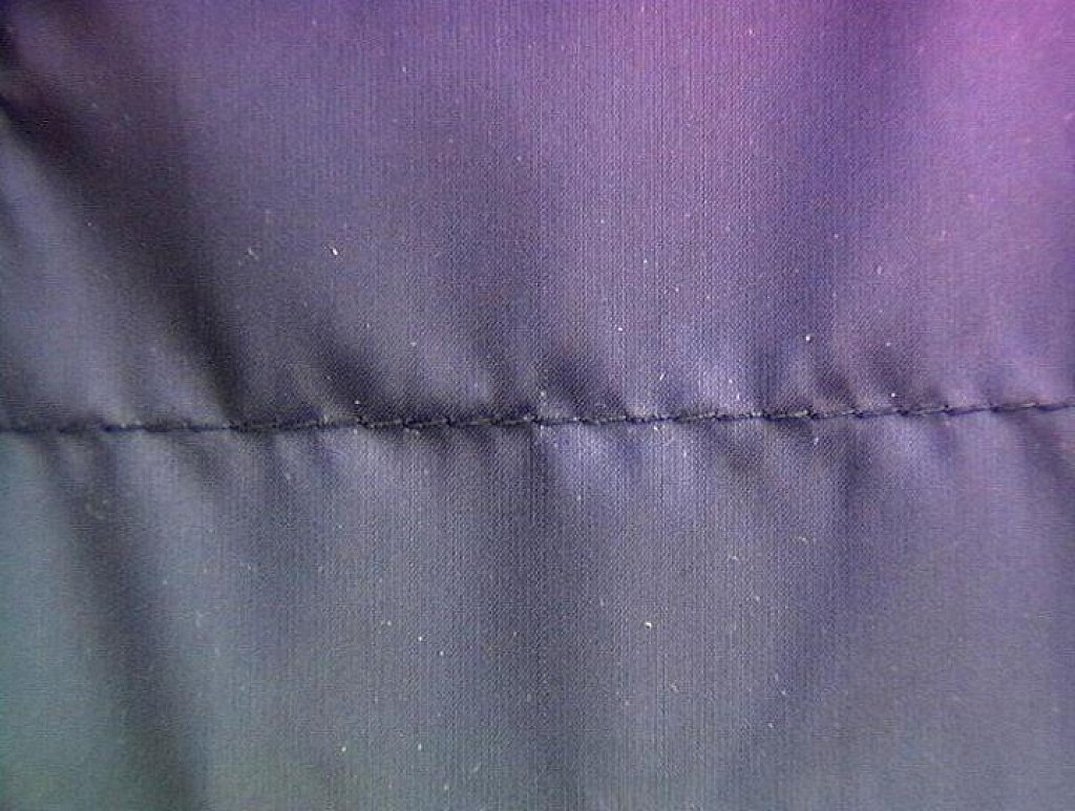
The most important element in the operation of a sewing machine is the needle. Before you start setting it up, you need to check its operation. During operation, the needle is subject to a lot of stress. It makes a huge number of punctures in the fabric. As a result, this leads to dulling and bending over time. A blow to the metal of the body is very dangerous for the needle. This will lead to its tip breaking immediately. Craftsmen with little experience may not immediately notice the defect. And working with such a needle creates large tears in the fabric.
The thread that is passed through a broken eye will constantly catch, which can lead to deformation of the fabric. Loops may appear in the stitching. Due to the fact that the needle is bent, the thread may constantly break. This makes it difficult to stitch complex areas when the upper thread must be as taut as possible.
For your information! In this case, adjustment and repair of the sewing machine is not required. The problem can be eliminated by replacing the needle yourself. Experts recommend changing this element as often as possible so that the machine works better.
When changing the needle, you must adhere to the following rules:
- The sewing needle must be selected only in strict accordance with the type of equipment. You cannot insert a needle for an industrial device into a household machine. In such a situation, the gap between the shuttle nose and the needle blade will be violated. This will lead to skipped stitches. In the worst case, the shuttle may break.
- It is important to position the element correctly in the needle holder. The blade should be on the side of the shuttle nose.
- Before replacing, even a new needle should be checked. There should be no bending. This may not be noticed right away. It is recommended to put the needle on the glass. The bending point will be immediately noticeable.
- The needle should be selected according to the fabric used. For denim, stretch or faux leather, you need to choose special needles that provide easier passage through the fabric.
The needle must match not only the fabric and the machine model, but also the thread number.
It is important to pay attention! New sewing machines have a certain feature: they have a guide stop that prevents the tip from moving to the side.
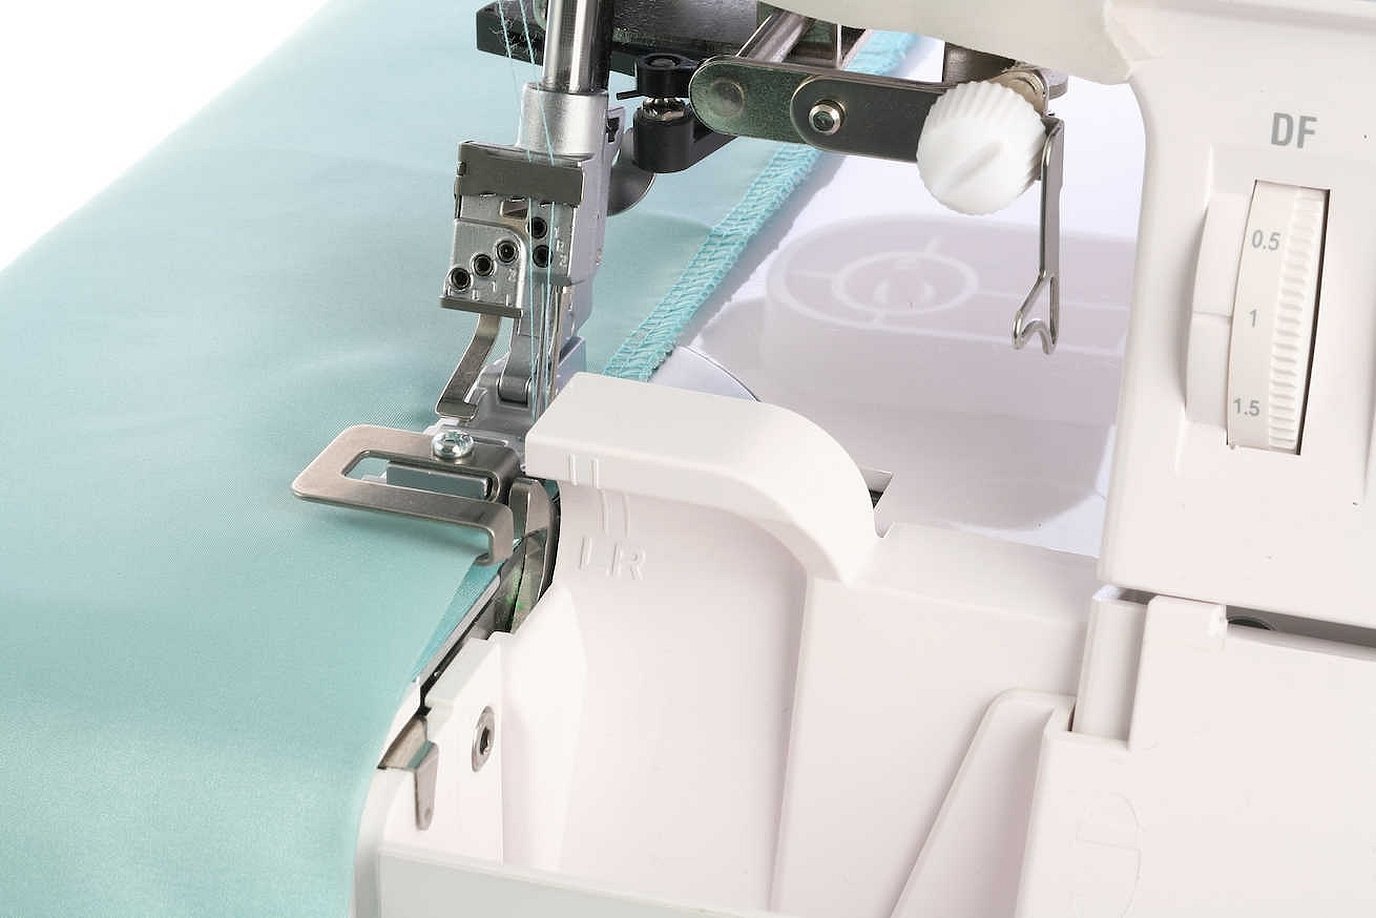
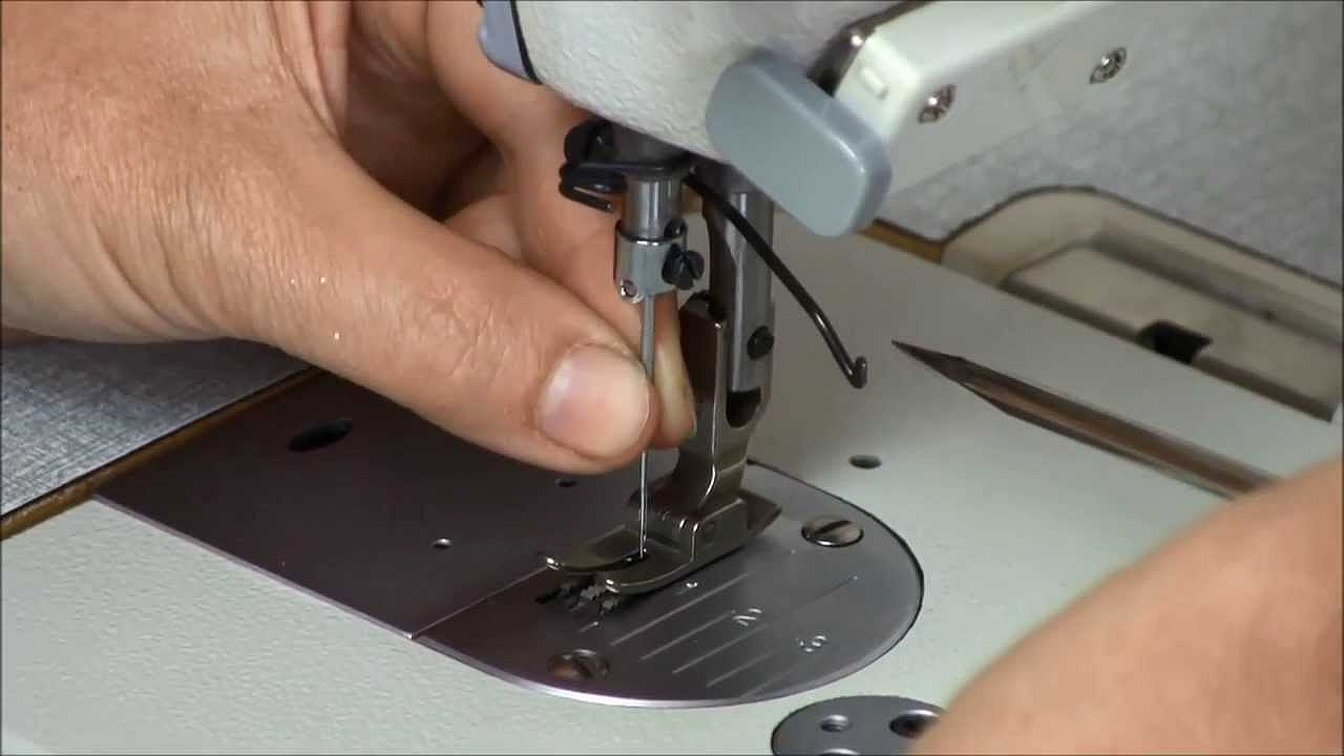
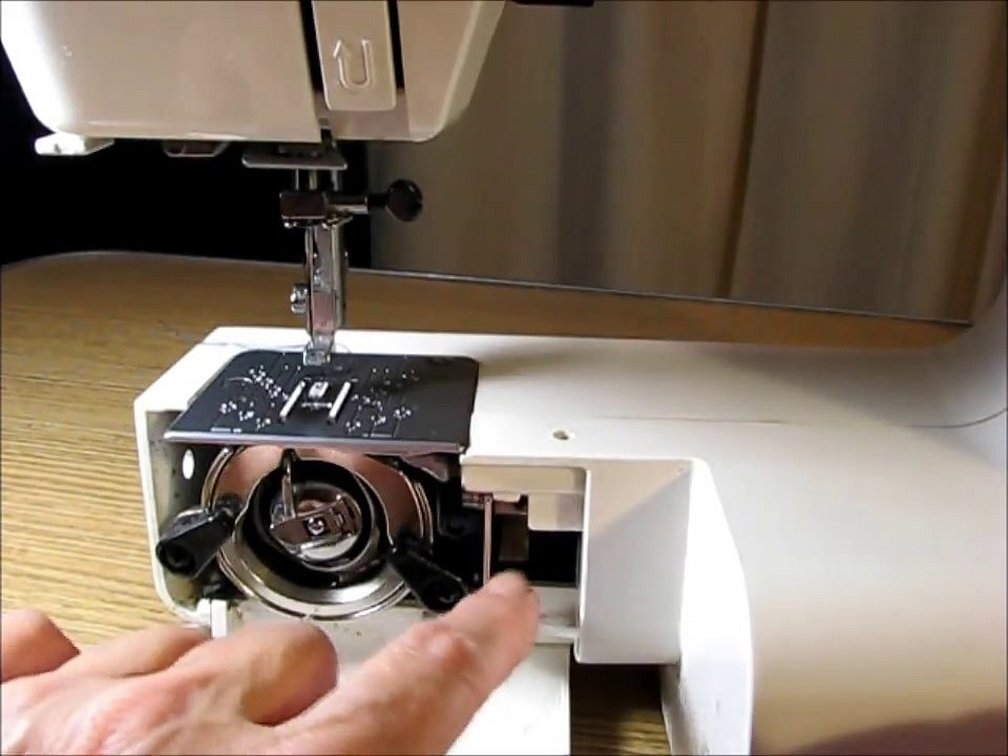
Setting up the interaction between the shuttle nose and the needle
The quality of the row and stitch depends on the correct adjustment of the shuttle unit and the sewing machine needle. The correct values must be set between them. If they are violated, thread breaks, looping, and skips may be observed. To properly adjust, you need to understand the principle of loop formation.
As soon as the needle rises by 2 mm, a loop is formed from the upper thread. At this time, the shuttle nose should pass closely to the groove of the needle. It is important that this distance is no more than 0.15 mm. And the distance from the eye of the needle and the nose should be 0.5 mm. These parameters are applicable to work with medium-thick fabrics.
For your information! It is important to pay attention to the correct installation of the toothed rack. It should be positioned vertically. It is the rack that moves the fabric relative to the needle. As soon as the material is pierced by the needle, the edges of the rack teeth should be at the level of the sewing machine work table.
Where to take it for repair: average prices in workshops
When choosing a workshop where sewing machines are repaired, it is better to focus on service centers that service the model you purchased. In such centers, most often, all components are available, the client will not have to order them and wait a long time for the work to be completed.
The cost of repairs depends on the model and complexity of the breakdown. On average, for a Veritas, Singer or Janome machine you will have to pay from 800 rubles to 1,500 rubles for a simple breakdown. Repair services for Brother and Jaguar models start at 1,200 rubles.
If we are talking about an industrial sewing machine, its repair can cost from 2,000 and above. Repair of old sewing machines can be difficult due to the lack of spare parts. This can increase the waiting time.
Proper care of your sewing machine
To ensure that the sewing machine always works properly and does not require constant adjustment, it is recommended to follow preventive measures. The main ones include:
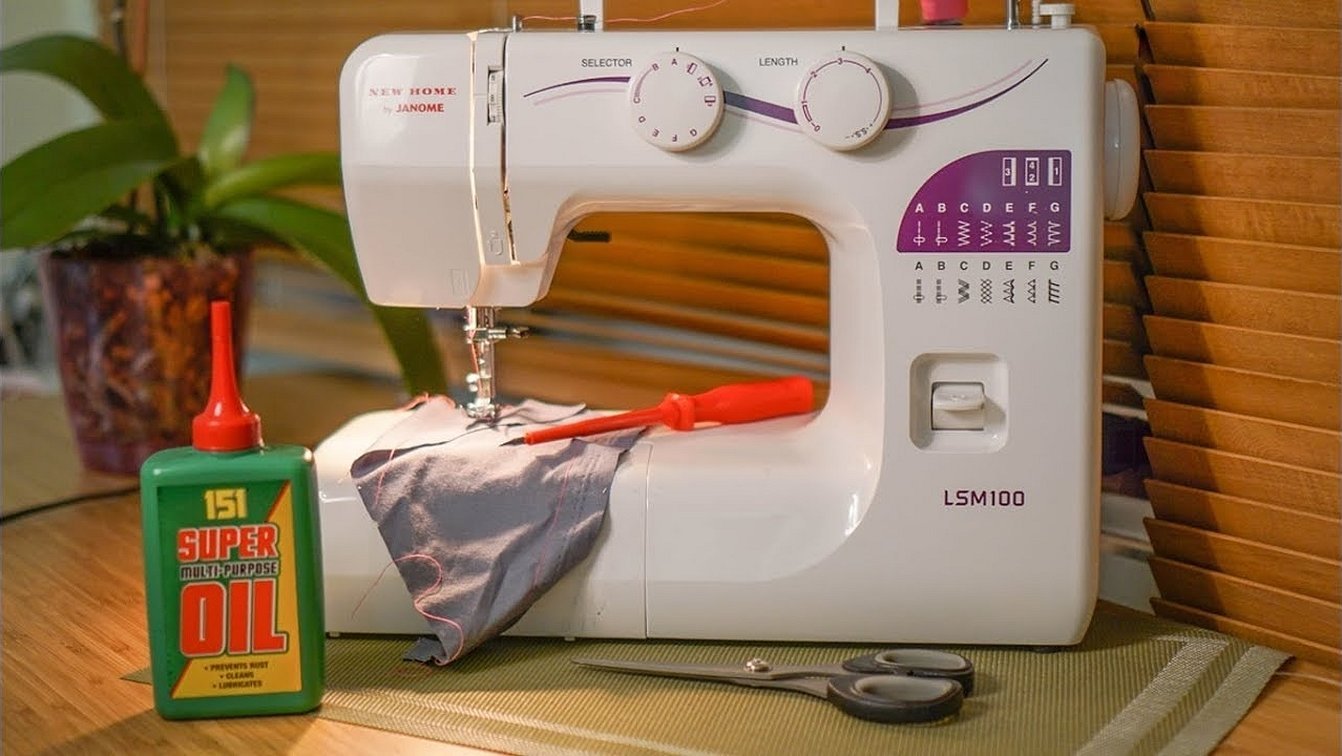
- lubrication of the main parts at least once every six months with special oil;
- After each use of the sewing machine, you need to clean the surface and needle plates from dirt and dust that accumulates during operation;
- The sewing machine should only be stored in a case;
- All cords and wires must be carefully twisted to avoid breakage;
- Before putting the machine in the cover, you need to check if there are any threads on the elements.
In addition, before storing, it is recommended to place thick cardboard under the foot and lower it to the very end.
Simple preventive measures and timely adjustments will help extend the life of the machine without requiring major repairs.


