Modern clothing is gradually replacing old-fashioned items from the wardrobe of men and women. Shapeless trousers are being replaced by comfortable jeans and cargo pants, and sweatshirts and hoodies are replacing old-style sweaters. They are much more pleasant to wear. You can wear them for a walk, play sports, or just wear them at home. Sewing such a product is not particularly difficult, and all thanks to the large number of patterns available on the Internet. This material will tell you how to sew a sweatshirt and a sweatshirt, a simple sweatshirt pattern is shown.
- Description of the style of the hoodie sweatshirt bomber for men and women
- What is the difference between a sweatshirt and a sweater
- Choosing fabric for a sweatshirt
- Pattern of a sweatshirt with set-in sleeves
- Construction of a pattern for a sweatshirt with a raglan sleeve
- The process of sewing a sweatshirt
- Side and sleeve seam
- Sewing on the bottom strip
- Sewing a cuff to a sweatshirt
- Sewing the neckline to the sweatshirt
- Making a sweatshirt without a paper drawing
- What to wear with a fashionable sweatshirt
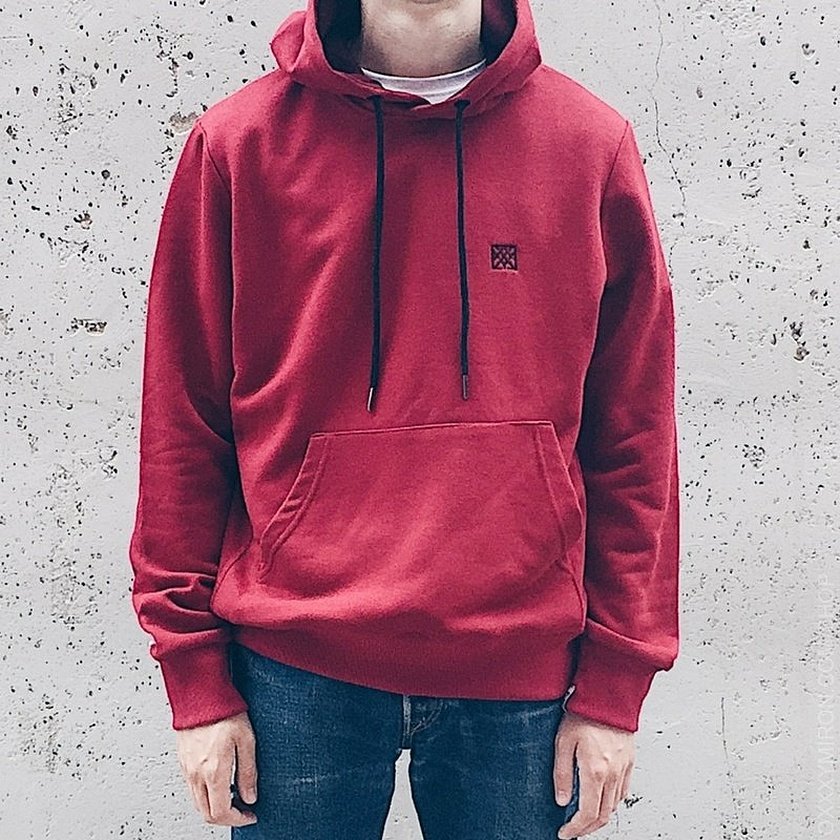
Description of the style of the hoodie sweatshirt bomber for men and women
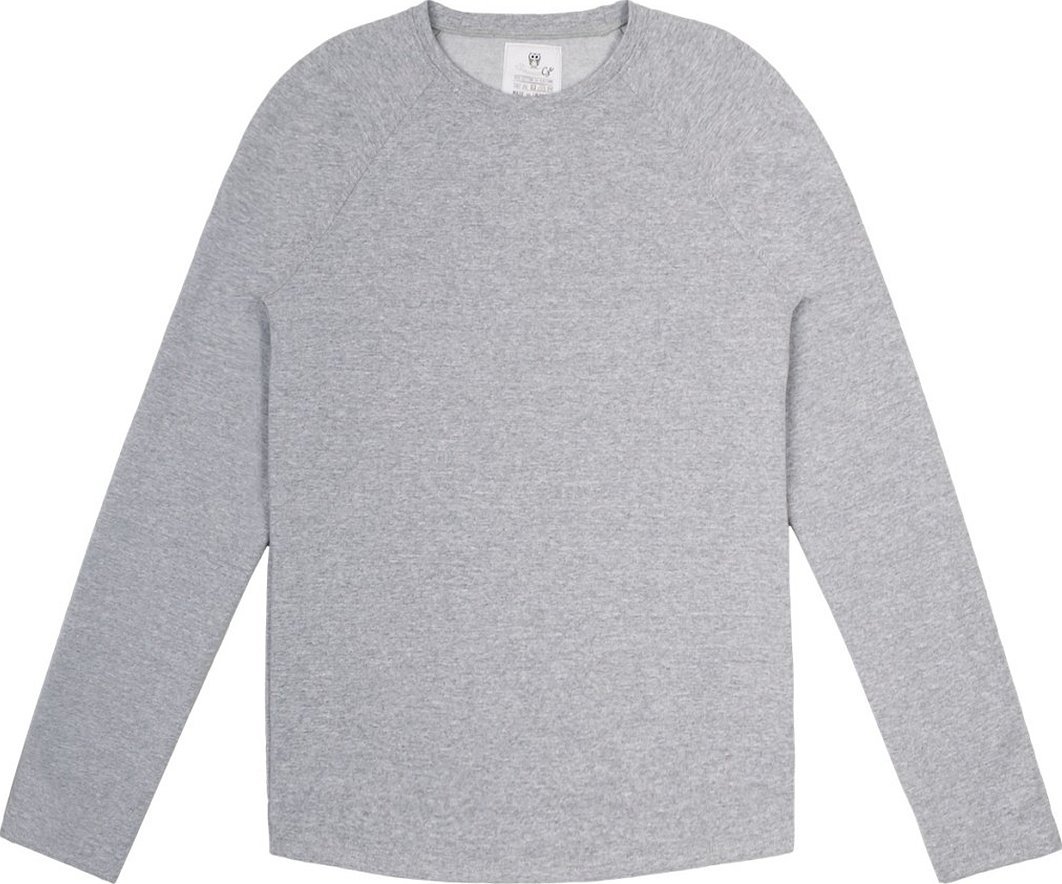
Below is a pattern in electronic format for a hoodie-sweatshirt-bomber with a raglan sleeve for sizes from 44 to 58. The sewing level of such products is simple and suitable even for beginners who have not tried themselves in such a business before.
Unisex hoodie models are very easy to sew on a sewing machine with an overlock on knitted seams, even for a novice tailor who has already mastered the basic skills of sewing with an overlock on a sewing machine.
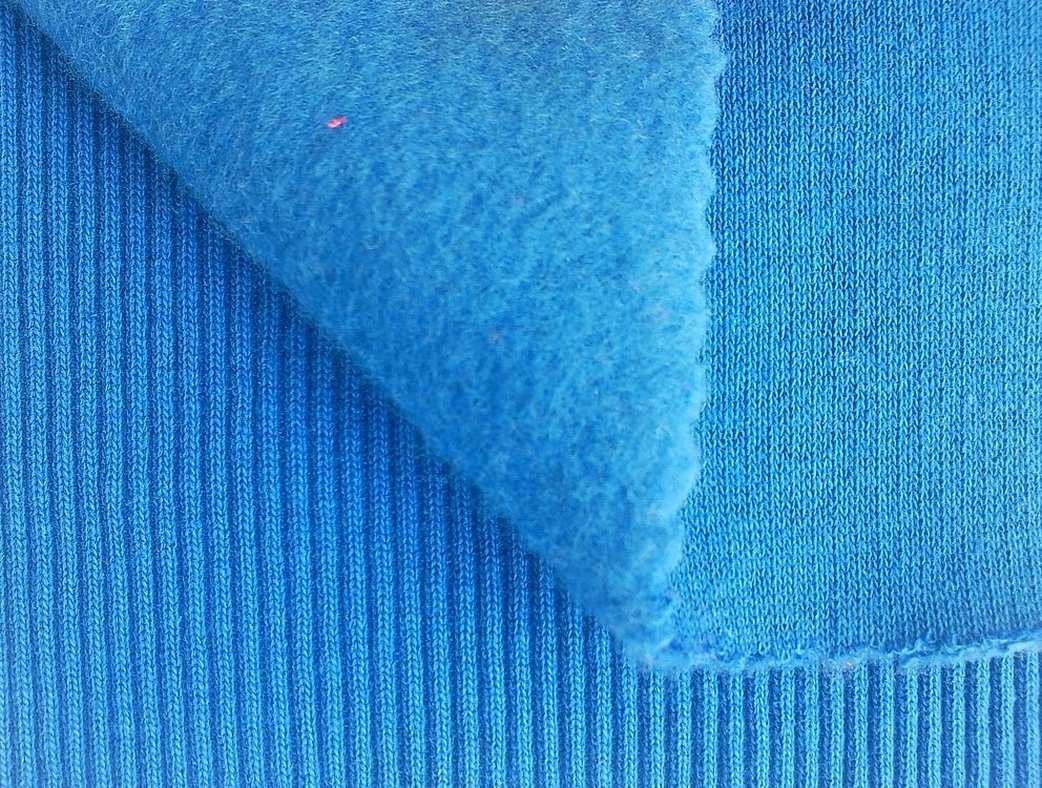
Knitted stretch fabrics of any color and type are used for sewing. But there are a couple of rules: for a bomber, it is better to use footer, and for a sweatshirt - fabrics from windbreakers and jackets (fleece or light knitwear).
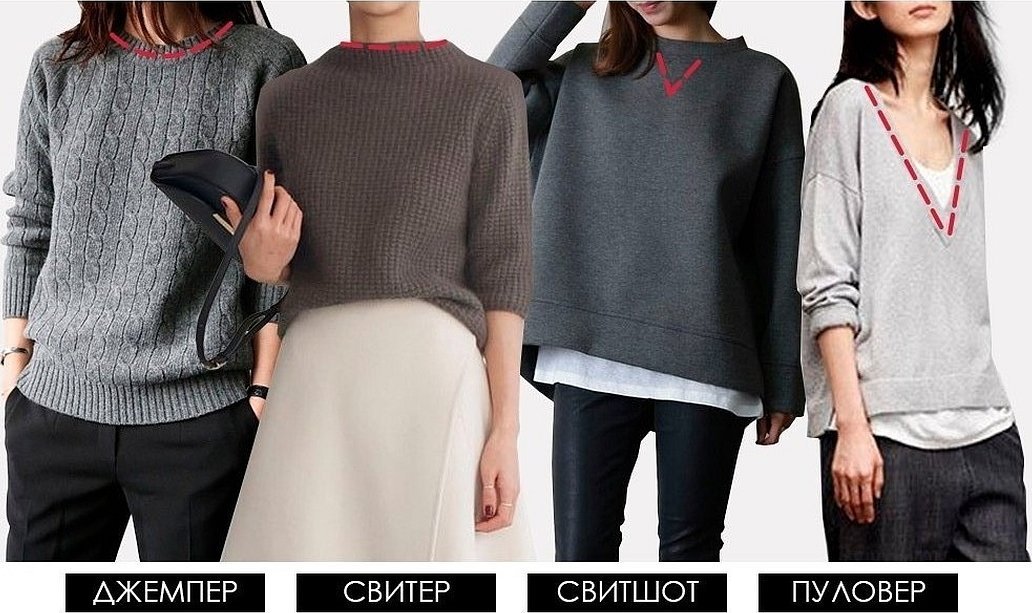
What is the difference between a sweatshirt and a sweater
The difference between them is that the sweatshirt has a triangle formed by two seams along the collar line. Today, this detail performs a decorative function, but at one time it was intended to have a lining underneath it that absorbed sweat from the neck and collar. This is explained by the fact that sweatshirts were created as part of a sports uniform for running, gymnastics and other types of activity. When sewing a children's sweatshirt, this function can be useful, because everyone knows how quickly children start to sweat when running and playing with friends in the yard or in the park.
Choosing fabric for a sweatshirt
The choice is quite large, but only with the materials described below, the sweatshirt will become truly useful:
- Double-layer knitwear. Perfect for sewing a sweater for the spring-autumn period. It is advisable to choose a medium-density fabric with a cotton layer in the middle. Its composition is usually as follows: 60% cotton material and 40% polyester.
- Microdiving or elastic. The fabric is much lighter and more pleasant to the touch. Despite its elasticity, it is quite wear-resistant and does not form pellets. Usually, elastic is made from viscose, polyester and elastane threads.
- Fleece or fleece with fleece. It is also a knitwear, but its cotton content is increased by a large percentage, which allows you to warm in winter and evaporate moisture in summer.
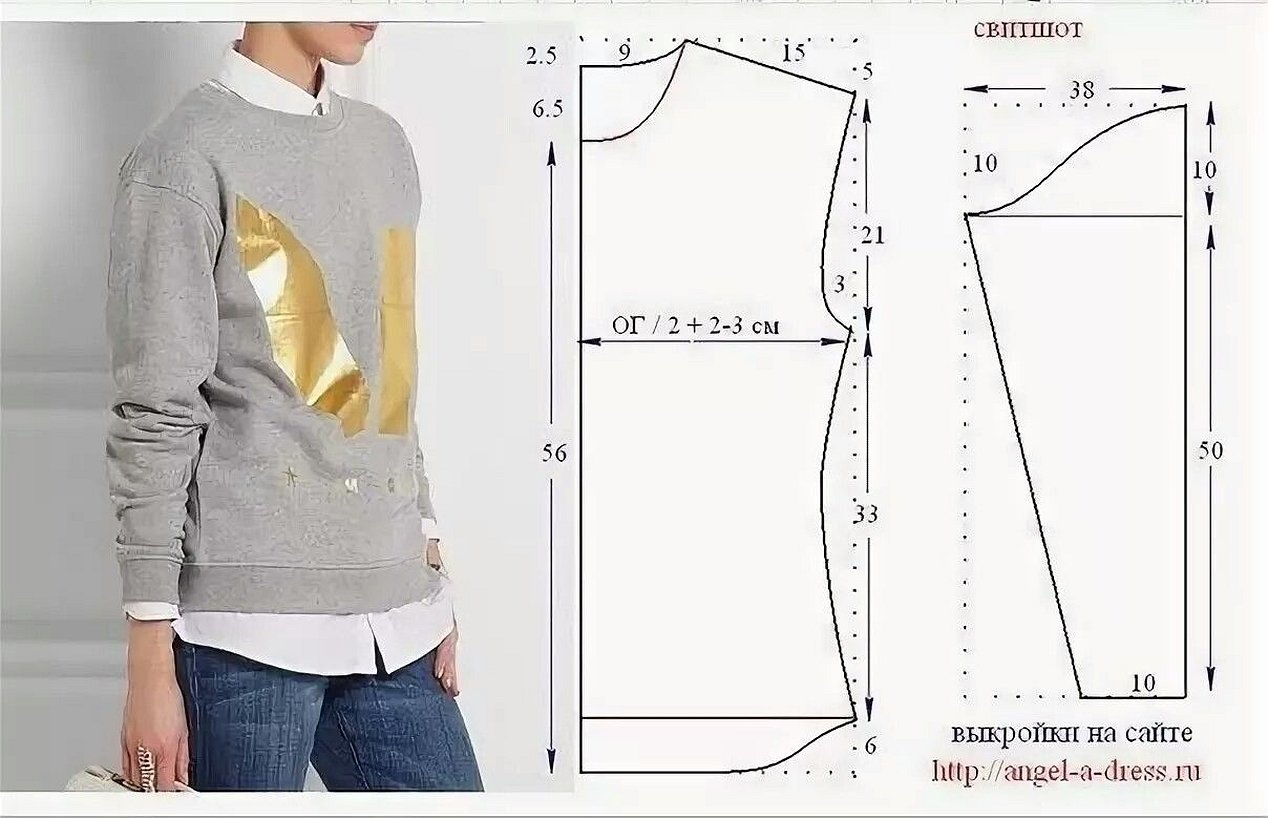
Pattern of a sweatshirt with set-in sleeves
The pattern with a set-in sleeve is easy to make and can be used to sew sweatshirts, jumpers and other sweaters of various sizes. The diagram below shows this pattern. The dimensions are also on the drawing. You only need to calculate the width of the entire pattern.
It is made along the chest line: half chest circumference (2 + (2-4 centimeters) – allowance for free shrinkage). For example, for size 44, which is 88 centimeters of chest circumference, the width will be 24 centimeters.
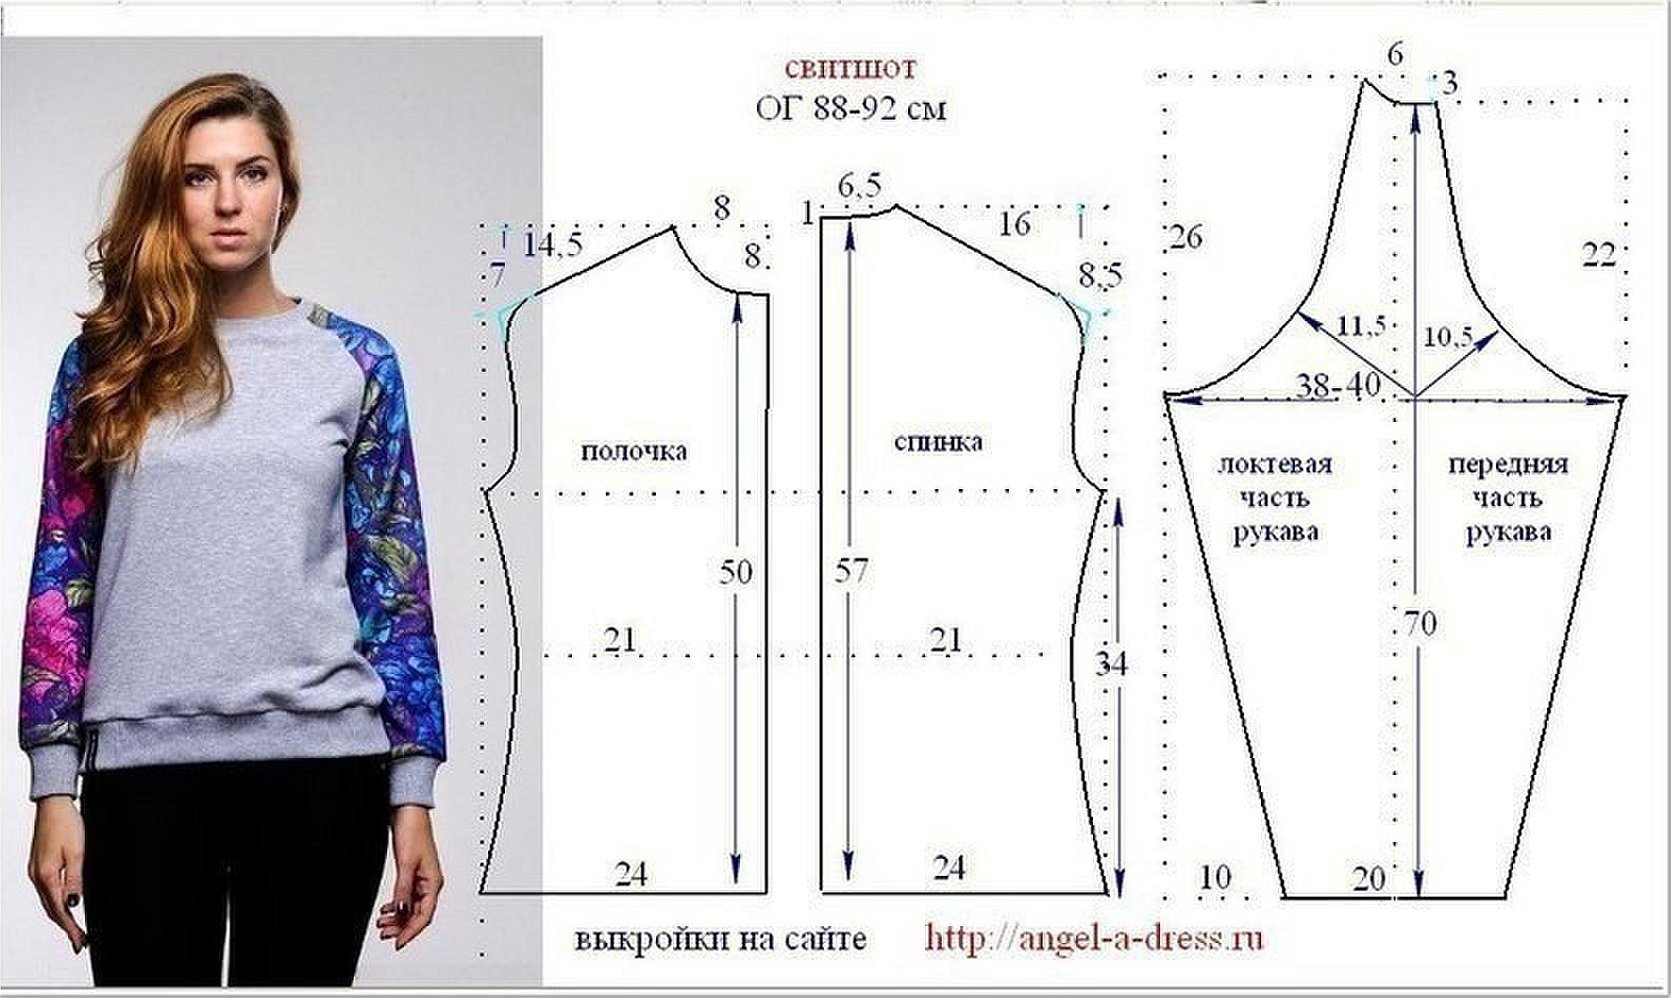
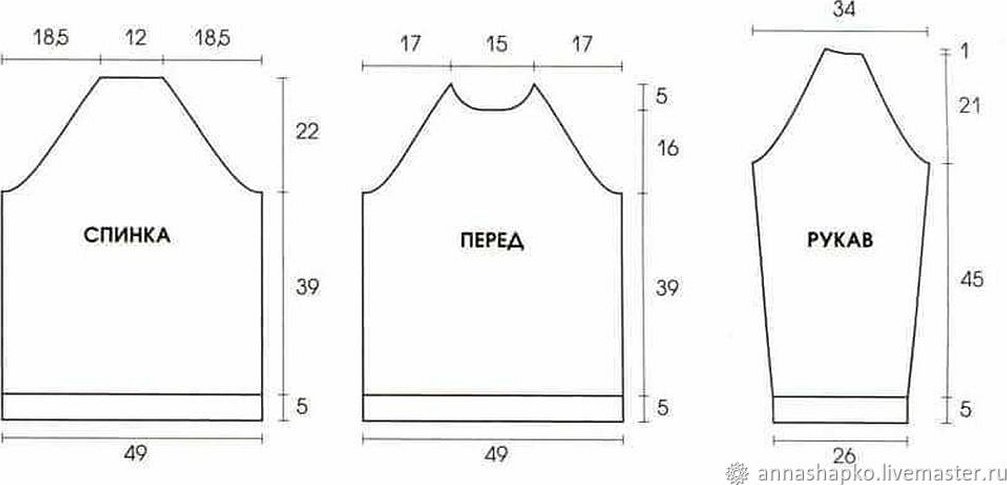
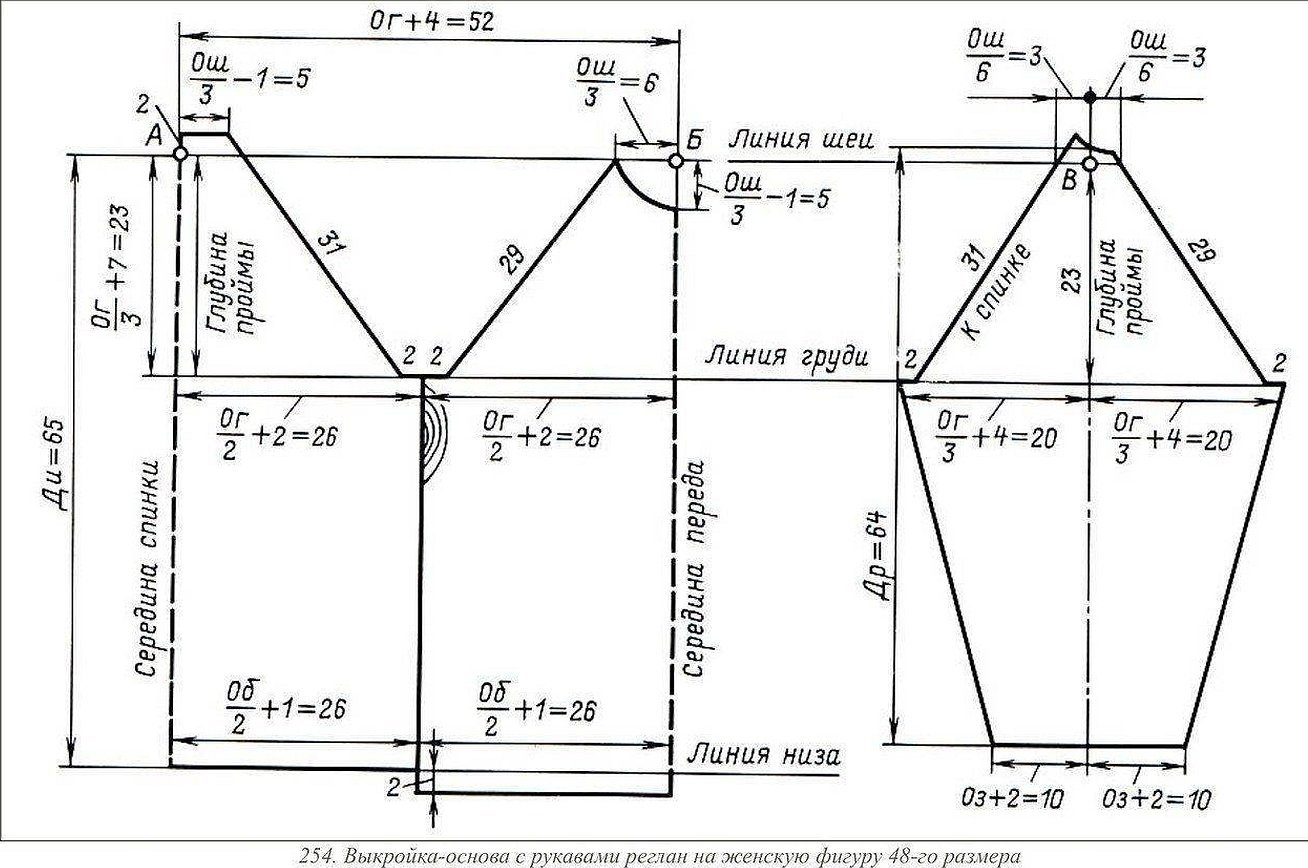
Construction of a pattern for a sweatshirt with a raglan sleeve
The event is absolutely simple: you need to take all the measurements and then transfer them to paper. The construction of the pattern itself does not necessarily have to be purchased, you can find it out yourself on the Internet and download a detailed plan.
The following measurements need to be taken:
- The width of the pattern (sweatshirt) is the chest circumference, which is divided in half with the addition of a couple of centimeters for a loose fit.
- The height of the pattern (sweatshirt) is an arbitrary and individual parameter. The height is measured from the shoulder to the hip.
- Sleeve length. Measured from shoulder to wrist where sleeve should end. Arm should be bent.
- Armhole depth. This is the half-girth of the chest, which is divided by 1/3. To this result, add 4 centimeters.
- Sleeve width. Measured at the wrist as half the length of the wrist + 2 centimeters.
The process of sewing a sweatshirt
First of all, it is necessary to prepare the fabric and additional elements. The fabric is taken at least one and a half meters in height and width. Next, if the pattern is found, it is built on paper and transferred to the fabric in the usual way. The details for the future hoodie or sweatshirt must be cut out carefully and the two main parts of the product must be folded face to face.
It is recommended to sew the product along the side cuts, and only then proceed to the sleeves. The seams are processed qualitatively, and the product can already be tried on to determine whether everything fits properly.
Side and sleeve seam
The side seam is done like this:
- After the sleeve is set in, it is processed in the same way as its seams – with one line.
- The cutting levels are folded, aligned and ground down.
- Next comes ironing, and the same operation is repeated with allowances.
- A line is laid for fastening. This is done carefully so that no sweatshirt details get into it.
Sewing on the bottom strip
This process requires the following steps:
- Sew the strip into a ring and mark the centers of the pieces.
- Fold the ring lengthwise.
- Turn the sweatshirt inside out and mark the center of the front and back of the garment.
- Place the ring into the product with the fold facing inward.
- Align and pin the side seams and center marks.
- Sew the strip to the product using a sewing machine or an overlocker.
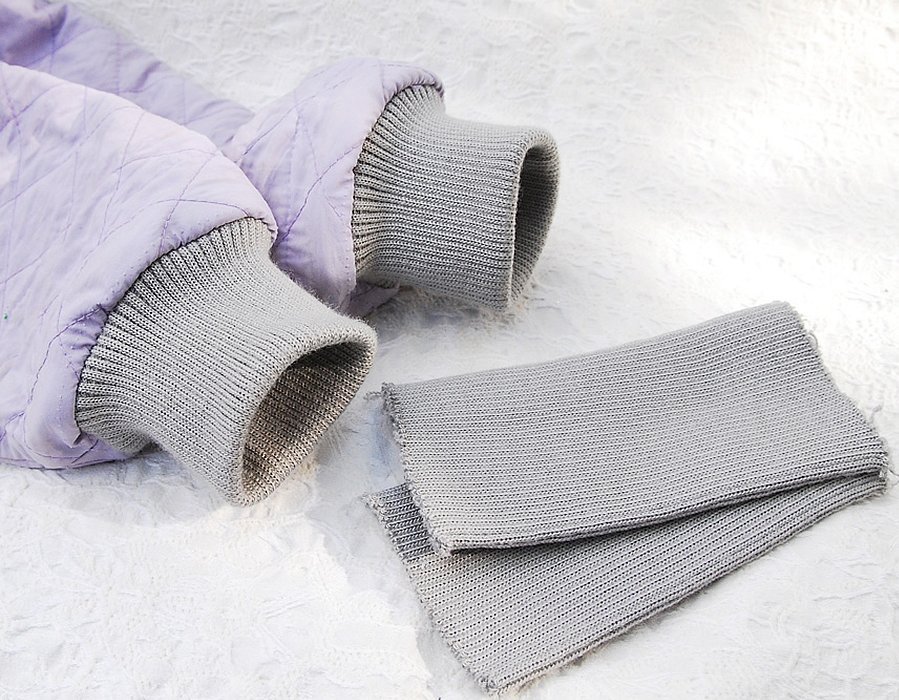
Sewing a cuff to a sweatshirt
Often, instead of elastic bands on the sleeves, they use the same fabric from which the sweatshirt is made. The best choice would be to buy a special cuff that will match the color of the fabric. It is necessary to cut out a rectangle with a side height 2 times larger than the future elastic band and leave another 1 centimeter for seam allowance.
The order of actions is as follows:
- Sew the elastic along the sides and fold it so that its seam is on the inside.
- Sew the elastic band along the bottom and top in the same way, using the sleeve as an example.
- Turn the garment inside out and insert the folded elastic inside the sleeve.
- Pin it and stitch it.
- Sew the second cuff in the same way, as well as the elastic band along the bottom of the sweatshirt and on the neck, if desired.
Sewing the neckline to the sweatshirt
Before sewing the elastic to the neck, you need to stitch the part itself. According to the rules, the depth of the neck at the back is approximately 2-3 cm, and at the front 7-8. Before stitching, you need to mark the middle of the neck and draw a line 5-7 cm. Then, along this line, make a cut, at the bottom of which the elastic or cuff is placed. The edges are folded inward and pinned.
Important! Everything is stitched at a 2 mm margin from the edges. The product is turned inside out, and unnecessary parts are cut off.
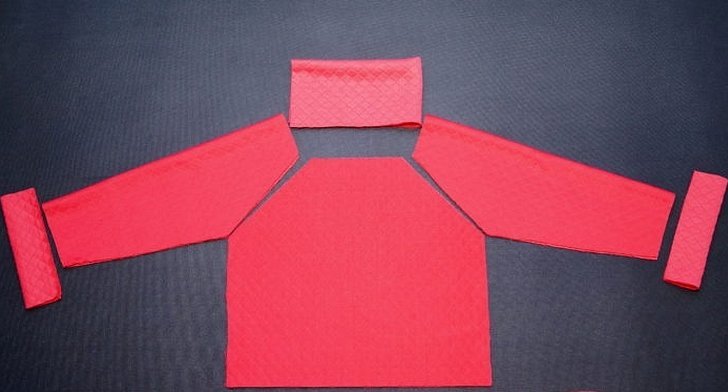
Making a sweatshirt without a paper drawing
You can make a sweatshirt without boring drawings. For this, use any sweater or T-shirt, which will be the basis for the future item. Optimally, take a square piece of fabric 190 cm long, of which 20 cm will go for the sleeves and width. The length will have to be measured separately. The rest is used for the main parts to which the sleeve is sewn.
Before sewing the bases, you should determine the depth of the neckline and only then start sewing: first, make the sleeves, attach them to the bases and stitch them. At the last stage, sew in the neckline.

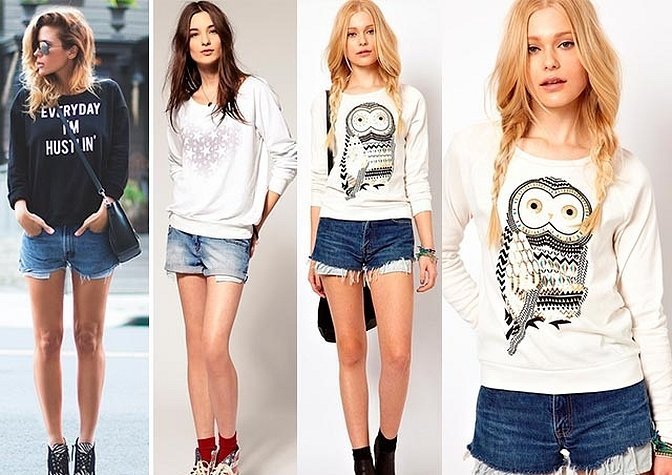
What to wear with a fashionable sweatshirt
There are a lot of options for suitable clothing:
- Skinny trousers for slim legs. It's good if the colours of the items match.
- Leggings. They should be of such a type that they resemble thick trousers as much as possible.
- Jeans. Always a great and win-win option for any body type.
- Shorts for hot weather.
- Leather skirt.
- Vest over sweatshirt.
Thus, sewing a sweatshirt with your own hands is not difficult, as you can find a lot of simple patterns on the Internet that even beginner needlewomen can handle. In addition, such work will also add experience needed to sew more complex things.


