Many people wonder if it is possible to combine tenderness, elegance and sexiness in one? Of course it is! That is why there are different styles of skirts. This article tells you how to sew a trapeze skirt with your own hands, and what it goes best with.
- Advantages of this model
- Product with a smell
- Using buttons
- Low rise
- High waisted
- Sewn on the bias
- On an elastic band
- With folds
- Who suits this style?
- How to take measurements
- Construction of the pattern
- Skirt darts
- The folds are laid down
- Belt
- Bottom of the product
- Fasteners
- Tips: cutting and fabric consumption for the product
- A-line skirt ensemble
Advantages of this model
The advantages of such models are that the skirt will help to correct even the fullest and most uneven legs. To emphasize the hips, thereby visually emphasizing the advantages of the figure. Design options
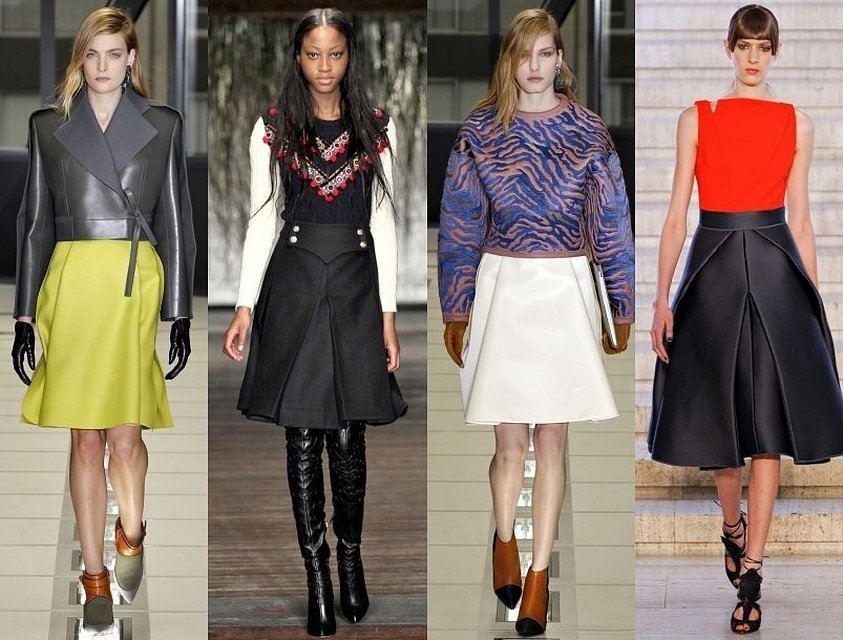
There are quite a few options for A-line skirts today. Below are the main trends for 2019.
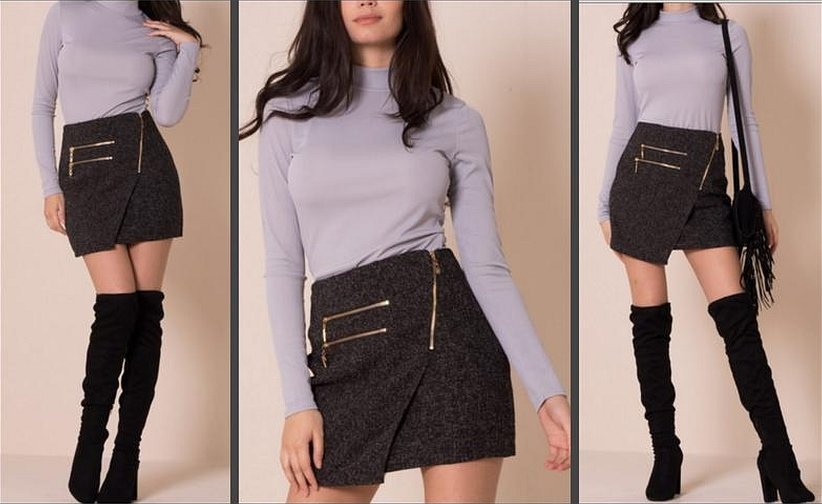
Product with a smell
This style will look great on plump girls. It can be both short and long.
Using buttons
Buttons are very often used as decoration on skirts or pants. They can be sewn on the front, side or back on different styles. Buttons look especially good on mini items.
Low rise
Since the 70s, fitted skirts have become popular among the fair sex. But they are only suitable for thin girls.
High waisted
This model is one of the most popular at the moment. It looks good on any type of figure. It is perfect for pregnant women.
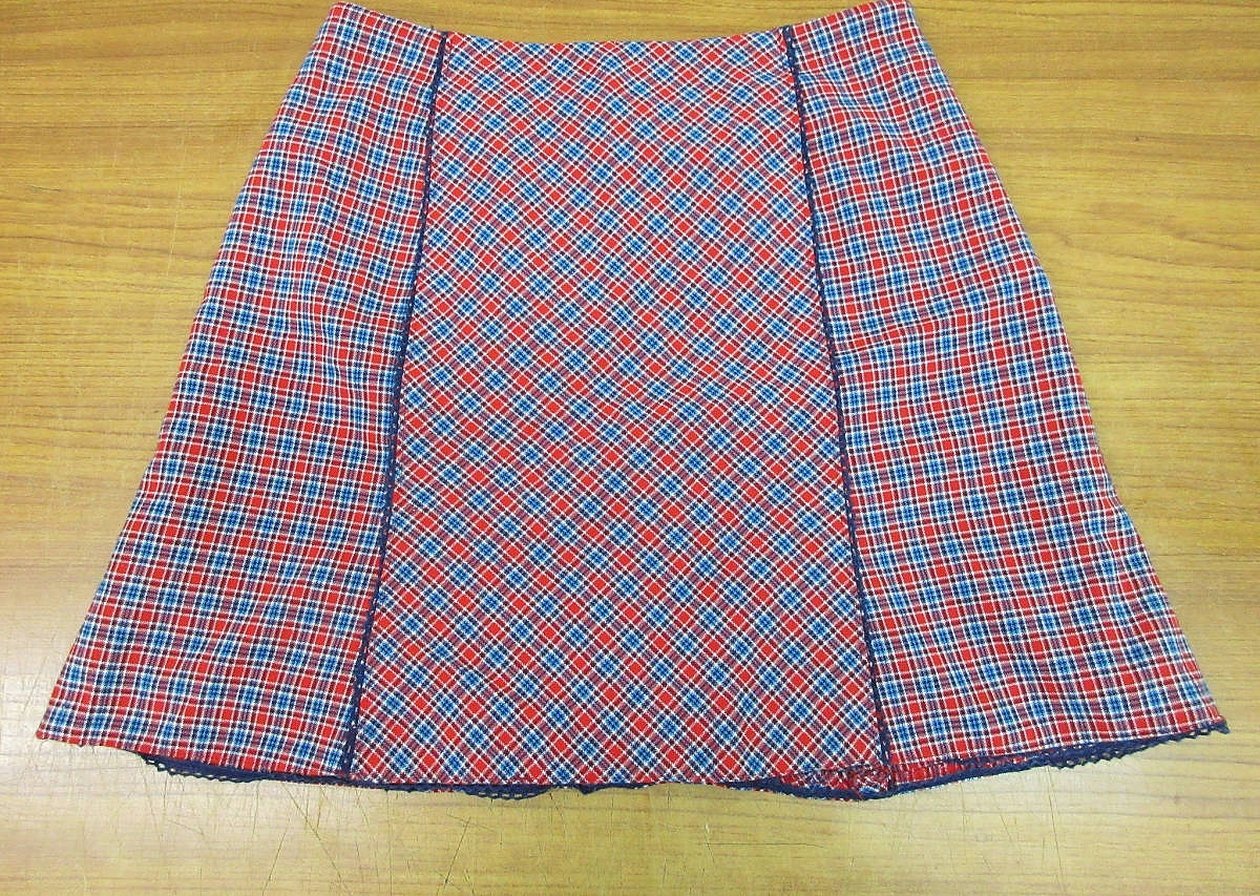
Sewn on the bias
The bias cut item is the best option for sophisticated women. It is airy, graceful and looks great on the figure.
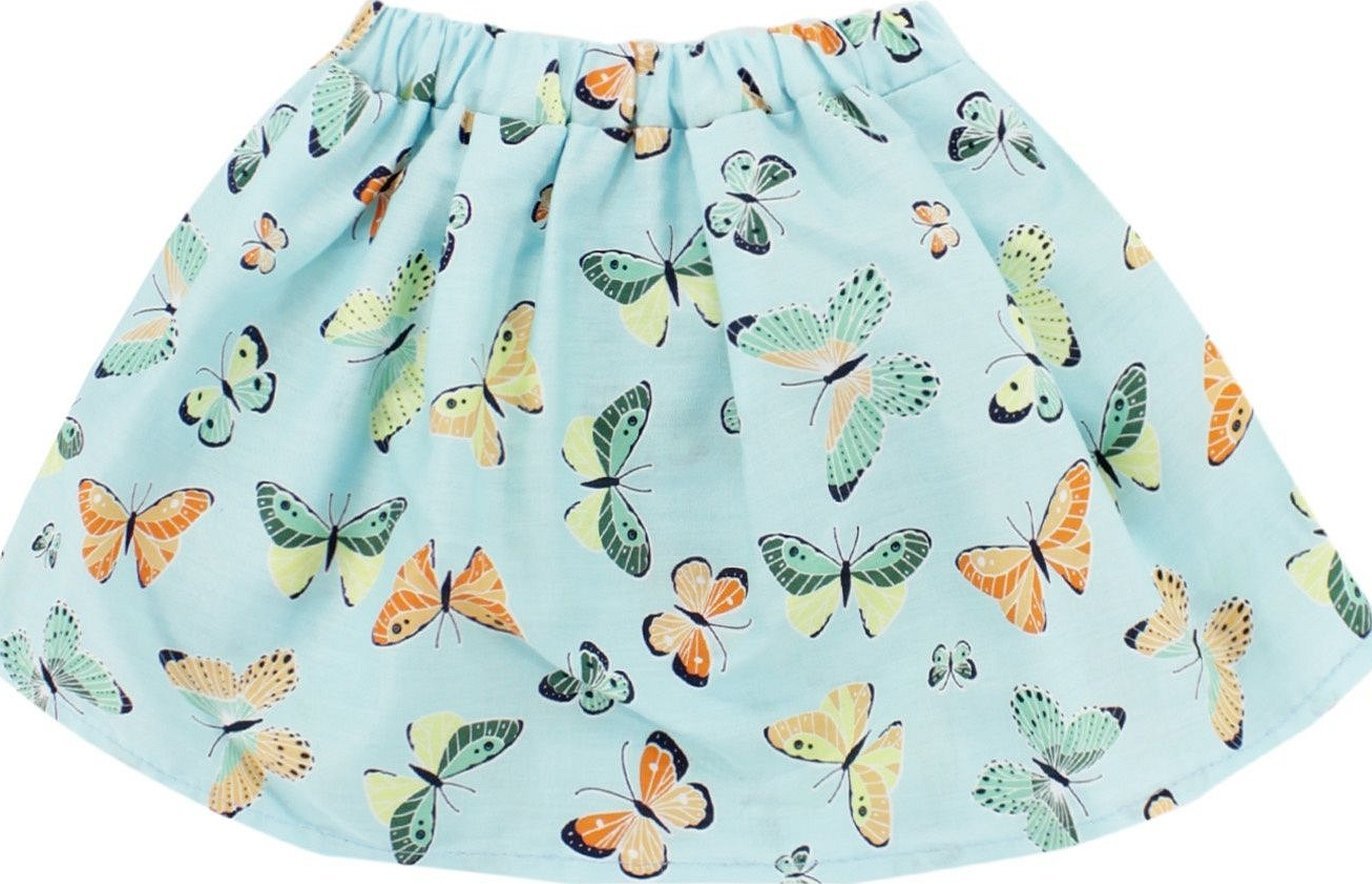
On an elastic band
This type of item is often preferred by teenage girls. The style creates a playful and upbeat mood. This skirt is essential on a hot summer day.
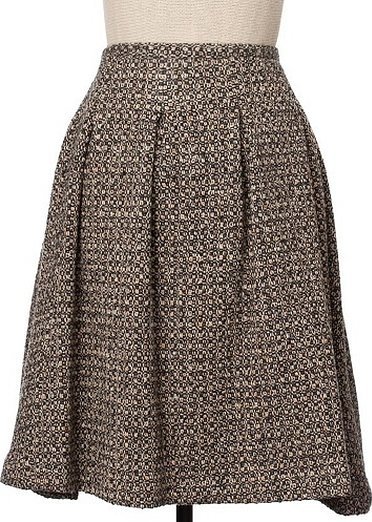
With folds
This skirt is not always straight. In recent years, the model with pleats has been gaining popularity. It looks great on plump women, hiding flaws and volumes. Basically, this skirt belongs to the office style.

Who suits this style?
The distinctive feature of this model of the product is that it can be worn by any type of figure. You just need to choose the right length and pattern.
Basic tips for choosing an A-line skirt:
- For girls with an "apple" figure, the classic style of this skirt, just below the knee, is a good choice. This item will simply gorgeously emphasize the hips and buttocks, while hiding extra pounds.
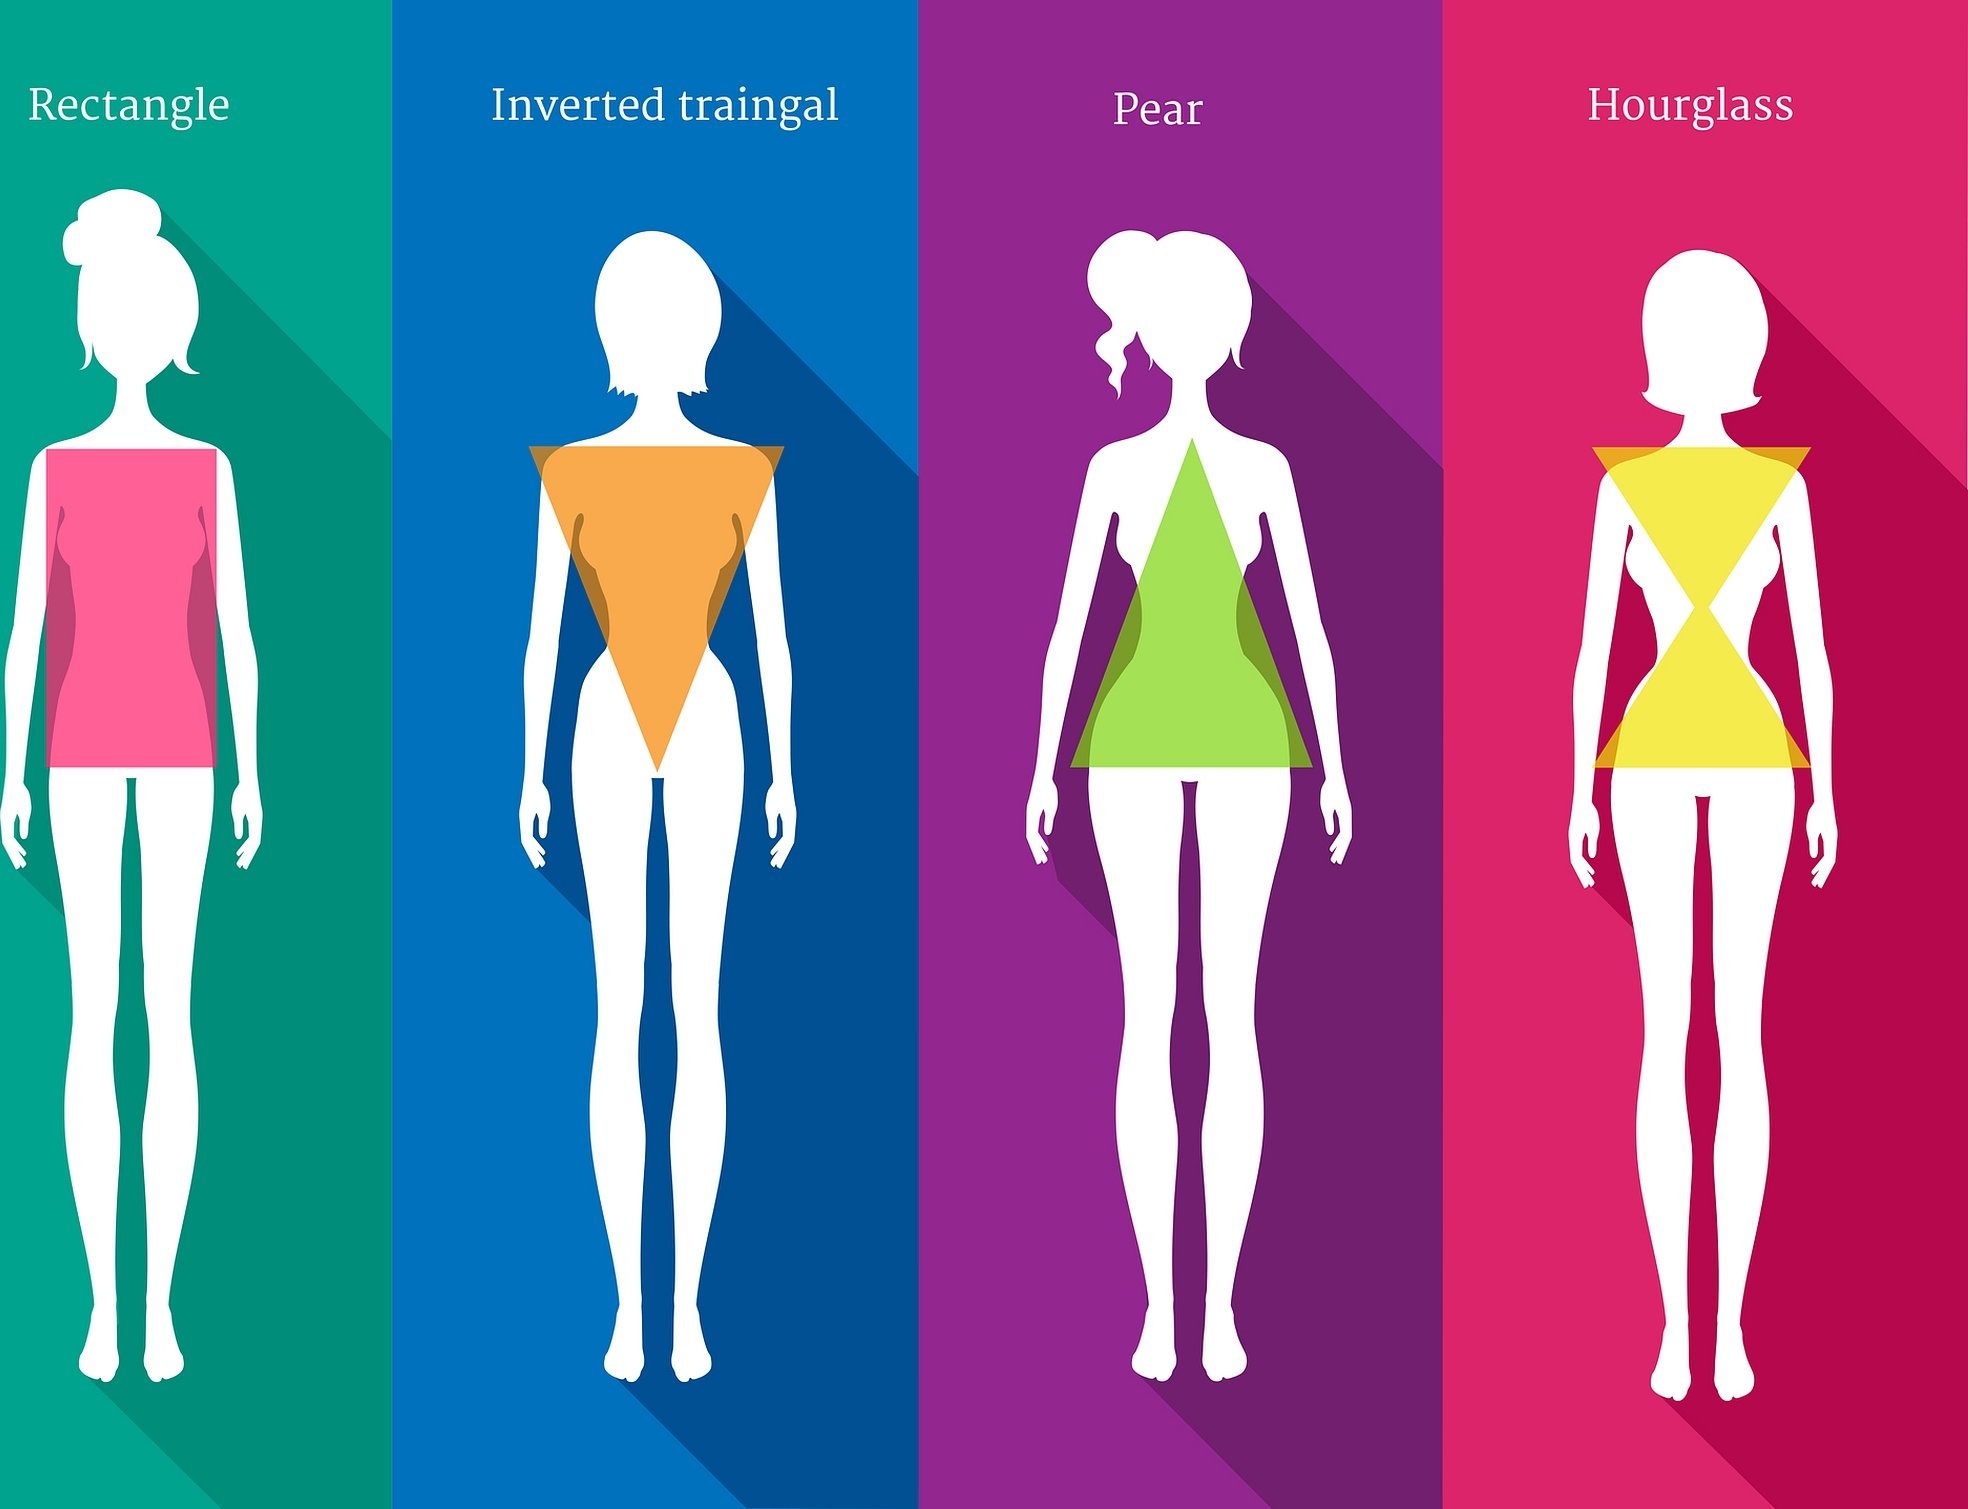
- For women with an "inverted triangle" body type, this skirt will be just right. It gets wider at the bottom, which will help to visually make the hips more voluminous and thus balance the parameters;
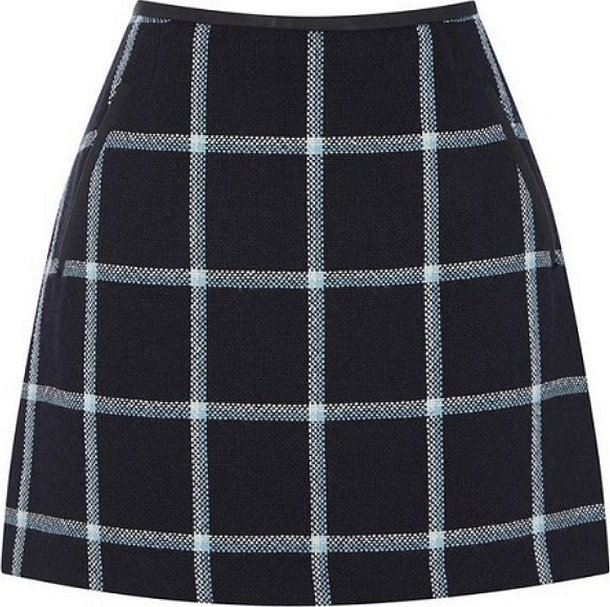
- Women with low weight can choose any models of A-line skirts. But in this case, it is necessary to choose the right pattern on the product. It is advisable to give preference to lines or squares.
How to take measurements
Before constructing a pattern, it is necessary to take measurements correctly in order to calculate the material for the skirt. The main parameters that you need to know:
- waist circumference;
- hip circumference;
- length of the product.
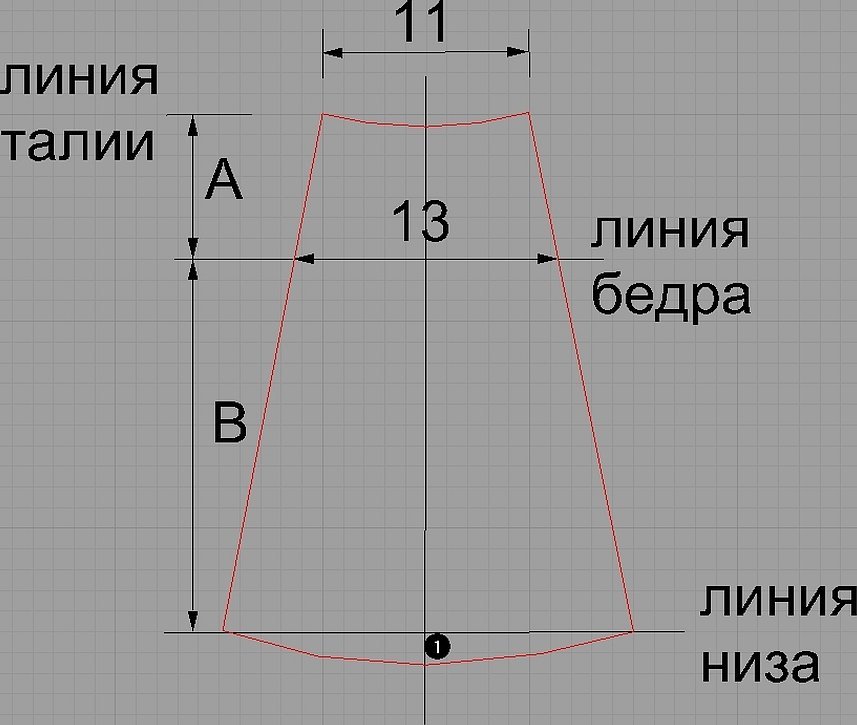
Construction of the pattern
For example, you can take a basic pattern of a standard skirt. A sketch is drawn taking into account allowances for free movement. Allowances are needed when constructing the base, because if you forget to add them to the drawing, then the finished product will not even allow you to walk or sit in it. The more allowances there are, the looser the skirt will be in the end.
First, you need to choose a style, it can be tight or flared. And based on these parameters, the skirt pattern is built.
For a tight A-line skirt, you need to make allowances of about 2 cm. For a loose fit, you need to use a tape measure to choose how many allowances you will need.
Step-by-step construction of the pattern:
- From the edge of the dart, draw a straight line down to the hem of the garment. Cut the pattern along this line and the darts. Close it, thus creating an extension of the bottom of the garment.
- In order for the product to begin to resemble a trapezoid itself, it is necessary to make another adjustment in the side line of the skirt. To do this, it is necessary to draw straight lines from B2 and B4 through the side mark A2 to the hem line of the trapezoid product. Make the resulting side sides the same as segment B3;
- Cut out a belt of the required width. Don't forget to allow 5 cm for the zipper. It is advisable to glue the belt with interlining.
Below is a master class on making a trapezoid skirt. Sewing a trapezoid skirt with an elastic band
A-line skirts are actually easier to sew than other options. Even a novice craftswoman can handle the job. It is only important to take measurements correctly so as not to ruin the product.
Skirt darts
The first step is to make darts on the garment. After that, they are ironed from the edge to the center.
The folds are laid down
Each fold should be laid diagonally and ironed from the outside. The folds will be better formed if you iron them on both sides - inside and outside.
Attention! If the marks of the inner ribs are imprinted on the outer side of the skirt, it is recommended to place a piece of cardboard under the fold of the fabric.
Belt
Once the side seams are processed and the darts are made, you can begin finishing the belt.
For this, you need to cut a strip of material about 6-7 cm wide and the same length as the waist size with allowances for a zipper or buttons. Now, stepping back 3 cm from the edge of the belt, you need to sew the skirt along the top edge, turn the belt inside out and make a stitch, insert an elastic band.
At the end of the work, the belt can be decorated with a bow or various beads. They will add tenderness and elegance to the image.
Bottom of the product
Attention! Finishing the bottom is one of the most important stages when sewing a trapeze skirt.
To do this, while still modeling from the center to the sides, it is necessary to raise the cut by 0.5 cm. It is also advisable to process the bottom edge of the skirt on an overlock.
Next, you need to iron the fold from the inside and fix it with pins. Now you can start sewing. If you need to make sure that the seam is not visible from the outside, you can fix the bottom with a thin pin, taking one thread of the product every half a centimeter, or try adhesive tape for fabric.
Fasteners
If you follow the instructions, the skirt will be almost ready at this stage. The hardest stage for beginners is sewing the clasp into the finished product. First, you need to choose the place where the clasp will look best. At the back, on the sides or in front. Here you need to make a choice not only because of the appearance, but also because of the style of the skirt.
If the product is sewn along a bias line, it is advisable to sew the fastener on the side, then the material will not stretch much when worn, as it can if you sew it in the middle. If the pattern goes along the grain line, then if you insert the fastener on the side, it will stick out. Therefore, in this case, it is better to sew it in the back.
Tips: cutting and fabric consumption for the product
The most correct way would be to lay out the elements of the A-line skirt pattern in a valet. But this method is only possible on wide fabrics (from 150 cm), and in the case when it is not necessary to take into account the print on the material. And also with this option, you cannot do without the back central seam.
The material consumption for a trapeze skirt when laid out in a jack pattern will be (one length of the product) + 15 cm + 3 widths of the belt. For materials with a fleece, with a solid pattern or print, or for fabrics with a width of no more than 120 cm, as well as for full women, no less than (two lengths of the product) + 20 cm + 2 widths of the belt will be needed.
You also need to remember about increasing the skirt at the bottom. If the product is long, or there were additional allowances on the side, then more material is needed. A large pattern, geometric ornament or stripe will also require a larger size of fabric.
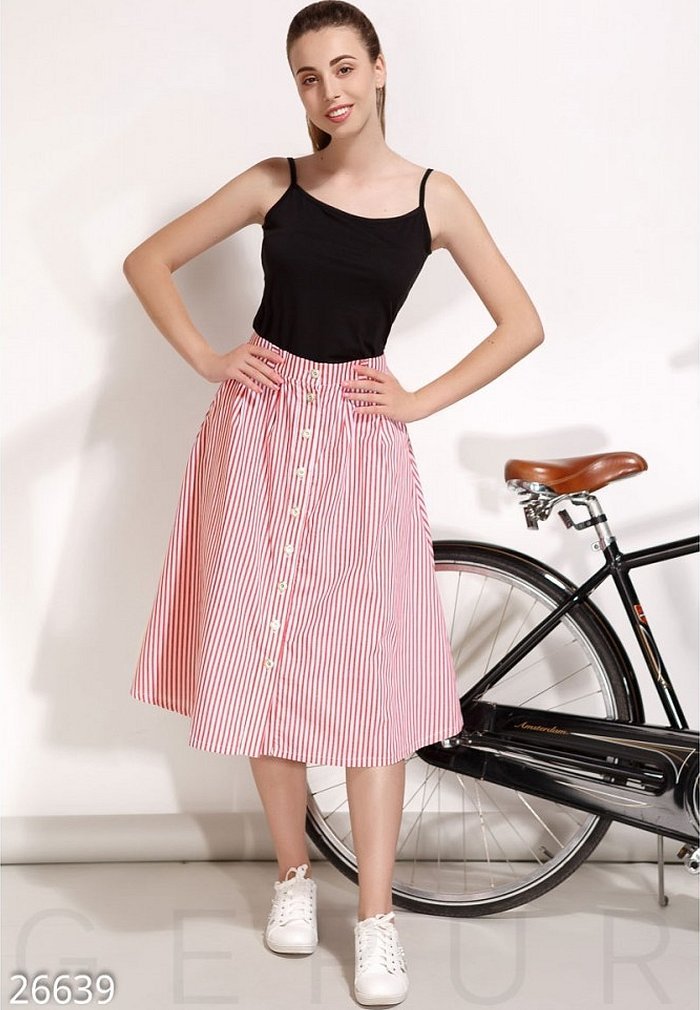
A-line skirt ensemble
The advantage of the skirt is that it can be worn with blouses, tops, shirts or sweaters. It is suitable for both work and going to a holiday. To create a casual look for a walk or an evening date, you can choose a bright T-shirt, tank top or top with straps.
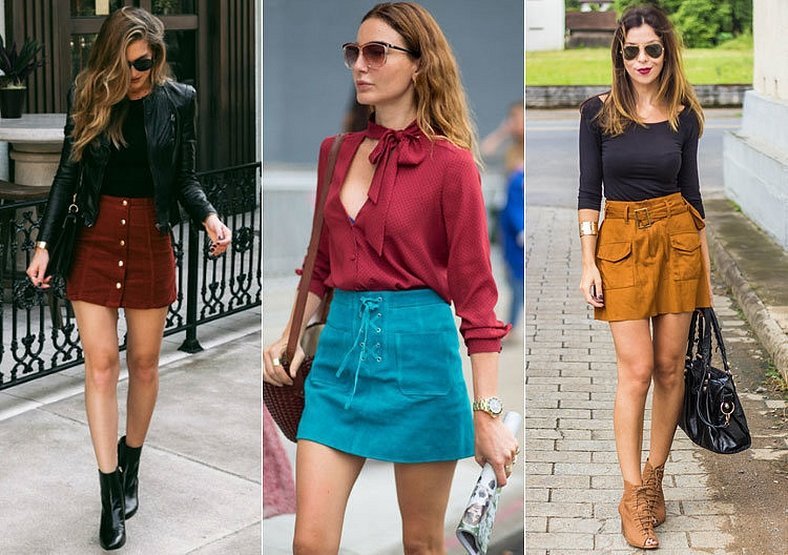
You can emphasize elegance with a short blouse, a T-shirt with a revealing neckline, a tight-fitting sweater - such things visually make the figure slimmer. Shoes for such a skirt should be chosen taking into account the place where it will be worn. For a holiday or birthday, you can safely wear heels of any height, if the skirt is very short, then the heel should be as high as possible to emphasize the legs. This image will effectively highlight the tenderness and slimness of the figure. If you need to wear a skirt to the office or for a walk, then it is better to use ballet flats or sneakers.
In conclusion, it should be noted that sewing such a skirt yourself is quite simple. It can be worn by girls with any figure and height. If you choose the right clothes, then an ordinary A-line skirt can create a perfect and elegant image.


