Cross stitching is a very interesting activity. Despite the fact that this type of embroidery is considered one of the simplest and most common, it requires a careful approach and utmost attention. At the same time, this method has not lost its popularity since its inception, opens up wide opportunities and allows you to bring to life a variety of ideas.
- History of embroidery
- Materials and tools
- Needles for embroidery
- Permanent marker
- Threads and fabric
- Embroidery hoop
- Thimble
- Step by step instructions
- Preparatory process
- Fabric preparation
- Securing the thread at the beginning and end of the work
- Interesting schemes for beginners
- Some tips
- Washing the finished work
History of embroidery
One of the most common types of folk art is cross stitching. To this day, it is still not known exactly where and when embroidery began.
The history of embroidery is inextricably linked with the appearance of the first stitch. This happened in ancient times. The first stitch was made during sewing clothes from animal skins with stone needles. The materials used were natural hair, flax, wool, hemp and cotton threads, as well as animal sinews. As for cross stitching, in that period, as well as now, this method is used to decorate homes, clothes and shoes.
The most ancient embroideries date back to the fifth century BC and were found in Ancient China. Subsequently, embroidery began to spread rapidly throughout Europe. In each country, needlework developed in its own way and was distinguished by certain nuances and features. For example, in Western Europe, greater preference was given to church themes. In Russia, each pattern was filled with a special meaning, and the works were given the significance of amulets.
Russian women have loved needlework since ancient times. At that time, it was almost impossible to meet those who could not embroider.
Please note! Nowadays, one of the oldest arts that has survived to this day continues to develop rapidly. Craftswomen do not forget traditions, create new ones and continue the work of their ancestors.
Many people know what cross stitch is. Compared to our ancestors, embroidering today has become much easier. Numerous stores offer a wide range of threads in different shades, and a variety of needles for every taste. Depending on your preferences and financial capabilities, you can even buy a gilded needle.
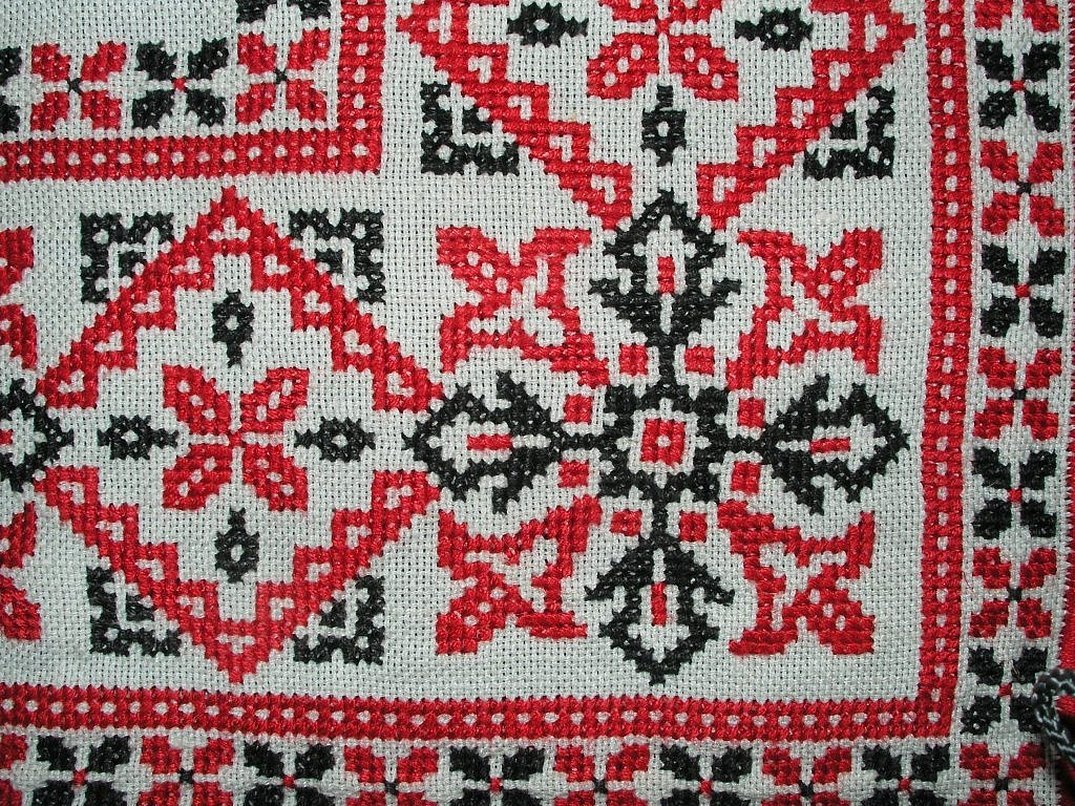
Since ancient times, each detail of embroidery has had a unique significance. In the modern world, ornaments and symbols have not lost their popularity. They are divided into the following types:
- geometric patterns;
- plant ornaments;
- plant mixed with geometric;
- patterns representing gods in the form of animals.
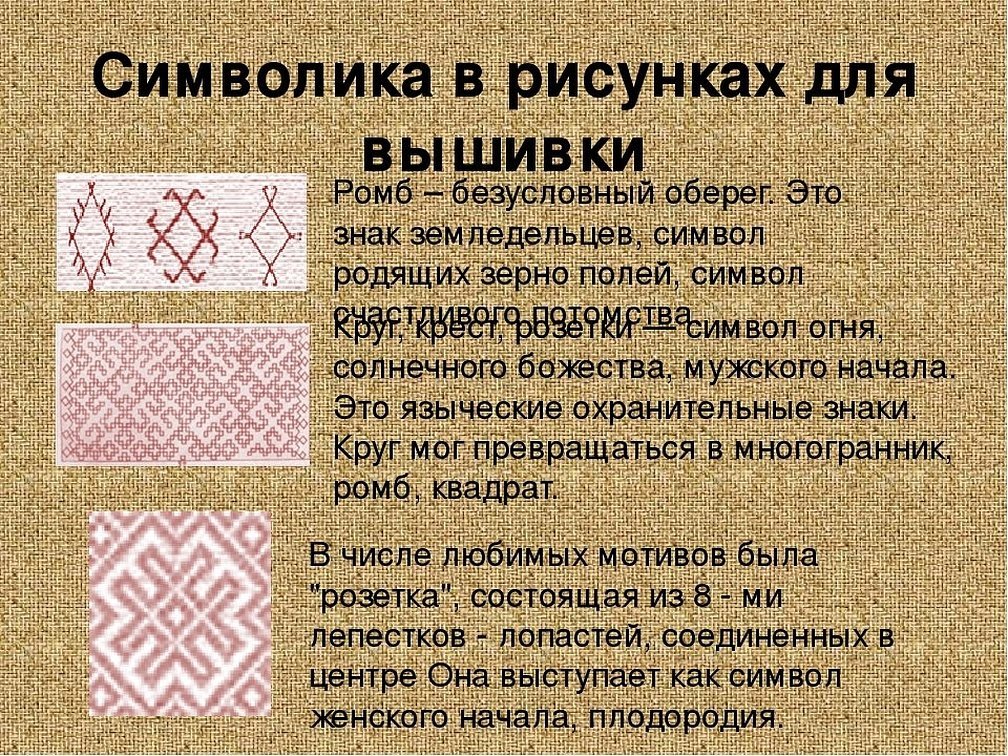
Most often, geometric and plant ornaments are used during embroidery, which are interpreted as follows:
- The symbolism of the rose is that it symbolizes life.
- A bunch of grapes means joy, which is associated with peace, marriage and family well-being.
- Poppy - this ornament is considered the most magical. It has long been believed that it protects the family from problems and the evil eye. The embroidered poppy pattern is used as protection from evil intent.
- White lily is a symbol of the birth of new life, virginal purity and innocence.
- Oak is a symbol of inflexibility and powerful vital energy.
- Viburnum is a symbol of a healthy and strong family.
- Hop leaves are a sign that carries an energy reserve. It is considered a wedding symbol that personifies a young strong family and a prosperous life.
- The Sun and Water are symbols of power that support earthly life.
- Circle - symbolizes agreement and understanding.
- Radiation is a symbol of a well-fed life and prosperity.
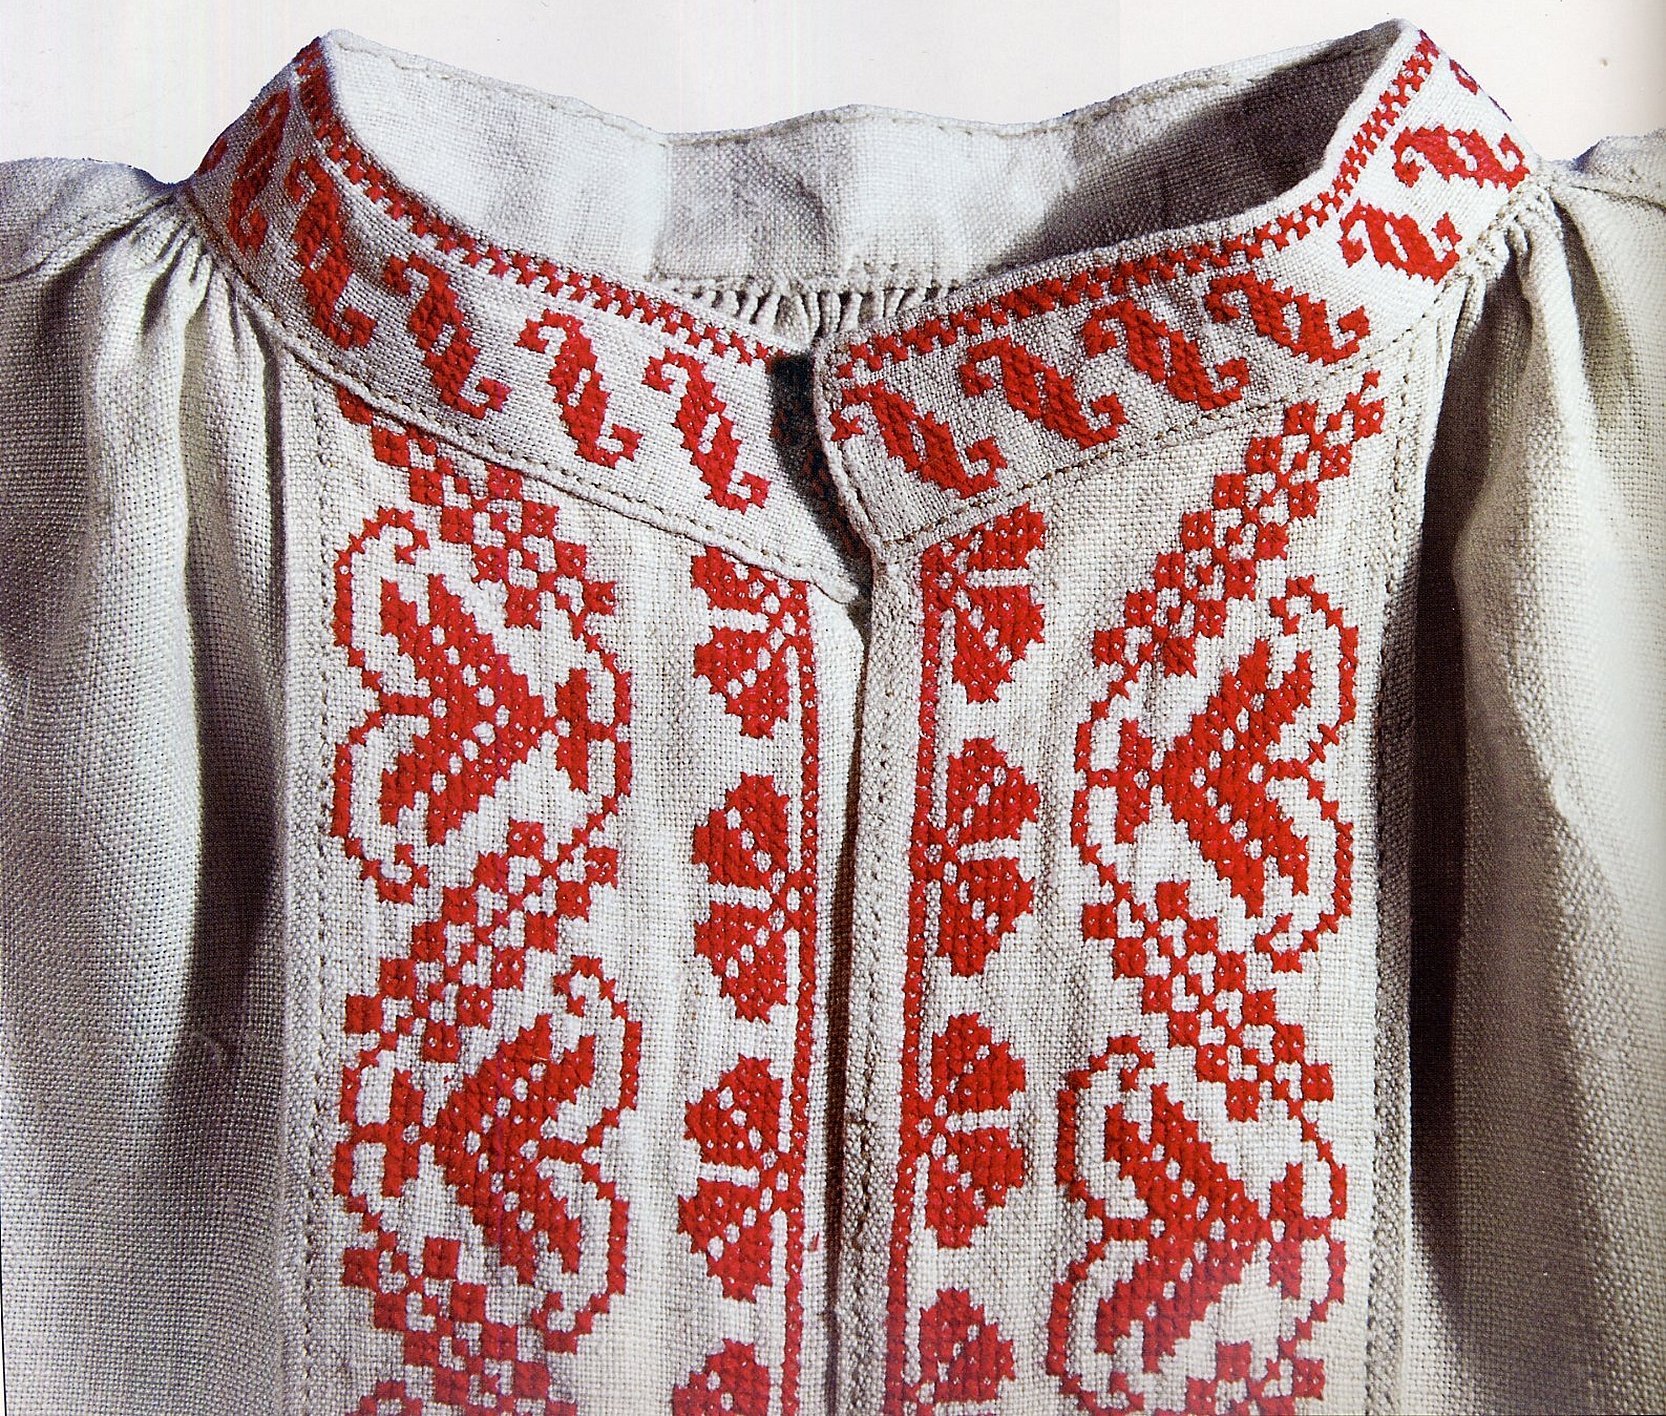
When creating embroidery, all the ornaments and symbols have great significance. Even in ancient times, they decorated embroidered shirts and Russian shirts, carrying a certain meaning.
Materials and tools
Cross stitching may initially seem like a difficult task for beginner needlewomen. But this is far from true, you just need to understand all the nuances and make your first crosses as soon as possible. The undeniable advantage of this type of embroidery is that there is no need to purchase hard-to-find materials and complex tools. To start embroidering, you need to purchase the following devices.
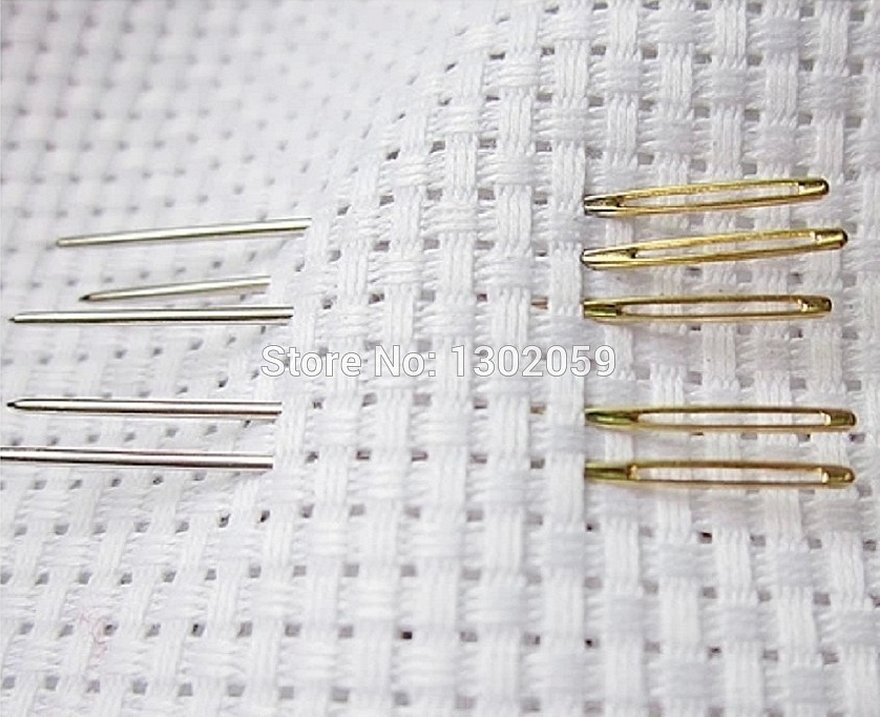
Needles for embroidery
Today, specialized stores offer a huge range of embroidery needles. In each individual case, when choosing, it is worth starting from the type of embroidery, or more precisely, from its canvas. You should ensure that the thread easily passes through the eye of the needle. It should not wrinkle or tear. For embroidery with woolen threads, it is best to purchase needles whose size varies from 1 to 10. For thinner threads, pointed needles of sizes from 13 to 26 are suitable.
For embroidery on canvas and even-weave fabrics, it is recommended to use carpet needles. Their rounded tip will not split the canvas thread or embroidery fabric.
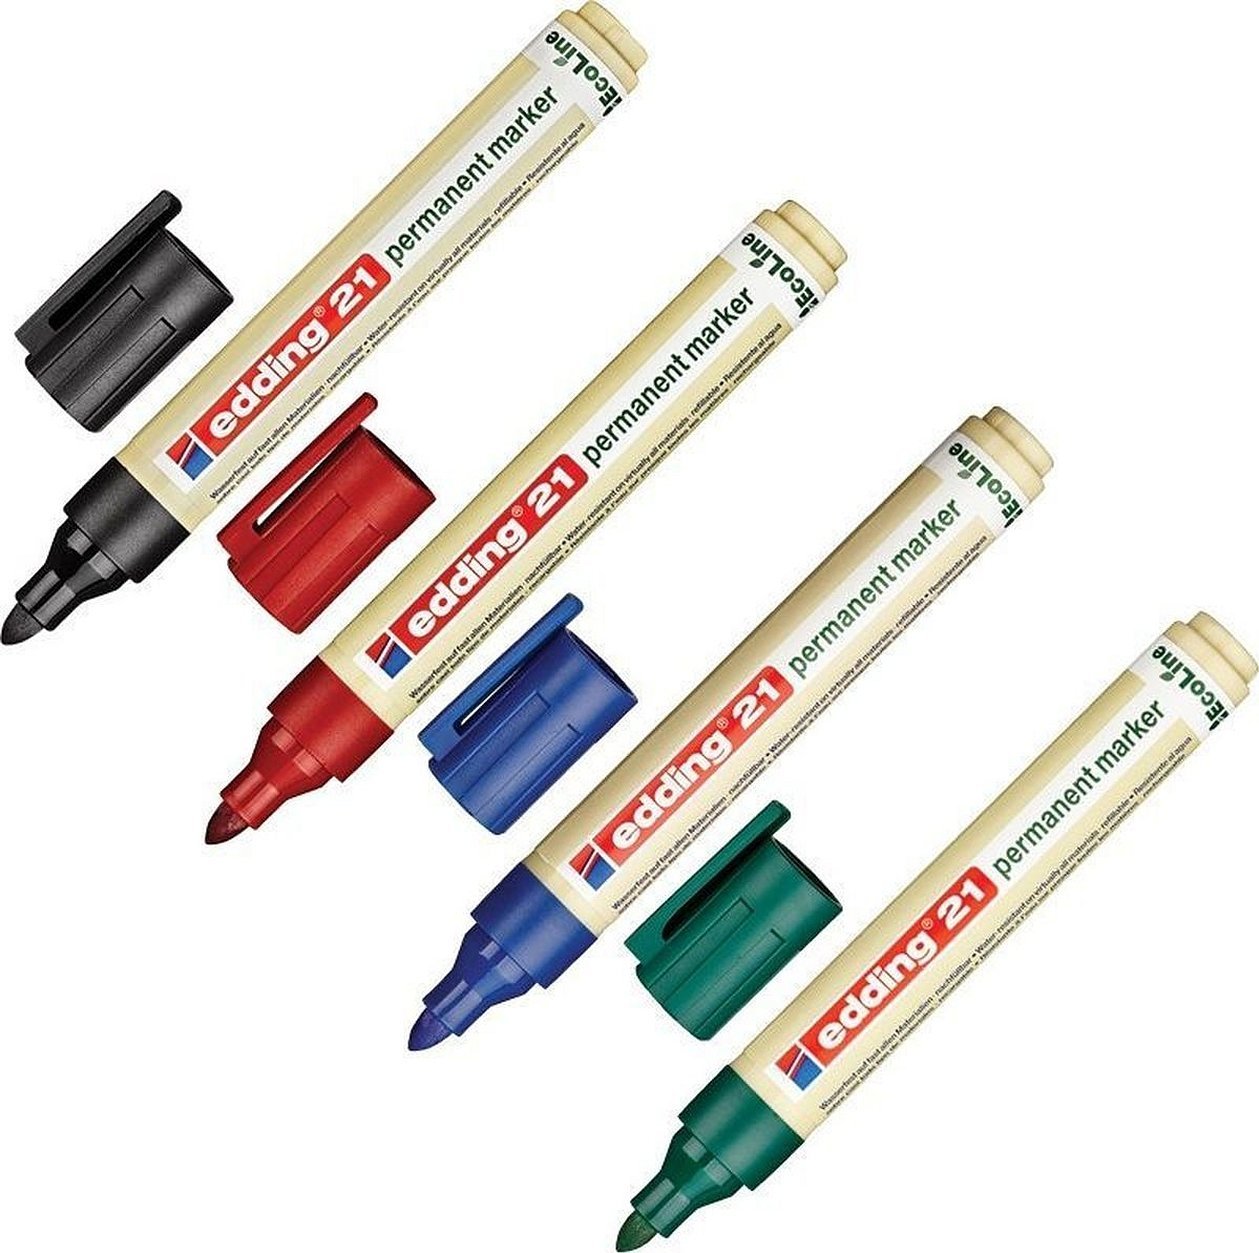
Permanent marker
At the initial stage, mastering cross stitching as an art will not be very easy. Counting crosses and transferring the pattern to the canvas is a very tedious task. Permanent markers can help with this. They are specially designed for painting the canvas, which is visible through the embroidery. You can buy them in children's stores and stationery stores.
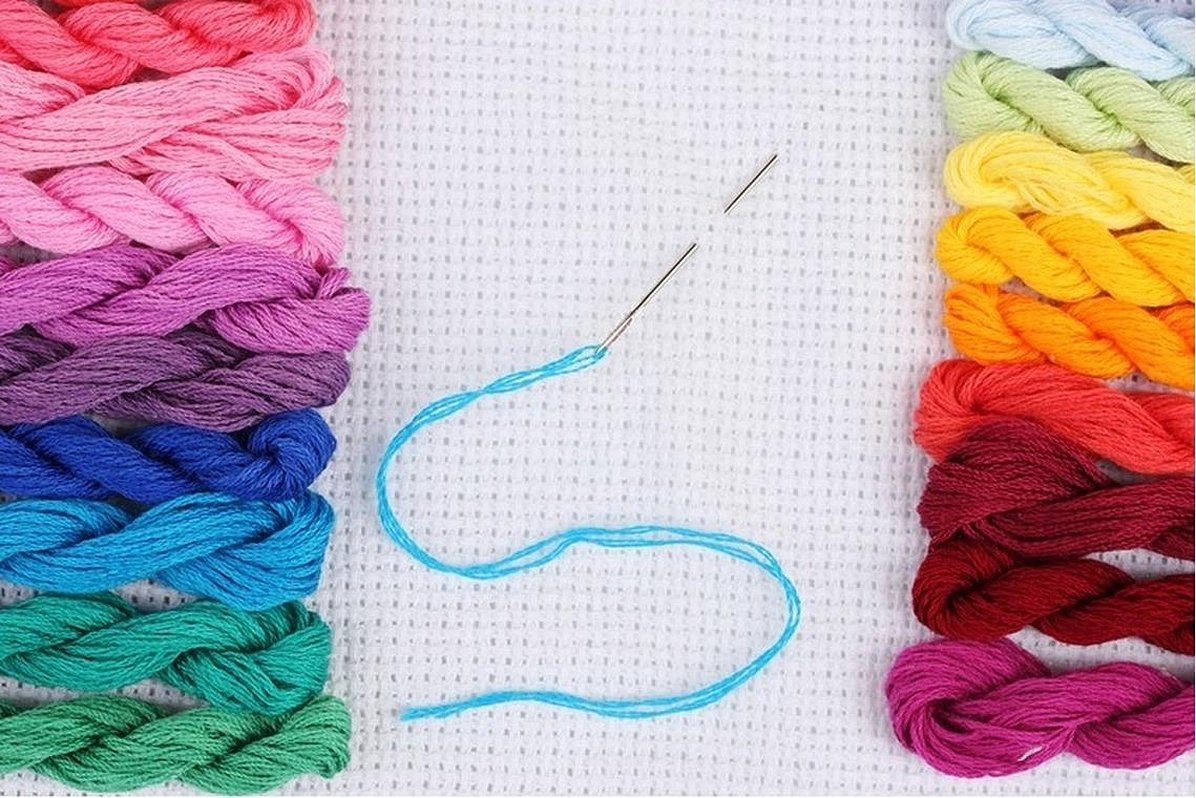
Threads and fabric
For cross stitching, needlewomen generally prefer to use floss threads. Modern manufacturers offer a wide range of such threads. The most popular are thin cotton threads, which are collected in a skein of six pieces. To give the embroidery a festive look, you can combine them with metallic or silk ones.
Any fabric with the same number of longitudinal and transverse threads can be used as a base for cross stitching. Alda canvas is the most common and popular. Cotton fiber, overlay canvas, stramin, cambric and perforated paper are also suitable for embroidery.
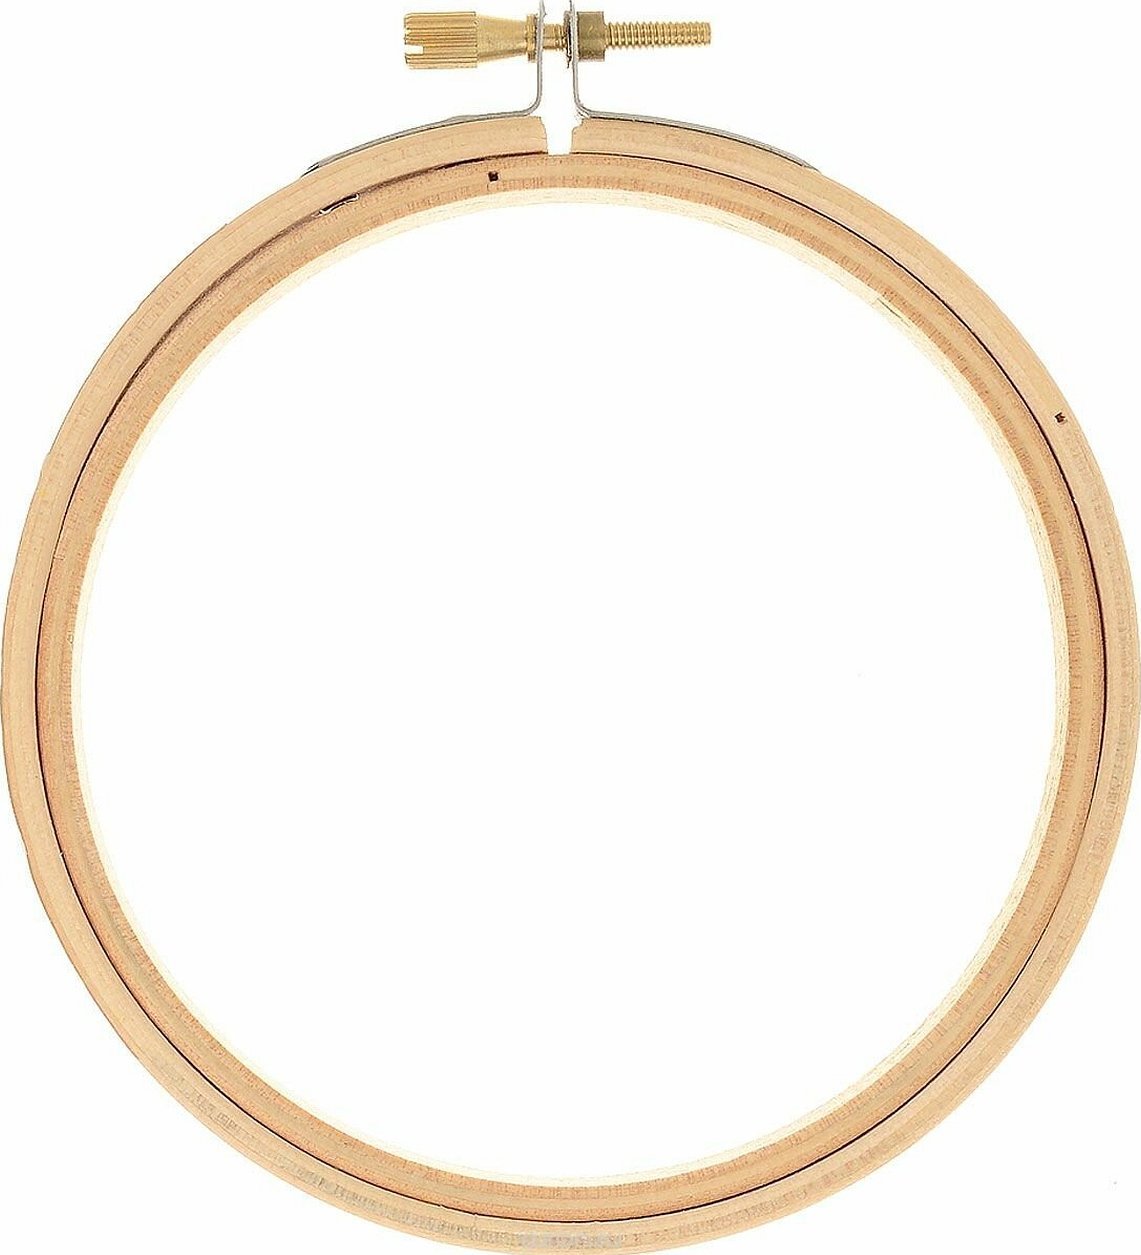
Embroidery hoop
Although hoops are not considered a necessary tool for embroidery, they will make the work much more convenient. They allow you to stretch the fabric perfectly and perform cross stitching as neatly as possible.
The hoop is two hoops that differ in size. The inner hoop is always solid, and the outer hoop is detachable, equipped with a screw for adjusting the size. The hoop can be either round or rectangular.
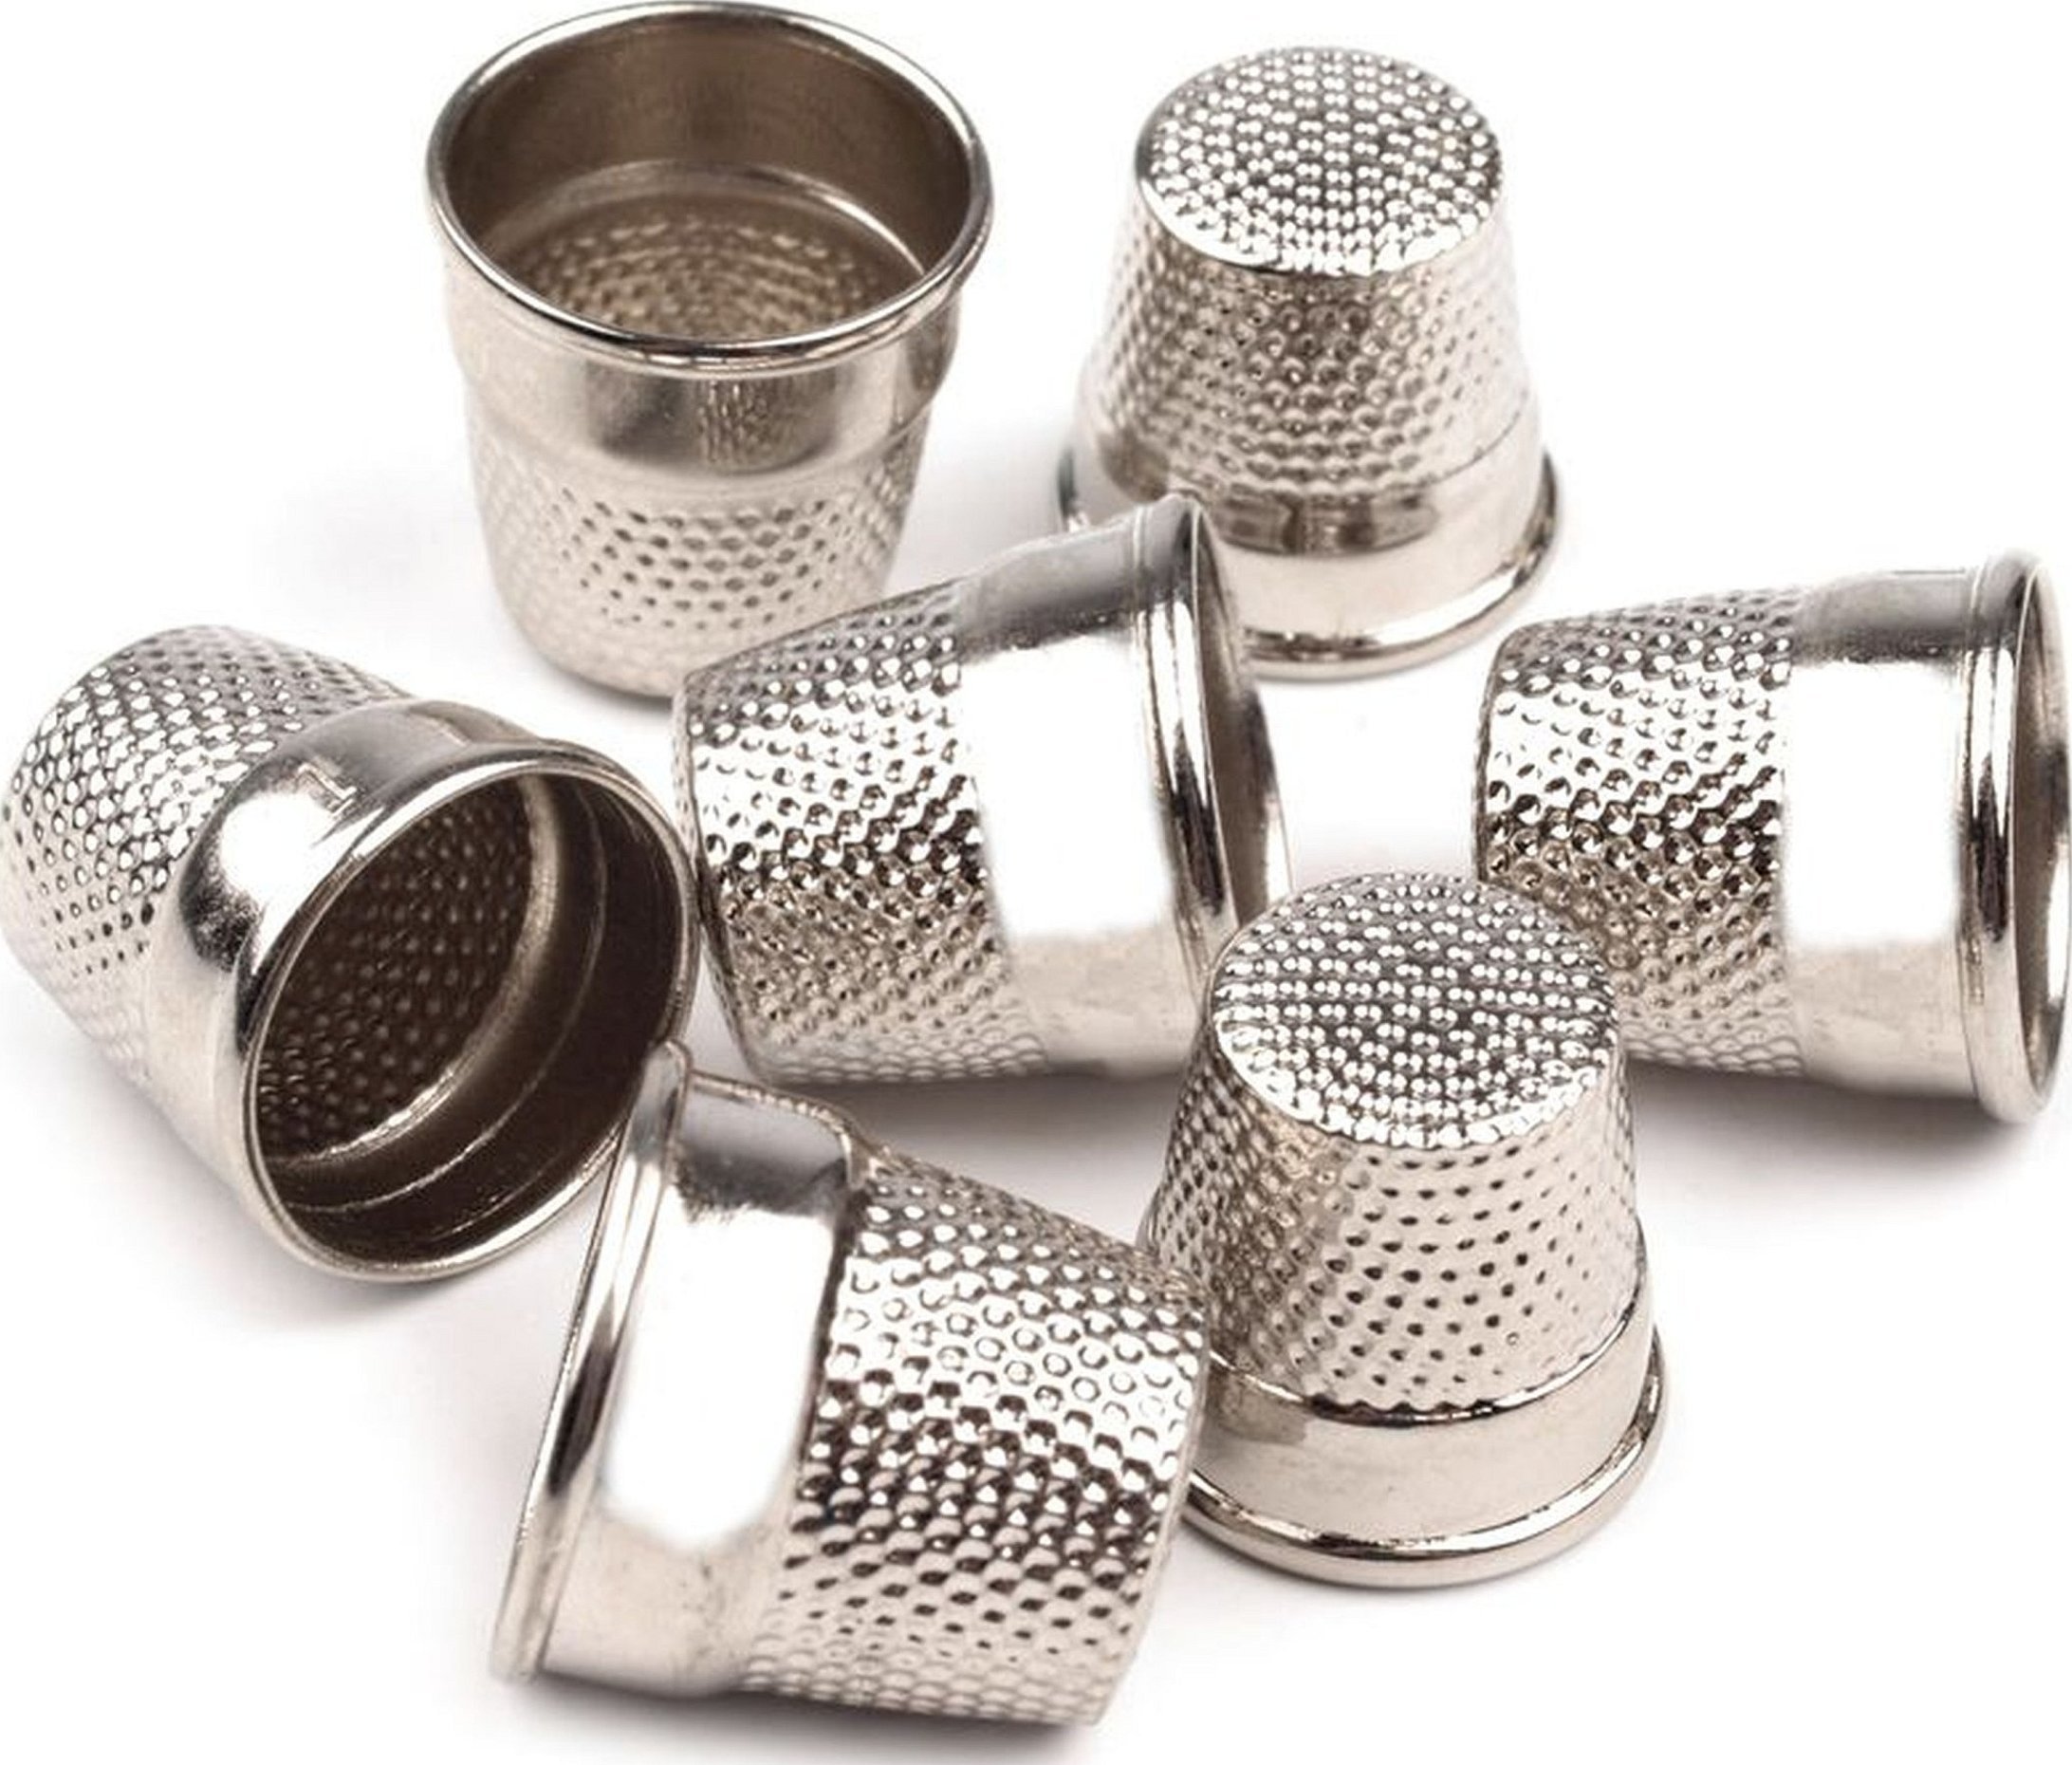
Thimble
Some needlewomen still prefer to sew and embroider using a thimble. It helps to ease the pushing of the needle and protects the fingers from injuries. Manufacturers offer thimbles made of plastic and metal.
In addition to the above-mentioned embroidery tools and materials, it is recommended to purchase a lamp for proper lighting, markers for marking and scissors.
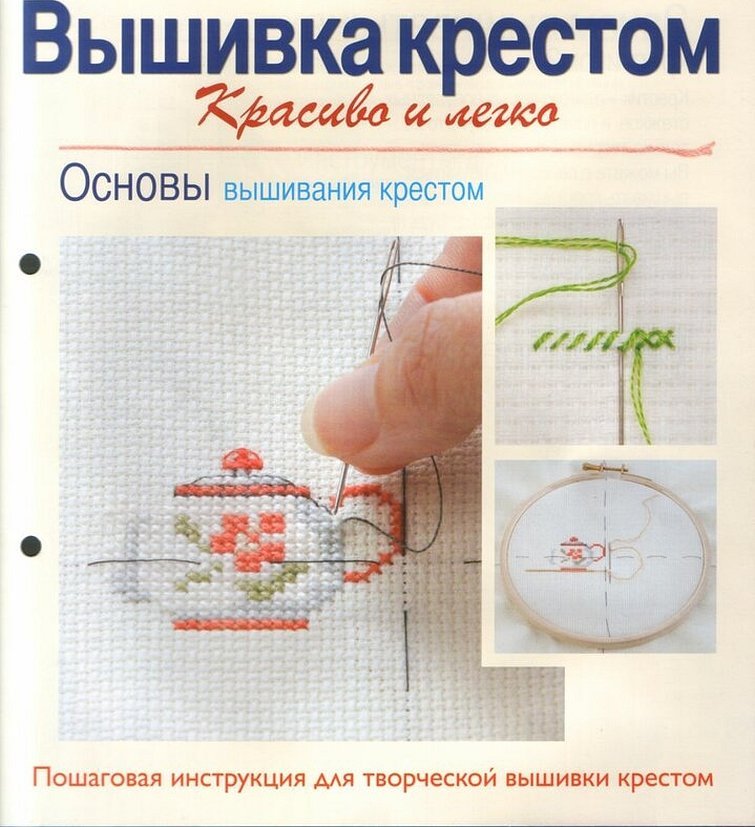
Step by step instructions
Many people know what cross stitching is. But, unfortunately, not everyone knows how it is done. For beginner needlewomen, it is very important to take the work seriously and be sure to follow the advice and recommendations, otherwise the learning process can be difficult and take a long time.
Preparatory process
Before cross stitching, you need to carefully prepare your work place. The needlewoman should feel comfortable while working. You also need to take care of good lighting, as well as the convenient arrangement of tools and materials.
Fabric preparation
The next step is to prepare the fabric. Measure and cut the required amount of material according to the calculation. Allowances should be 7-10 cm on each side. The edges of the material should be processed so that they do not fray or stick out. You can use special glue or transparent varnish for processing. Then you need to count the number of crosses on the pattern and on the canvas, and then draw the markings.
Securing the thread at the beginning and end of the work
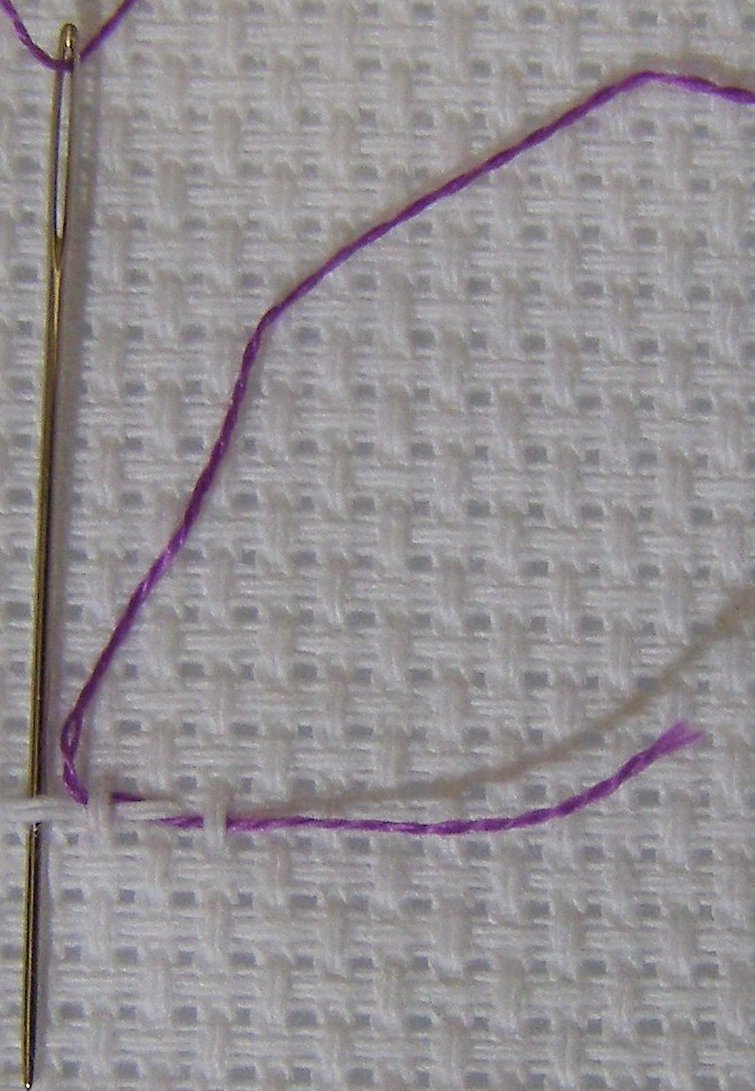
The fastest and easiest way to secure the thread at the beginning of embroidery is to do the following:
- first, the needle and thread are passed through the corner of the square;
- after this the needle is removed and the thread remains threaded into the corner;
- Both ends of the thread are inserted into the needle and the first diagonal stitch is made from left to right.
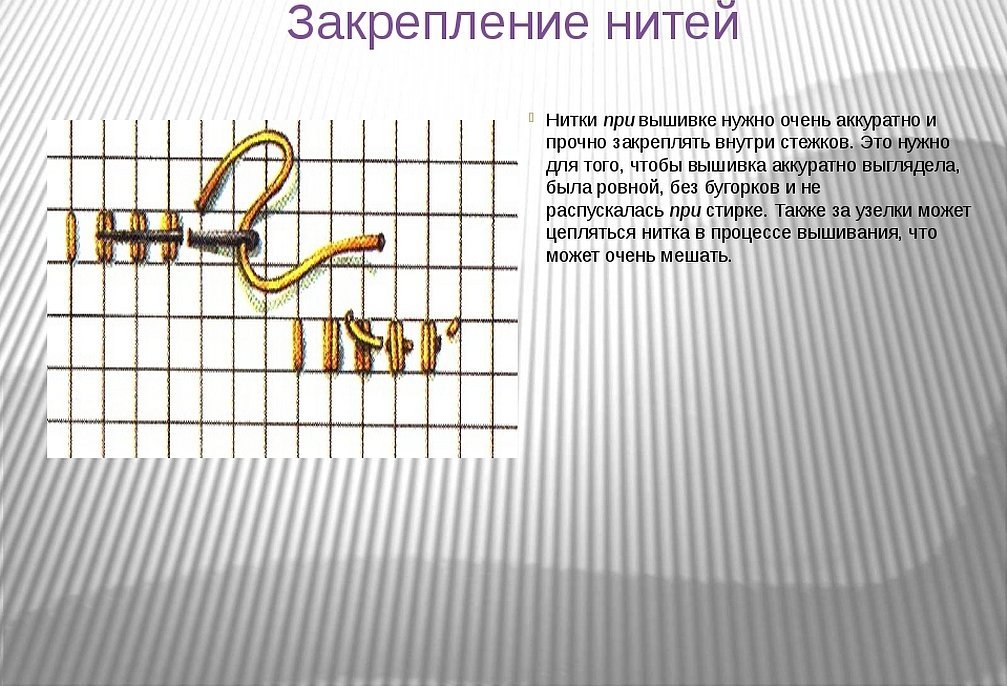
When the embroidered design is ready, you will need to secure the threads. To do this, you need to bring the needle to the front side and pass it under the last embroidered cross, and cut off the remaining part of the thread.
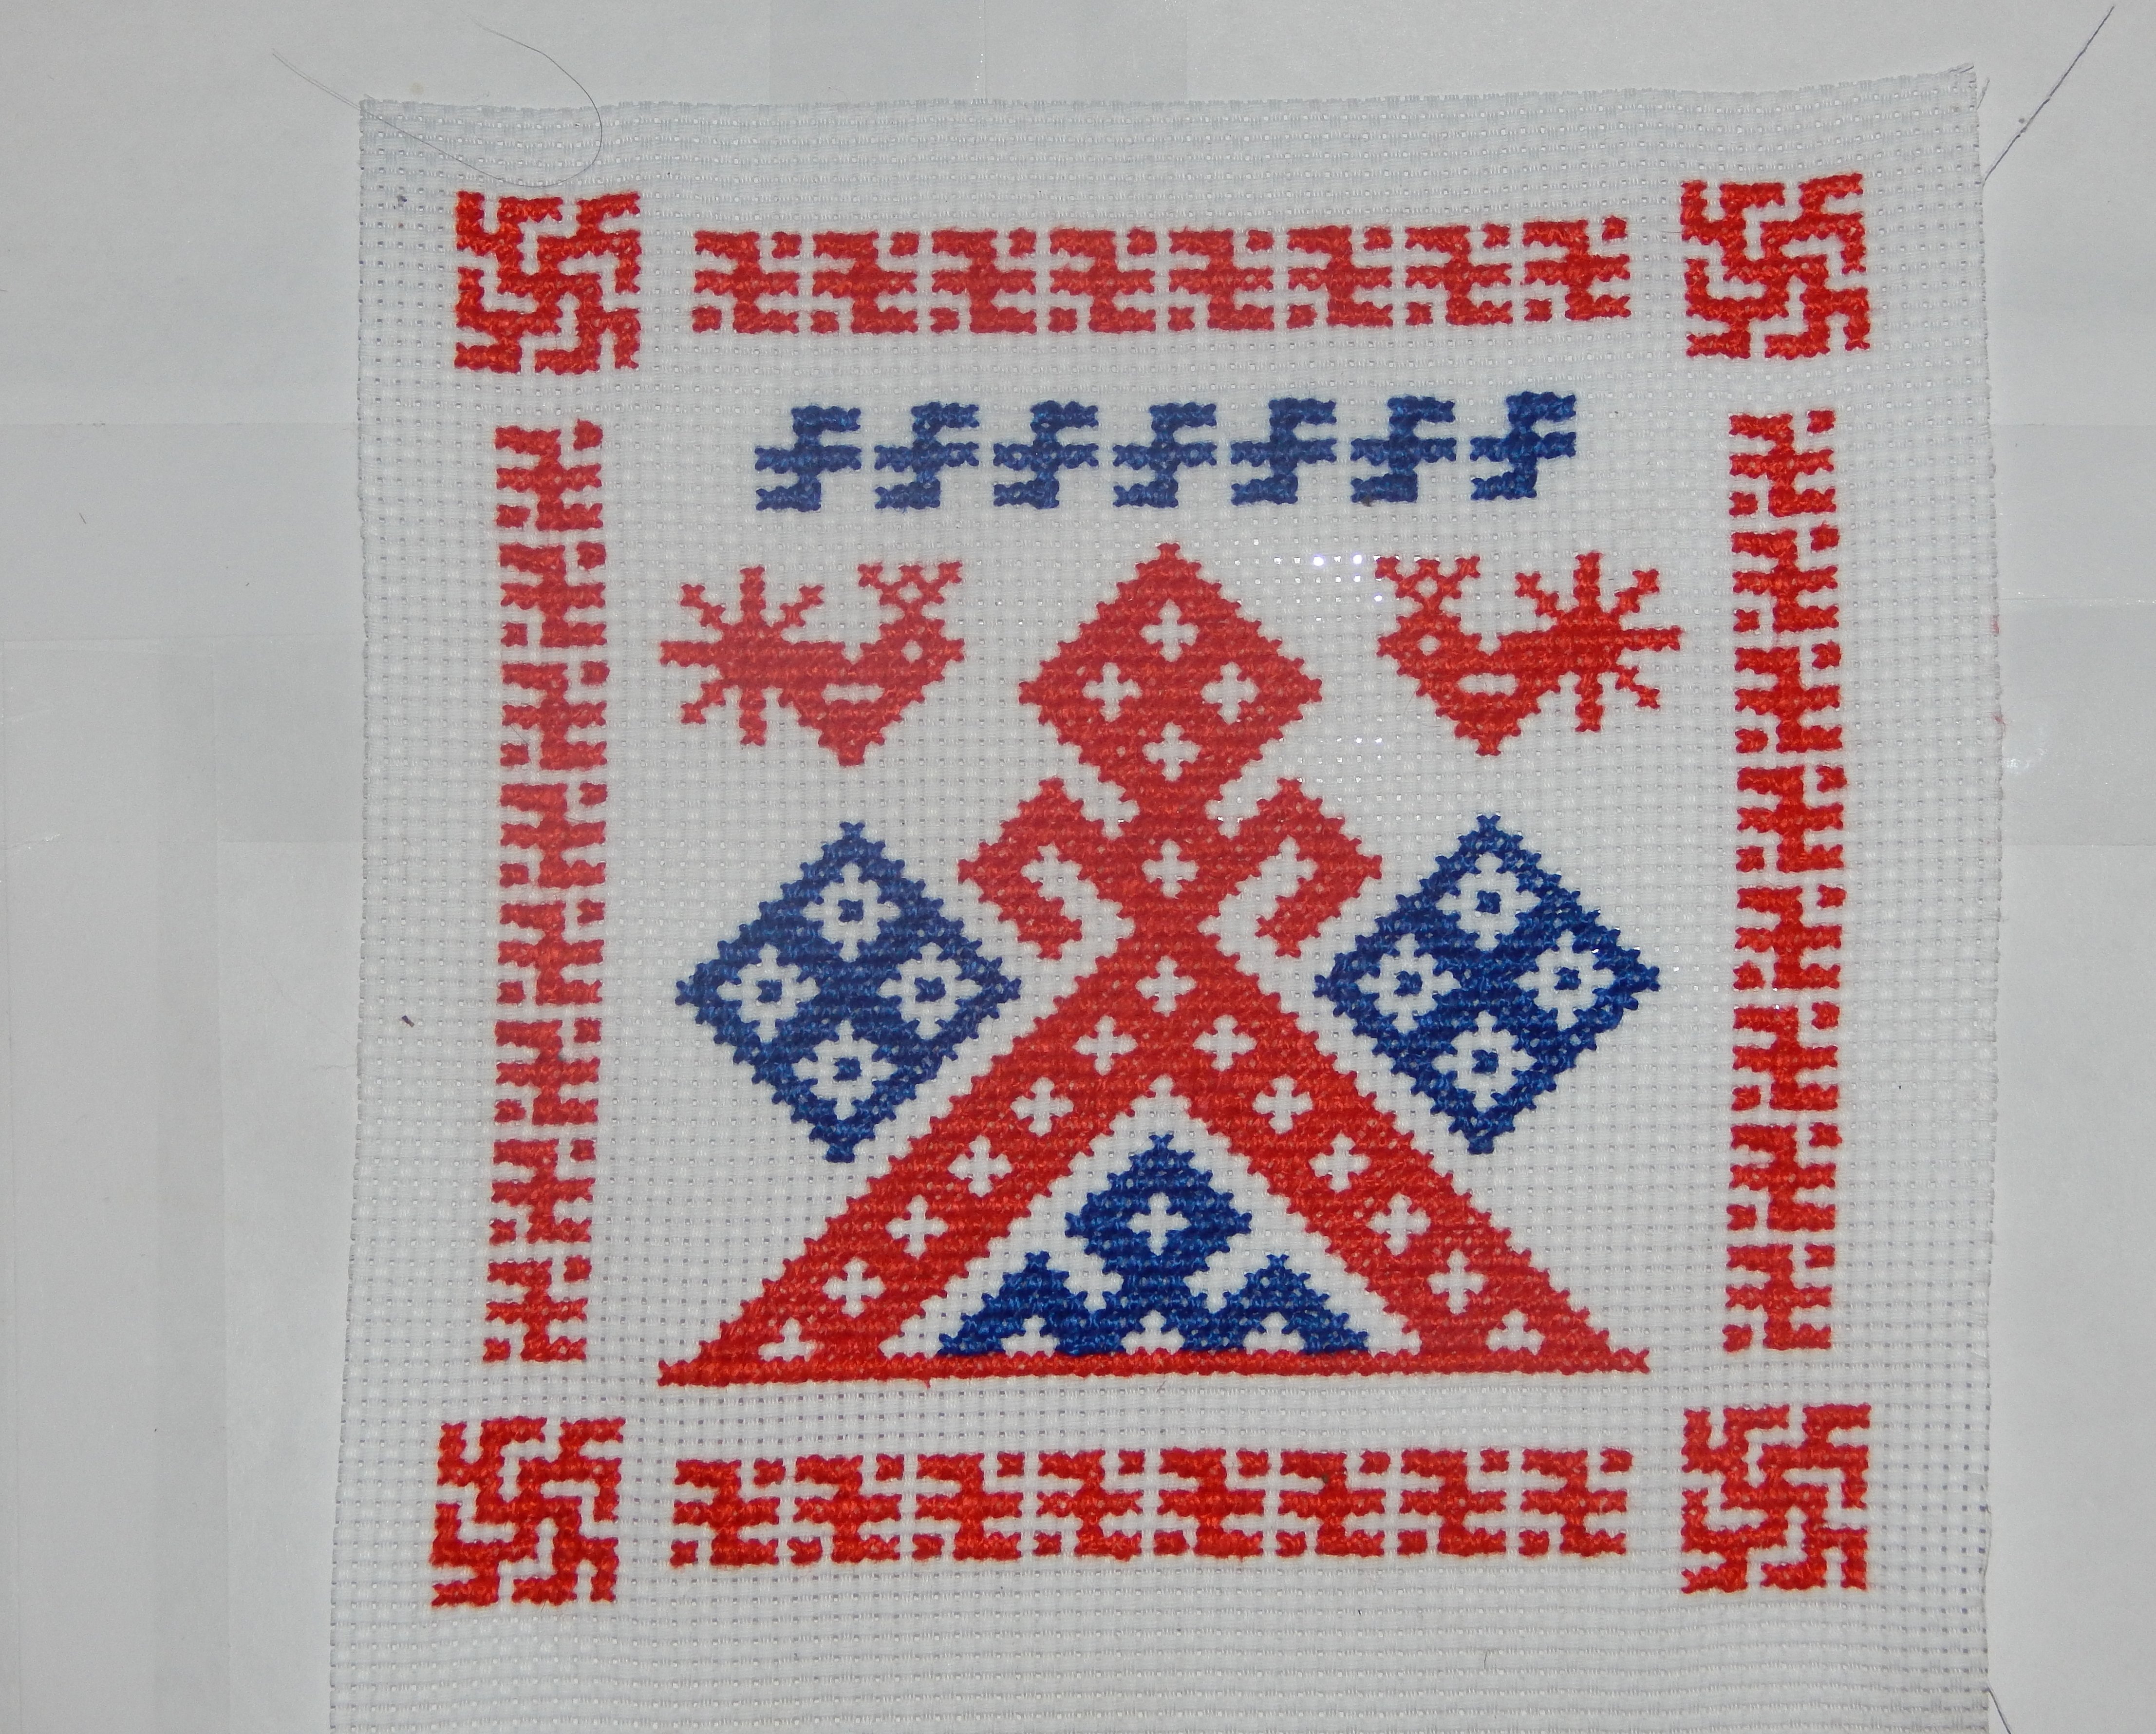
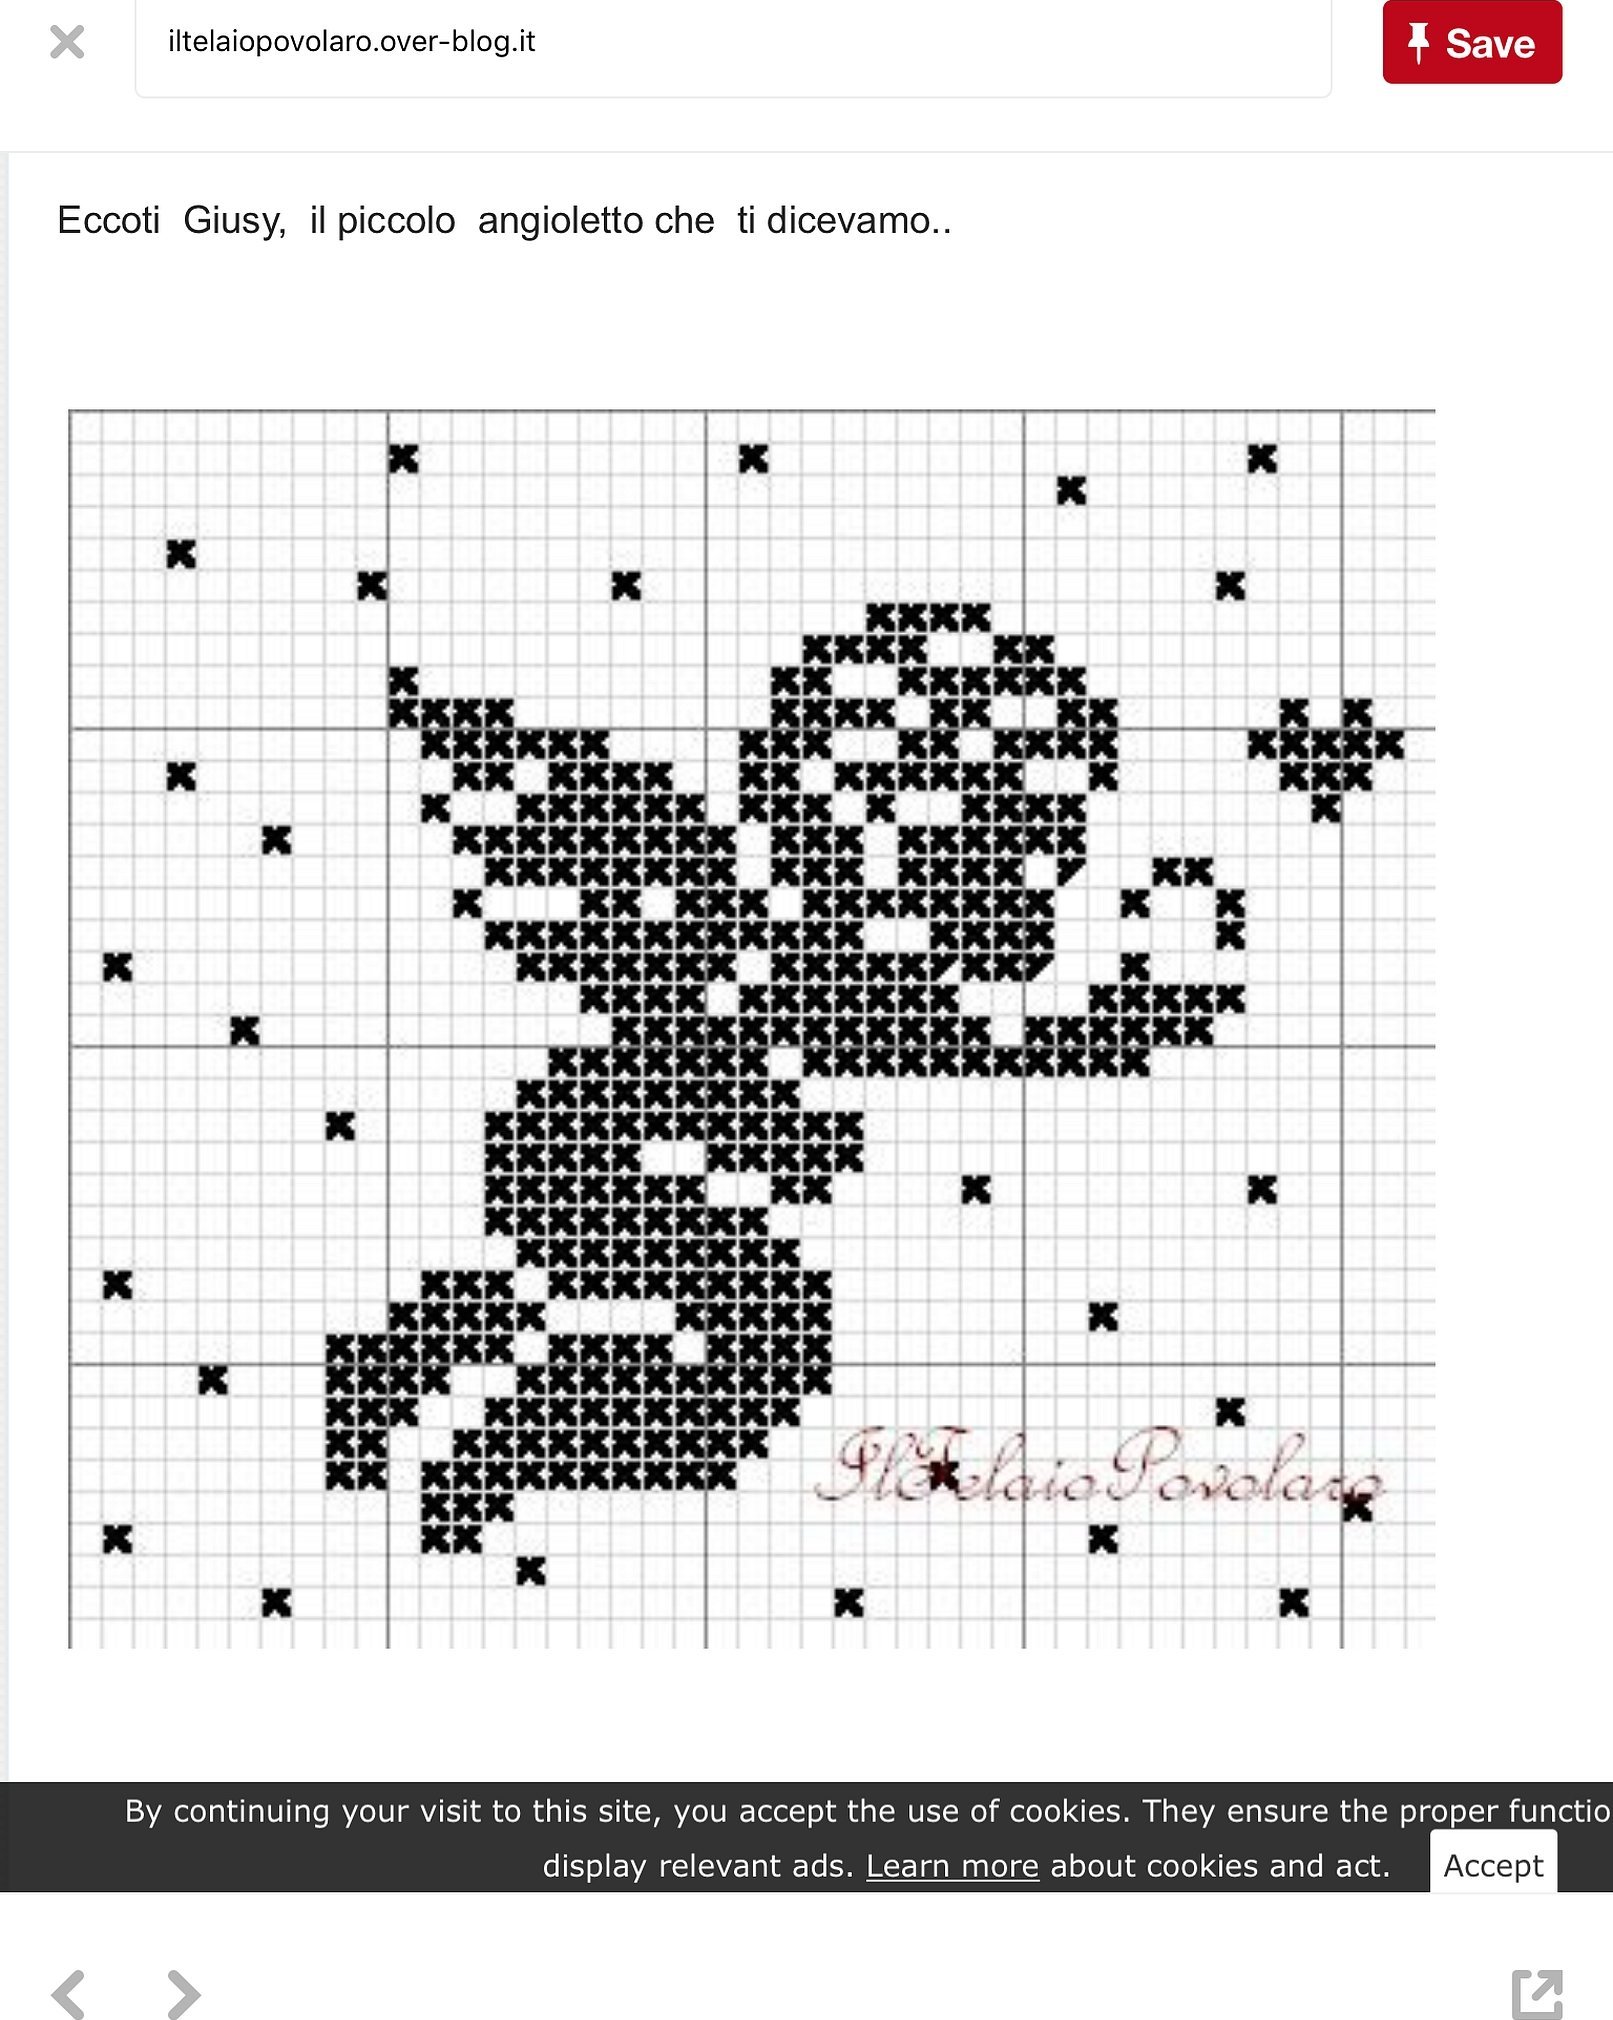
Interesting schemes for beginners
Having decided to take up such handicraft as cross-stitching, you must initially prepare for difficulties. To make the task easier at the initial stage, experts recommend starting with a symbolic scheme. After that, you can move on to black and white and color.
If you later want to implement your own idea and embroider not a ready-made drawing, but something personal, then in this case you can find many special computer programs on the Internet, with the help of which you can synchronize the image with the symbolic scheme. To do this, it will be enough to go through a simple registration and you can use the methods of the program.
Some tips
Beginner needlewomen should learn to cross stitch step by step. Only in this case can you learn to embroider beautiful works in a short period of time. Many patterns have been developed that help you quickly master certain skills. In addition, it is recommended to listen to the following advice:
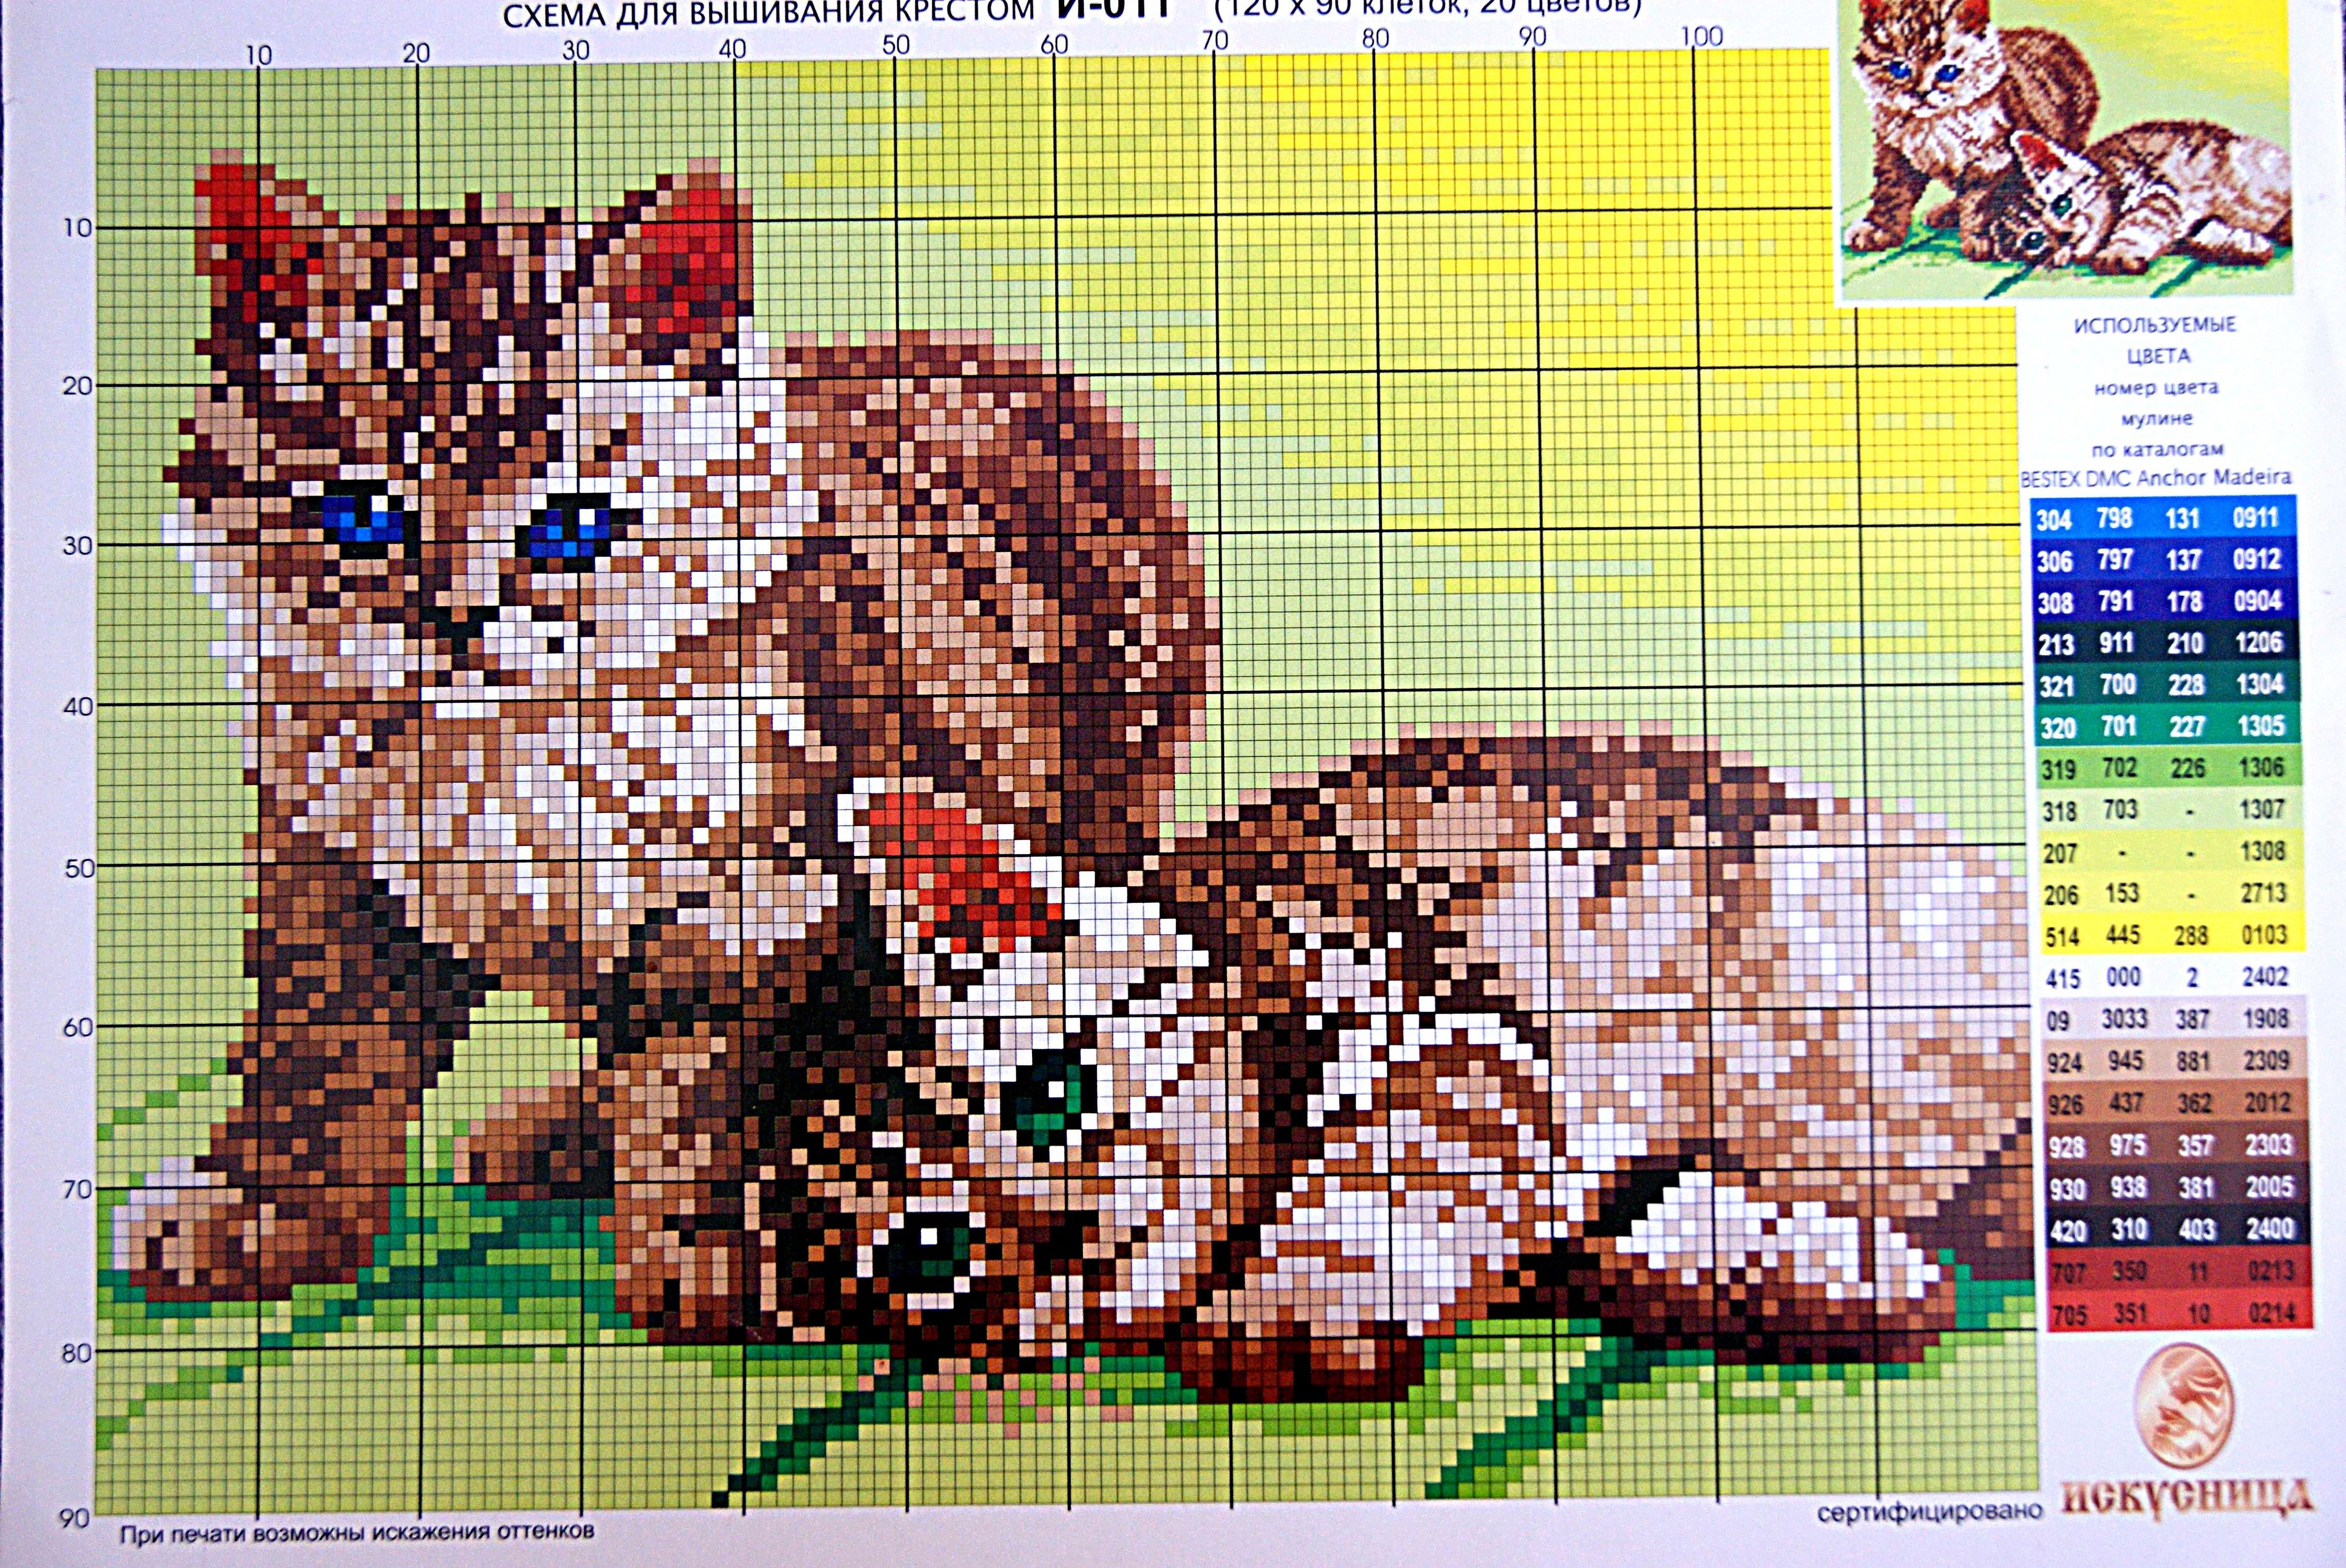
- At the initial stage, it is best to avoid embroidering animals in their true form, portraits and paintings;
- by definition, it is better to start with small pictures of flowers or children's images of funny animals;
- Masters advise trying to embroider in a hoop;
- When embroidering, you need to develop your own technology and tactics and work step by step according to it;
- the future master must put all the tools into a special set;
- Before starting work, a person must wash his hands, even if he is just starting to learn embroidery, as this will help keep the fabric clean both on the outside and on the inside;
- It is strictly forbidden to embroider if you are traveling from somewhere.
Please note! According to the instructions, it is not recommended to embroider for a long time, as this may negatively affect the quality of the work.
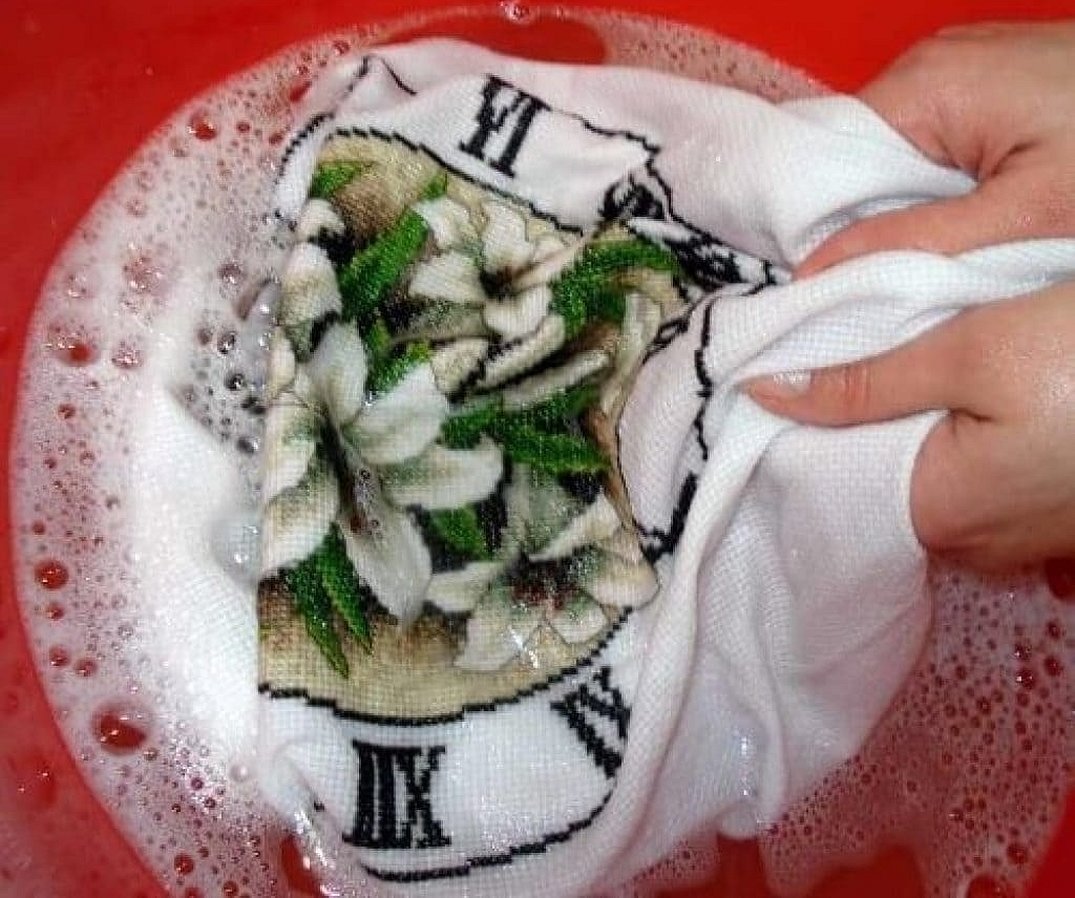
Washing the finished work
Once the embroidered work is ready, according to the embroidery technique, it is necessary to remove the fabric from the hoop and wash it in slightly warm water. It is strictly forbidden to use washing powder during washing. Soap or dishwashing detergent is best suited for this procedure. After washing, the embroidery should be allowed to drain a little and placed on a clean towel. In this case, after drying, the work will look attractive.
In the modern world, cross stitching is no less popular than in the times of our ancestors. People continue to create masterpieces with their own hands. In addition, special training courses are even created where you can learn the correct technique. Such lessons are held not only in villages and towns, such as Vysha and others, but also in large cities such as Moscow and St. Petersburg. Classes are specially equipped with everything necessary for conducting training and classes are held by experienced teachers.


