It is not enough to embroider a picture on the canvas and wash it. There is one more step, without which the work will not be completed. In order for the cross-stitch picture to be a real work of art and an integral part of the interior, you need to know how to make a passe-partout for embroidery.
Selecting a mat for embroidery
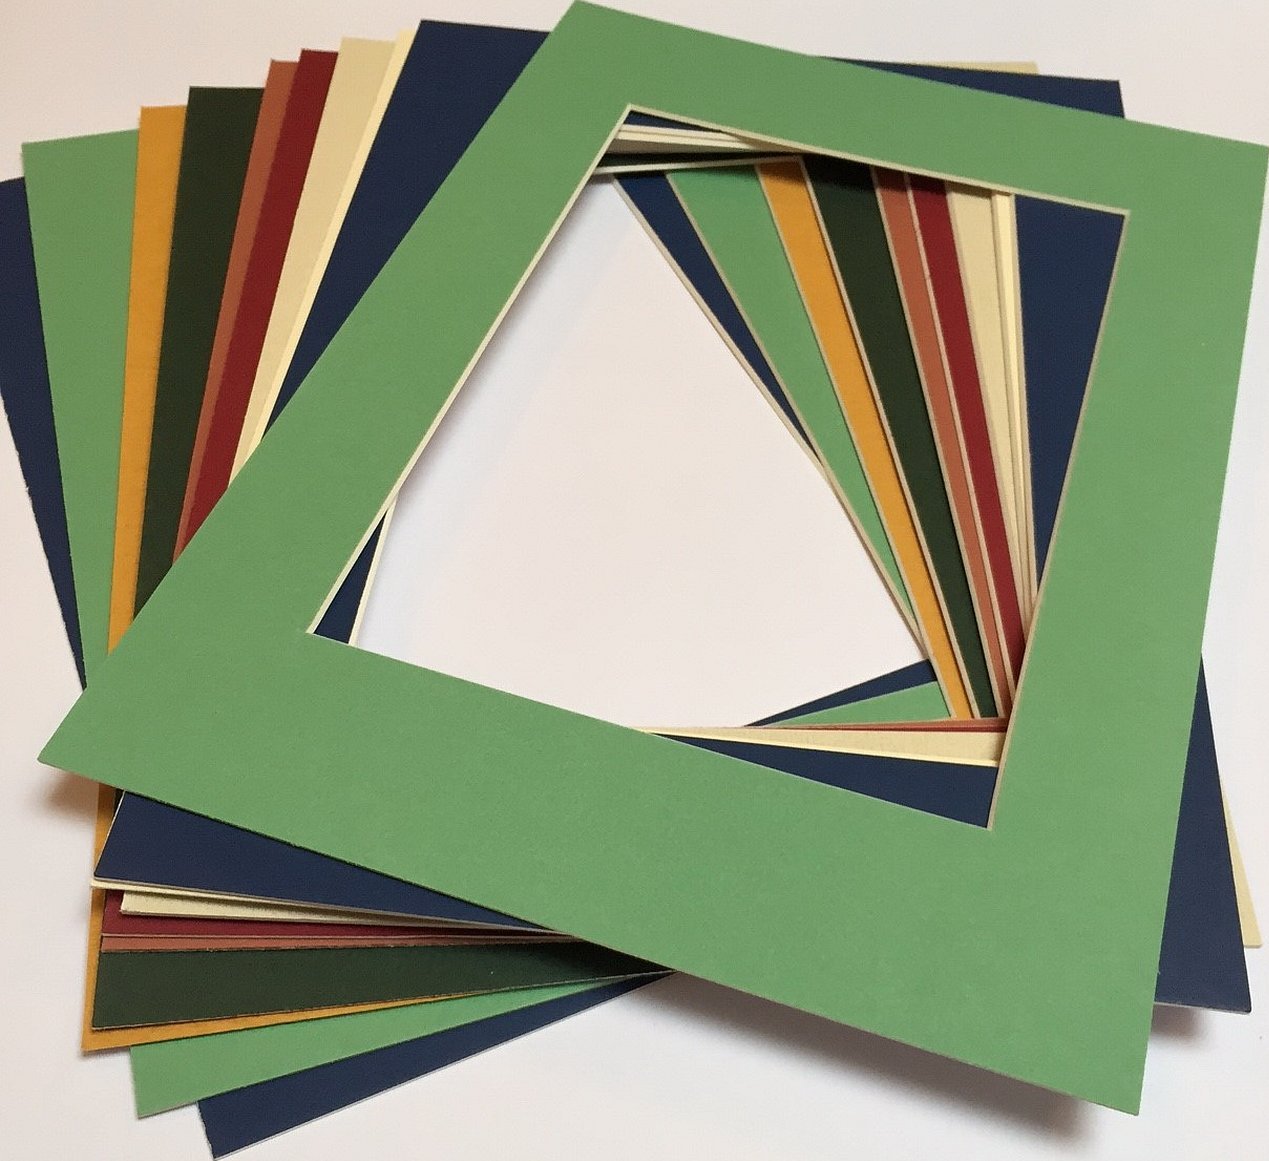
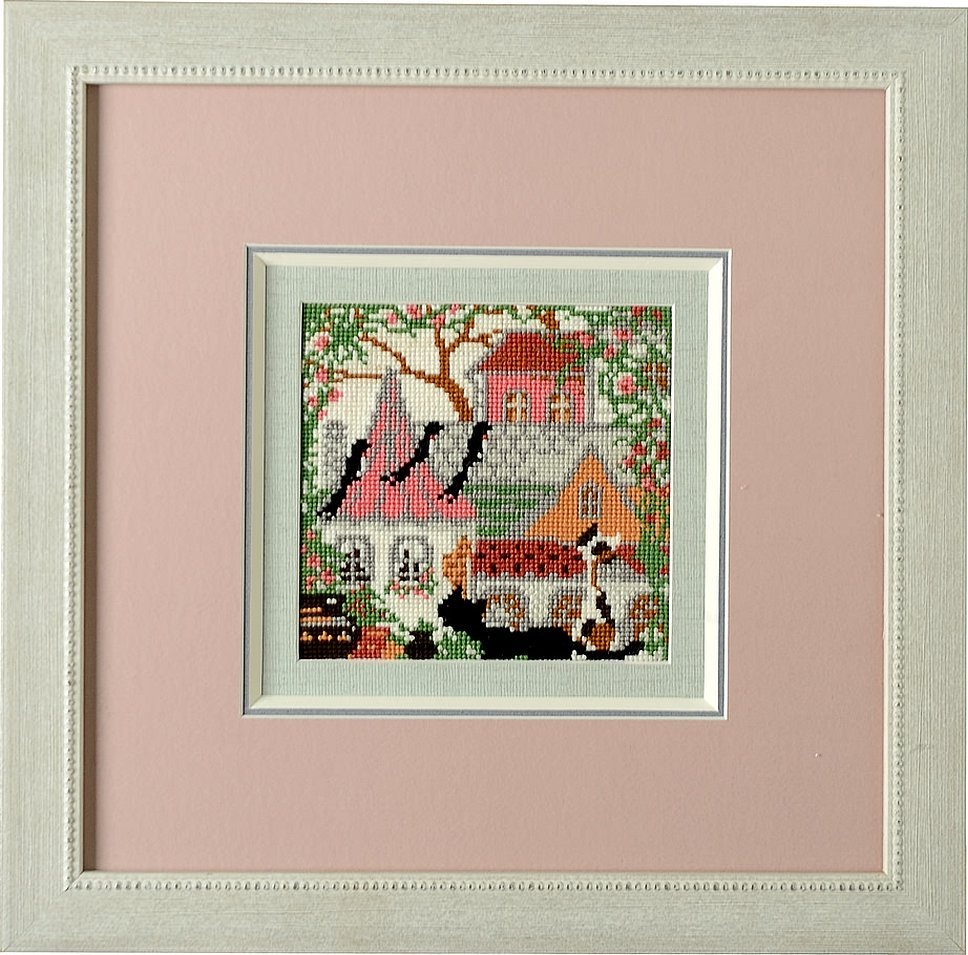
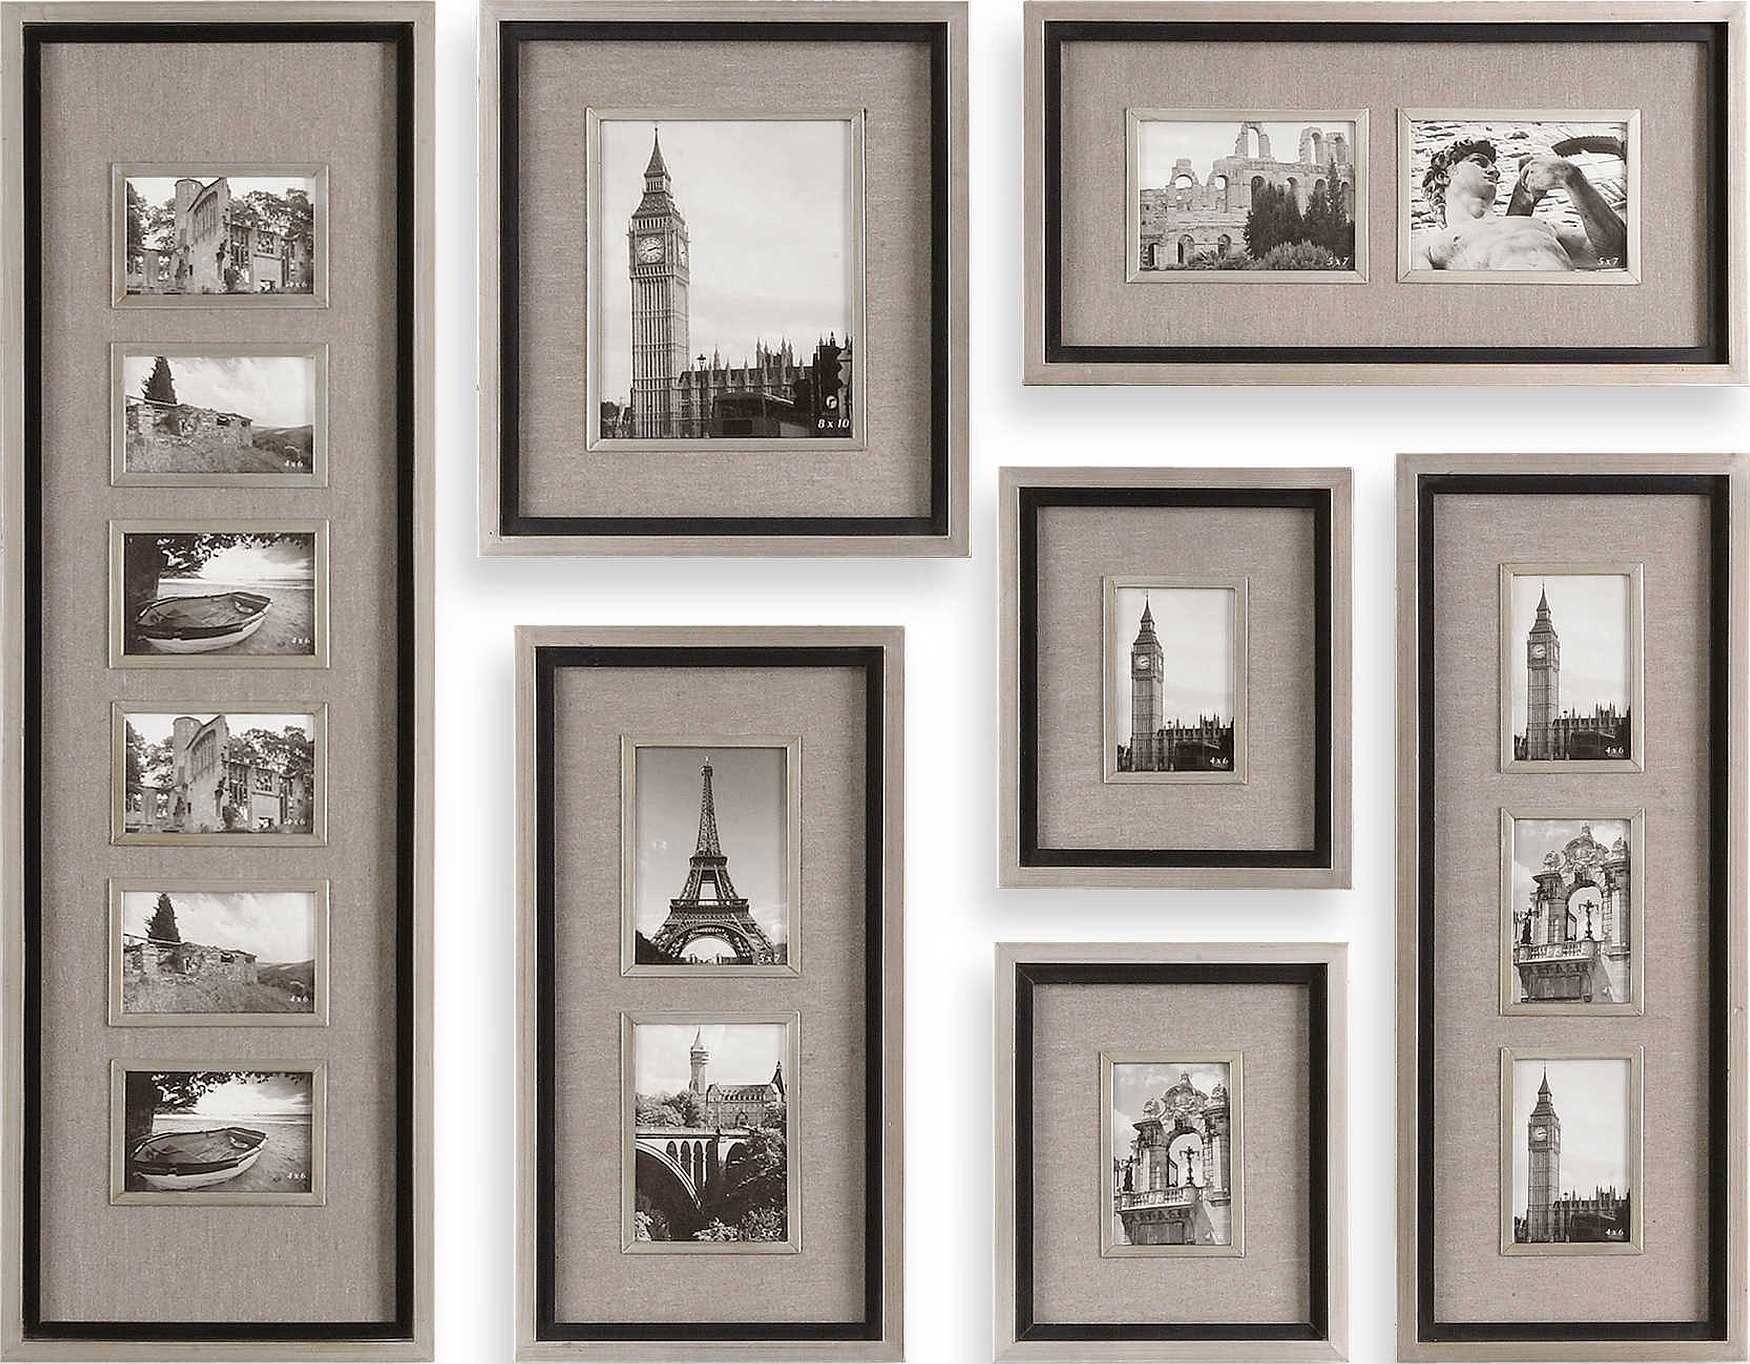
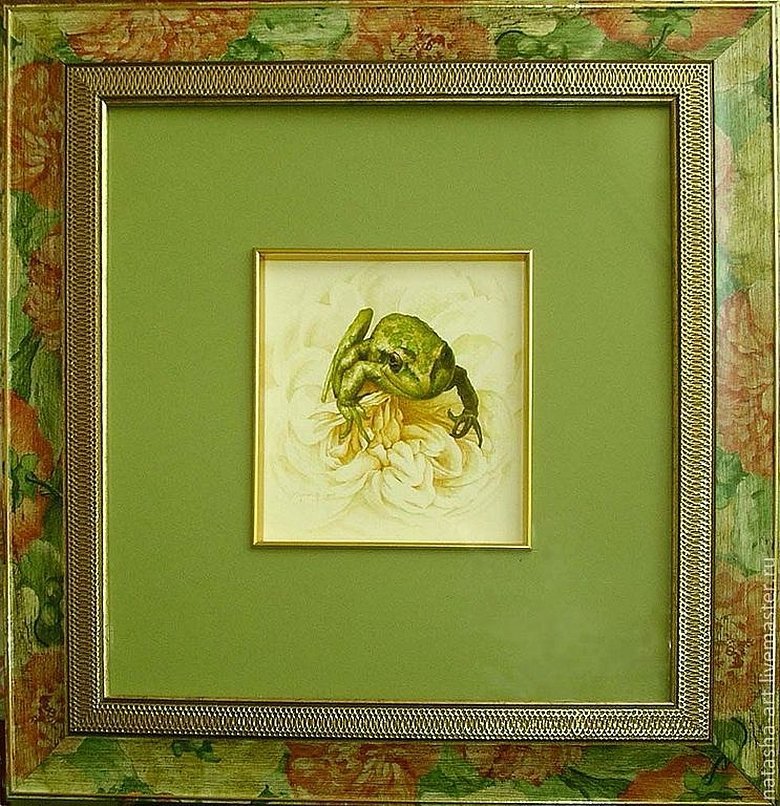
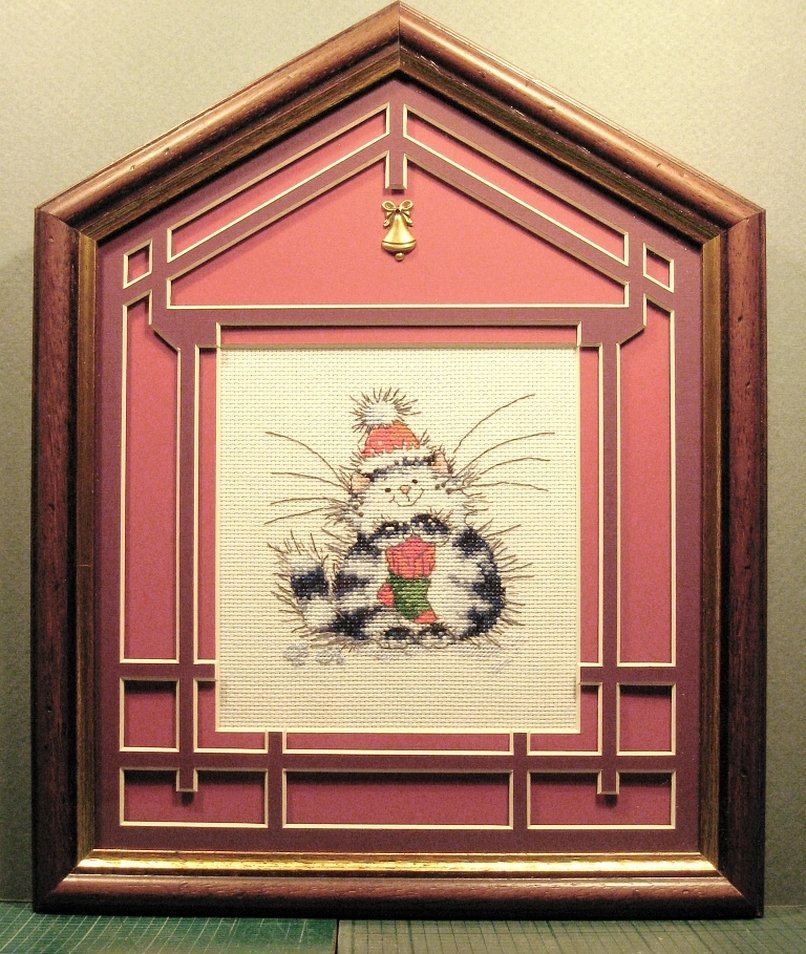
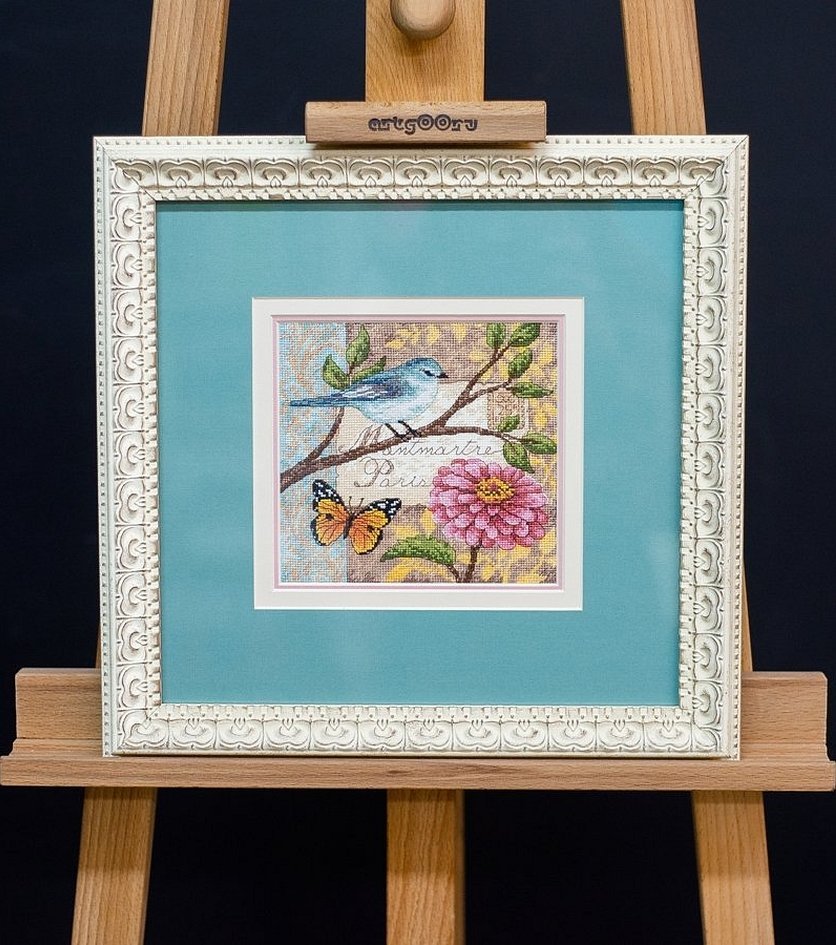
Passe-partout is a noticeable frame made of cardboard with many layers. It can frame a photo, oil painting, or other hand-made images. Most often, the border between the wooden frame and the image is made for portraits. Selecting a frame is not difficult, since all colors and sizes are available on the market, and manufacturers of diamond and other embroidery use basic parameters. Correct selection creates the fullness of the image, making it a real painting.
How does the passe-partout affect the embroidery:
- It makes it easier to perceive the image by moving it away from the interior.
- Focuses attention on image elements.
- Protects embroidery from external influences.
Home mats can be made in any size. There are frames of basic parameters on sale. Basically, the distance to the picture is the same on all sides. This is done so that the product is suitable for images of all parameters. If you need an asymmetrical mat, you will have to make a frame at home.
The backing is made of cardboard of different parameters, the thickness varies from 0.5 to 3 millimeters. The basis of the frame is pressed sheets of Whatman paper, framed with colored paper.
Selecting the color of the mat
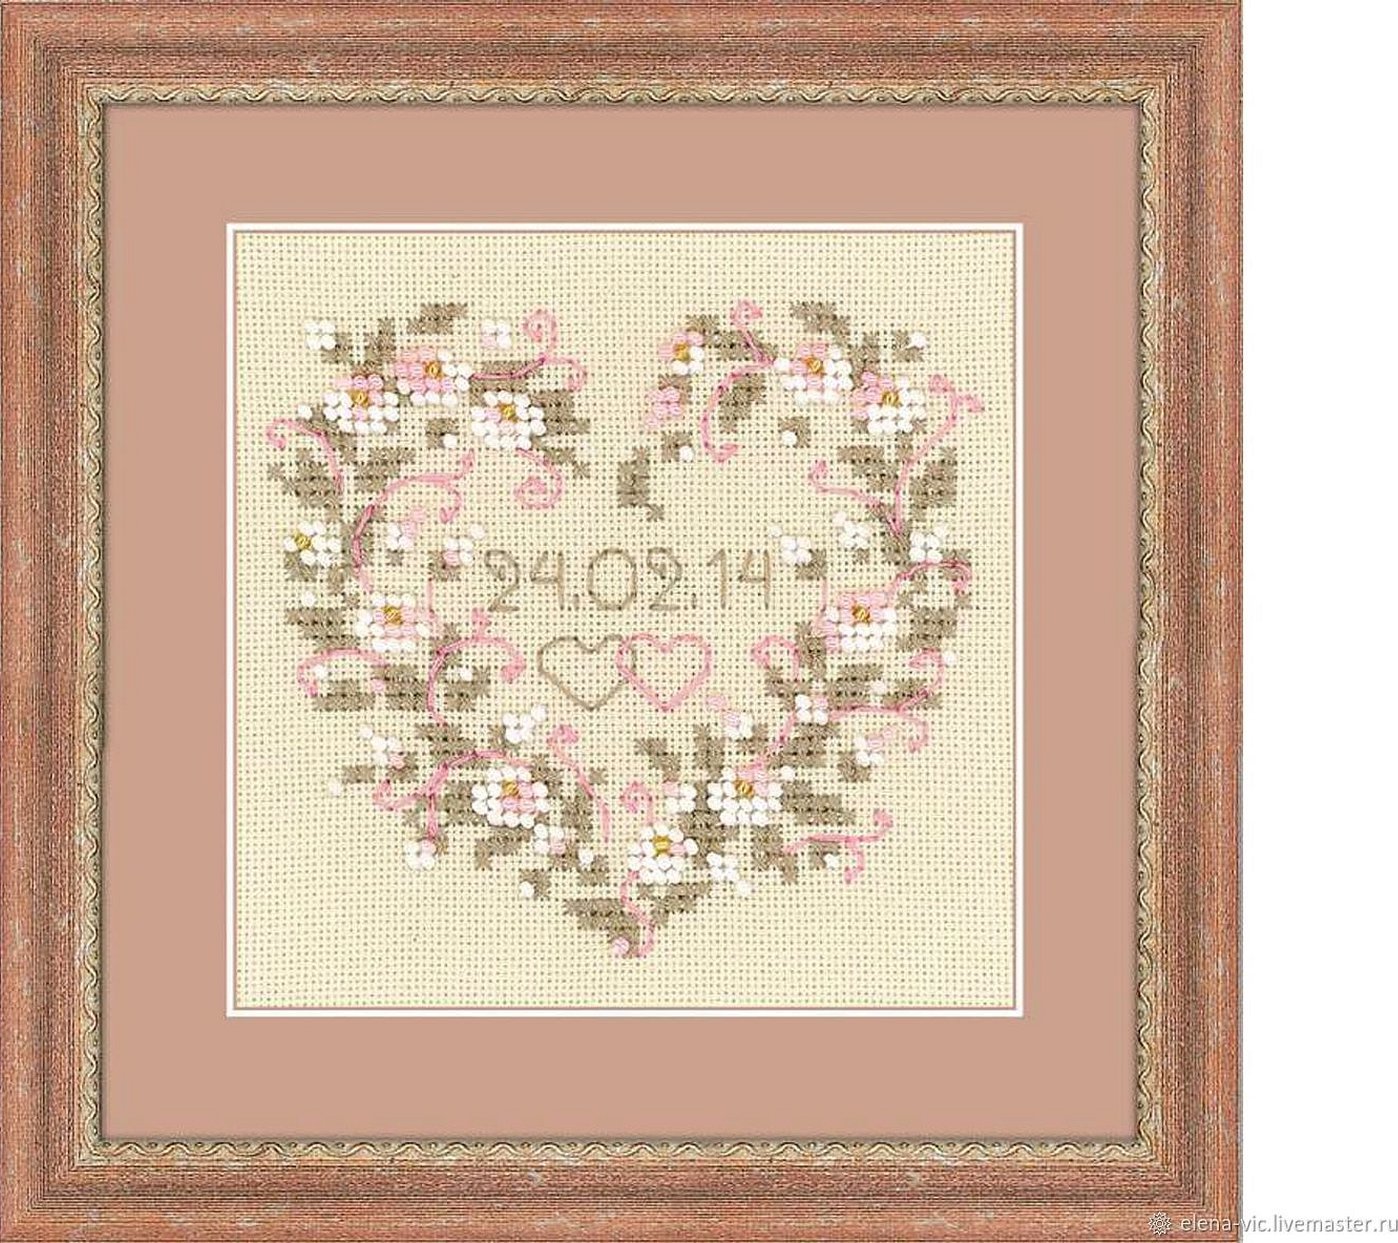
Cross stitch or beadwork should be complemented with a passe-partout. Adding a frame should be the final link in creating an interior element. With the help of this tool, a color balance should be achieved between the picture and the wooden frame itself, so you need to know the basic principles of color combination:
- If the embroidery is made of white and black colors, the passe-partout and frame should be of the closest shades.
- It is recommended to frame monochrome embroidery in white.
- If the work is in color, the backing is selected taking into account the style and color of the interior.
- A dark mat will highlight cool or warm tones in your embroidery.
- If you have no ideas about the design, look at the main color of the embroidery and select a frame based on it.
- If the balance is created by gray shades, it is recommended to make a creamy underlay yourself.
- The black frame “pushes” the picture back, while the white frame brings it closer and enlarges it.
- Muted tones should be complemented with ivory.

Important! The main principle of choosing a color is that the frame should not distract from the picture itself.
You can also make multi-colored frames at home. In this case, do not overdo it with the abundance of shades and colors. If the passe-partout is a continuation of the embroidered picture, this solution will be appropriate.
What materials and tools are needed
If the needlewoman loves to embroider, then the set of devices for creating backing should be ready every day. What is needed for making at home:
- cardboard or whatman paper;
- colored paper or wallpaper;
- scissors;
- stationery knife;
- ruler and square;
- pencil;
- glue.
Cardboard or Whatman paper must be larger in size than the intended finished embroidery. It is better to take dense, but not thick cardboard, it should not be from under boxes. Whatman paper can also be a good option for a small-sized product. Considering that several layers of Whatman paper are pressed for the passe-partout at the factory, one copy may not be suitable.
Colored paper to give the desired color is the best option. Wallpapers are mostly with painted and embossed patterns, this will distract from the image. Therefore, it is recommended to work hard in finding the right purchases.

General recommendations
If a needlewoman is interested in how to make a passe-partout for embroidery on her own, then general recommendations on selection, production and decoration will not hurt her.
- You can take a risk and make an original print from fabric.
- The wallpaper backing will be in harmony with the wall, but it should not cause conflicting feelings regarding the combination with the picture.
- For a large and bright work, you should make a wide frame, and for a miniature one, a narrow one.
- Once the basics of making are mastered, you can make a double frame.
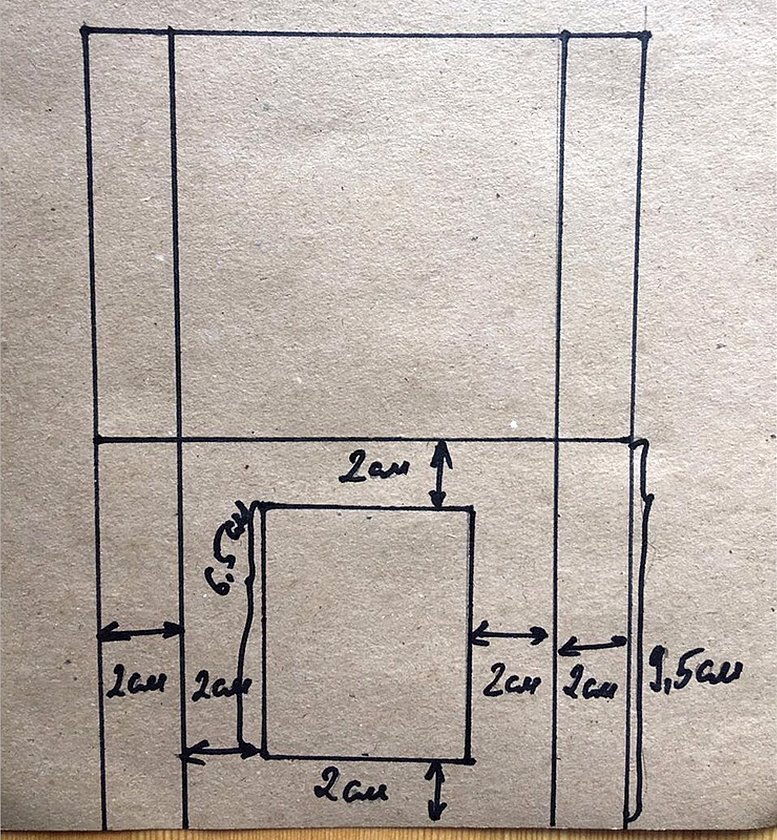
Making a passe-partout is not difficult, but an error in determining the dimensions can cost a lot of time. Therefore, it is necessary to remember the basic principles of selecting parameters:
- If the image is small and has a lot of details, take a wide lining up to 15 centimeters in size.
- Large and medium-sized pictures are framed with Whatman paper 1/3 the width of the narrow side.
- The bottom margin should be wider, and the side and top margins should be equal to each other.
- If the embroidery is vertical, the side margins should be 1/3 the width of the narrow side of the picture. The top margin should be 1/5 of the height, the bottom one - 1/3.
Making a passe-partout with your own hands
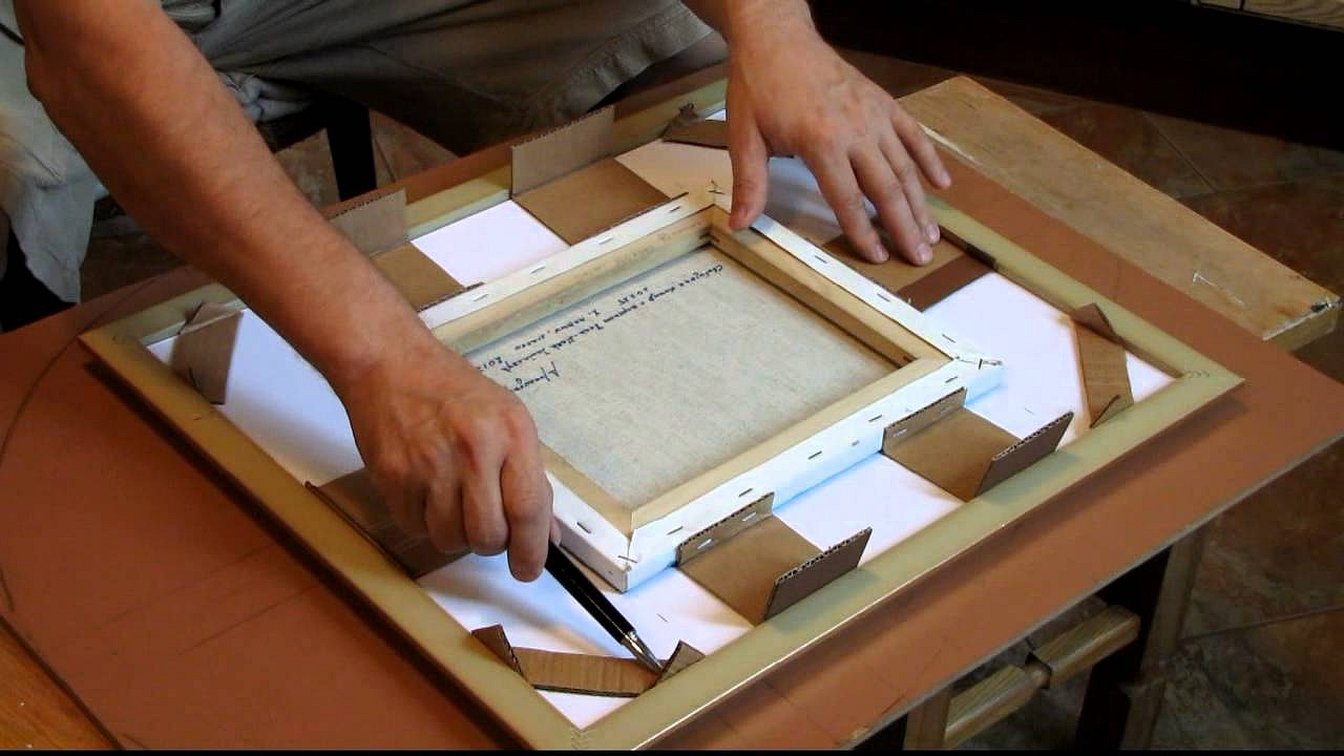
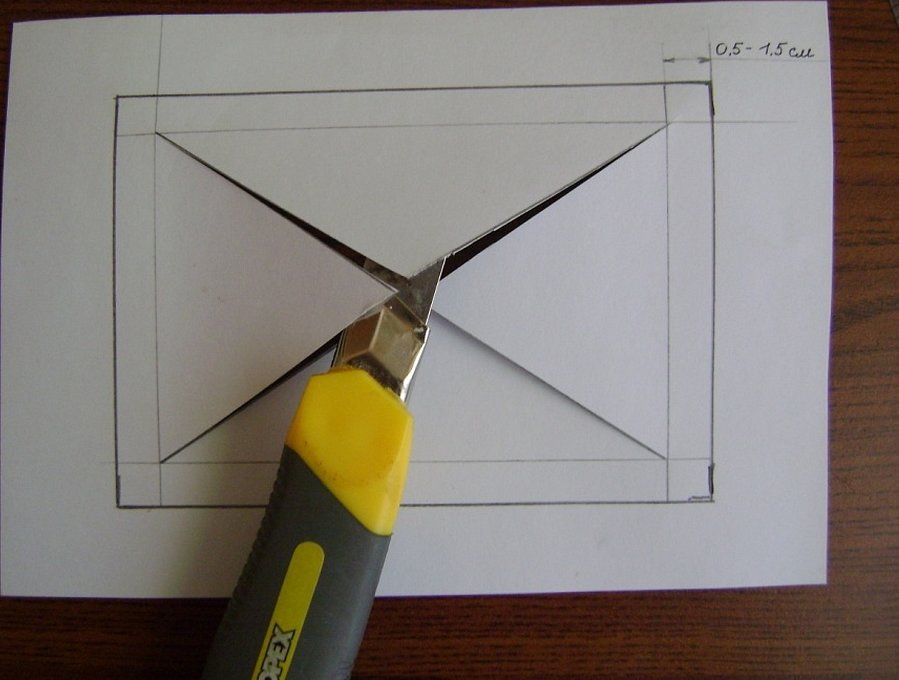
It is recommended to frame the cross stitched image after the final ironing, until it is changed by external factors. Step-by-step process:
- Iron the canvas.
- Find out the gluing parameters according to the basic rules.
- Mark the width on the wrong side.
- Draw a figure around the outline of the passe-partout at a distance of 4 centimeters.
- Make the corners neat.
- Leave one more version of the back of the canvas to create a sample.
- Place the pattern on the material for gluing.
- Trim the base along the outer edge and cut along the embroidery lines from the inside.
- Place the base on the front side of the embroidery.
- Secure with pins.
- Glue the canvas and the frame base together.
- Place the stretcher on the inside.
- Fold the edges.
- Secure the edges with tape or glue.
- Insert into frame.
Important! You can additionally decorate the cardboard frame with fabric.
How to cut out a mat correctly
If you are interested in embroidery and have a lot of paintings at home, you can try different methods of making your own frames one by one.
Another option for self-production:
- It is necessary to draw a rectangle twice as big as the embroidery itself on the sheet, then cut it along the markings and place the image in the center. The distance to the edges should be the same. Next, you need to outline the embroidery, and then cut out the rectangle. You get a figure (square, rectangle) with a window cut out inside.
- Cut out several strips of colored paper. They should correspond to the length and width of the inner window.
- Fold the strip in half and leave a 2 mm wide edge in the center. Check the alignment of the strips with a corner.
- Connect the strips to the frame using glue.
- Apply embroidery to the back of the frame and decorate.
If the frame is to continue the embroidery, it should be very different from the frame. Therefore, contrasting colors are taken. The generally accepted width of the passe-partout is 6 centimeters. But you can independently choose any parameters that will most advantageously complement the composition.
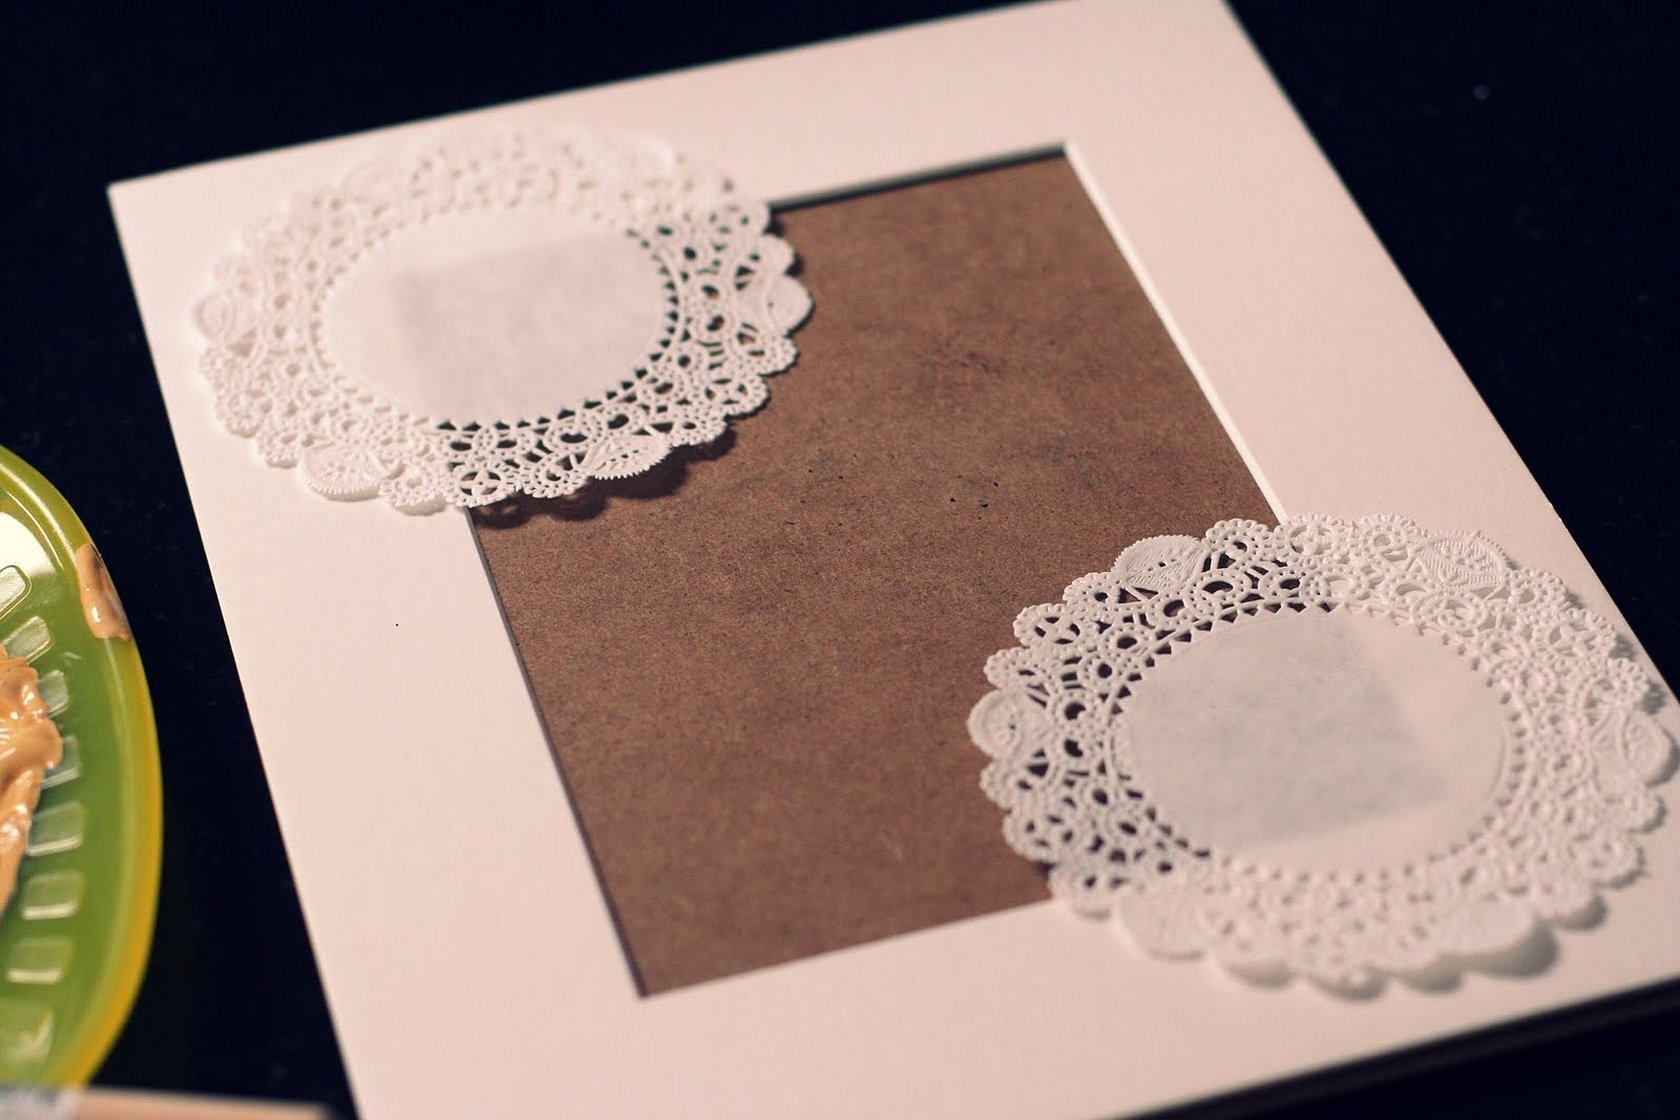
Decorating the work with additional elements
If the needlewoman can not only embroider, but also create in another direction, you can try to decorate the passe-partout with additional elements. The type of decor depends on the cross stitch itself. The main condition is that it should complement the picture on the canvas. Depending on your choice, these can be ribbons, lace, beads, painting and glitter.
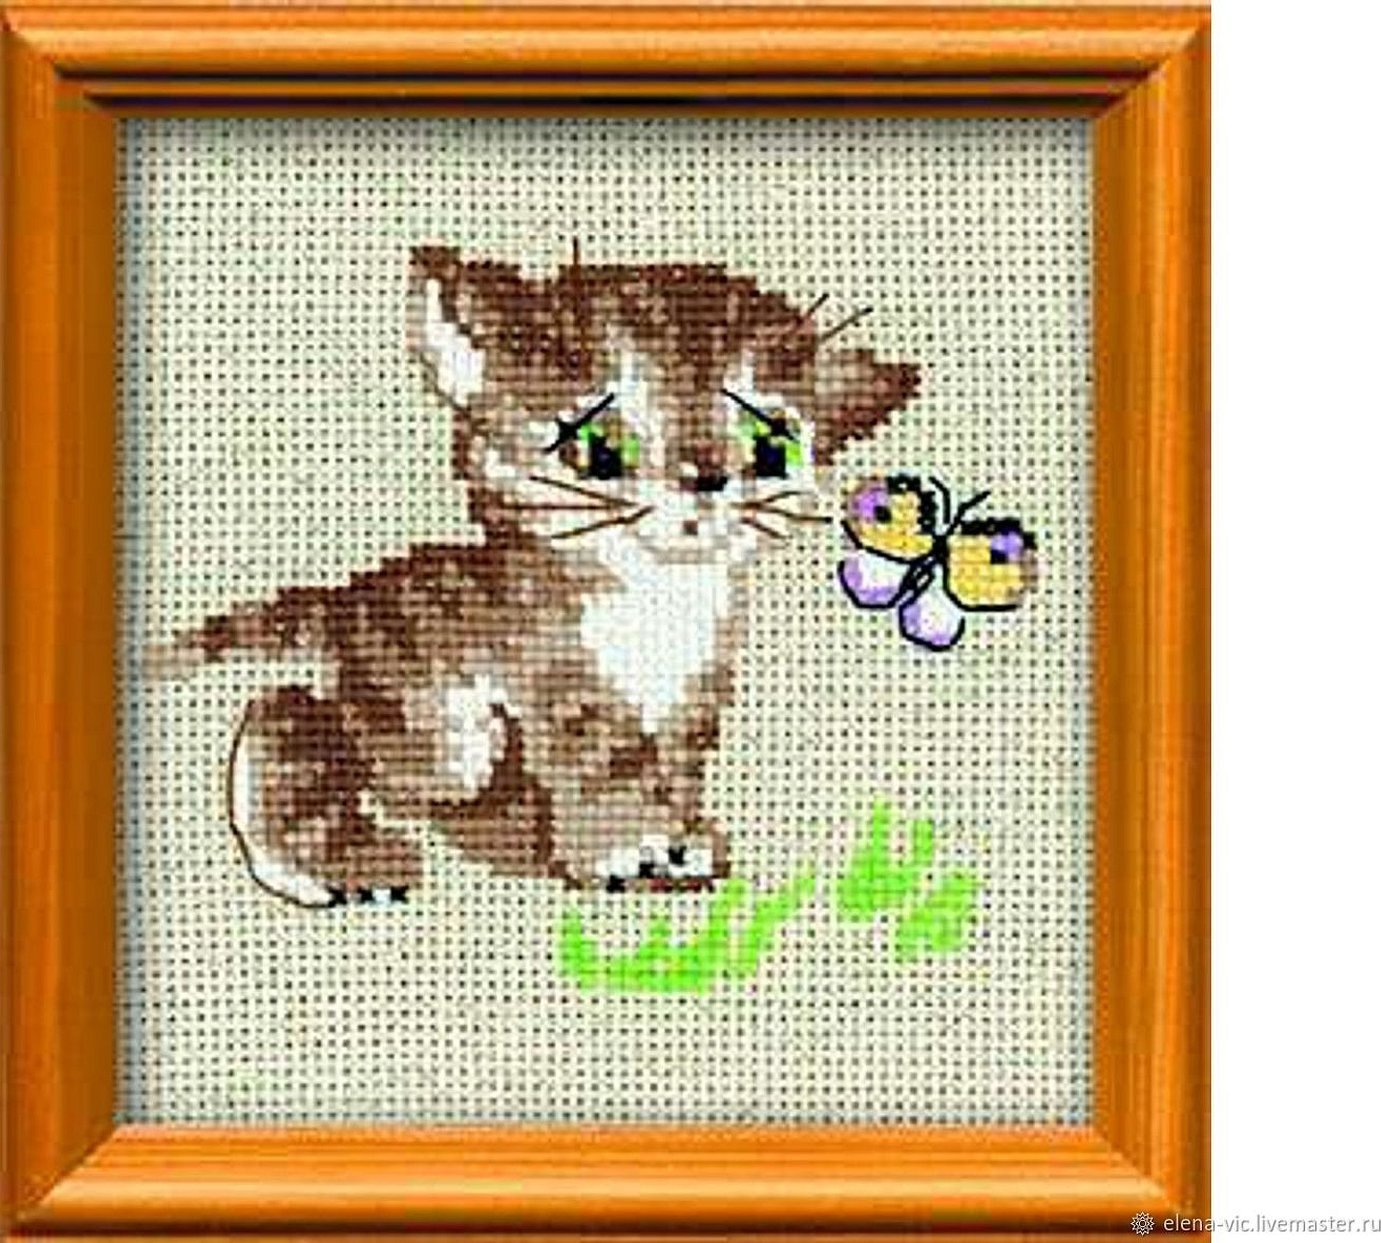
Passe-partout is a frame for a picture that is located between it and the frame. It makes the image look complete, separates and continues what is embroidered. It is important to choose the right frame color, determine the optimal parameters. If desired, you can decorate the product.


