Pillows have always complemented the interior of the house and added coziness to it. The more small decorative pillows in the house, the more pleasant and comfortable it is to be in it. This article tells about what is cross stitch pillowcase embroidery and how to do it. And also how to properly design the decoration of products.
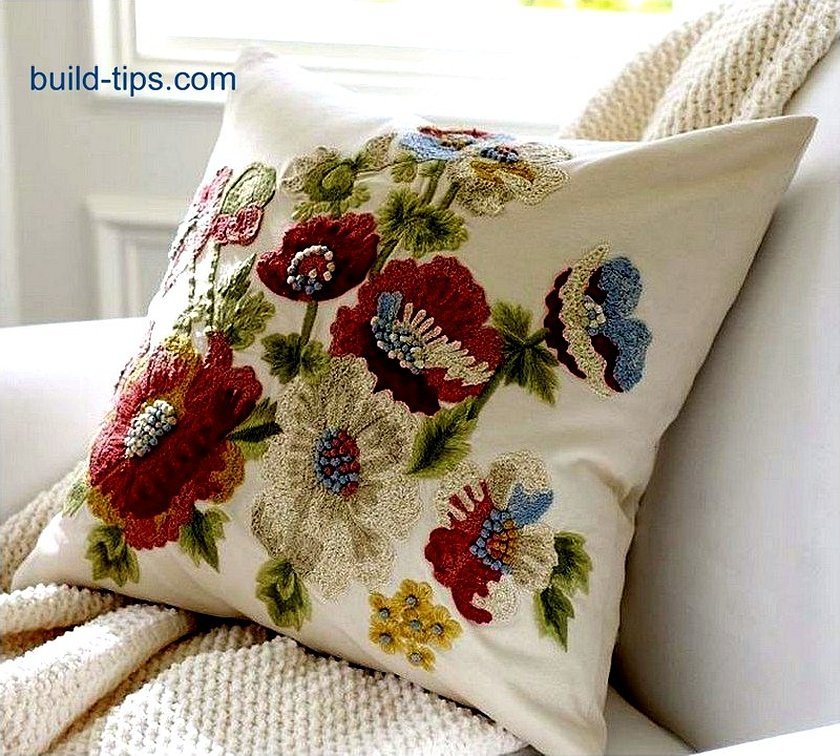
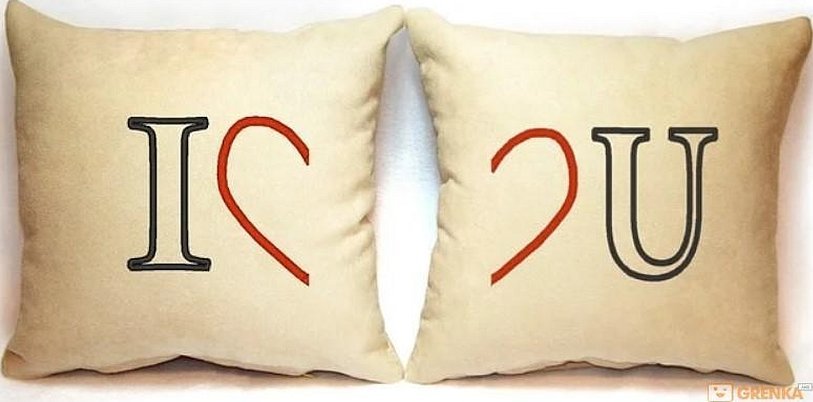
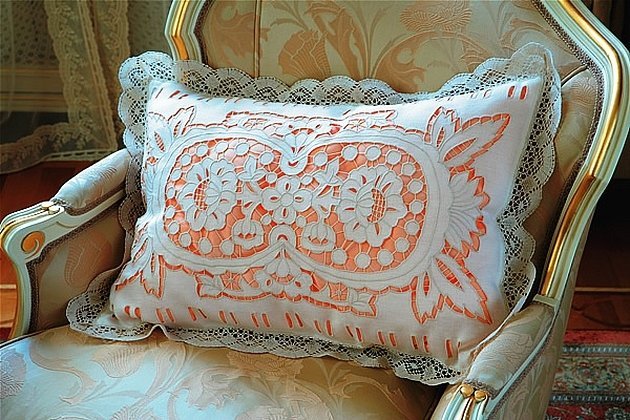
Embroidered pillows are a great gift
Such pillows can be given to a loved one for some holiday, for example, for a birthday or wedding anniversary. Products with embroidery add coziness and comfort to the room. And if the embroidery was done by yourself, then such a gift is valued higher.
Difficulty of embroidery
Attention! For beginners, it will be quite difficult to start work from scratch. Therefore, such people can buy ready-made embroidery kits. They can be bought in the online store and in textile stores.
Advantages of ready-made kits:
- beautiful and simple designer drawings;
- wide range of colors and sizes;
- cheaper than buying everything separately;
- There may be different embroidery techniques.

Making a pillow
Before you start working, you can watch several master classes to understand where to start. On the Postila website, there are many such lessons for beginners and professionals.
Adviсe
Basic rules for work:
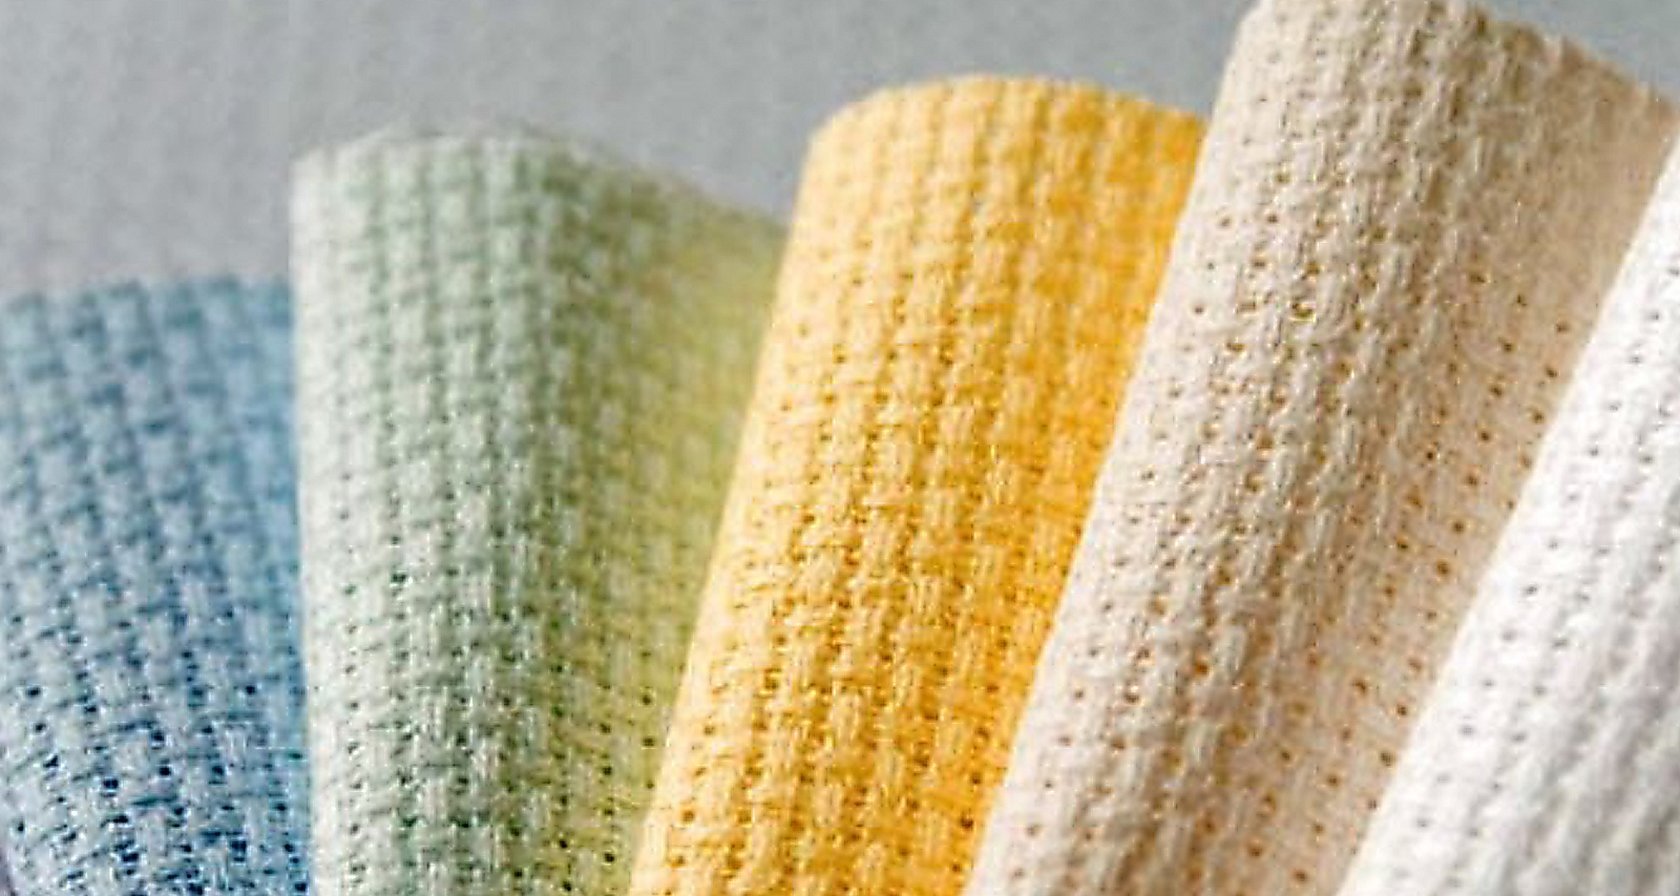
- First, you need to choose a pattern and its color. Beginners can buy ready-made embroidery kits in special stores. The kits are equipped with a sketch, canvas, yarn, needles and step-by-step instructions. If desired, all these elements can be selected independently. Any picture can become the basis for embroidery;
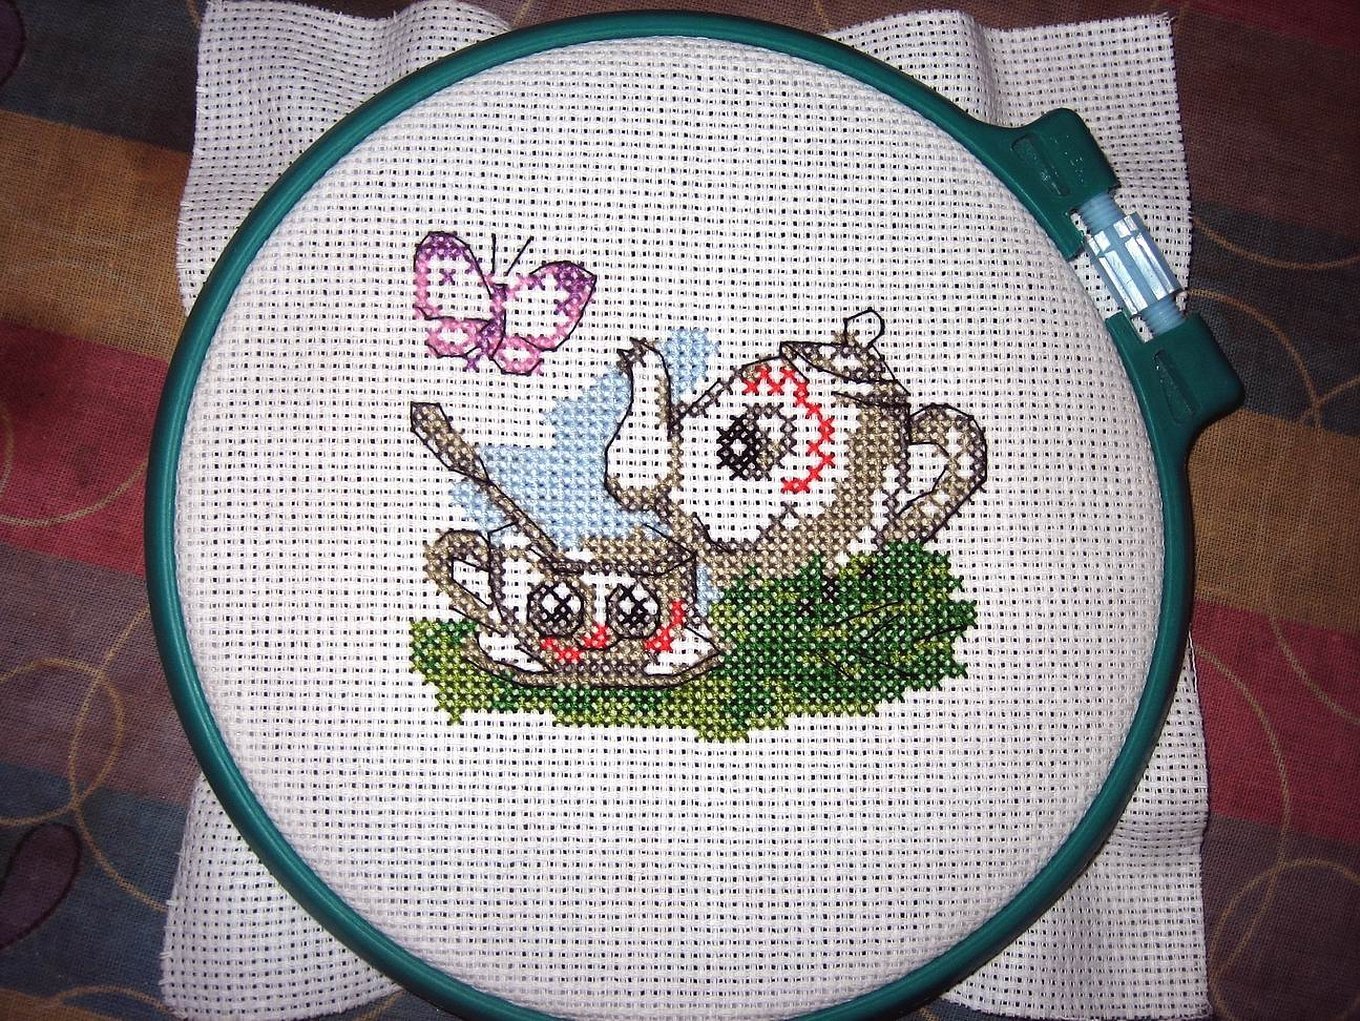
- the edges of the canvas need to be processed so that the material does not crumble. It is good to coat it with transparent PVA glue. For uniform embroidery, it is advisable to use a hoop so that the pattern does not move. In extreme cases, the canvas can be starched;
- Before work, you need to make markings on the material. This will make it easier to do the work and not make mistakes. From each part, you need to step back a certain number of cells and start working. The stitches should be even, not too tight, so that the fabric does not tighten and there is no visible space between the crosses;
- the embroidery should be dense, so it is better to use floss in several layers for the work. And for the picture to be even and beautiful, the upper visible stitches should be in one direction;
- After work, the embroidery should be washed and dried well. Ironing is not necessary;
- The material for the embroidered pillowcase should be thick and opaque. The pattern should be square or rectangular, the same size as the design. If the fabric is very transparent, you need to insert a felt lining.
The reverse side of the pillowcase
First, you need to choose the size of the embroidery so that it fits well into the dimensions of the pillowcase, cut off the excess, and stitch the edges.
It is necessary to obtain a finished embroidery scale with the addition of 1.5 cm allowances on each side.
Find the middle of the pillowcase and mark the width and height of the finished design, make an indent of 2 cm inside the fabric and mark the cutting line, and then carefully cut.
Make a non-woven lining on the back side. On the outer part, the corners must be carefully cut diagonally. Iron the allowances inside the craft.
From the inside, connecting the edges of the allowances, apply the embroidery and secure it with needles.
From the front side along the perimeter of the product, aligning it with the fabric, also fix it with needles, it is advisable to baste or stick more needles perpendicular to the pattern.
Make the main finishing line in the fold of the allowance, carefully go along the corners, the line can be decorative or classic. Then iron and cut out the allowances of the product from the wrong side. Make the next line parallel to the first and iron it well.
Final assembly
When the embroidery is ready, you can make the pillowcase cut. The inner part should be made of a light, dense material. Cut out two elements according to the size of the embroidered pattern, put them together with the right sides together, baste with brightly colored threads or needles, making small allowances for the seams.
Sew the seams, leaving a 10 cm piece unfinished, remove the basting, overcast the seams.

Turn the product inside out and fill it with synthetic fluff, and sew up the cut. Next, cut out one element of the front pillowcase from a beautiful thick material according to the size of the finished fabric.
Place the craft with the second part together with the right sides together, make a serged edge with allowances. If the product is thin, then it is necessary to make a lining from a light material. One part should be left free to add a zipper.
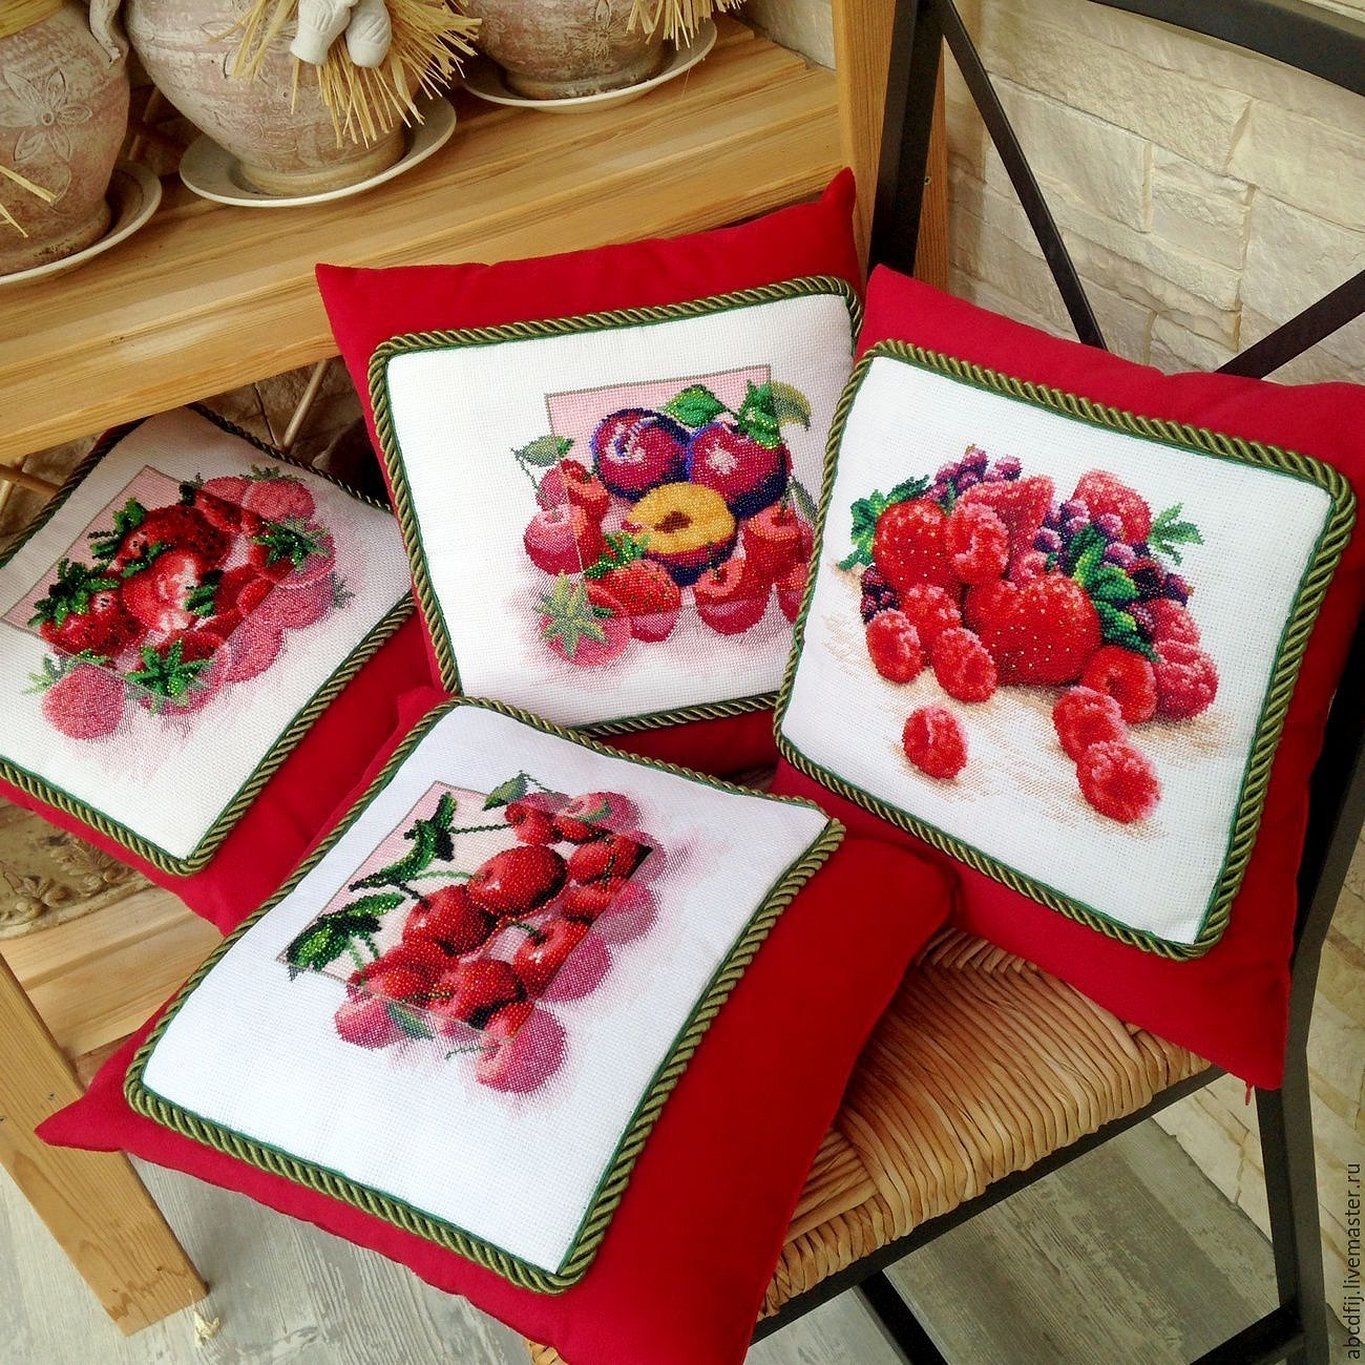
Sew the parts together using an overlock. Remember that the seam should go exclusively along the border of the embroidered pattern and there should be no empty fabric sticking out on the sides. If this does happen, this defect can be easily hidden with a decorative rope, sewing it on top of the seam along the entire perimeter of the craft.
Finally, you need to sew in a zipper, preferably the same color as the pillow. Turn the product right side out, insert the pillow through the open fastener and close it. The product is ready.
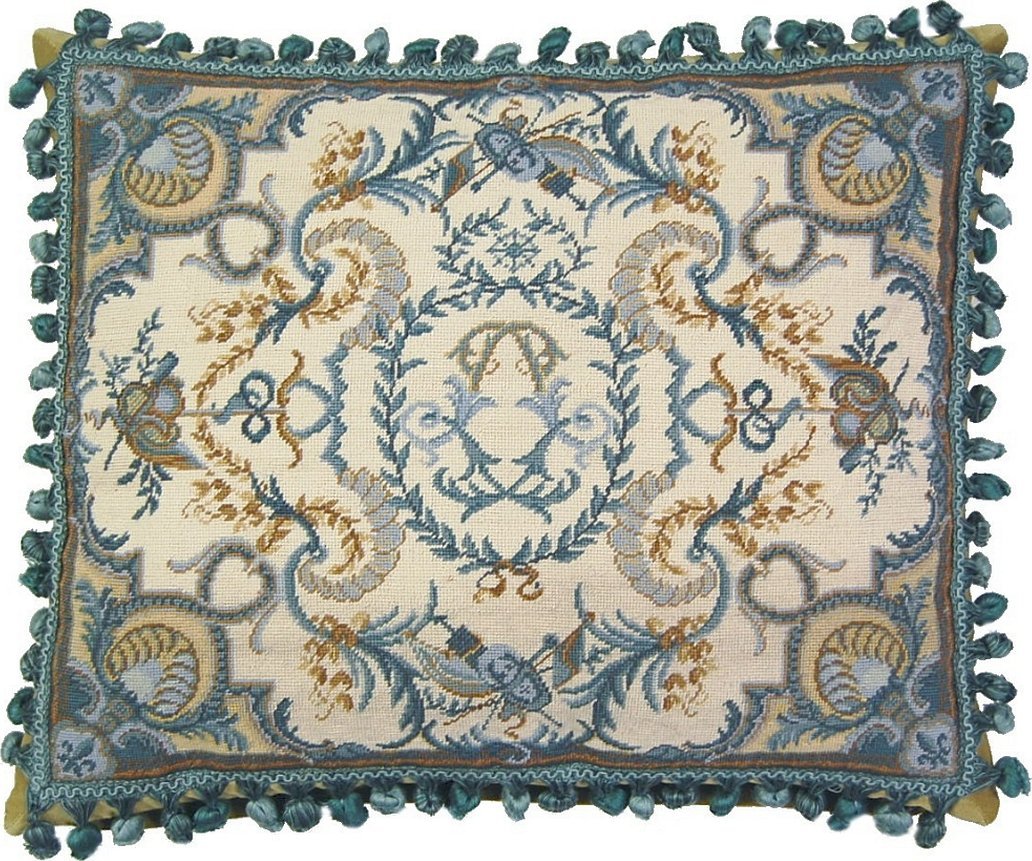
If desired, you can decorate the pillow with lace, ropes, fringe or rhinestones. It all depends on personal preference. You can also make the pillowcase wider than the drawing itself. In this case, you need to sew strips of fabric measuring 4 centimeters or more to the drawing. Make the back of the craft taking into account the enlarged upper part.
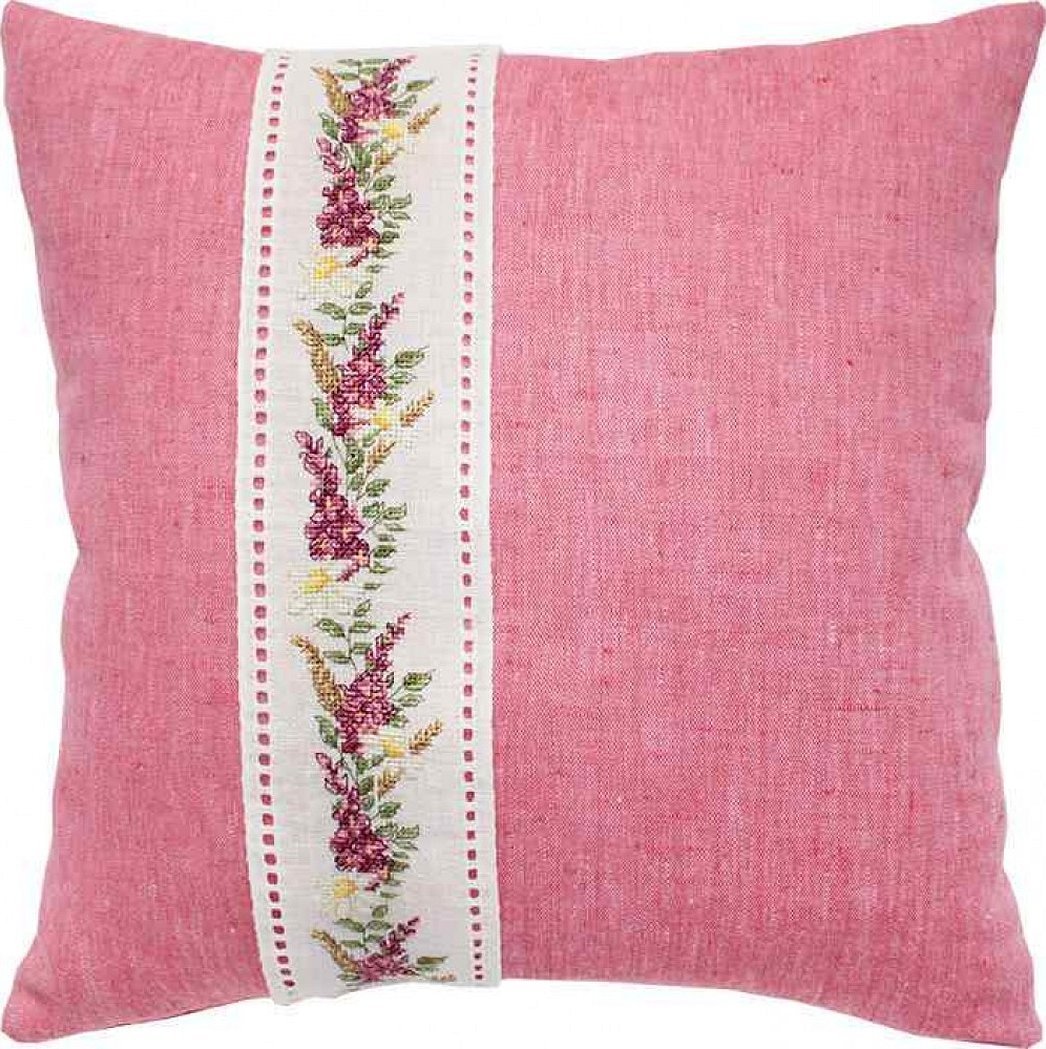
Sewing a pillowcase with embroidery
Tools and materials for work:
- finished drawing;
- satin or lace ribbon;
- a piece of cotton fabric;
- clasp;
- decorative pillow;
- yarn, needles, machine.
Step-by-step work:
- cut three pieces out of the material. The first is 37*37 cm (with allowances of 1 cm), the second is 37*20 cm (20 = half the side of the product together with allowances for the seams), the third is 37*22 cm (21 = half the side of the product with space for the zipper and allowances);
- process the edges of the fabric using an overlock machine;
- sew the embroidery on using a machine. It should be in the middle of the pillowcase. The edge can be decorated with a braid of your choice;
- the length of the ribbon is calculated using the formula: two widths + two lengths of the pattern + 1.5 cm for each corner = 21*2 + 17*2 + 2*4 = 84 cm. If the ribbon is wider, then the corners should also be larger;
- sew the tape first on one side at a distance of 3 mm, and then on the other. If you sew it in the center, then it will start to bend. After sewing the tape, carefully iron the first part from the inside;
- then you can sew on the fastener. It should be face to face with elements 2 and 3. Then make a turn-up on element 3 so that the fastener is closed, and iron it;
- Now you need to put the two finished pieces together with the right sides together and sew along the edge. The zipper should be open at this point, so it will be easier to do the job.
Below is a description of how to embroider a pillow according to the latest trend of 2019. Embroidery work can be done either by hand or on a special machine.
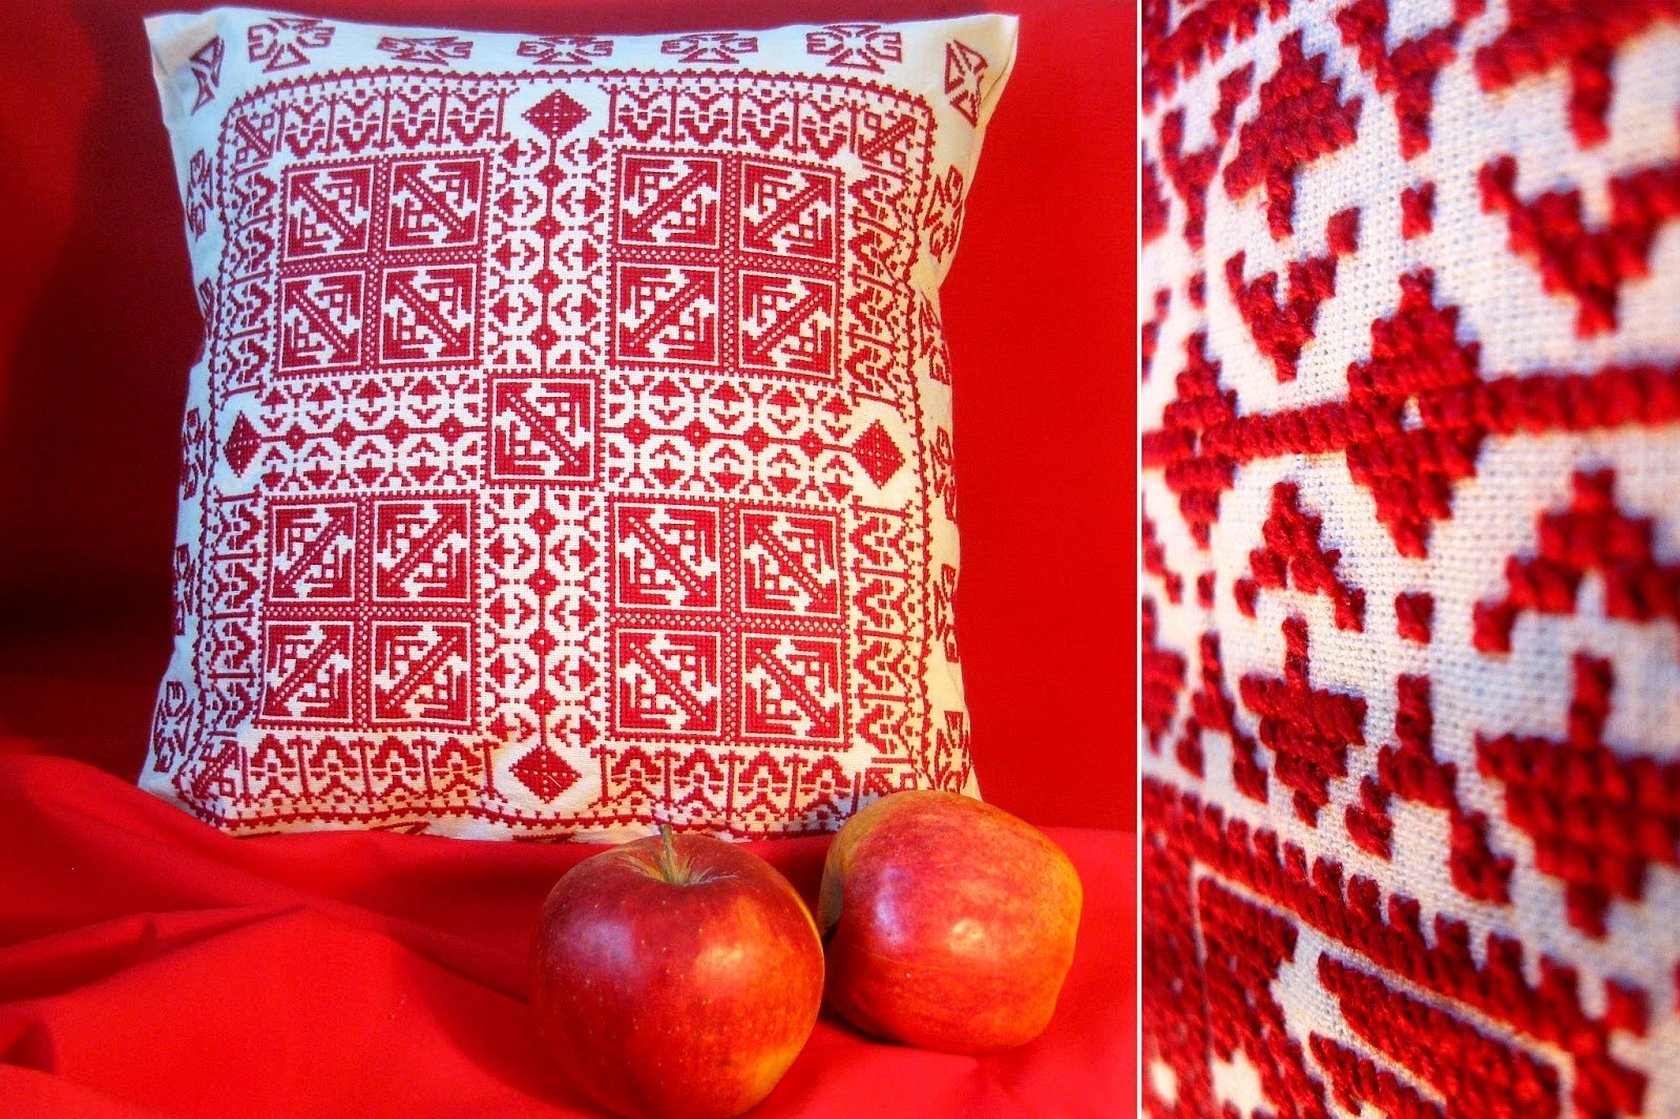
Fashionable cross stitch patterns
The most popular pattern on pillows is flowers and plants. Sometimes geometric patterns are used, they highlight the interior of the living room well.
Attention! Sometimes you can add ribbons and lace or beads to the embroidery. The size of decorative pillows is usually 30x30. The embroidery should be in the same style as the room itself.
Even a novice seamstress can cross-stitch a pillowcase, but it is advisable for them to buy ready-made kits. Such crafts will look great in a living room or bedroom, and for a child's room you can make bright drawings of animals or fairy tale characters. Before you start embroidering, you need to remember that the canvas and fabric must be washed to avoid shrinkage. If a person is still not sure of the success of the work, it is better to contact the masters in the studio.


