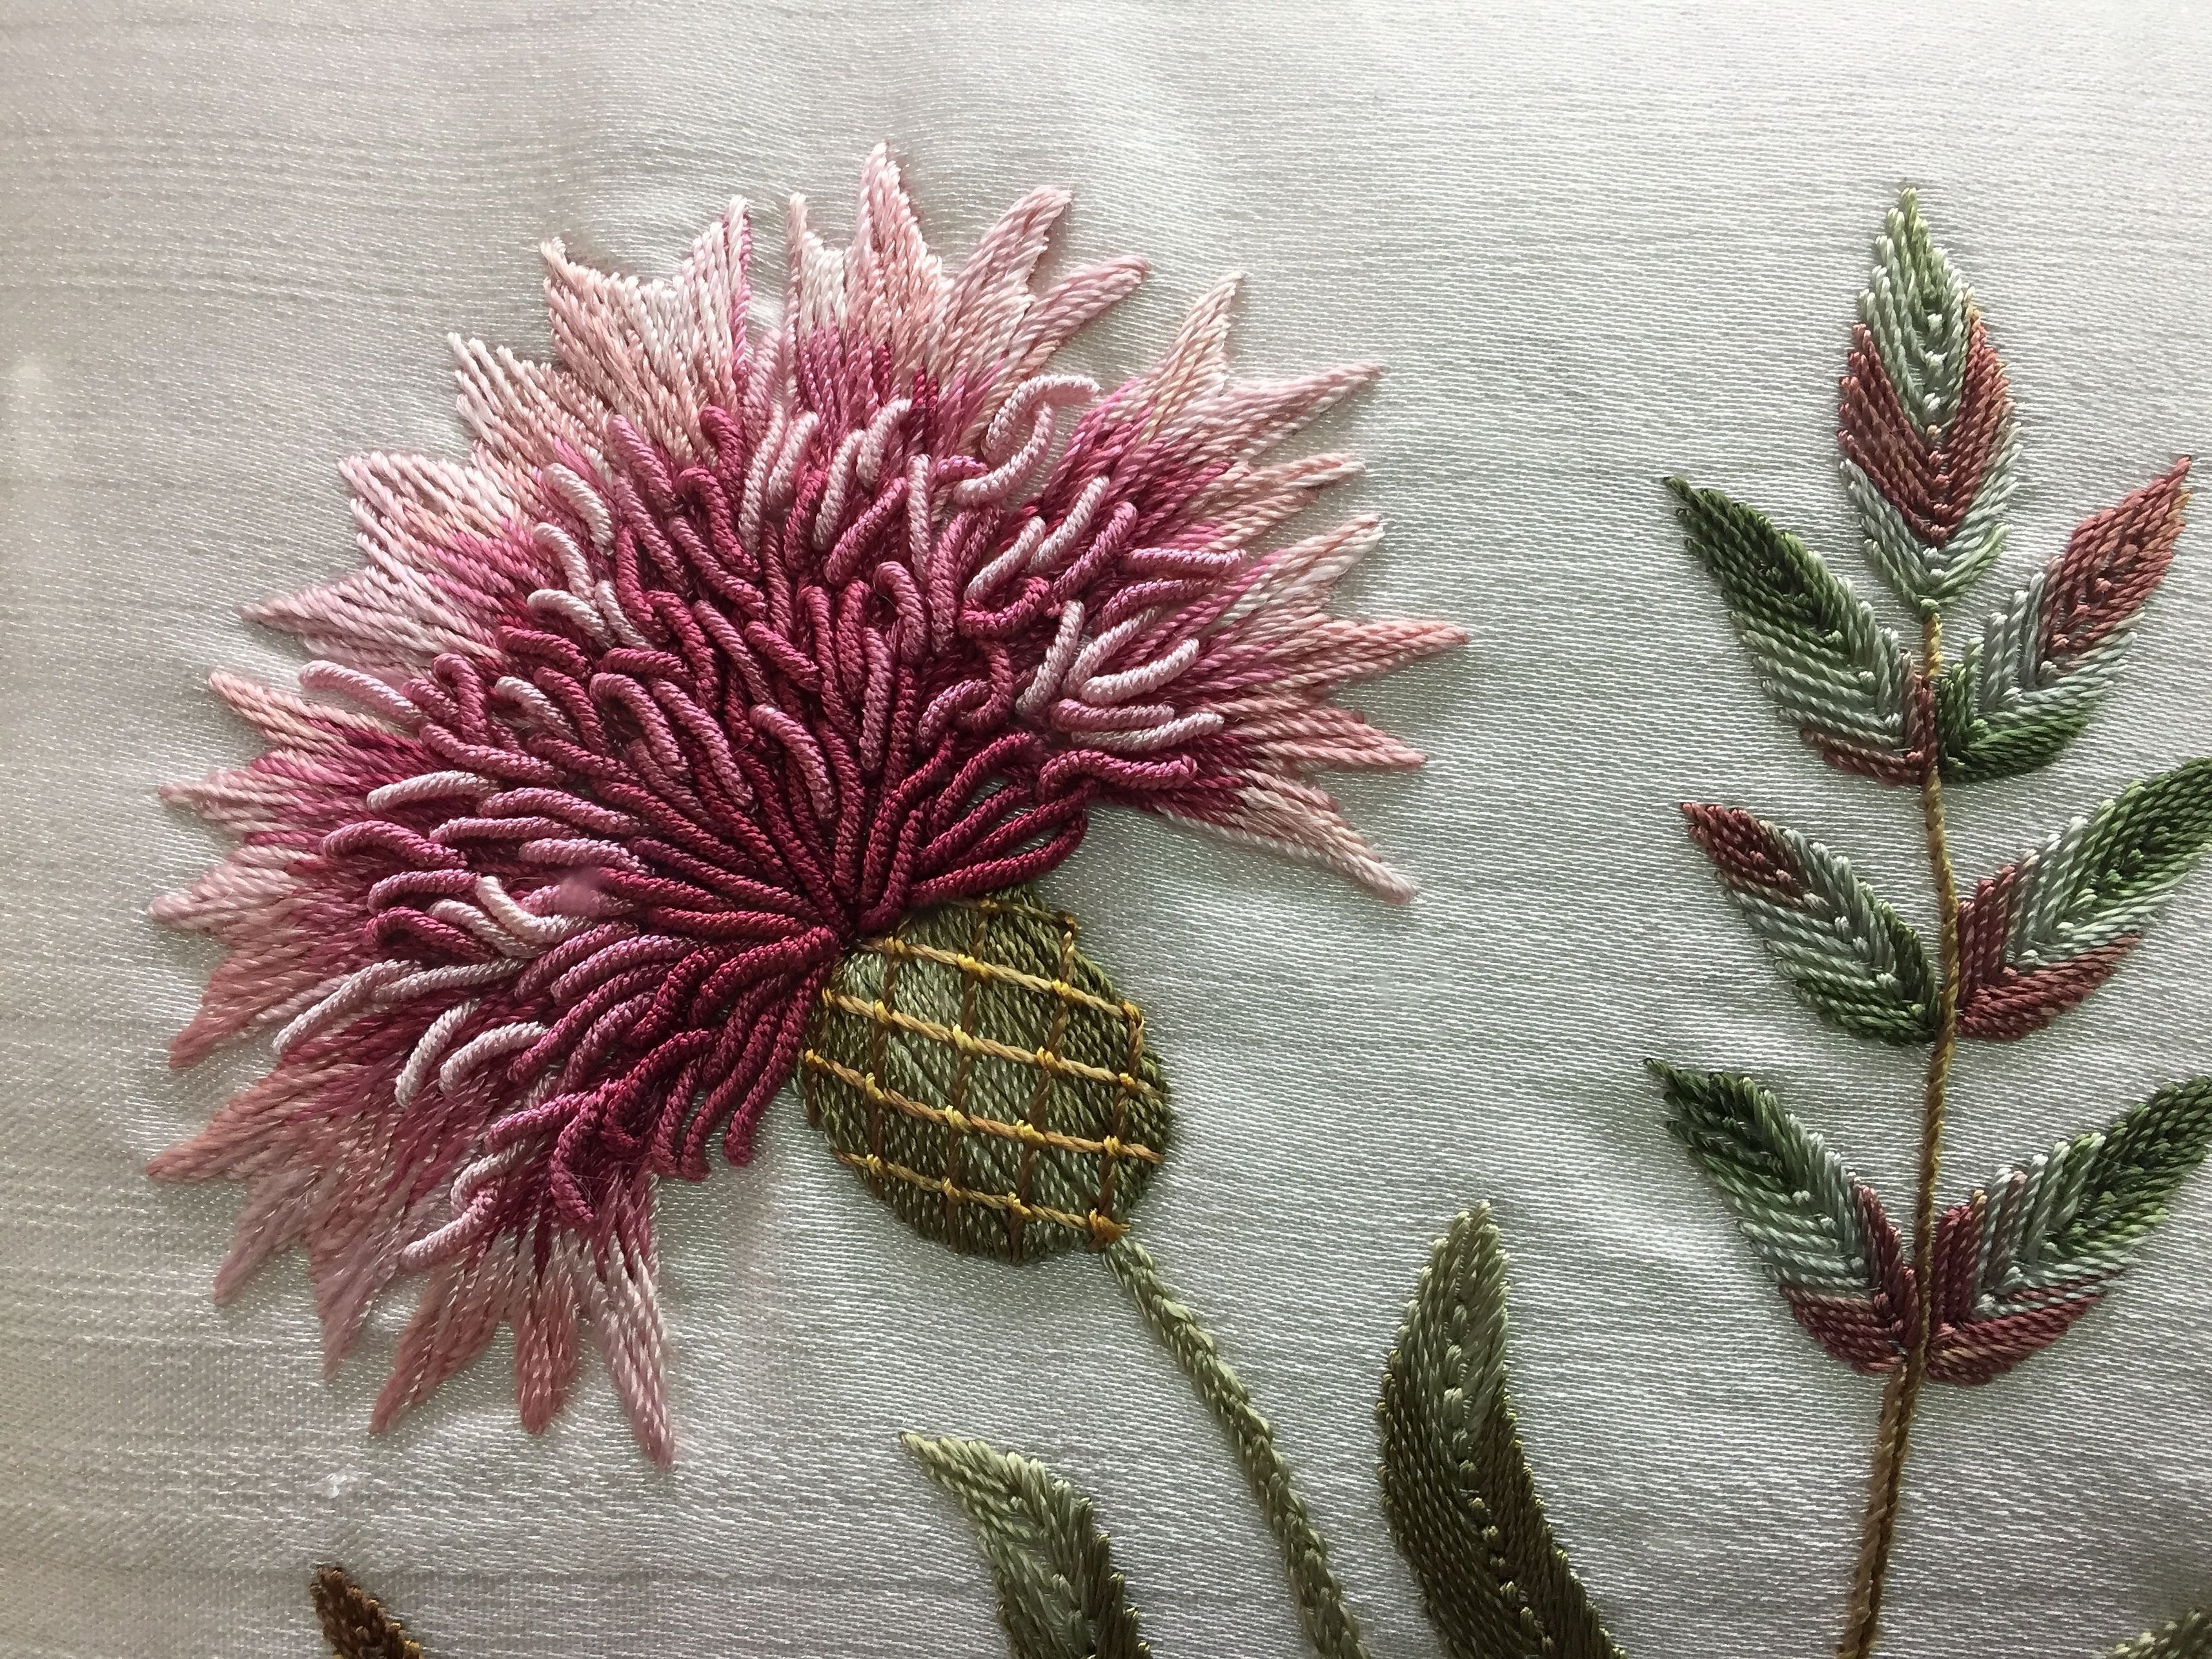
Volumetric embroidery is a type of handicraft art based on the creation of relief patterns using embroidery. The main difference of such works is the use of special types of techniques and volumetric materials. The resulting paintings will look realistic and will fit perfectly into any interior.
History of 3D embroidery
The concept of three-dimensional embroidery first appeared in England. It was discovered in the second half of the 17th century. Historians associate its origin with the period of schism in the Western Christian church. During the times when Catholicism reigned in England, all embroiderers were involved in decorating church clothing and icons.
After the reforms, significant changes took place. Luxury for church representatives became unacceptable. Embroidery began to enter secular life. This was the peak of creative imagination in the desire to decorate one's home as best as possible. At this point, three-dimensional embroidery was born.
At that time, the technique of volumetric embroidery consisted of embroidering individual elements of a picture from pieces of fabric. Then, the overall composition was assembled from them. Thanks to this, it was possible to create a relief image. Mirrors and boxes were decorated in this way.
Types of satin stitch
Depending on which side the design is embroidered on, embroidery types can be divided into two groups:
- one-sided satin stitch;
- Double-sided satin stitch.
In the first case, the pattern will be visible only on one side, in the second it is identical on both sides.
Russian smooth surface
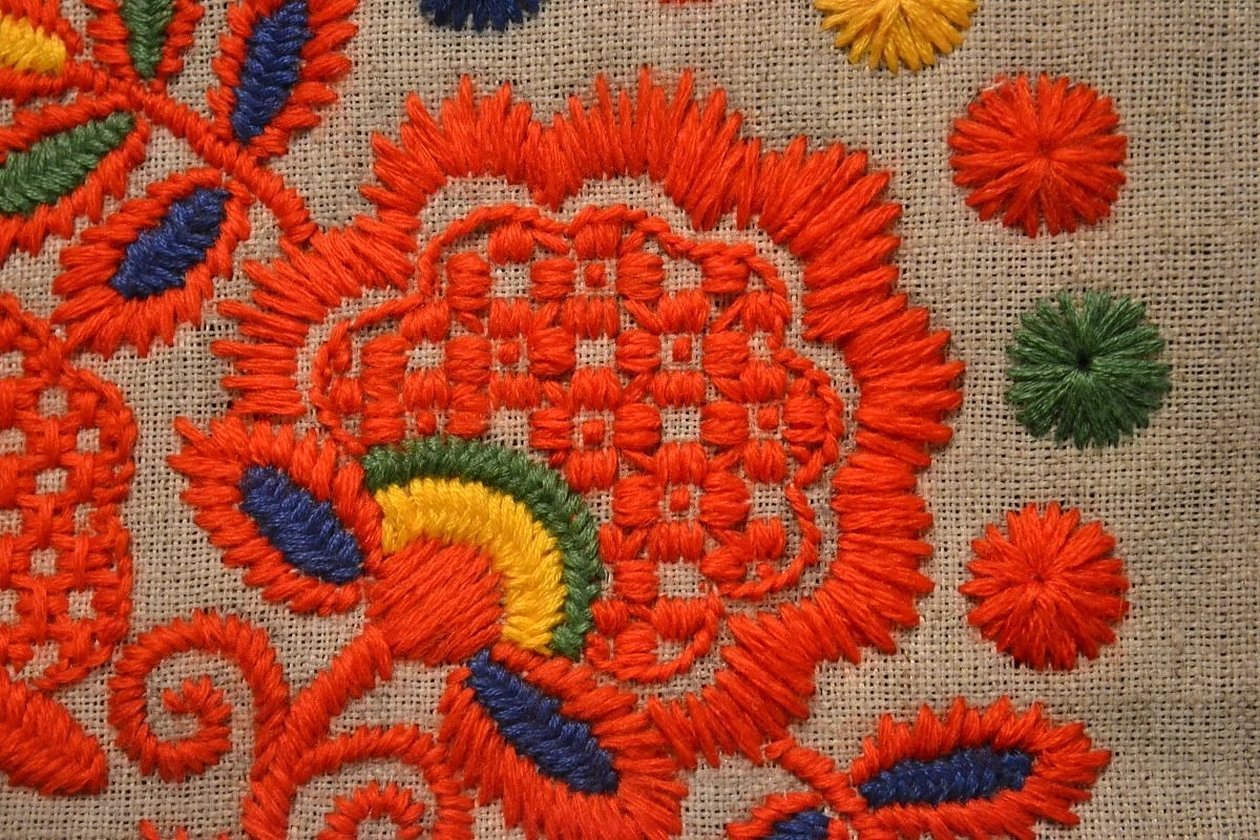
This type of embroidery, such as Russian satin stitch, is made with stitches 5-6 mm long along the thread horizontally or vertically. During the reverse stitch, it should cover the missed threads of the working one. The stitches should be placed tightly to each other.
Chinese stitch
The Chinese technique is very similar to artistic satin stitch in its execution. The following rules must be observed when performing it:
- The details of the drawing are divided into shades with a transition that has a clear boundary.
- Each element will consist of several parts, their contours should repeat the contours of the parts. At the same time, the direction of the stitches can be different in each part of one part.
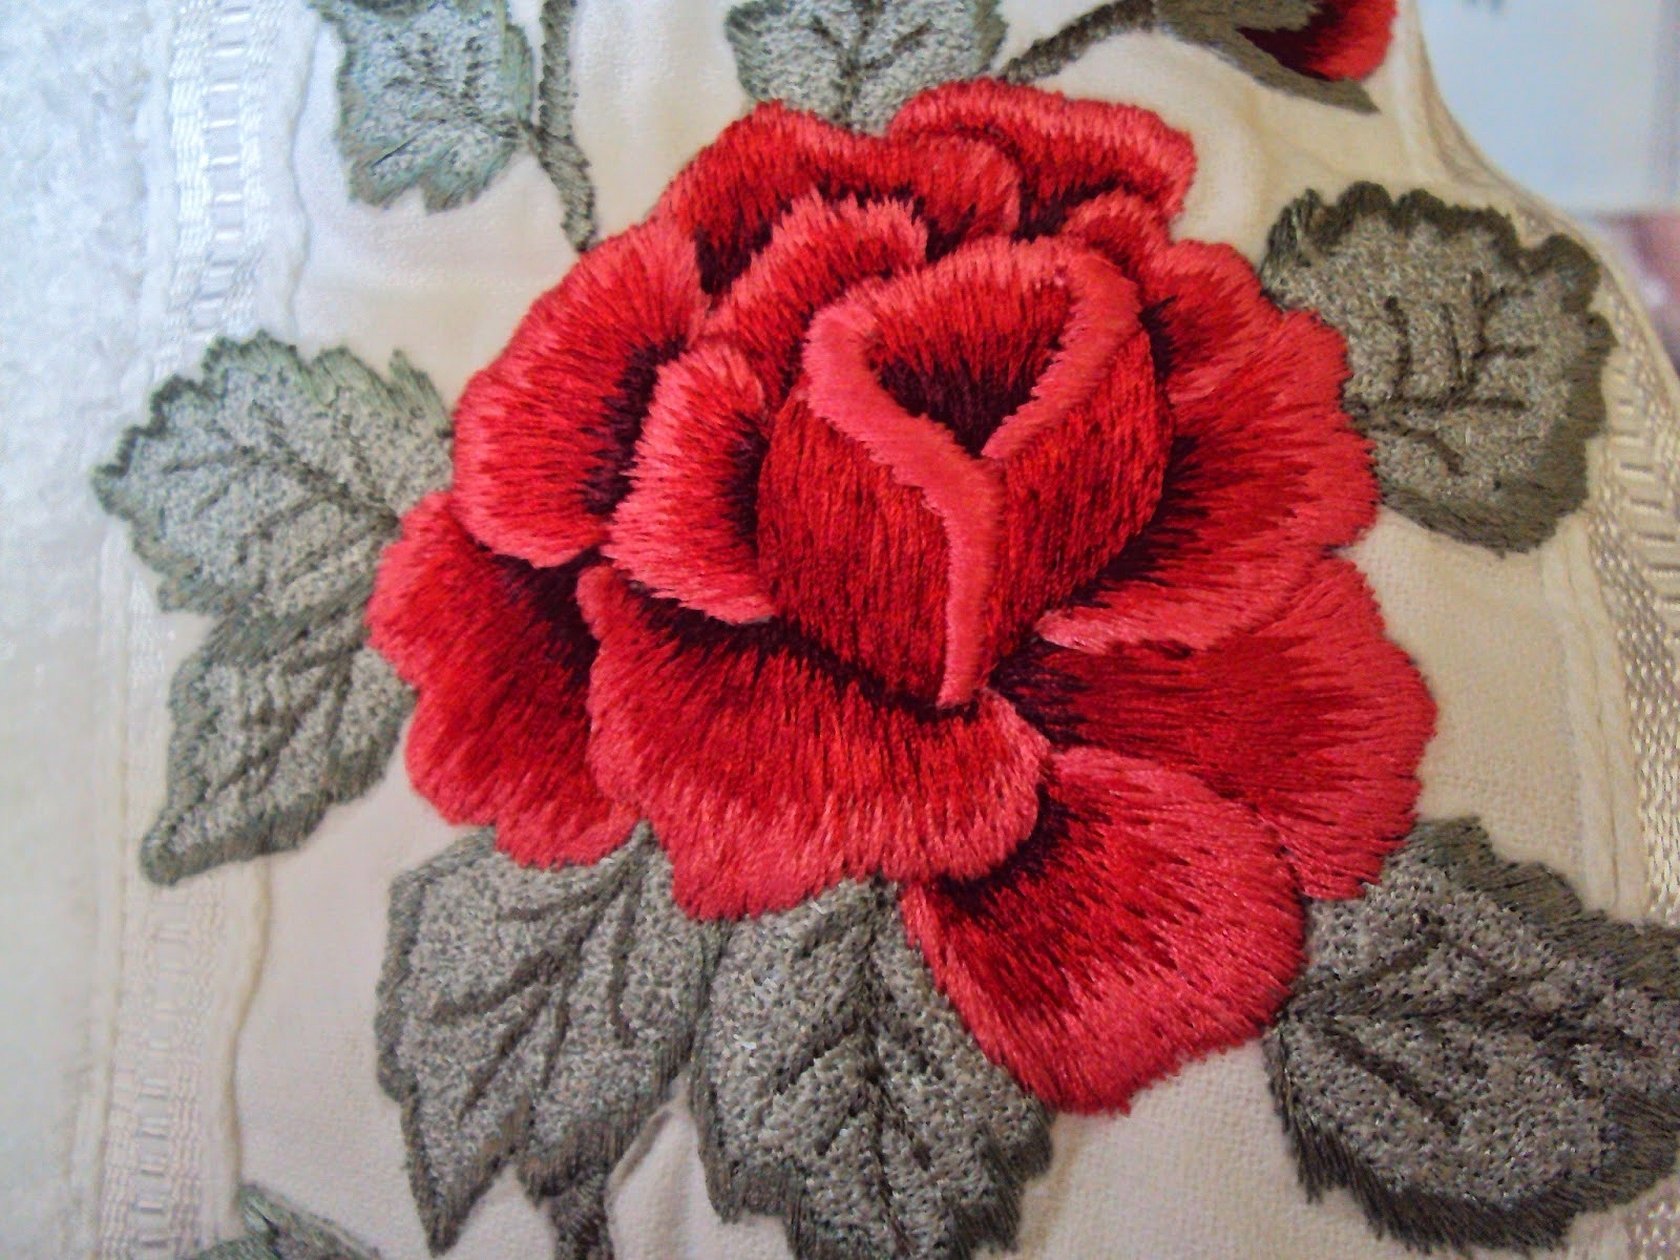
When performing Chinese satin stitch, only silk and silk threads are used. This technique is used to embroider plant motifs, such as sakura or roses, as well as elements of the animal world. Much attention is paid to the choice of colors; all shades must be harmoniously combined with each other.
Tools and materials
Before you start embroidering, you need to prepare all the necessary materials and tools. These include:
- The base canvas is a dense fabric on which the weave of the threads is clearly expressed. Linen and denim fabrics, as well as matting, are good base materials.
- Threads - they can be made of wool, cotton and silk. The thickness can be different.
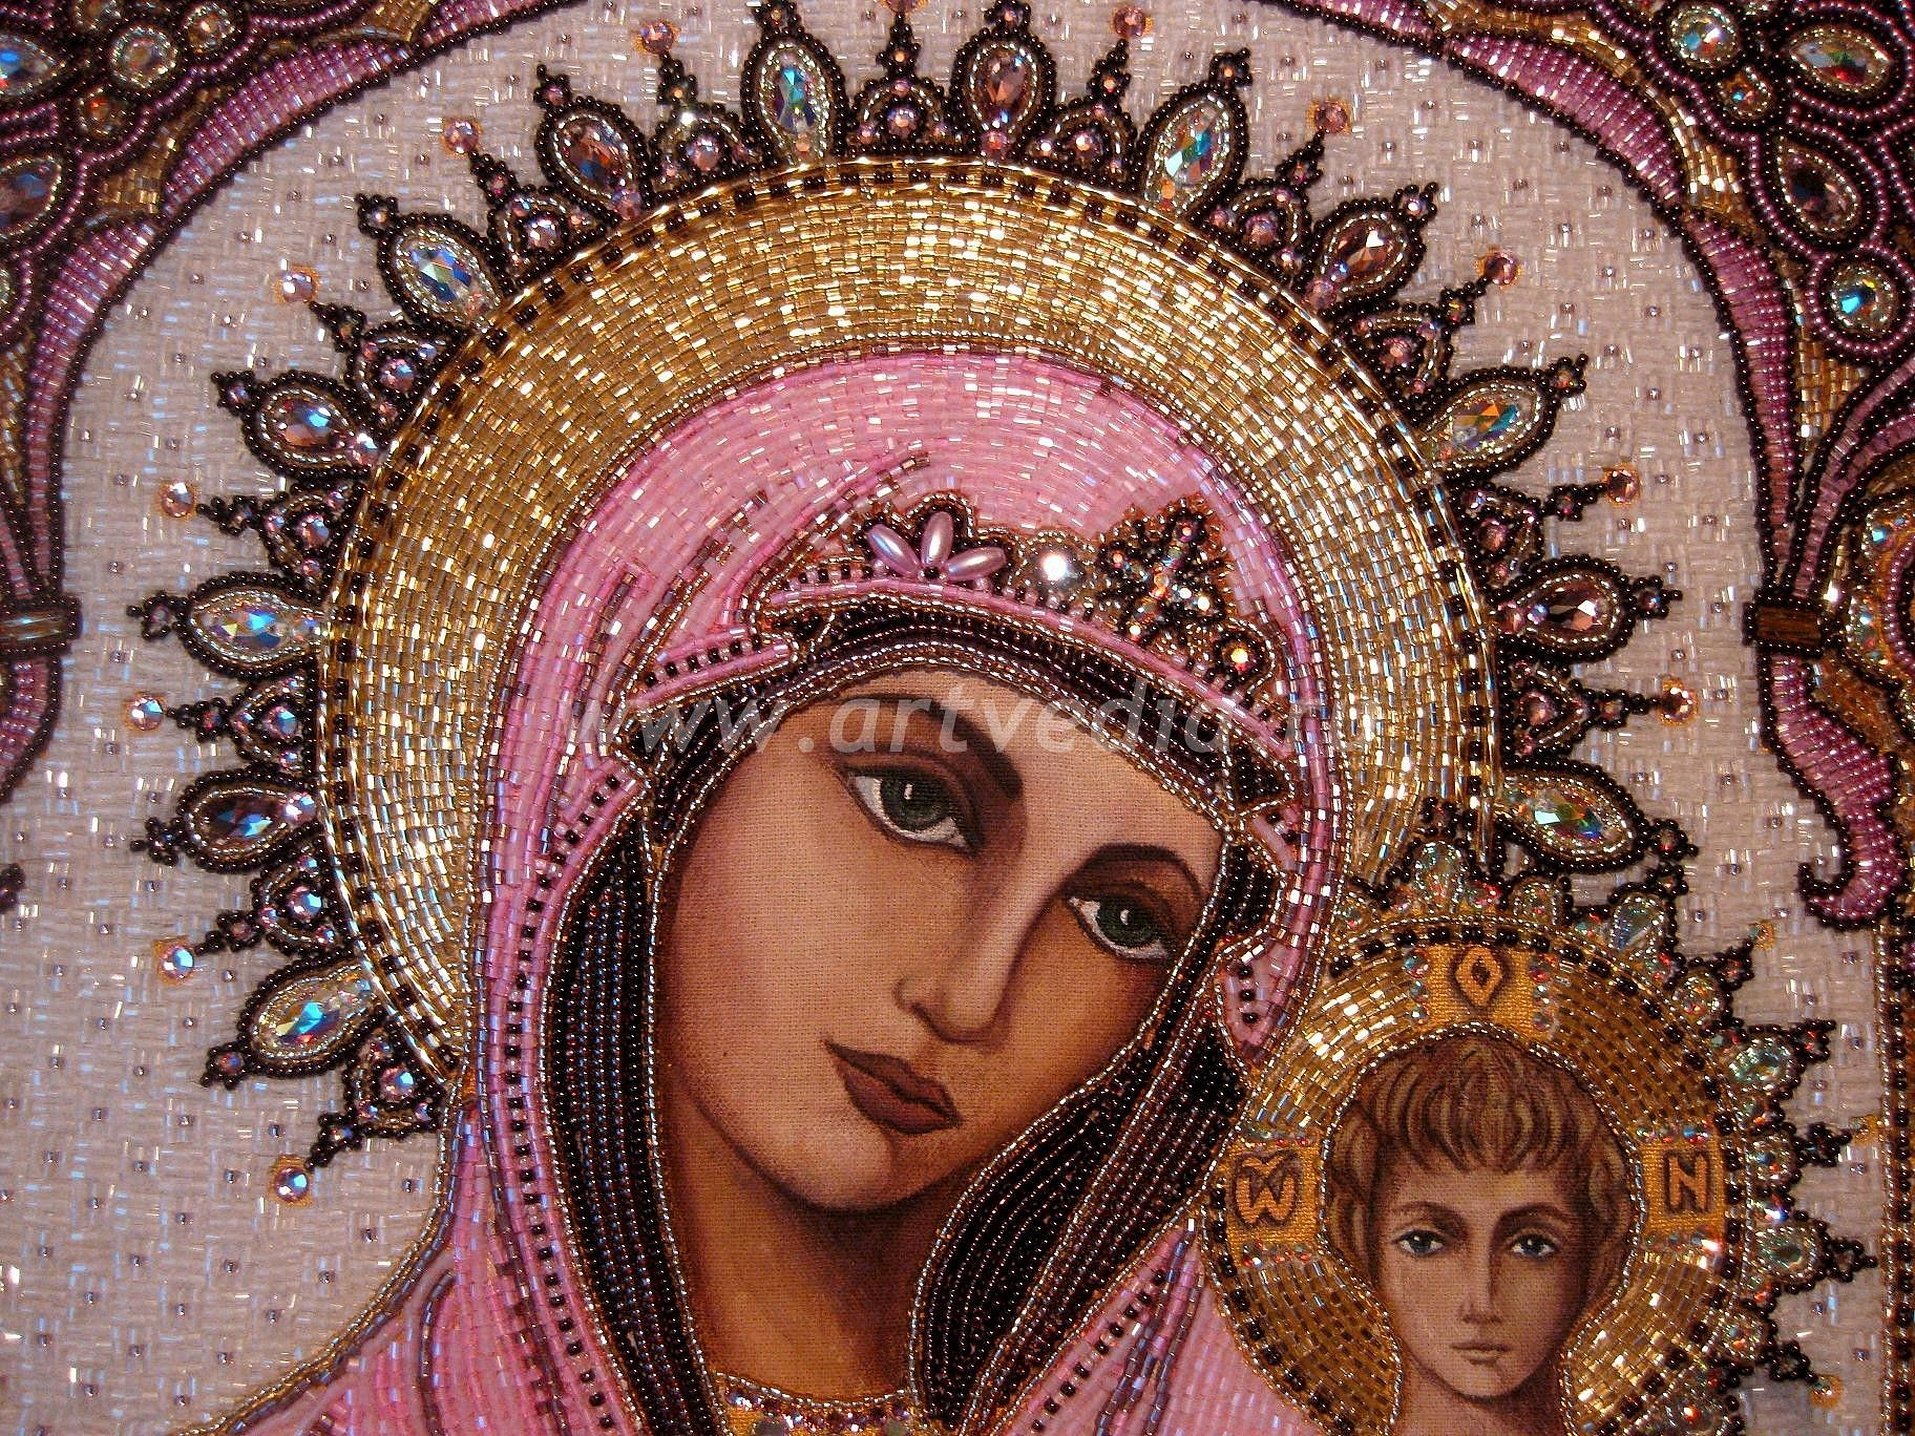
- Decorative elements for decoration: rhinestones, beads, seed beads, ribbons of various widths.
- Thin wire to give rigidity to embroidered elements.
- Patterns and pencils for transferring designs onto fabric. Water-soluble markers can be used.
- Games with different eye diameters to suit working with beads and beads.
- Scissors for handicrafts.
- Wooden or plastic hoops.
Important! When choosing threads, you need to make sure that they do not shed, otherwise the whole work will be ruined!

Basic techniques
There are several types of volumetric embroidery, depending on the materials used. The main ones include volumetric embroidery:
- threads;
- ribbons;
- beads;
- sequins.
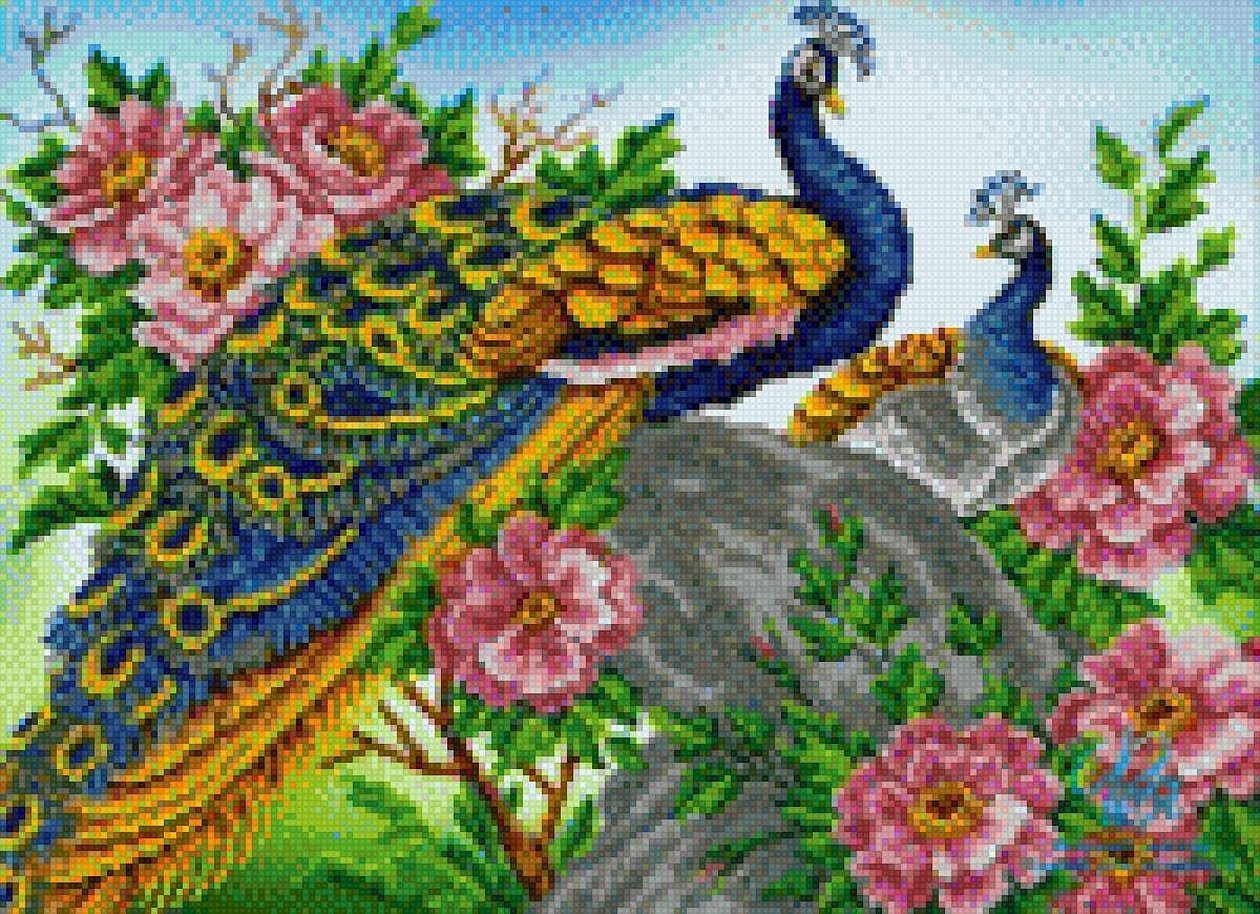
Most often, floral themes are used in volumetric embroidery. You can create magnificent volumetric bouquets against the background of butterflies. Landscapes, still lifes, and cartoon moments are very popular.
Machine volumetric embroidery is in demand in the sewing industry. This technology is more advanced than manual embroidery, thanks to it, you can apply patterns to complex materials: knitwear and crocheted items. For example, with machine knitting, you can apply a volumetric pattern to children's mittens or a sweater.
Main types of hand stitches
Relief embroidery can be done with different types of stitches. The step-by-step instructions for embroidering them are as follows:
- "Stem stitch" - this is stitches that are located at the same angle. To make this stitch, you need to point the needle towards yourself and make stitches in the opposite direction. Each subsequent stitch starts from the center that goes before it.
- Basting stitch - it looks like a dotted line. The stitch length should be about 5 mm.
- “Lace” - is done like a basting stitch, but additionally needles are passed through each stitch.
- The loop stitch - there are many varieties. It is used for overcasting embroidered elements, as well as for creating leaves and flowers. To make this stitch, you need to insert the needle on the front side, then form a loop of thread through which you need to pass the needle to make the next stitch.
- Backstitch - this is necessary to create a continuous thread. The needle is brought out to the front side, and then inserted to the right at a distance equal to the stitch size. Then the needle is placed on the left side of the first puncture. The same distance must be maintained. Each subsequent stitch is made where the previous one ended.
- The Brazilian stitch is made with silk threads to create relief patterns. It includes elements of lace-making.
Beginning needlewomen are advised to start working with these seams.

Technique of transferring a design onto fabric
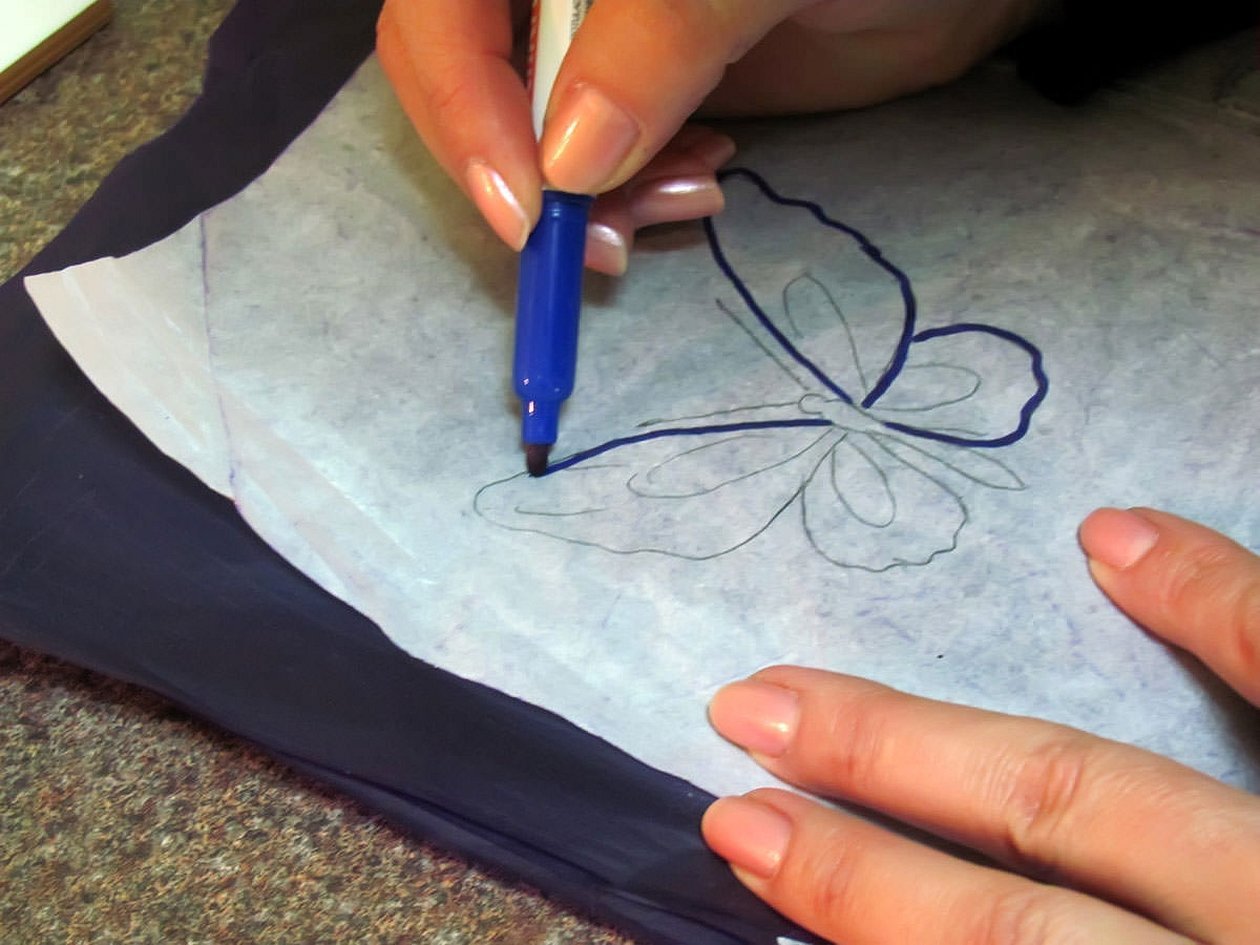
If the pattern is selected in a magazine, it can be transferred to the fabric using carbon paper or transparent paper - tracing paper. If tracing paper is used for this, it should be placed on top of the drawing, then the outline should be traced.
You can use carbon paper. It is placed on a clean sheet with the colored side, then the selected drawing is placed on top. The outline of the drawing is traced with a pencil. This must be done very carefully so that the paper does not move, as this can distort the image.
Tips for Beginners
Using the tips and master class for beginners on embroidery with wool, ribbons and other materials, beginners will learn how to create magnificent pictures. Before you start working, you need to align the edges of the fabric correctly. To do this evenly, you need to tear out one thread along the edge, and then remove the excess fabric along its trace. All this needs to be done on four sides. After this, the material needs to be slightly wetted, and then ironed.
Important! If you do not follow these procedures, then after washing the fabric with embroidery, it will lose its shape.
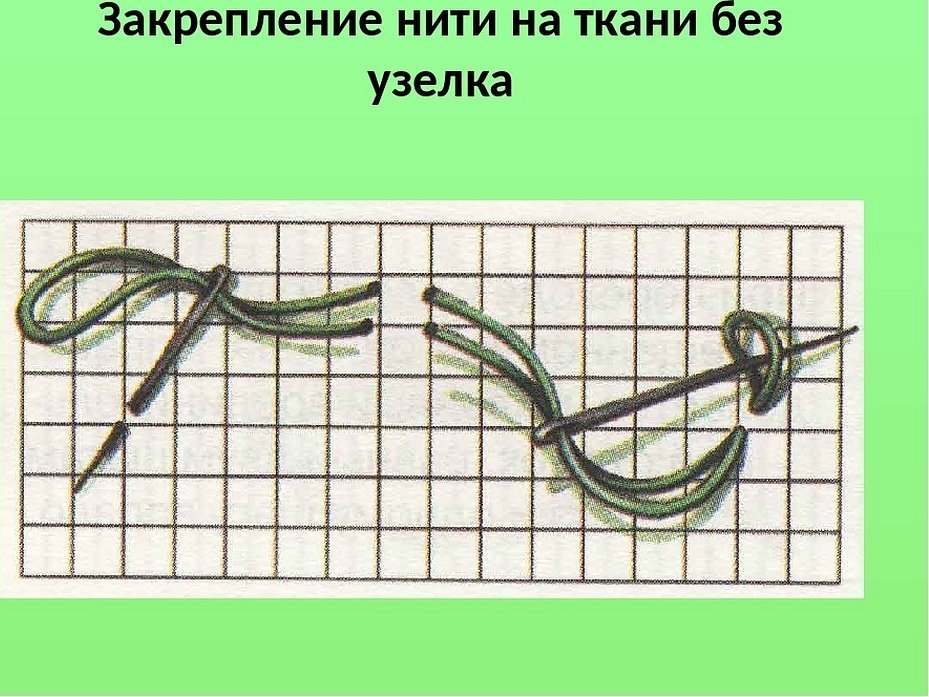
Experienced needlewomen say that in embroidery, knots should not be left on the back side of the fabric. To avoid this, at the beginning of the work, the end of the thread is secured in several ways:
- On the back side, make a stitch so that a small end of thread remains, then make a cross stitch. The end of the thread must be bent so that it is on top of the second stitch, then pull the needle to the front side of the work to tighten the end.
- If the embroidery is done in two threads, then it is passed through the eye of a needle folded in half. Then two or three threads are grabbed from the fabric, the working thread is pulled through. Then the needle with the working thread is passed through the loop that is formed at the place where the threads are folded.
After finishing the work, the thread is secured on the back side. This can be done by pulling it between the embroidery stitches and cutting the end with scissors.
Care instructions
Embroidered items need to be properly cared for to ensure they last as long as possible. It is necessary to regularly remove dust from the surface and protect the paintings from direct sunlight.
Important! All paintings made using the 3D embroidery technique are strictly not washable!
Wet cleaning can only be done with voluminous cross-stitch embroidery. It can be washed with warm water and a gentle shampoo. But first, you need to separate the embroidered part from the canvas. After the product dries, it can be reassembled. This method is labor-intensive, but it can refresh your work of art.
Volumetric satin stitch embroidery is a great way to express your creativity and imagination using a needle and thread.
https://www.youtube.com/watch?v=efAn1Fs76r8


