"Almost Perfect" is an embroidery for those who dream of becoming parents. The sign says that by embroidering angels according to the original pattern, a girl or woman will soon become a mother. But for the plan to come true, it is necessary to strictly follow the instructions.
Sign about embroidery
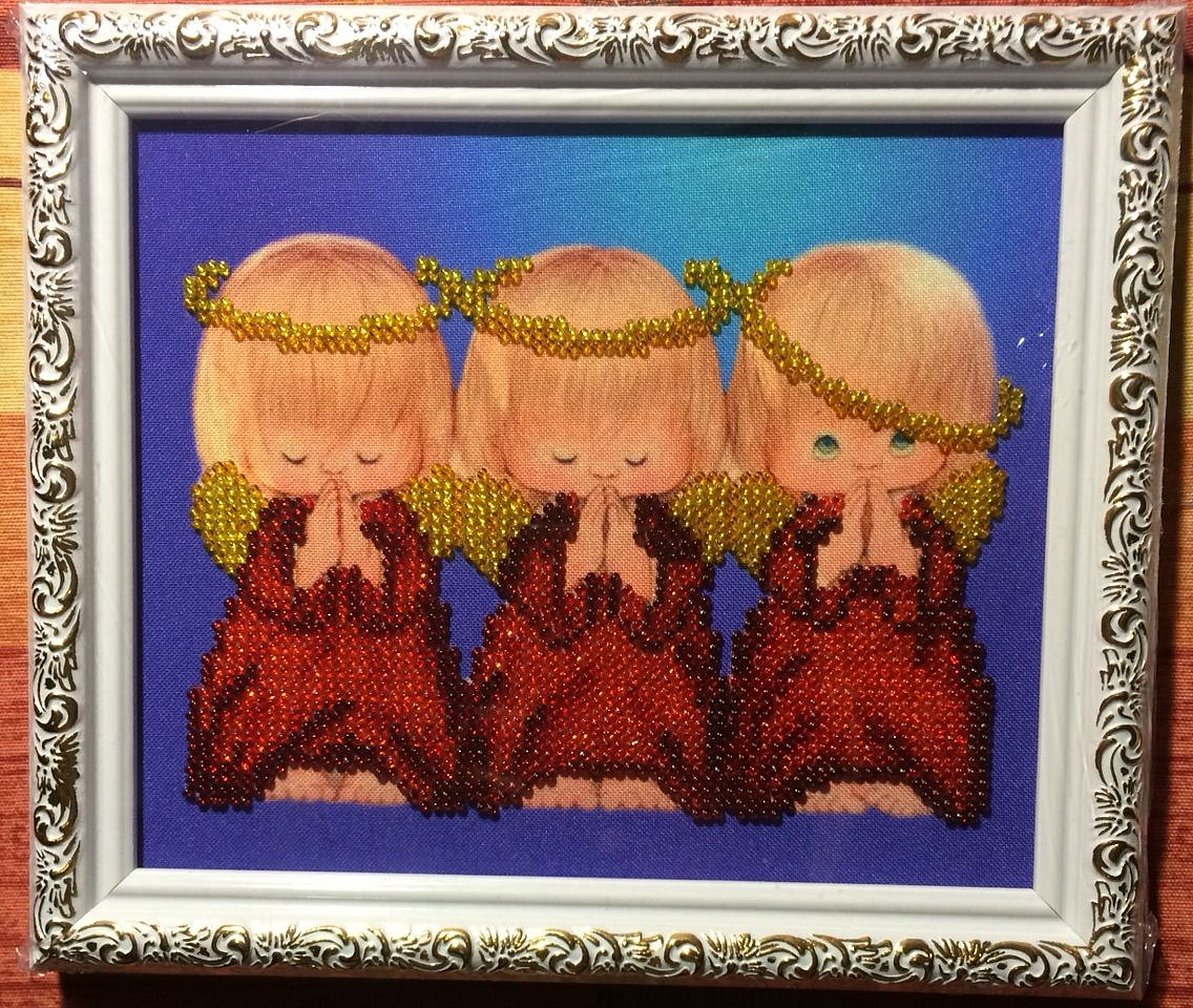
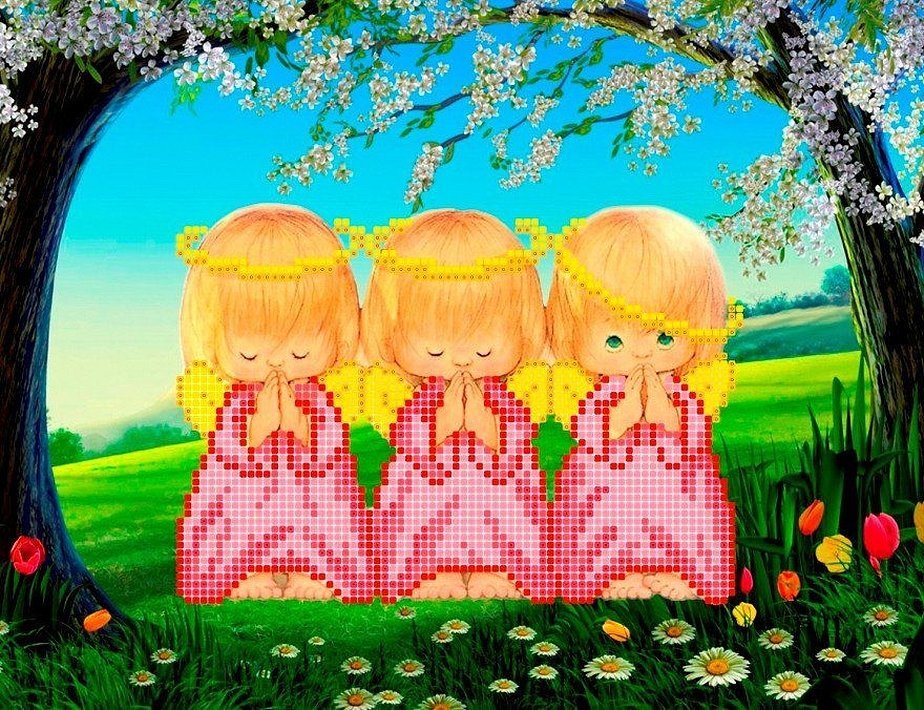
Almost perfect — embroidery that helps women become mothers. Signs in embroidery have been known for decades. The angel symbolizes pregnancy, the birth of children. The picture shows two angels, one of which has opened its eyes. The others are sitting with their eyes closed. Three angels pray for the birth of a baby and bless for an easy bearing.
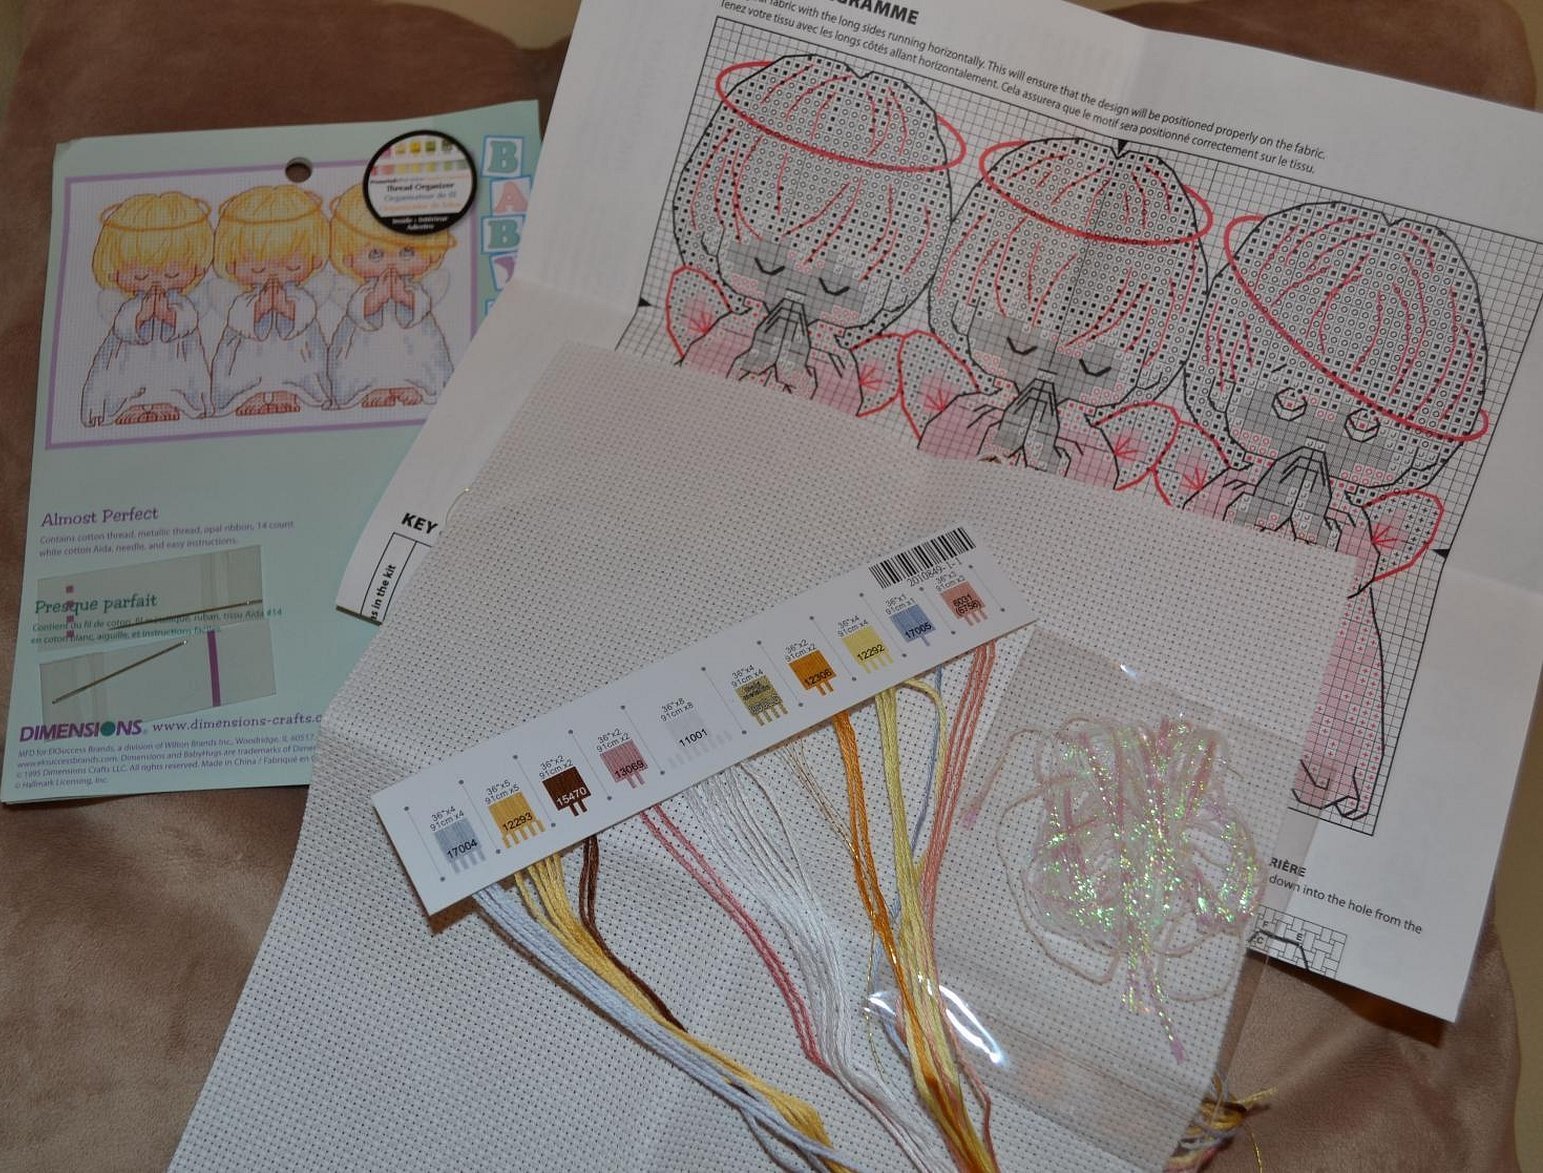
It is important that women embroider the original embroidery. You cannot change the threads or the order of work. Use other patterns. The set contains everything you need to complete the picture.
The embroidered picture is placed in the bedroom. It is recommended to install the frame with angels closer to the light. Many women turn to angels. It is believed that if a woman does not believe that embroidery will help, then she will fail. There are examples when girls took patterns from the Internet and made a picture themselves. But they did not help to fulfill the wish.
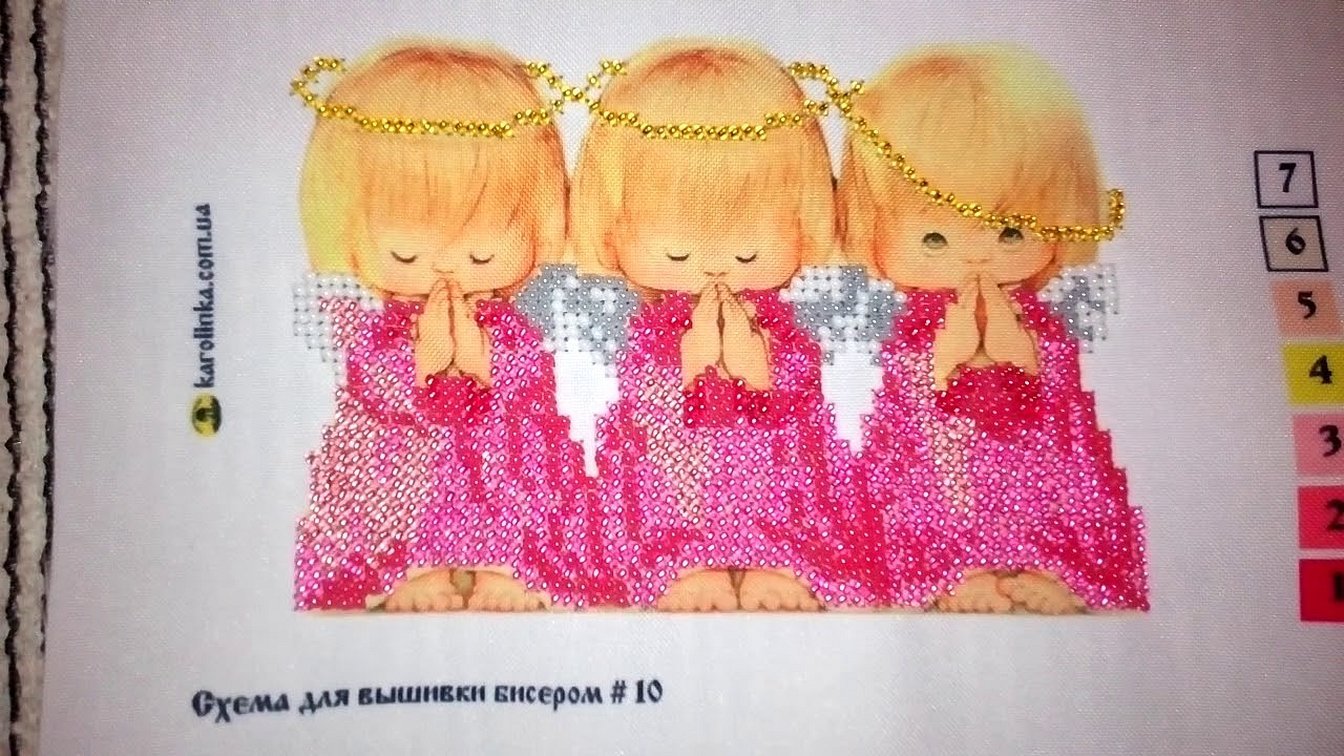
The secret of the name is that one of the angels depicted, the last one, is praying with his eyes open. The manufacturer guarantees success after finishing the work with threads and beads. Original sets are distinguished by their quality. Before printing a batch, the pattern is checked by experienced embroiderers manually. High-quality materials are used.
In addition to angels, there are other signs in embroidery. Poppy fields help to get married. But a pair of birds on the canvas help to achieve family well-being. Wolves are also taken into account. It is recommended to embroider storks, ducks, swans. If people are depicted, they should walk hand in hand. Peonies have long been embroidered to meet a lover. This is a symbol of passion, joy and love. If there are children in the family, peonies are abandoned, since pictures with them contribute to the destruction of the union.
To ensure health in the family, they buy pictures with cranes. A peach also symbolizes physical well-being. To ensure good luck in business, they embroider a ship. It symbolizes arrival. Wealth is also symbolized by the Carpathians and a goldfish. For luck, a fish or a money tree is depicted on the canvas.
There is a scientific explanation for the meaning of embroidery. Often, problems with conception arise against the background of emotional stress. In pursuit of happiness, women begin to dwell on the problem. Stressful situations force the body to "postpone" pregnancy for later. In the process of embroidery, a woman relaxes. And faith in luck helps to tune in psychologically, to distract herself.
Scheme: Threads, colors
According to the rules, the angel is embroidered only with the materials offered by the manufacturer. The threads and fabric are of high quality. Therefore, the picture will last a long time, and in the future will symbolize good luck and good relations in the family.
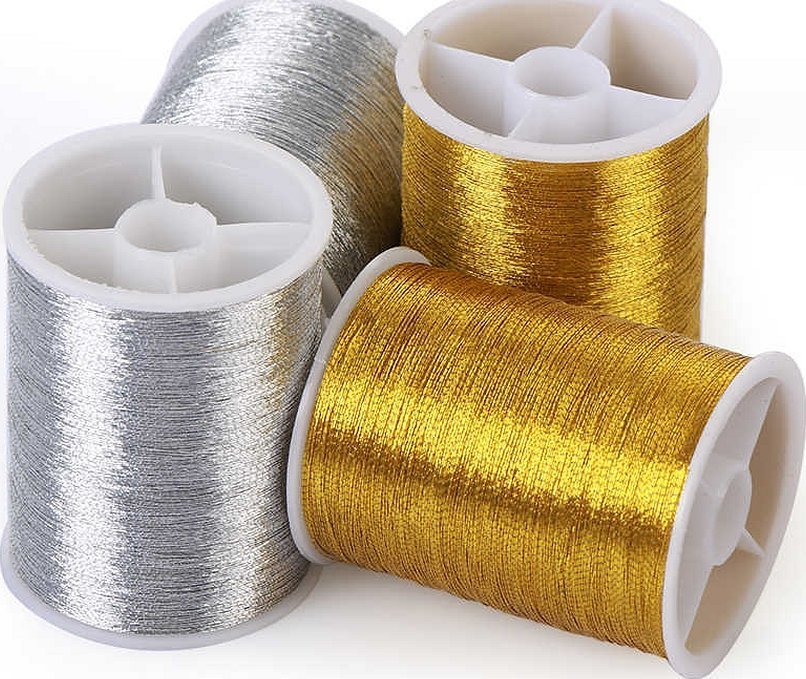
To create the picture, shiny threads, gold, silver are used. And also beads, if desired. Some women completely stitch the angels with beads. A delicate range is used. The basis of the embroidery is blue. A peach shade is used. Analogues are also produced in bright pink, red, and blue colors.
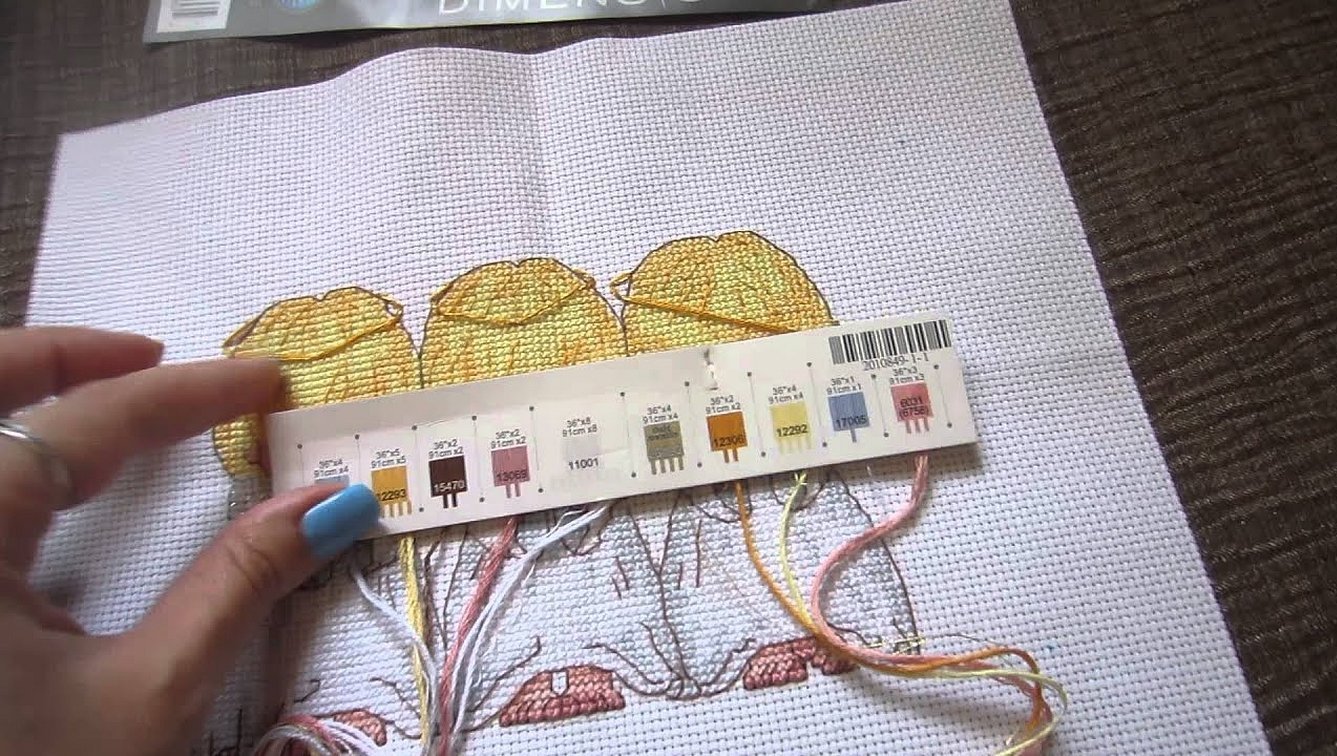
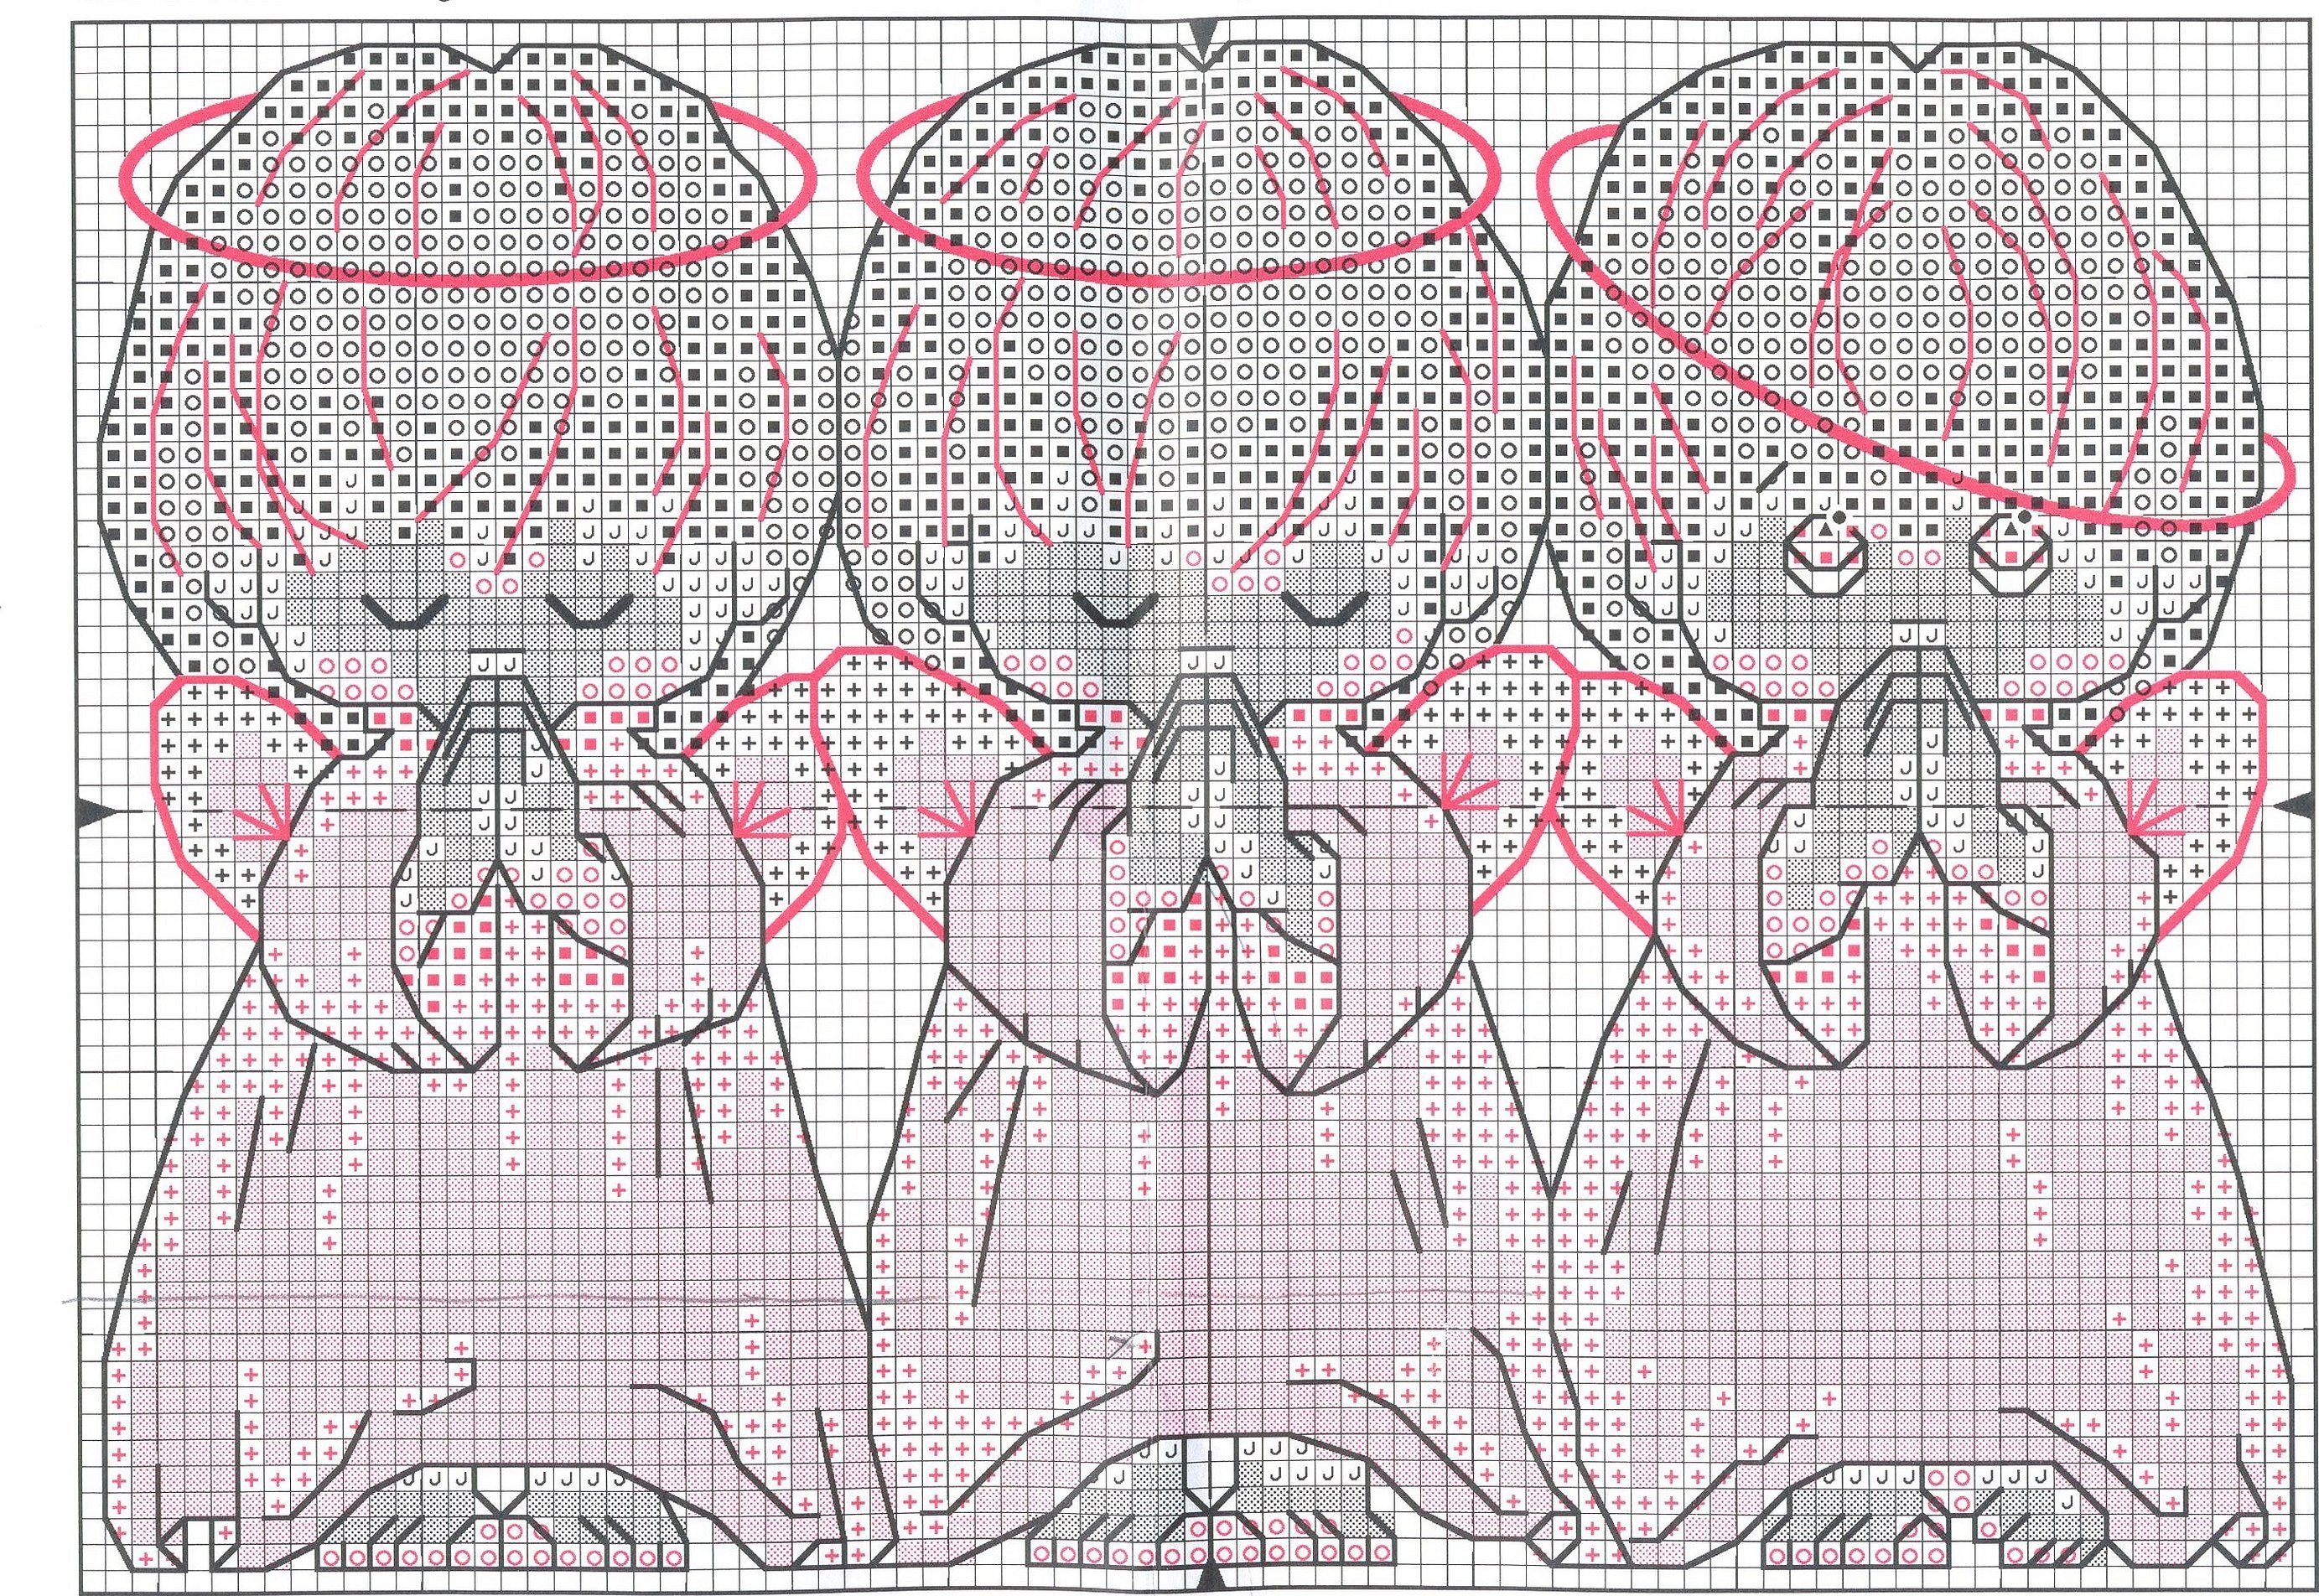
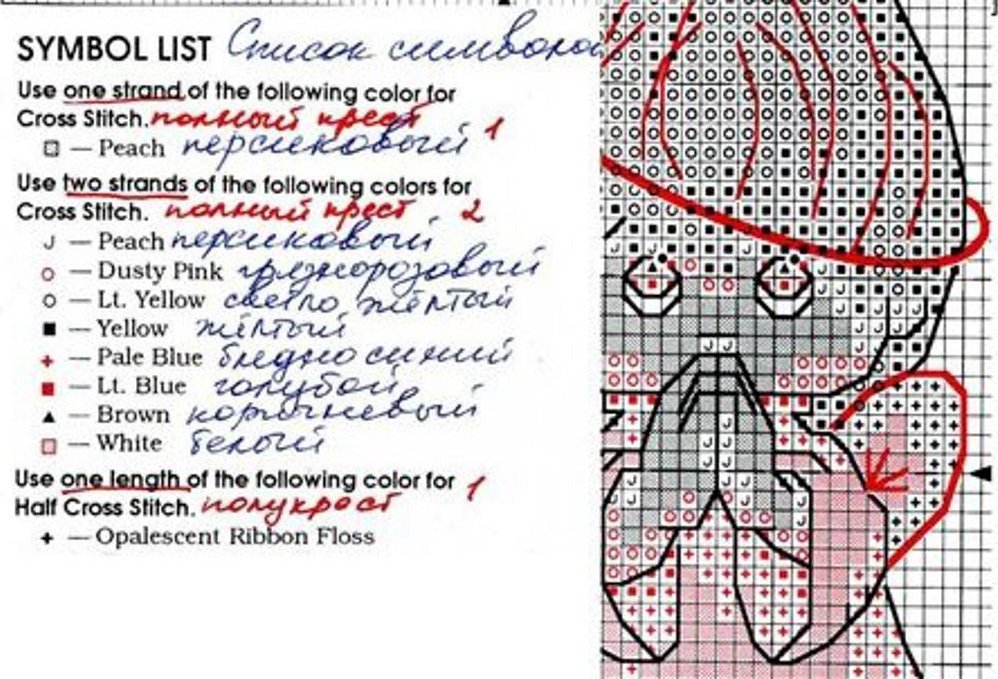
What colors are in the set:
- Peach - indicated by a light square.
- Peach - curved hook.
- Pale pink - red or pink circle.
- Light yellow - dark circle.
- Yellow - filled square.
- Blue - red cross.
- Light blue - red square.
- Brown is a triangle.
- White - pink square.
- Opal ribbon floss - dark cross.
To cross stitch according to the pattern, you should determine the correspondence of threads according to the table. To replace the finished ones, there are numbers for self-selection of threads.

Hint for choosing the right threads and decoding:
- Peach color corresponds to number five.
- Pale pink is number three.
- Light yellow is the eighth thread.
- Yellow color is the ninth thread.
- Gold is the fourth color.
- The blue color corresponds to the eighth thread number.
- Light blue corresponds to the second number.
- Brown is number four.
- White - 15 threads.
- Gold metallic - sixth threads.
- Opal ribbon floss - number 5.
To save threads, you can divide each of them into 6 parts, since they consist of strands. In this case, one end is held with two fingers and one part is pulled out. It should be remembered that gold threads and ribbon floss cannot be divided into parts. The set includes needles. It is recommended to embroider with laces with a small eye. And the rest - with a large one. The canvas is called AIDA. The fabric is specially designed for cross stitching.
Important! The edges of the canvas must not be removed. It is recommended to wrap them with tape. And also to strengthen them with a hoop.
Recommendations for needlewomen regarding the instructions:
- Embroidery starts only from the center of the canvas. To find the middle of the canvas and the pattern, fold them in half twice and find the intersection of the lines. Work starts from there.
- All threads on the back side are removed and hidden. But do not sew dark places under light ones. Because everything is visible on the front side.
- The stitches should not be pulled too tightly. The crosses should be moderately loose.
- Unsuccessful crosses cannot be cut off; they are pulled back out using a needle.
Important! Halos are always embroidered with laces.
Embroidery instructions
The original version is embroidered in a certain order. Before starting work, be sure to find the middle, check the presence of two needles and all the colors in the set, decipher their location and correspondence.
How to embroider:
- Start working with a cross stitch and a half cross stitch. The arrows on the edges indicate the central point of the pattern. The first stitch is made in the place closest to it.
- If there is a line on the symbol, they are executed in full.
- Decorate according to the instructions. The number in brackets corresponds to the number of strands.
- When performing, use straight and reverse stitches.
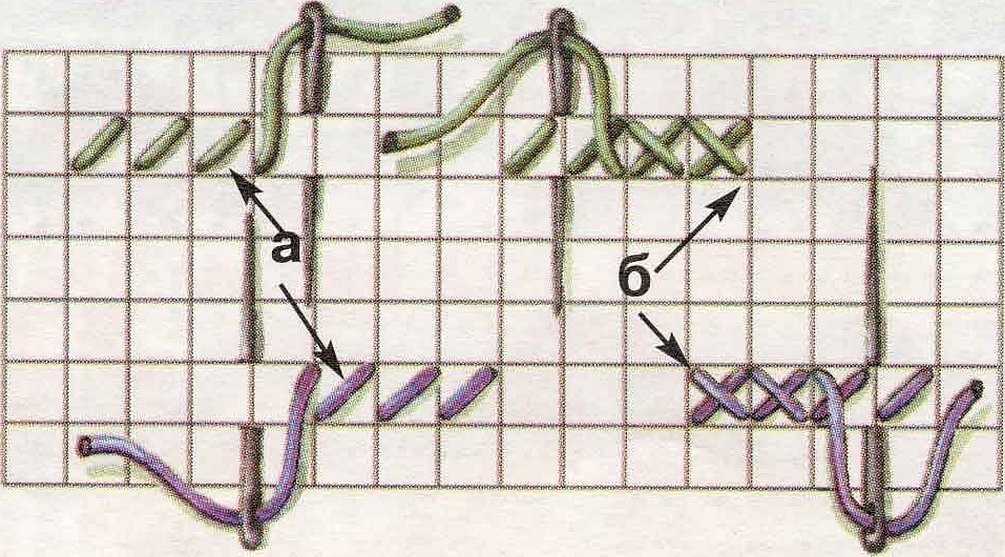
All crosses are made on the canvas through the indicated holes. Start from the left, go down to point B, then up to C, down to D and along the entire row of the canvas. The cross is finished from right to left. All stitches should cross in one direction. Before moving on along the rows, all rows are finished.

The wing and halo are embroidered with silver threads, or white is added independently. Often women change their own eye color to the one that the father of the future child has. They do the same with hair.
Advice! It is recommended to start embroidery from the left angel.
According to the sign, the angel, which was called "Almost Perfect", should be embroidered last. However, starting the embroidery from the edge is not recommended for those who are just getting acquainted with cross stitching. Since the picture may "shift".
In the kit you can usually find a foreign, not Russian, instruction. Or translated into Russian. However, everything written in it is incomprehensible for those who rarely pick up a needle.
"Almost Perfect" is a sign embroidery that helps not only those who embroidered to get pregnant, but also those who gave the embroidery kit. And also those who received the finished picture as a gift.
Important! The halo on the canvas is also highlighted with threads.
When choosing the canvas size on websites, it is recommended to choose a small size. Otherwise, there will be too big holes for the thread between the cells. The disadvantage of fake kits is that shiny threads easily break. It is difficult for beginner needlewomen to cope with them. The kit also has a device for threading a needle. The disadvantage, according to those who have embroidered, is that there are many cells where you need to make a back stitch. It takes more time than simple stitches. They advise starting to embroider crosses, backs and halos.
Important! It is recommended to embroider on the waxing moon.
The set also includes pens for marking. The manufacturer has taken care of needlewomen. But in practice, they remain unused.
"Almost Perfect" is embroidery for those who want to add to the family. In order for the dream to come true, it is important to follow the rules when doing the work. And also to tune in psychologically. The manufacturer took care of the quality of the materials, and also added auxiliary items to the set for calm and comfortable work.


