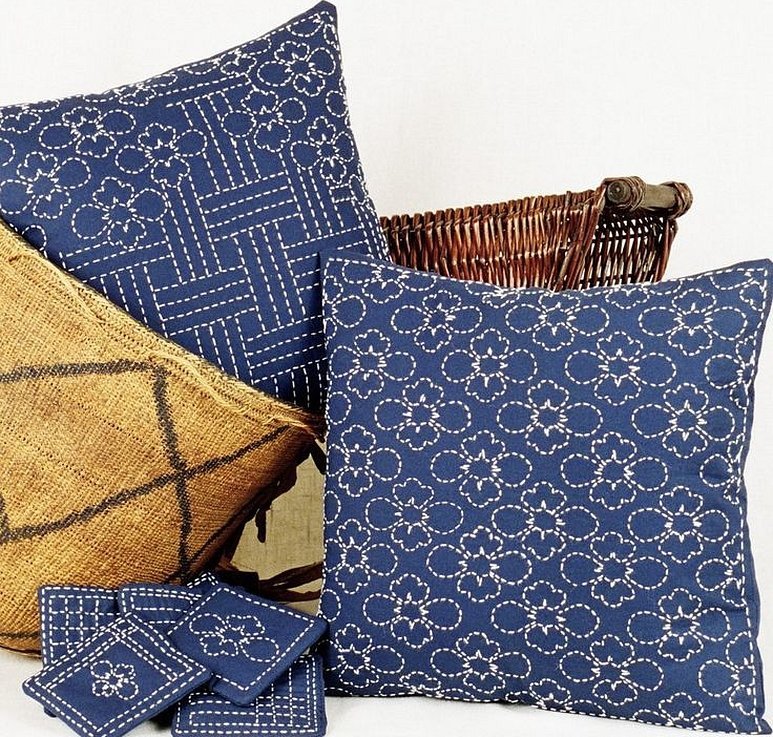
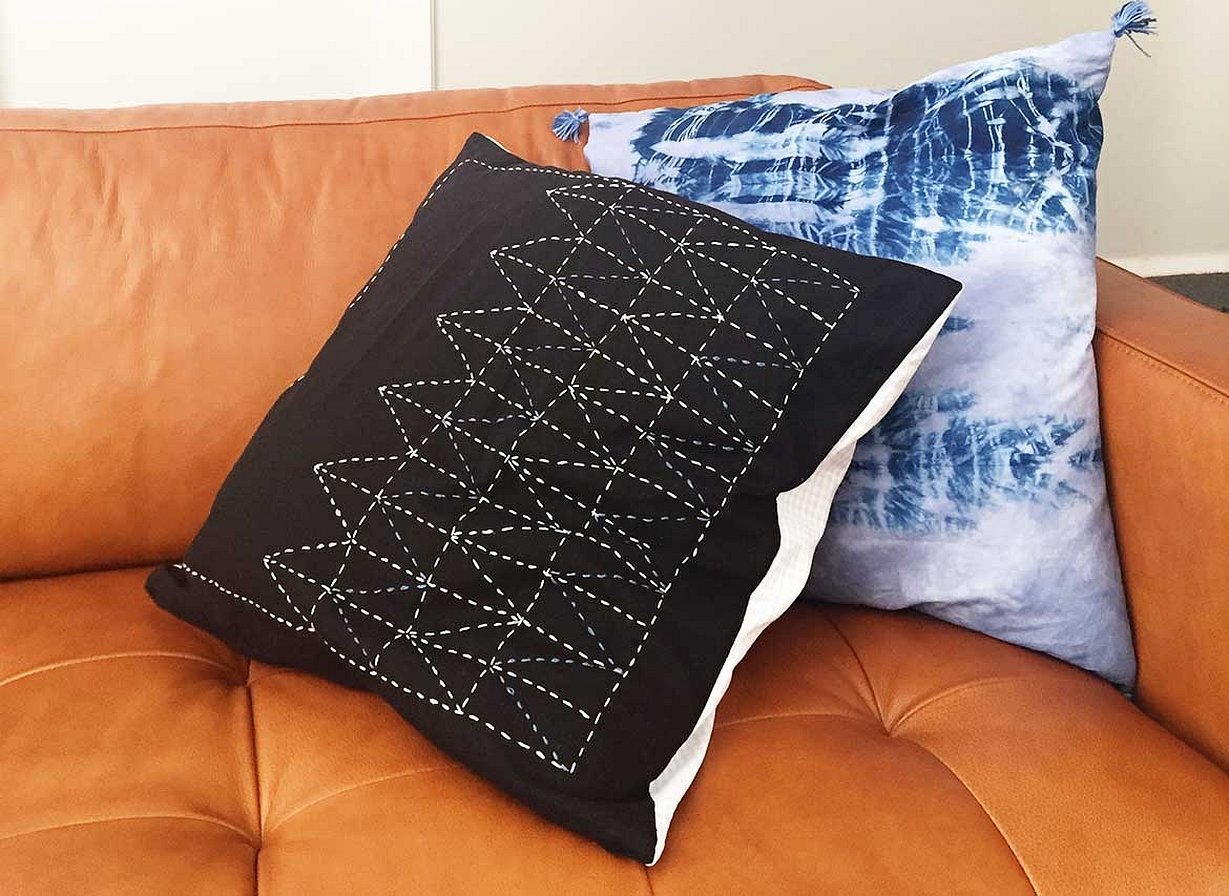
Sashiko embroidery is a beautiful technique of decorating various pillows, dresses, suits and other items. How to work in the technique, what is needed to embroider a pattern according to the master class, what are the tricks and rules of creation, how can you make a sketch? More on this and more below.
What is this?
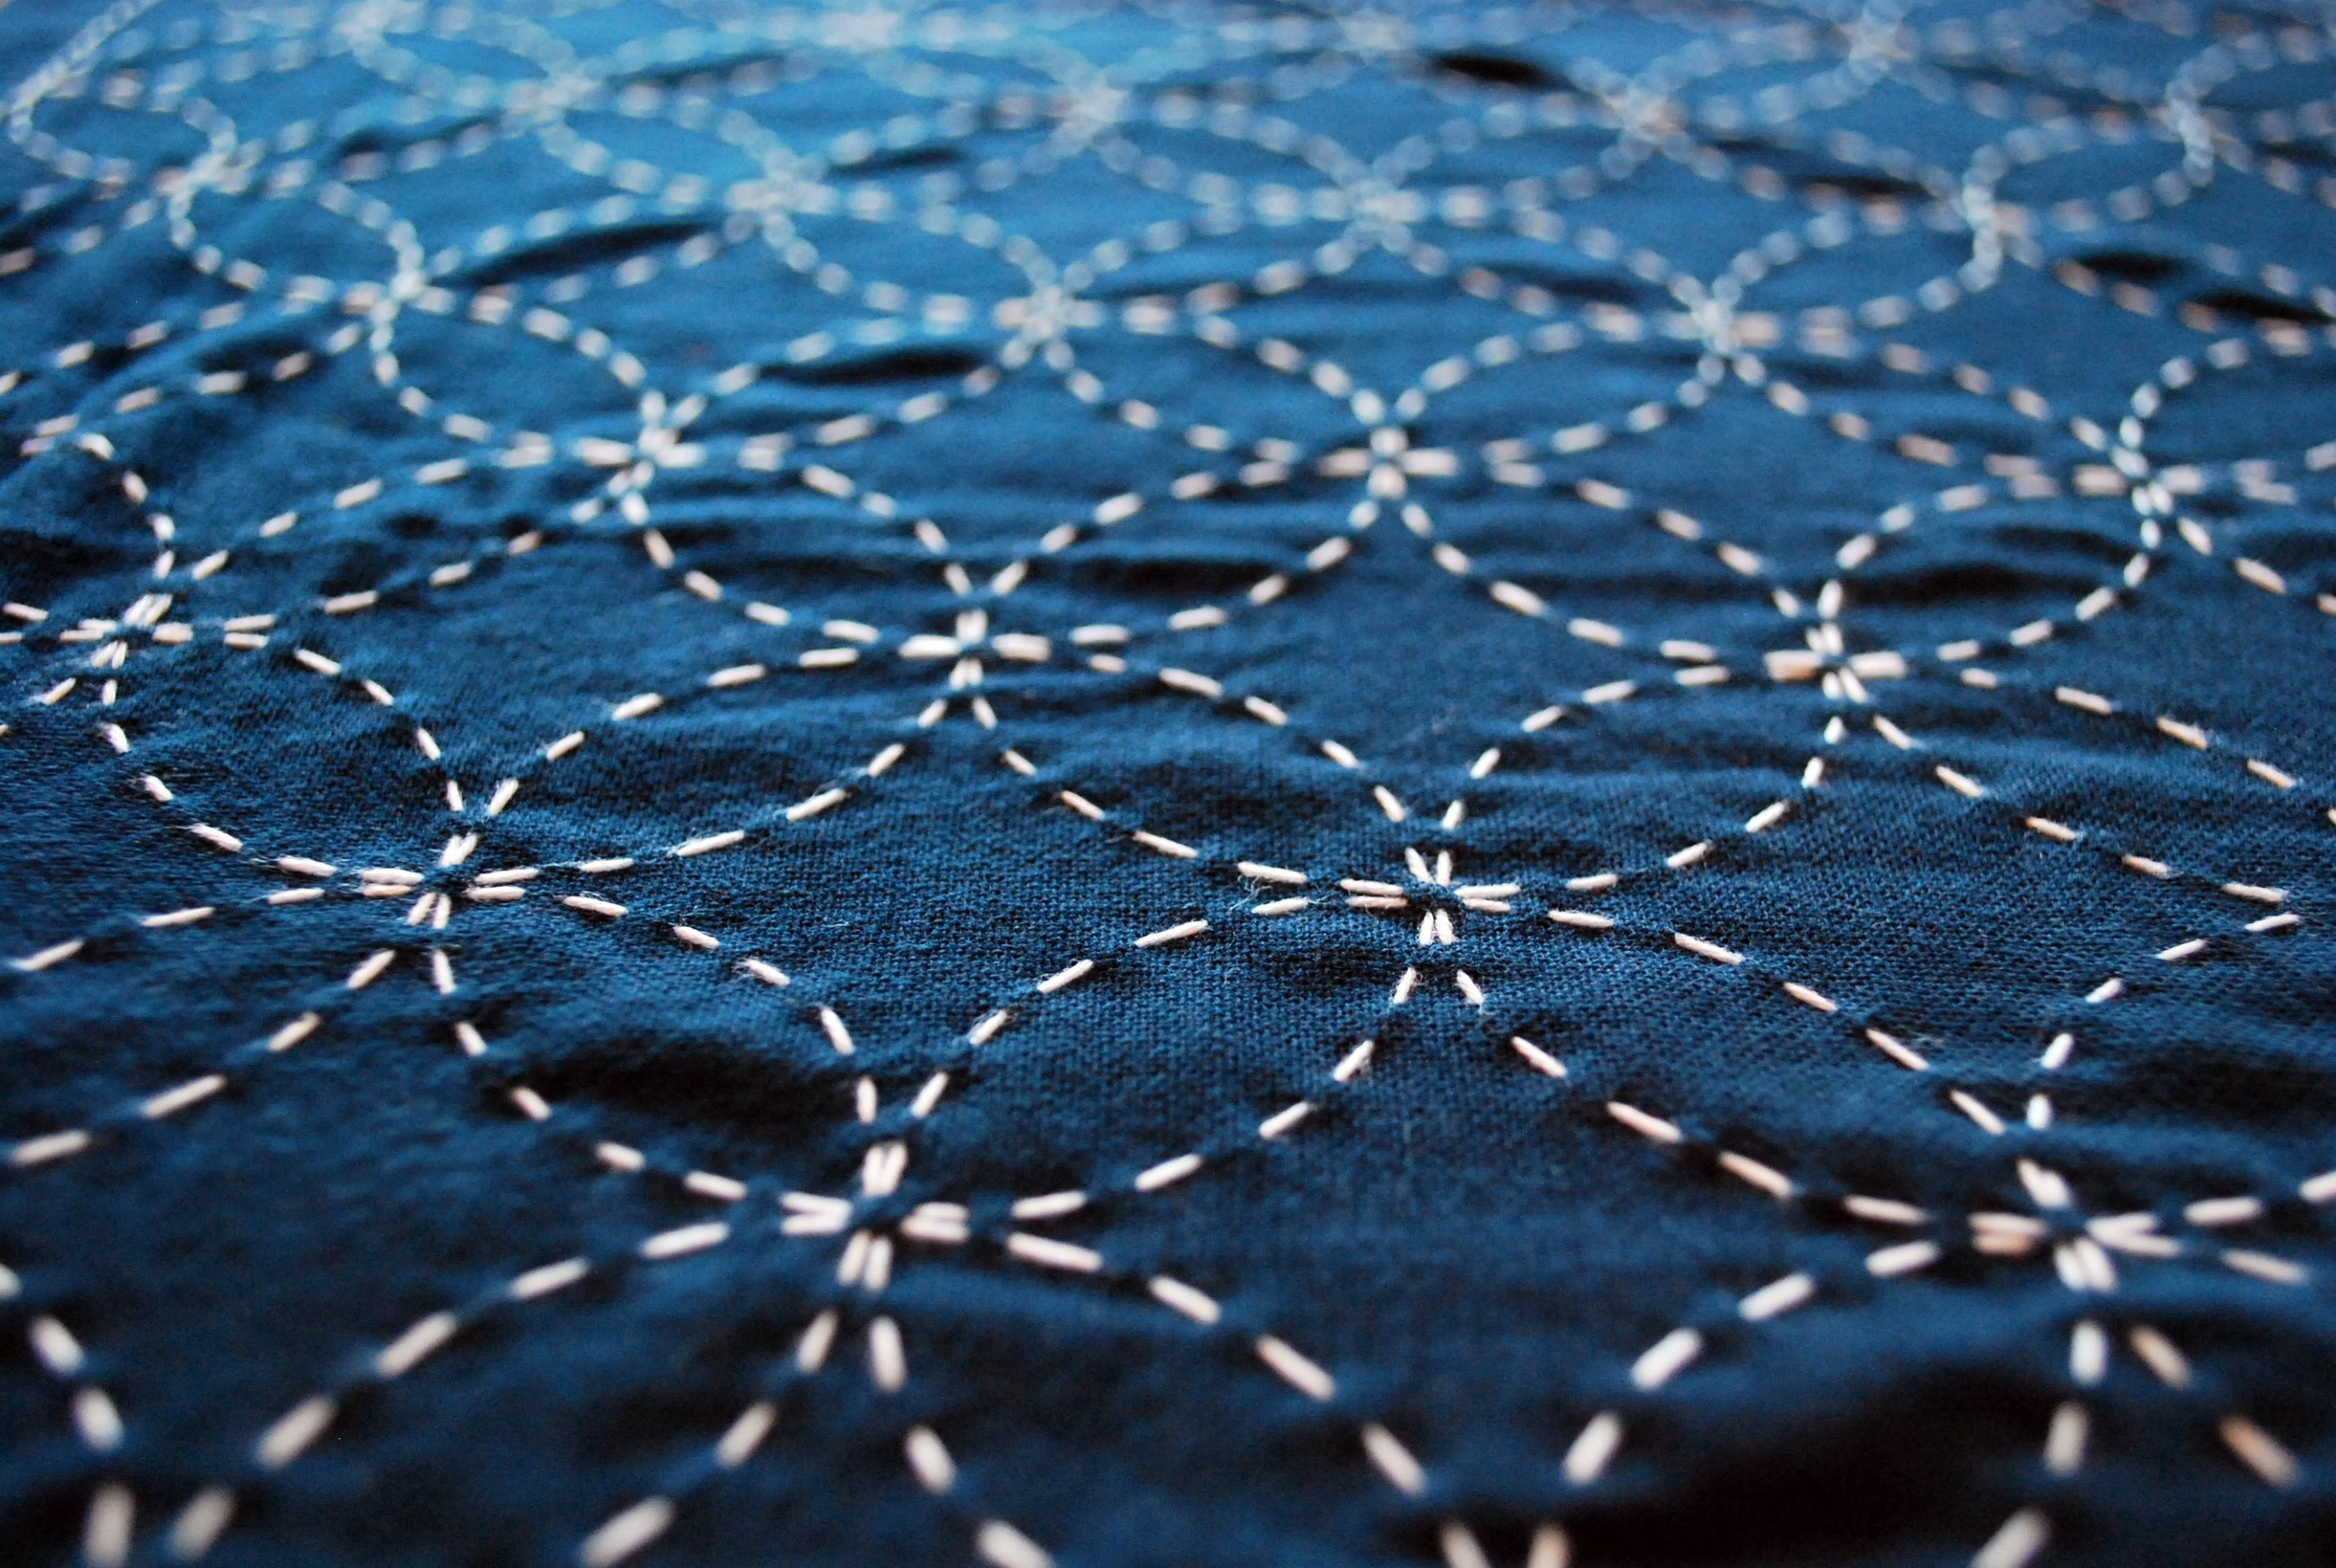
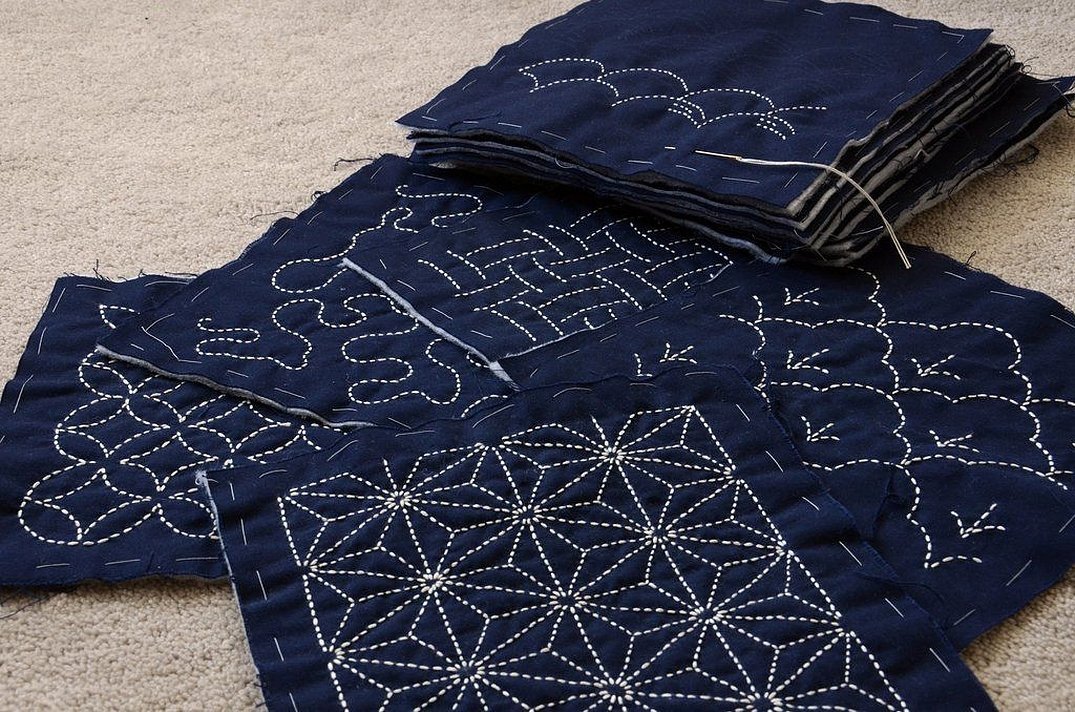
Sashiko embroidery is a traditional Japanese embroidery technique and a unique cultural practice in clothing. It involves stitching a stitch forward with a needle, often using white threads on a dark blue canvas. It is a Japanese craft that originated in rural Japan between 1615 and 1868. Sashiko extended the life of old garments and was able to spread quickly throughout the country. The materials used are cotton fabric, white cotton threads, and ugolka.
Inventory
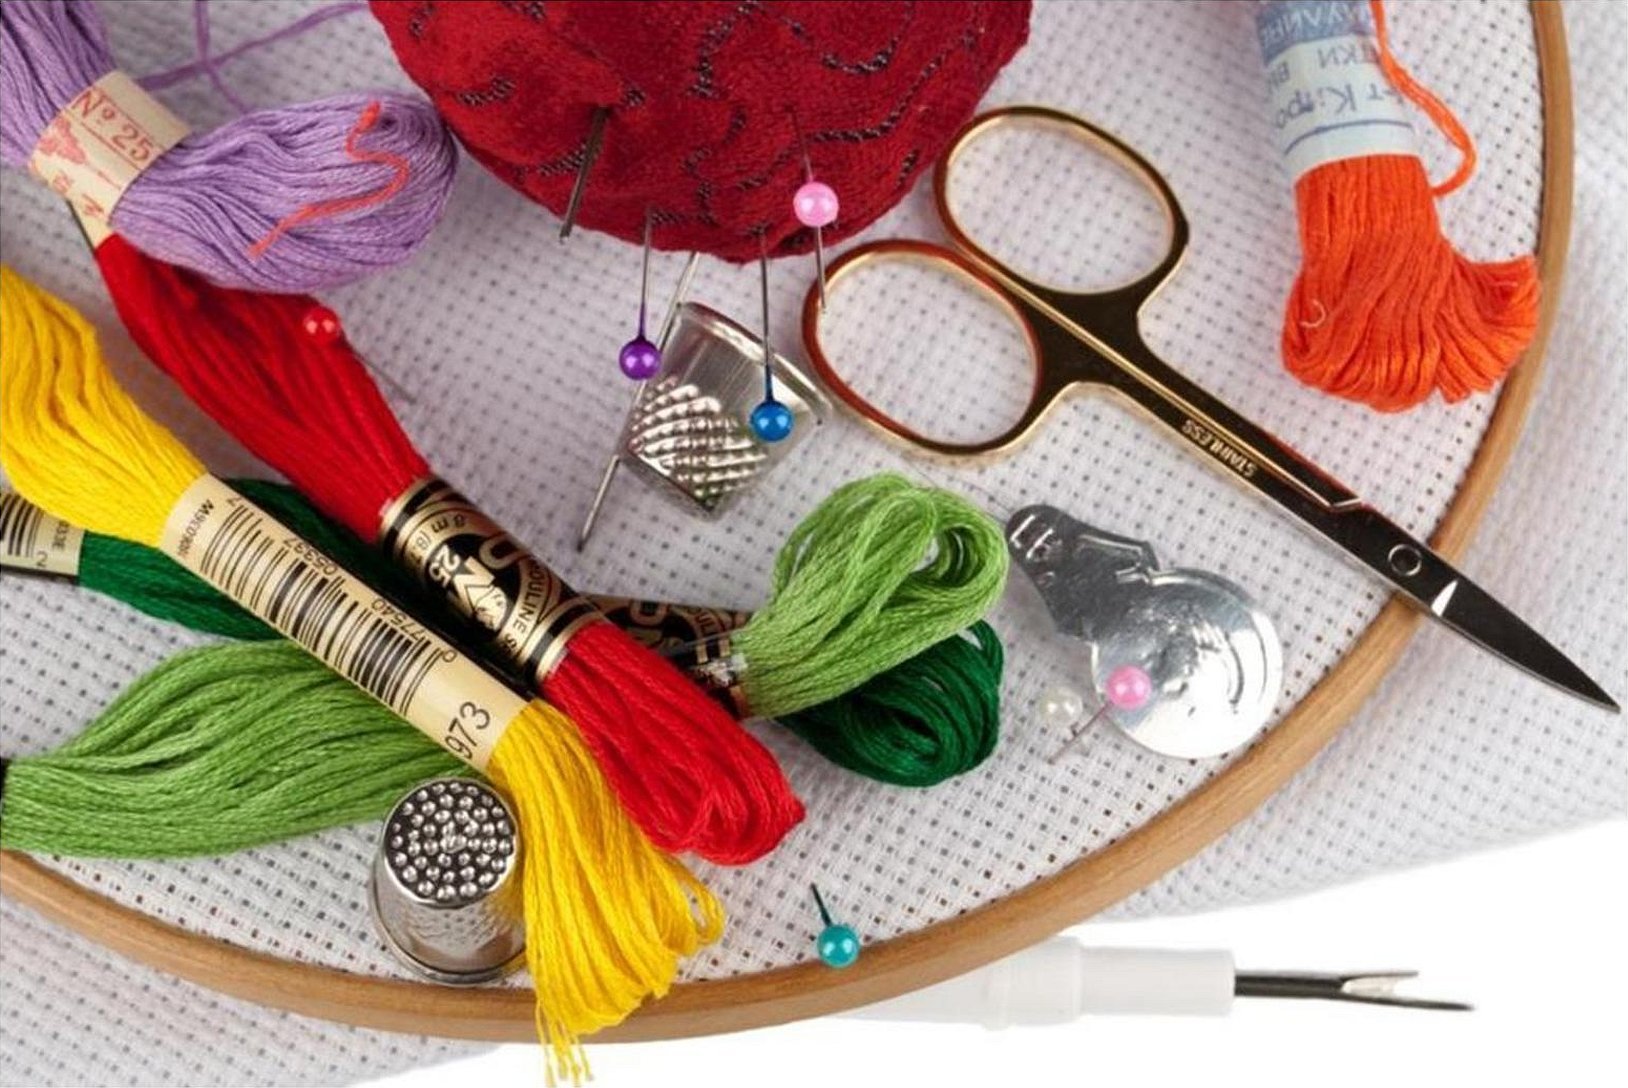
To work with fabric, for example, jeans or a blanket, and then create a geometric round, square, diamond pattern with white threads on blue fabric, you need to take milk threads with a long needle, fabric, scissors and chalk to make markings.
Threads
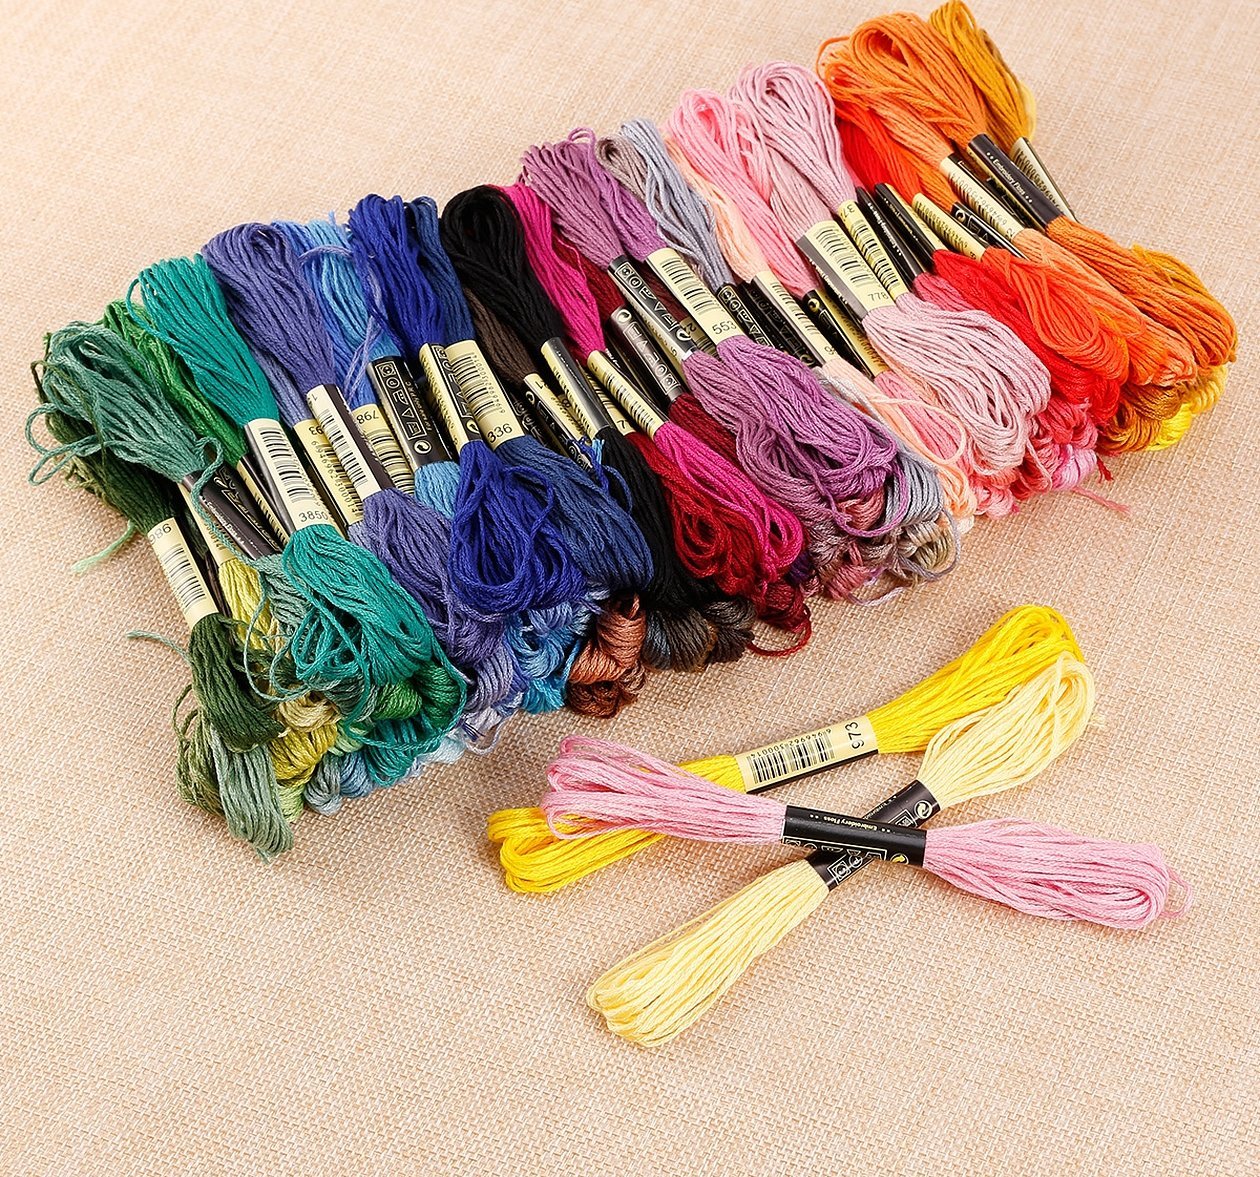
Threads were traditionally used in white, milky or soft beige shades. As a rule, for the Japanese, this is a divine color, the tone of spirits. The Japanese covered clothes with white threads to protect against evil spirits and to bring prosperity and well-being, regardless of the image.
Basic patterns
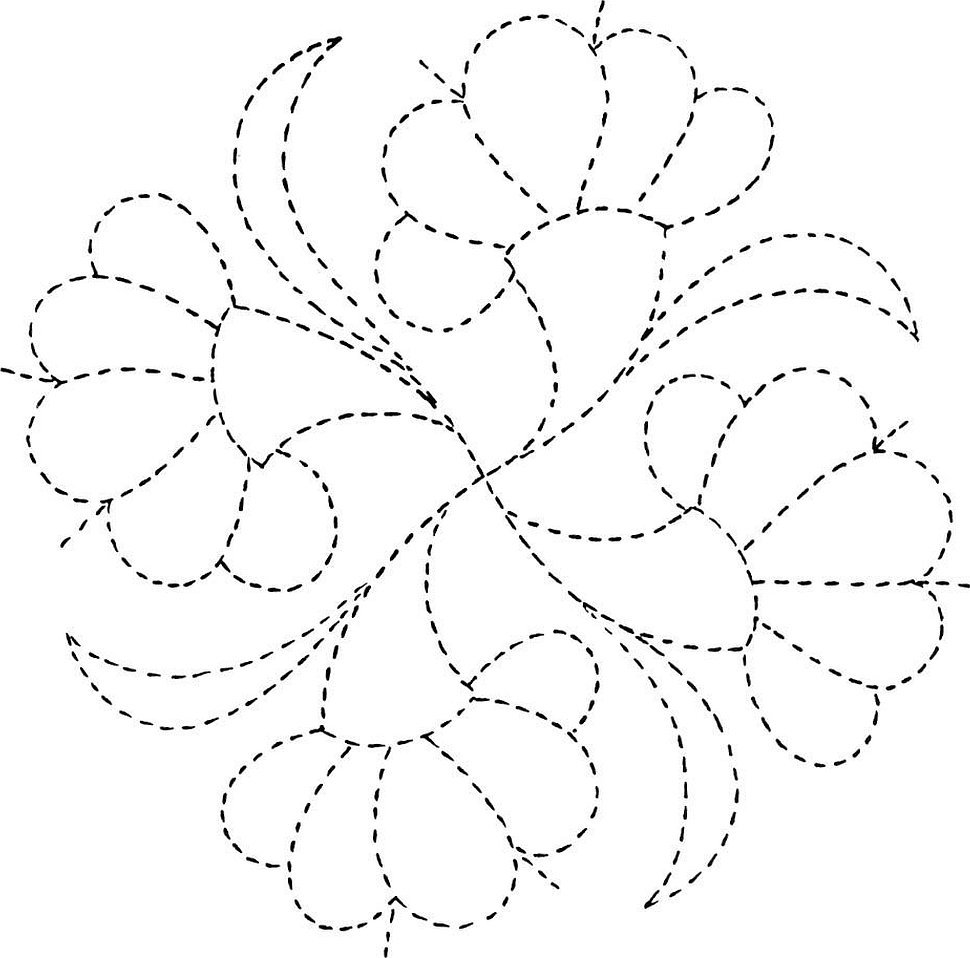
The most fashionable embroidery patterns are abstraction, openwork and floral satin stitch patterns. It is no less interesting to combine geometric patterns, complement the embroidery with ribbons, rhinestones, vervaco beads and other accessories. However, it will not be called classic Japanese embroidery. Cross-stitch patterns in the form of tree branches look beautiful and unusual. The drawings that can be seen in the mehendi style look original. Another interesting idea is to create flowers, a ball, a Japanese woman, a Russian pattern or a coat of arms.
Please note! Fashionable items include large flowers, satin children's animal inserts, floral trims and zigzag lines.

Traditional Japanese patterns are geometric lines, as well as images of a crane or a turtle. Also considered classic are images of a dragonfly, duck, tiger, fan, umbrella, lantern, flower, leaf and lotus. As a rule, all pictures are applied with curved lines, if you look at sashiko Japanese art of embroidery patterns in detail.
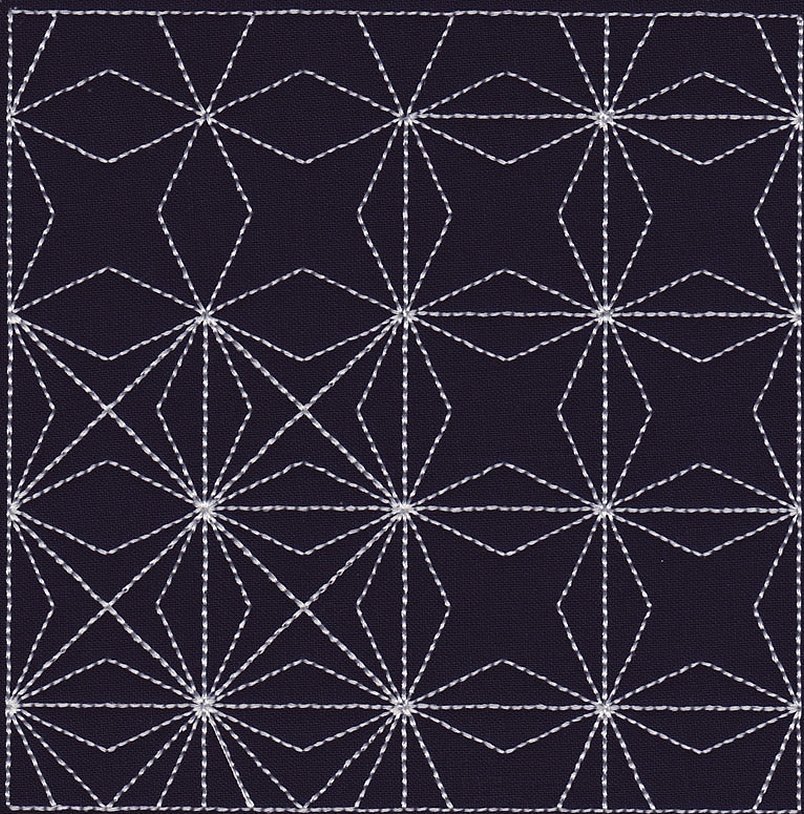
Geometric patterns
Geometric patterns are classic lines. These are circles, squares, rhombuses, which make up an interesting authentic look of the product. The main colors of these patterns are white and blue. These colors were not chosen by chance. During the reign of the royal Tokugawa clan, a color distinction was introduced. Thus, the poor and peasants wore blue and gray clothes. The representatives of the royal dynasty themselves chose red outfits.
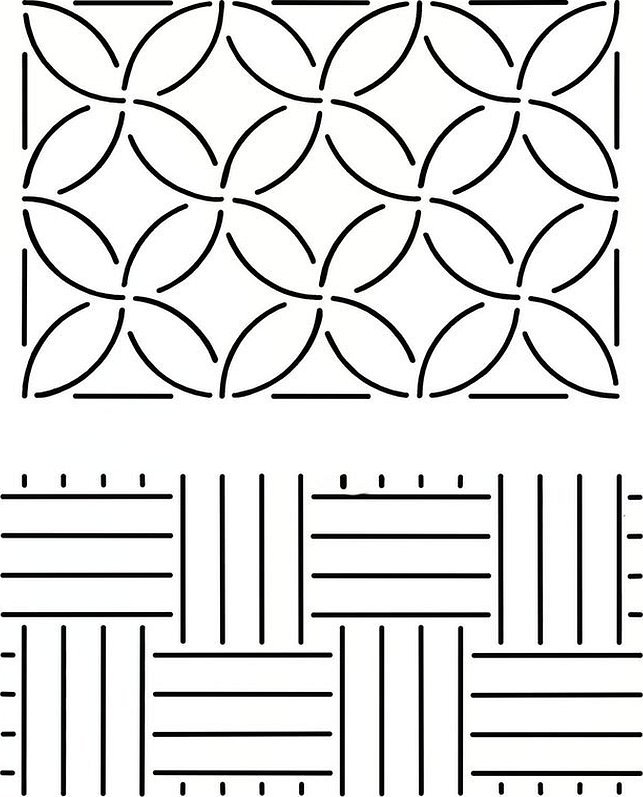
Sashiko embroidery patterns
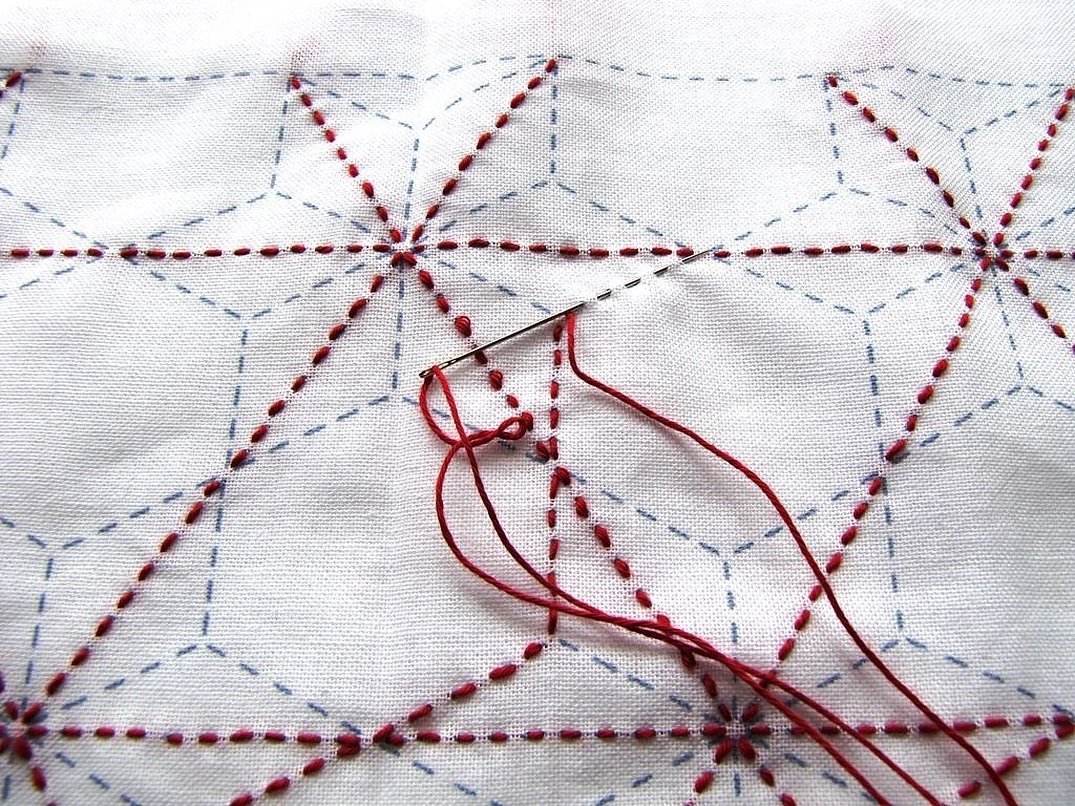
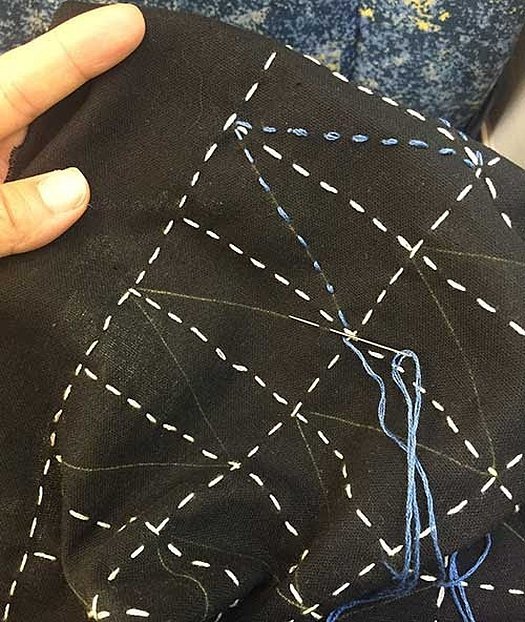
At the moment, you can find various sashiko patterns for beginners in the Japanese style on the Internet. It is very easy to understand the technique of making a pattern. All you need to do is make a basting stitch forward with a needle. First, one line ends, and then the other. This is how the product is decorated incrementally, from corner to corner.
Please note! It is worth noting that if you need to create traditional peasant clothing, you should give preference to patterns that depict geometric patterns. Animals were rarely used in the classic version.
Rules of embroidery
Sashiko is an exquisite technique. It is not difficult to learn how to create it, the main thing is to remember some rules for its formation. Thus, the main rule of the technique is simplicity and sophistication. There is no need to come up with complex versions of images of animals and geometric patterns. Another rule is the correct selection of fabric for embroidery. It is necessary to give preference to dense polyester or cotton products, refuse synthetics and wool. The selected fabric must be washed and ironed.
Before marking on a finished piece, for example, on jeans, you need to make sure that the markers will be erasable. The already embroidered product should not have markings. It is better to use a stencil for the marking itself.
It is also worth pointing out the fact that, despite the fact that sashiko Japanese art of embroidery is done strictly by hand, you can use a sewing machine if you have the appropriate attachments and modes. In this case, the front side should not include noticeable knots and poor-quality stitches that tighten the material and do not capture the necessary seam layers. This is usually recorded in any sashiko master class for beginners.
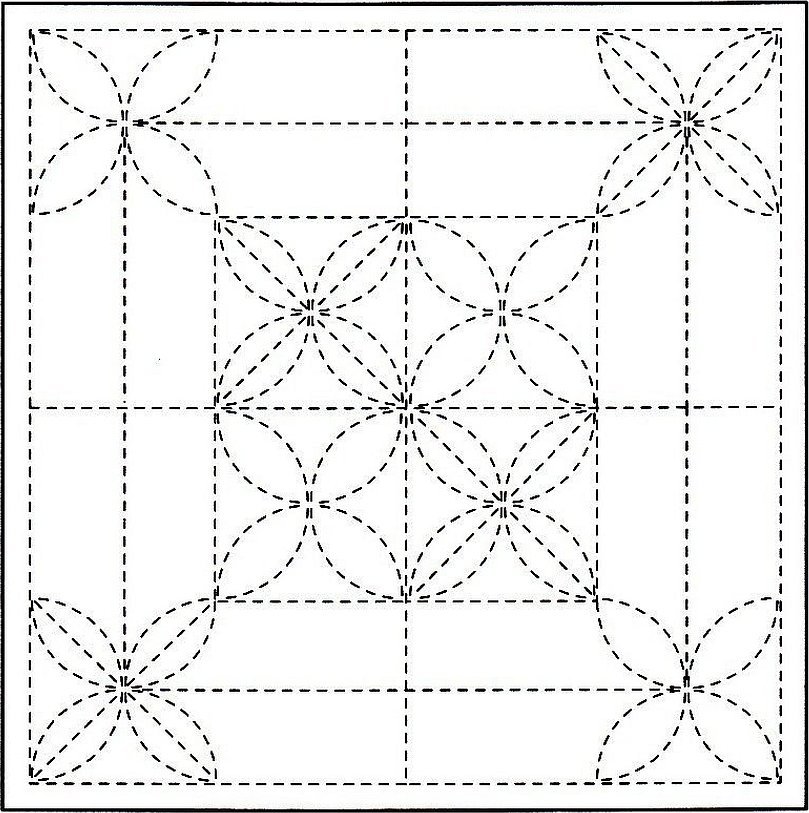
Sketch
The sketch can be made either independently or viewed on the Internet, in addition to the topic, sashiko how to embroider. It is better to make it separately on tracing paper, and then carefully transfer it to the finished canvas. You can also use a stencil or a ready-made set, where the sketch is already applied. In the latter case, all that is required from the user is to make sashiko stitches on the machine along the created lines.
Securing the thread
The thread is attached to the opposite side of the product. To do this, a double stitch is made and fixed on the fabric. After creating the first layer of the pattern, the old one is fixed and a new stitch is made.
Stitch and turn
Sashiko involves a mathematical alternation of stitches with turns. The embroidery is created not in one stitch, but in a pair. To do this, you need to thread the needle into the material and begin to pull the thread to the right and left, as required by the composition. If the turn consists of an internal and external stitch, a loop is made.
Master class
At the moment, there are many master classes on the Internet today, thanks to which you can decorate both a pillow and a traditional Japanese outfit. All you need is to arm yourself with patience and try to do everything as indicated in the diagram. First, you need to prepare a template by printing a ready-made diagram from the Internet and transferring it to the fabric.
Then you can sew the product according to the created sketch, starting from the bottom and moving up. It is necessary to make a contour outline first.
In general, it is not difficult to make beautiful embroidery using the sashiko technique. It is enough to use some master class, tricks, rules for creating and attaching thread. All that the user needs is to strictly adhere to the method of creating a sketch according to the existing scheme, as well as use special material with inventory and threads. This is the only way to achieve success.


I just got to know Sashiko embroidery better. I really liked it. I'll try to do something.