French knot is a beautiful technique for creating any embroidery and decorating clothes. How to embroider with knots, what is it, what fabrics and threads are needed for this, what are the patterns? More on this and more below.
French knot in needlework
Knot embroidery or frouzelki appeared at the beginning of the Great Silk Road. Contrary to the laws of logic, this technique was invented by the Chinese, and first used in clothing and paintings by the French. Due to its active introduction into the textile industry, the name stuck with the French.
Fruzelki are a common occurrence when it comes to creating batik from canvas or a whole picture using floss threads. To master the European technique, it is not necessary to study for a long time and pass exams. All that is required is a needle and thread, as well as batik or some fabric in a stretched hoop for convenience. It is worth noting that thanks to such an unusual technique, voluminous and realistic products are obtained, in addition to cross-stitch and ribbon embroidery. It is enough to make a request in a search engine and see for yourself.
How to perform
It is not difficult to make a French knot on rococo embroidery. It is enough to study the step-by-step scheme given below. So, you need to take a needle, thread it and twist it along the entire length of the needle. Next, you need to thread the needle into the resulting gap between the twisted elements and fix the result on the fabric of the plastic hoop.
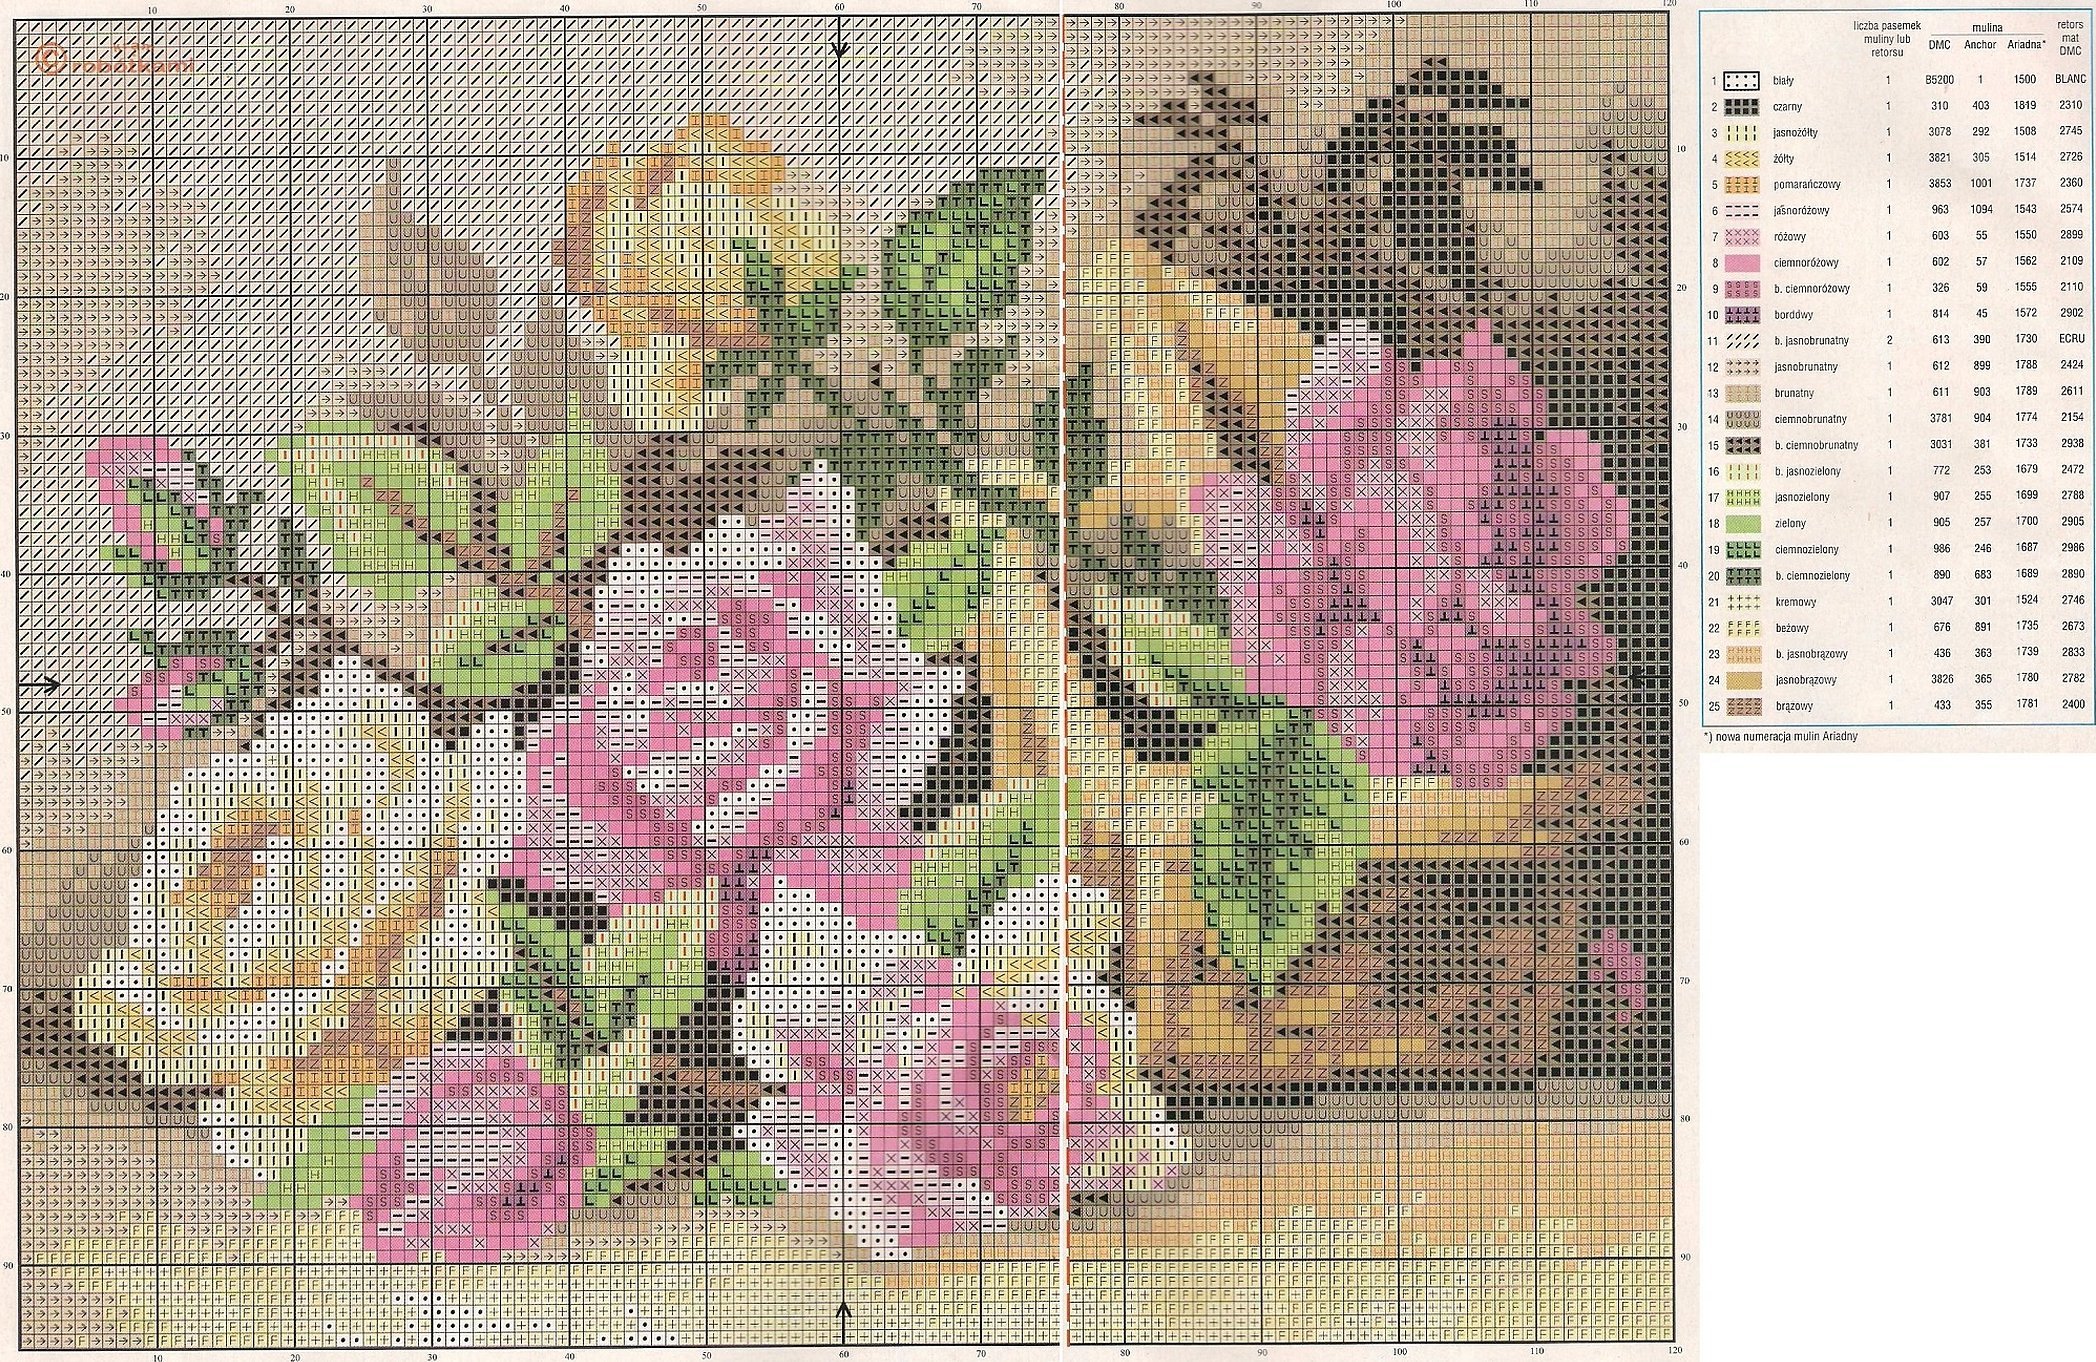
Models are sold that provide a step-by-step diagram of how to construct a French knot on a specific embroidery. Often, there is a step-by-step instruction for creating a volumetric fruzolka. For example, such diagrams are given in rose embroidery kits.
Please note! If the product is created without a set, it is necessary to select needles and threads as carefully as possible, based on the density of the material, type of textile, design and other criteria.

Small features
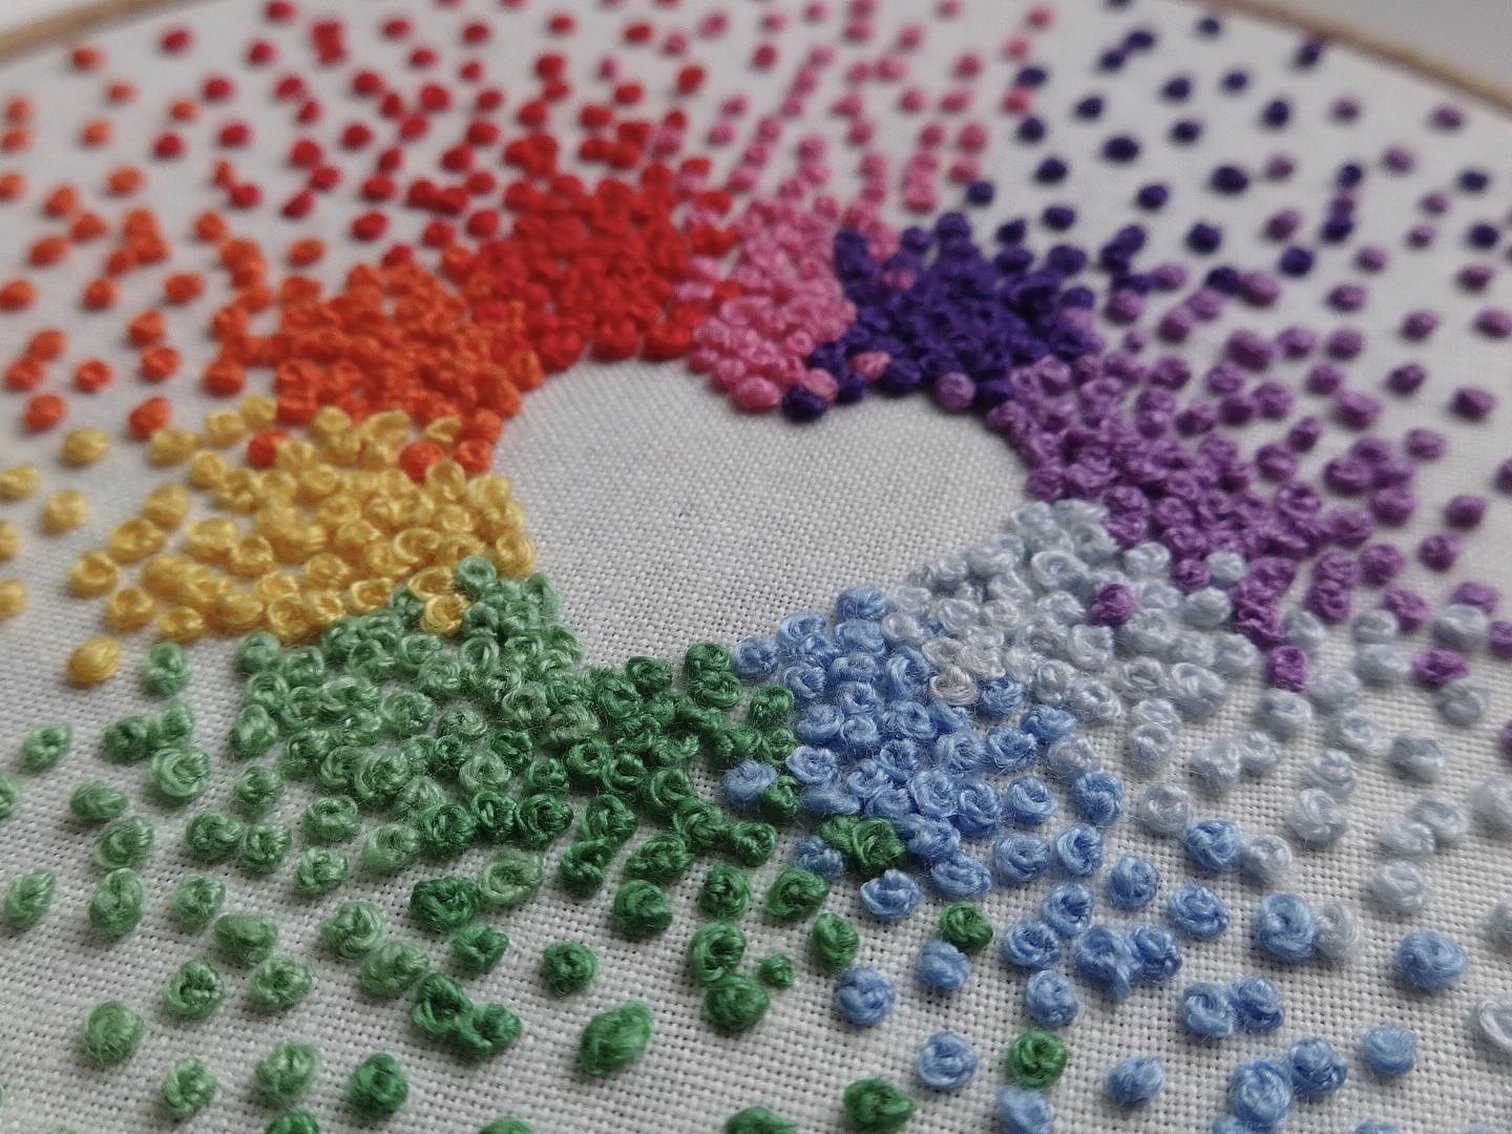
Many needlewomen recommend dividing the intended pattern into 5-10 parts and embroidering them one by one. They do not recommend making a pattern in one color first and then suddenly switching to the second. As a result, it may turn out that the pattern does not come together as you embroider. Everything must be done gradually. It is better to start from the extreme upper or lower corner and move to the opposite one. Then repeat the same action with the other row. Do this until the full picture is embroidered.
Some advise to stop at specific details and then move on to others. For example, if the picture is supposed to embroider a tree, sunset and roses, then first you need to finish the tree, then move on to the background and finally to the roses. In addition, this way the color balance will be maintained and a bunch of irreparable mistakes will not occur. It is better to add accessories not provided in the set at the very end. This way it will be clear whether it is needed or not.

Materials
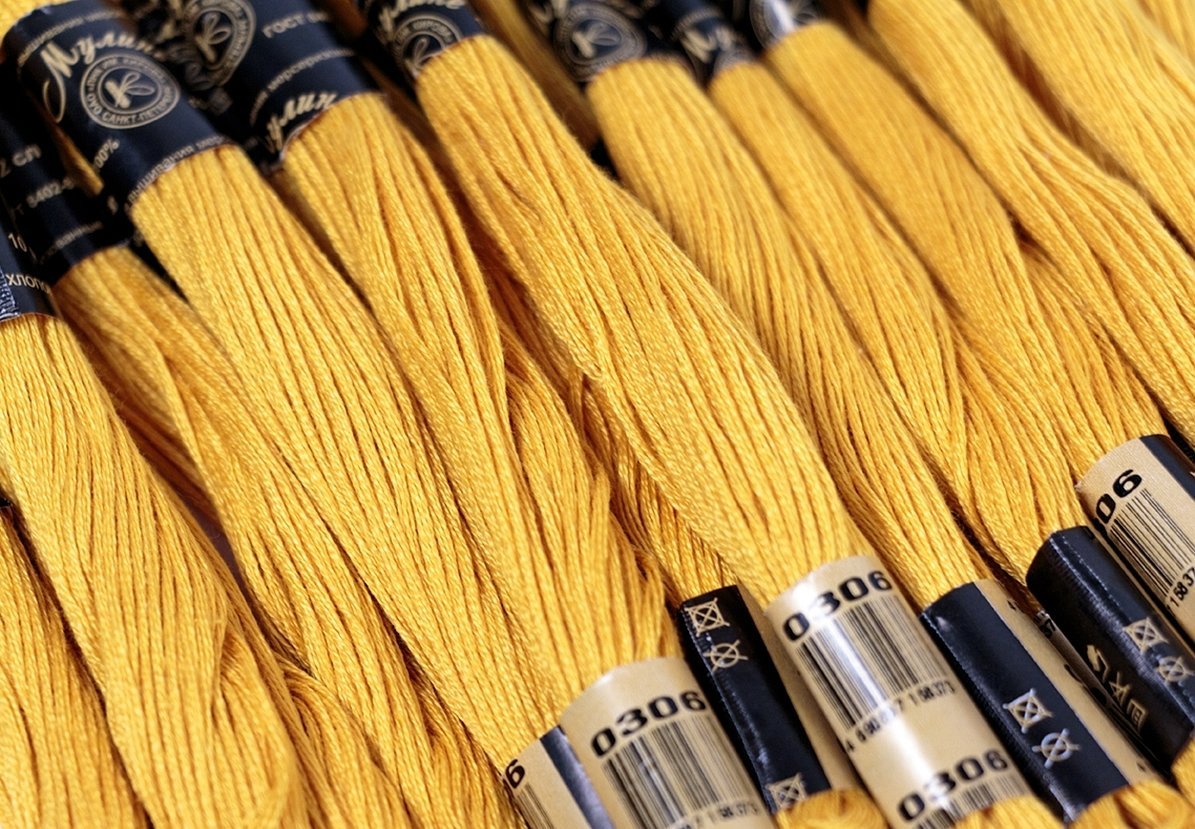
The threads and fabric for constructing the knots are not particularly important. This technique looks beautiful on satin or organza using regular threads, and looks interesting on cotton fabric with floss.
Please note! It is worth noting that the second option is preferable for obtaining the same relief effect.
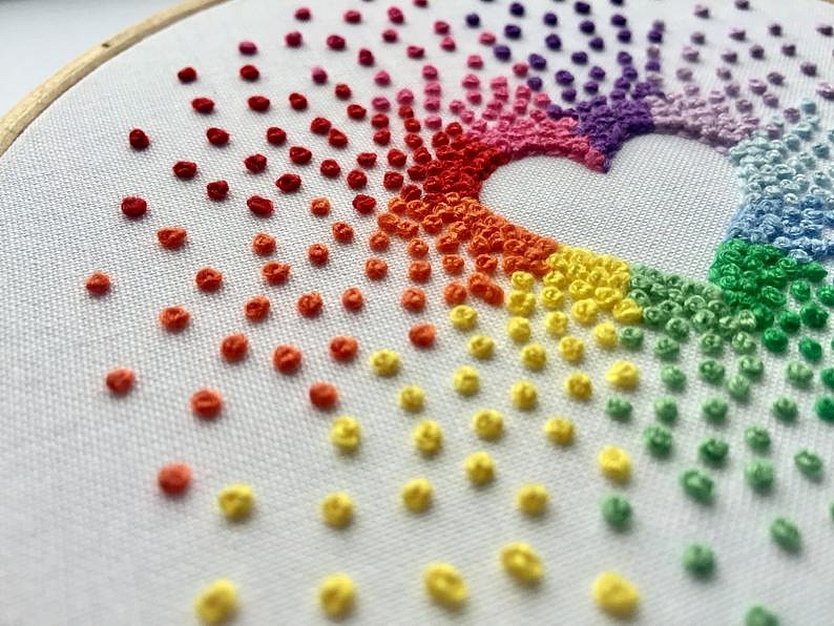
French Knot Embroidery Patterns
At the moment, you can find many options for embroidery patterns using miters on the Internet. You can try to create it using your own sketches. It will be enough to simply draw the intended sketch with a pencil on batik or fabric with a hoop and sew everything along the contour. It is better to start from the bottom up and not change the direction.
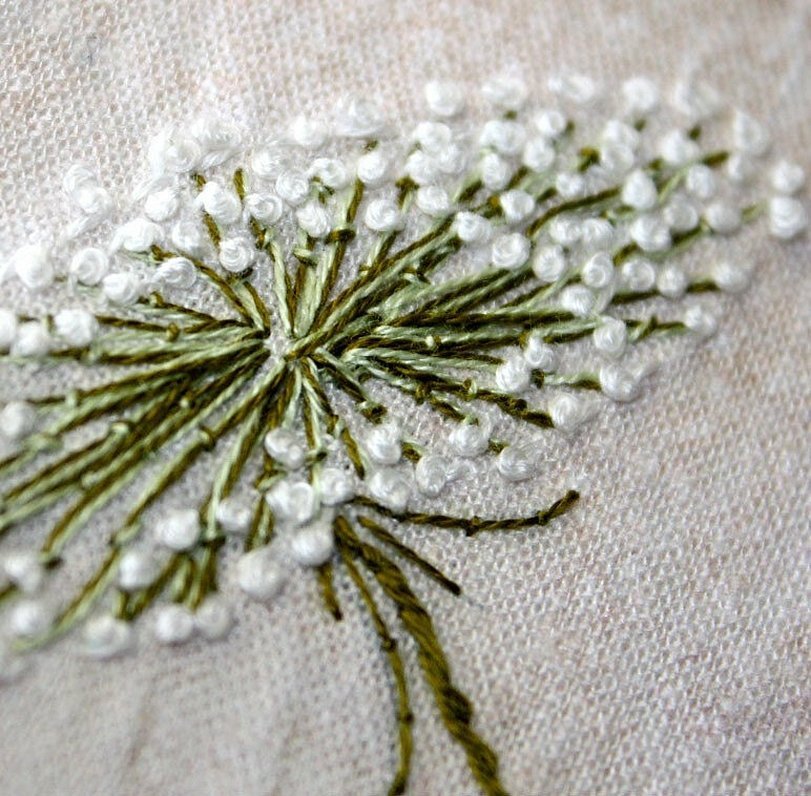
Dandelion
Even a child can embroider a dandelion with a knot. All you need is to make an interesting sketch or borrow the one that comes with a ready-made set. It is worth noting that since a dandelion can be depicted in different ways, it is better for a beginner to stop at the option where there are as few details as possible. Then it remains only to finish sewing the leg and leaves of the composition using the usual technique, do everything as shown in the picture below.
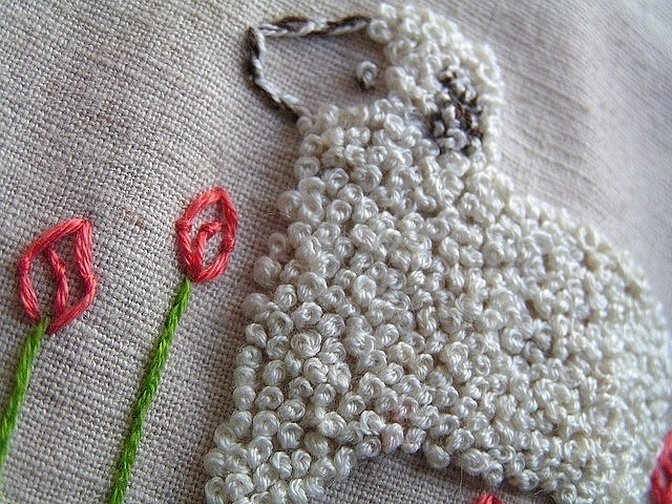
Lamb
The sheep is the most suitable figure for trying out the fruzelki. To make it fluffier, you should choose the appropriate thick wool threads and a medium needle. For a more interesting effect, you can make a few more layers on top of the ones already created.
Please note! To make the result even more unusual, the resulting knots can be lowered.
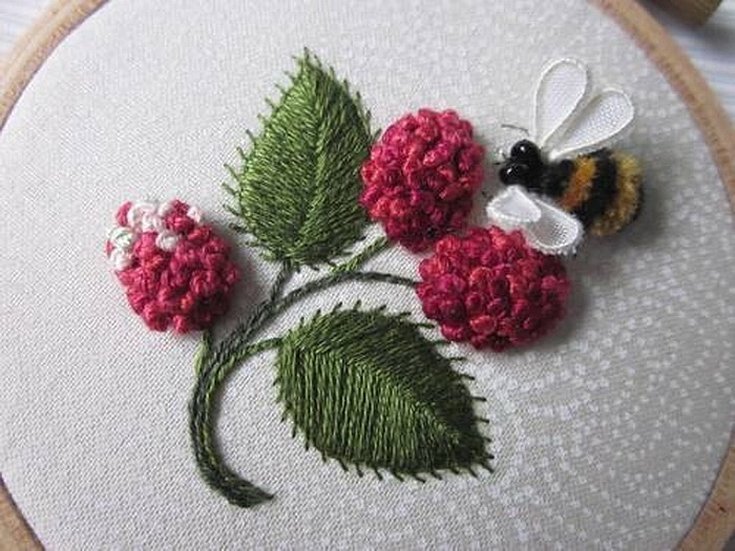
Berry
Making a berry with berries or a whole berry bush is a great idea. All a person needs is to choose a suitable pattern and stitch several layers of knots. Then, if desired, you can make wild flowers or add leaves using the smooth embroidery technique. Then you can attach insects made with your own hands from textile material. It is worth noting that the best berries in this technique are raspberries and strawberries.
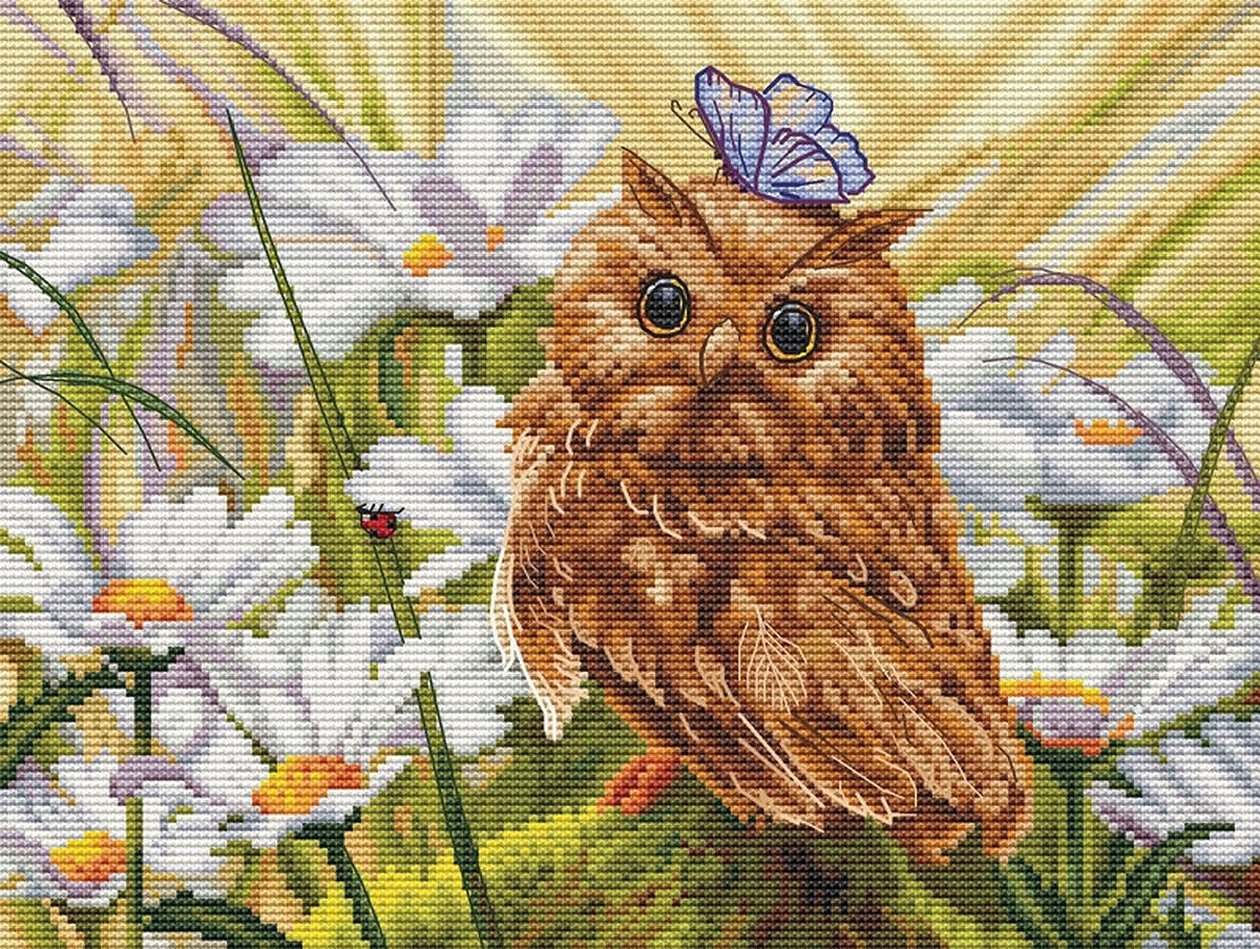
Owl
The owl is one of the birds that is rarely created using the fruzel technique. However, it is possible to make it using a color scheme. All you need to do is to make the embroidery in two layers and secure the result by sewing the edges of the bird. This will help create a silhouette and distinguish the body of the bird from the head.
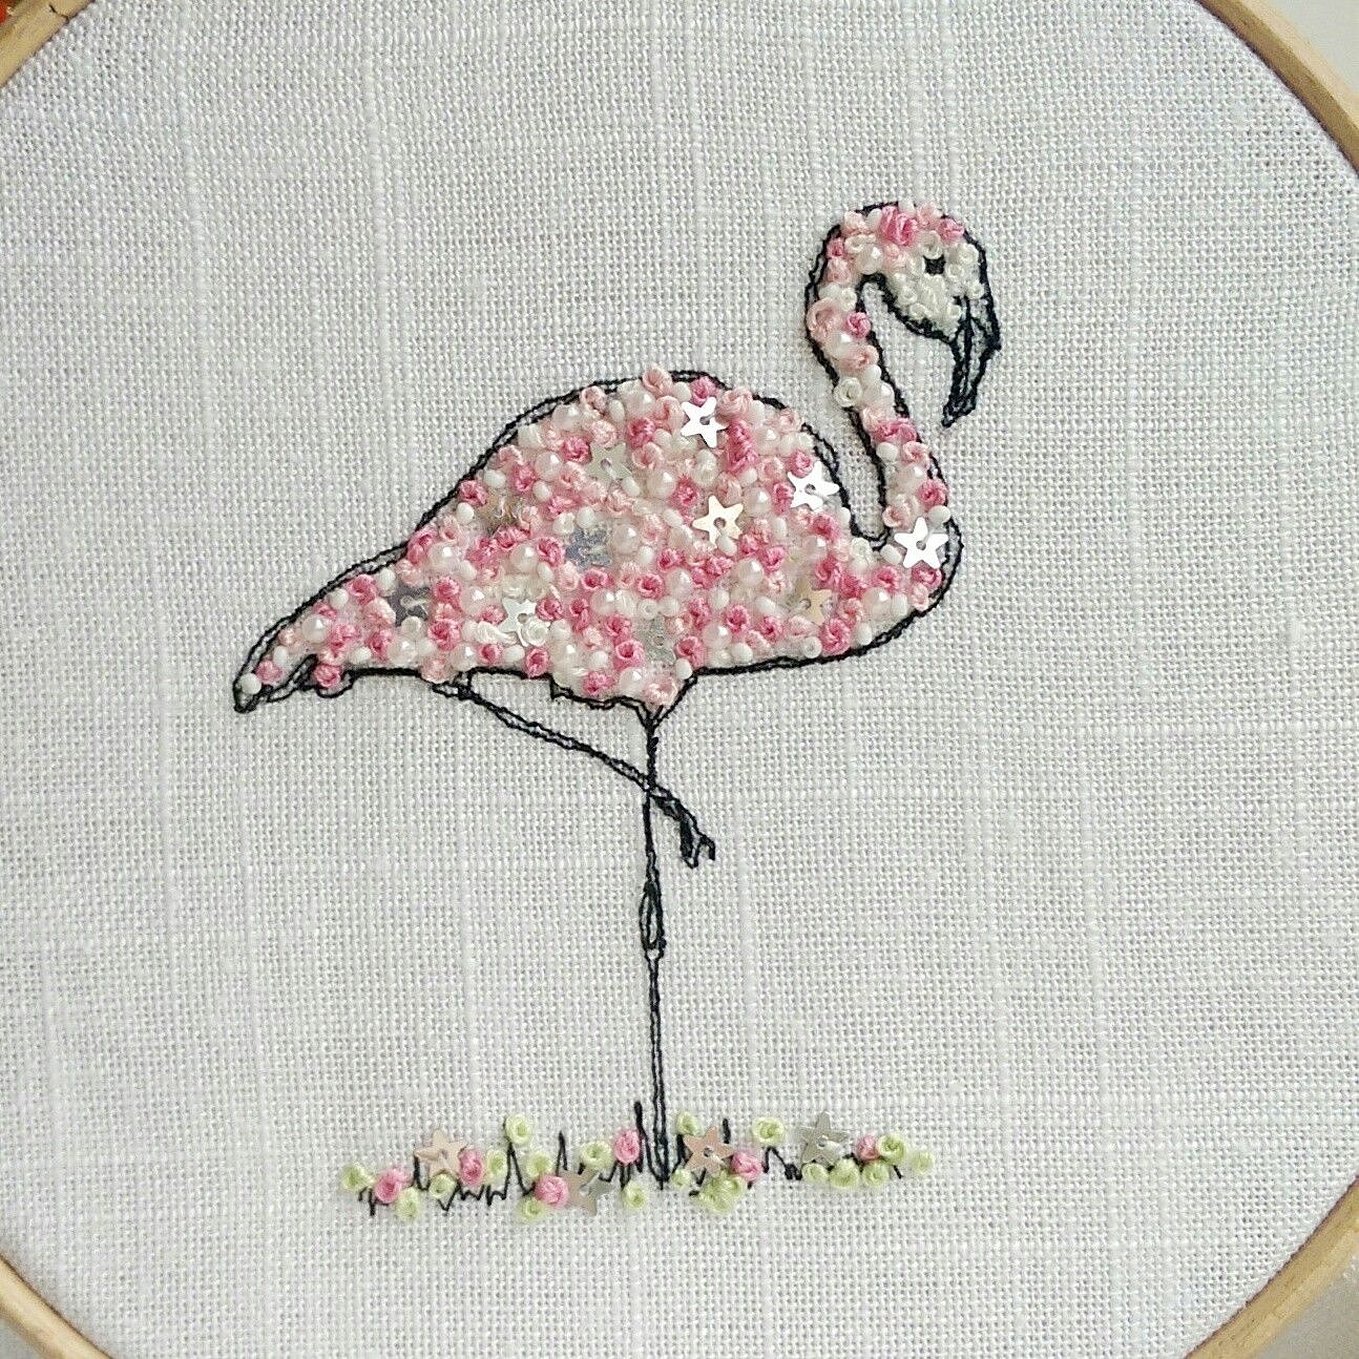
Birdie
You can make any bird you want with the help of the fruzelki. It can be a simple raven or a titmouse. As a rule, birds are not made using this technique, but everyone has the opportunity to try to create it.
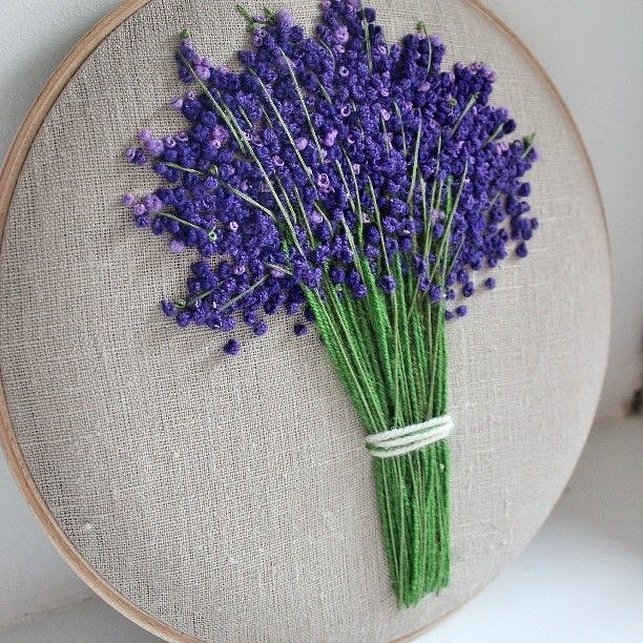
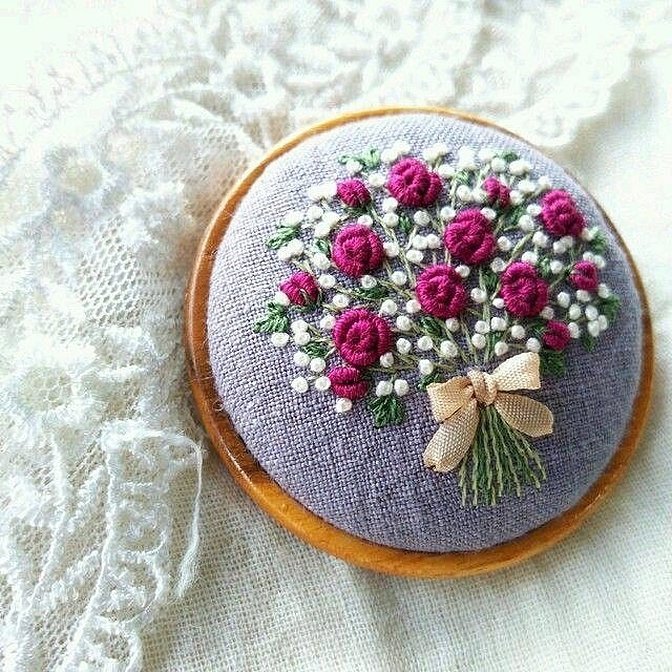
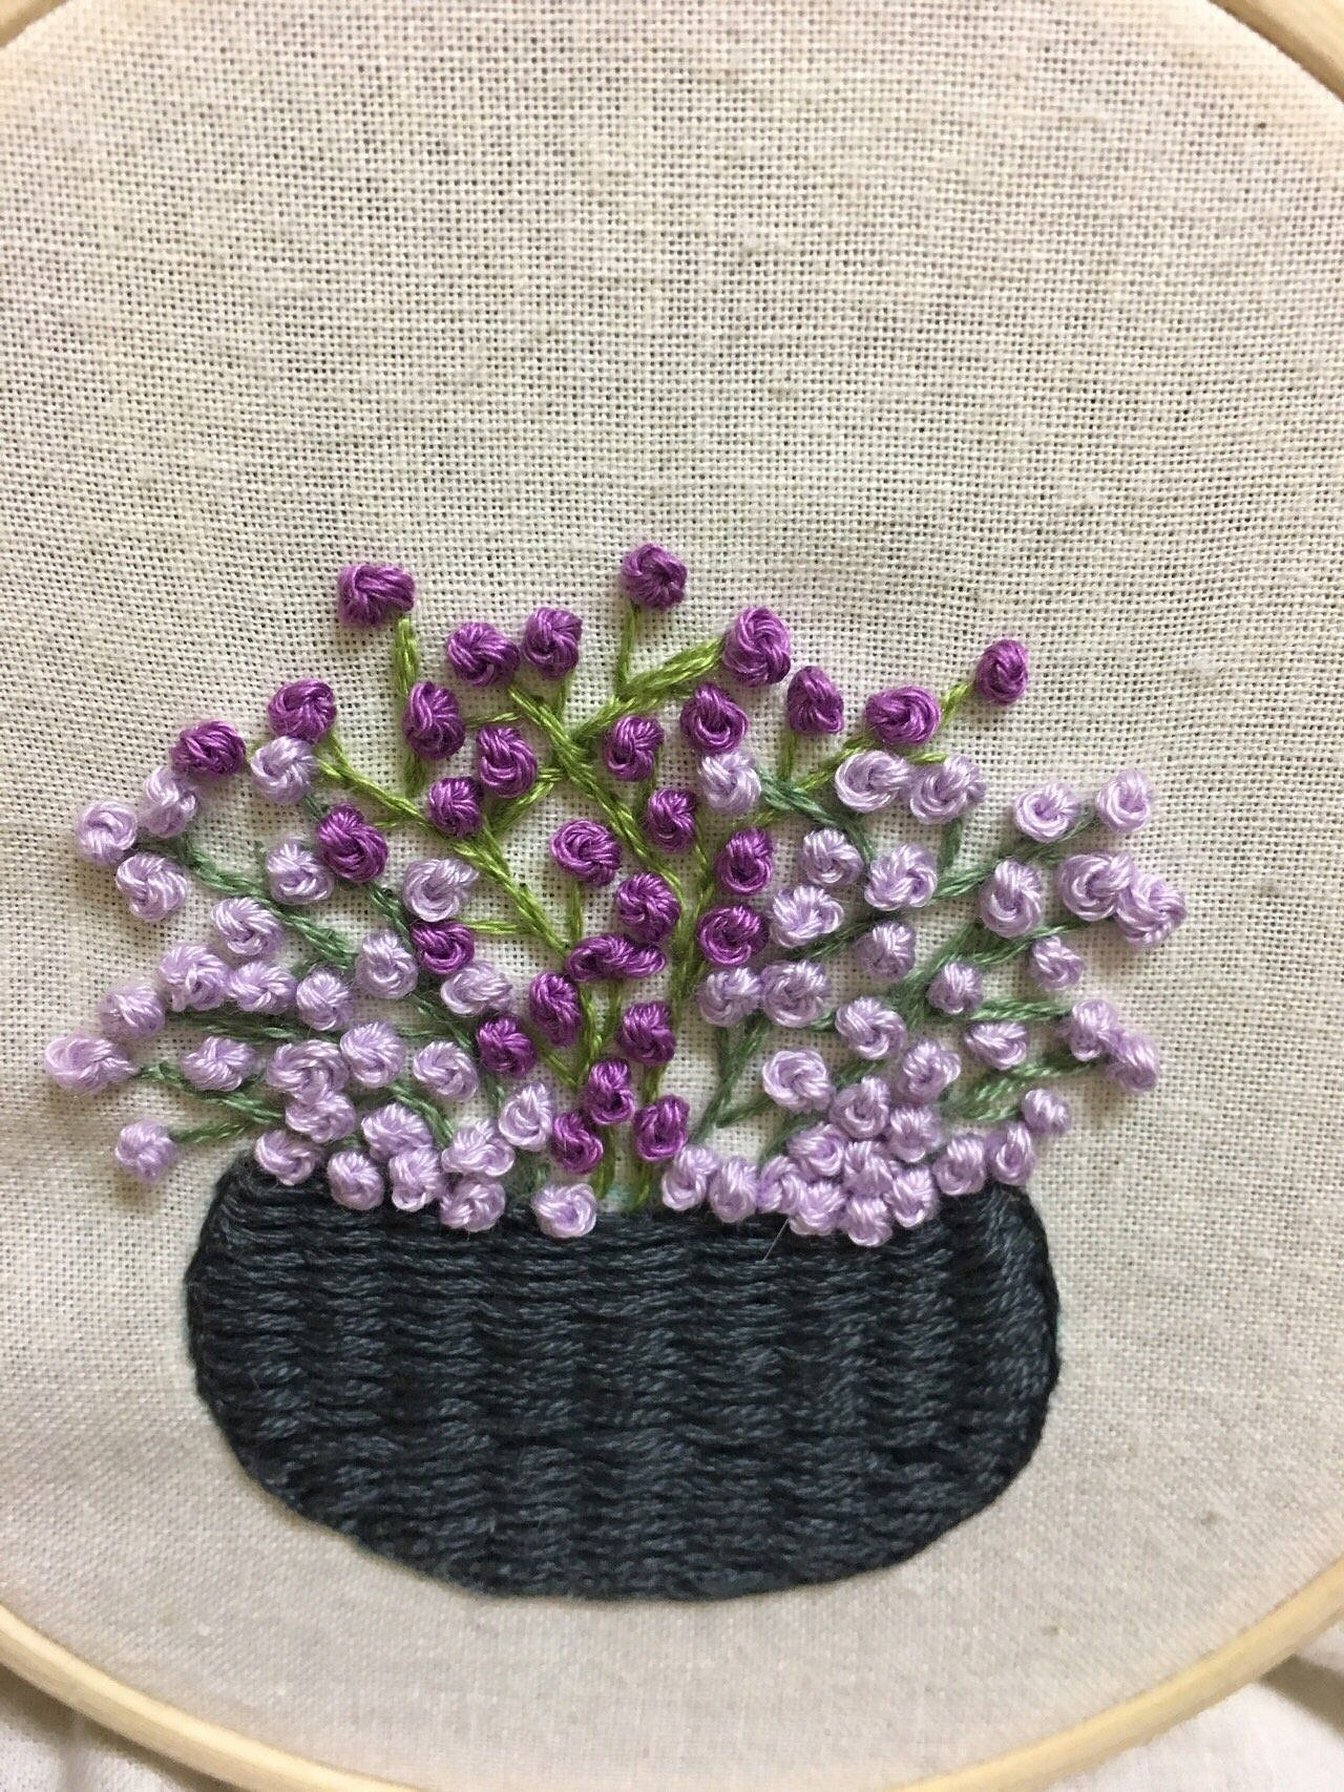
Bouquet
Making a bouquet with French knots is a wonderful idea. Lilacs or mimosas look especially beautiful, that is, those flowers that grow in inflorescences.
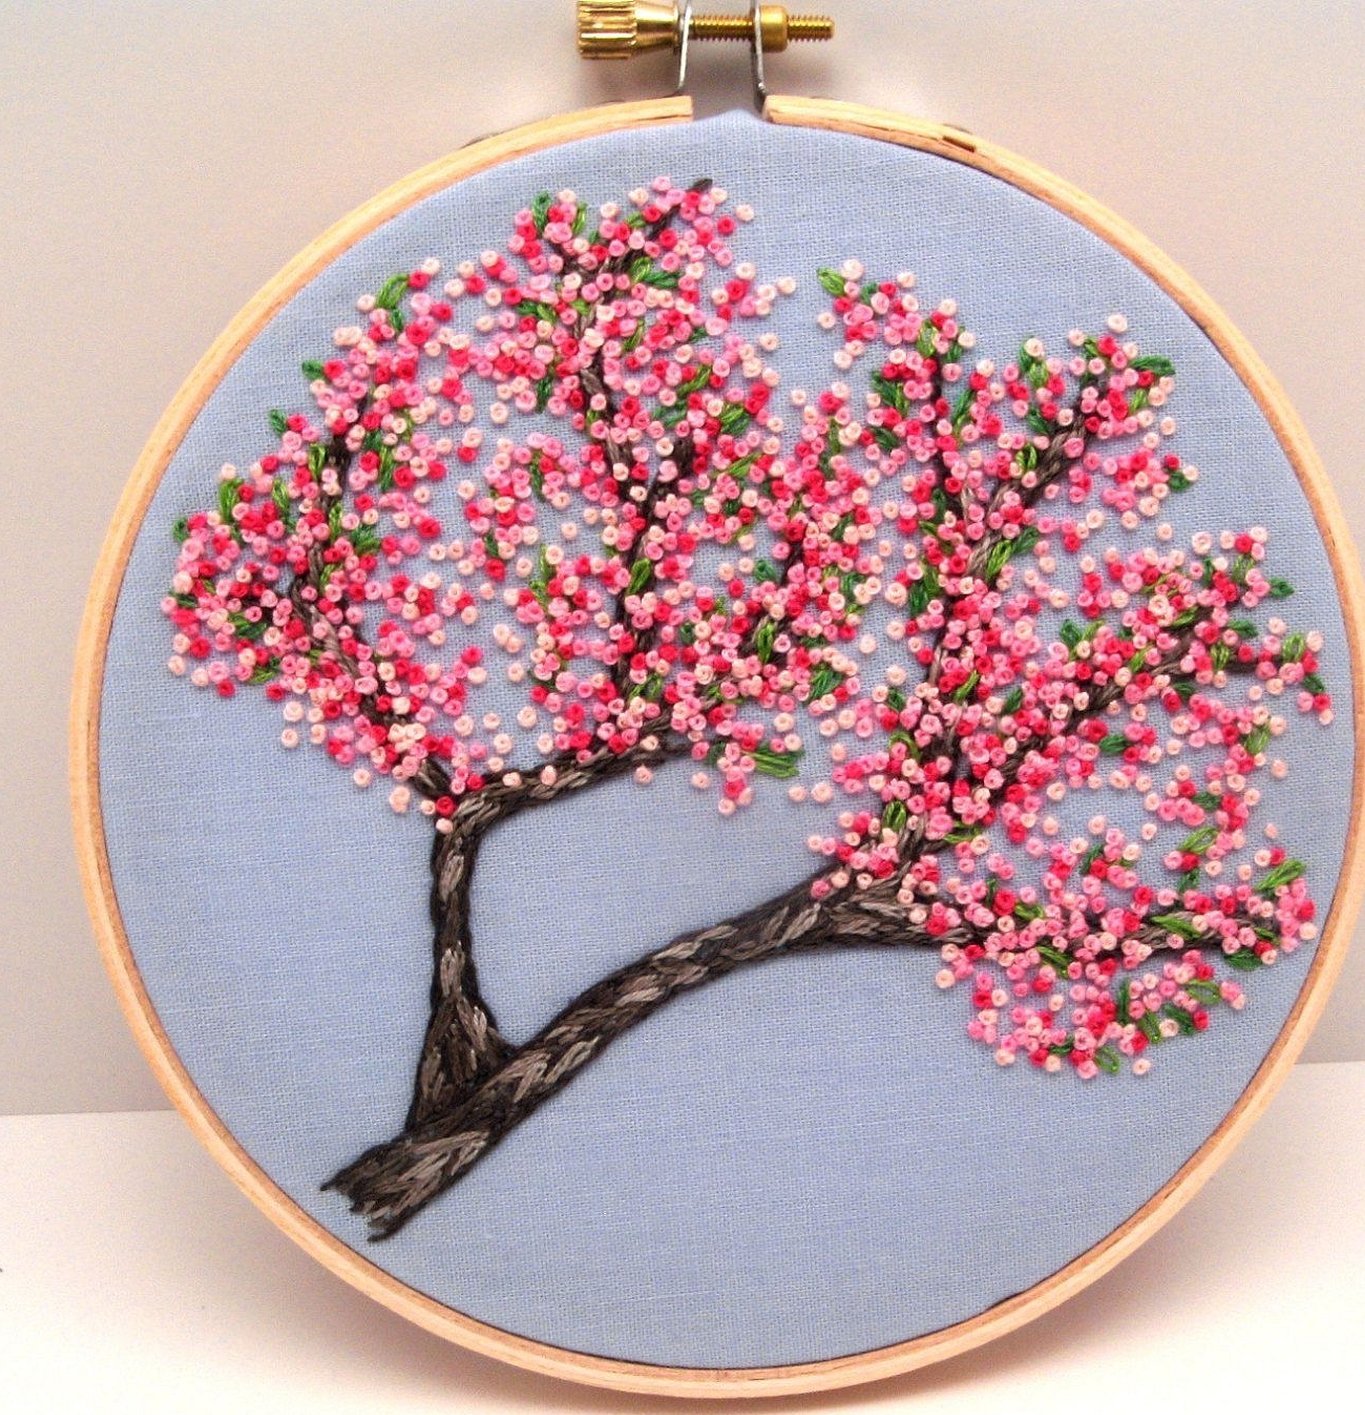
Rose
The rose looks elegant in any technique and serves as a decoration for any clothing or panel. You can create embroidery with it by making twists of fruzols or long skeins. Everything is shown in the picture below.
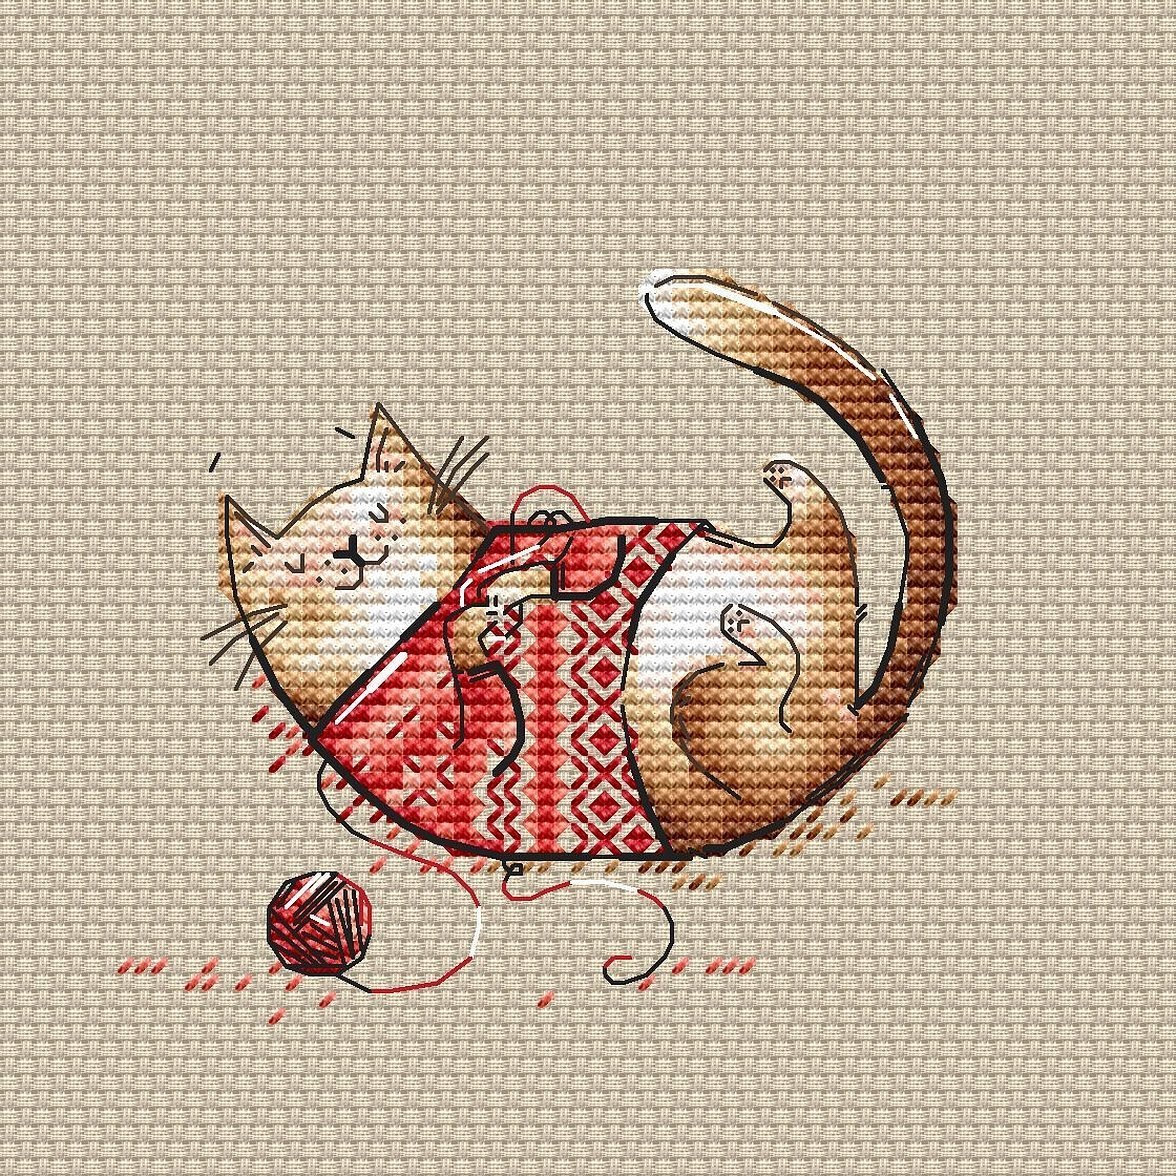
Funny cats
Cats are a great theme for any embroidery, even with fruzels. You can make them based on ready-made options, or try something new. In this case, cats can be created with regular fruzels or long skeins, as in the case of roses. At the moment, there are many techniques, thanks to which the fur of cats or their tail can be created in different styles.
Lilac
Lilac is the best thing that can be made with fruzels. All you need is to sew the drawn sketch of the inflorescence once or do the embroidery in layers. Today, models where the lilac is made with three and four layers of fruzels are popular.
Engagement
Engagement is an unusual subject for embroidery with fruzelka. First, you will need to choose a suitable subject, and then selectively or completely stitch all the elements using this technique.
Nuances of working on different fabrics
There are many patterns and kits that provide clear explanations of how to embroider a French knot. In the absence of these and acting according to your own ideas, you can get inspired and do everything correctly by looking at special training lessons. You can embroider in different styles. There are regular stitches, and there are stitches that resemble a snowflake or a window opening. The technique for performing each is always simple and clear. Both an adult and a child can handle it.
Please note! The most important thing in embroidery is to securely fix the created design with a double stitch on the back side. This is the only way to ensure that the created creation will not be spoiled as a result of a small mistake.
In general, it is not difficult to make a French knot using the existing work instructions. It is enough to follow them completely or use the corresponding master classes. At the moment, entire sets with attached work instructions are sold, so anyone can cope with the embroidery technique, even a child.


