Cross stitching has become so widespread and popular that it is used not only by home craftswomen, but also by world-famous fashion designers. The latter present products with various embroideries in the most unusual places at many of their shows. The most common are cross stitch, satin stitch or half-cross stitch. The popularity of all these types is that embroidered elements have long decorated not only clothes, but also many household items and interiors. Today we will tell you what a half-cross is, how to embroider a half-cross in embroidery and how to do it.
- Features of embroidery
- Which way should I embroider the half cross?
- Embroidery technique
- Tricks of the half cross technique
- Fishing line or regular thread
- Alternating half cross stitch and tapestry stitch
- It is better to embroider the picture with a cross or half cross stitch
- Schemes of work where the half-cross is used
- How to avoid mistakes
Features of embroidery
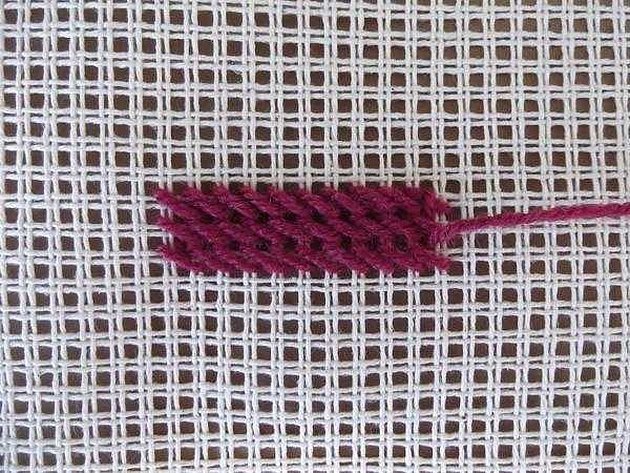
If you pay attention to the technique of half-cross stitch, you will see that it is one stick, which, when placed on another, gives a full cross. By directing the needle with the thread from the lower left corner of the cell to the upper right, you can get a segment with a slope to the right. This is what the current article is devoted to. People with extensive experience in this area often change the embroidery technology for themselves, changing a number of certain features.

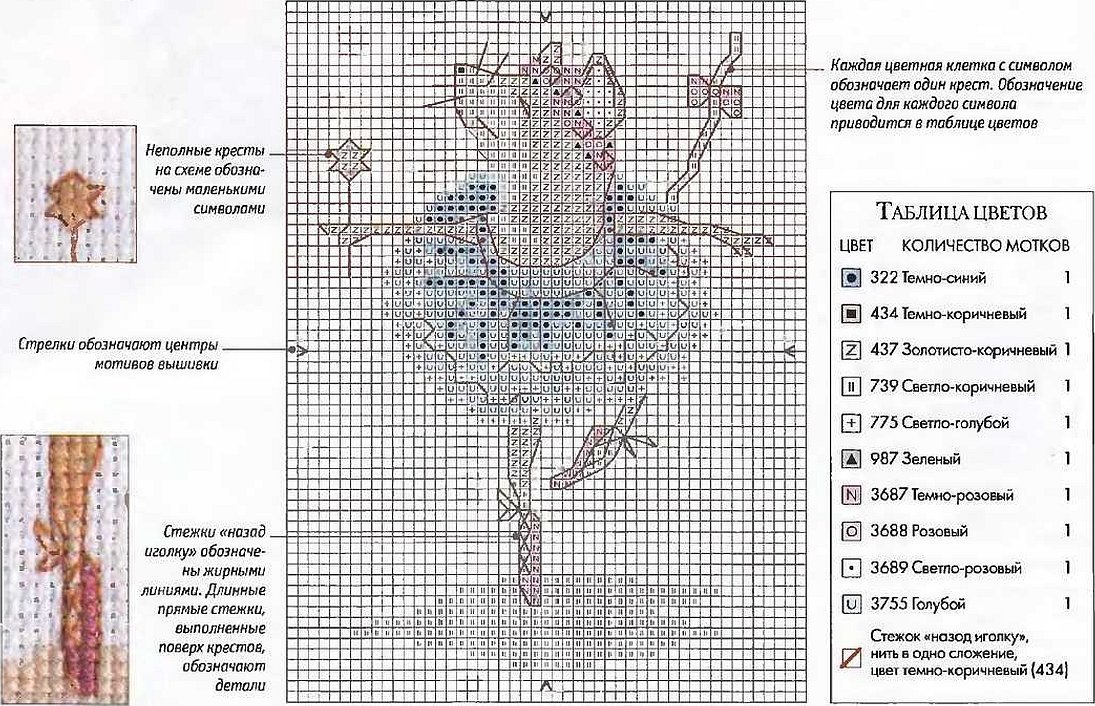
Important! To avoid any incidents and troubles, you need to carefully study the embroidery pattern and its description. After that, it will be much more difficult to get confused.
Half cross stitch patterns have a number of features that need to be understood. These include large and small embroidery elements, different angles of stitches that form the pattern. The stitches themselves can also have transitions and returns. Usually, the slope, as described above, has an angle from left to right, but there are patterns that require different slope angles to be used simultaneously.
Which way should I embroider the half cross?
There are many disagreements and disputes on the topic of how exactly the stitches should be placed and in which direction the half cross should be embroidered. In fact, everything is simple - the choice should be made based on the pattern and the desired result.
There is a rule: all the top stitches should be "looking" in one direction. If a full cross is used, then no disagreements arise, but with a half-cross, the execution options may differ, which will affect the appearance of the final product. The main methods of half-cross embroidery are:
- Top cross stitch();
- Bottom cross stitch (/).
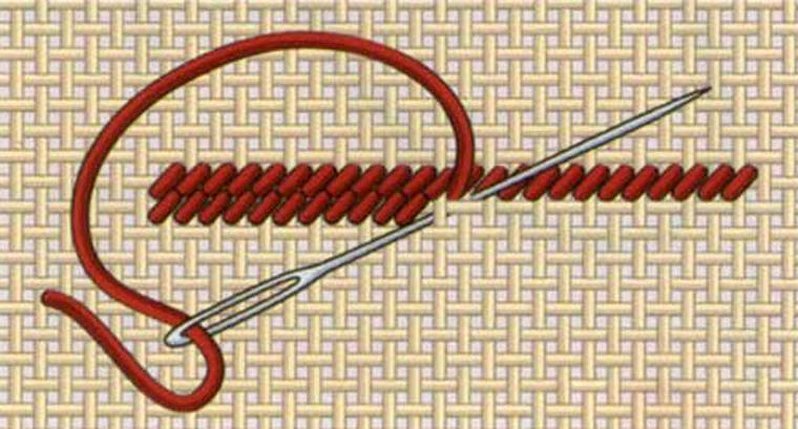
Embroidery technique
The technique is quite simple and looks like this: straight passes are made from left to right. To do this, the needle is set in the "towards you" position and makes two punctures in opposite diagonal corners from top to bottom. The reverse pass is not made. Instead, they move to another square (line). To maintain the slope, the punctures are made not towards you, but away from you. Not everyone is used to doing this and it is not very convenient. To increase comfort, you can turn the "canvas" over in the form of a napkin or tablecloth. This will allow you to embroider with the needle "towards you".
Important! The half-cross technique is used on a thin base. If the base is standard, then a thicker thread is used to close the entire cell. This can be wool thread, acrylic or a semi-wool mixture.
Modern techniques also suggest using the half-cross as an independent stitch when filling the backgrounds of images and patterns, decorating individual spaces. This enriches the work with new styles and creates a certain lightness and tenderness.
Tricks of the half cross technique
There are several useful tricks that will allow you to master the technique at a professional level faster:
- It is worth using different stitch angles for different patterns. This will help make the drawing more interesting and better. You should always carefully study the instructions for patterns found on the Internet;
- The technique allows you to see all the flaws on the front side. This means that you don't have to pay attention to the back of the picture and watch it - all your attention should be focused on the outside. The transitions from row to row are done very carefully, since the last stitch of the first row is the beginning of the second;
- To prevent the thread from twisting, let it hang and unwind frequently. The thread will straighten under the needle's own weight;
- The style requires careful handling. Deformation of stitches can occur in places where the frame or hoop moves. The latter should be used in fairly large sizes and removed whenever a break is taken;
- An interesting pattern is obtained by using melange thread colors in combination with white canvas. As a result, the background will shimmer and play with light.
Fishing line or regular thread
Some people use monofilaments, or fishing lines, instead of threads. The difference between using them is that when working with sewing thread, the product remains soft and it is easy to sew beads or beads to it. But there is also a negative side: when stretching the picture, for example, for a frame, the monofilament can break and all the beads will fall out. It will not be easy to restore such a pattern.
Important! An important advantage of the fishing line is that it is transparent, which means it will not be visible from the inside. It is only suitable for half-cross stitching of beads and does not tolerate high ironing temperatures, as it can melt.
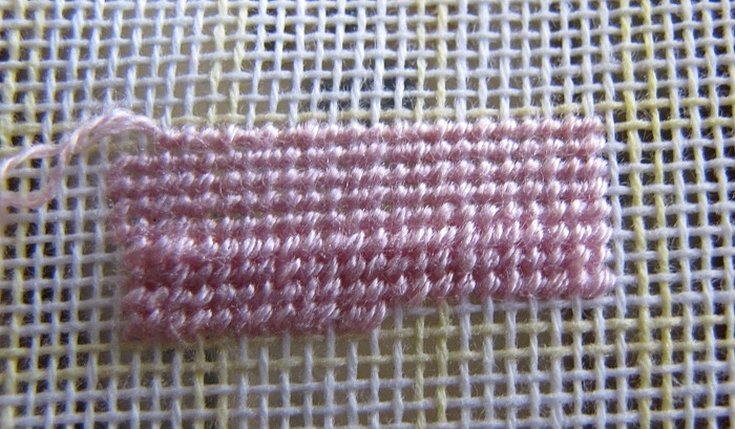
Alternating half cross stitch and tapestry stitch
When using only half-cross stitch, there is a high chance of deformation of the product over time. If you alternate two techniques: half-cross stitch and tapestry stitch, then this chance can be reduced. This happens because with half-cross stitch, the cell is pulled together by purl stitches and turns into a rectangle. This is not always visible, especially if the painting is small, but on large canvases, the deformation is visible to the naked eye. Using the second technique is also marked by a distortion, but not as strong and in the other direction. As a result of their simultaneous use, you can achieve "balancing" of the painting.
It is better to embroider the picture with a cross or half cross stitch
Both techniques have their advantages and disadvantages. They are suitable for different patterns, but some patterns can be done in both of these embroidery techniques. Sometimes the pattern specifies that part of the pattern or the background behind the object should be done with a half cross stitch, and the rest with a cross stitch, so these methods are inextricably linked with each other and require mutual application, as well as alternating half cross stitch and tapestry stitch. As for preferences, each person makes them in their own favor, finding an advantage for themselves in one or another technique.
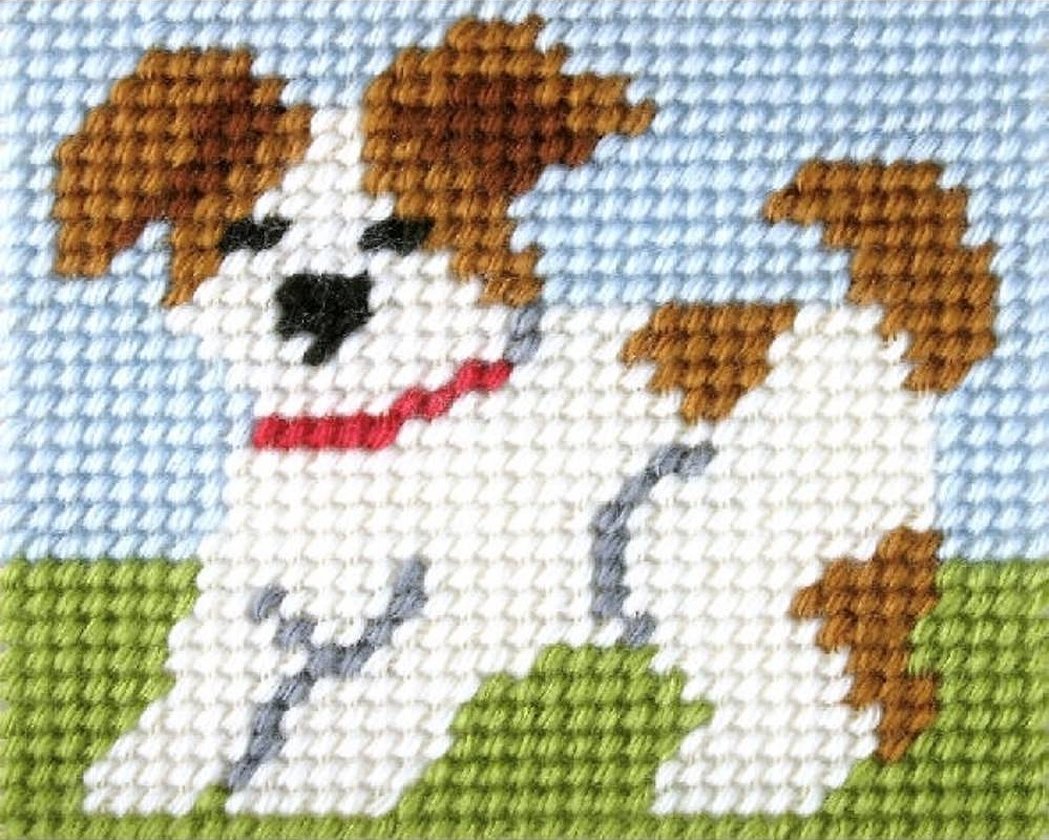
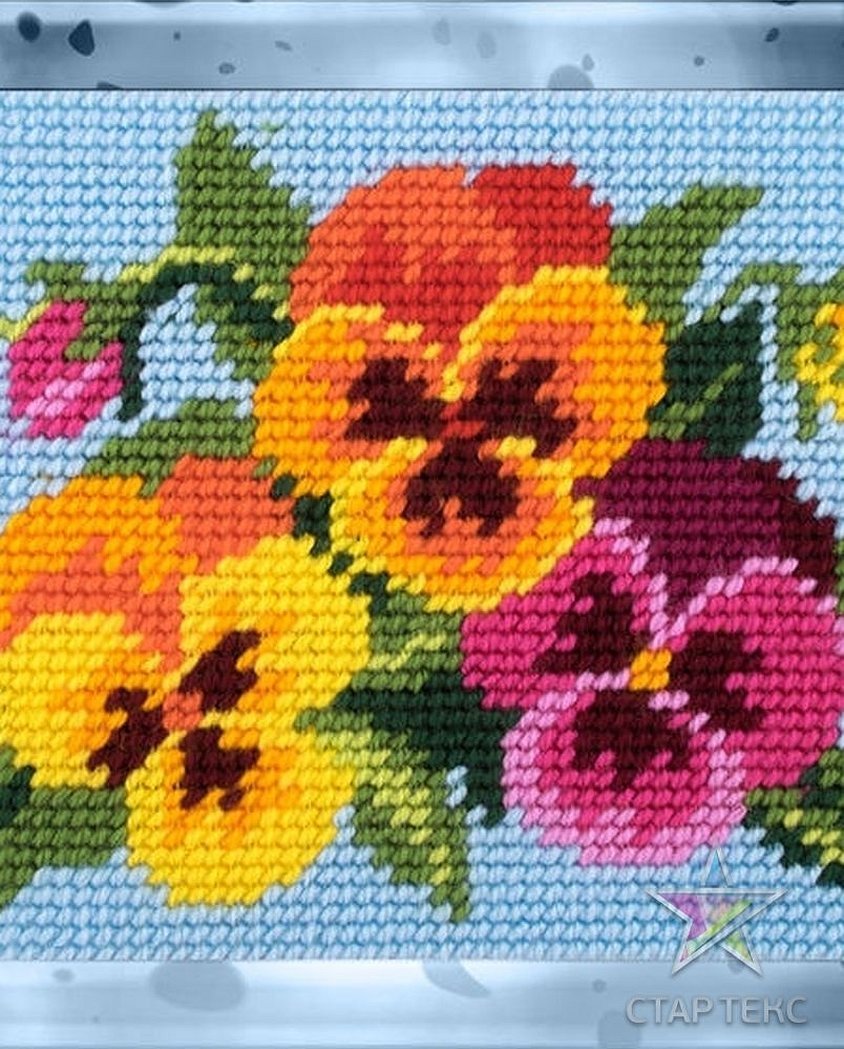
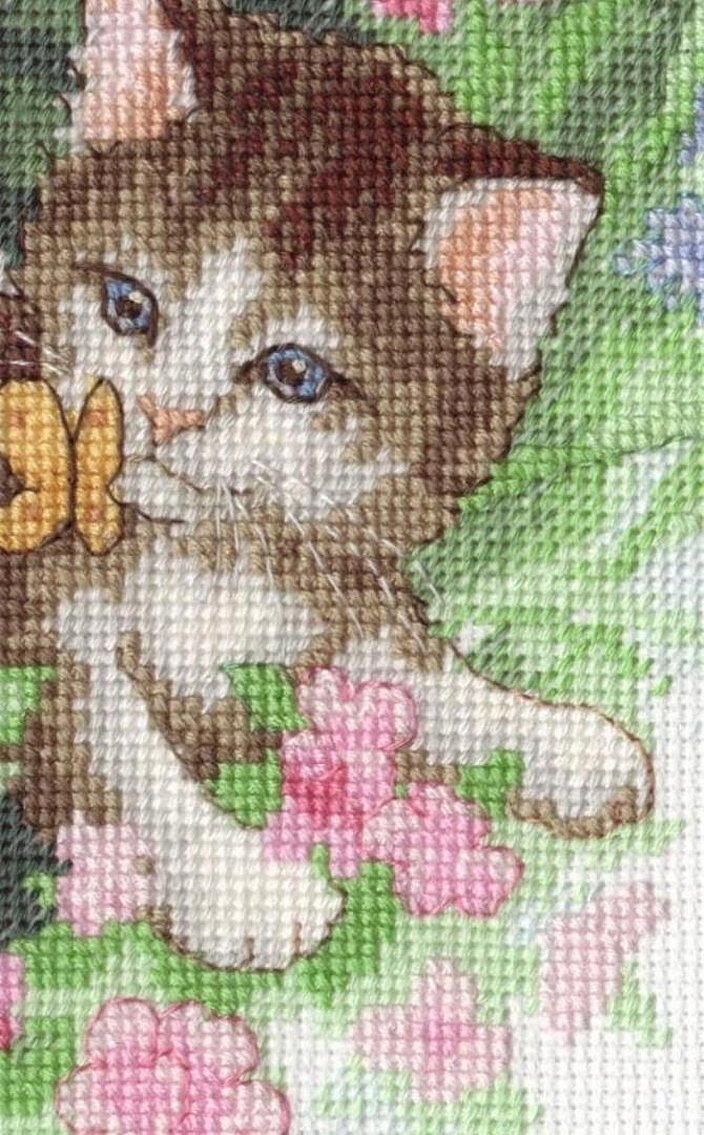
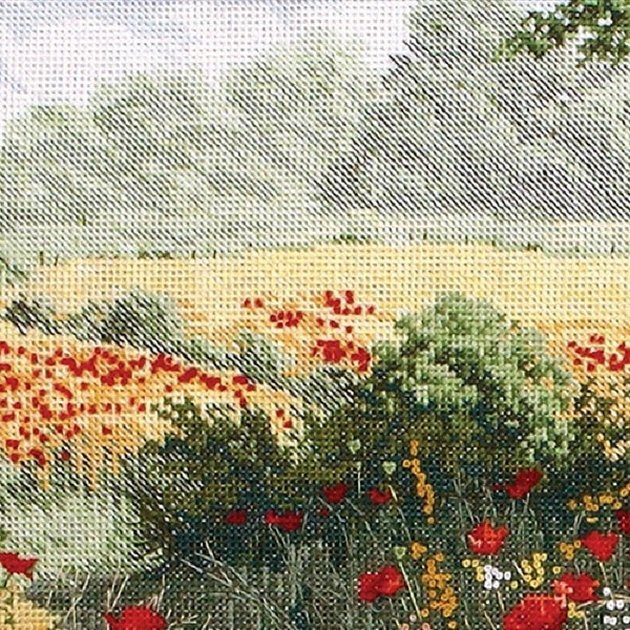
Schemes of work where the half-cross is used
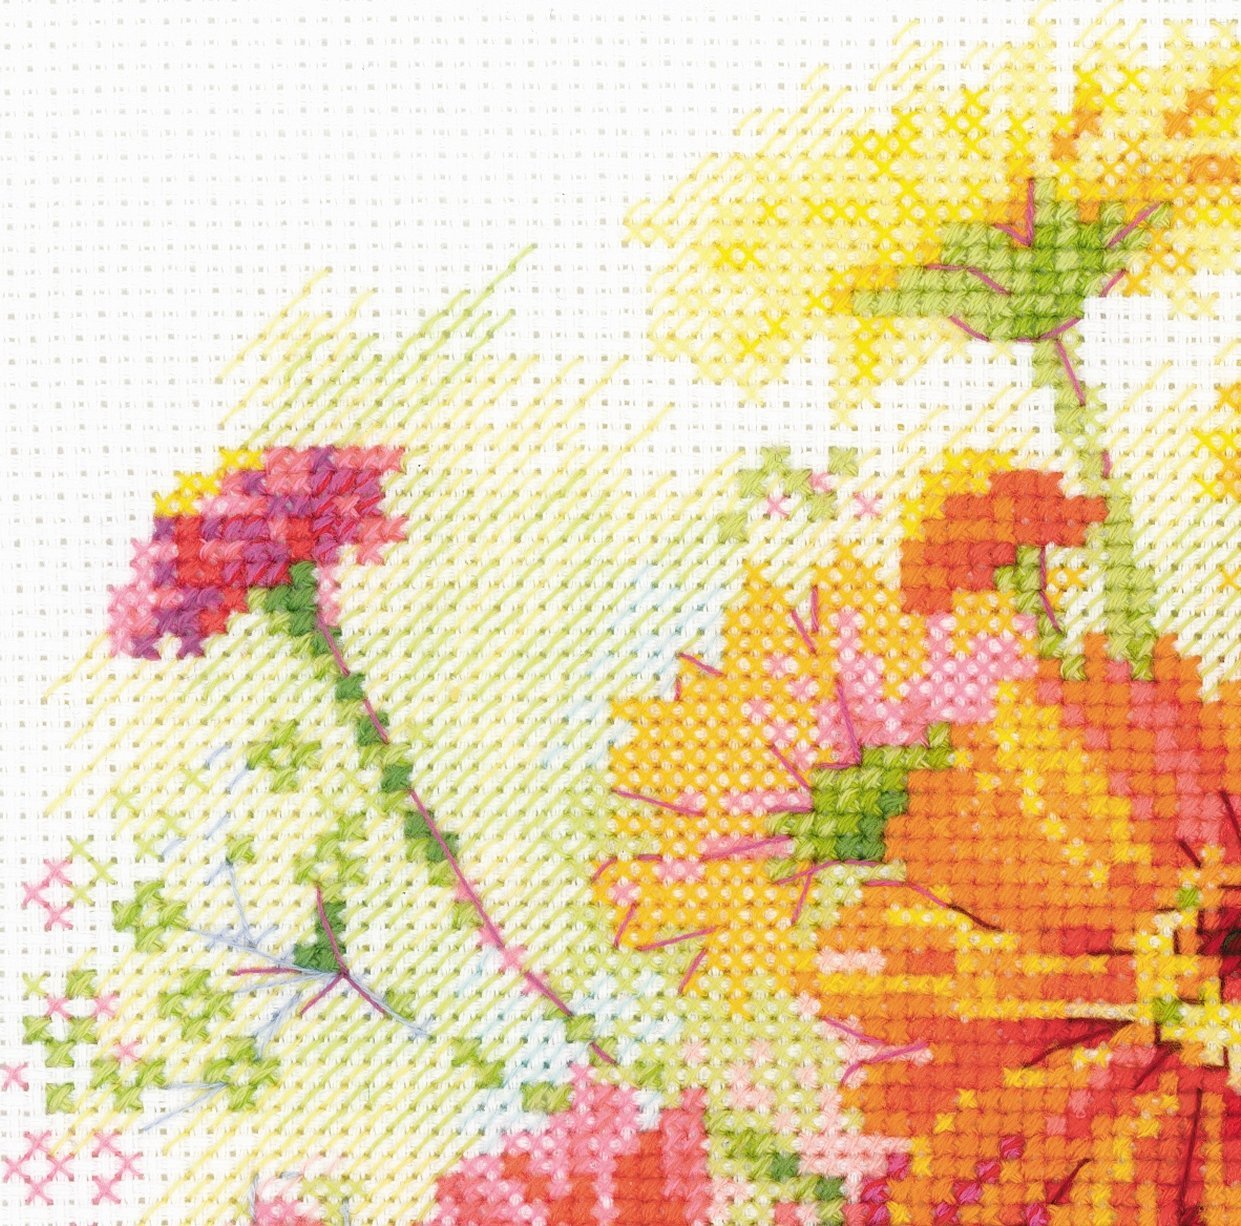
The half-cross technique is used in a large number of ready-made patterns for embroidery with thread or beads. It is often, as has already become clear, combined with a tapestry stitch or a regular cross to give the picture volume, an interesting look and other features. Below will be shown several ready-made patterns where the half-cross is used.
How to avoid mistakes
With this technique, you need to move your hands more often than with a regular cross, so thread twists can often occur. To avoid this, you need to let the needle hang more often and untwist the thread under its own weight. To firmly secure the thread on the back, you need to make several stitches at once. This principle works both in satin stitch and in a regular cross.
During the embroidery process, it is worth paying attention to the tension of the thread and all half-crosses. If it is too large, the needle may puncture the canvas and the fabric or thread will break. There is no way to fix this.
Thus, it was analyzed what a half-cross is, how to embroider a half-cross, what cross-stitch is and how to properly secure the thread to avoid further mistakes. Beginner craftswomen can download ready-made embroidery patterns in any of the directions or buy a special set and step by step follow all the step-by-step instructions of the pattern in the correct order. After stuffing your hand, you can start creating your own patterns.


