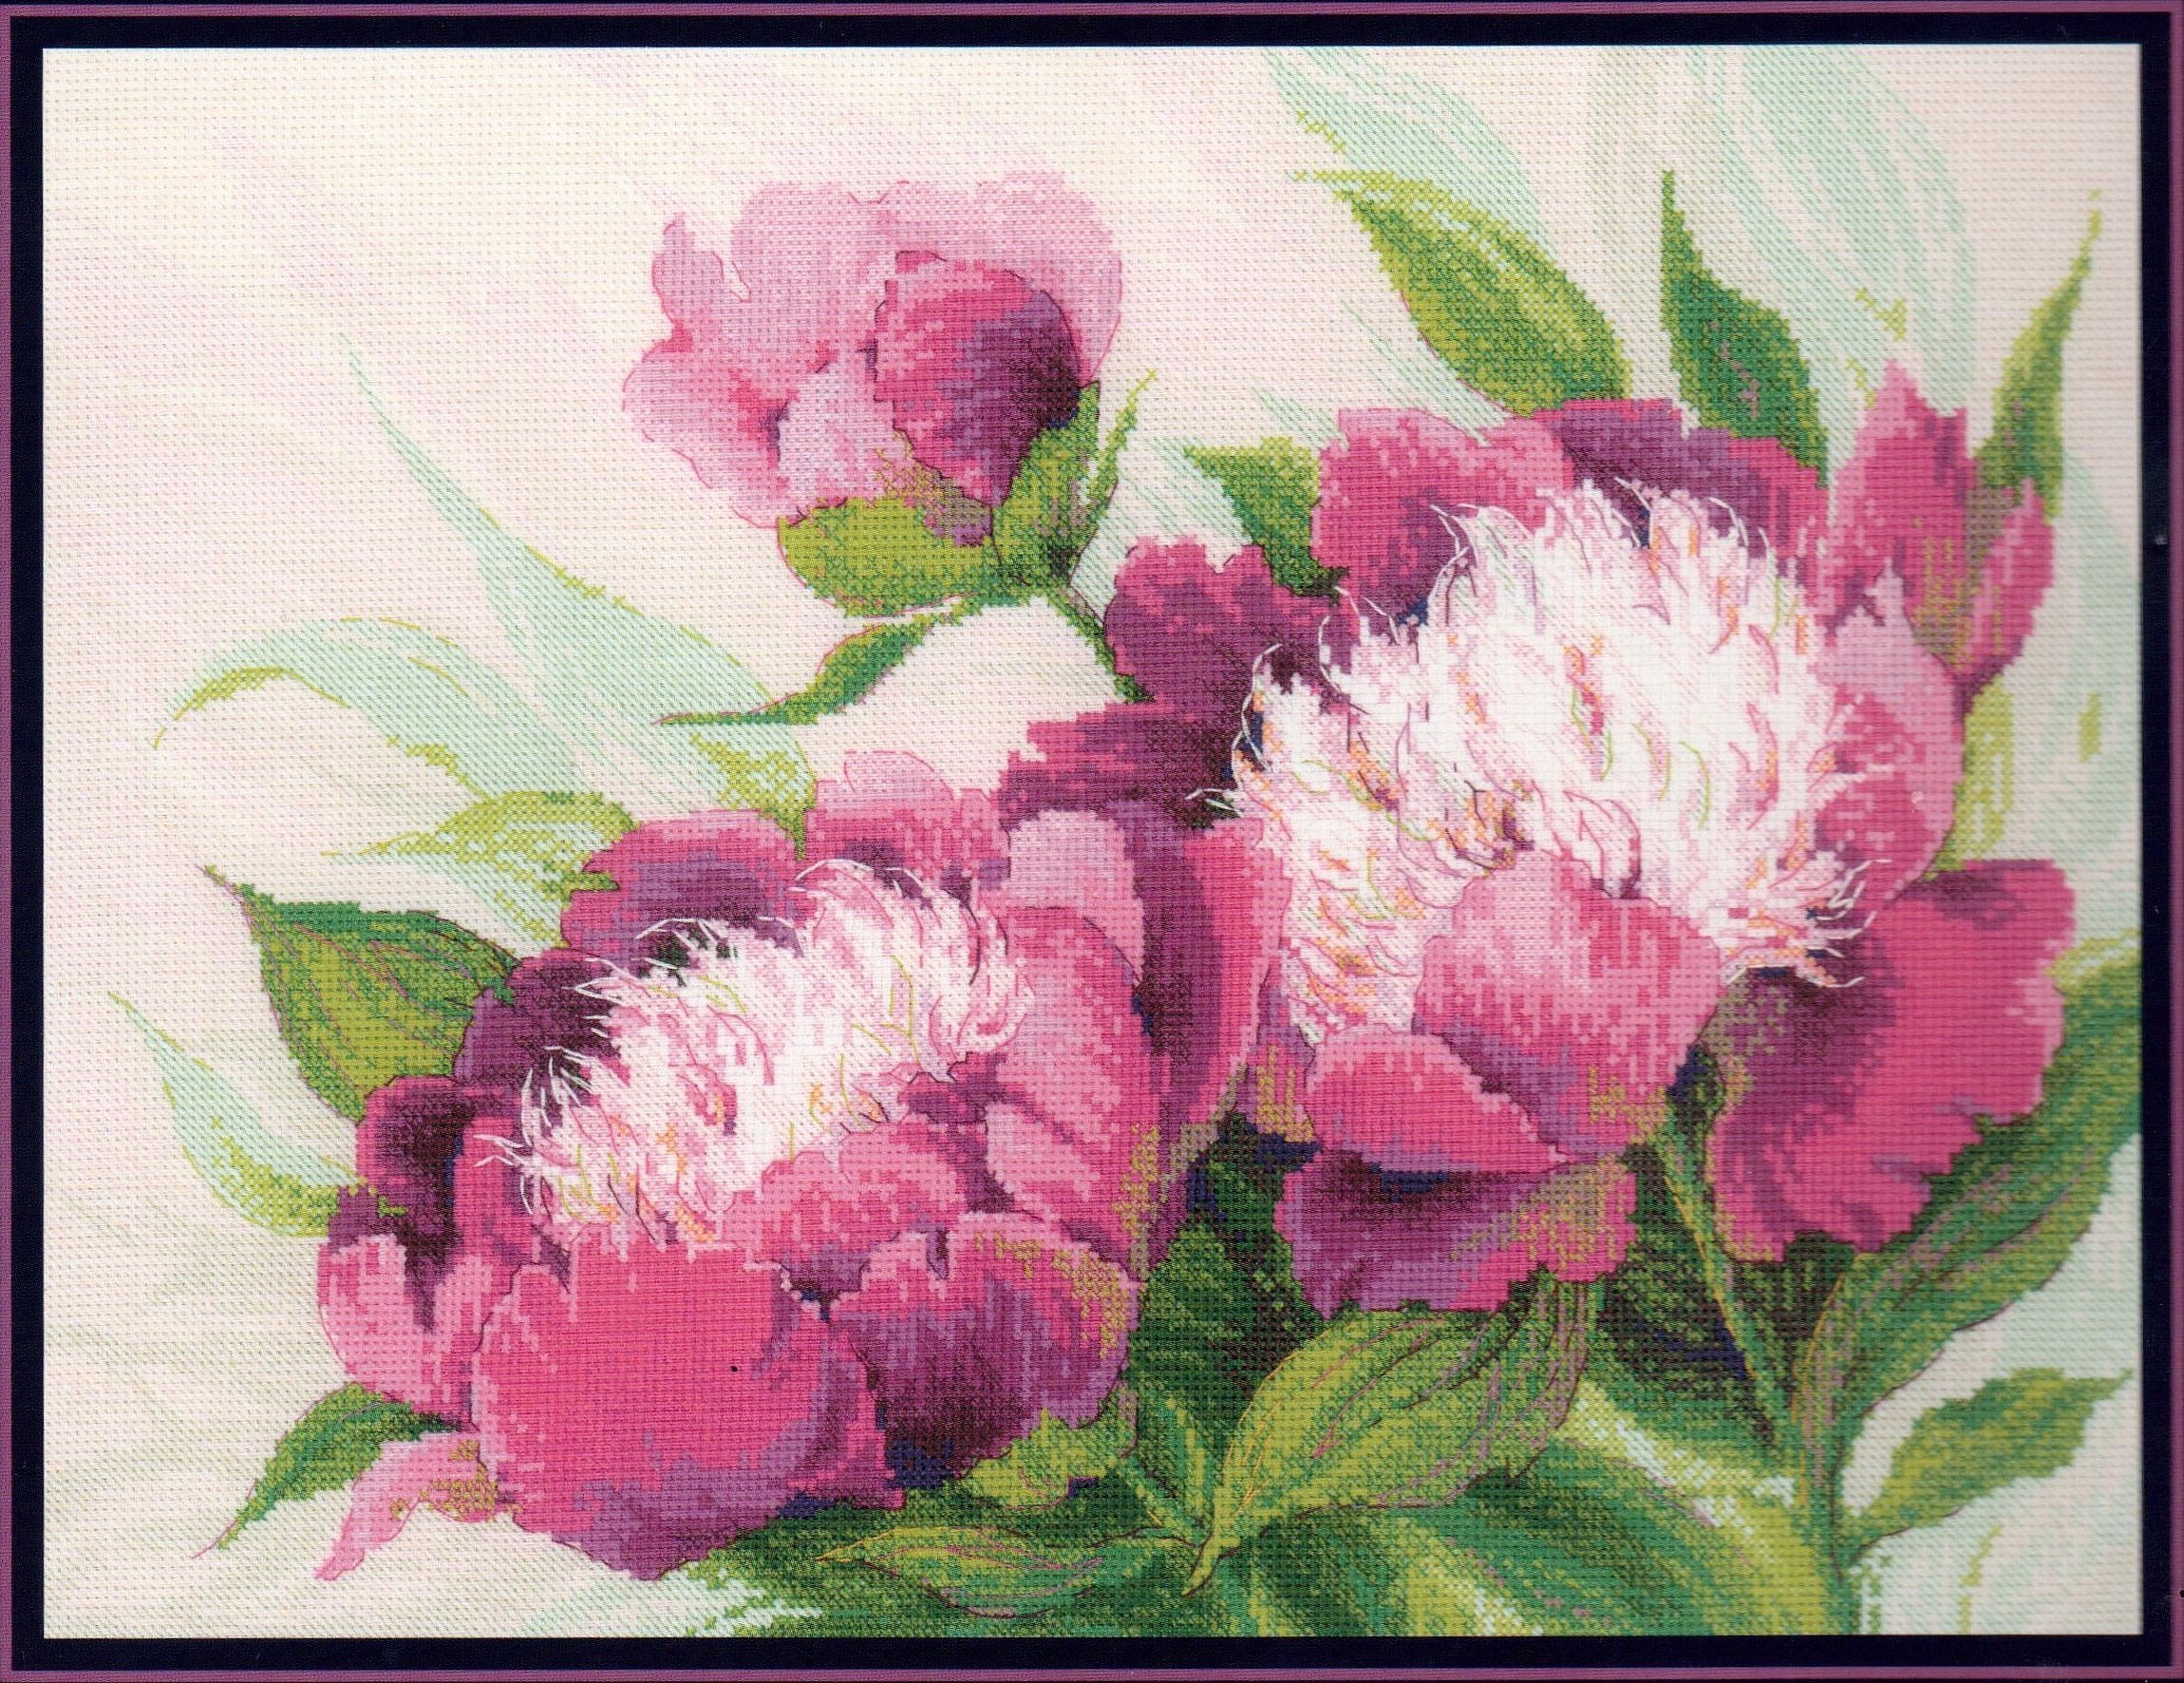
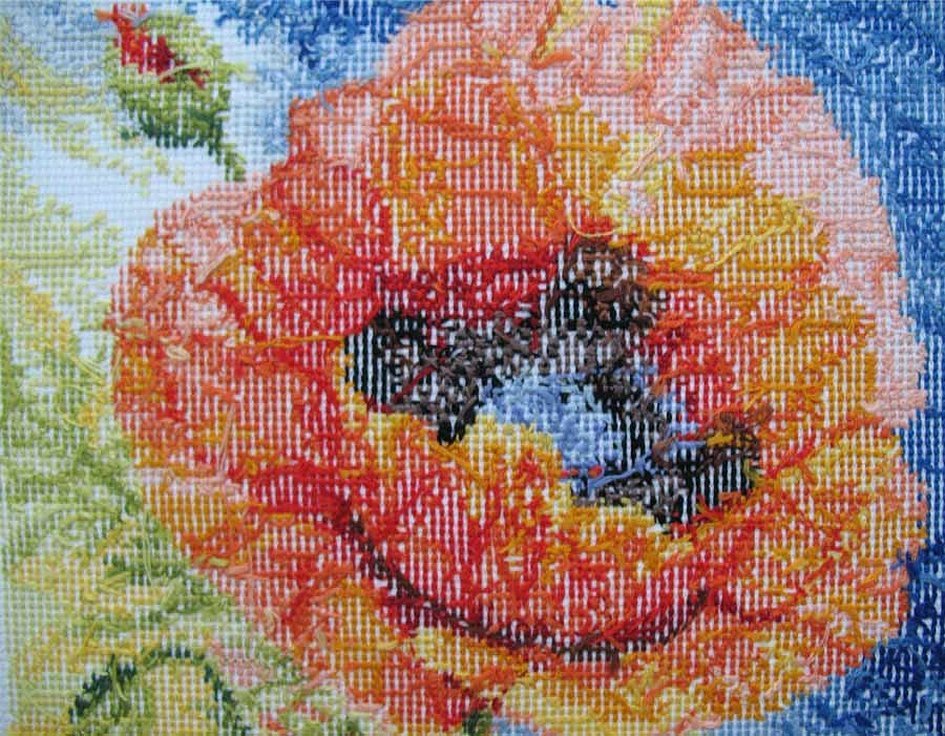
Peonies are one of the most popular flowers that are cross-stitched. These are mostly complex patterns. In a bouquet, these flowers look bright and voluminous. Using a large number of shades complicates the work, but makes it lively. By choosing peonies for embroidery, you can create a bright picture that will decorate the wall of the room.
What to choose: a ready-made kit or a pattern from the Internet
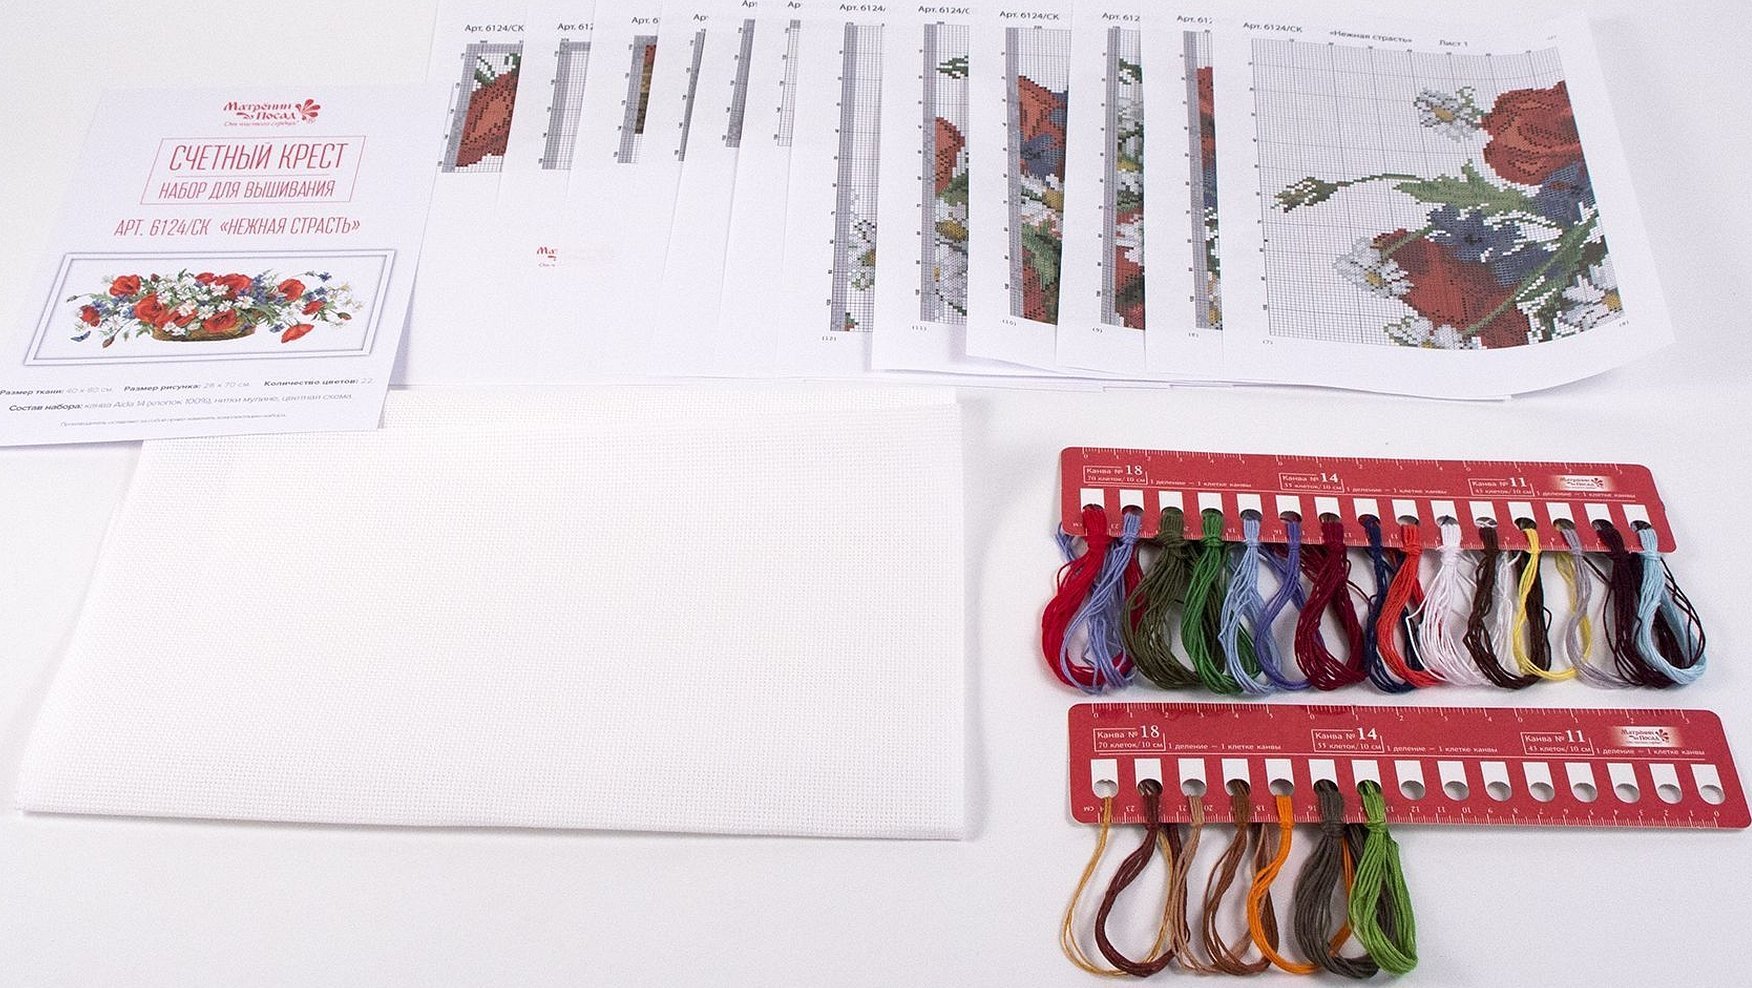
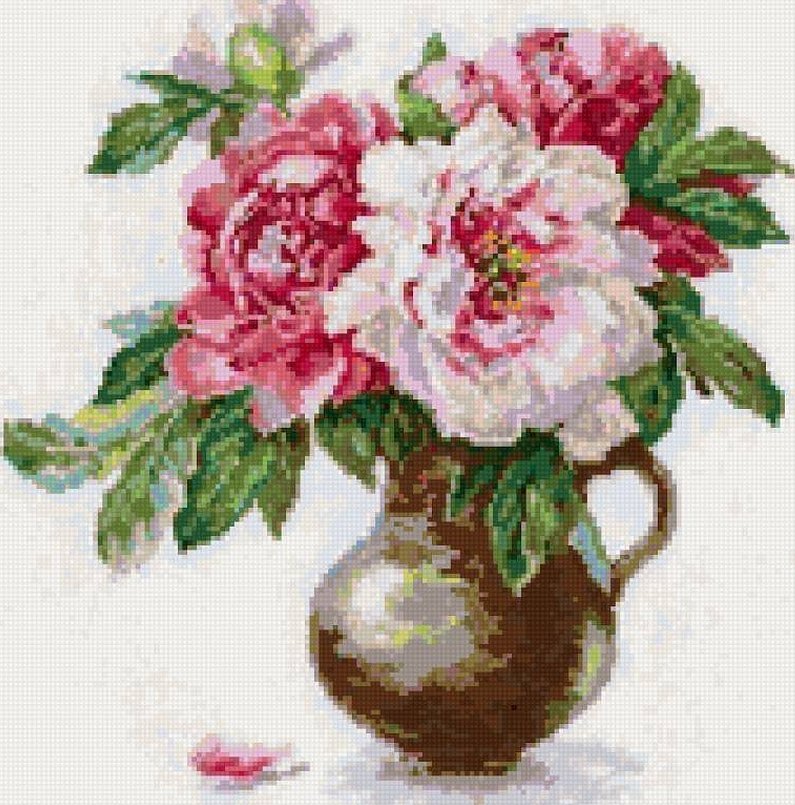
Cross stitch "Peonies" is recommended for those who have already learned the basics of embroidery at different levels of complexity. These flowers are mainly depicted in a bouquet with a vase. They look voluminous. When creating an image, several shades are used. It is recommended to take only kits at the first stages.
The kit includes canvas of the required size. You won't have to calculate the position of the image and worry that it will shift. Manufacturers make sure that needlewomen use threads of the required shades and that they are enough for the entire embroidery process. You rarely have to look for additional floss. The pattern from the kit usually contains individual embroidery tips.
You can find a ready-made pattern on the Internet for free. But the embroiderer must have enough experience in calculating the position of the image, the size of the canvas. There is a risk that the picture will turn out sloppy, uneven.
Important! There are canvas parameter calculators on the Internet for more detailed calculations.
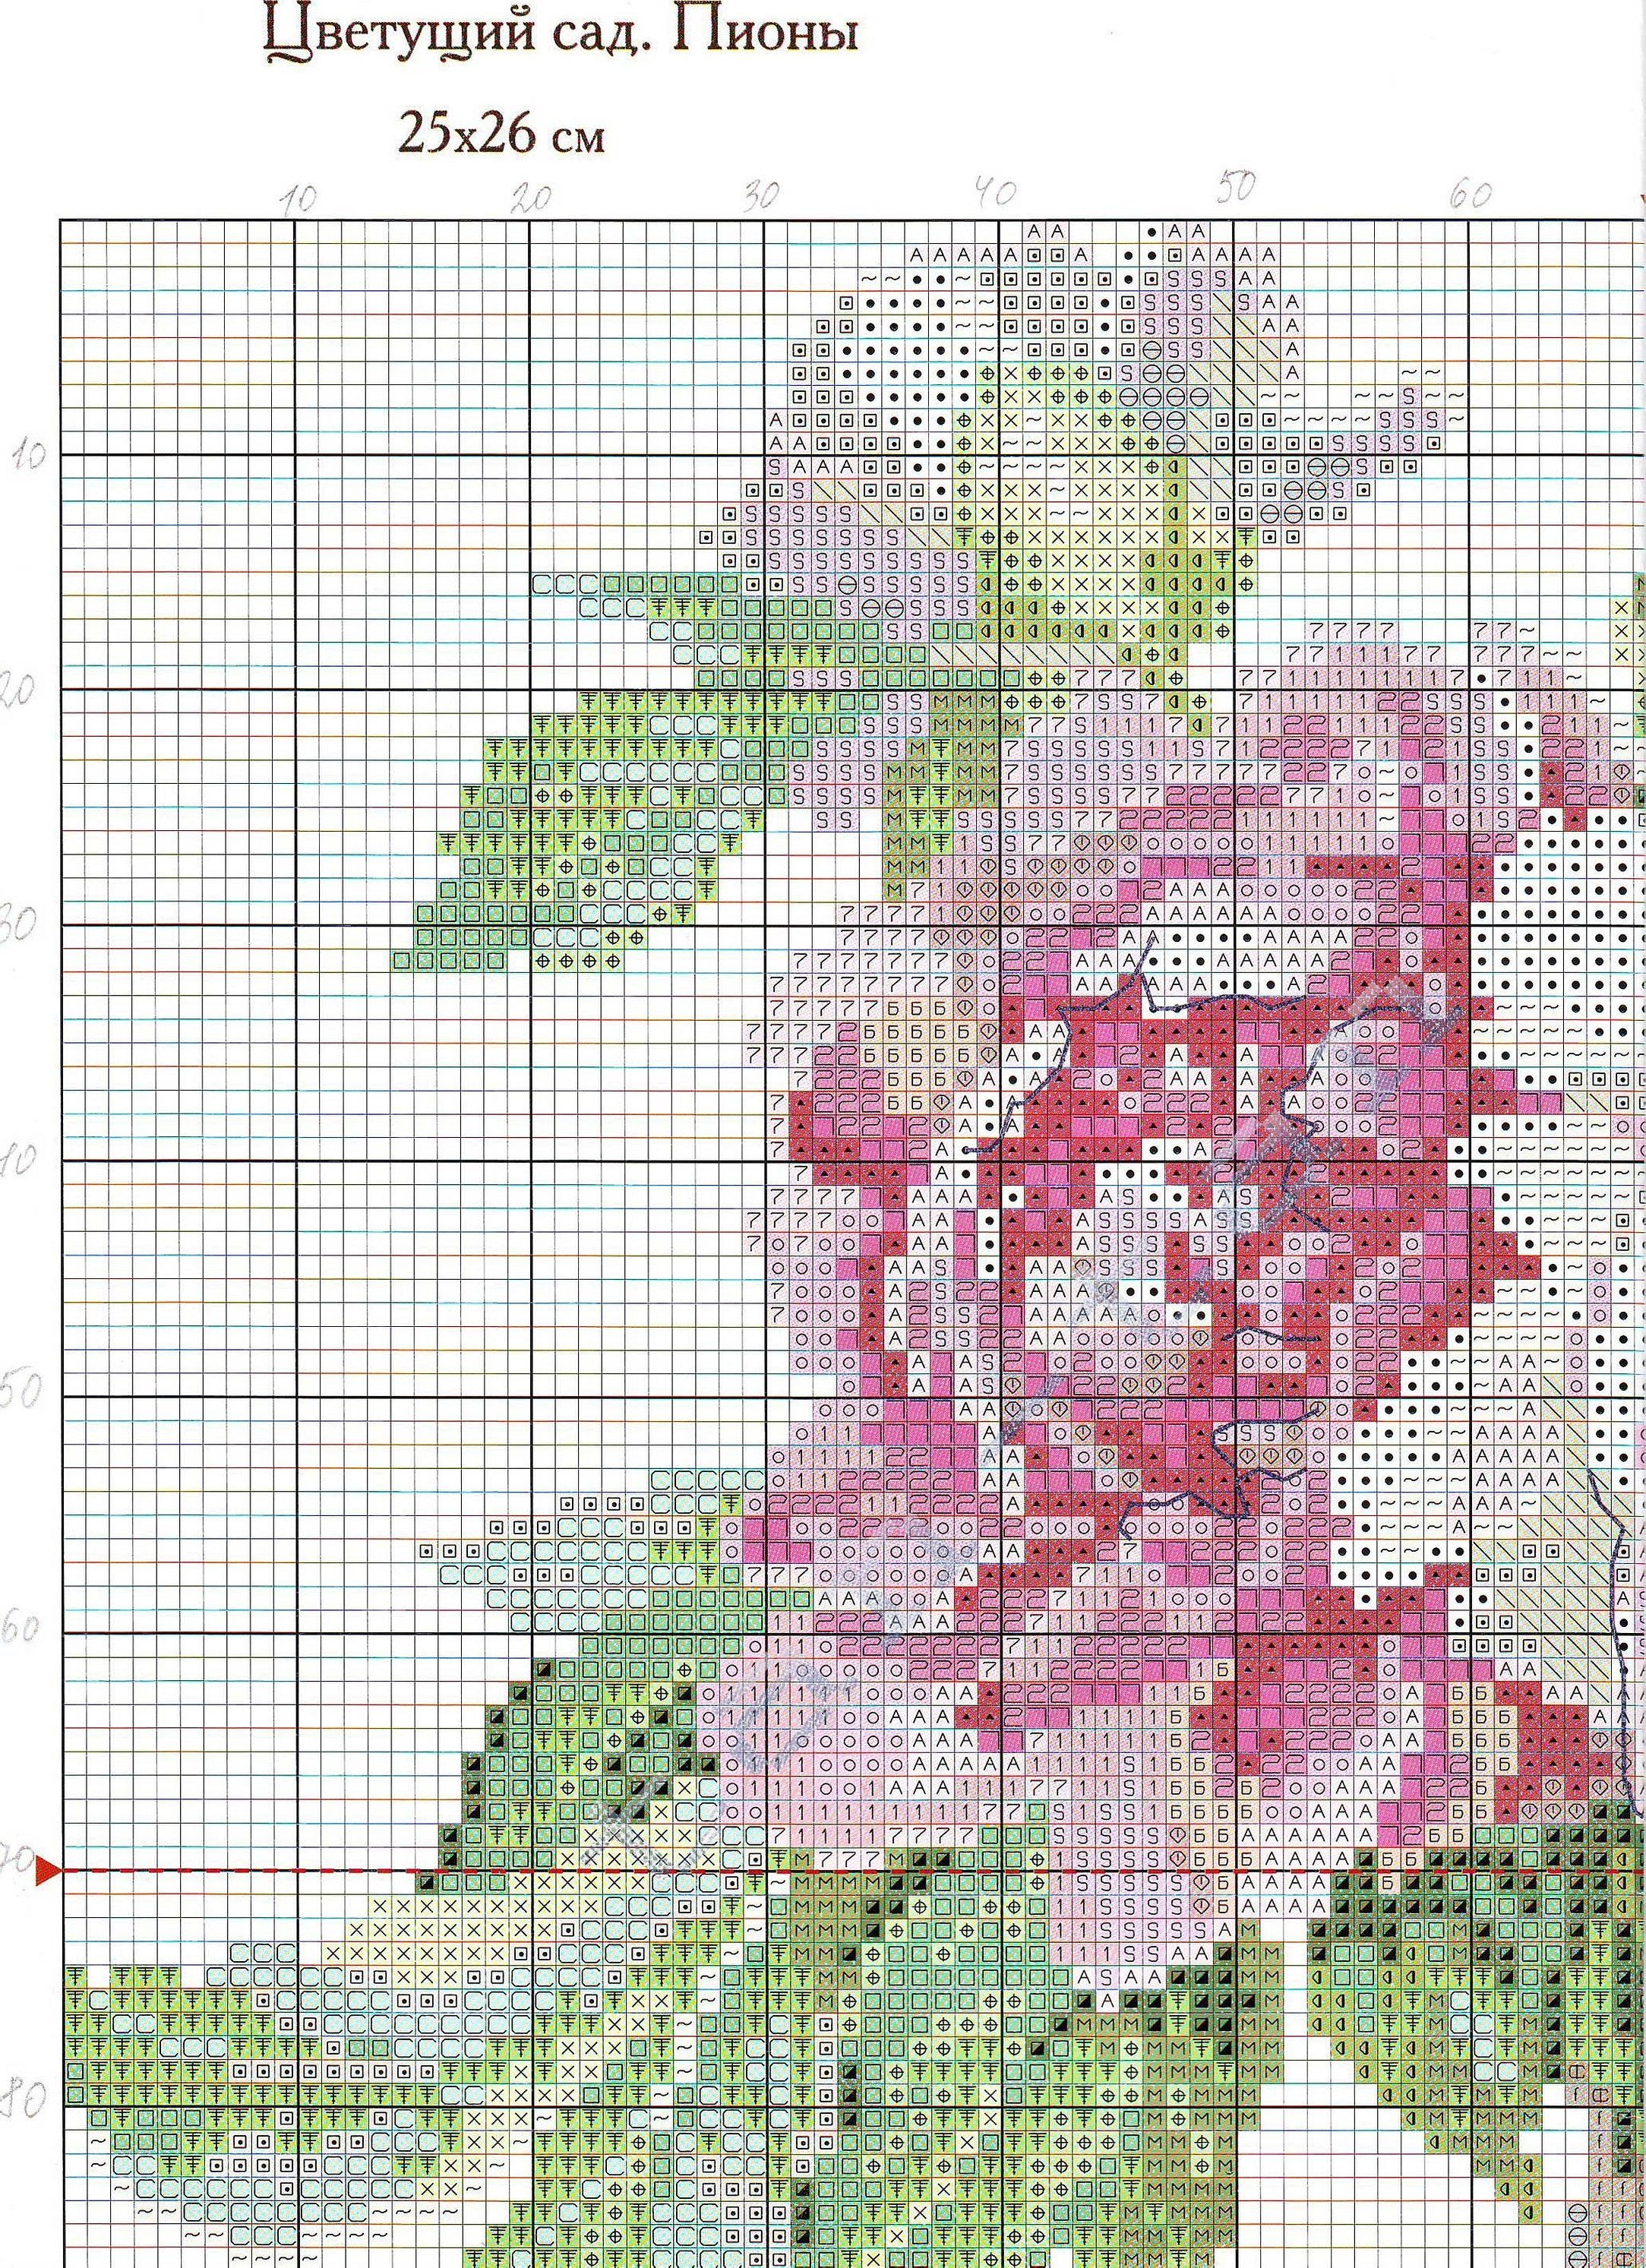
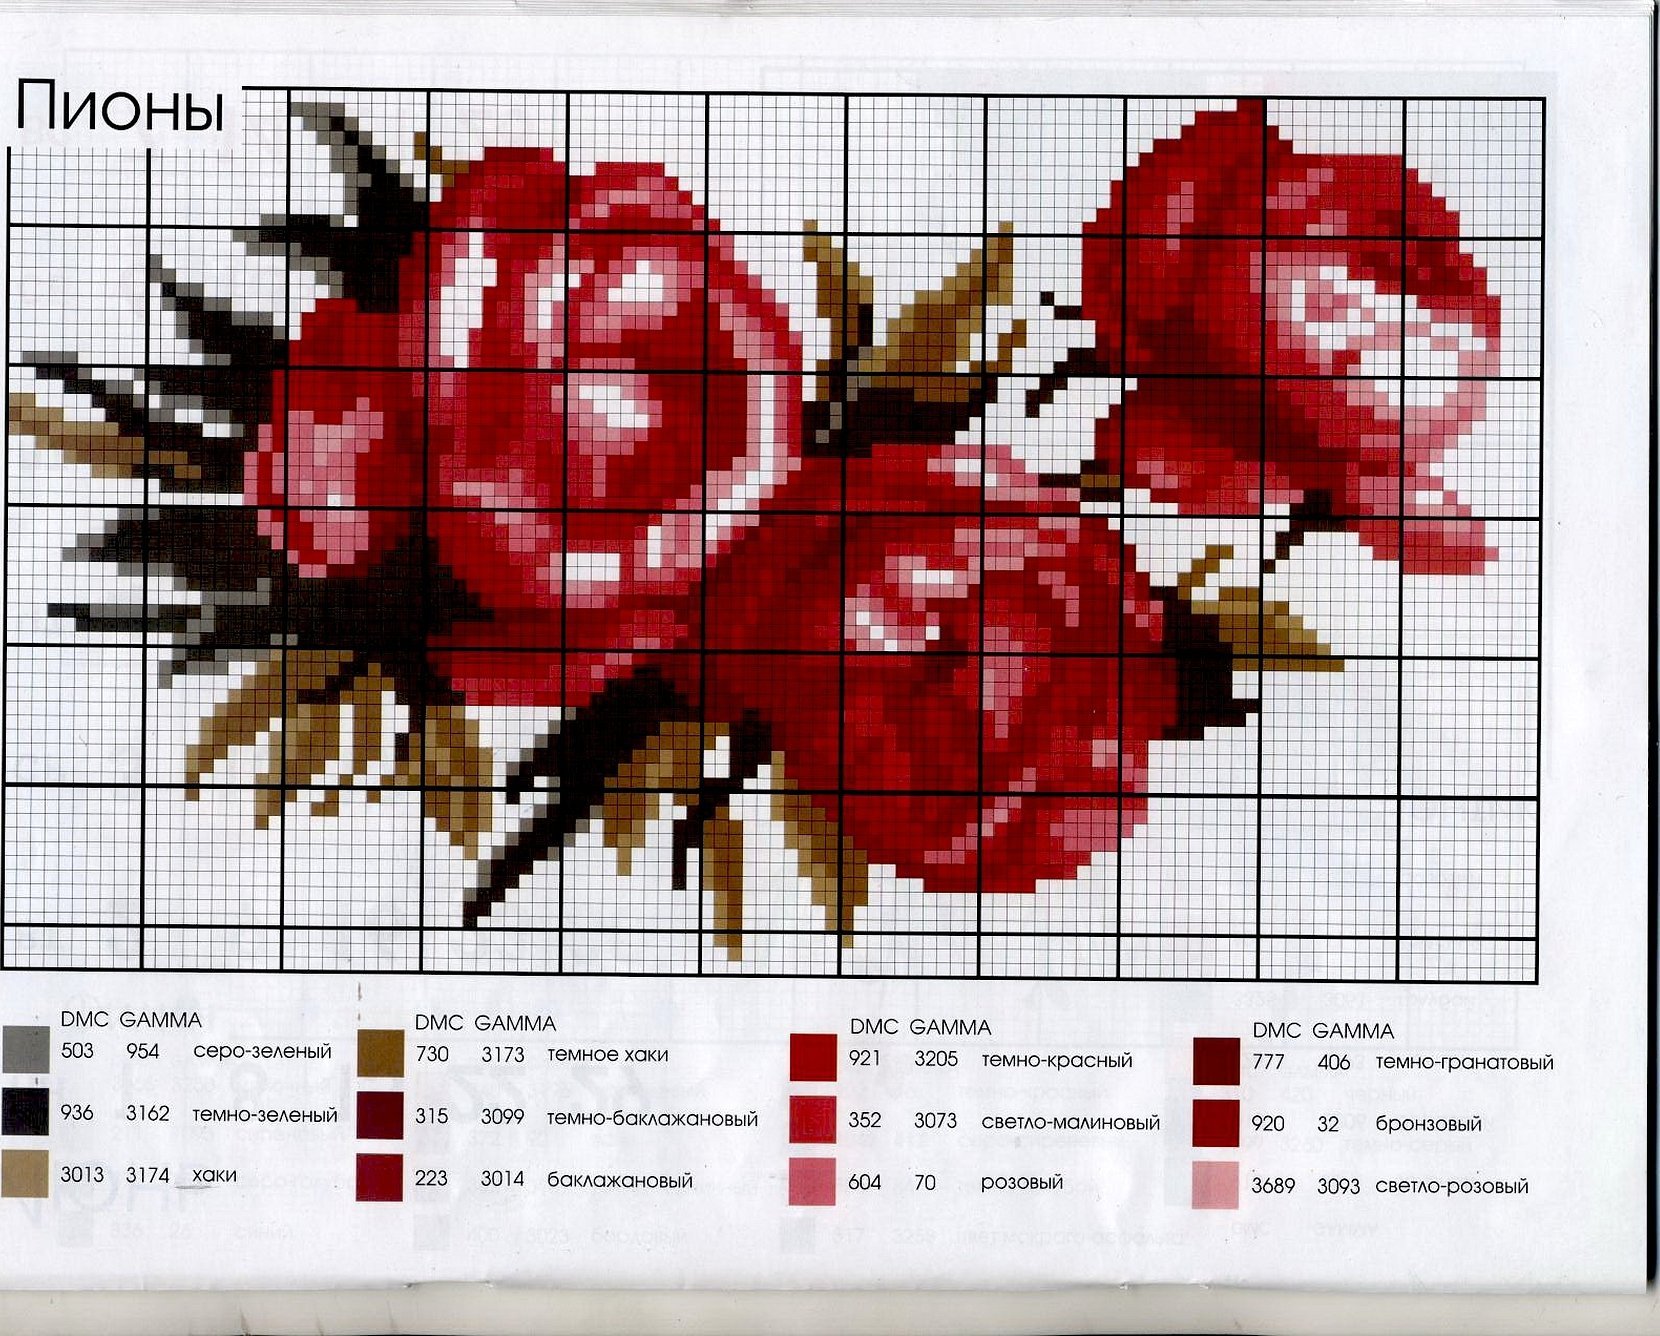
Embroidery patterns and descriptions
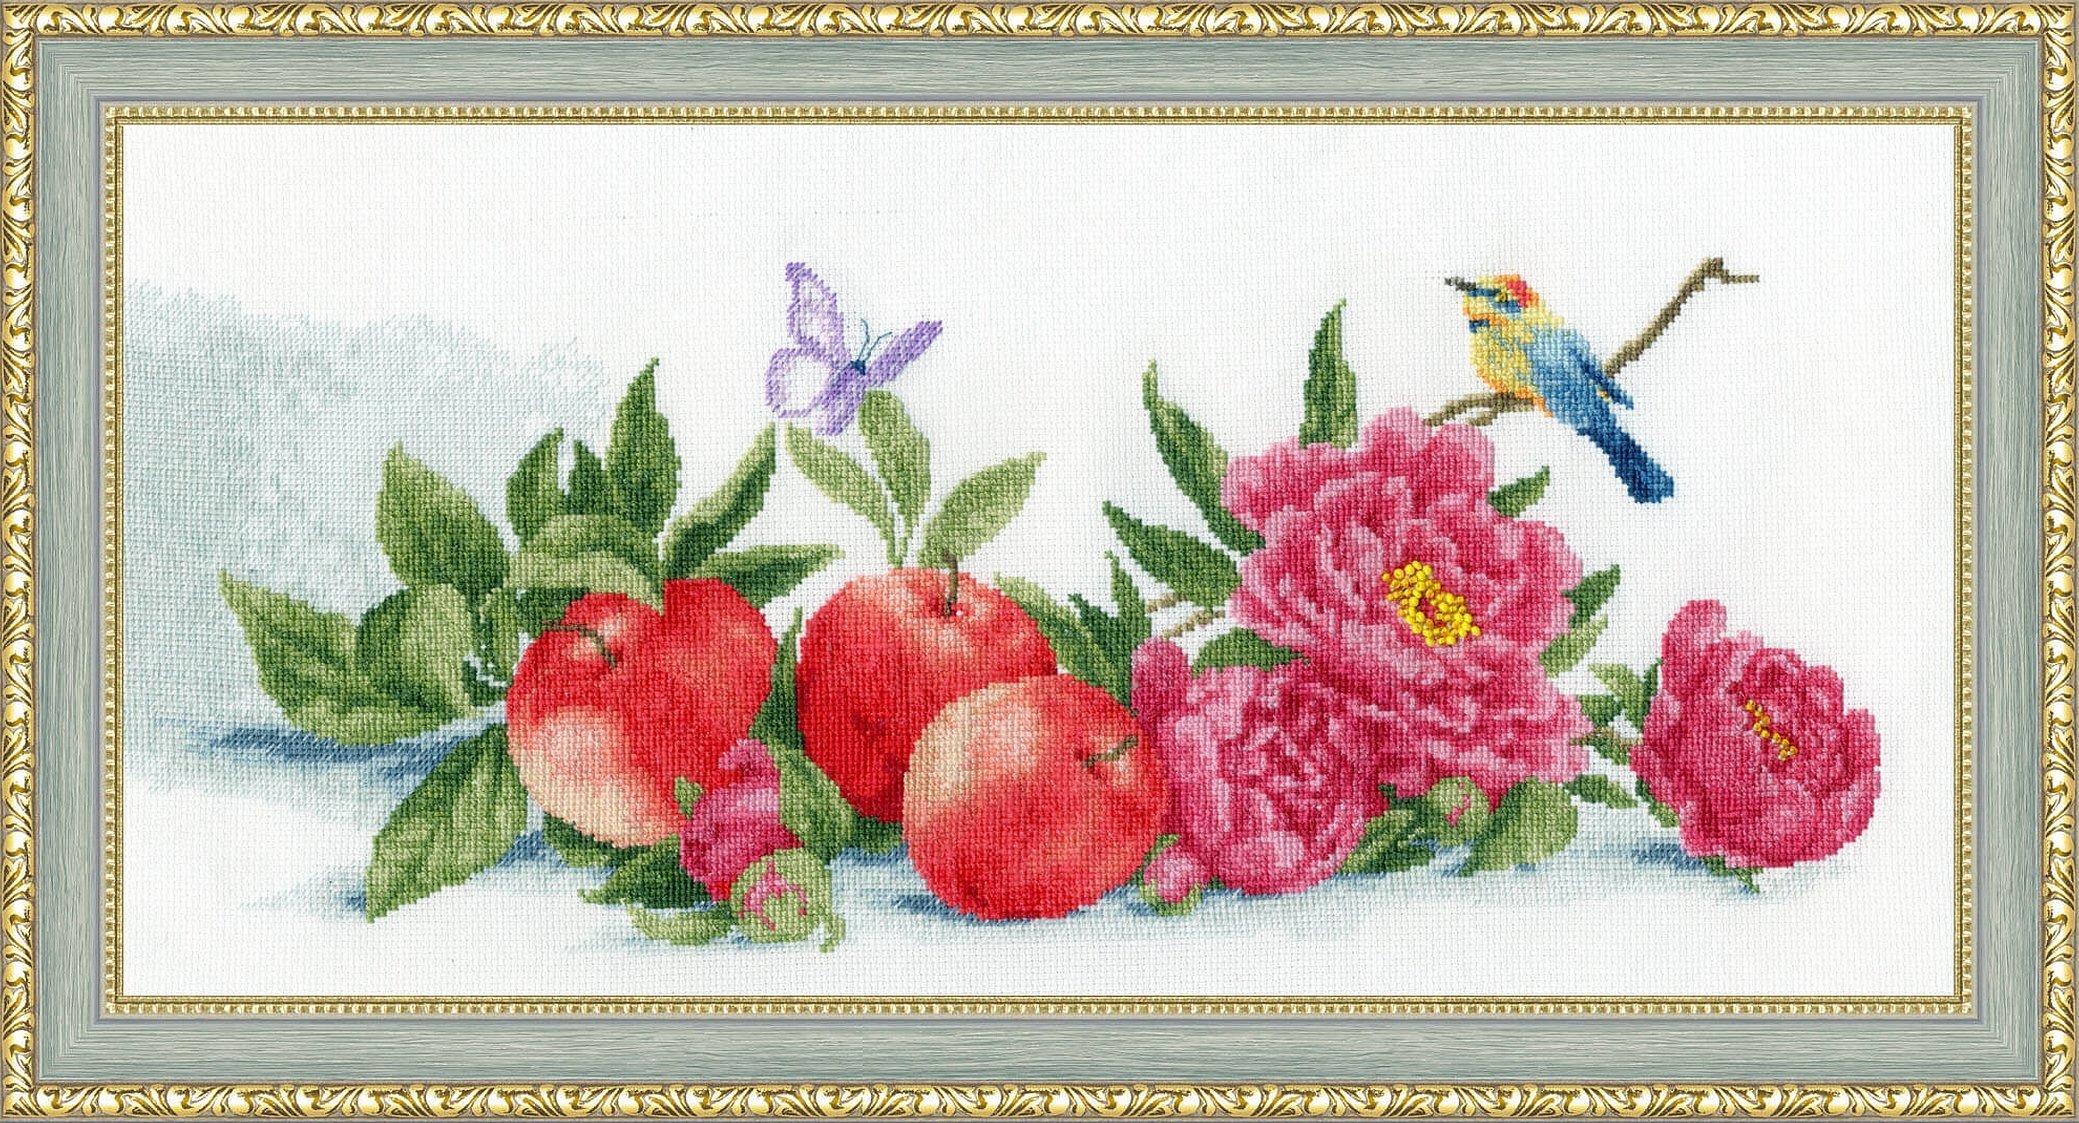
Embroidery "Peonies" is suitable as a gift. A picture with these flowers looks no less impressive than with roses. But roses and peonies are the two most difficult options for hand embroidery on white canvas.
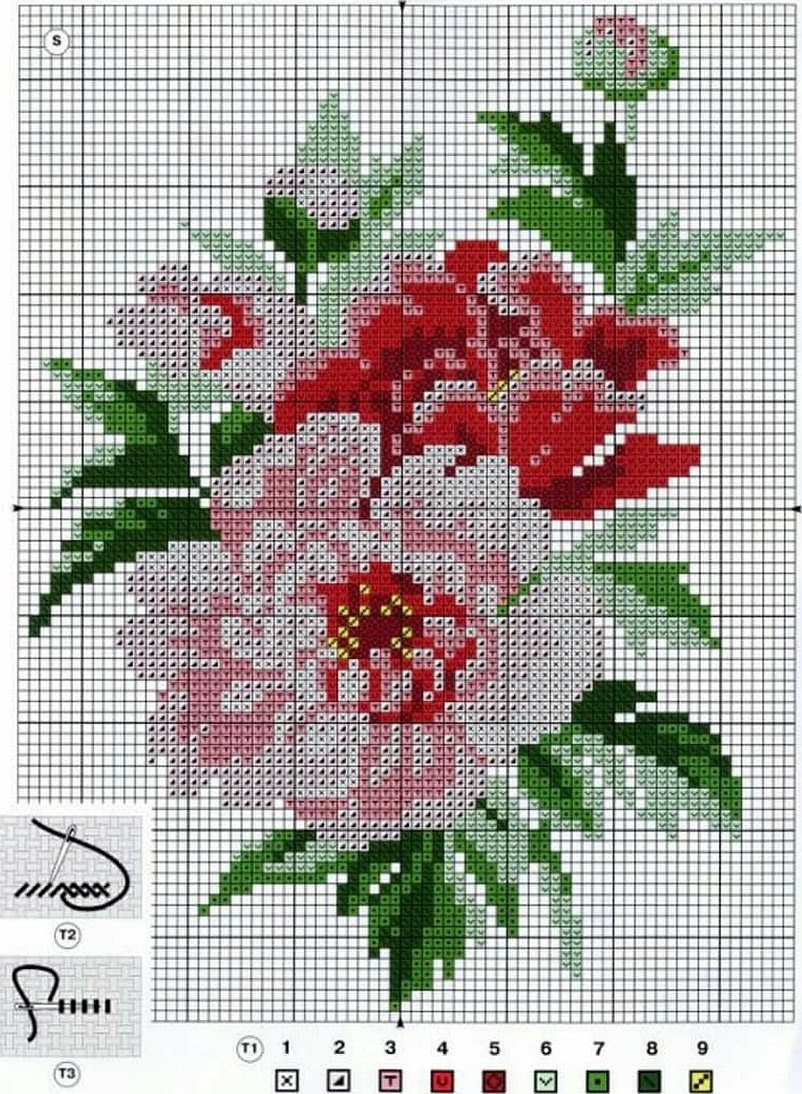
Peonies are difficult to embroider, as they are voluminous in themselves. And to convey the "live" form, many shades and complex transitions are used. Mostly, flowers are arranged in a vase, several pieces in a bouquet. These are the most difficult options. It is easier if the peony is in a bouquet with other plants. Beginners are advised to pay attention to the image of one flower.

It is because of the abundance of shades of one color that the complexity of the embroidery increases. Therefore, it is recommended to embroider peonies using ready-made kits, and not patterns on the Internet. For those who do not have enough experience in cross stitching, it is recommended to pay attention to training patterns.
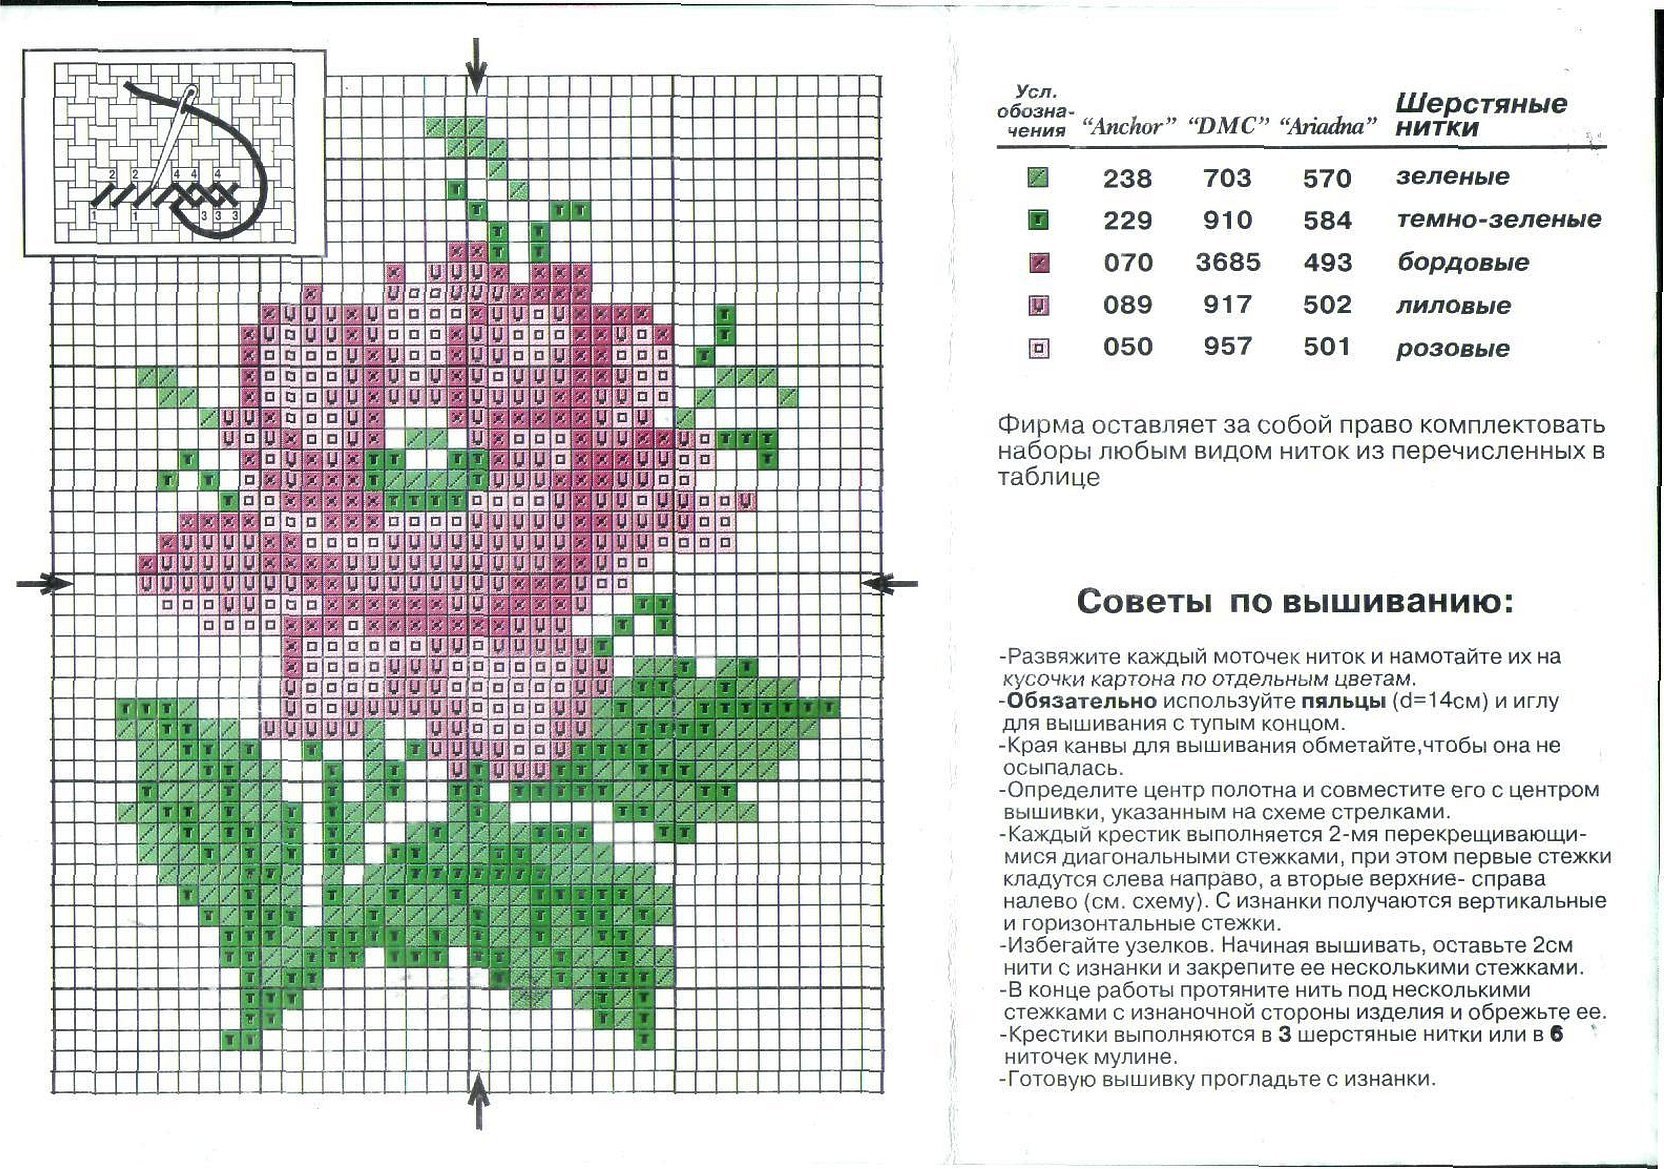
Educational cross stitch "Peonies"
Cross stitching a bouquet of peonies will require less effort if the pattern is educational. Such kits include a canvas on which the image is already transferred. The embroidered image contains a minimum number of errors. But its quality can still be disputed. Disadvantages of educational kits:
- The canvas is very dense. This causes inconvenience during the embroidery process.
- As a rule, the squares on such a canvas are large. This makes the image untidy.
- Often the picture is transferred to the canvas incorrectly. The edges of the flowers go beyond the limits of one square. This spoils the appearance of the finished product.
Advantages of educational embroidery:
- They allow you to create beautiful paintings already at the learning stage.
- Less risk of making a mistake with color, tone, or embroidery order.
DIY Kits
Bead embroidery "Peonies" can be prepared by hand. To embroider beautiful and bright flowers without a ready-made scheme, you need to have the skills of combining colors. To do this, purchase a set that includes canvas and floss threads.
Important! To bring wealth into the house, embroider a red Chinese peony.
To embroider a picture yourself without a pattern, you need to transfer the image onto the canvas. It is recommended to copy the outlines. And fill in the gaps yourself. It is important to make sure that the transferred image does not remain visible on the canvas after finishing the work.
Important! The most popular image among embroiderers is peonies with bells in a vase.
Preparing for work
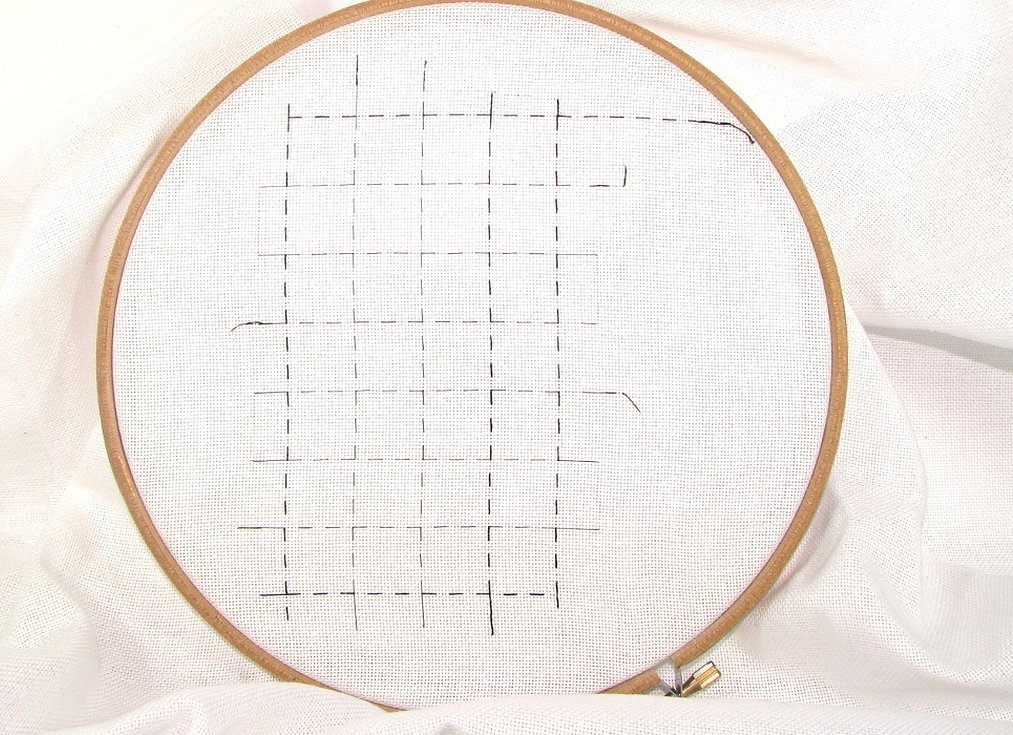
Embroidery of peonies according to the pattern will come out neat if you prepare for the process of its creation correctly. Preparation stages:
- Smooth out the canvas.
- Calculate squares using a special calculator.
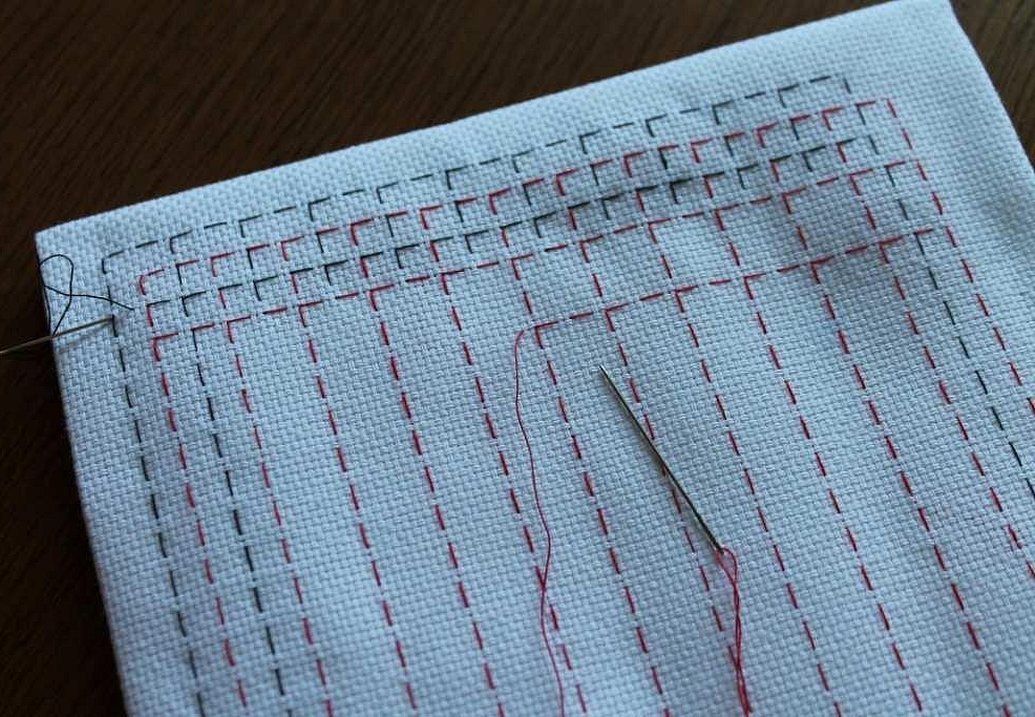
- Mark squares on the material using special markers.
- Prepare the threads using an organizer.
- Organize a comfortable workplace.
- Provide sufficient lighting.
Important! Peonies are also a symbol of marriage.
Before embroidering, it is recommended to stretch the canvas. But the hoop can be replaced with a magnetic board so that it does not deform along with the pattern.
Procedure
The cross stitch pattern depicting peonies is complex. But the work algorithm is the same as in other cases. First, the canvas is prepared for work, the place is organized. Then they directly start embroidering. They always start from the center of the pattern. To do this, they calculate the number of crosses so that the picture does not move off the canvas. And then they embroider the details as convenient. Someone prefers to embroider the colors in order, or divides the image into elements, squares.
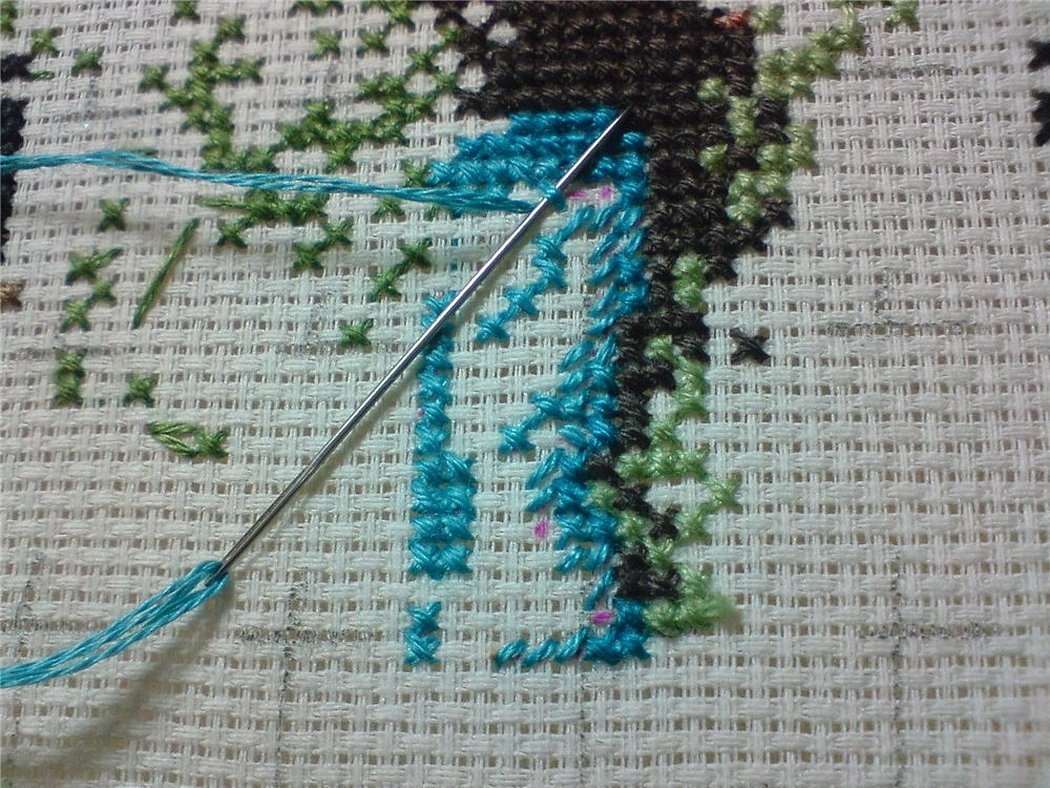
Gradually, as you embroider, you need to look at the condition of the back side. It is important to trim the threads. So that the work looks neat in any case. Difficulties arise if there is a complete stitching.
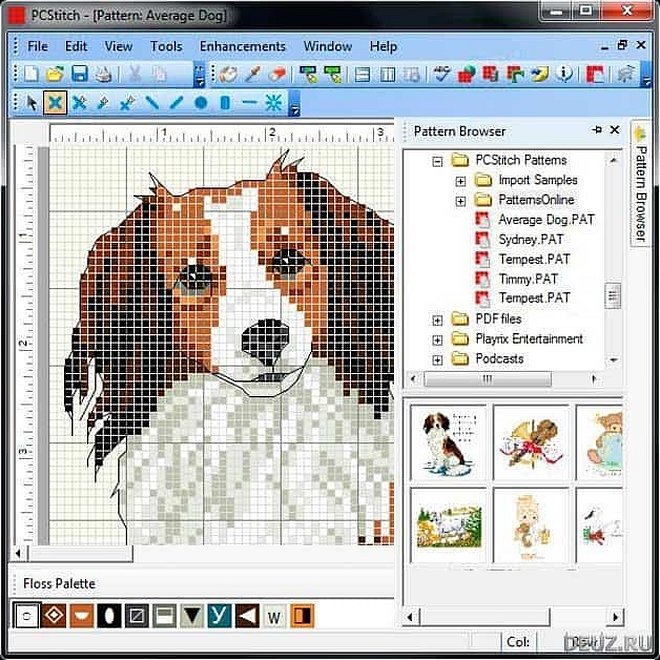
How to Create Cross Stitch Patterns from a Picture
The embroidery kit "Peonies" can be created independently from the image that you like. There are programs for this that are freely available on the Internet. This option is also recommended only for experienced embroiderers, since you will have to select the floss yourself.
First, an image is loaded into the program. Then, the canvas parameters, number of colors and shades are selected. The image dimensions are specified. A diagram is created. Additionally, icons for the flower image are selected. Often, you have to adjust the diagrams yourself so that the image looks more realistic. You can also make an outline yourself to trim the flowers with gold thread.
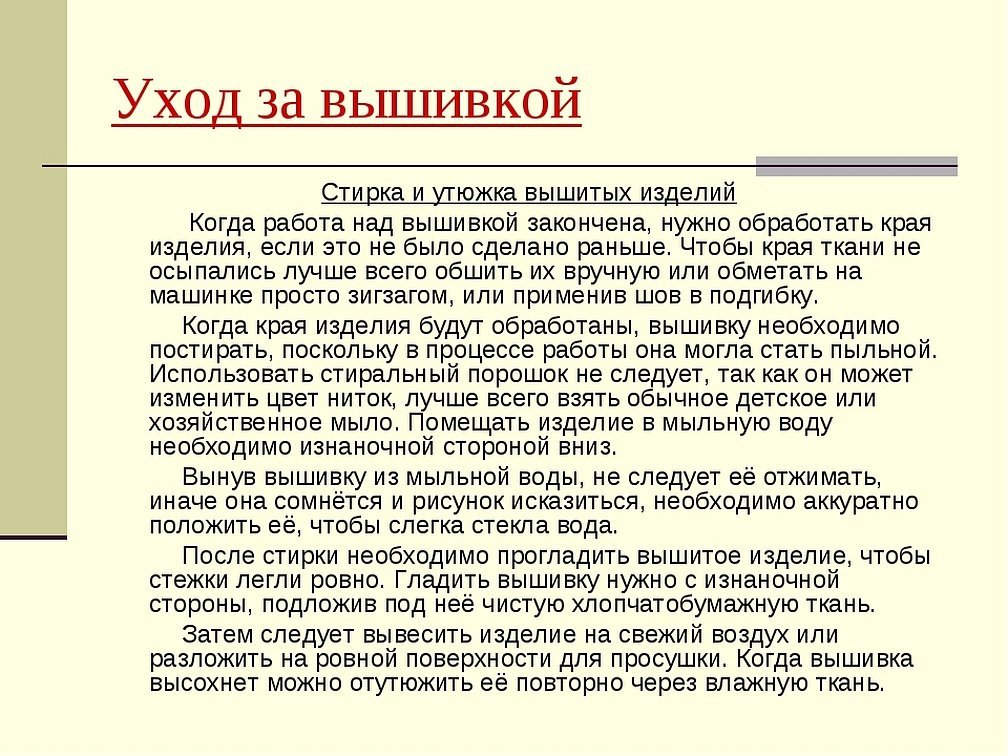
Care of finished work
The finished embroidery needs to be looked after. This helps to maintain the neat appearance of the canvas. What to do after the work is completed:
- Finish the edges using a hem.
- Iron the canvas through a cloth.
- Wash the fabric.
- Iron the canvas while it is damp.
- Allow the work to dry completely, laying it out on a smooth surface.
- Iron again through the fabric while the embroidery is still damp.
If you don't have a place in the frame, you need to store the embroidery with the image inside. You can roll it up or fold it. Beads and metallized threads are capricious. They quickly lose their appearance. You can't leave the work on the hoop after finishing. This will lead to its deformation. The only option that will help preserve the brightness and quality of the image is to put the canvas in a frame under glass.
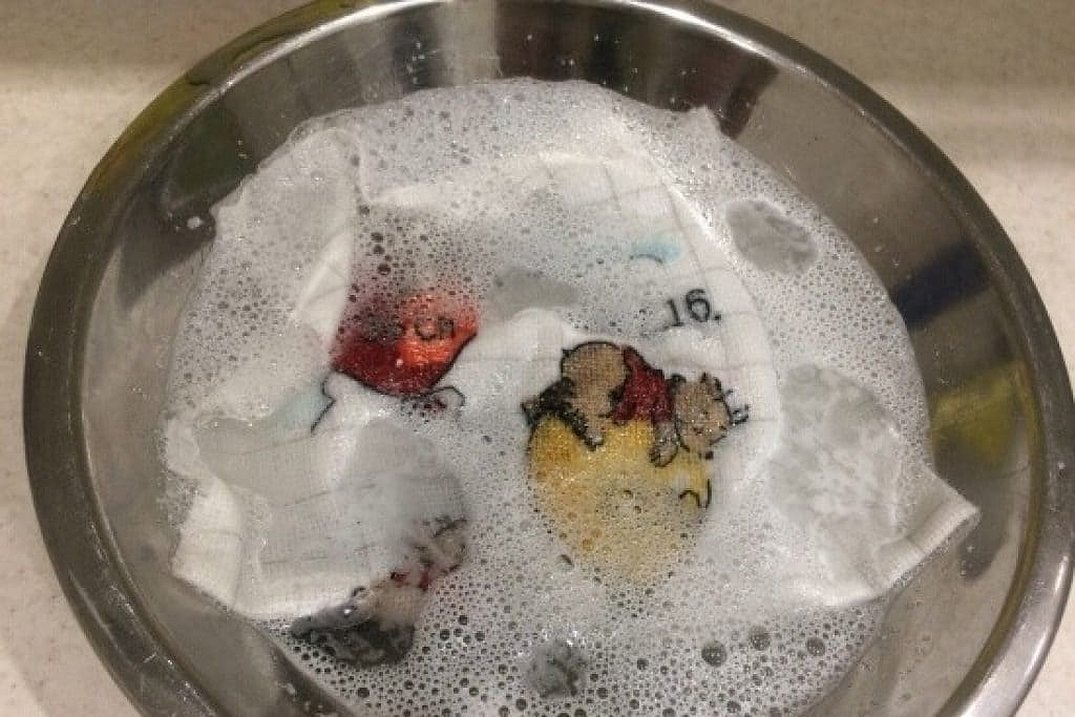
Washing finished embroidery
A small mistake at the washing stage can bring all efforts to nothing. Therefore, you need to remember the basic rules:
- Hand-painted floss cannot be washed.
- Cotton threads can withstand temperatures up to 90 degrees.
- Hand-dyed cotton floss is washed in water at 60 degrees or less.
- If the threads glow in the dark, the water should be up to 30 degrees.
- You should not use washing powder. The grains will damage the threads. It is recommended to use dishwashing or washing gels. They should not contain bleaching agents.
Important! Washing should be done exclusively by hand and with care.
Peonies symbolize marriage and wealth. But they are not easy to embroider. These are complex patterns with a wide variety of shades. Beginner needlewomen are advised to take training kits. And experienced embroiderers can create an image on their own. It is important to properly care for the work after finishing the embroidery.


