Embroidery is a rather ancient type of needlework. If a girl appeared in the family, she was taught to embroider from an early age, since the mistress of the house and mother had to pass on the principles of needlework by inheritance. In addition to simply spending time, the ability to sew played into the girl's hands: she was enthusiastically married, it was clear that she was a real housewife.
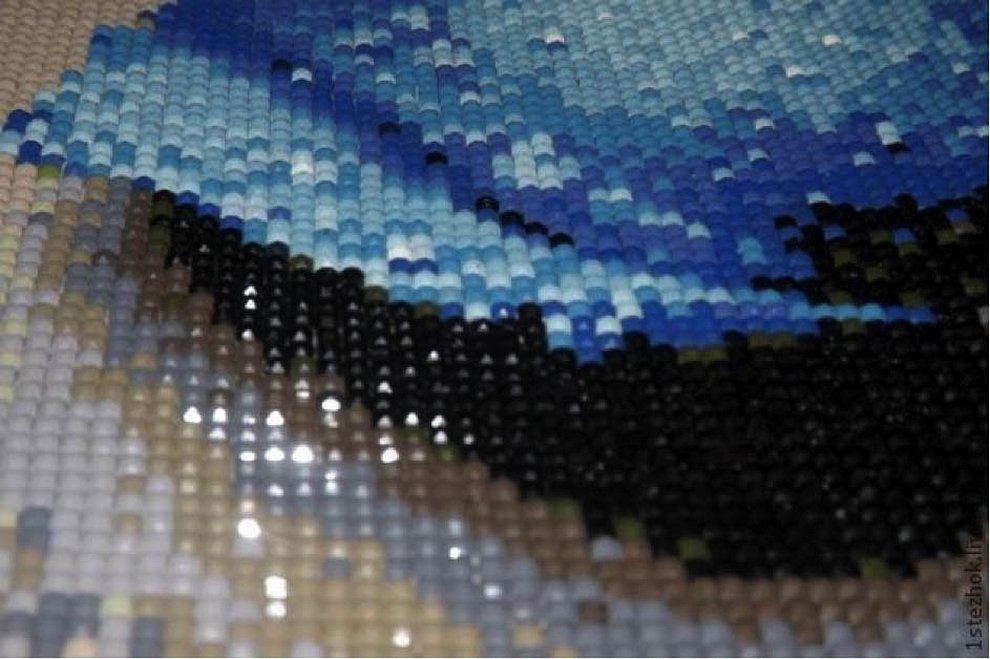
Recently, this type of craft has become popular again, and many are interested in how to make a machine for embroidery with their own hands. This article will consider what a machine for diamond embroidery is and how to make a machine for embroidery with your own hands, where to find drawings.
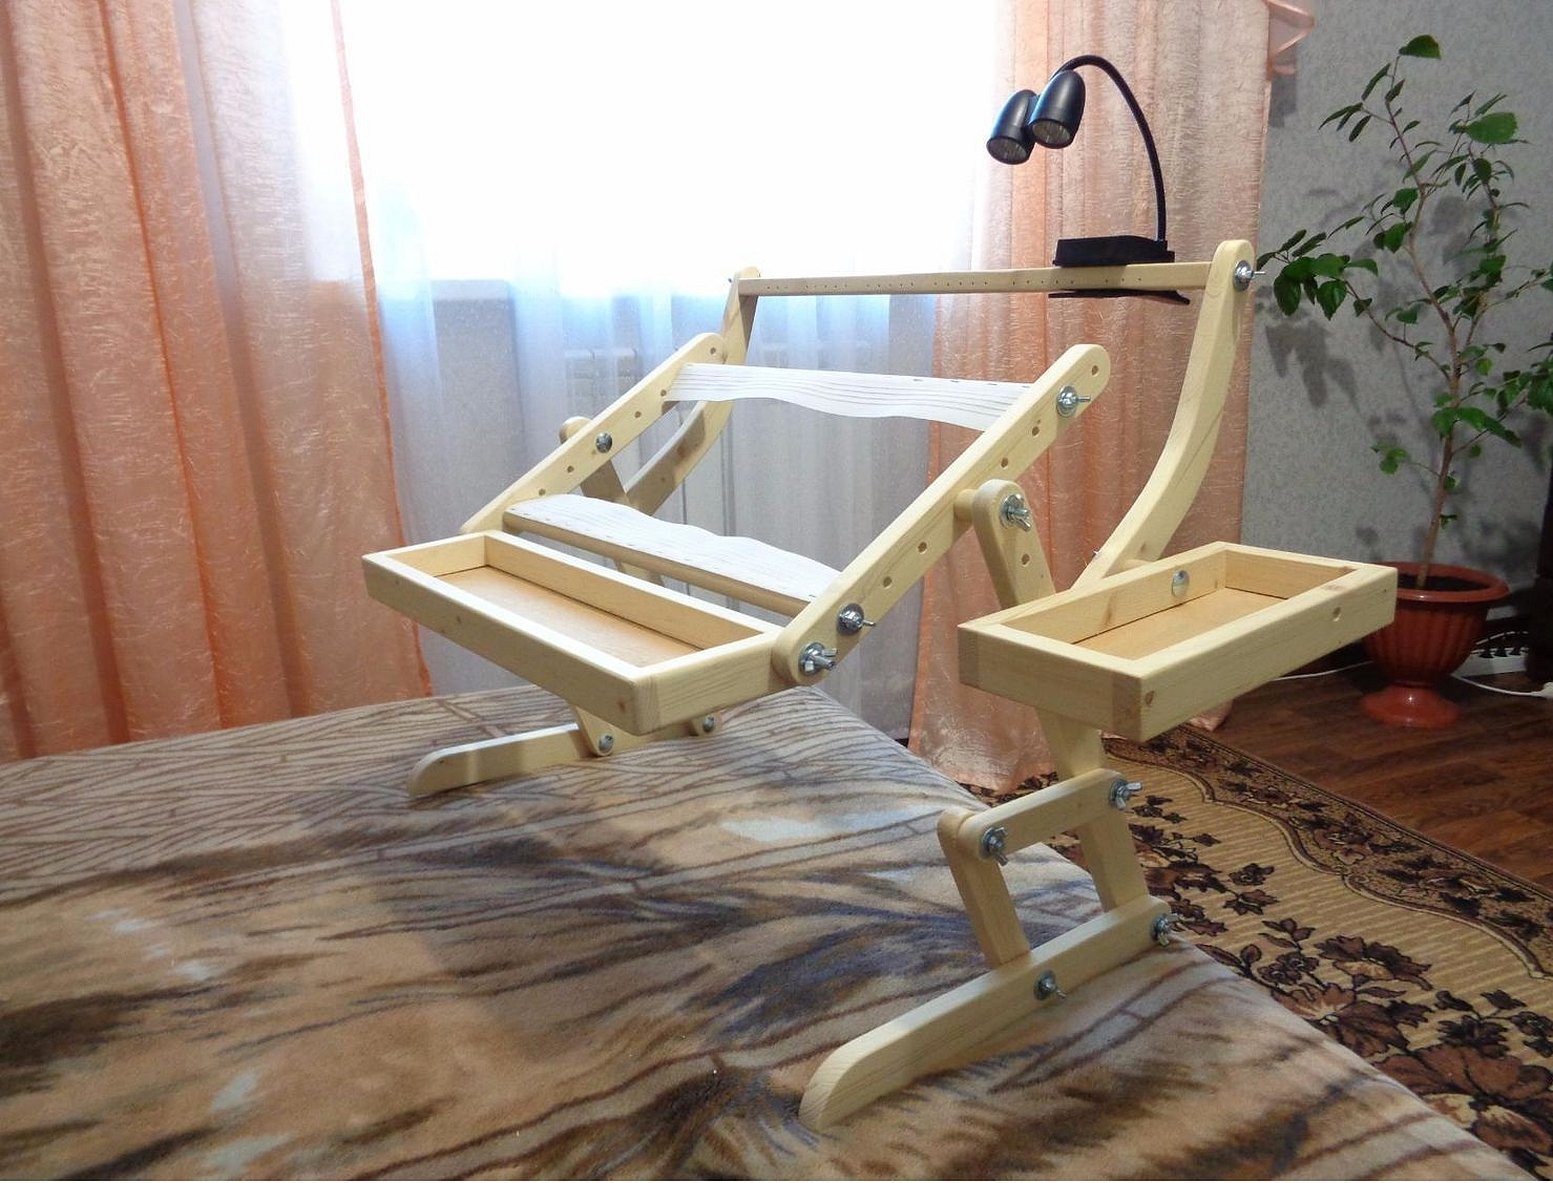
Types of embroidery machines
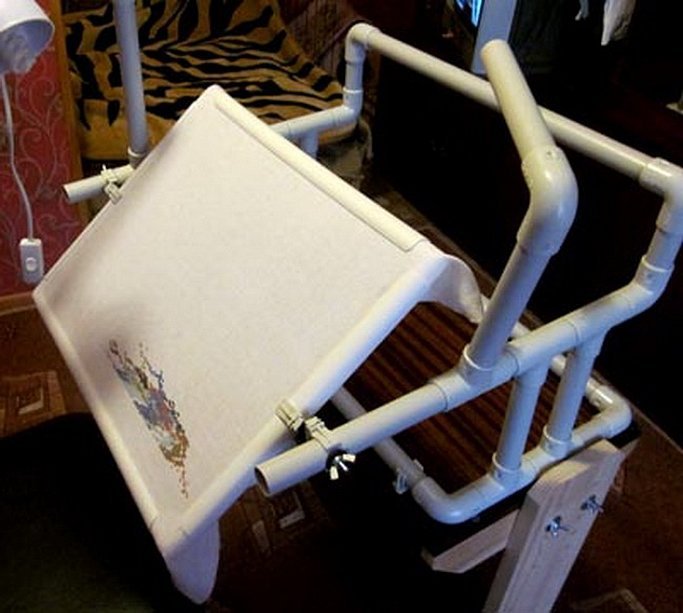
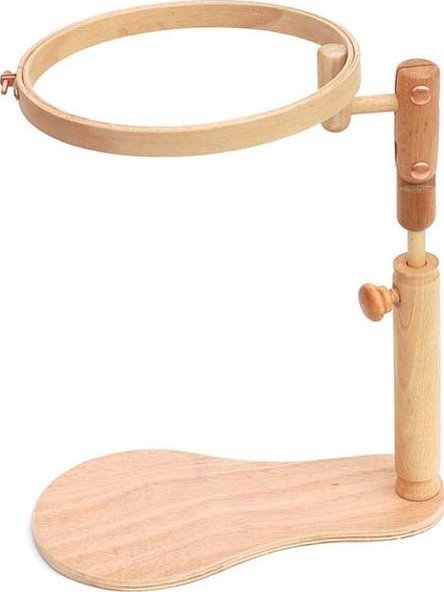
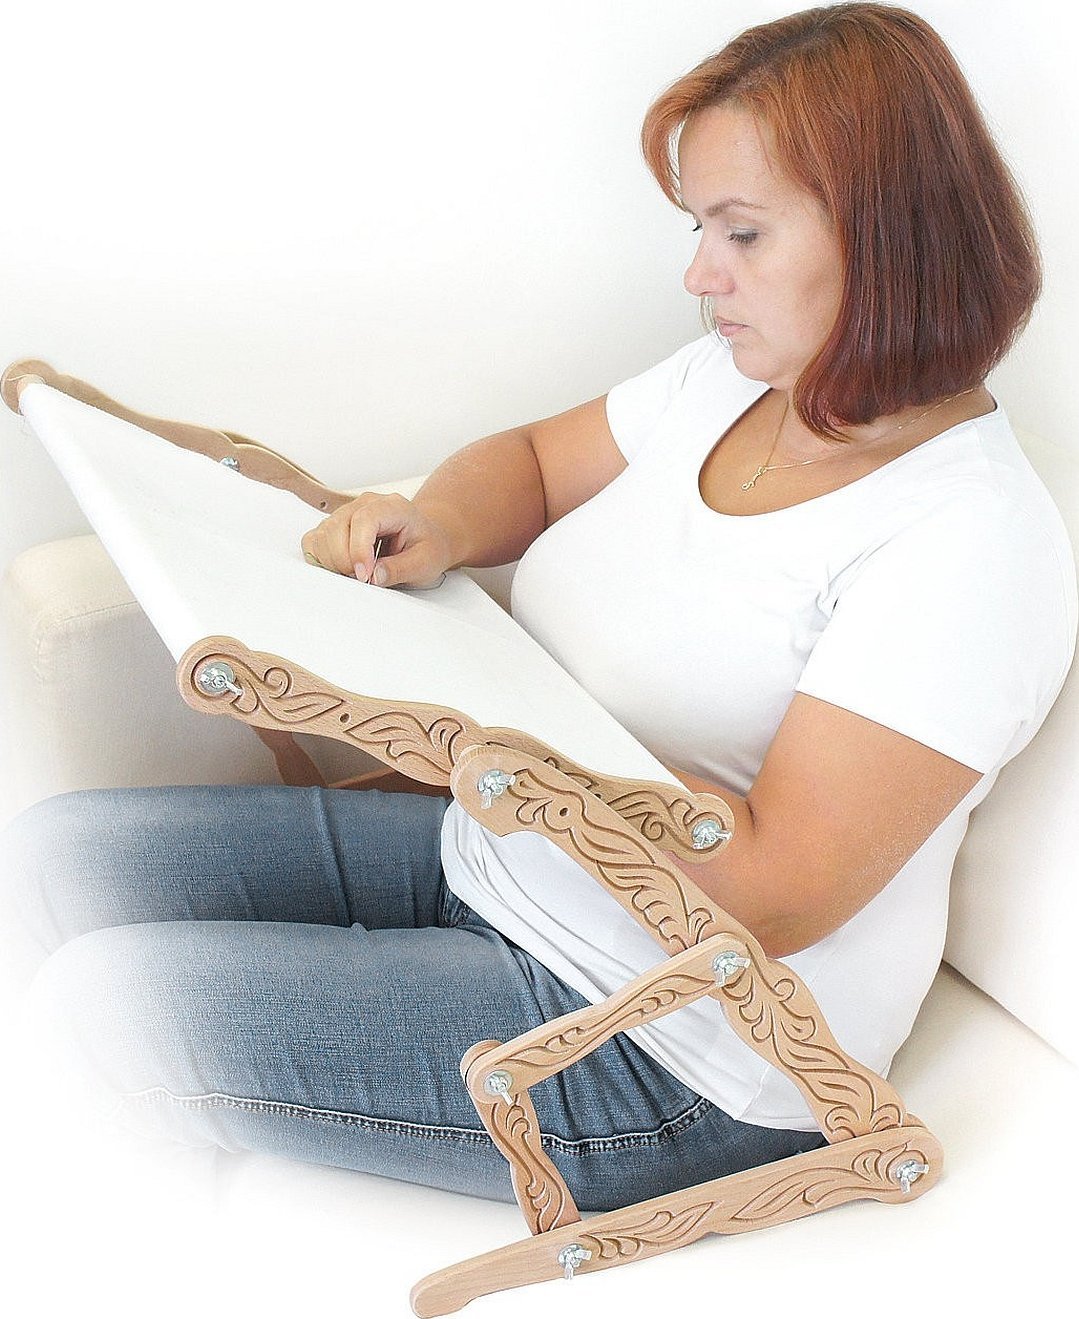
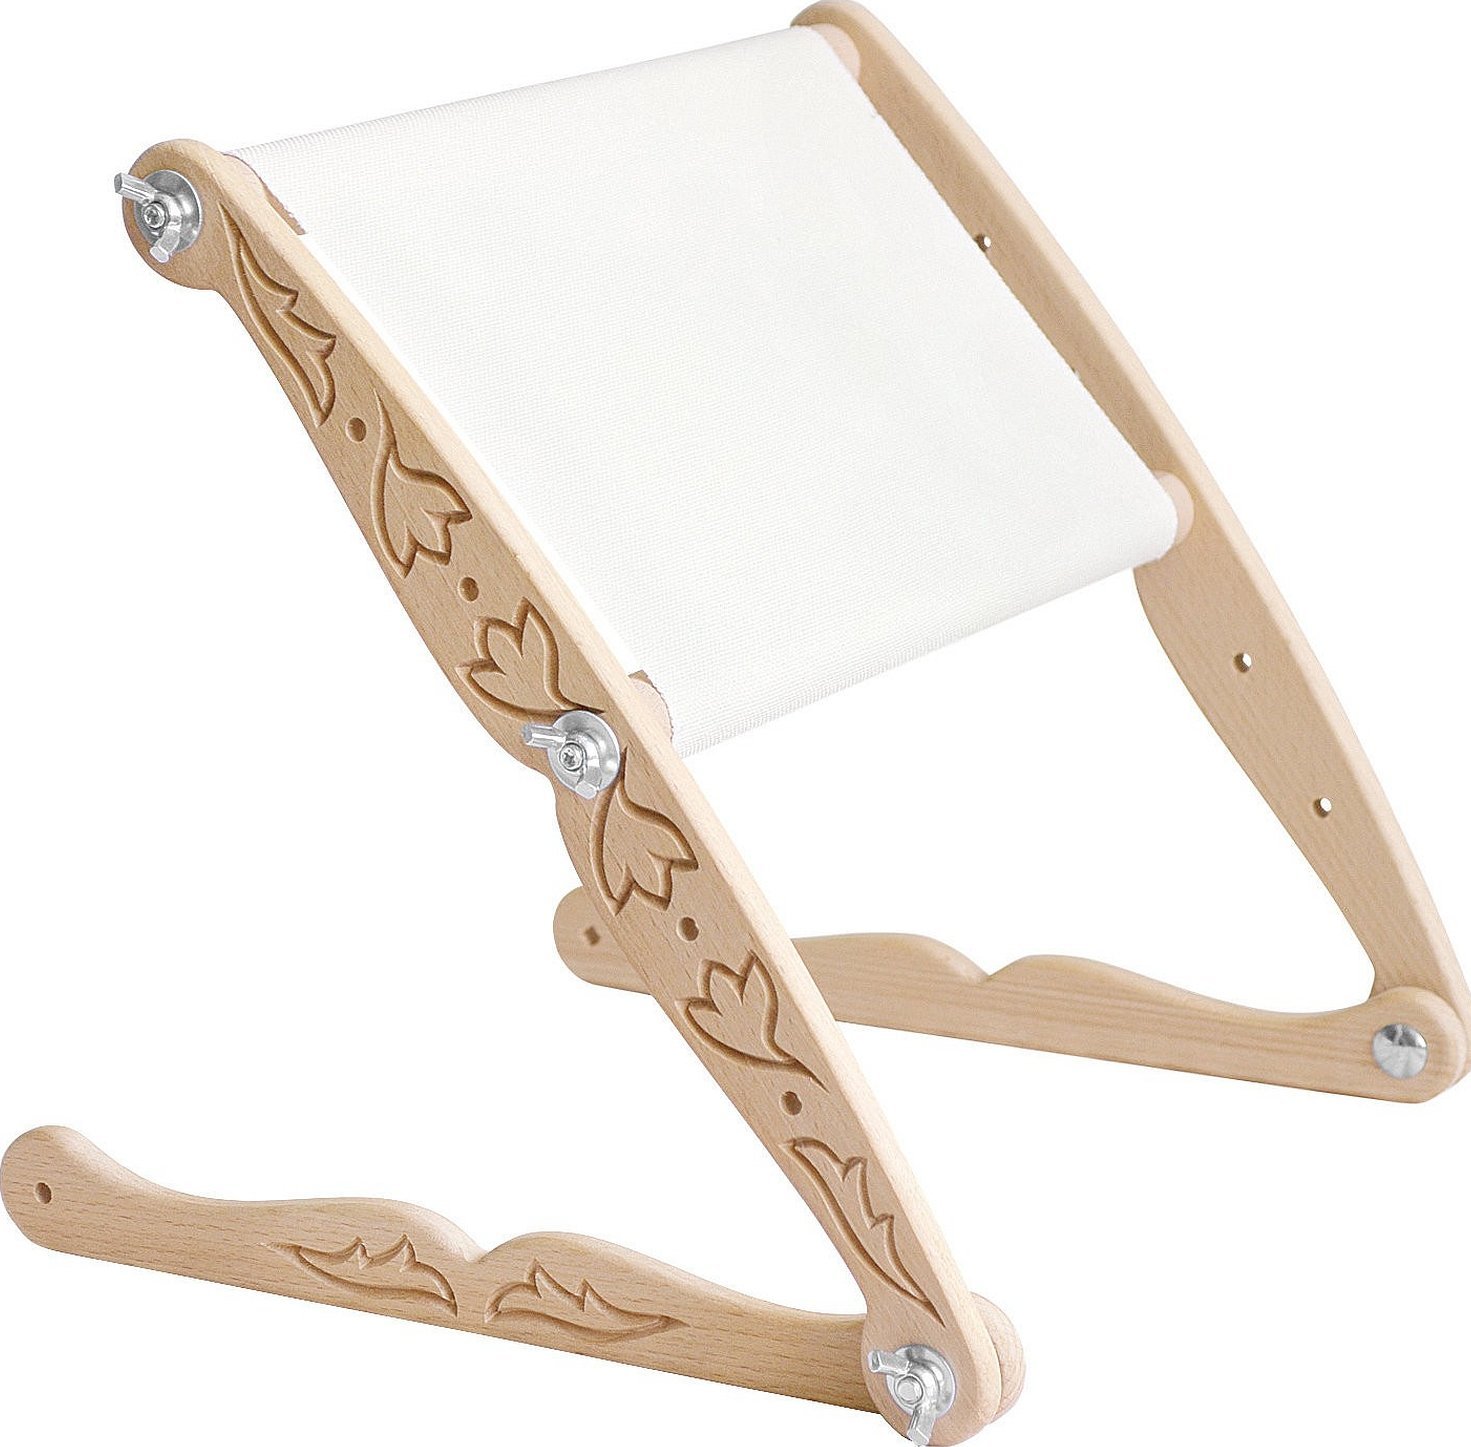
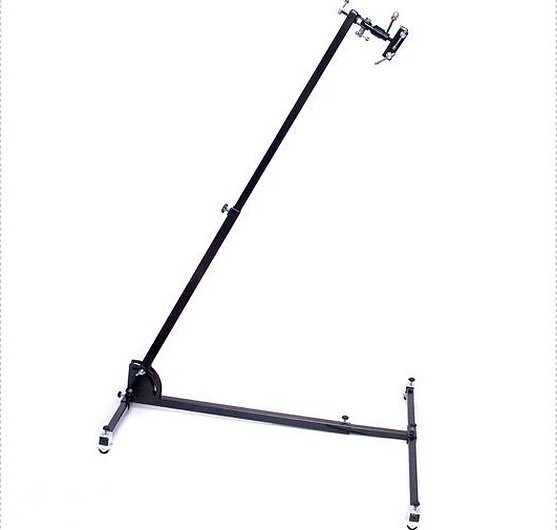
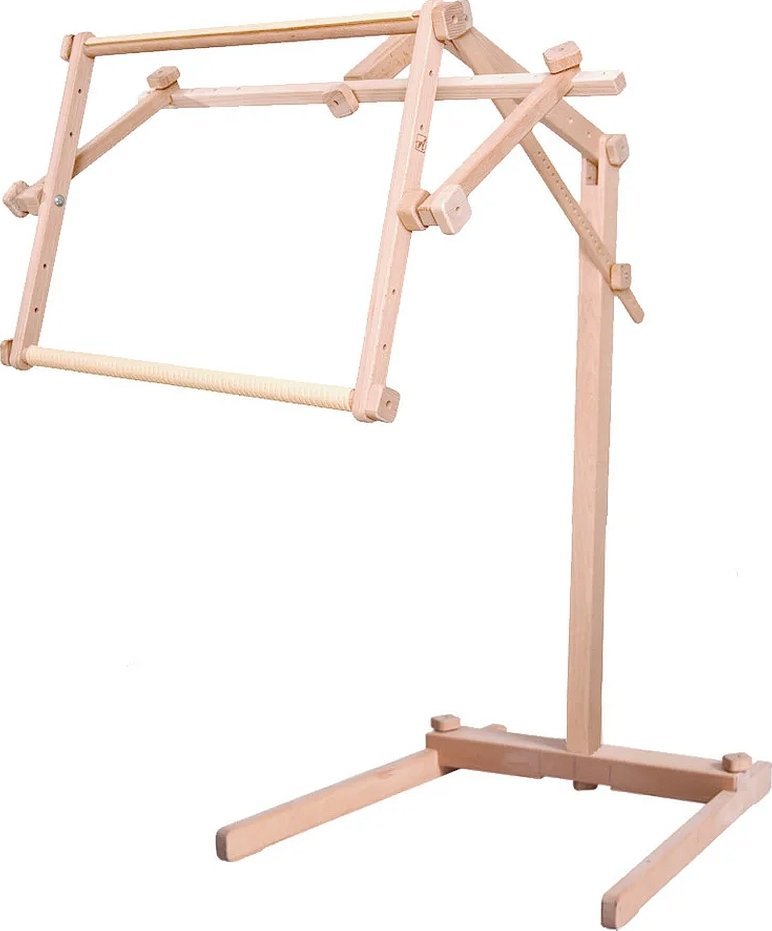
Actually, machines are traditionally divided into table, sofa and floor. In turn, they can also be rectangular or round. Today, they can not only be made by hand, but also purchased in the form of hoops or frames. This is much better than embroidery "on the knee", since thanks to the mechanics, you can adjust the position of the machine, work with different sizes of canvas, maintain high-quality tension, which is so important for the correct embroidery of ornaments, patterns and pictures.
Please note! The standard dimensions of the average machine are as follows: width - from 40 to 70 centimeters for the sofa version and from 80 to 100 centimeters for the floor version.
Materials and tools for making the machine
To make such a machine with your own hands, you will need the following tools and materials:
- Planed ruler (20 x 30 mm);
- Hand or automatic drill;
- Wood saw or jigsaw;
- A handle for a hoe with a diameter of 3 centimeters;
- Dense, high-quality fabric;
- Strong threads;
- Needle;
- Stapler for fixing fabric.
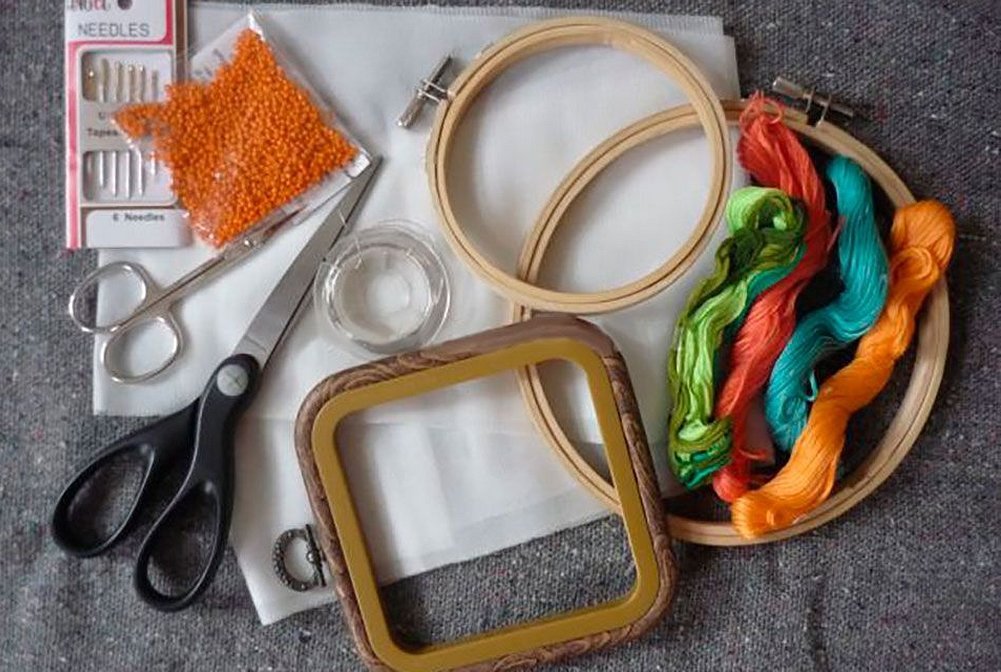
Besides this, don’t forget about accessories:
- Screws type M5;
- Screws type M6;
- Furniture screws 5 cm (4 pcs.);
- Furniture screws 8 cm (2 pcs.);
- Simple screws, 6 mm in diameter (4 pcs.);
- Simple screws, 5 mm in diameter (8 pcs.);
- Washers and screws with M6 thread.
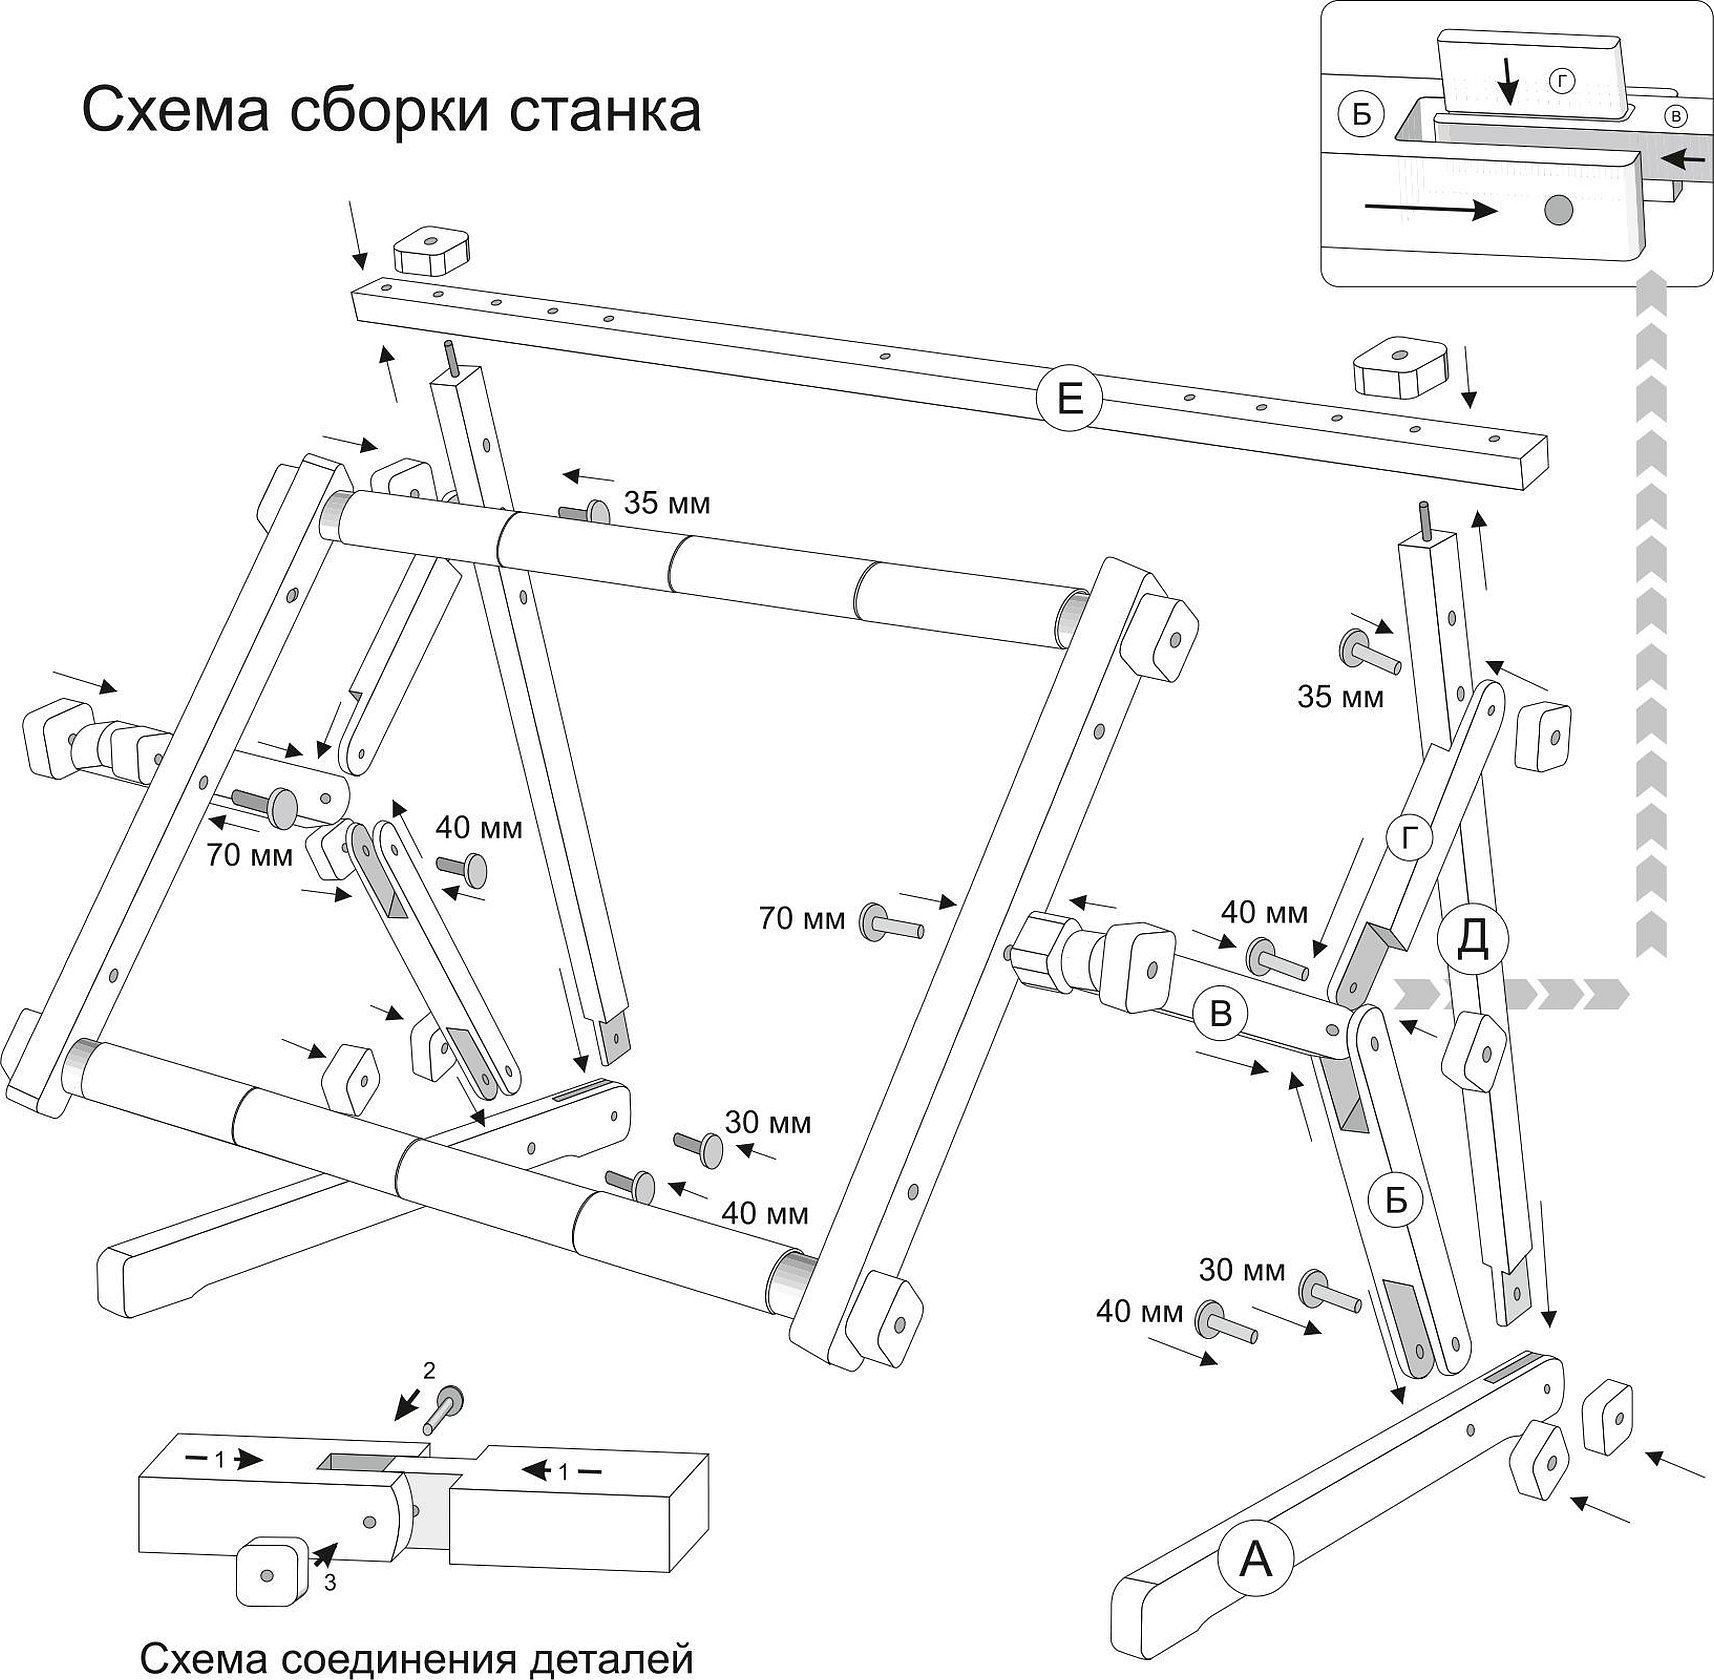
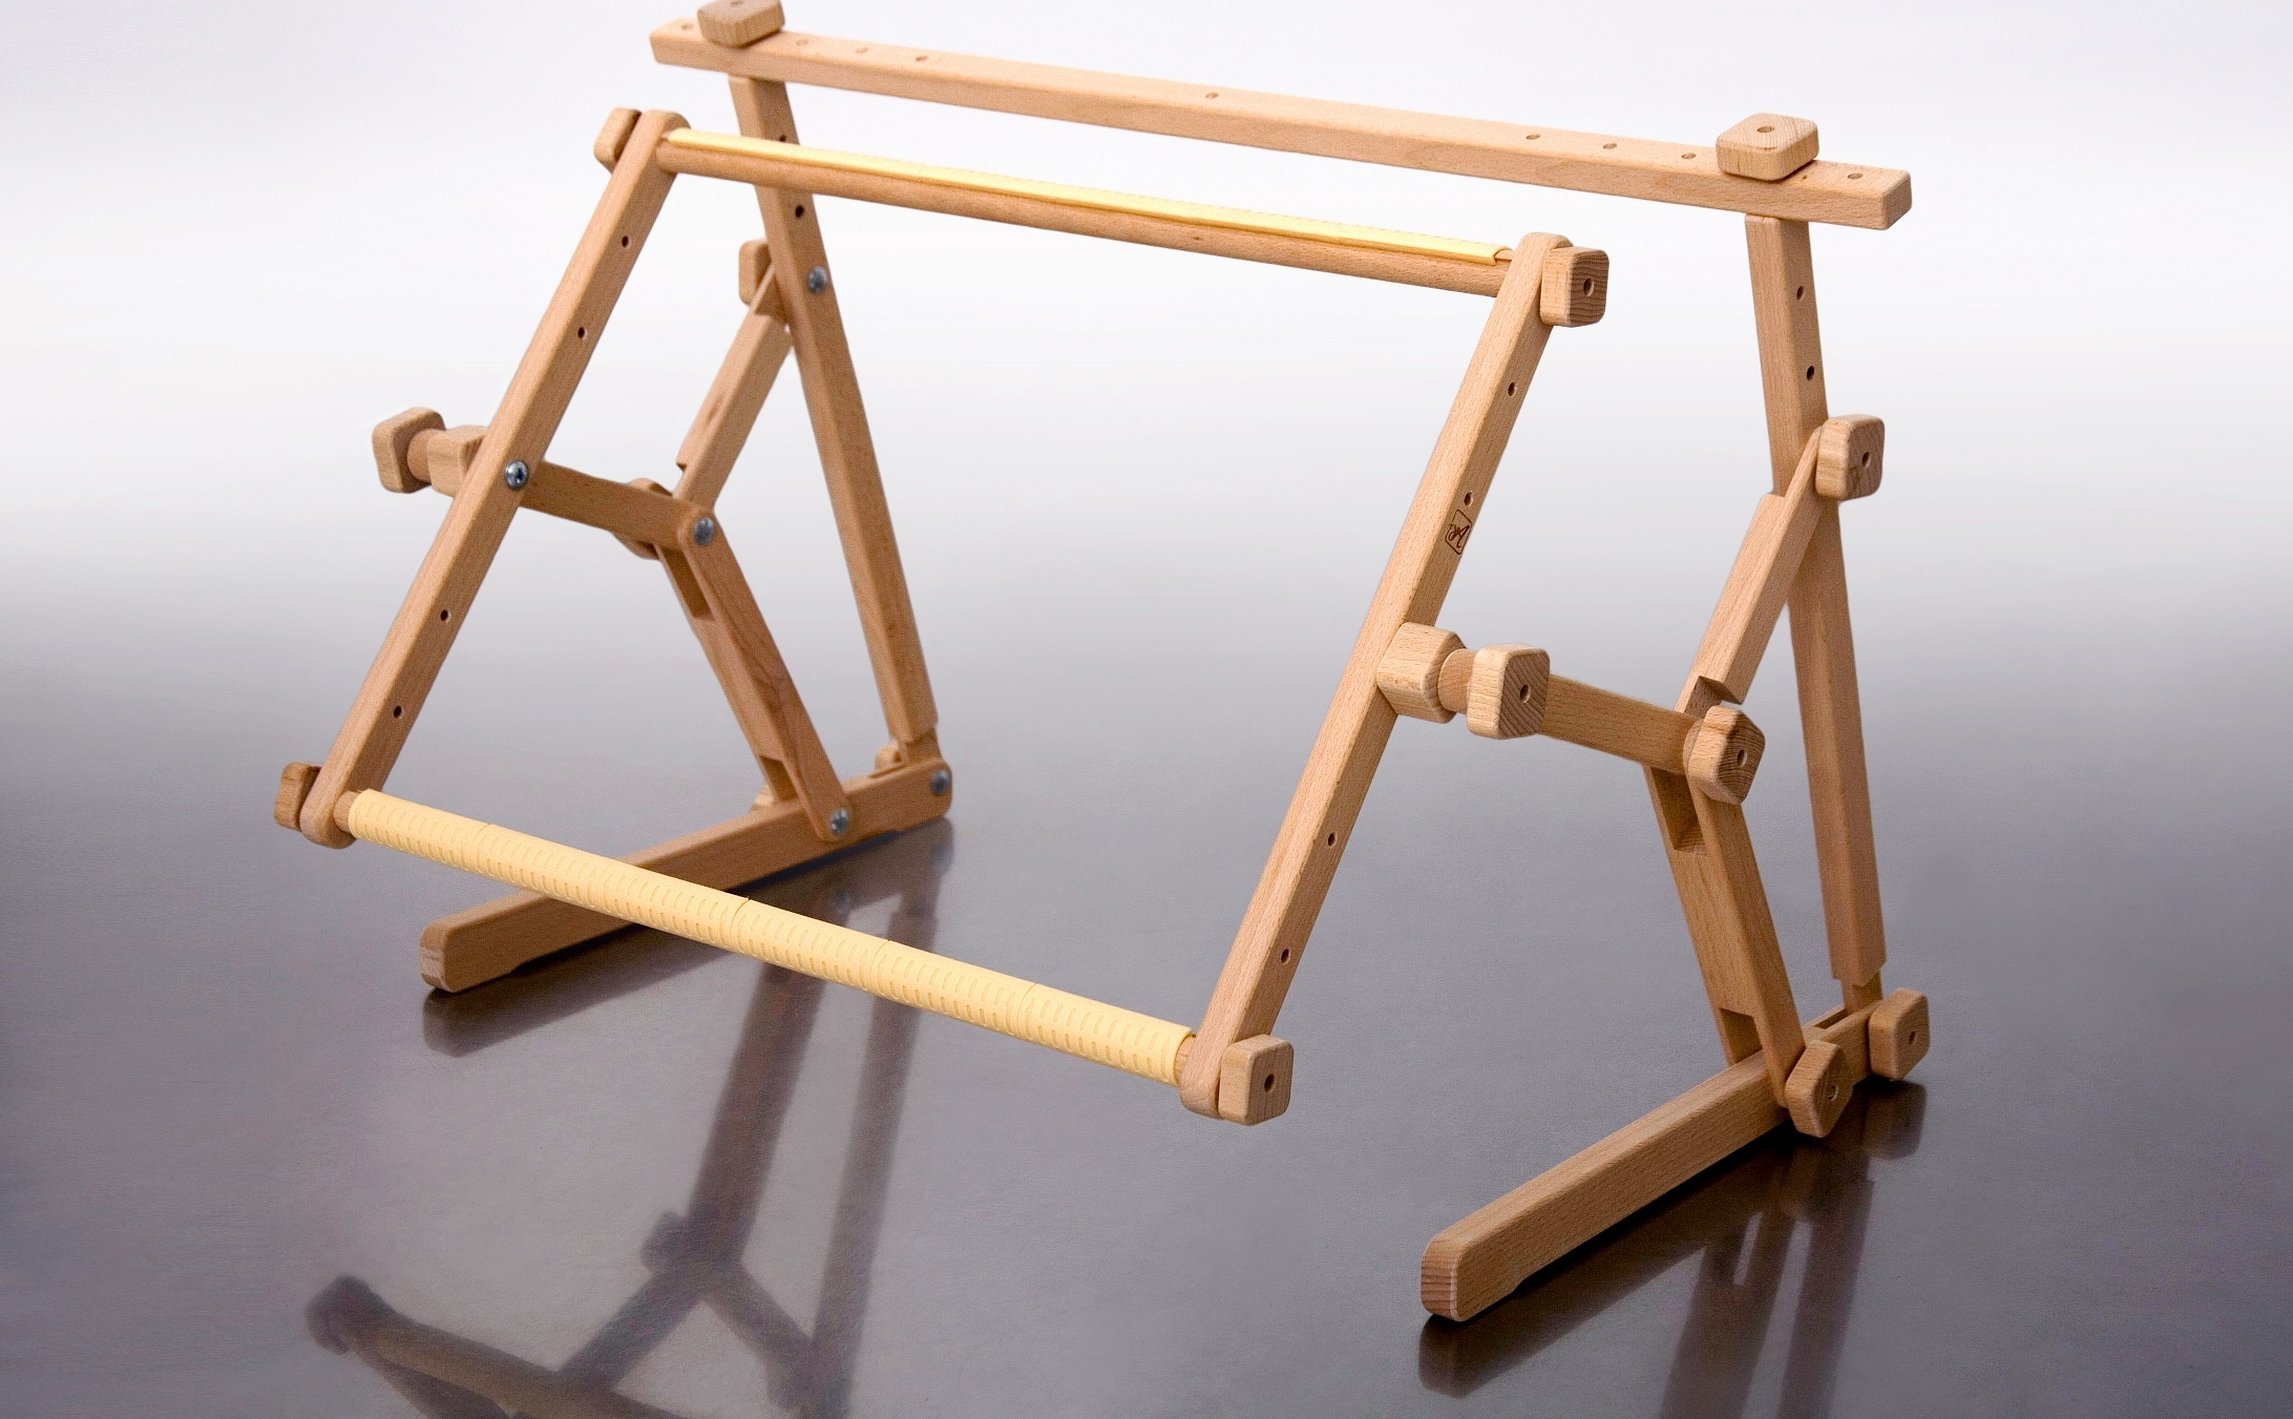
Manufacturing process of parts
First of all, the parts for assembly from a regular slat must be prepared.
Next, step by step, according to the instructions, the parts are made:
The first stage involves cutting 30 cm bars from the slats. You need 8 of these bars in total. The required number of holes are drilled in them. In two of them, which will be the lower legs, two holes are drilled in each. The first is 1.5 cm from the edge, and the second is 6 cm. They are needed for fastenings.
Next, take 4 bars, in which holes are also made. These are the legs of the device. Here you need to make two holes: one from 1.5 cm from the left edge, and the second from the right.
The last two bars are the side parts of the machine. They require three holes: two on the sides and one in the middle: the first is 1.5 cm from the right edge, the second is the same, but from the left, and the third is in the middle at a distance of 15 cm from each edge. The central hole is needed for the M6 screw, and the side ones are for the M5.
Important! To make the machine more stable, you will need another block into which two M5 screws are screwed.
The next step is to make two cylinders for the legs of the product. Their height is 2 cm. You will also need cylinders, 3 cm high, to attach the embroidery canvas.
Decorating
Decoration is also possible. For this purpose, the following are often used:
- Varnish treatment. Before or after assembly, you can cover the wooden surfaces with a thin and even layer of special varnish, which will add shine to the product and prevent it from deteriorating due to high humidity;
- Stickers. If desired, you can cover the machine with various stickers;
- Covering the machine with quality fabric. This is also done before assembly. It is important to ensure that it does not leave any snags or interfere with other elements.
Important! You can decorate the machine as you like, but additional decorative elements should not interfere with the work or distract the craftswoman.
How to make the right choice
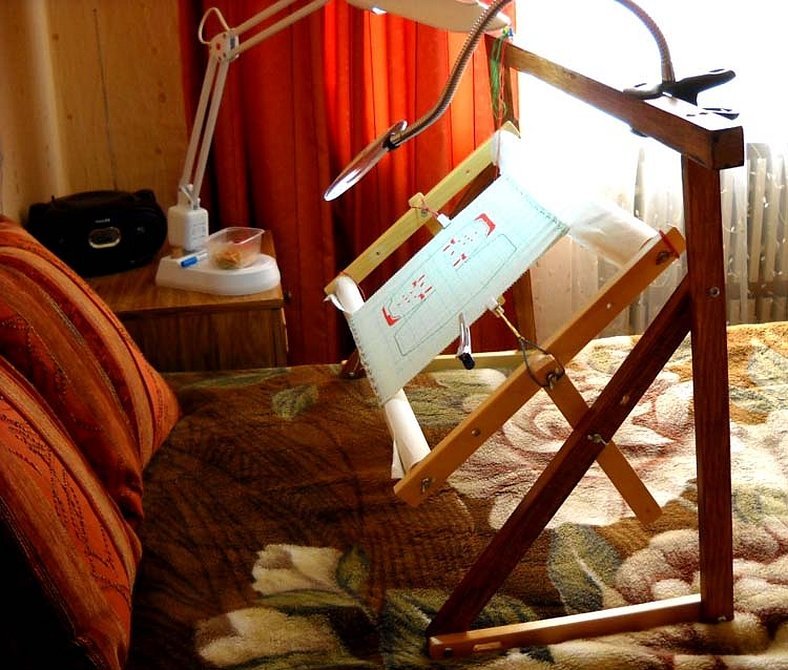
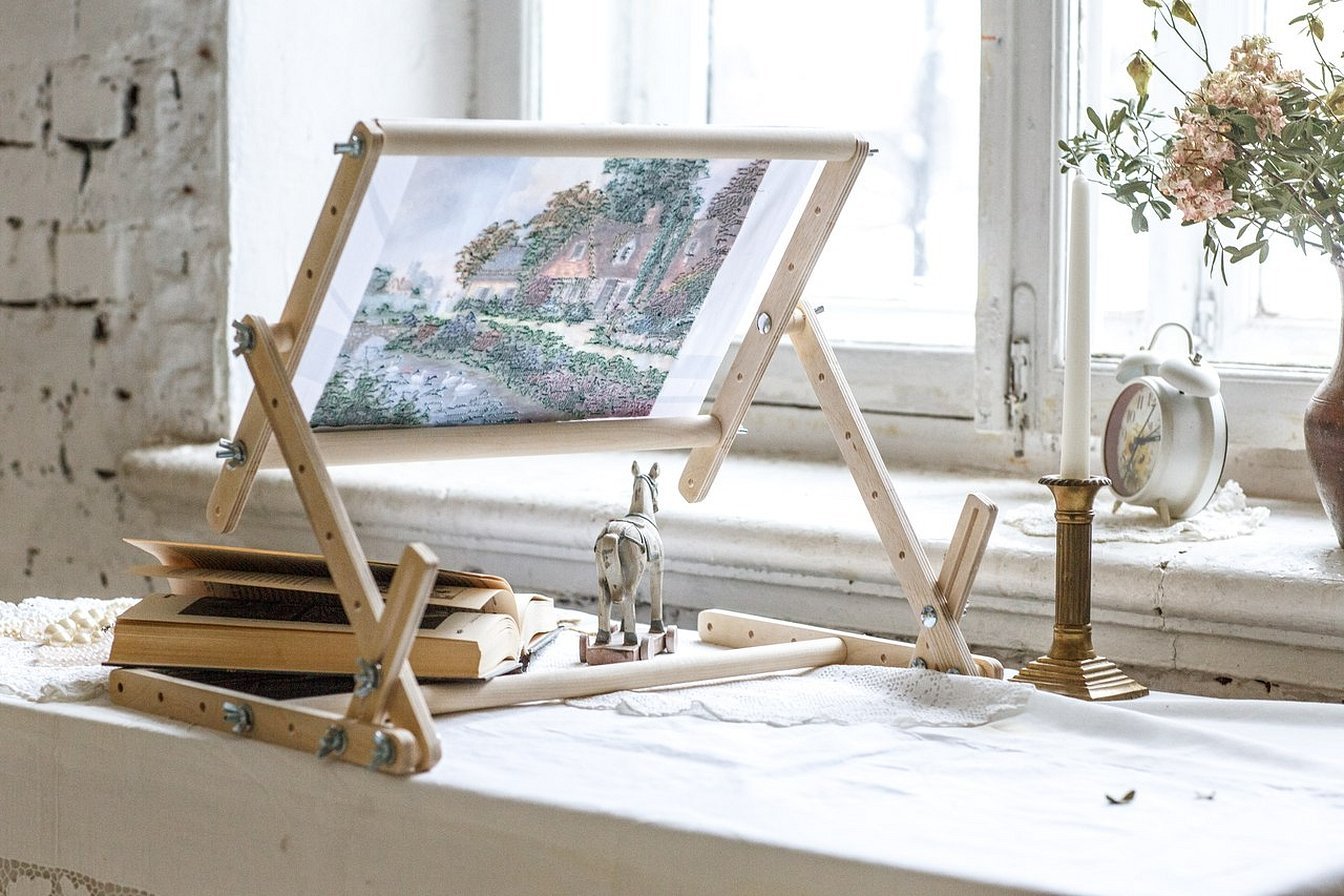
If the volume of work is large, tabletop machines should be used, as they allow you to relax and fix your arms and shoulders in the correct position. Usually, the design of the products allows you to adjust them and the position of the blade according to your preference.
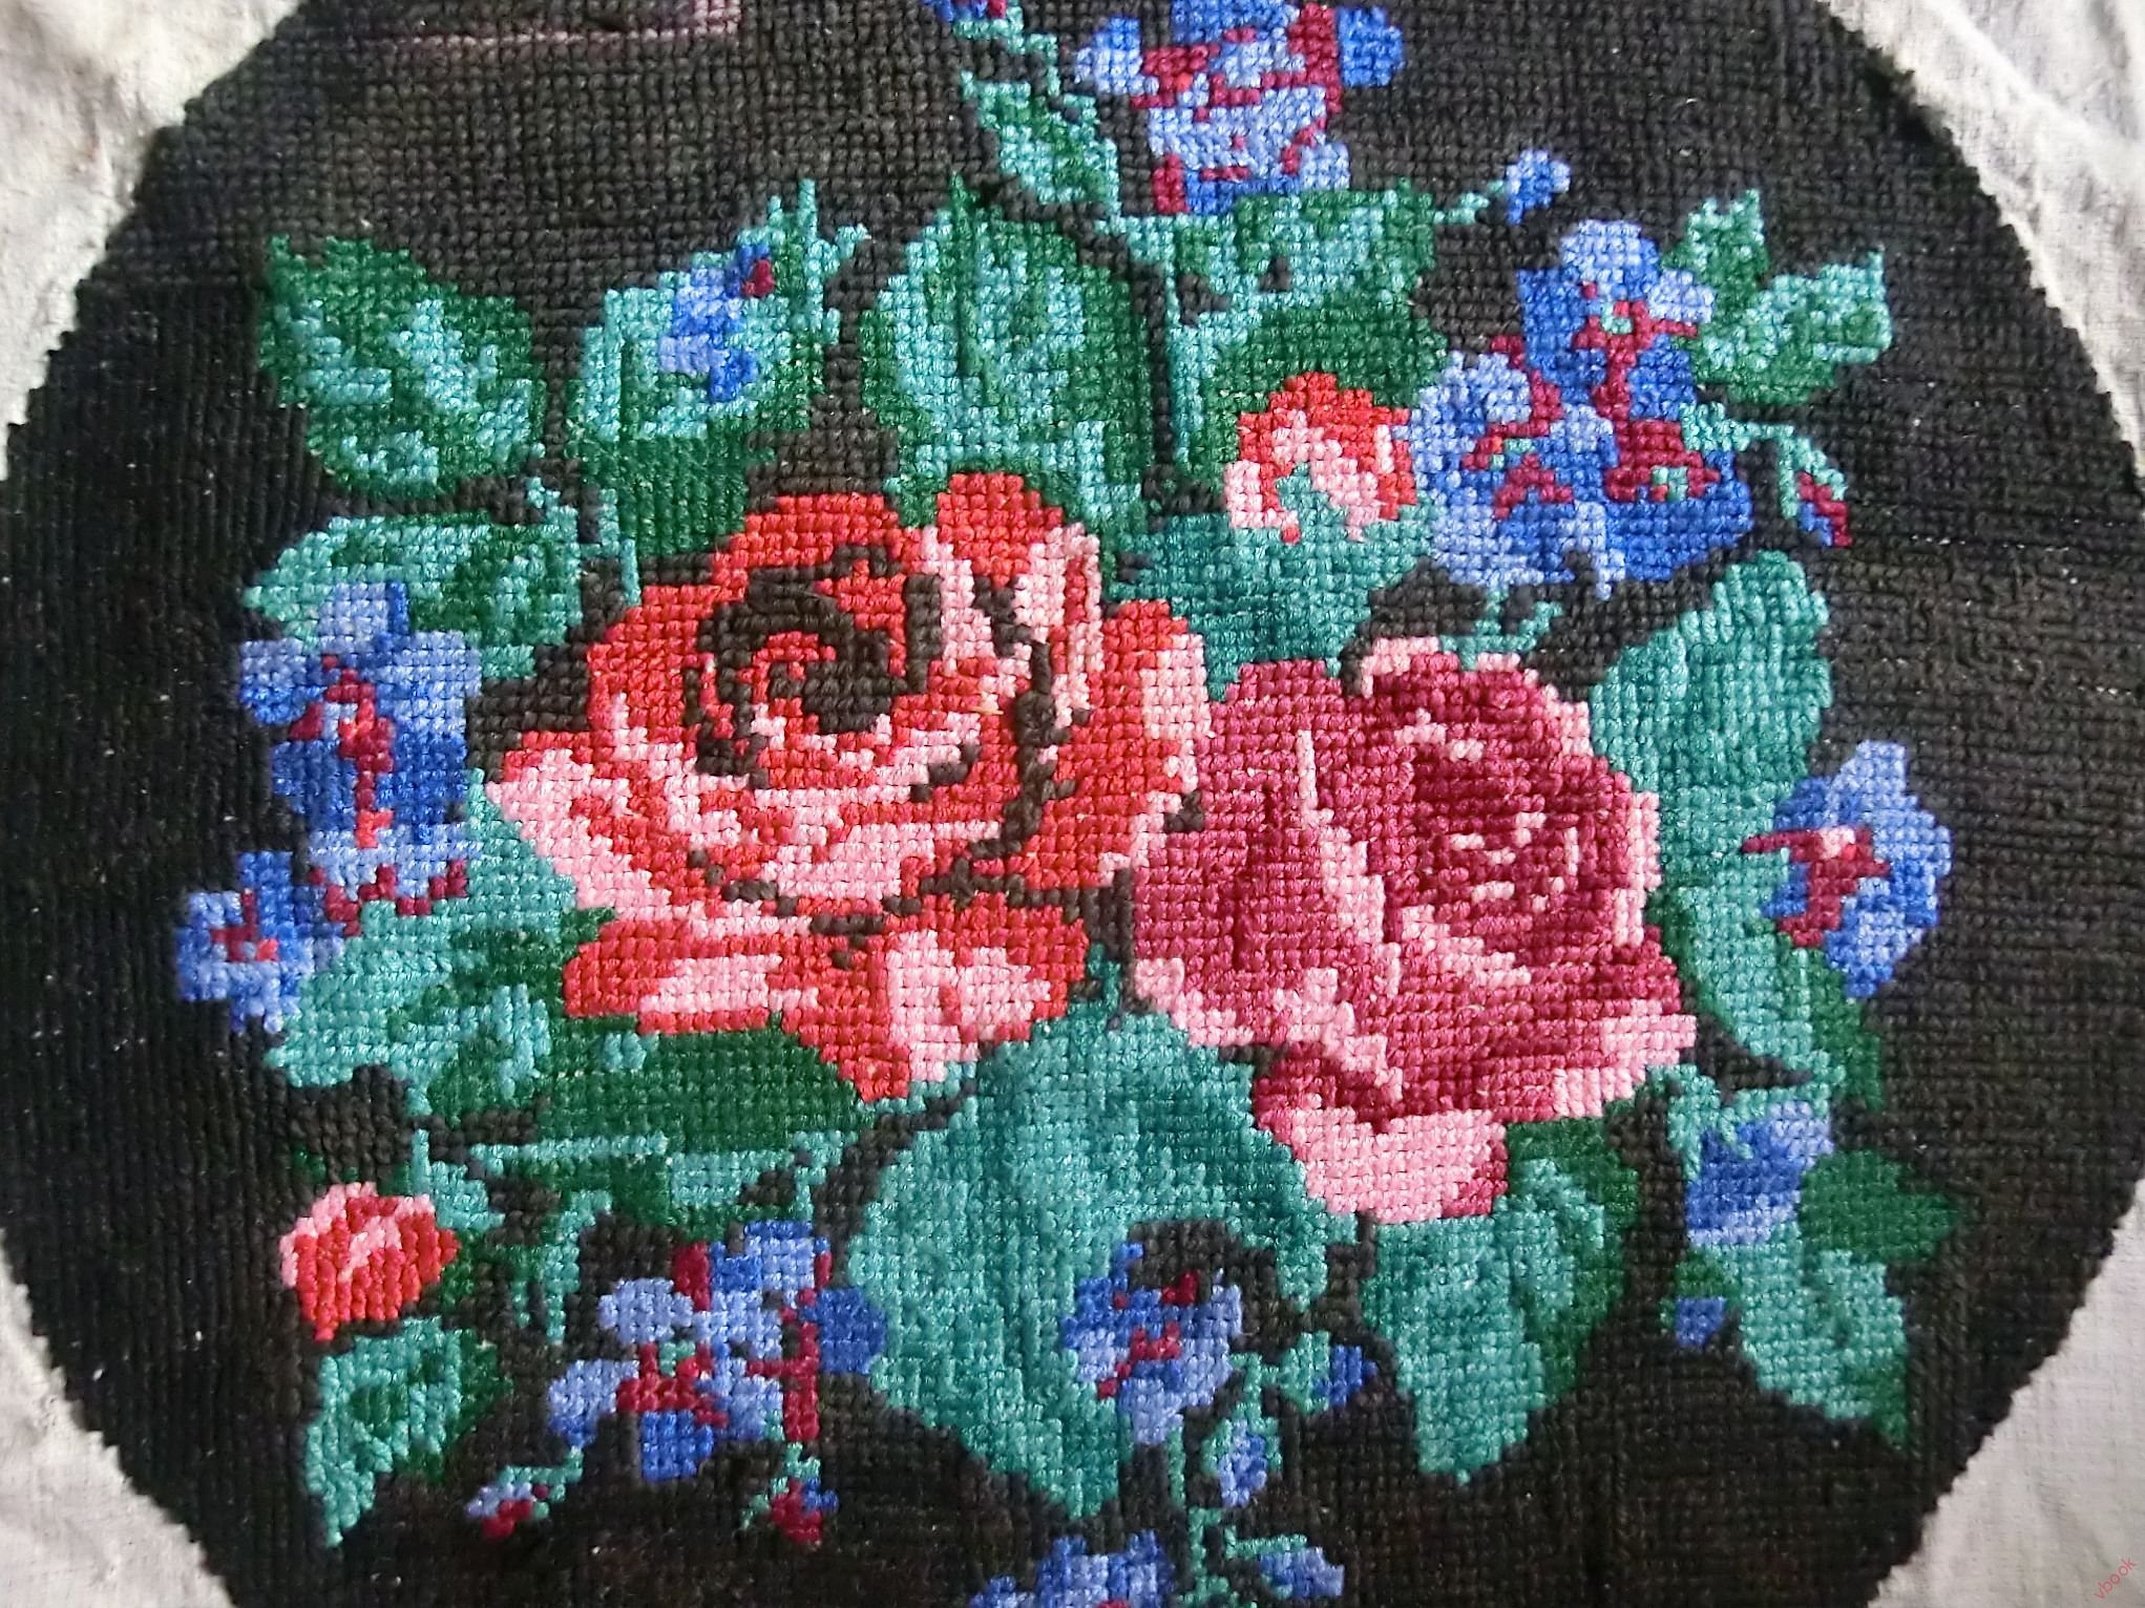
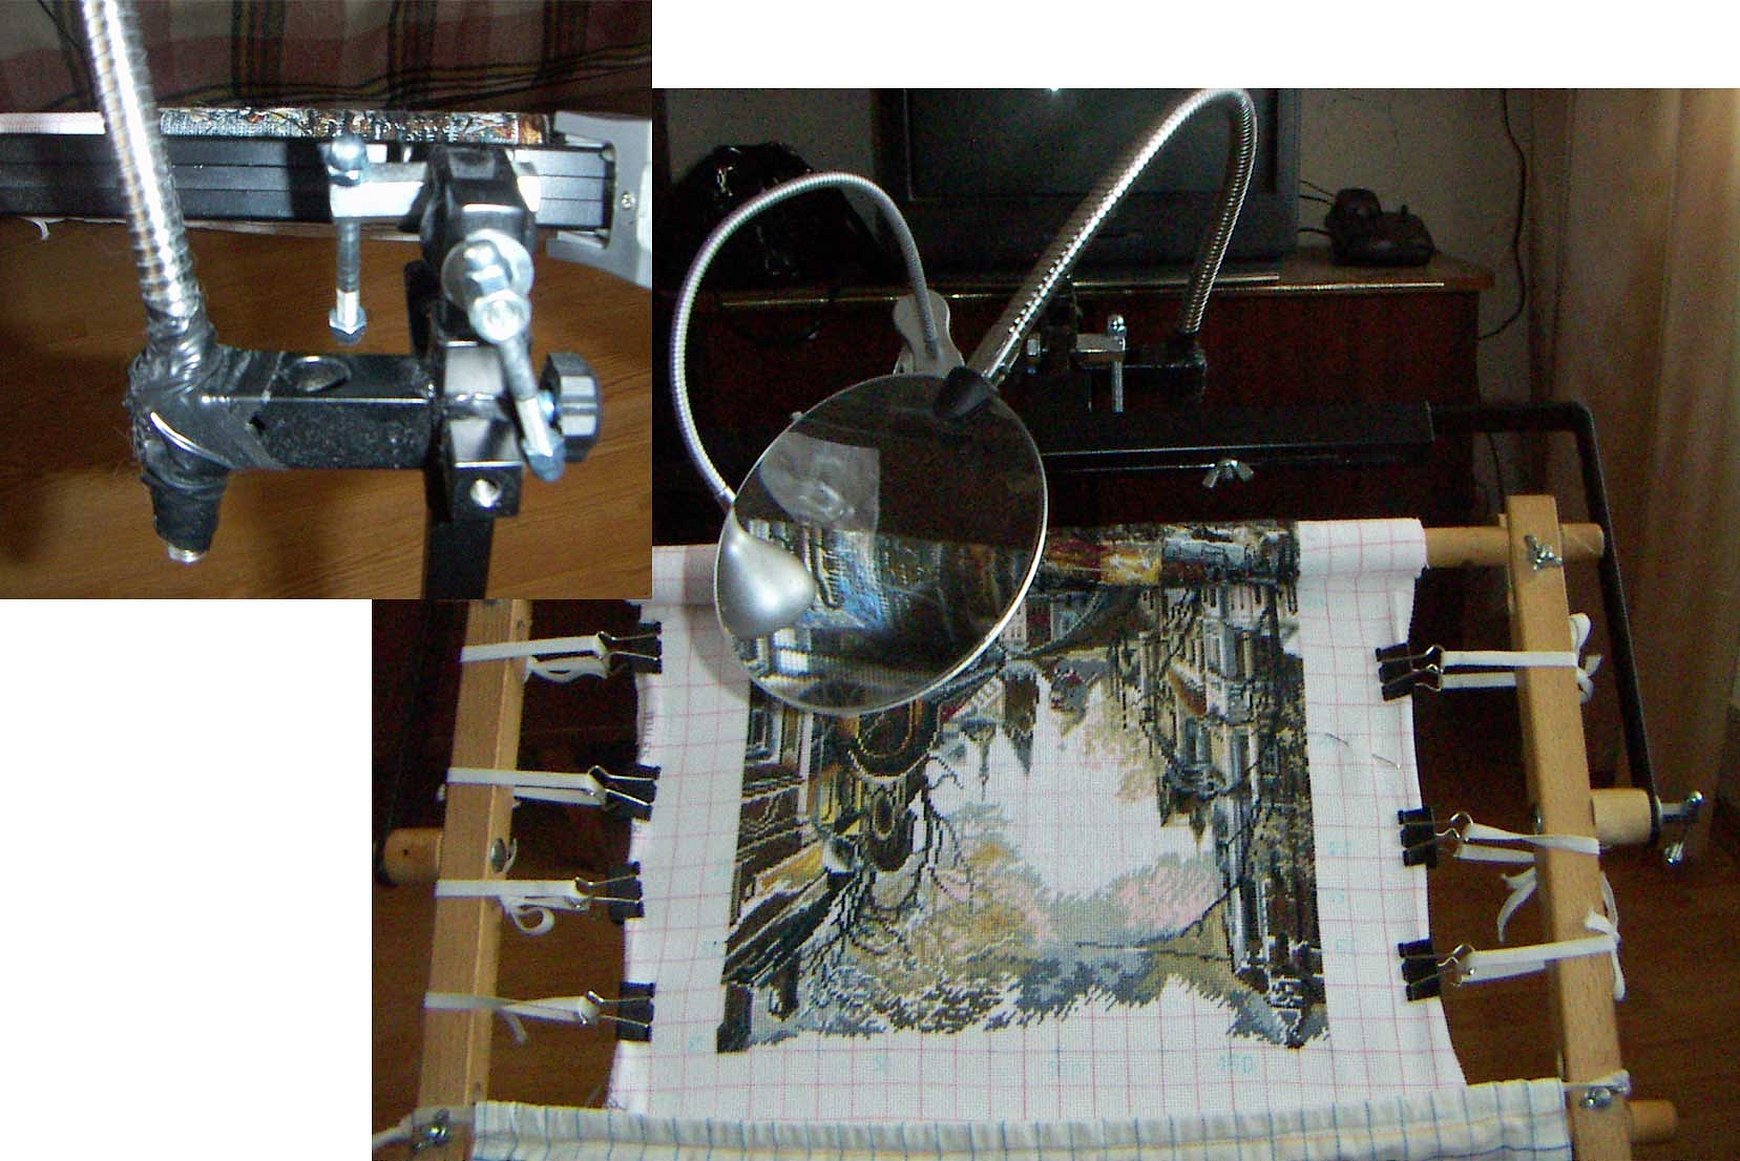
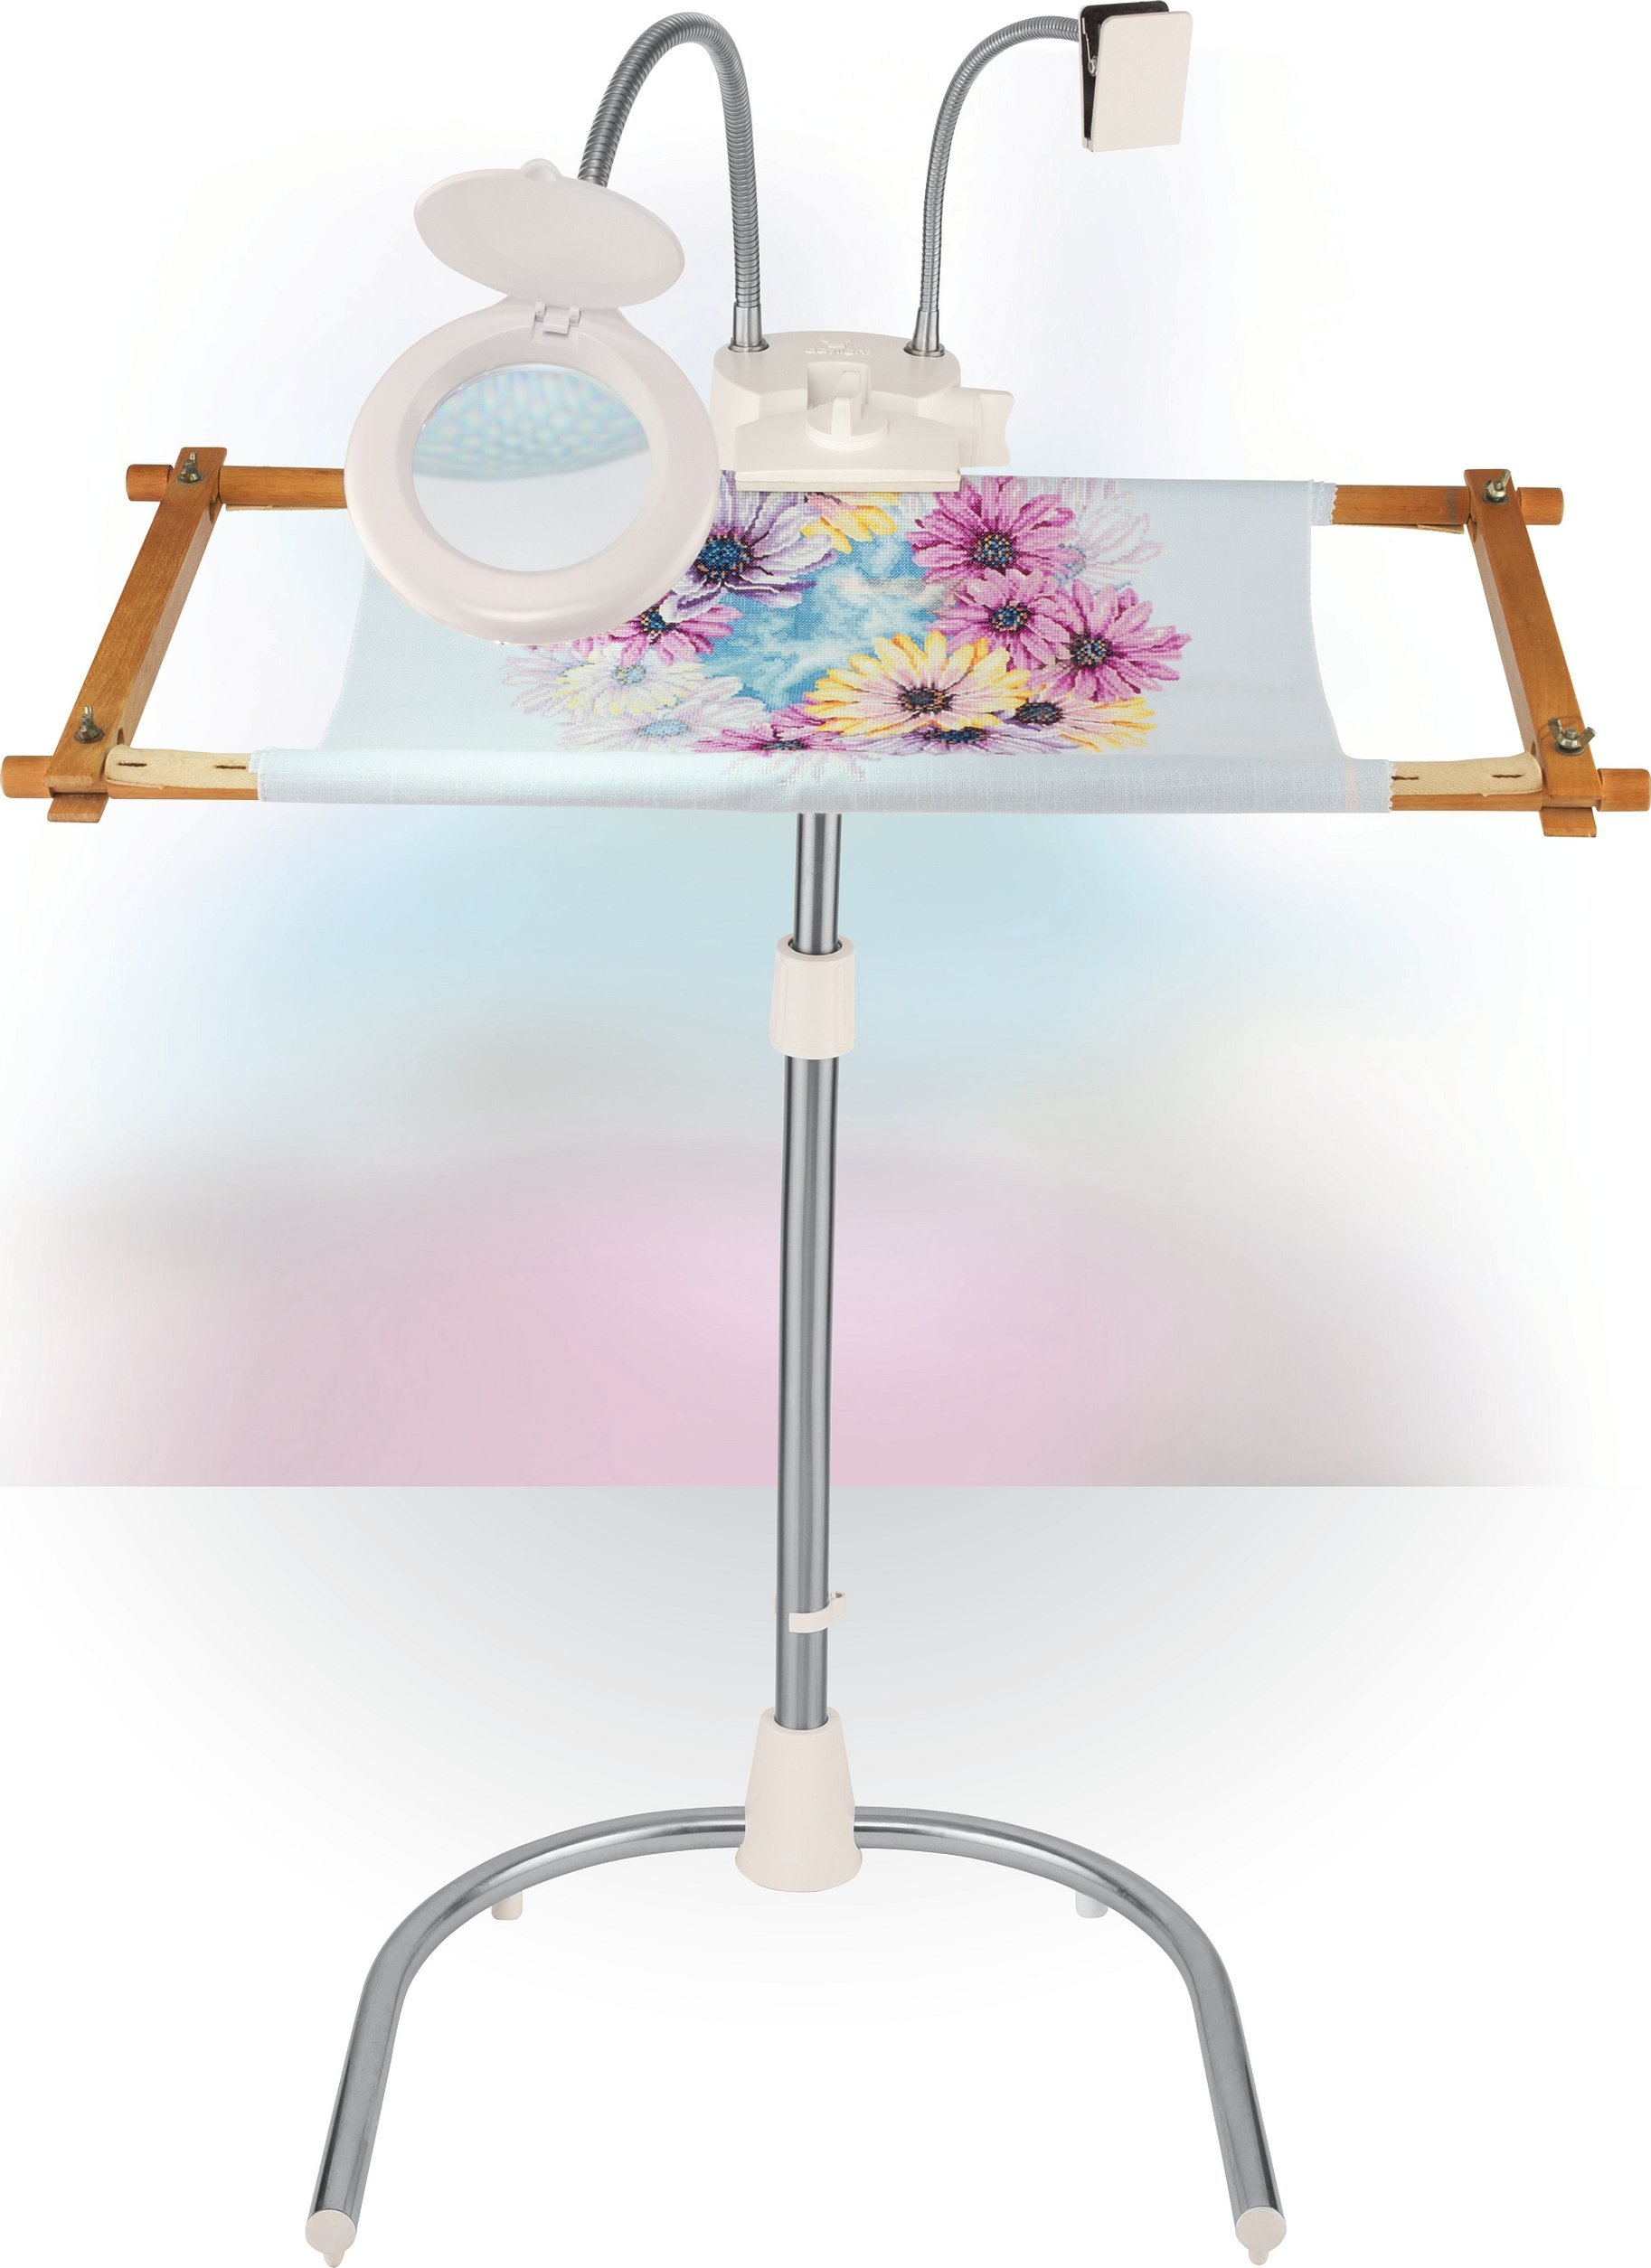
If the machine is equipped with a magnifying glass, it will allow you to create small embroidery on black canvas or linen, produce combinations of non-contrasting colors, carefully consider everything and make even stitches. As was said, the devices can be square, round and rectangular. Everything depends on preferences and the desired result.
Important! For those who are just starting to do embroidery, a store-bought plastic machine will do. It is very easy to assemble even with the help of improvised means.
Dubko Company
The company manufactures high-quality embroidery machines. If you don't want to bother with making one yourself, you can just buy one. "Dubko" manufactures machines from high-quality hardwood.
Factory "Omanik"
It is located in Tallinn and produces machines, frames and devices for embroidery and handicrafts. The quality of the machines is good, but they are not so easy to find in the CIS, since there are practically no official representatives.
Arabeska Company
A popular manufacturer of machines, picture and photo frames, reproductions, mirrors and puzzles in Ukraine. It is located in Kyiv and offers not only machines, but also embroidery kits and patterns, floss, beads, canvas and other accessories.
Amur
Embroidery machines made of metal. Delivered across Russia via online stores and sold in specialized stores. The complete set of such a machine includes:
- The device itself;
- Frame holder;
- Cu-snap holder;
- Hoop holder.
Important! You can purchase a sliding lamp holder separately for one and a half thousand rubles.*
Stitchsmart embroidery machine
This device will eliminate the need to hold the hoop and frame on your knees or hands. This will allow you to devote even more time to your favorite activity, complete the work better and faster. The main feature of the "Stitchsmart" is that its mechanism rotates 360 degrees, which allows you to set the angle and tilt of the frame in the most comfortable position for the current pose of the person.
Embroidery machine "Birch"
A simple cheap Russian machine with an adjustable frame size of 56 by 30 centimeters. It also has a 360-degree rotation and is made of high-quality birch plywood. For 1,200 rubles, which is how much it costs, you can save a lot of time and nerves that appear when making embroidery.
"Oriole"
It costs a little more than the "Beryozka", but has all the same characteristics. Moreover, there are several versions of the "Ivolga": with a frame of 30 by 40 centimeters, with a frame of 30 by 56 centimeters, 35 by 48 centimeters, and also 40 by 56 centimeters. The product is made of durable beech with a pleasant to the touch polished surface.
How to organize an embroiderer's workplace
After the machine is made by yourself or bought in a store, it is necessary to properly organize your workplace. This depends not only on the size of the device, but also on its type and shape. One of the main rules: correct posture and bearing. If you sit crookedly, your lower back and other parts of the body will often hurt, and this can directly affect your work.
Important! When using a desktop device, you can allocate a separate chest of drawers for the work area, in which all tools, materials and accessories will be stored.
Thus, making a DIY embroidery machine is not easy, but it is more economical compared to purchased options. At the same time, mass-produced embroidery devices made of metal or plastic pipes have better characteristics.
*Prices are valid as of December 2019.


